New Year Burgundy Gradient
Rhinestone Gel Nails — Step-by-Step Tutorial
Ring in the Year of the Horse with stunning glowing burgundy gradient gel nails featuring sparkling rhinestones and gold accents.
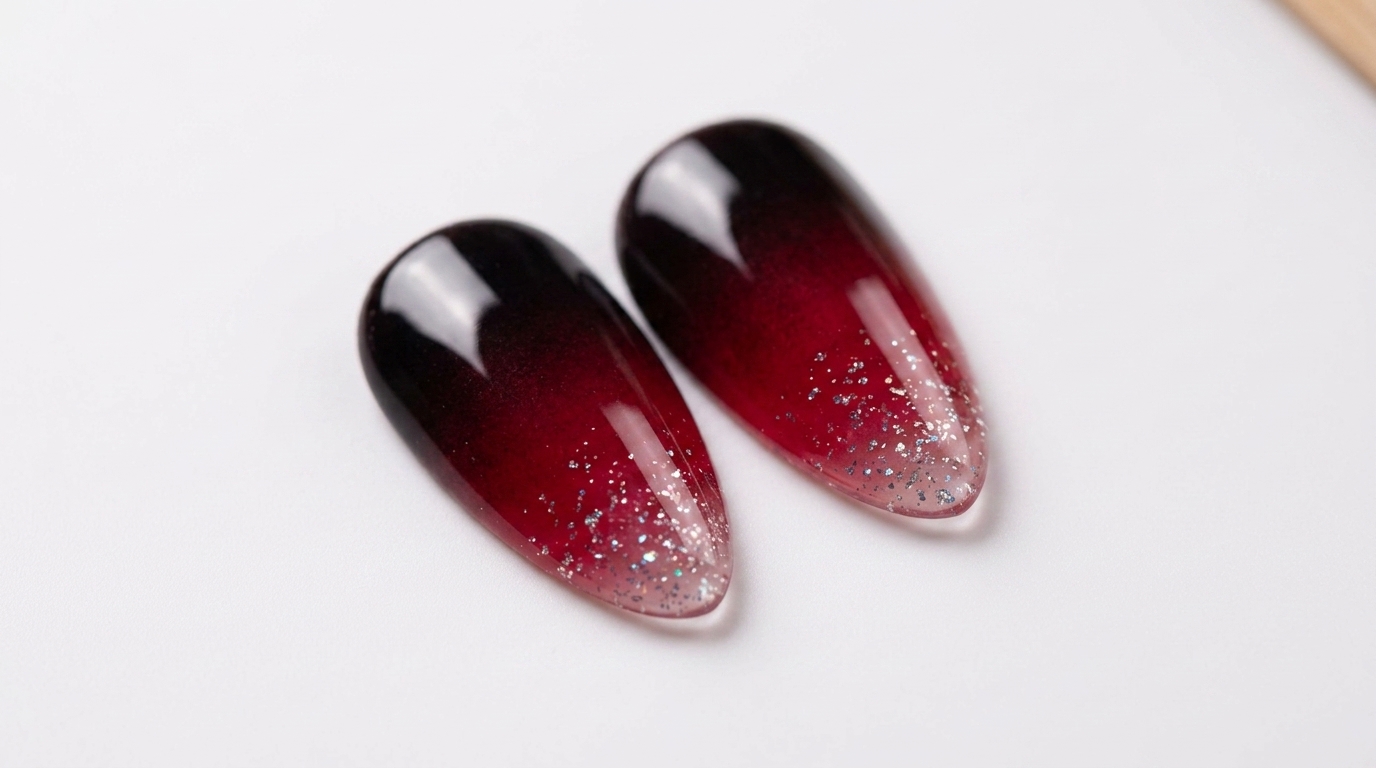
New Year nail trends are all about luxury and celebration. This stunning glowing burgundy gradient design combined with sparkling rhinestones creates a galaxy-like effect on your hands that is perfect for festive visits and warm skin tones.
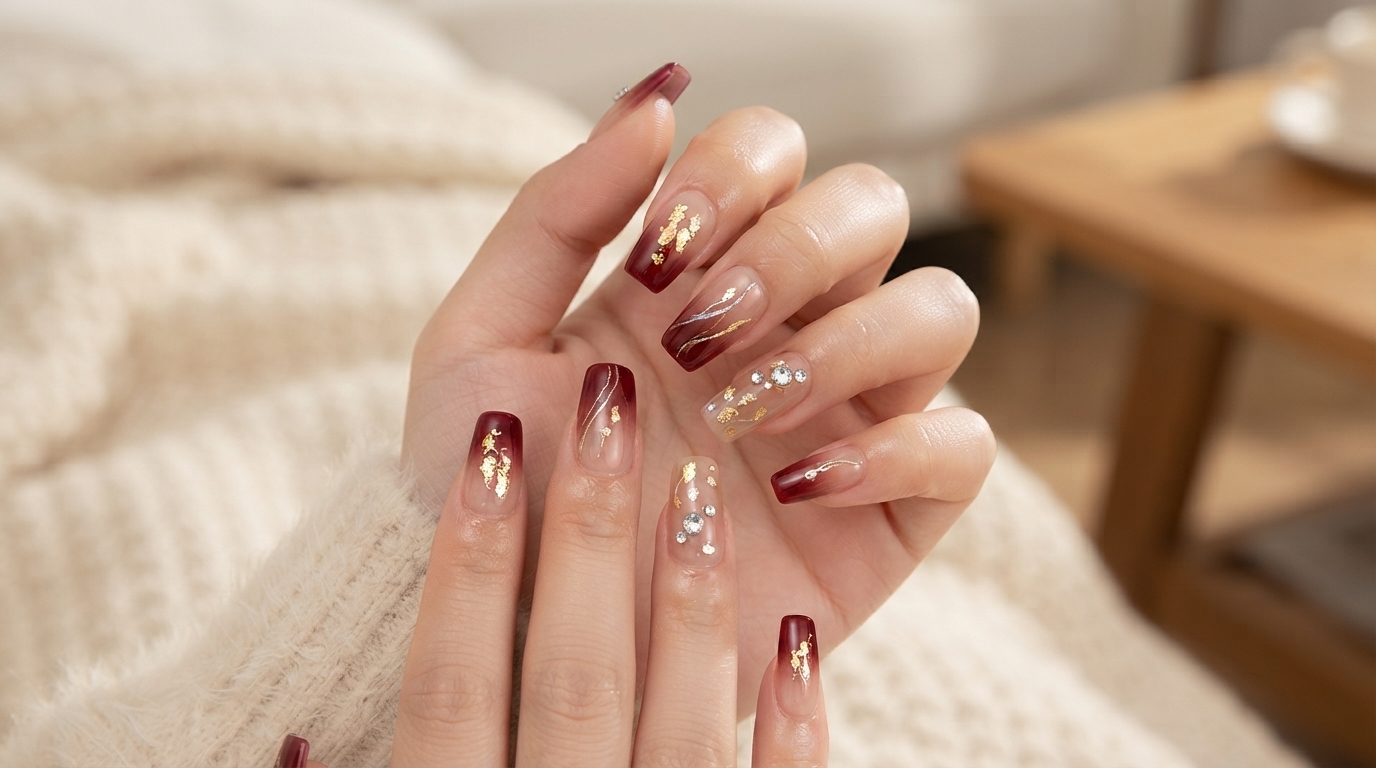
Steps
- 1Showcase burgundy gradient with gold foil and rhinestones
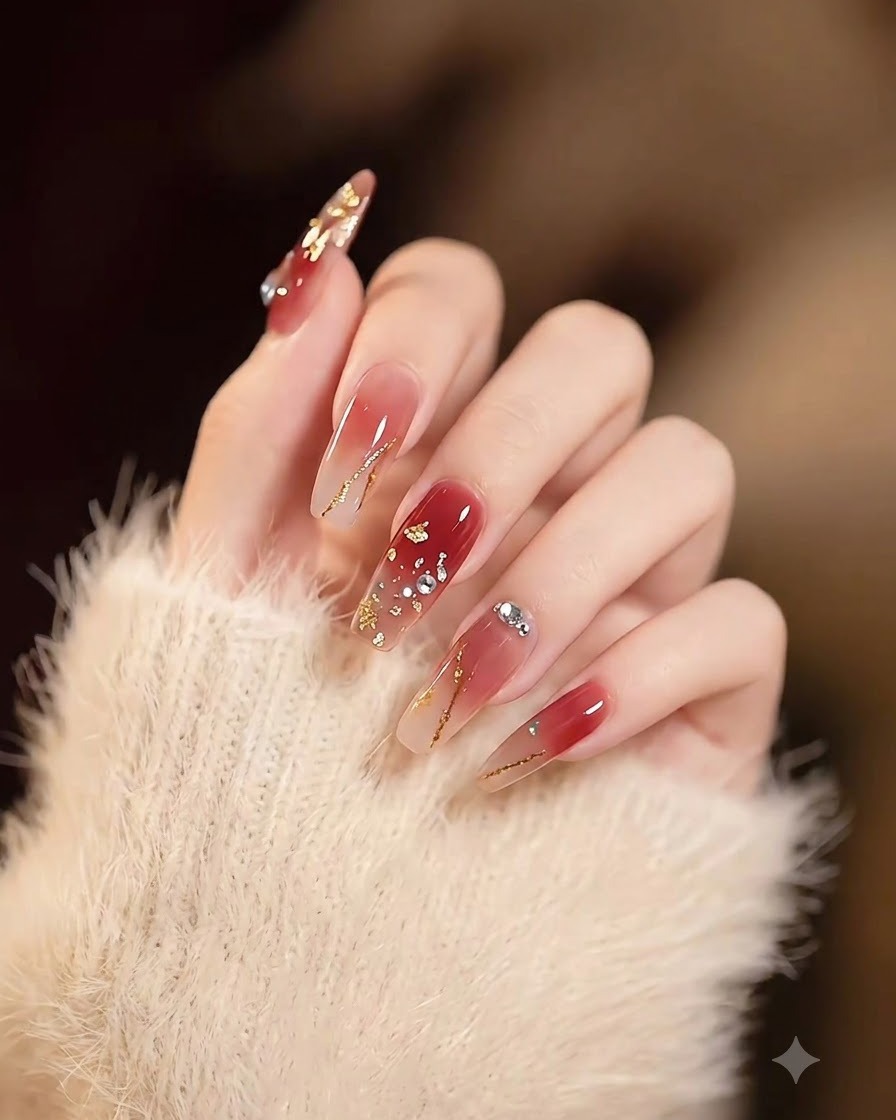
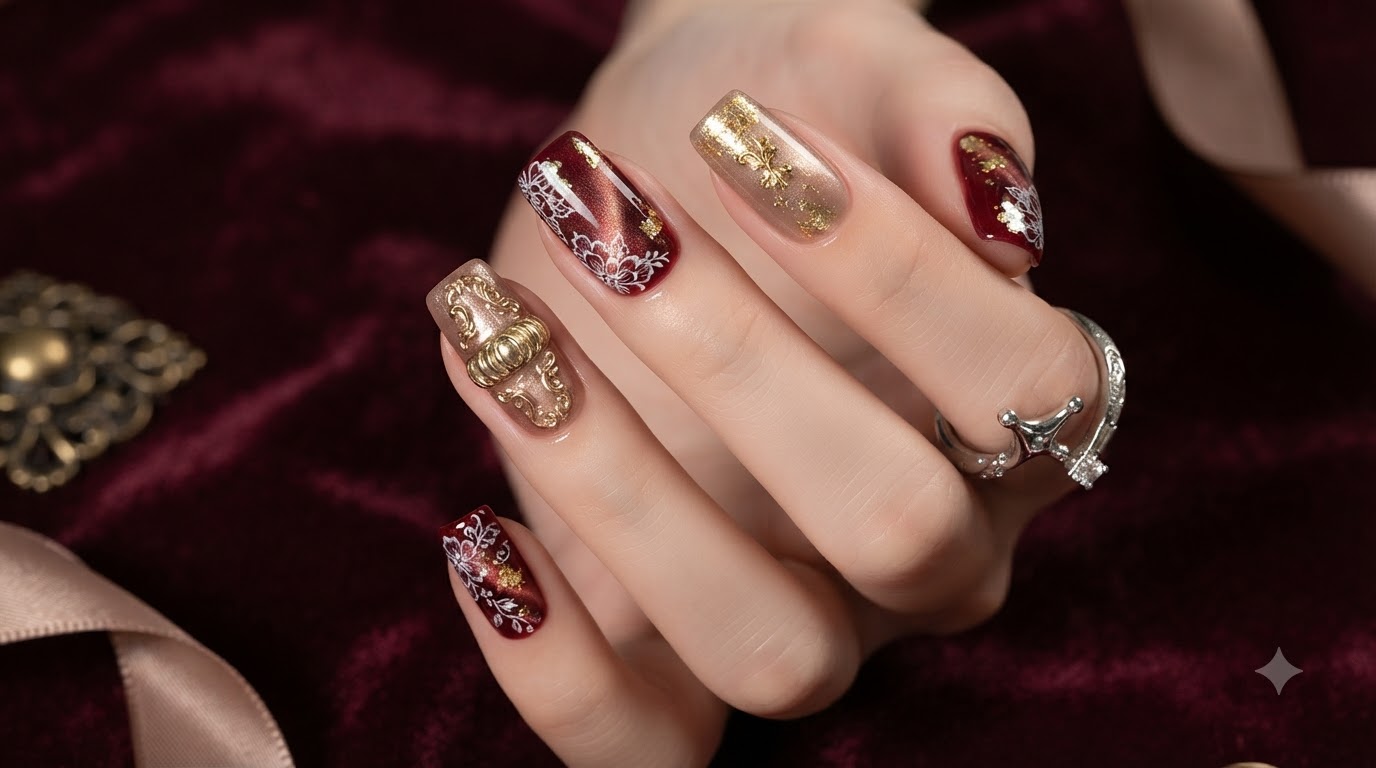
Present the completed long square nails featuring a rich burgundy ombre gradient accented with scattered gold foil flakes and precision-placed rhinestones. Ensure the cuticles are neat and the high-gloss top coat reflects light evenly across the surface.
Tip: Place gold foil irregularly for an organic, galaxy-like effect that catches the light from every angle. - 2Highlight deep burgundy ombre and gold flakes
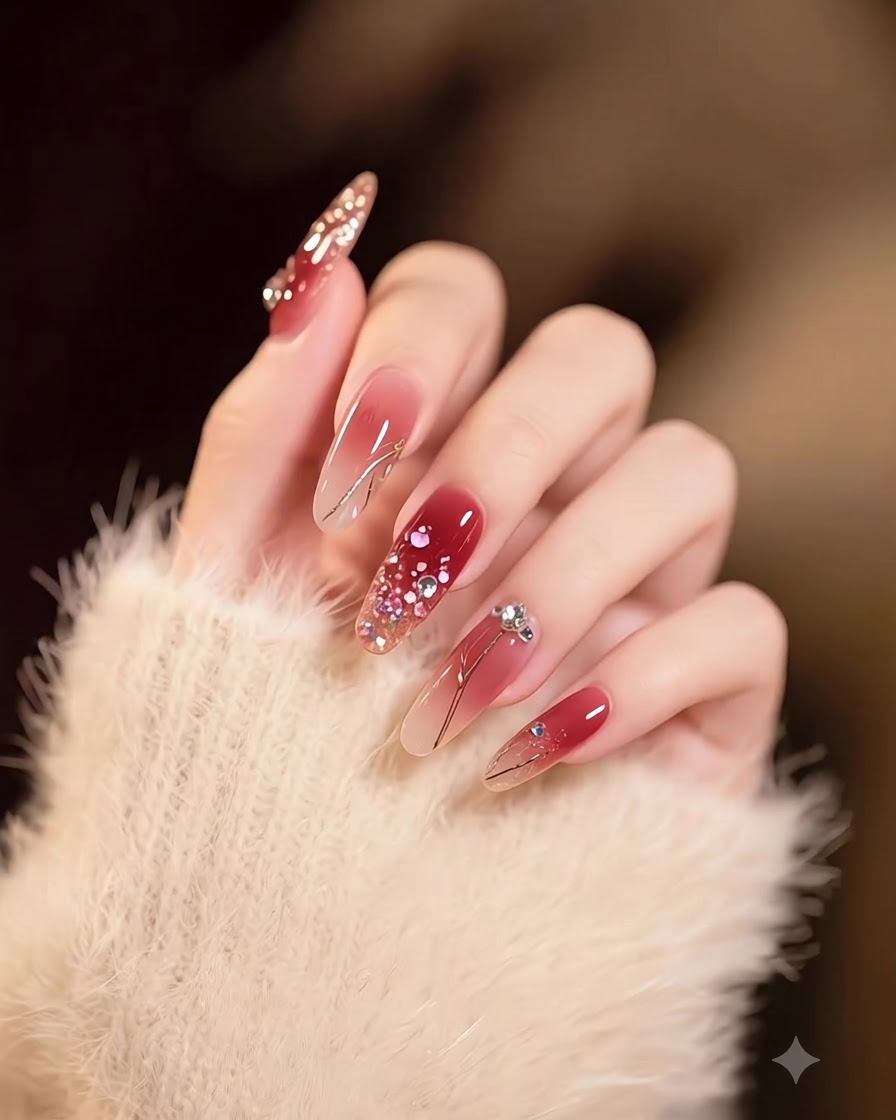
Focus on the hand displaying long square nails with deep burgundy ombre tips transitioning smoothly into nude bases, enhanced by subtle gold flake details. Check that the gradient blend is seamless and free of harsh lines.
Tip: Fade the burgundy pigment gently toward the cuticle using a fine sponge or ombre brush for a soft transition. - 3Add statement rhinestone and gold linework
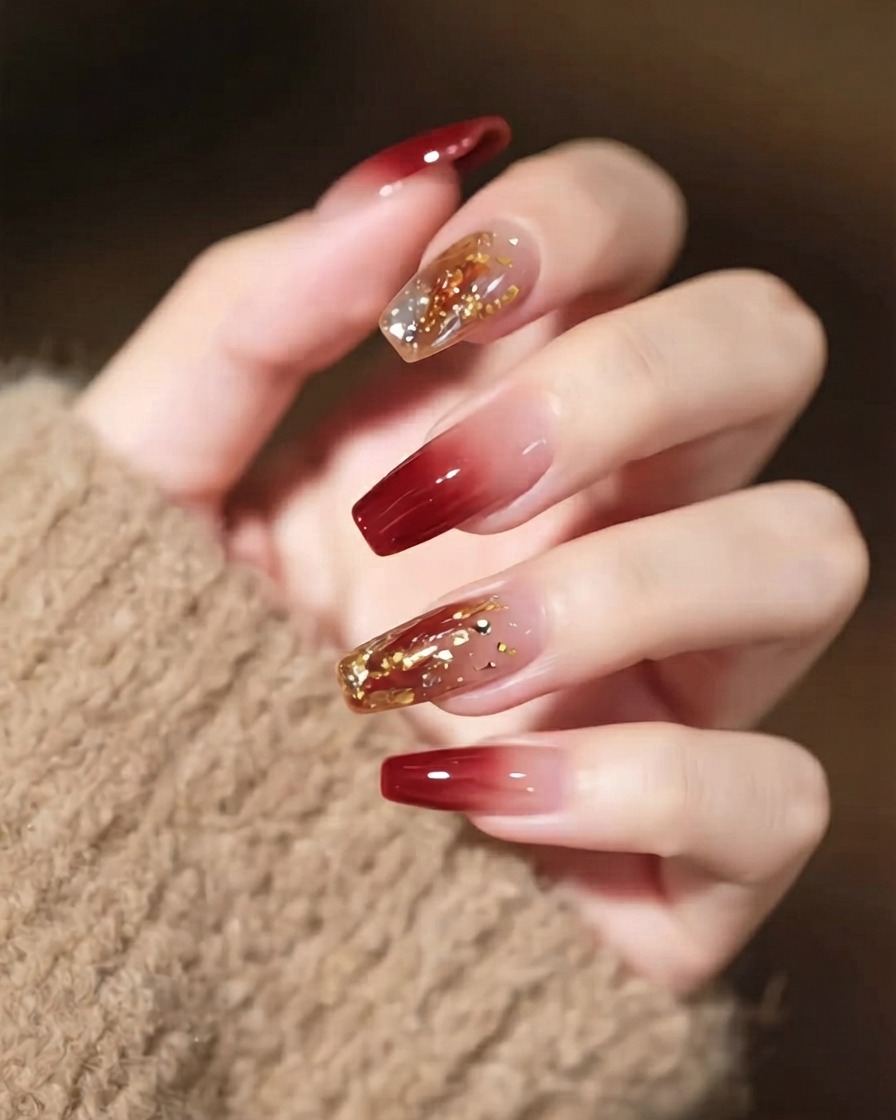
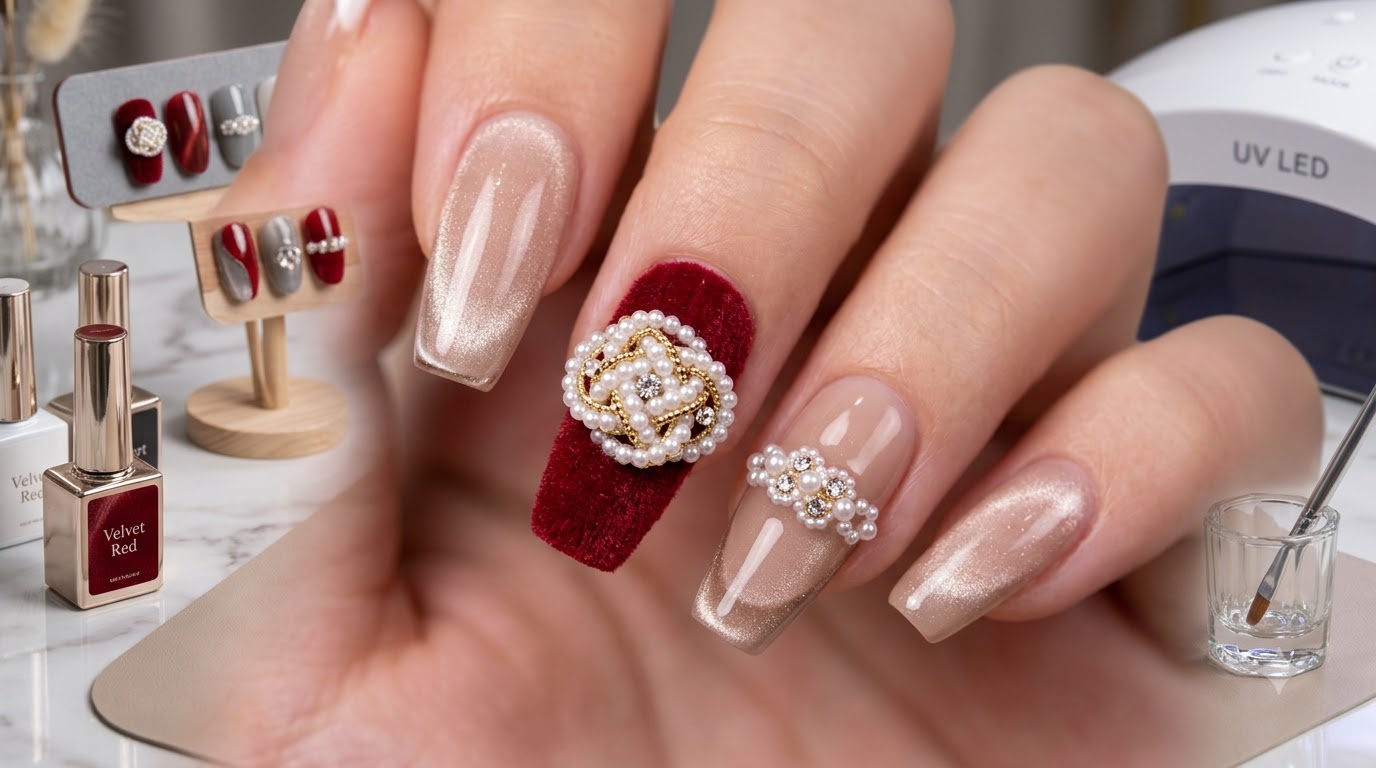
Inspect the detailed nail art featuring a large statement rhinestone anchoring intricate gold linework over the burgundy gradient base. Secure the base of large gems with thick builder gel to ensure long-term durability.
Tip: Encase the edges of large rhinestones with top coat without covering their facets to maintain maximum sparkle. - 4Present clean burgundy ombre nails with gold leaf accents
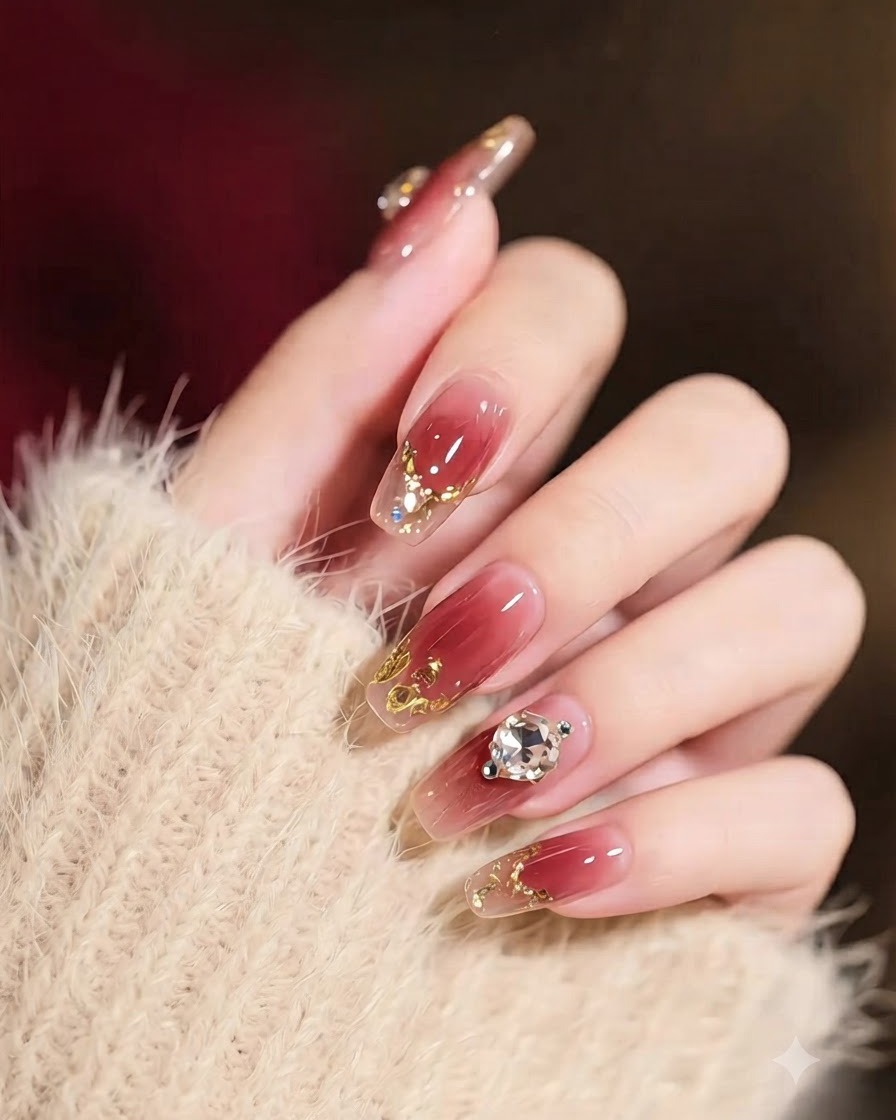
Showcase the clean gradient design featuring rich burgundy fading into a sheer nude base, complemented by delicate gold leaf flakes carefully placed near the cuticle area. Ensure the surface is smooth and fully cured before final presentation.
Tip: Position gold flakes randomly for a more natural, organic artistic effect rather than a uniform pattern. - 5Incorporate multicolored brushstroke gel art
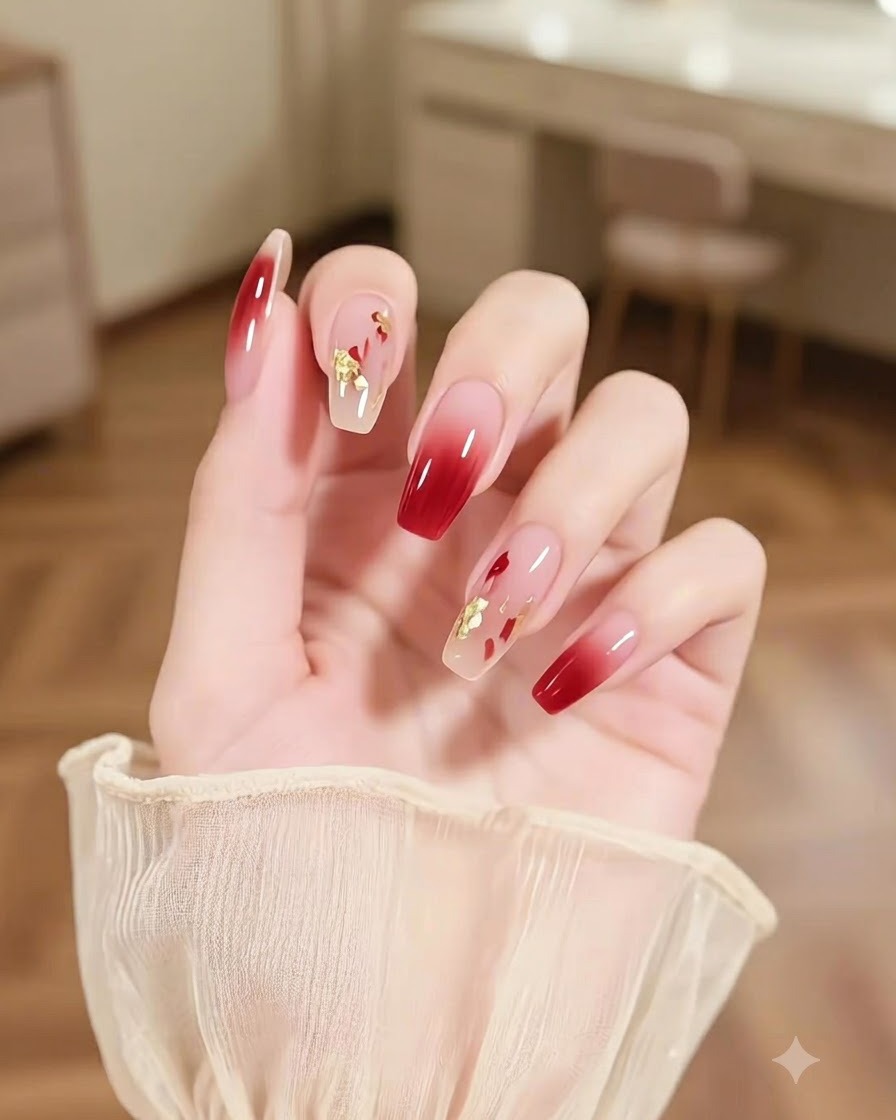
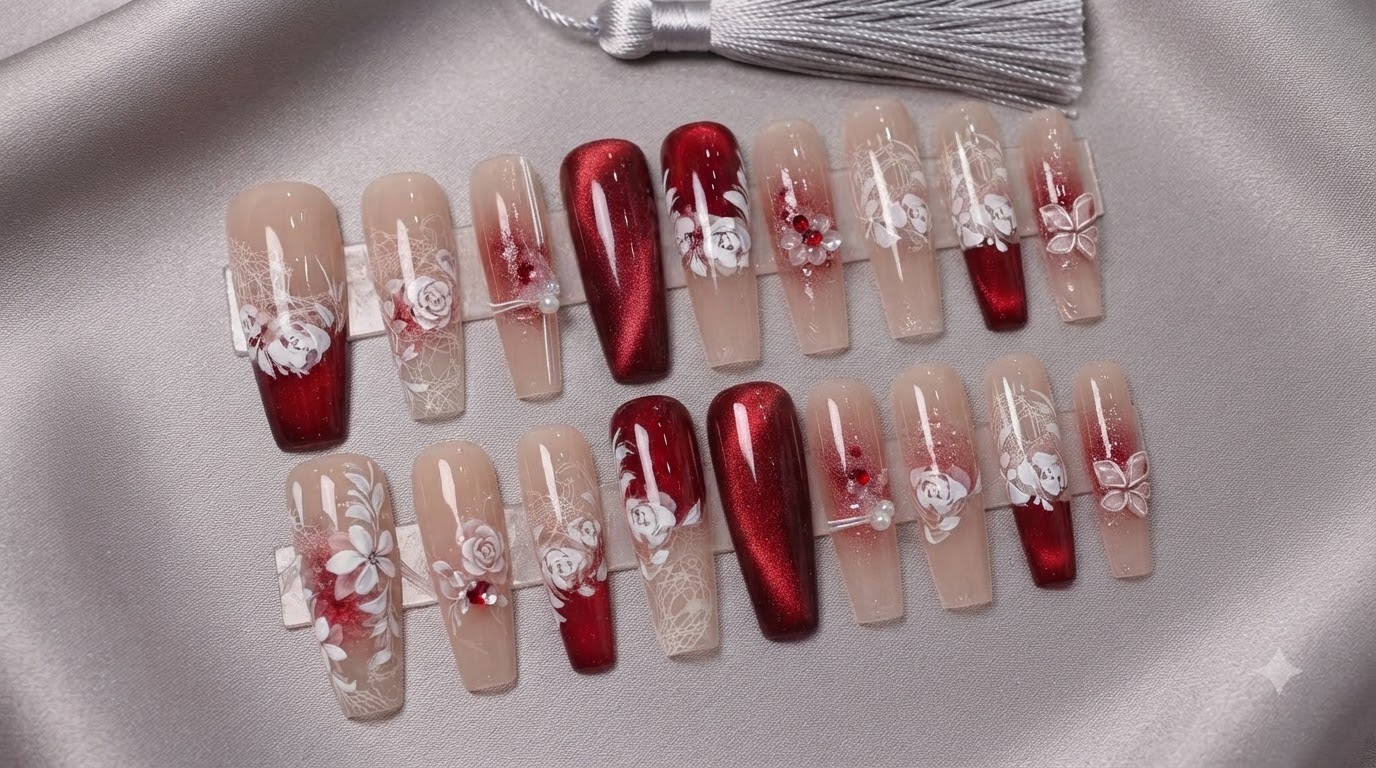
Examine the accent nail featuring multicolored brushstroke gel art combined with classic burgundy ombre and delicate gold sparkles. Balance the artistic elements so they complement rather than overwhelm the gradient design.
Tip: Keep background ombre nails simple when incorporating complex multicolored brushstrokes as an accent. - 6Showcase gradient nails with embedded star and gold flakes
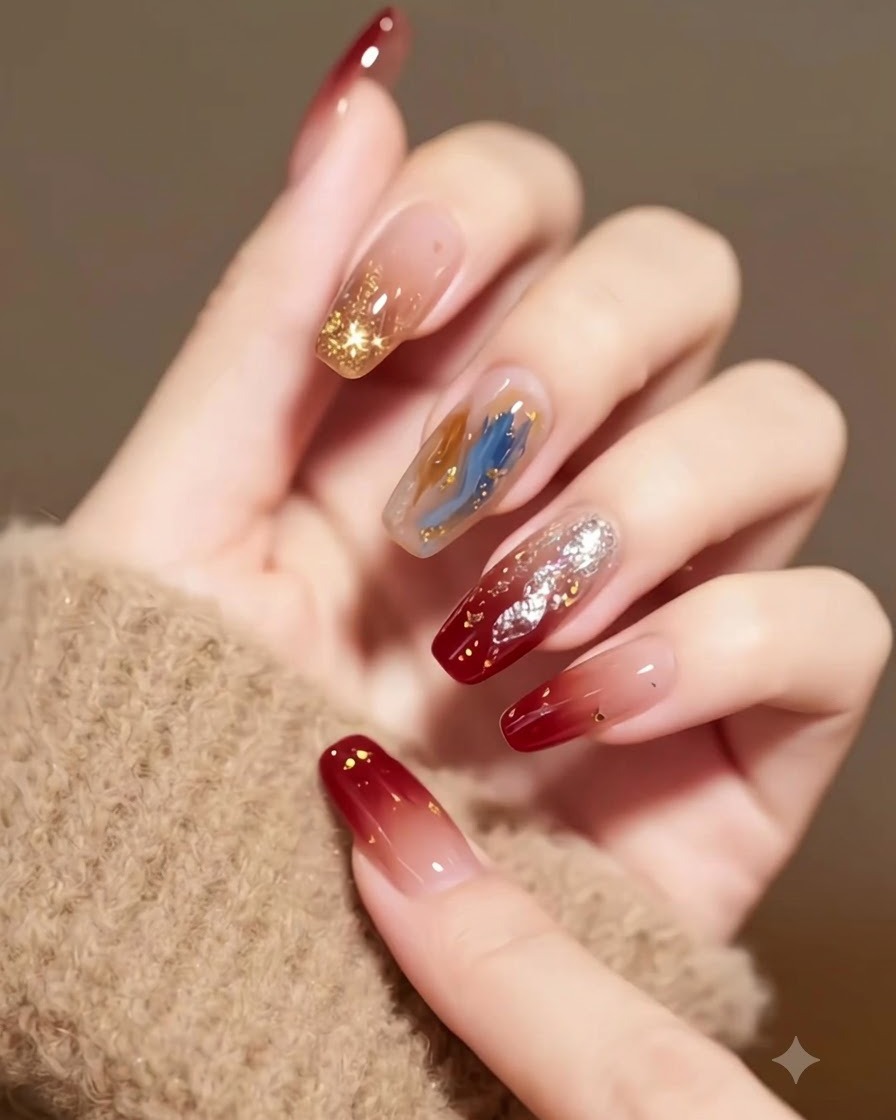
Highlight the intricate details of the burgundy gradient design, featuring embedded star motifs and shimmering gold flakes against a soft beige sweater backdrop. Verify that all decorative elements are securely sealed under the top coat.
Tip: Press flat any raised edges of gold flakes or star decals with a silicone tool before curing to prevent snagging. - 7Apply rhinestone clusters
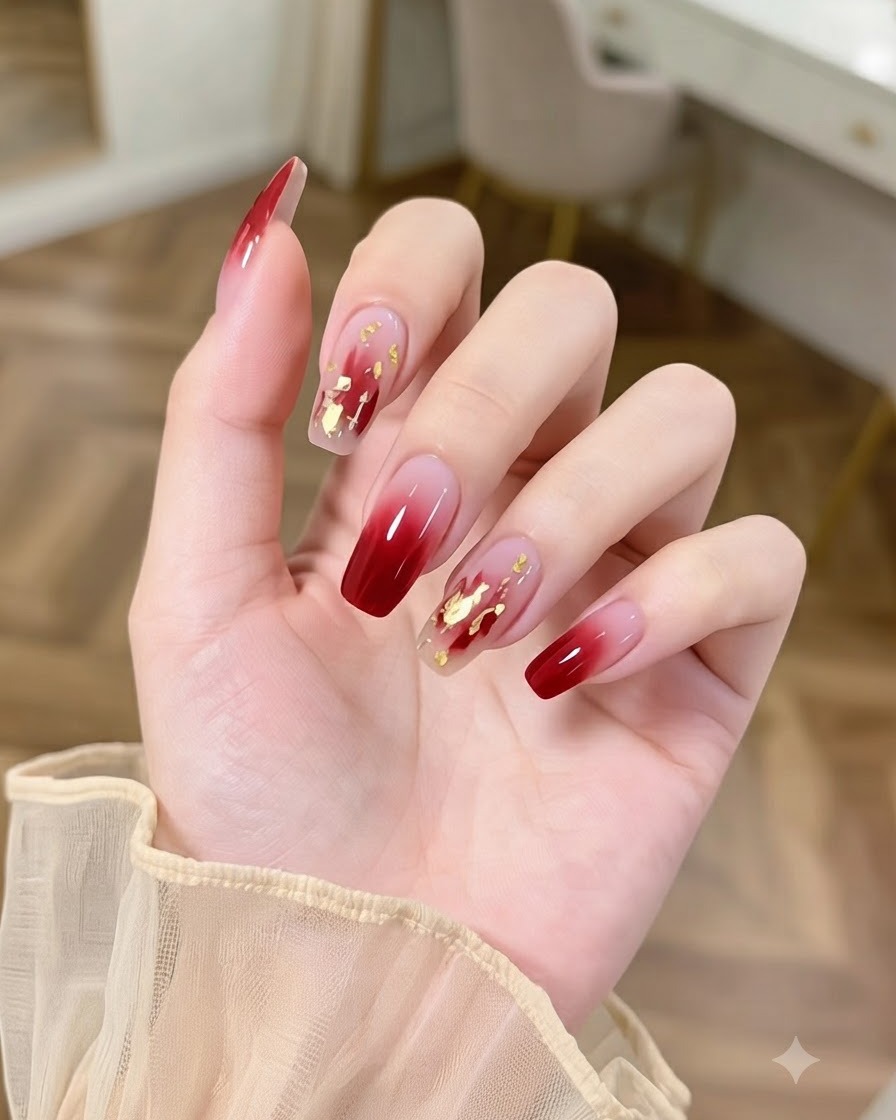
Place adhesive gel or rhinestone glue onto the prepped burgundy ombre nails where desired. Using a wax pencil or pick-up tool, carefully arrange heavy crystal rhinestone clusters over the gradient surface, ensuring they are securely bedded in the gel. Cure under your UV or LED lamp to lock the crystals firmly in place.
Tip: Seal around the edges of the rhinestones with a fine detail brush dipped in top coat, taking care not to cover the facets, to prevent them from catching or falling off.