Dark Red Ruby Ombre Nails — Sparkling Gradient Step-by-Step Tutorial
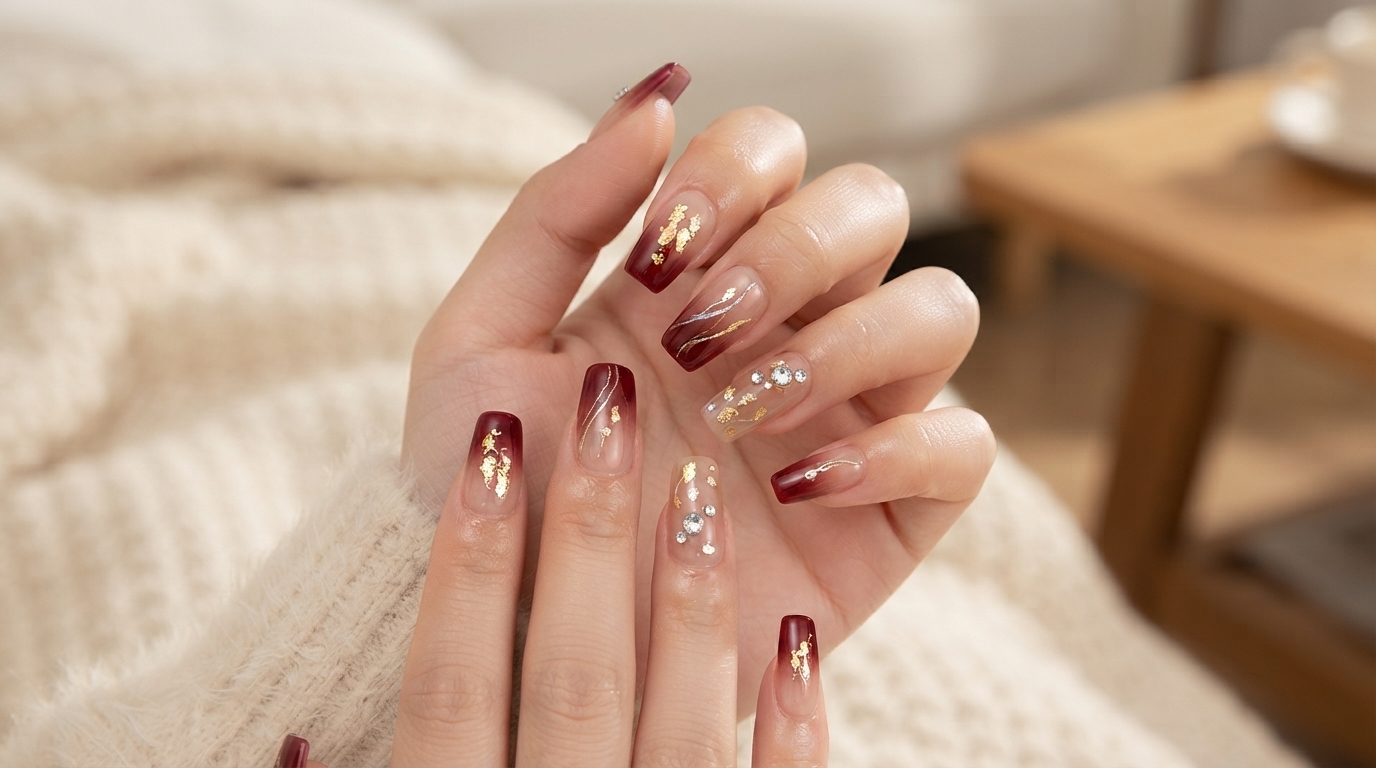
Create stunning gemstone-depth dark red and black ombre nails featuring encapsulated silver glitter fragments for a brilliant high-gloss finish.
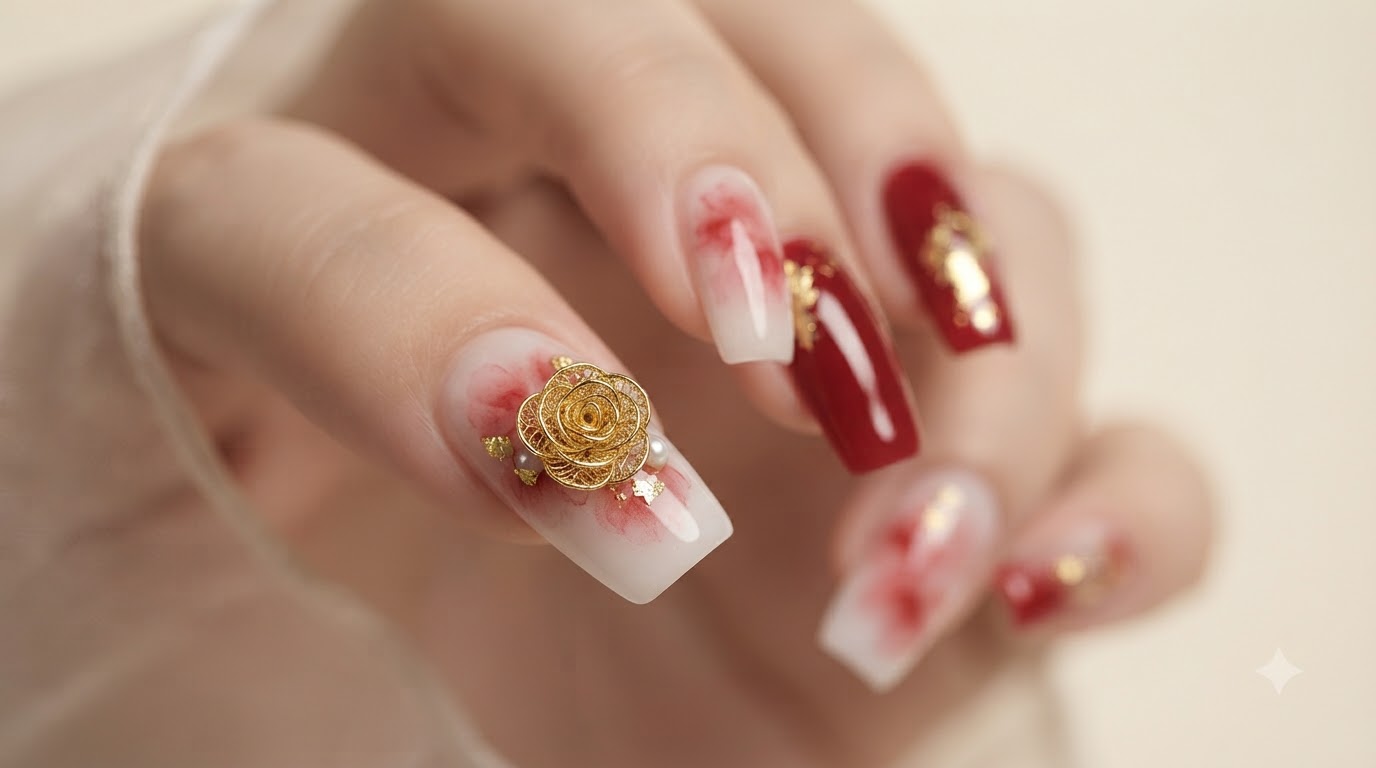
Ruby red and black ombre nails offer a bold, dramatic aesthetic that mimics the mesmerizing depth of real gemstones. By trapping sparkling holographic glitter under layers of clear and translucent color, this technique creates a multi-dimensional look that captures the light from every angle. Whether you are prepping for a special evening out or looking to master advanced gradient blending, this guide walks you through each stage.
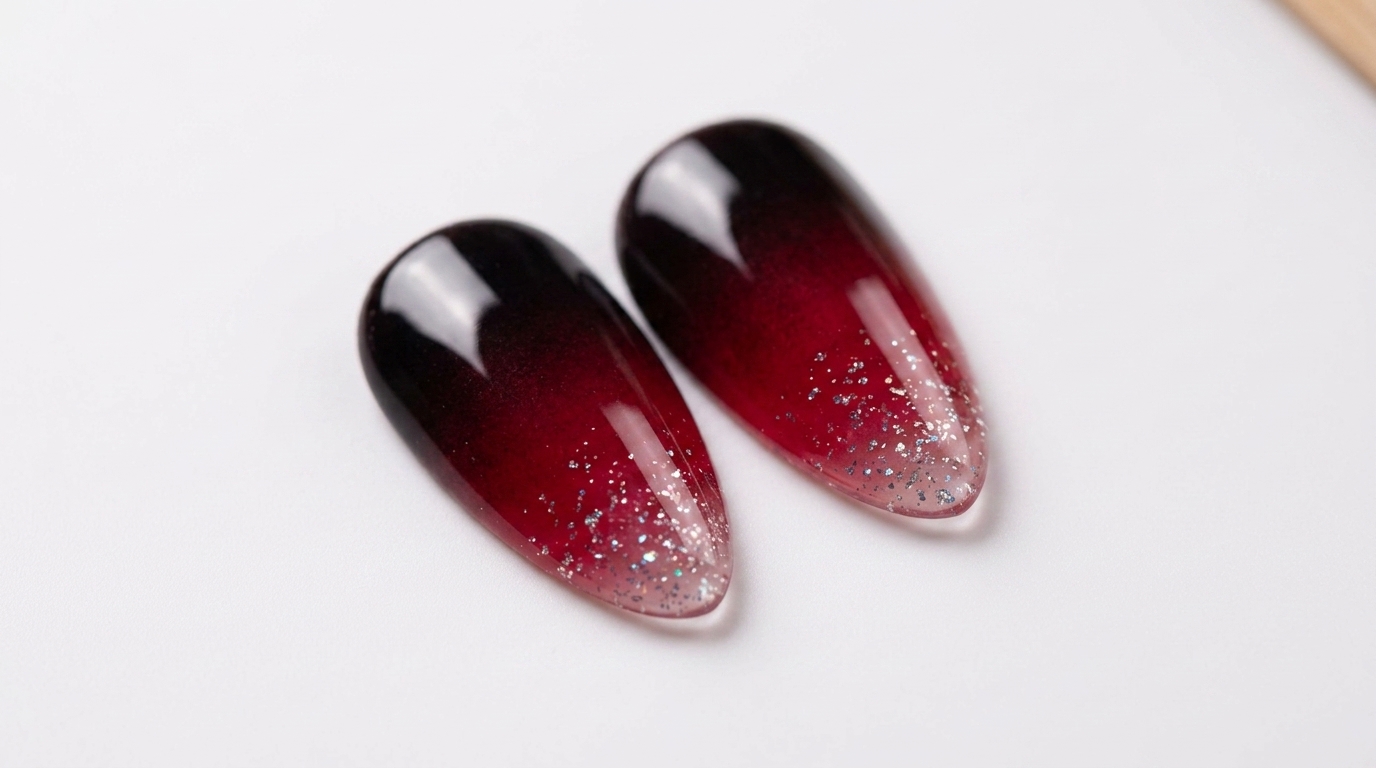
Steps
- 1Pick up laser glitter material
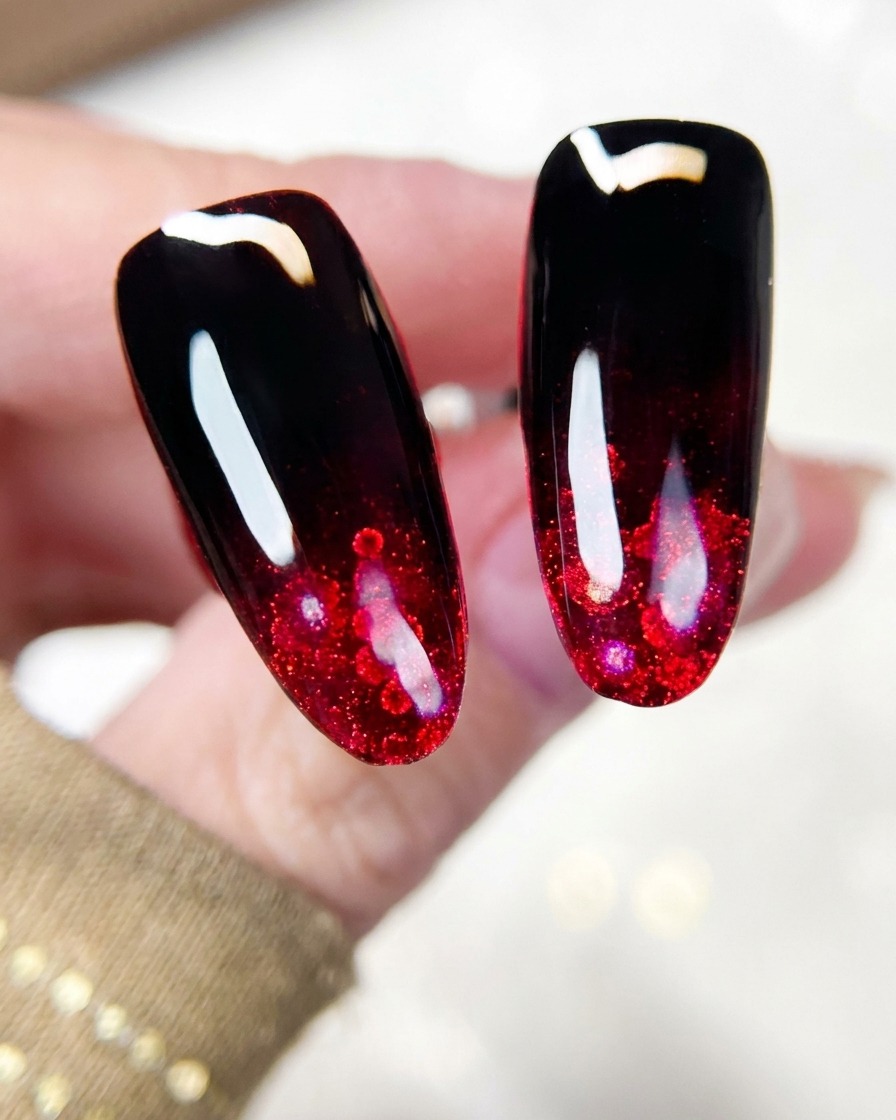
Using a fine brush, pick up a small amount of the red laser glitter fragments to prepare for application onto the nail tip.
Tip: Ensure the brush is slightly damp with base gel to help the glitter fragments adhere properly. - 2Spread glitter fragments on the tip
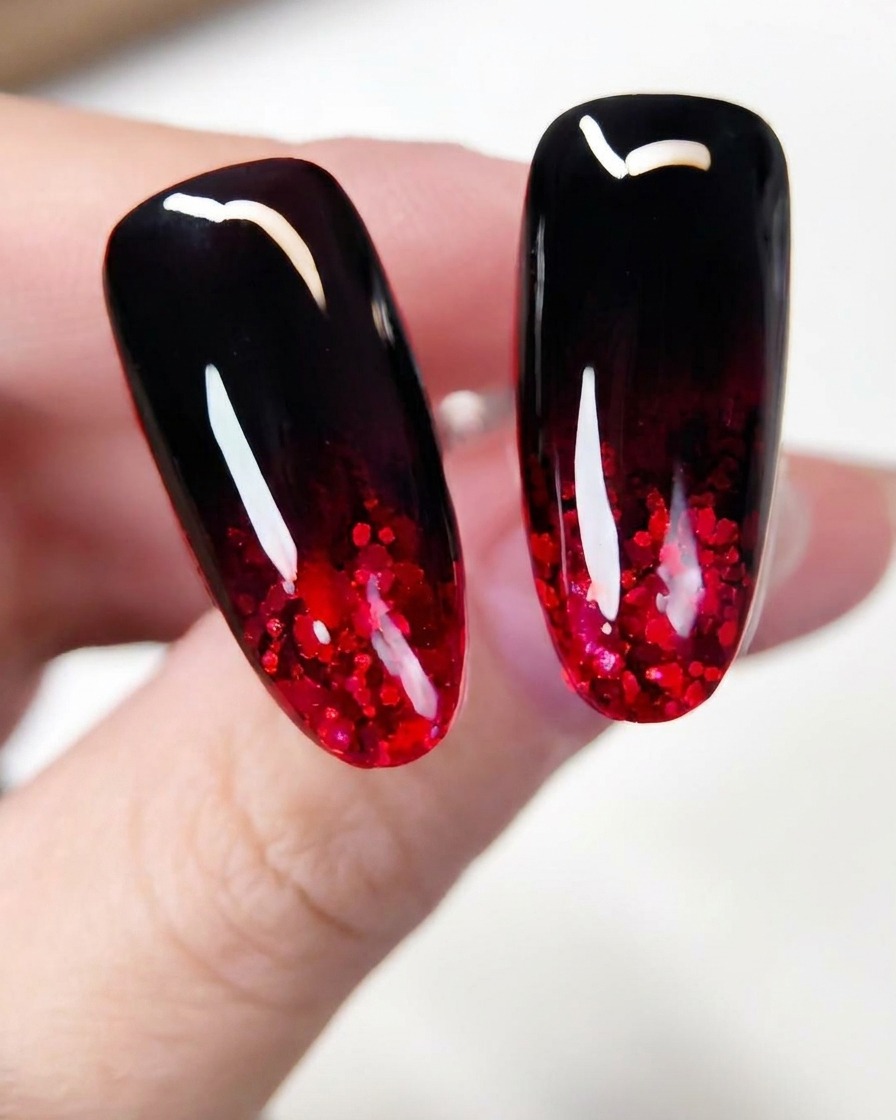
Carefully place and spread the laser glitter fragments onto the lower half of the nail tip, creating a dense concentration that fades upward.
Tip: Tap the glitter gently into place so it lies flat and does not create bumpy elevations. - 3Cure the glitter under the lamp
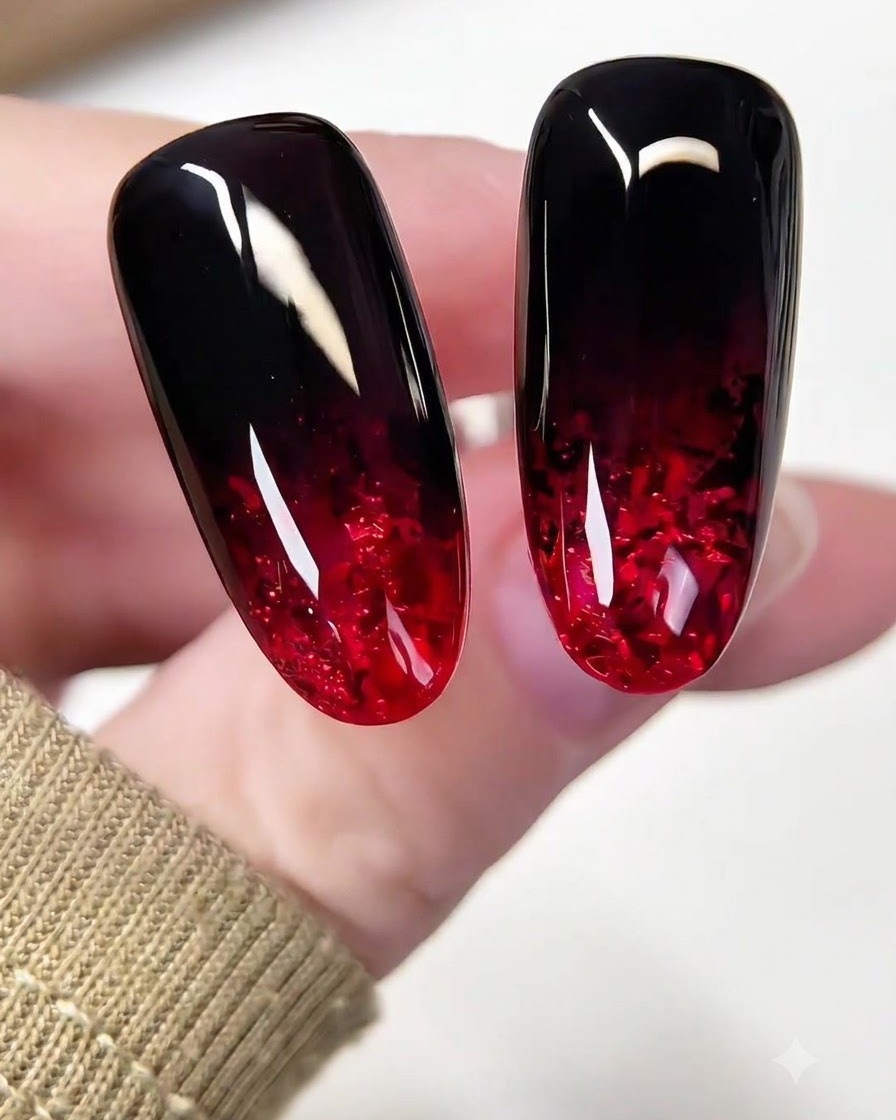
Place the nails inside the UV or LED lamp and cure for the recommended time to lock the laser glitter fragments firmly into position.
Tip: Make sure the hand is flat inside the lamp so the light evenly cures the glitter layer without shifting. - 4Apply strengthening gel
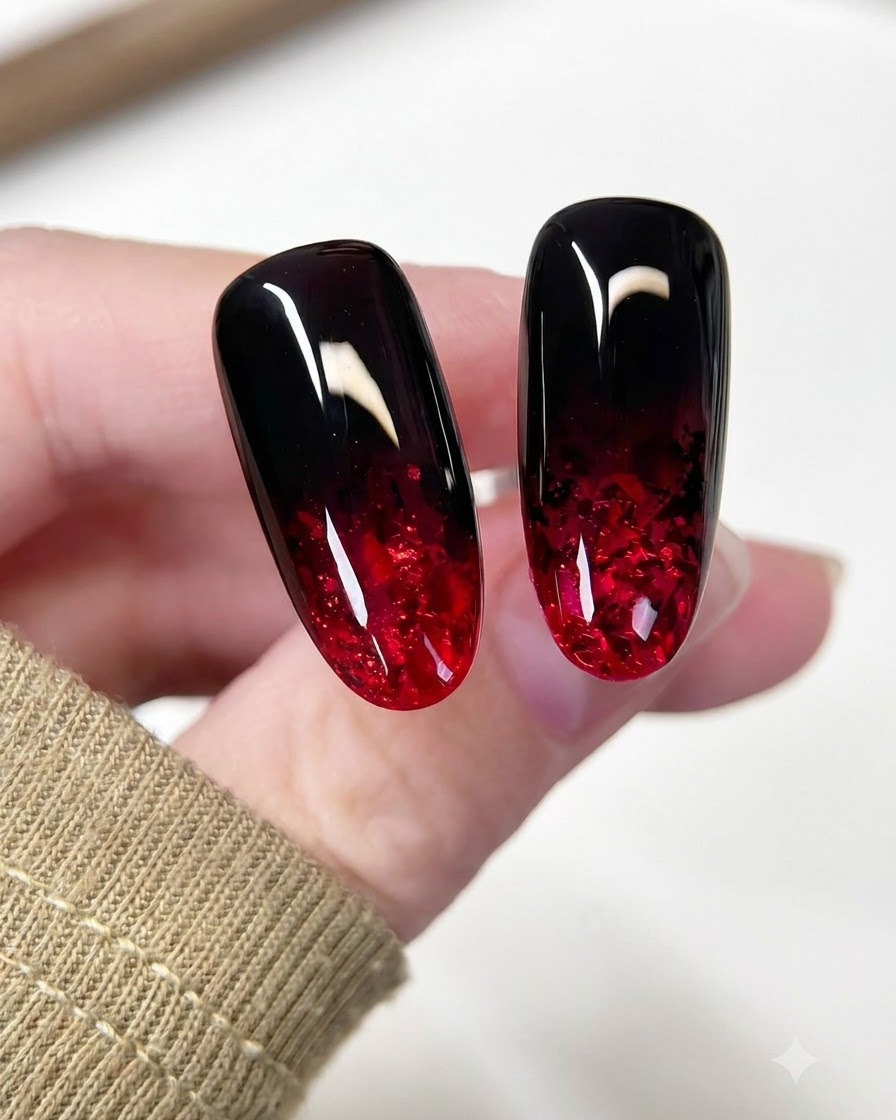
Brush a protective layer of clear strengthening gel over the embedded glitter, completely wrapping the texture to build structural volume and encapsulation.
Tip: Apply enough gel to smooth out any sharp edges from the glitter flakes before buffing. - 5Buff and polish the surface
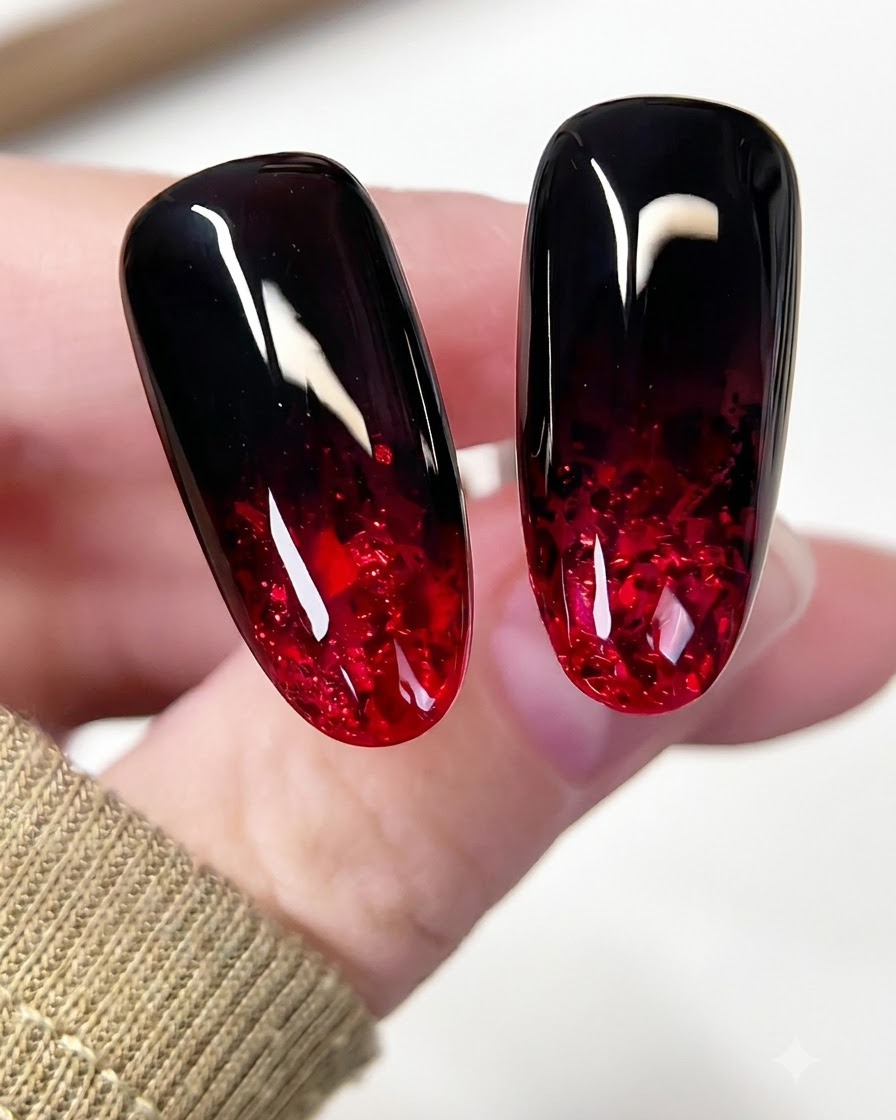
Use a buffer to gently file and polish the cured strengthening gel surface until it is completely flat, smooth, and free of bumps.
Tip: Wipe away dust particles with an alcohol wipe after buffing to ensure a clean canvas for the next color layer. - 6Apply Black Gel Gradient
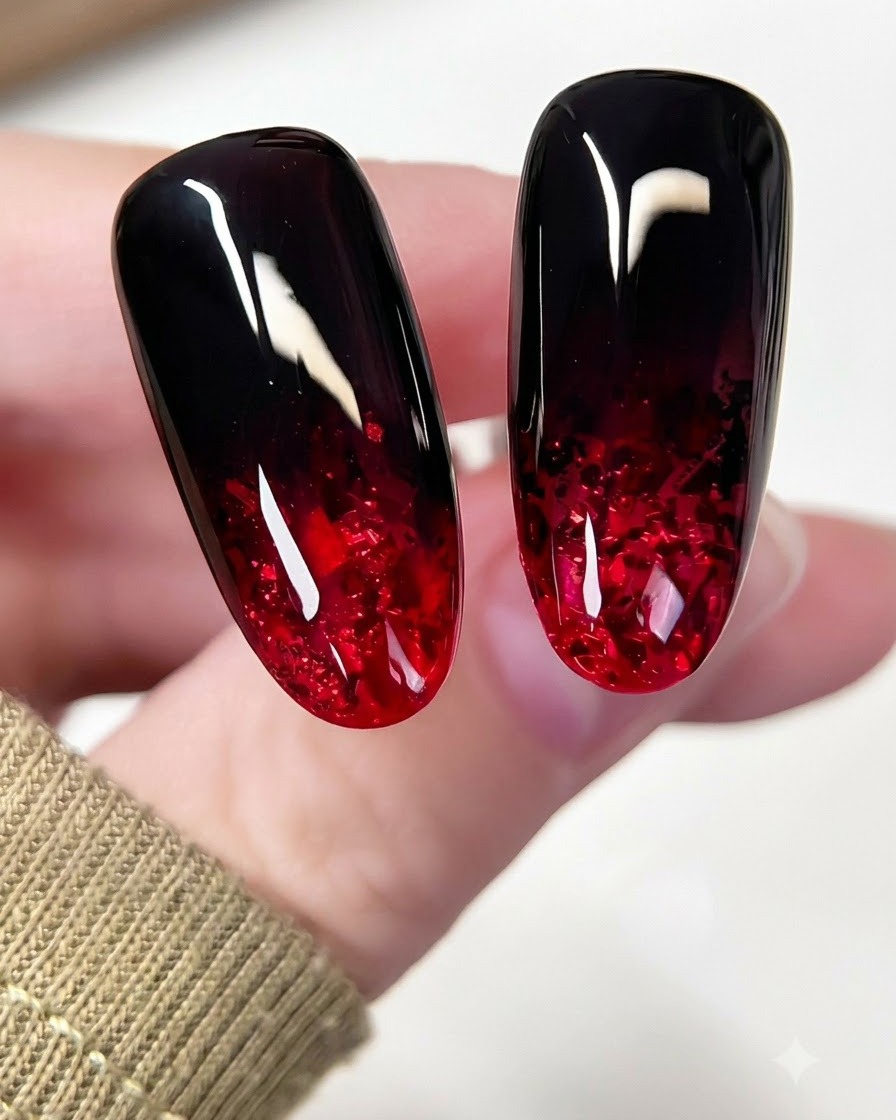
Apply black gel to the upper portion of the nail and use a gentle tapping motion to create a smooth gradient fade downward toward the red glitter area. This technique softens the transition between the dark top and the vibrant lower section. Cure under the lamp once the desired ombre effect is achieved.
Tip: Use a light tapping motion with your brush or sponge to avoid harsh lines in the gradient fade. - 7Refine Gradient with Sponge
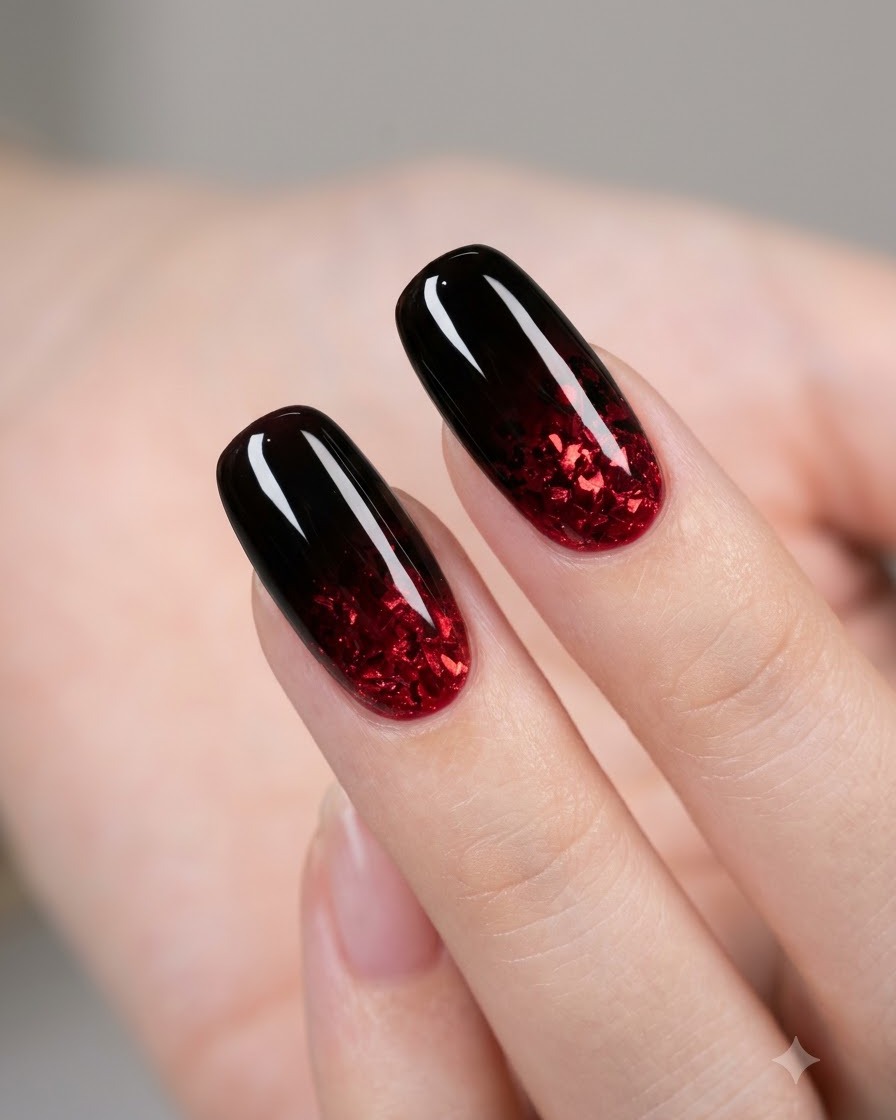
Use a specialized makeup sponge to gently dab and blend the black gel downwards, refining the gradient fade and ensuring a smooth transition into the embedded glitter. This removes any harsh brush marks and creates an airbrushed look. Cure the layer after smoothing.
Tip: Dabbing lightly prevents the sponge from absorbing too much product while creating a seamless smoke effect. - 8Apply Translucent Red Gel
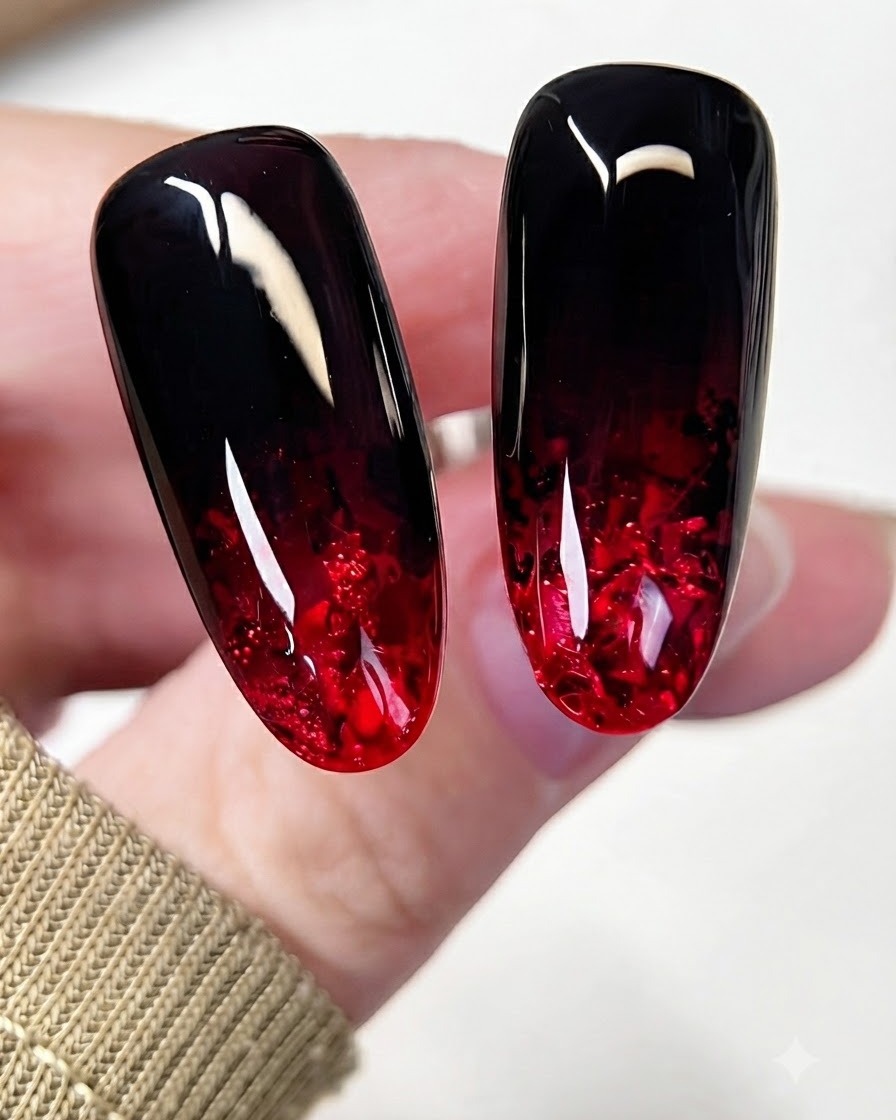
Apply a coat of translucent red gel over the bottom half of the nail, covering the glitter and blending slightly into the lower black gradient area. This infuses the nail with a deep ruby gemstone depth and rich color dimension. Ensure even coverage across the entire lower section.
Tip: A translucent or jelly red gel is essential for achieving that authentic see-through ruby crystal look. - 9Cure Red Color Layer
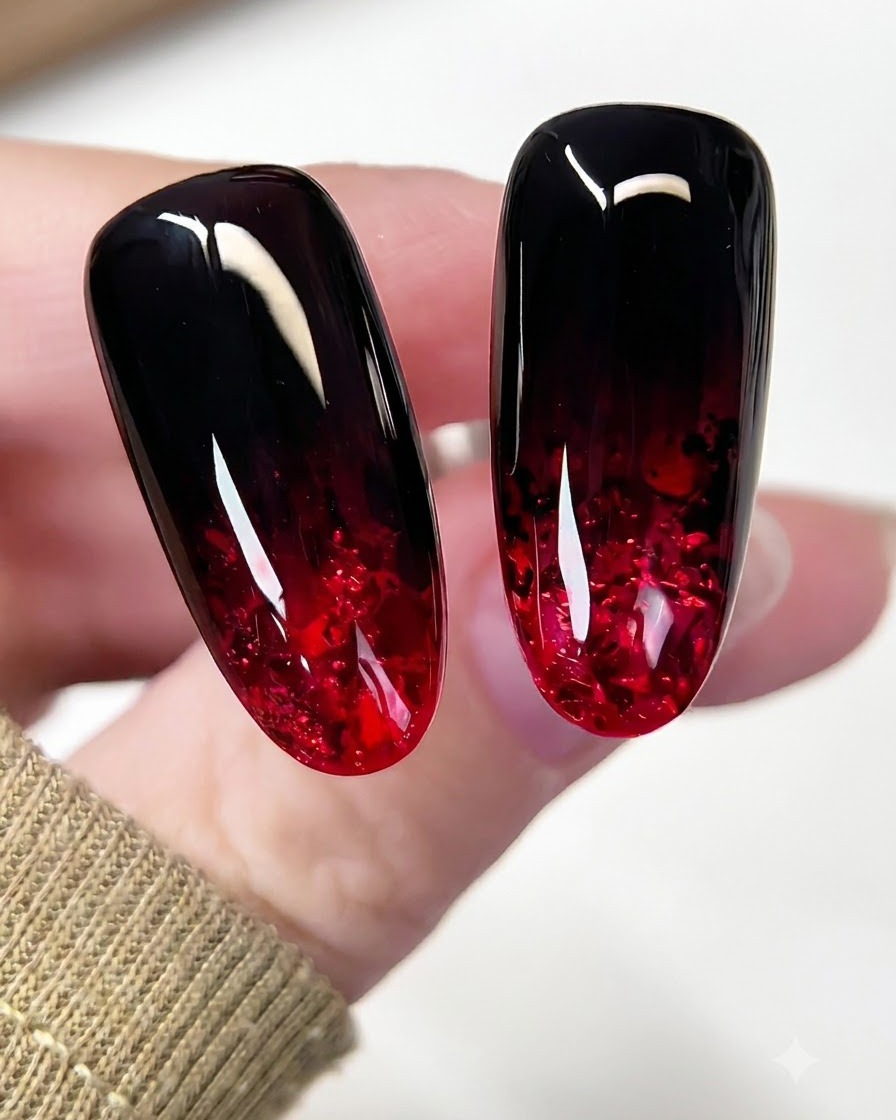
Place the nails inside the UV or LED lamp to fully cure the translucent red gel layer. Curing locks in the color saturation and sets the gel surface for the final protective coating. Follow your specific gel manufacturers recommended curing time.
Tip: Ensure your hand is placed flat inside the lamp to cure the entire nail surface evenly without shifting. - 10Apply Final Top Coat
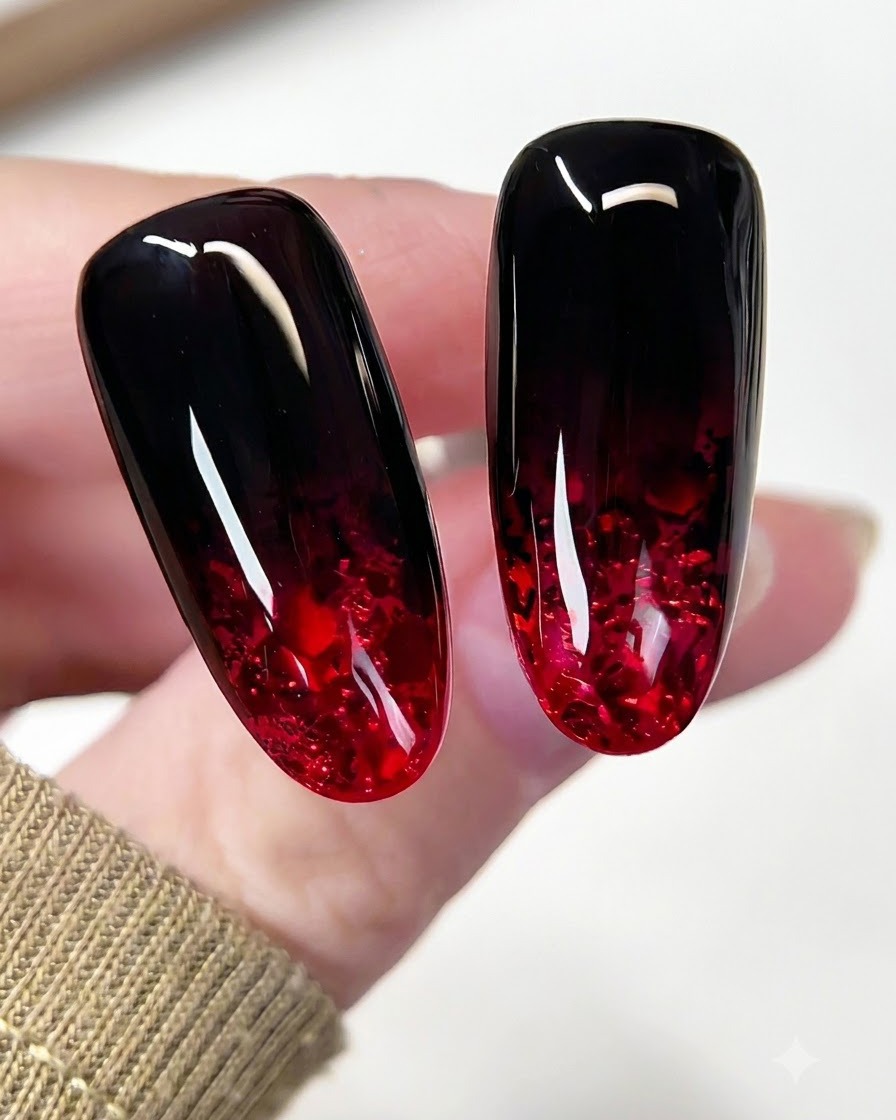
Apply a generous, even layer of high-gloss top coat over the entire nail surface, making sure to cap the free edge securely. This seals in the nail art, protects against chipping, and gives the ruby design its characteristic glass-like shine. Check for smoothness before curing.
Tip: Always cap the free edge with top coat to prevent premature chipping and lifting at the tip.