Glossy Classic Red Solid Color Gel Manicure — Step-by-Step Tutorial
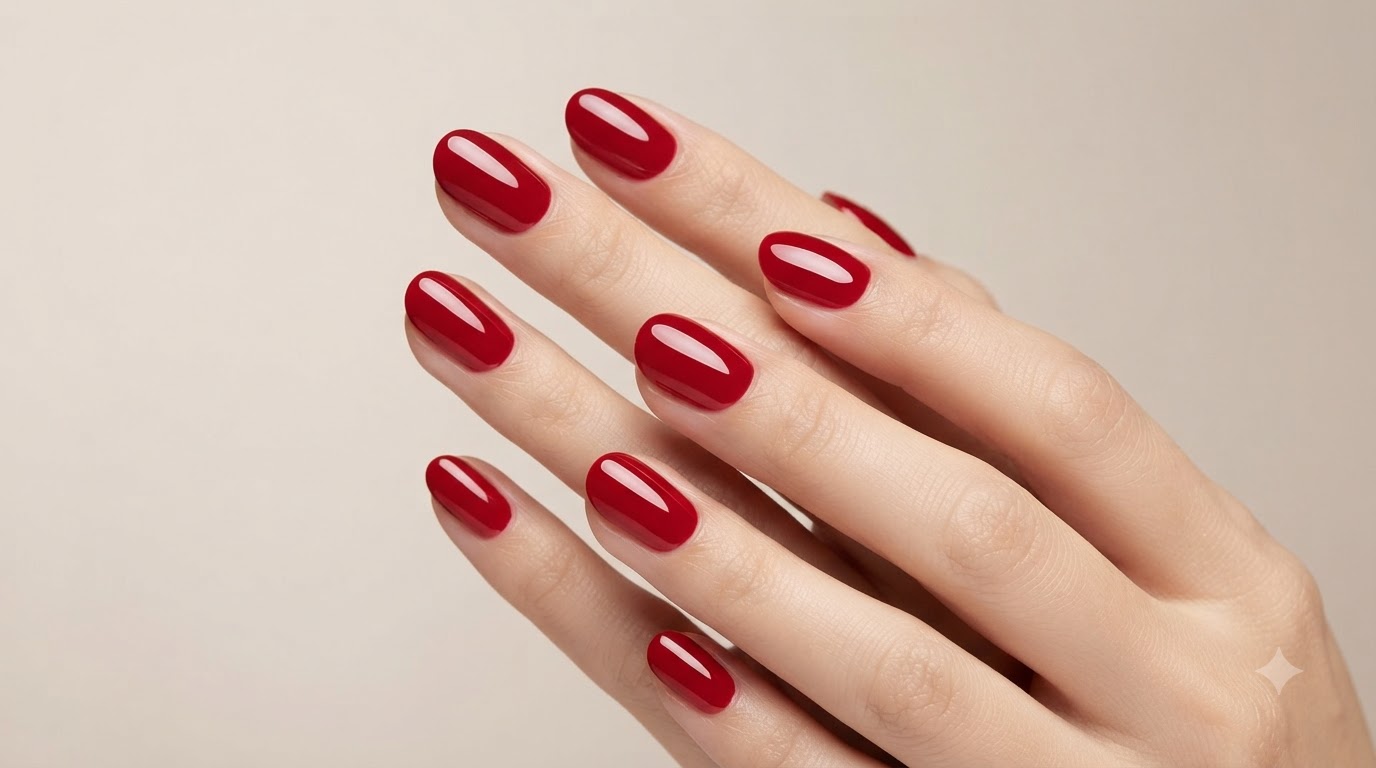
Achieve a timeless and vibrant look with this glossy classic red solid color gel manicure, featuring meticulous cuticle care and a high-shine finish.
The classic red solid color gel manicure is a timeless staple that radiates confidence and elegance. Whether worn short or medium-length, a vibrant red hue with an ultra-glossy finish never goes out of style. This comprehensive guide walks you through the professional salon steps to achieve a flawless, long-lasting red gel manicure right at home.
Steps
- 1Clean up cuticles with an electric drill
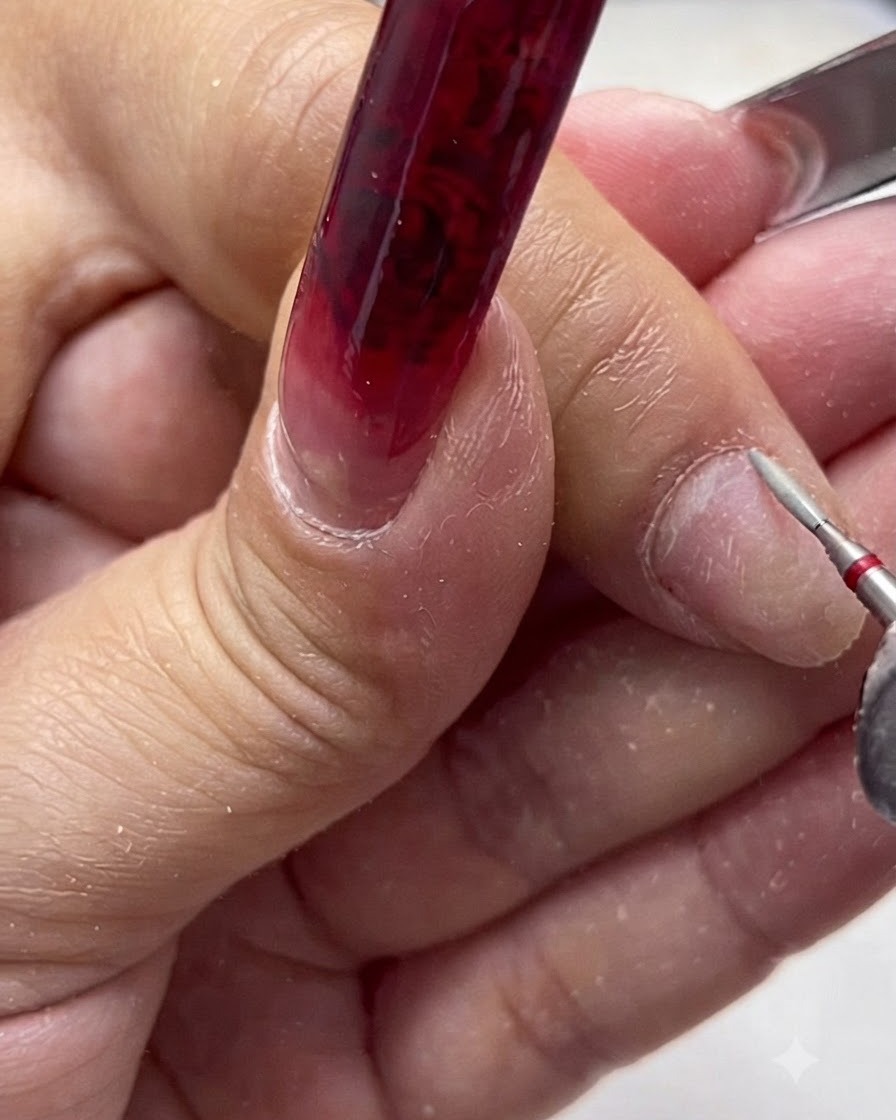
Using an electric nail drill fitted with a fine ceramic bit, gently maneuver around the nail fold and cuticle area to lift and remove dead skin cells and pterygium. Keep the drill moving steadily at a low speed to avoid friction burns or thinning the natural nail plate, creating a clean canvas for product adhesion.
Tip: Keep the drill bit angled parallel to the nail plate and use light, sweeping motions to safely exfoliate the dead skin. - 2Trim excess cuticles
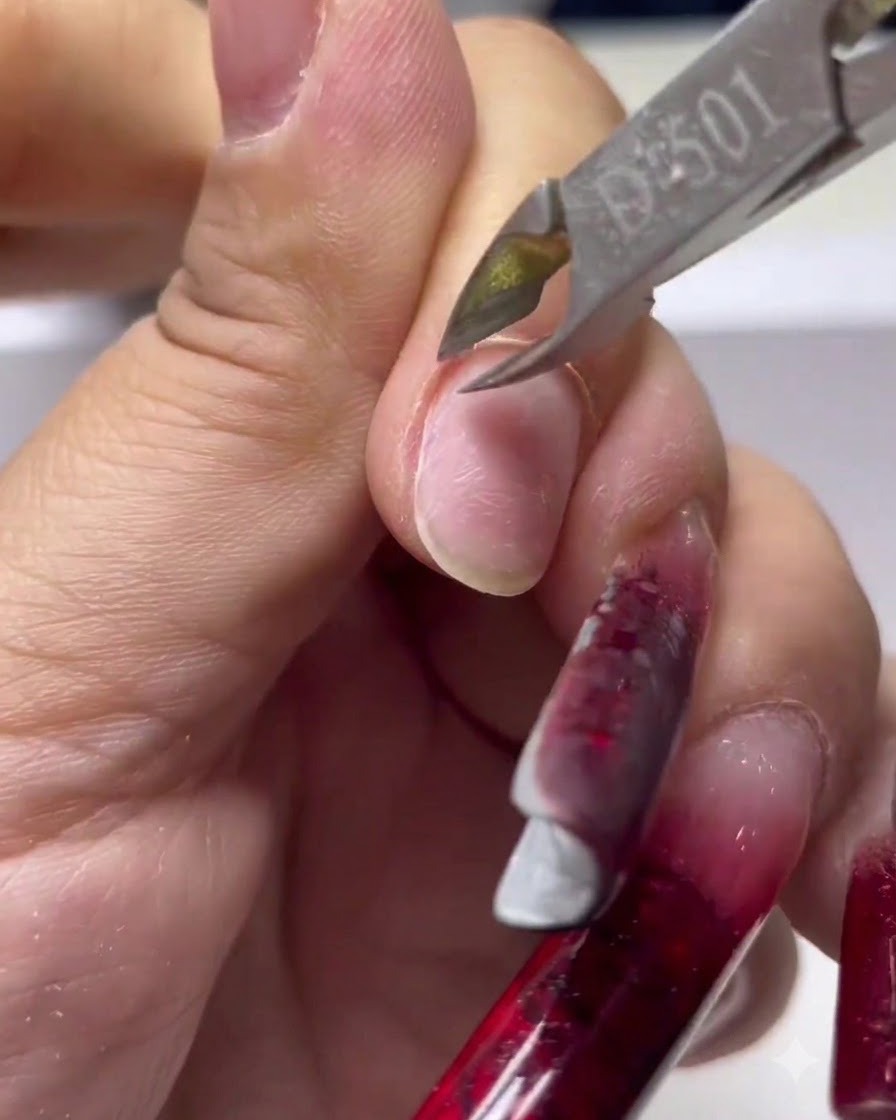
Using precision metal cuticle nippers, carefully snip away any remaining loose dead skin, lifted cuticles, and hangnails around the nail perimeter. Take care not to pull or cut living skin to prevent irritation and bleeding, ensuring a neat and polished frame for the upcoming gel application.
Tip: Sanitize your nippers before every use and make small, clean snips rather than pulling on the skin. - 3Apply clear base coat
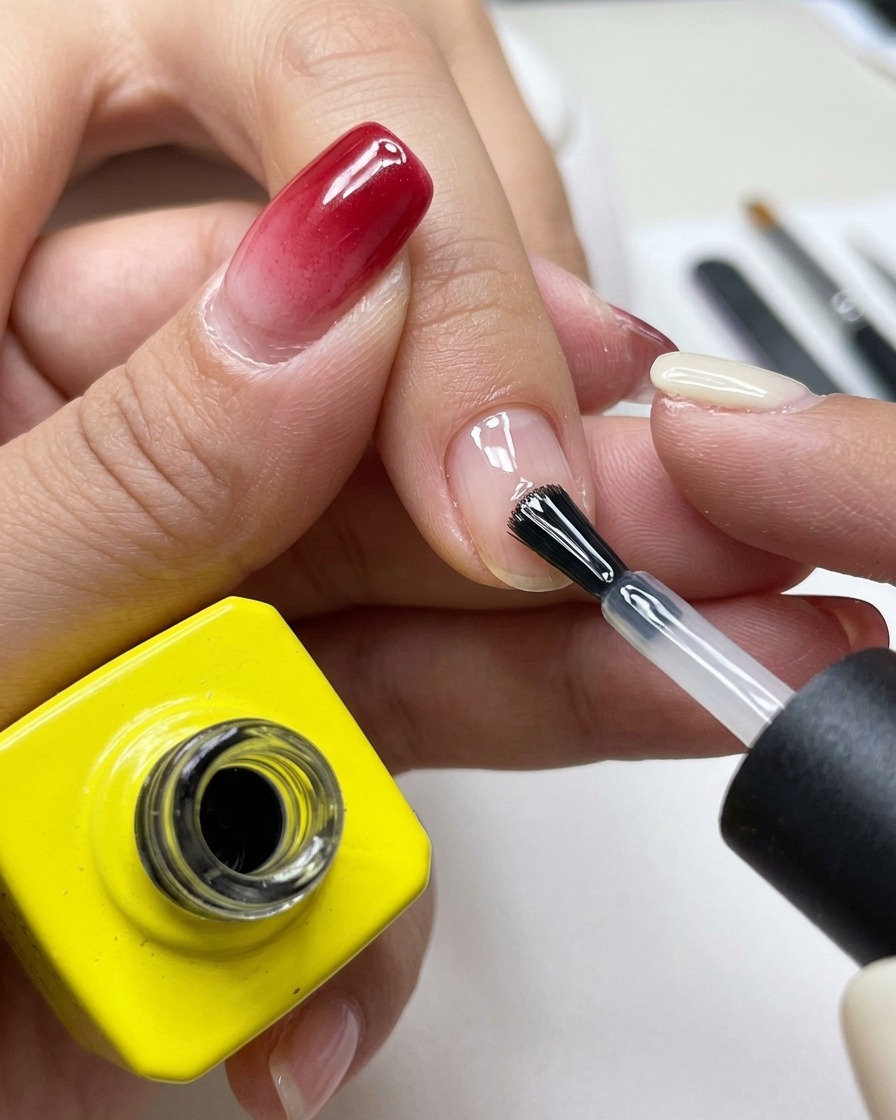
Brush a thin, even layer of clear base coat across the prepped natural nail plate, making sure to cap the free edge completely. This creates a secure bonding foundation between your natural nail and the subsequent color gel layers, preventing chipping and premature lifting.
Tip: Apply the base coat thinly to avoid pooling around the cuticles, which can cause the gel to lift later. - 4Apply first coat of red color gel
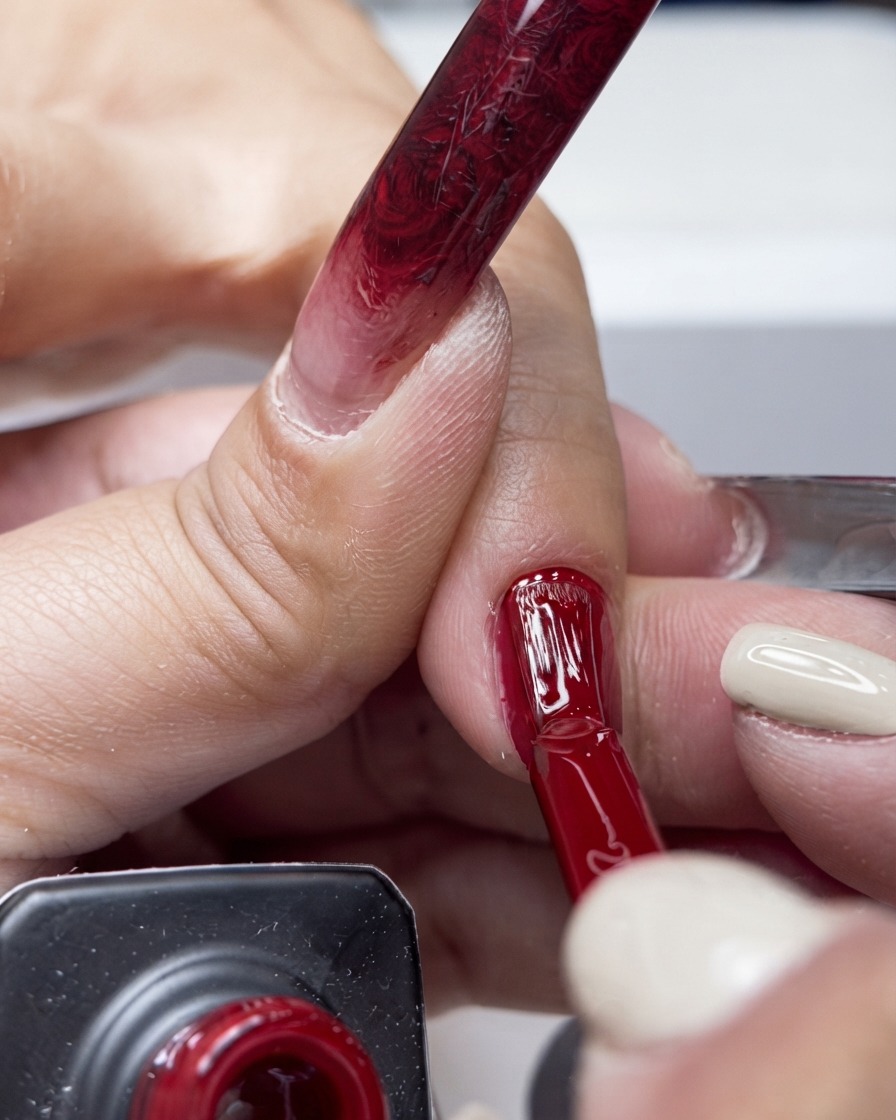
Apply the first layer of rich red color gel starting from the center of the nail plate and gently guiding it toward the cuticles and side walls. Keep the application smooth and thin to ensure even coverage without bulk, then cure under a UV or LED lamp.
Tip: Wipe excess gel off one side of the brush to control the amount of product and prevent flooding the cuticles. - 5Apply second coat of red color gel
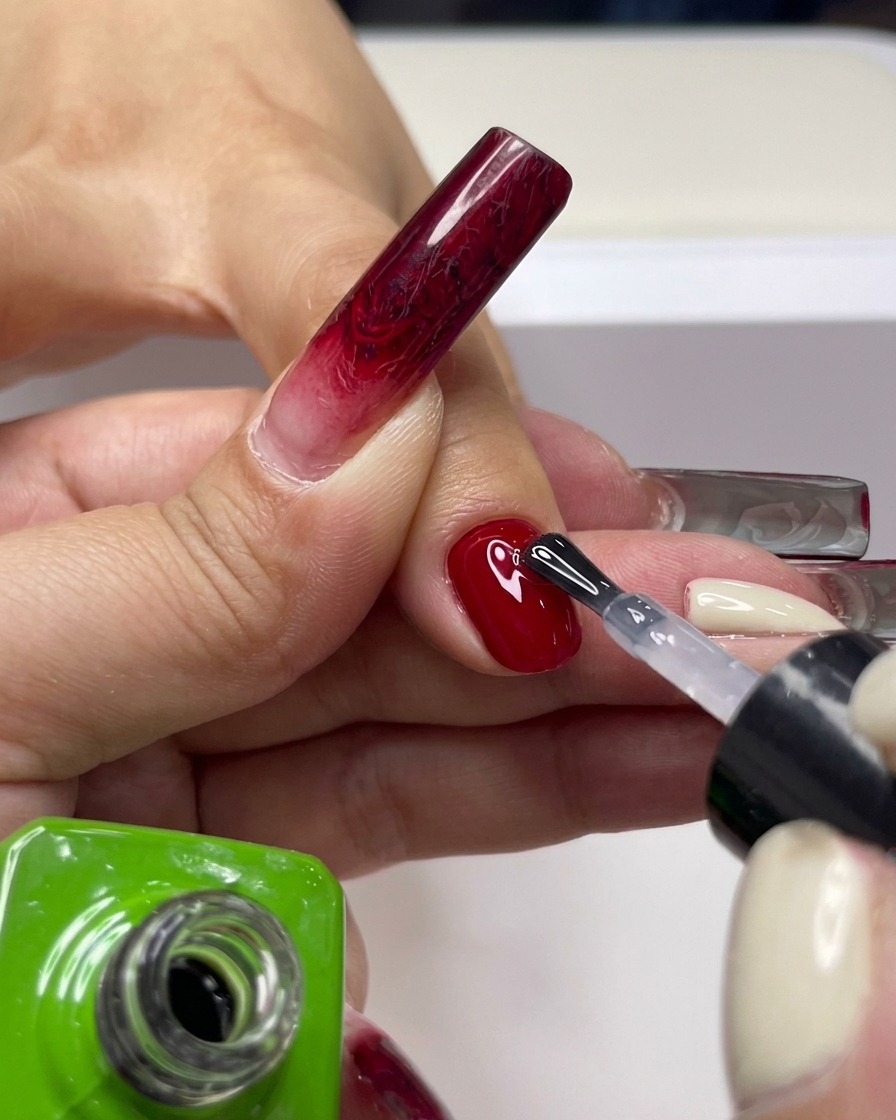
Apply a second layer of rich red color gel to build full opacity, depth, and a vibrant finish. Ensure the color is distributed evenly across the entire nail surface and cap the free edge again before placing it under the UV or LED lamp for complete curing.
Tip: A second thin coat provides better durability and richer color payoff than one thick layer. - 6Apply clear top coat
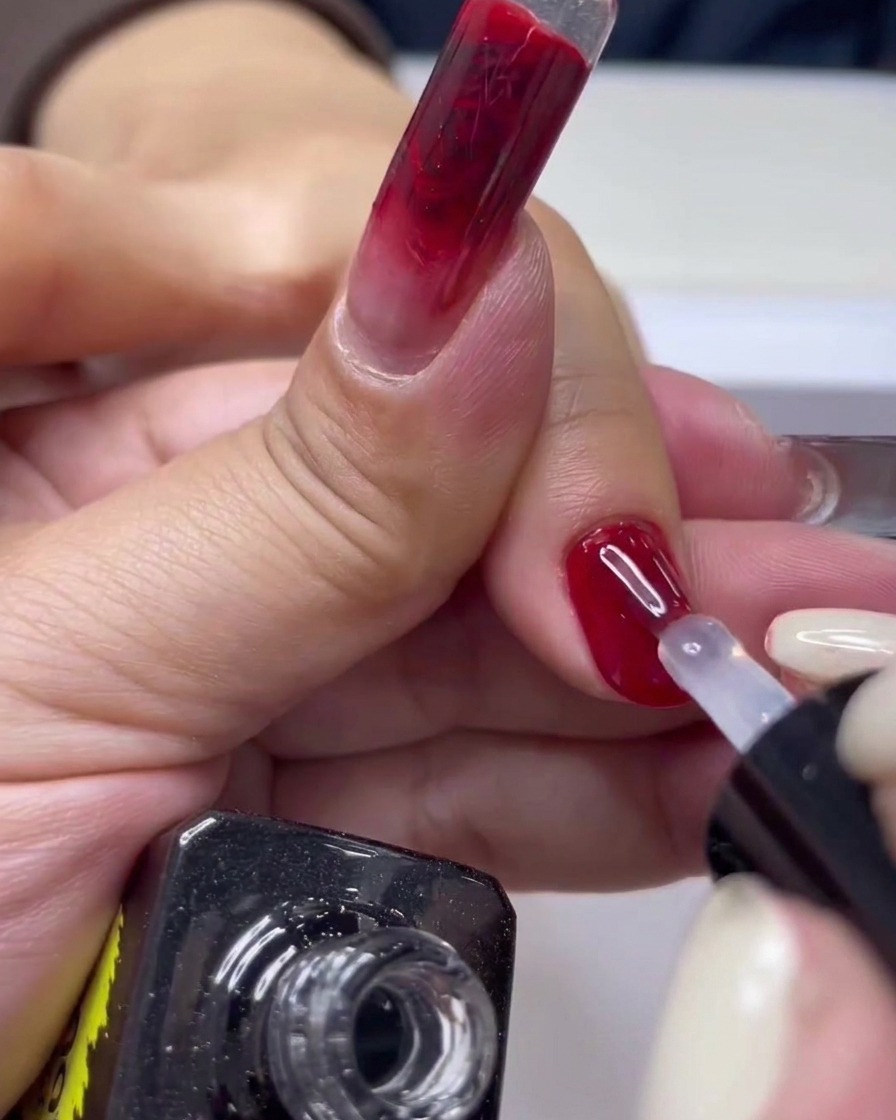
Apply an even layer of clear top coat over the cured red color gel to lock in the color and provide a high-gloss, protective finish. Make sure to cap the free edge of the nail completely to prevent chipping or premature lifting over time.
Tip: Cap the free edge carefully with top coat to seal the layers and extend the longevity of your manicure. - 7Cure under UV/LED lamp
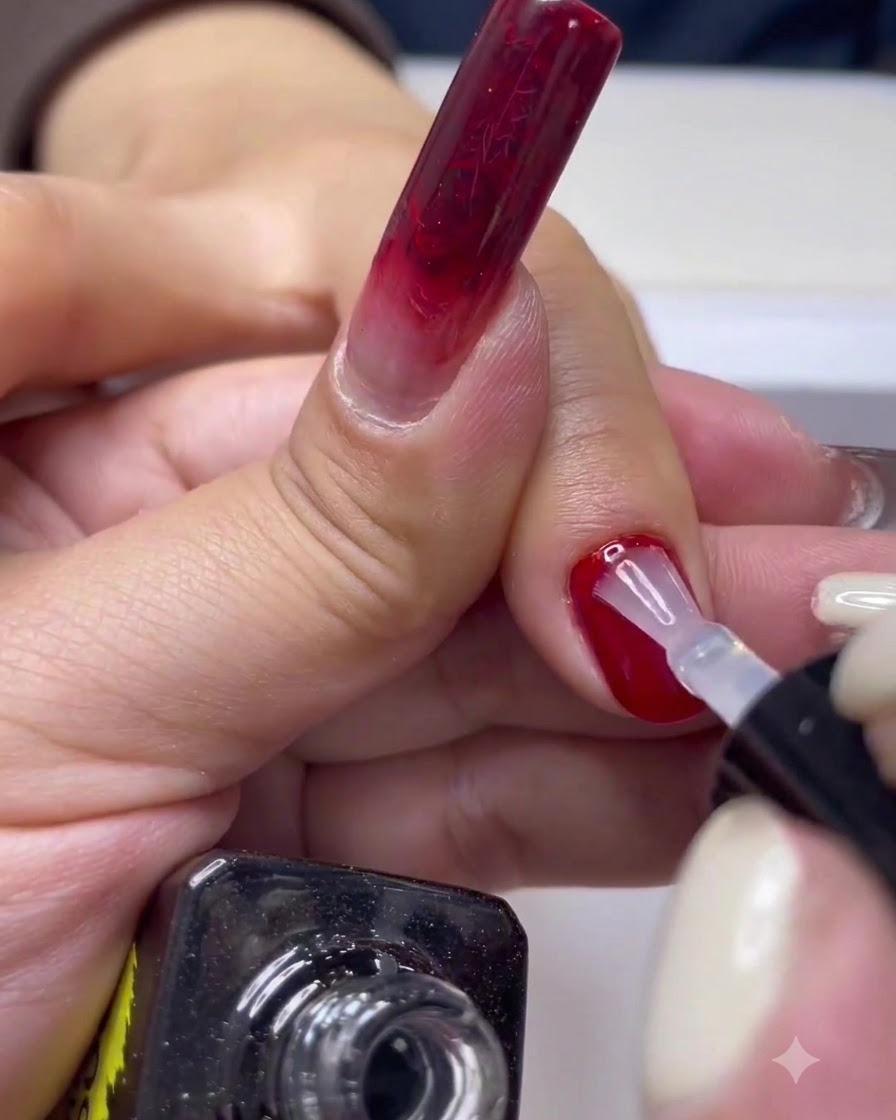
Place your hand inside the UV or LED lamp to cure the freshly applied top coat layer. Follow the specific curing time recommended by your gel polish manufacturer to ensure the product hardens fully and maintains its high-gloss shine.
Tip: Do not remove your hand early from the lamp, as under-cured top coat can become dull, sticky, or prone to rapid peeling. - 8Refine and smooth nail edges
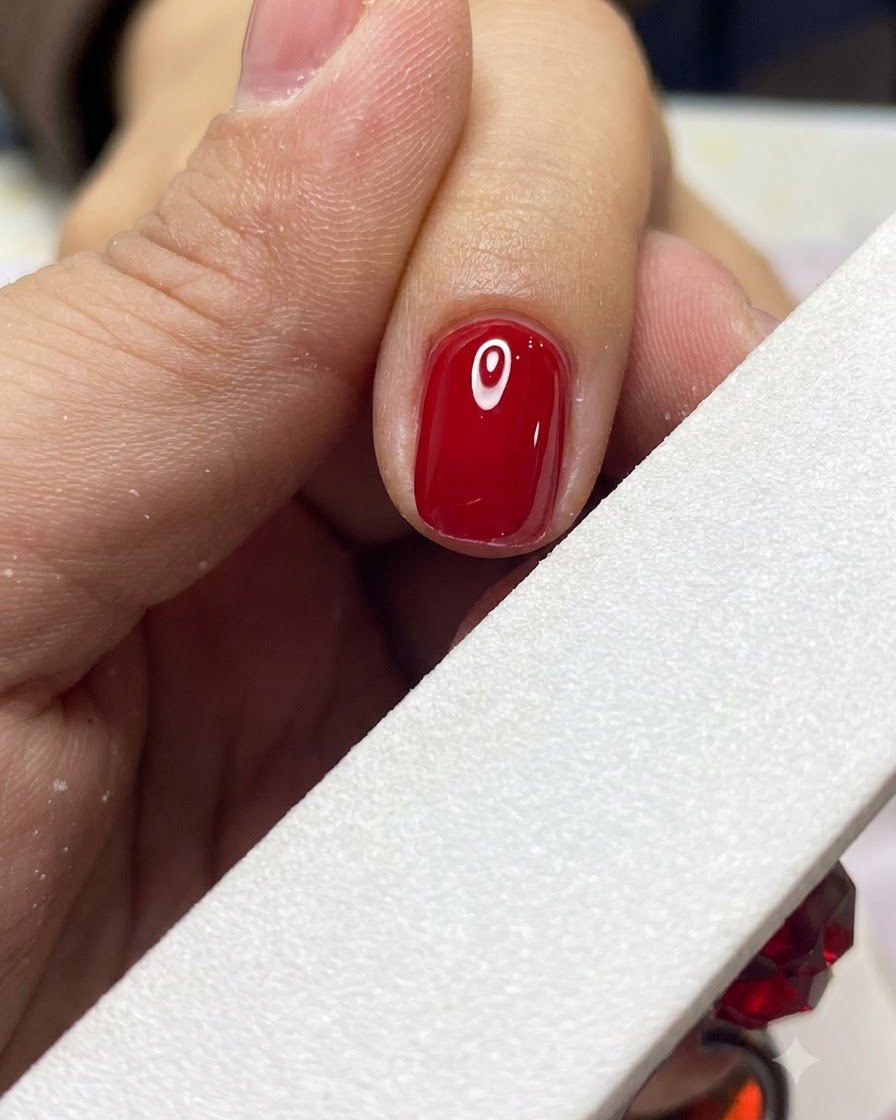
Use a fine-grit nail file to gently refine and smooth the edges of the nail after the final curing process. This cleans up any minor product runoff around the sides and creates a polished, professional silhouette for the completed red manicure.
Tip: Use light, gentle strokes when filing over cured top coat to avoid scratching the high-gloss surface finish.