Hand-Painted Watercolor Rose Bouquet Nails — Step-by-Step Tutorial
Create delicate hand-painted watercolor rose bouquet nail art with wrapping paper and ribbon details, perfect for elegant floral manicures.
Floral nail art is timeless, but adding a hand-painted watercolor rose bouquet wrapped in delicate paper takes freehand design to a whole new level of elegance. This style captures the charm of a miniature bouquet right on your fingertips, combining soft pink floral clusters with fine-lined botanical details and a sweet greeting card accent. Whether you are building your freehand painting skills or looking for a stunning romantic nail look, this step-by-step tutorial breaks down the process into easy, manageable stages.
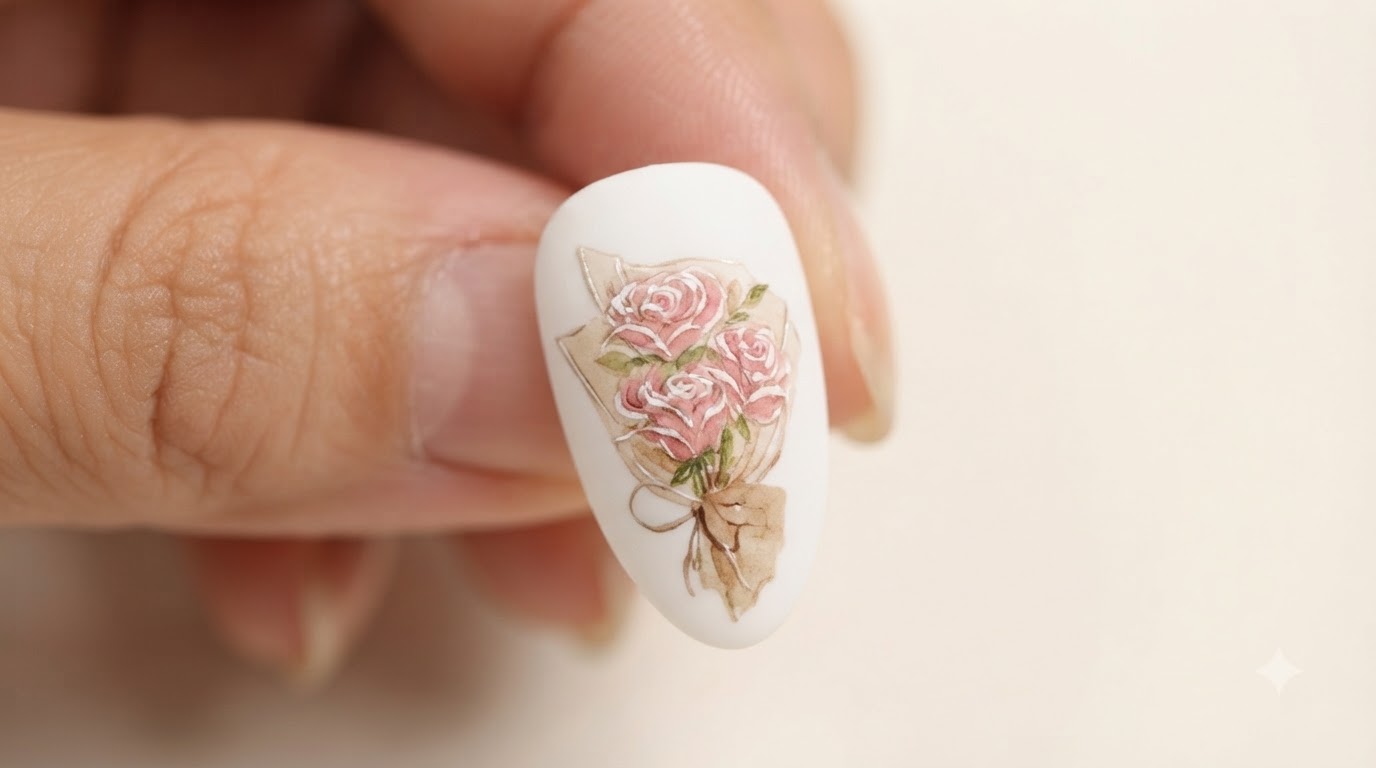
Steps
- 1Paint the lower wrapping paper section
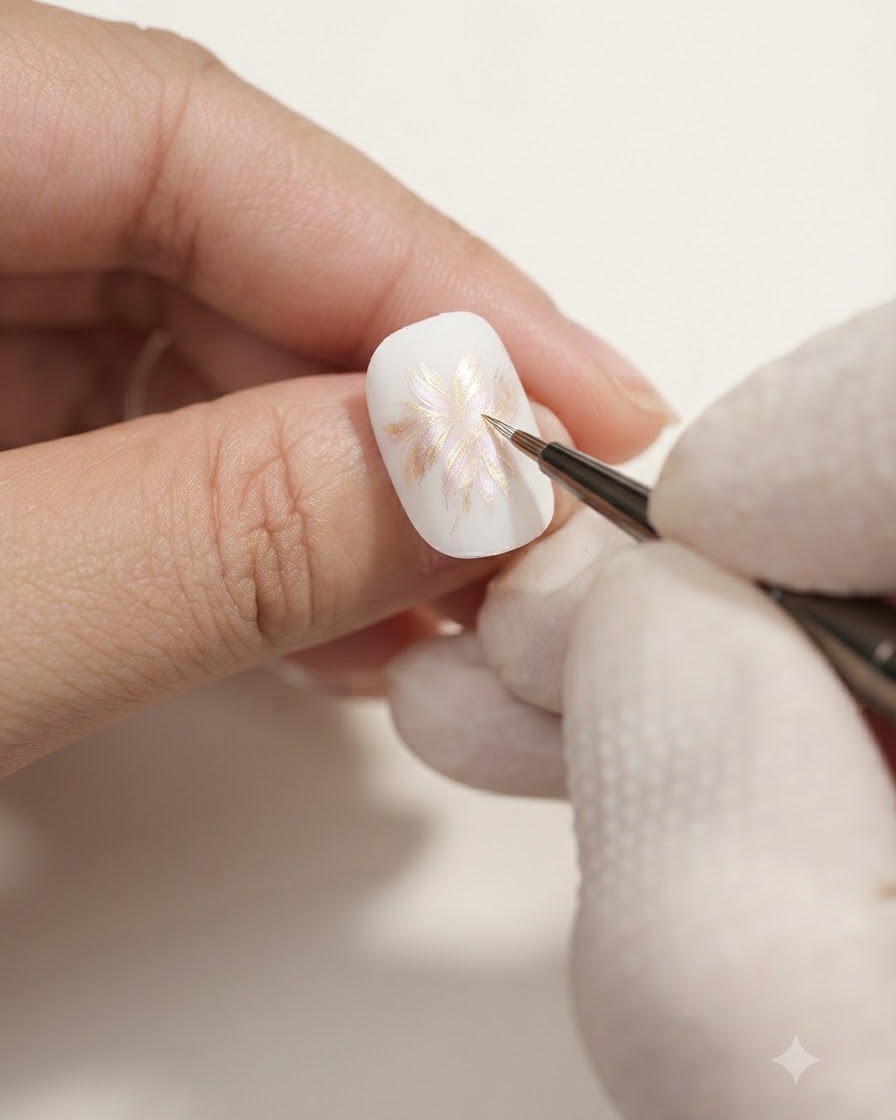
Using a fine liner brush, extend the wrapping paper design by painting the lower triangle section beneath the upper part. This completes the foundational cone shape of the bouquet wrapping on the white nail base, providing a solid structure for the floral arrangement.
Tip: Keep your strokes light and controlled to maintain the delicate watercolor effect of the wrapping paper. - 2Shade the wrapping paper shadows
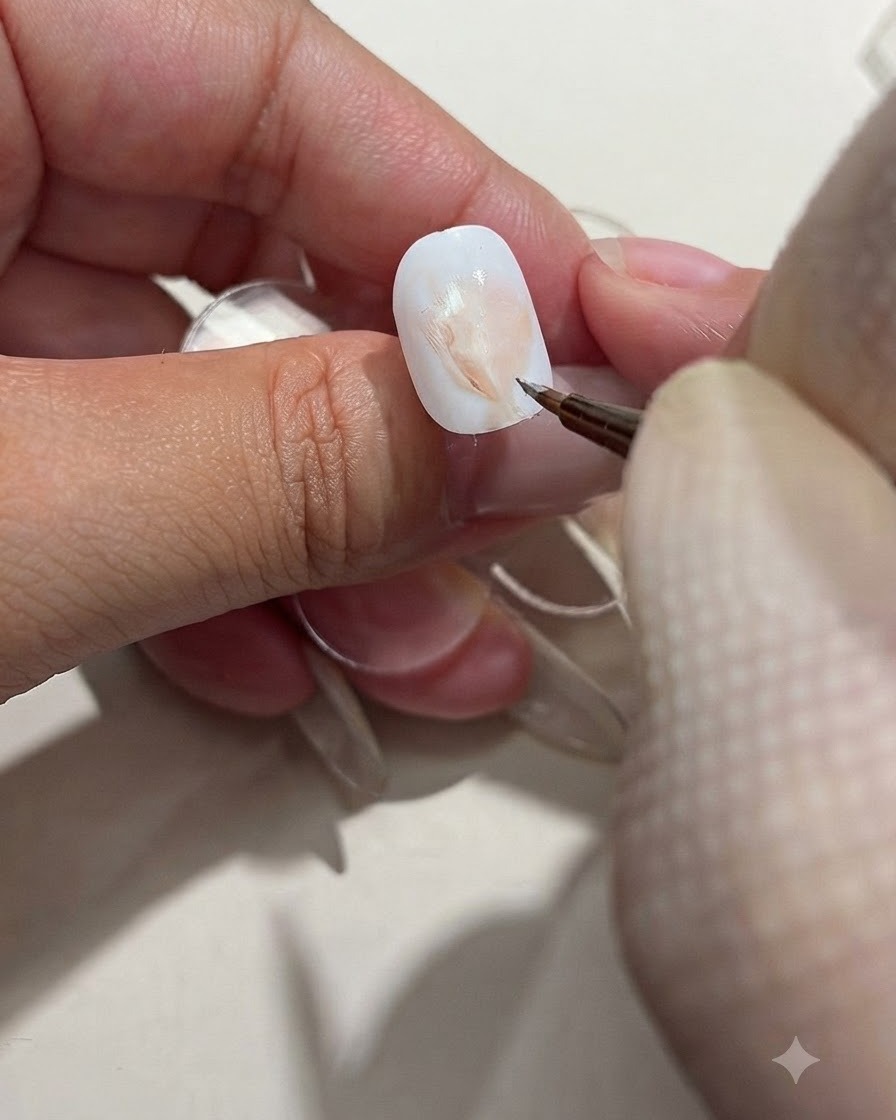
Pick up a small amount of brown gel color on your fine brush and gently dab it into the creases and folds of the wrapping paper. This adds depth and dimension, making the paper look layered and realistic.
Tip: Use a minimal amount of product and build up the shadow gradually to avoid harsh, unnatural lines. - 3Sketch the watercolor roses
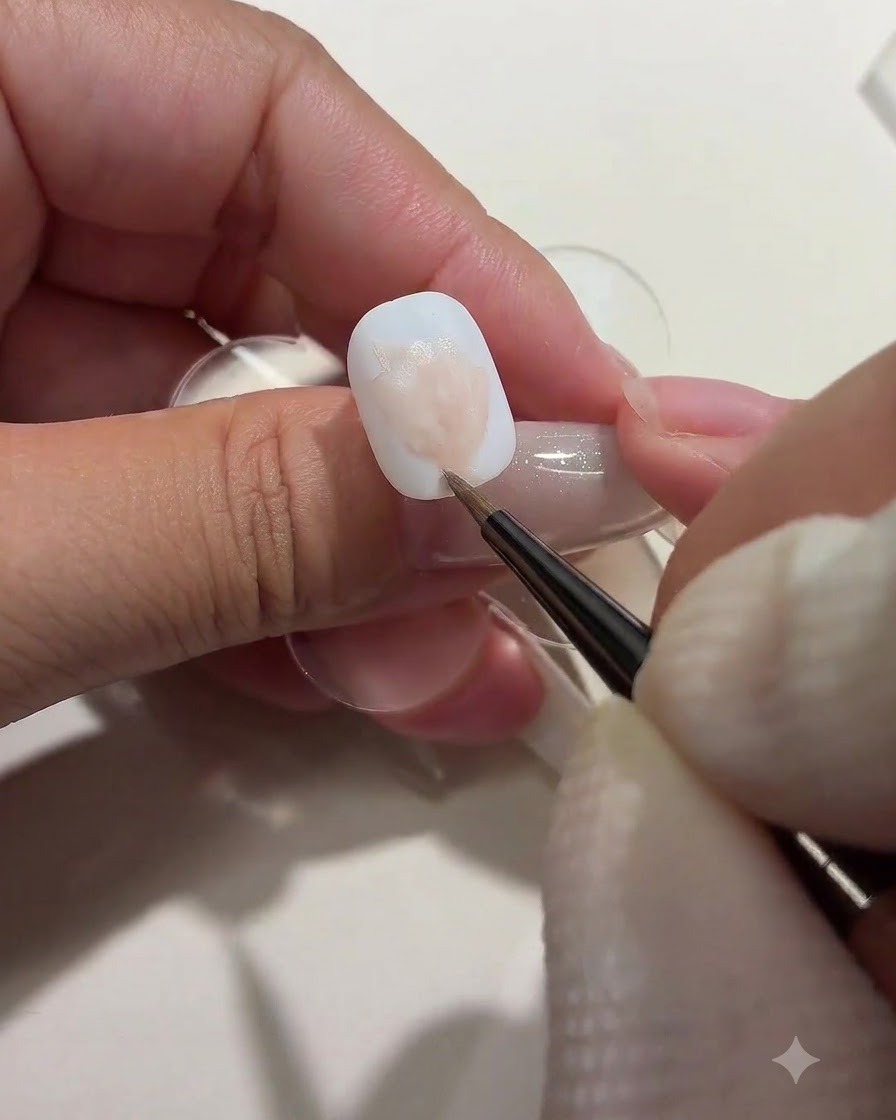
Apply loose blocks of pinkish color just above the wrapping paper to map out the approximate shapes of the watercolor roses. Detailed precision is not necessary at this stage; focus on capturing the soft floral clusters.
Tip: Remember that roses dont need extreme detail here; loose blocking creates a more natural watercolor look. - 4Add stems, leaves, and floral card
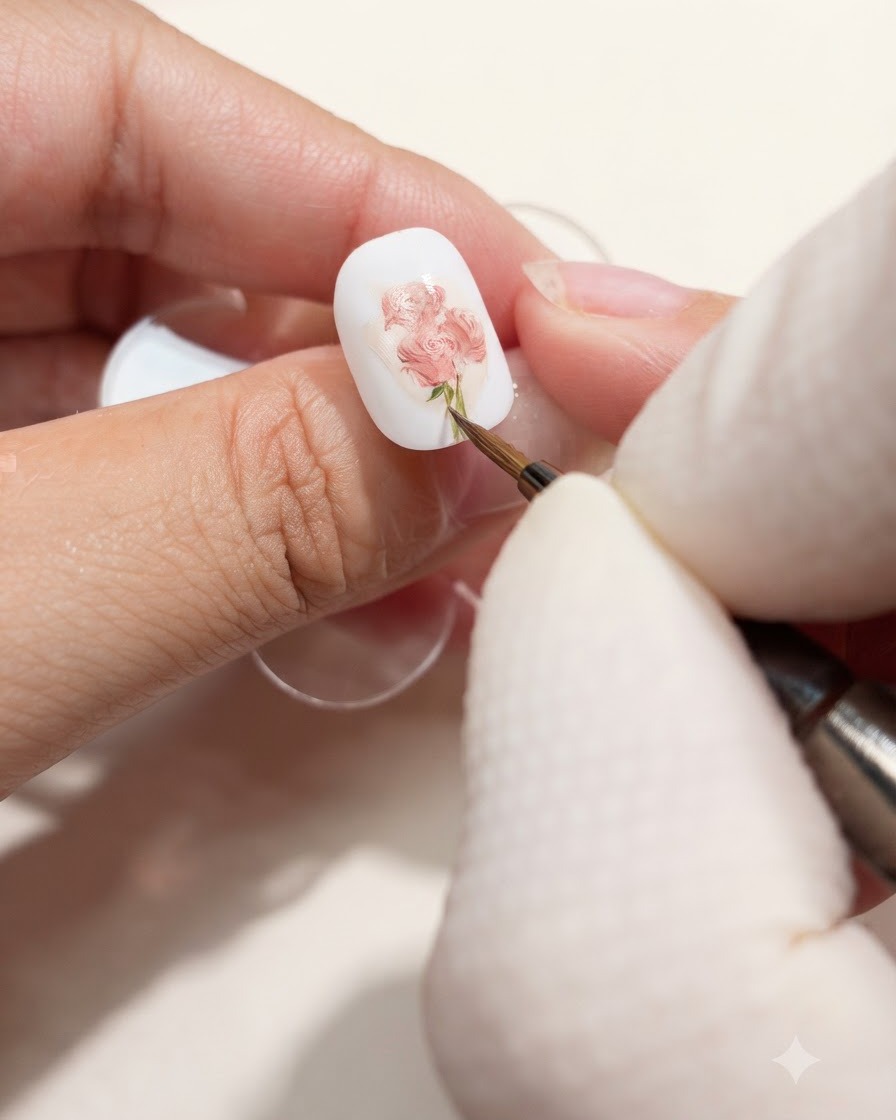
Using fine lines, carefully draw the delicate flower stems, green leaves, and a small floral greeting card extending out from the bouquet structure. These elements tie the composition together and enhance the realistic presentation.
Tip: Keep your hand steady and use the tip of the liner brush to ensure the lines remain thin and crisp. - 5Outline the wrapping paper contour
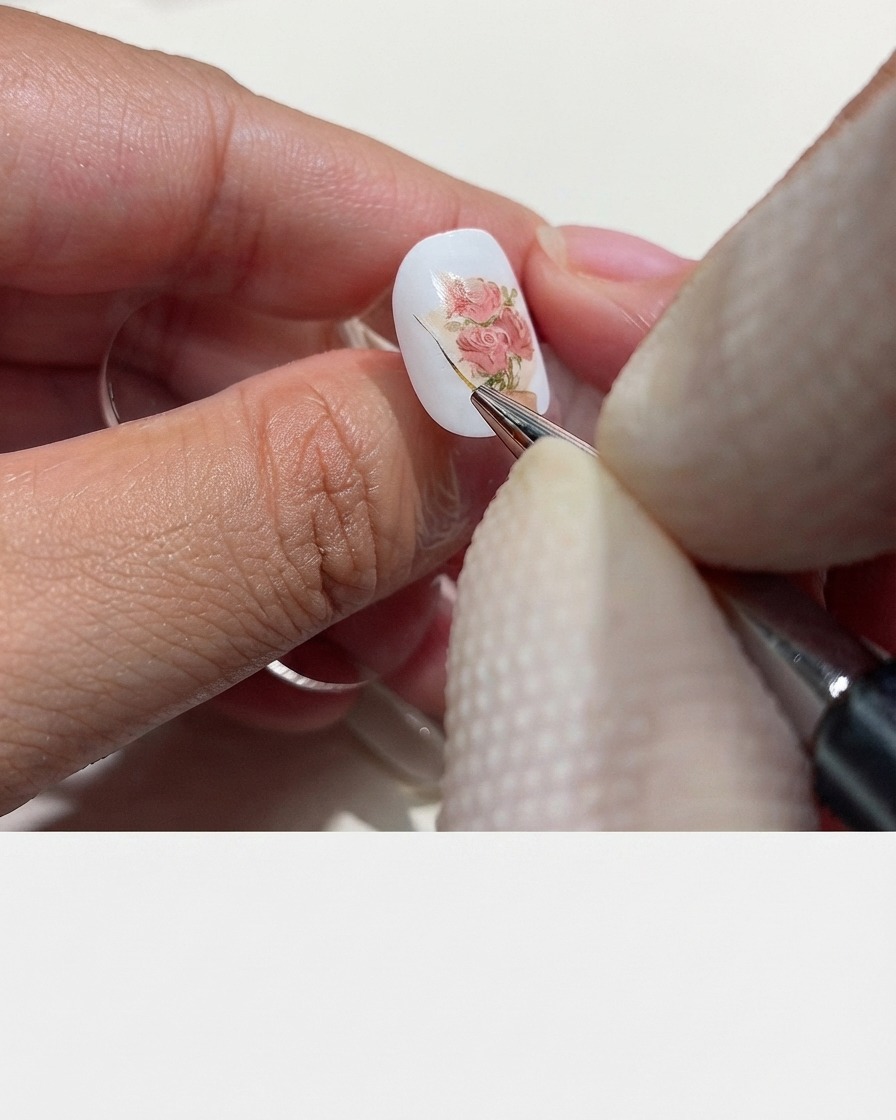
Dip your fine brush into brown color and lightly dab along the outer edges of the wrapping paper. This cleans up the silhouette, giving the entire bouquet a neat and defined boundary.
Tip: A clean outline immediately enhances the overall neatness of freehand nail art designs. - 6Paint the bouquet ribbon
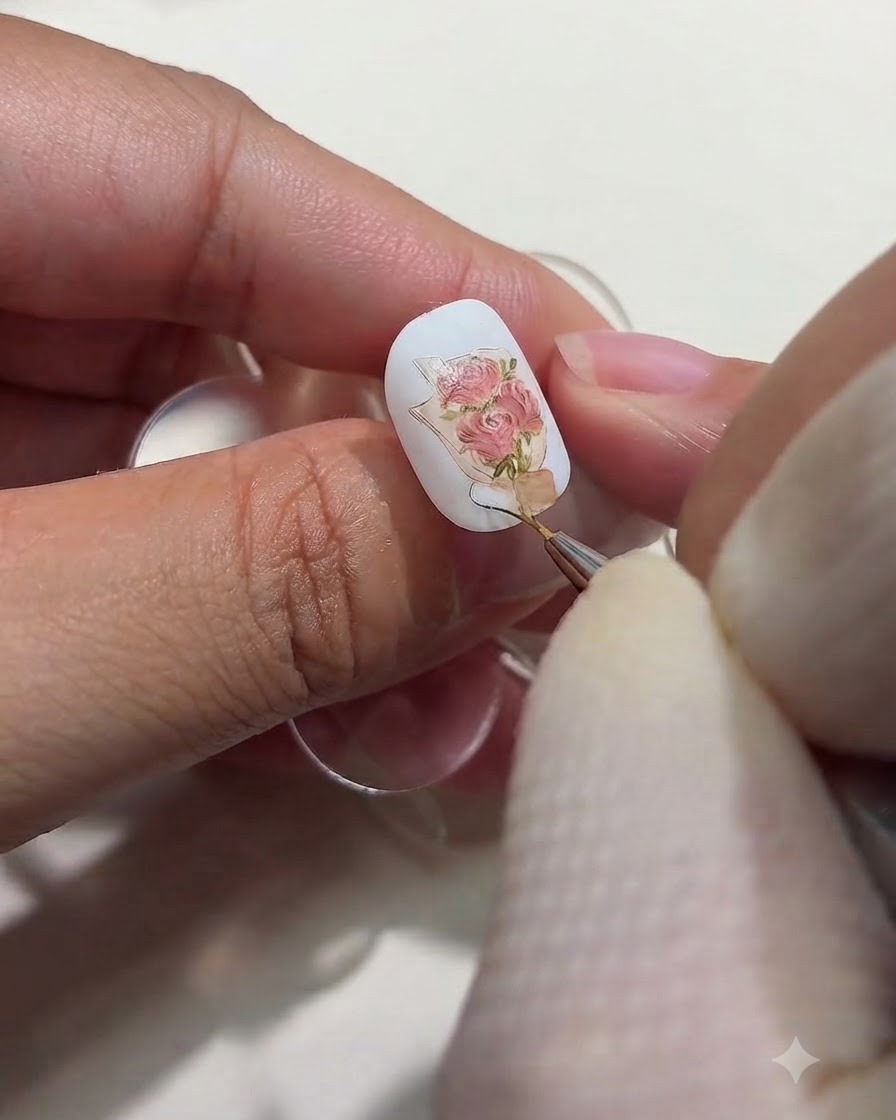
Take a fine detailing brush and carefully paint the ribbon tied around the base of the flower bouquet using smooth, precise strokes. This adds a refined, finished look to the wrapping paper presentation.
Tip: Keep your hand steady by resting your pinky finger against your other hand for better control when painting thin ribbon lines. - 7Add white petal highlights
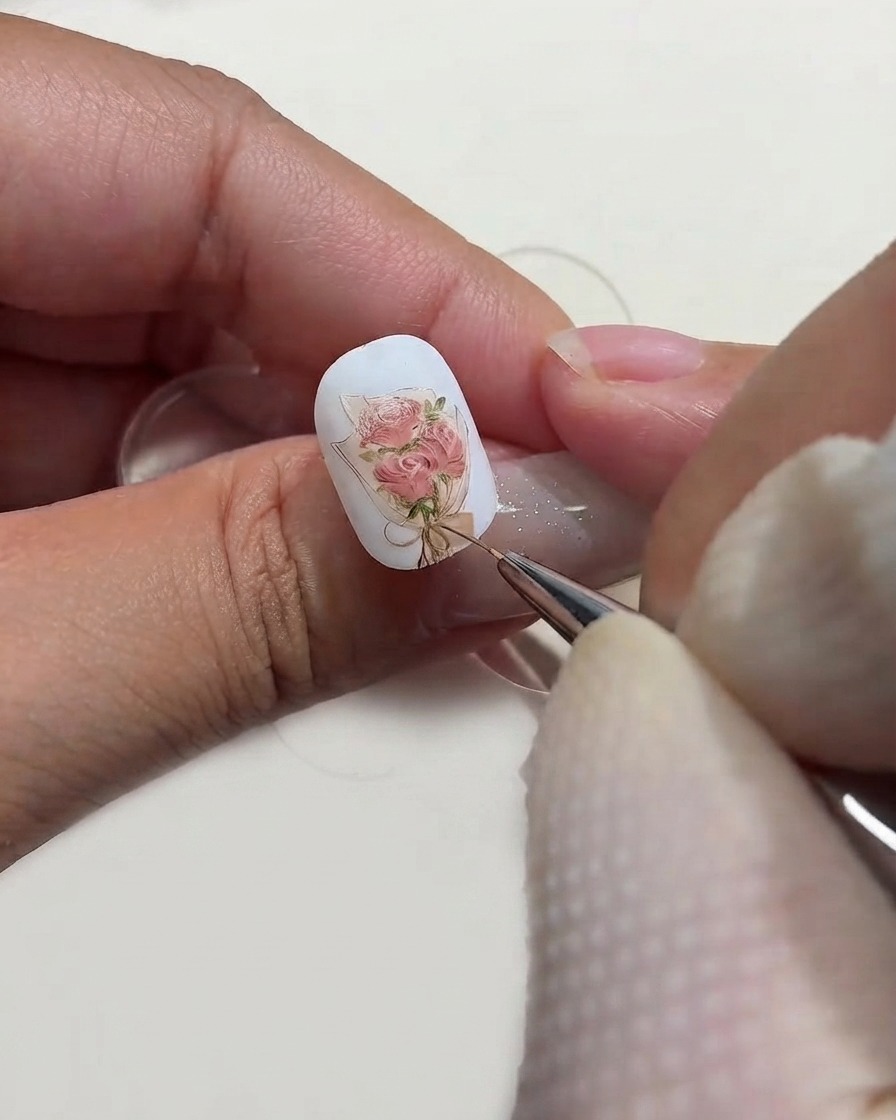
Apply tiny white dots using a fine brush to create highlights on the petals. This simple touch instantly enhances the depth, layering, and overall realism of the watercolor rose bouquet.
Tip: Use a very light touch with minimal paint on the tip of your brush to keep the highlights delicate and sharp.