Morning Dew Rose Cat Eye Nails — Step-by-Step Tutorial
Create an enchanting morning dew rose look using Chantilly Rose cat eye gel, hand-painted floral details, and realistic 3D water droplets.
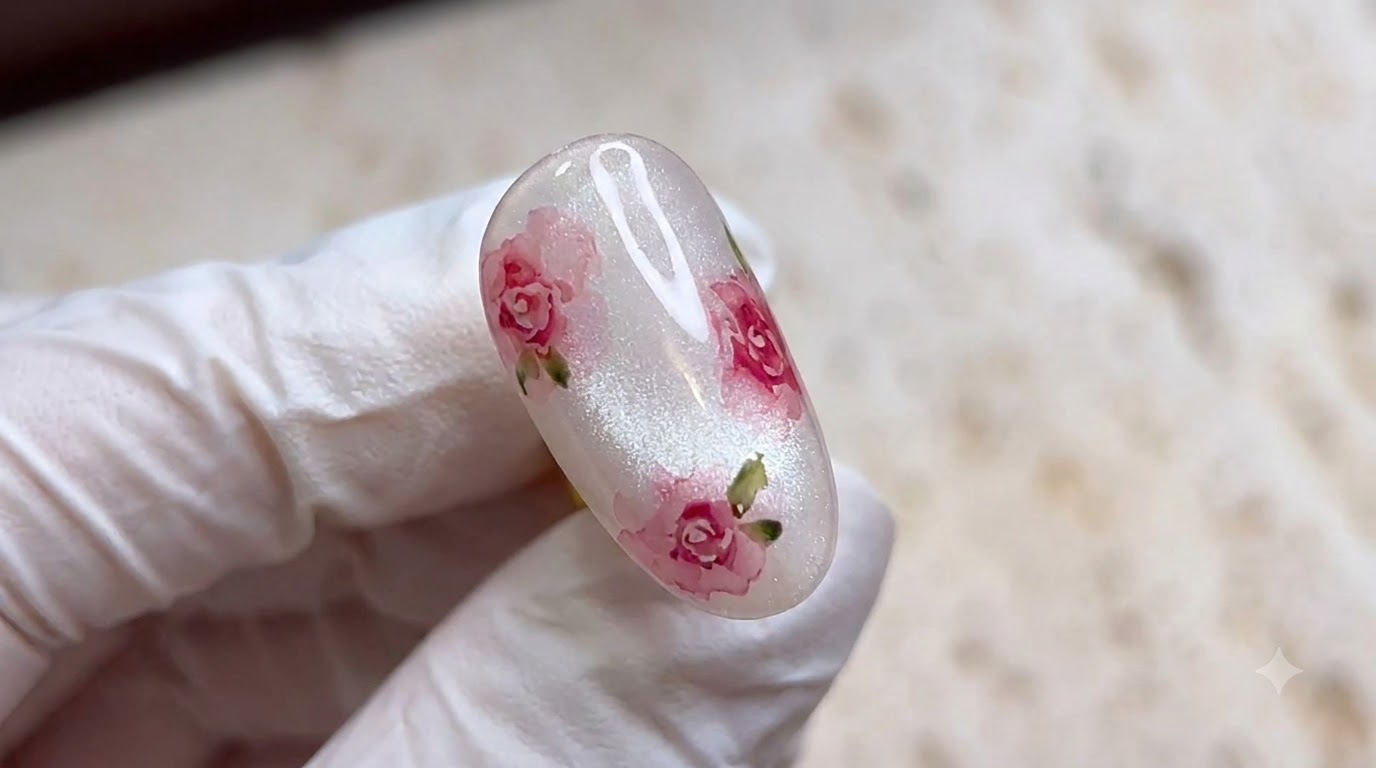
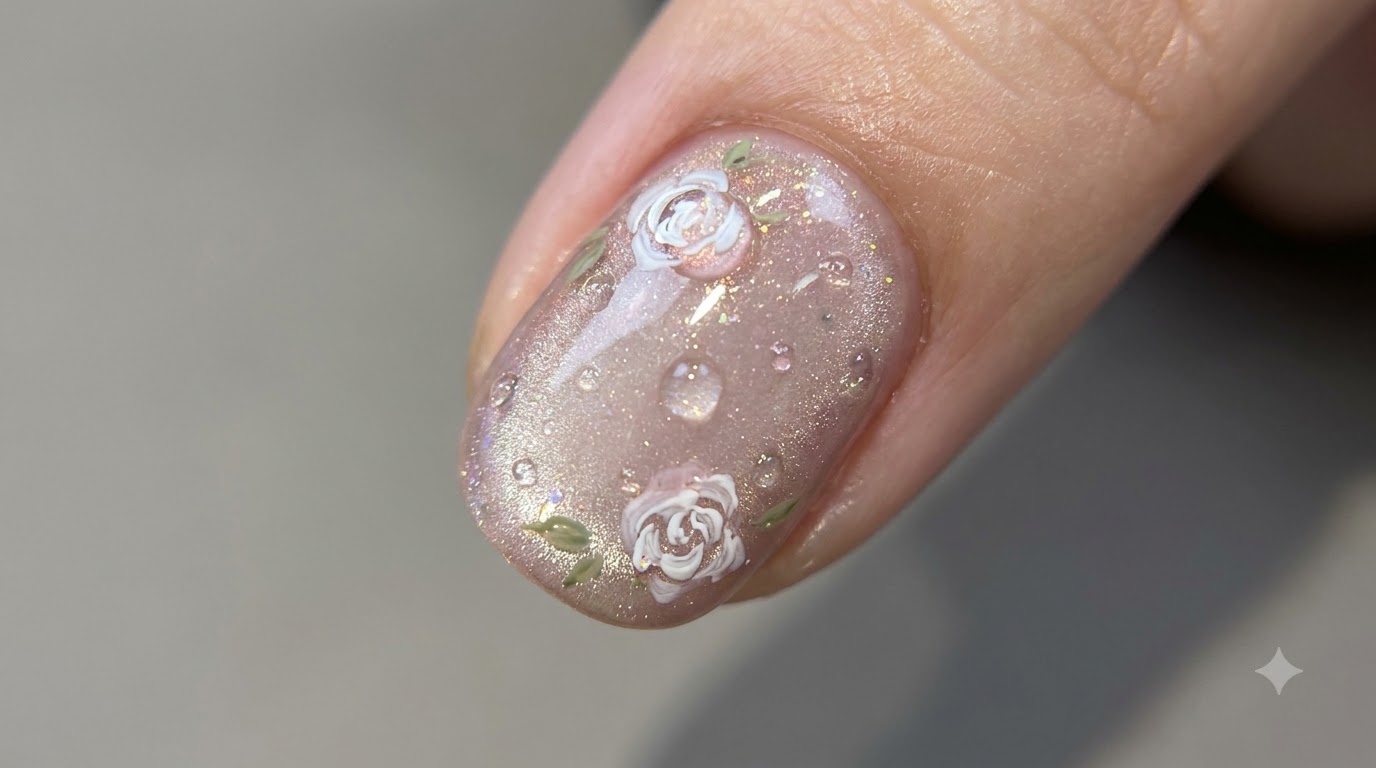
Embrace a gentle and romantic aesthetic with this morning dew rose nail tutorial. Combining a shimmering cat eye gel base with delicate hand-painted white roses and glossy 3D water droplets, this design brings a fresh floral garden right to your fingertips.
Steps
- 1Apply Chantilly Rose base shade
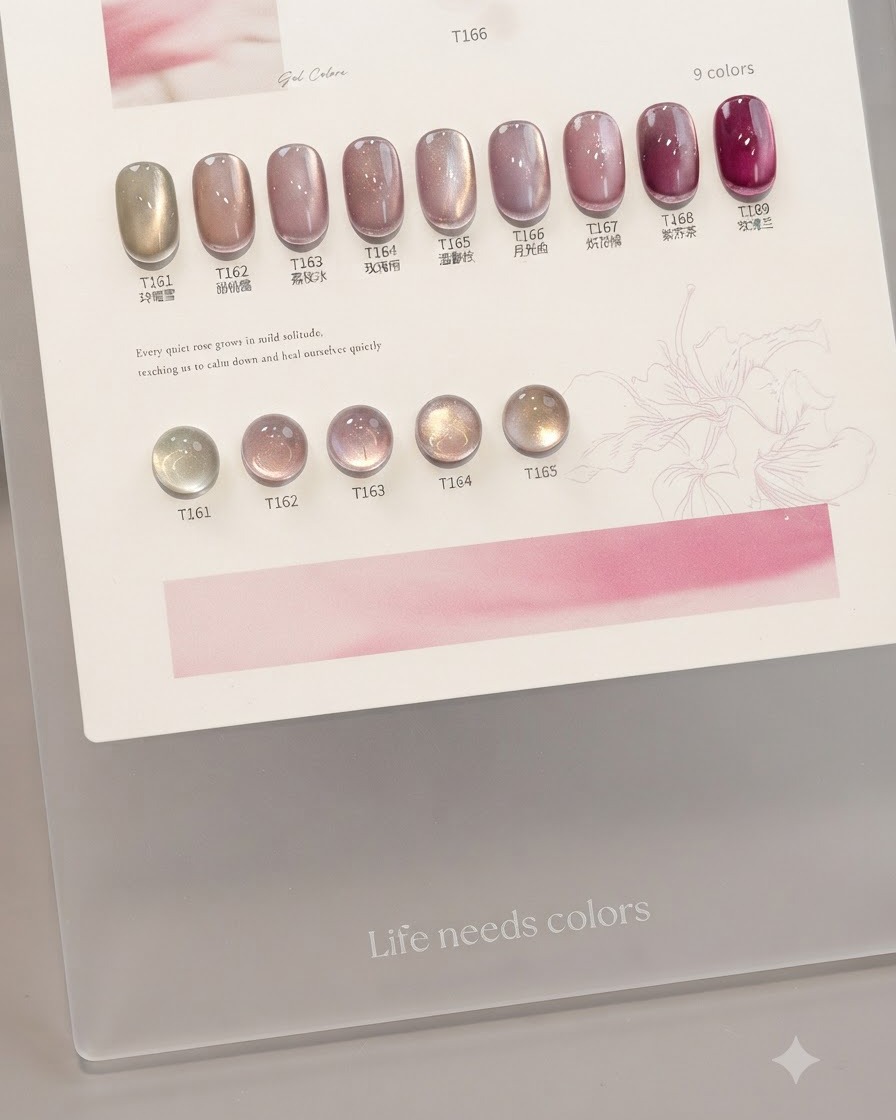
Apply a thin layer of shade 164 from the Chantilly Rose collection onto the nail tip or surface. Ensure an even coat is spread across the nail to establish the primary color foundation for the design.
Tip: Keep the initial layer thin to prevent any wrinkling or uneven curing under the lamp. - 2Create cat eye effect with magnet
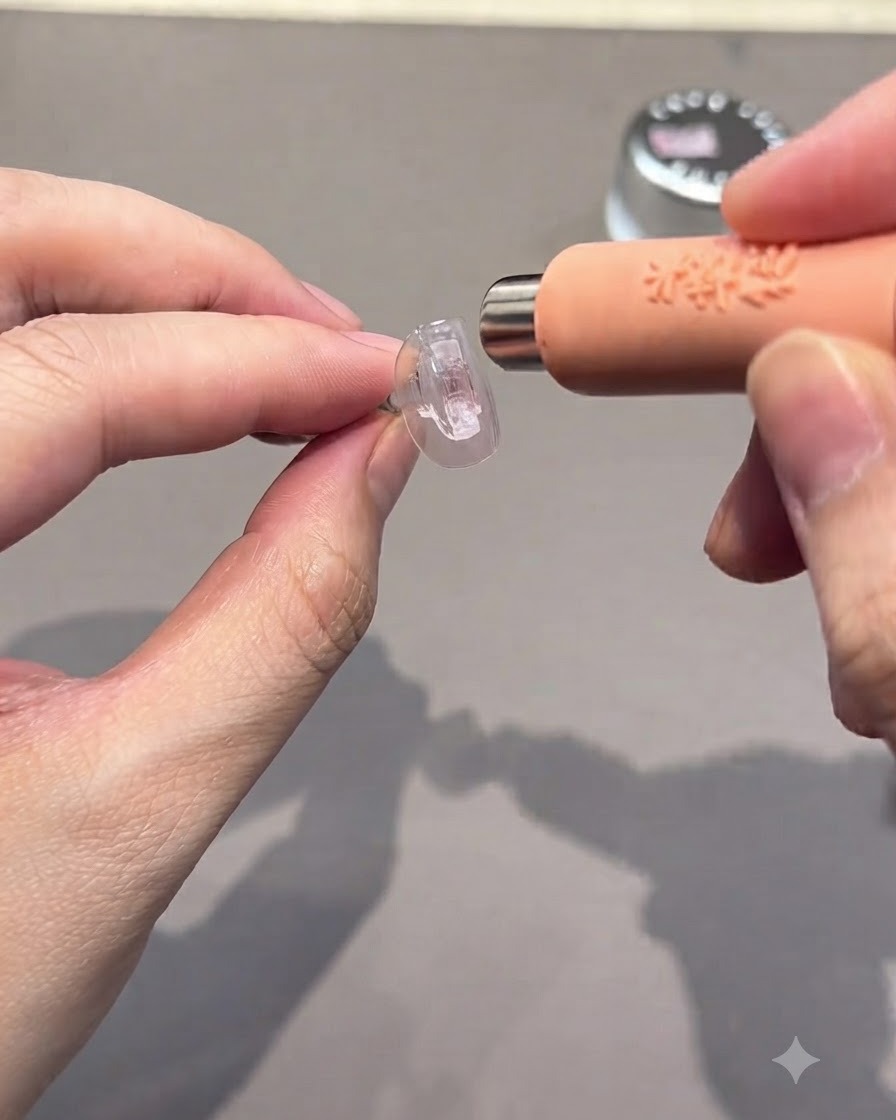
Hold the magnetic tool close to the uncured gel surface to shift and manipulate the magnetic particles. Move the tool methodically to shape the desired cat eye reflection pattern across the nail.
Tip: Do not touch the wet gel surface with the magnet; keep a steady distance to achieve a crisp line. - 3Cure first gel layer
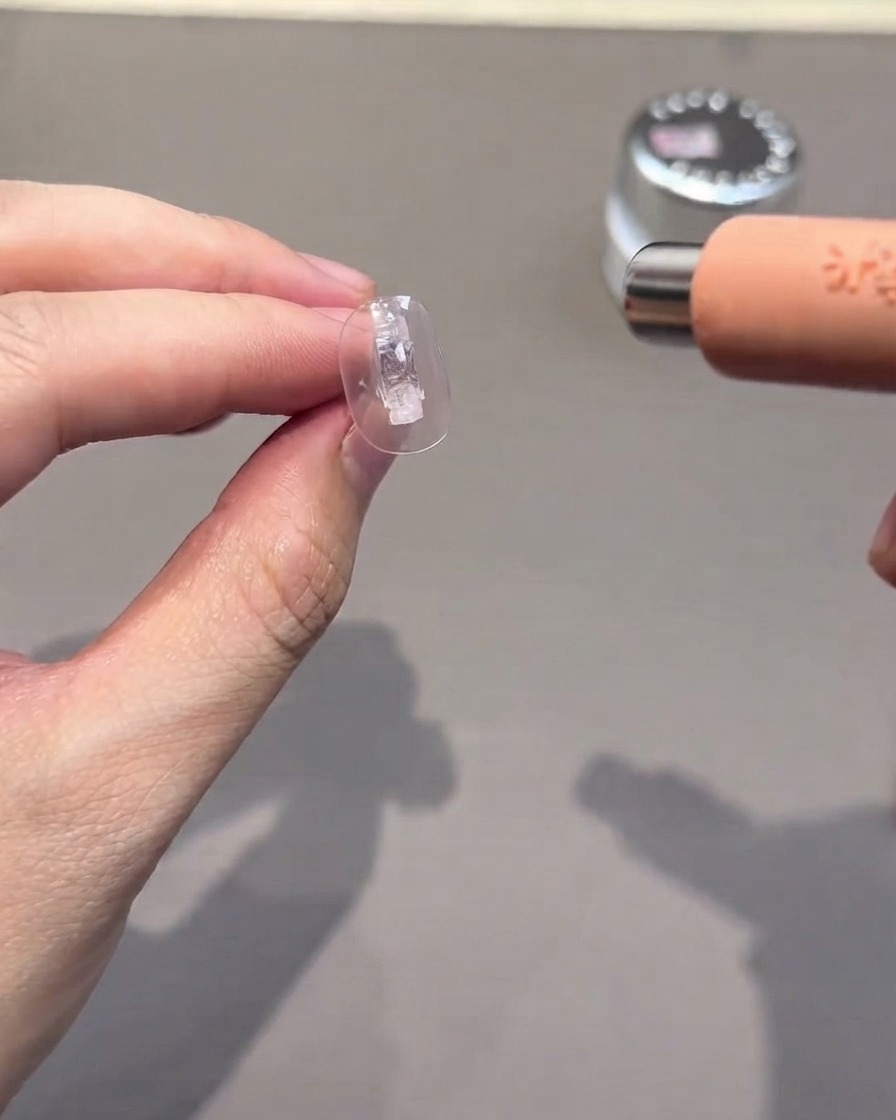
Place the nail under a small UV/LED lamp to cure the first layer of cat eye gel. Allow it to cure fully so the magnetic particles remain locked in place before moving on to the next step.
Tip: Ensure your hand or the nail stand is placed directly under the light source for an even cure. - 4Apply second coat of cat eye gel
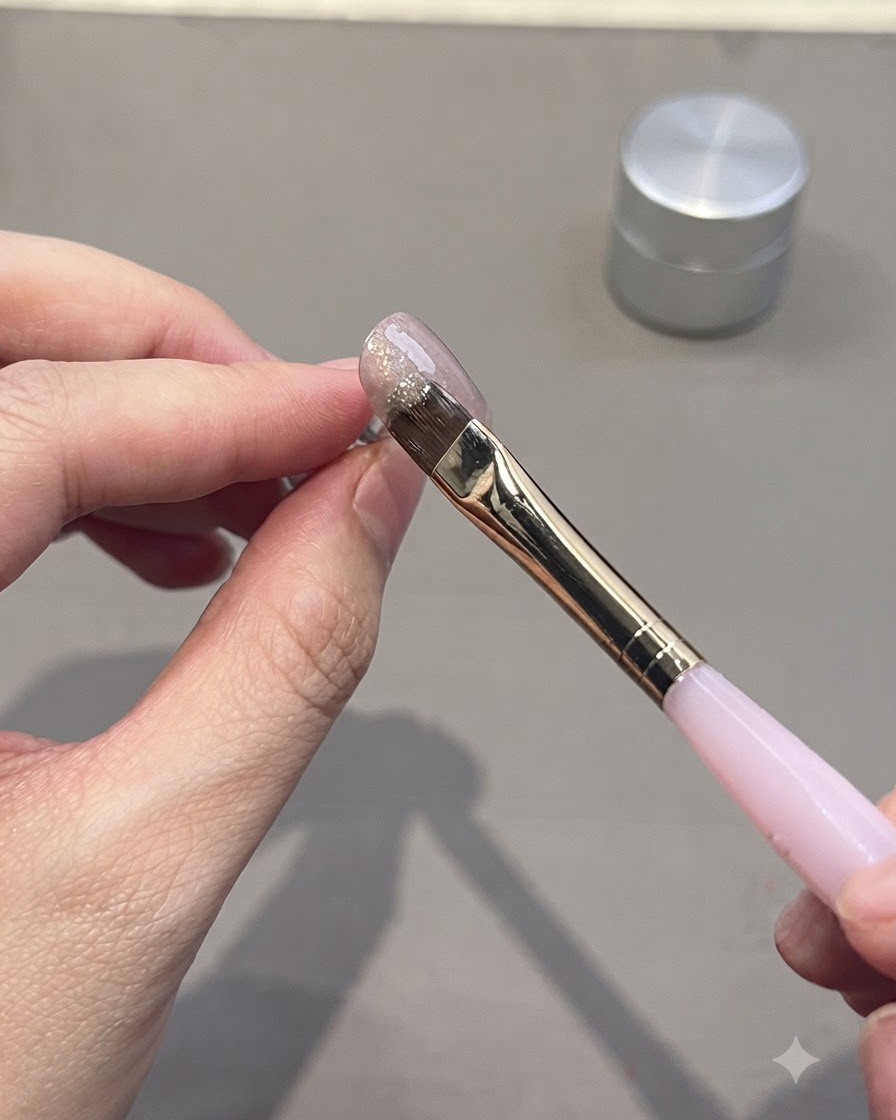
Apply a second, more even coat of the cat eye gel over the cured first layer. This adds richness, depth, and intensity to the overall background color and magnetic shimmer.
Tip: Apply smoothly to avoid streaks or pooling near the edges of the nail. - 5Shape C-curve cat eye reflection
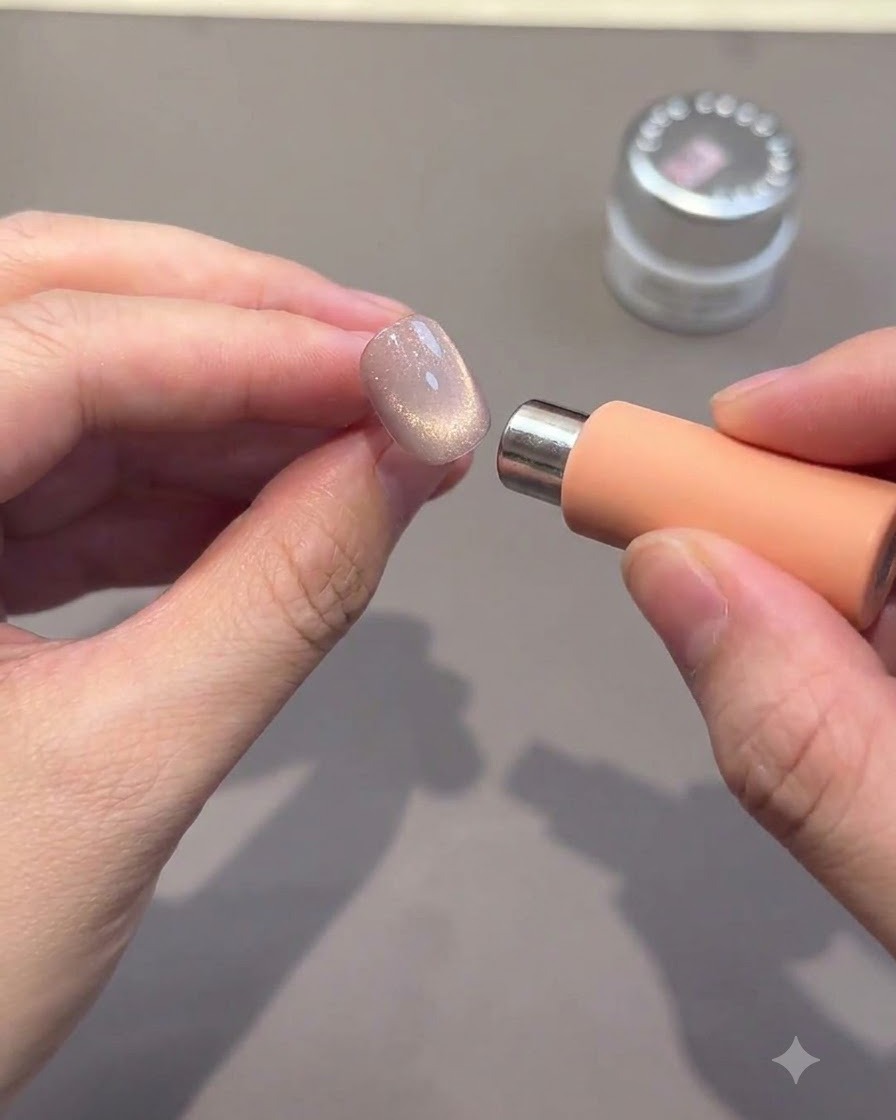
Move the magnet in circular or sweeping motions around the nail to create a distinct C-curve shape. This concentrates the glowing cat eye light right in the center of the nail.
Tip: Watch the light reflection carefully as you move the magnet to get a balanced, centered glow. - 6Cure second layer
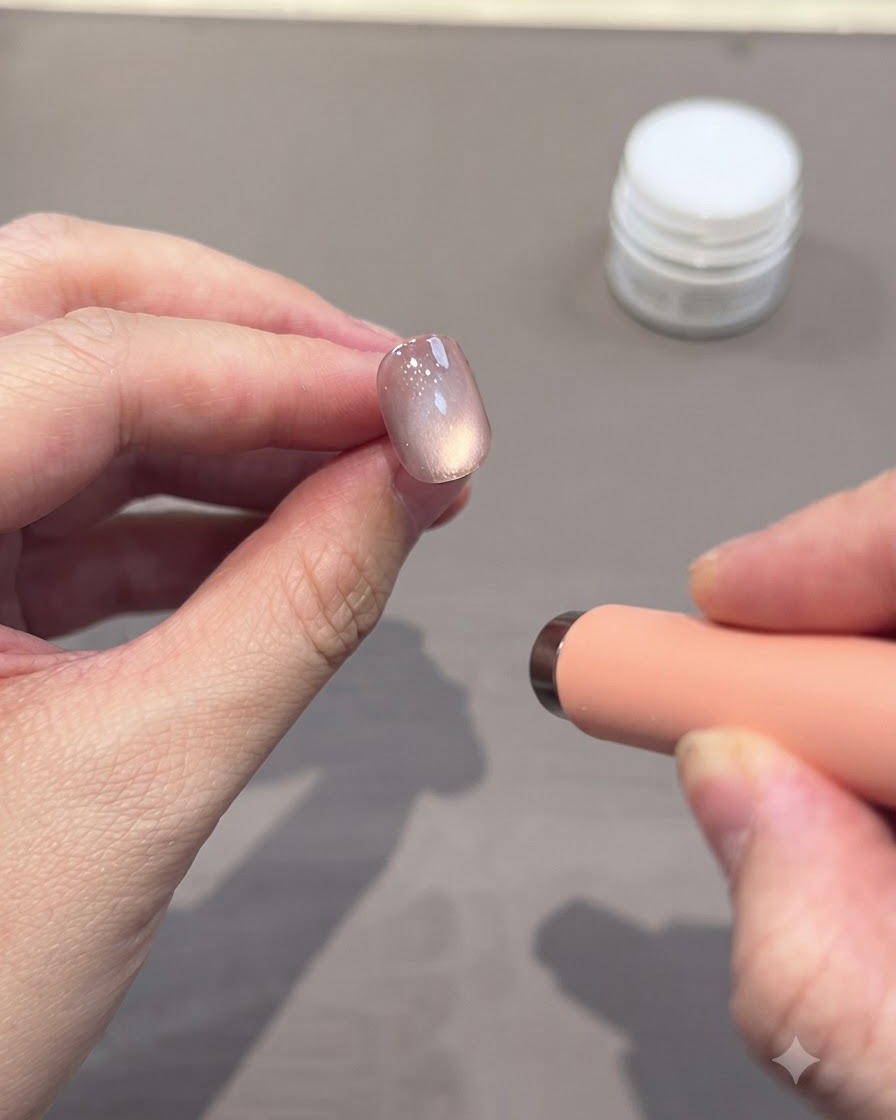
Place the nail back under the UV/LED lamp to thoroughly cure the second layer and set the C-curve cat eye design in place.
Tip: Complete a full cure cycle to ensure the gel hardens completely without shifting. - 7Paint rose outlines
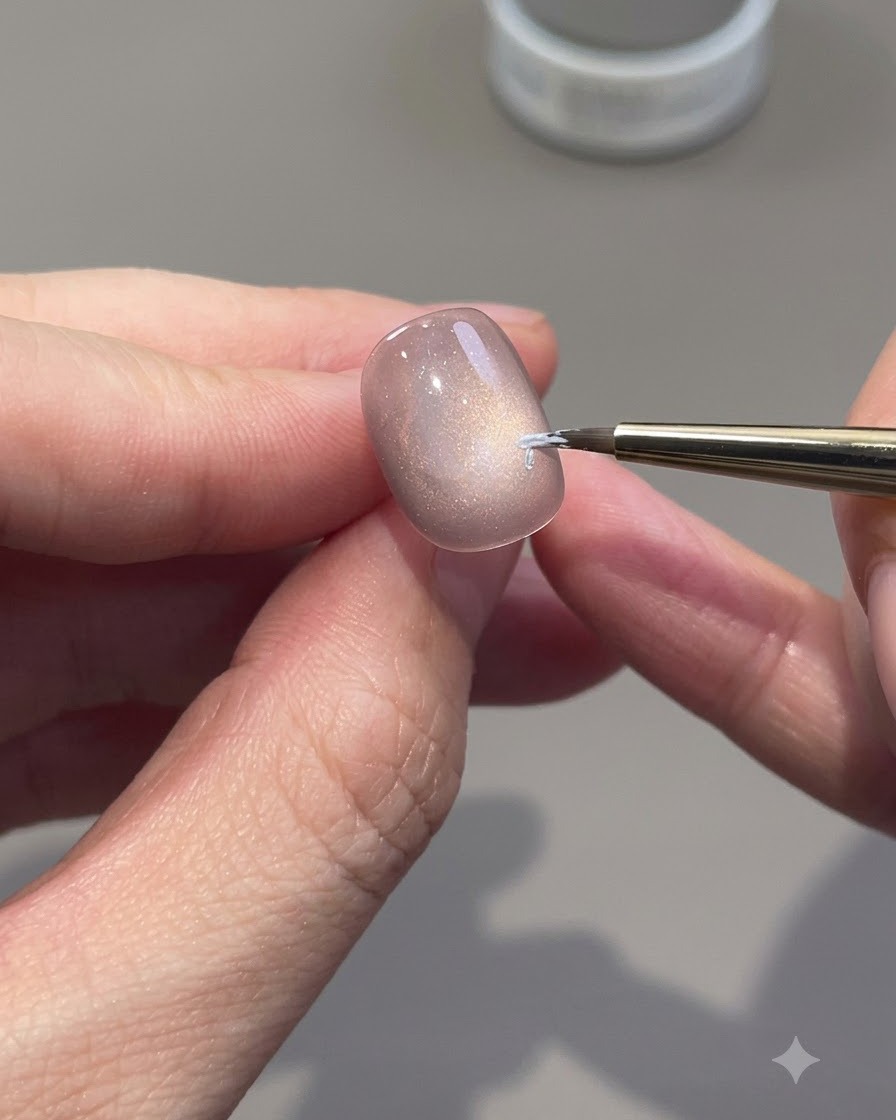
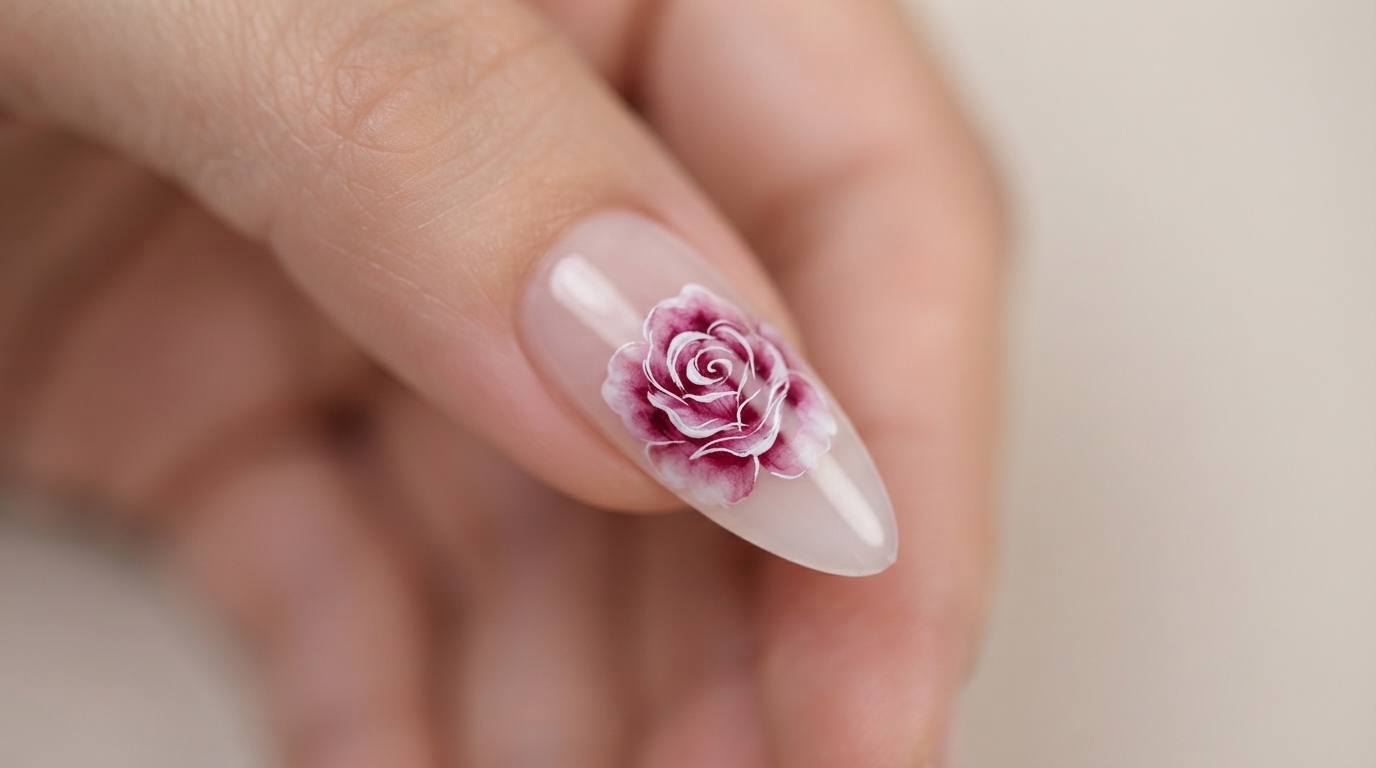
Using a fine liner brush and white gel, carefully draw the outlines of small roses on the nail surface. You do not need to make them completely perfect, as long as you capture the general shape and swirling petal structure.
Tip: Keep a light hand when drawing floral outlines so the lines remain thin and delicate. - 8Add color and depth to roses
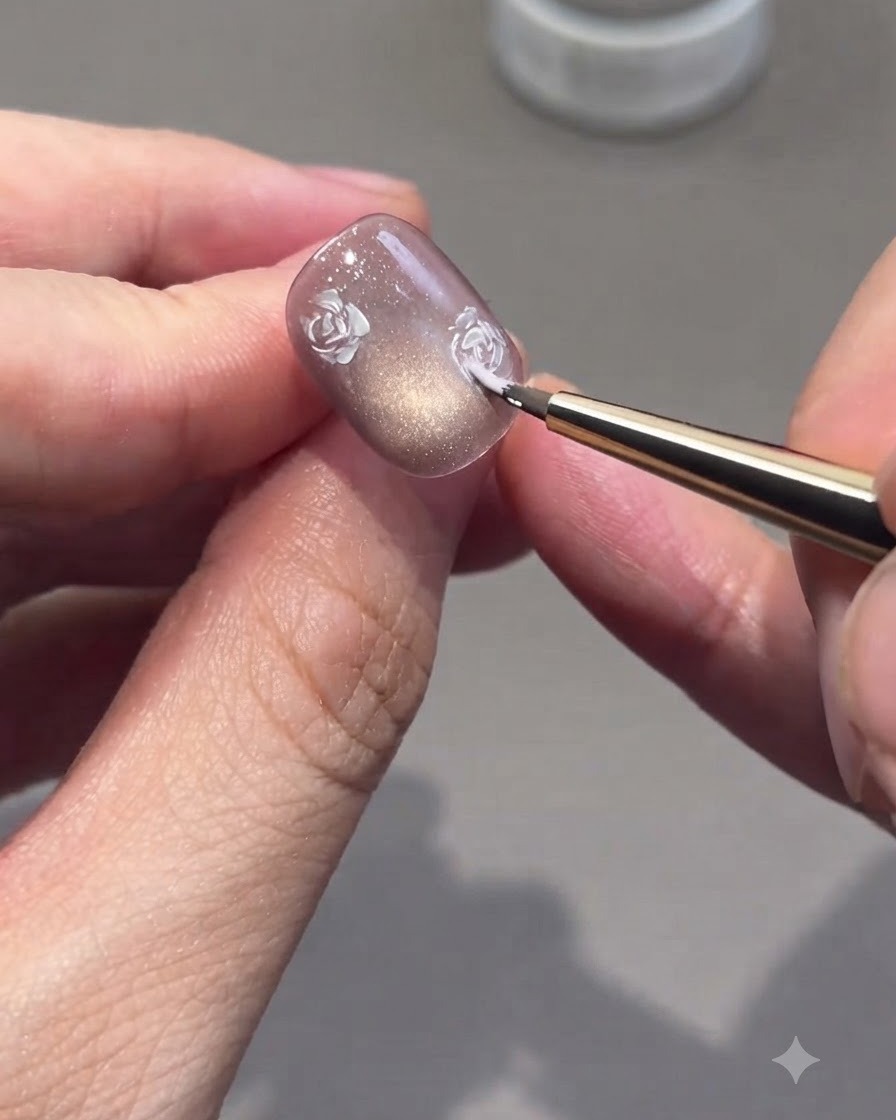
Fill in the white rose outlines using light and dark pink gel shades. Layering these tones helps create natural depth, giving the painted roses a dimensional, blooming appearance on top of the cat-eye base.
Tip: Use a mix of translucent pinks to maintain a soft, watercolor-like effect rather than a flat fill. - 9Paint green leaves
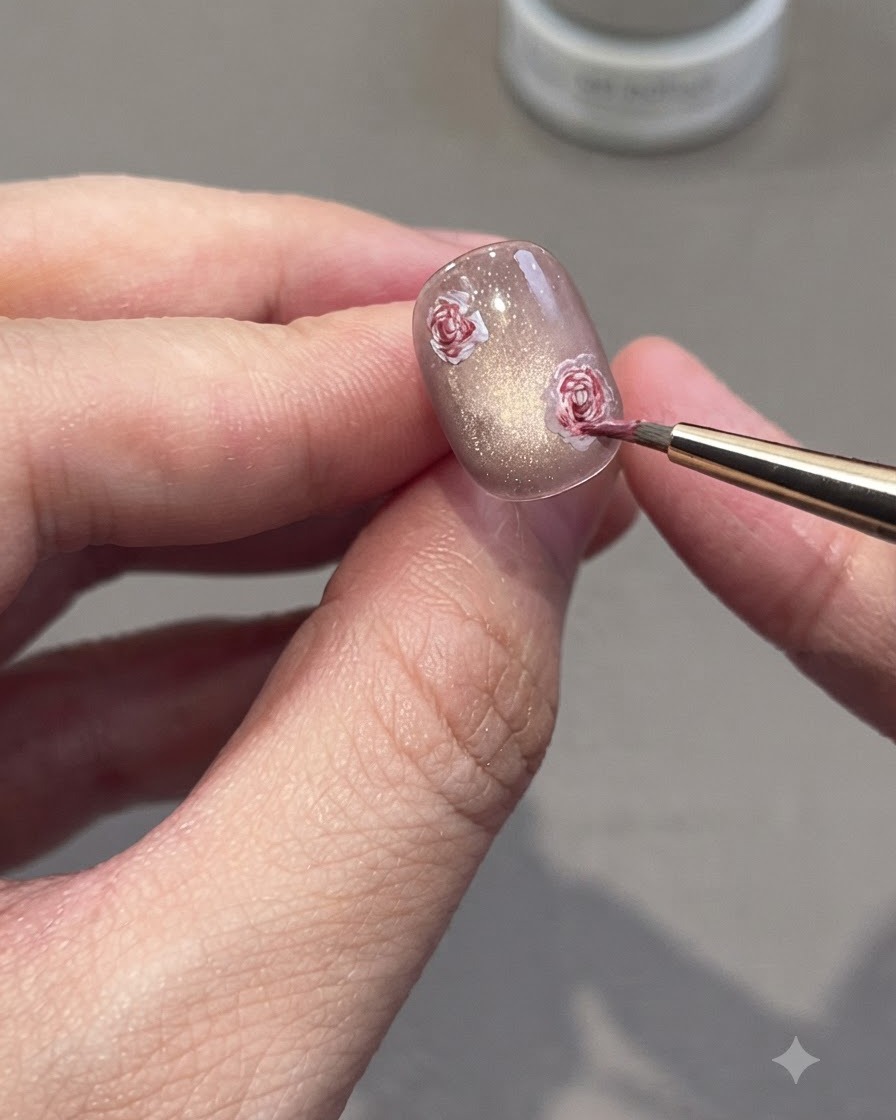
Dip a fine detail brush into green gel polish and paint small, delicate leaves tucked around the base of the roses. This adds a natural touch and balances the floral composition on the nail.
Tip: Keep the strokes light and sparse so the leaves complement rather than crowd the flowers. - 10Apply standard top coat
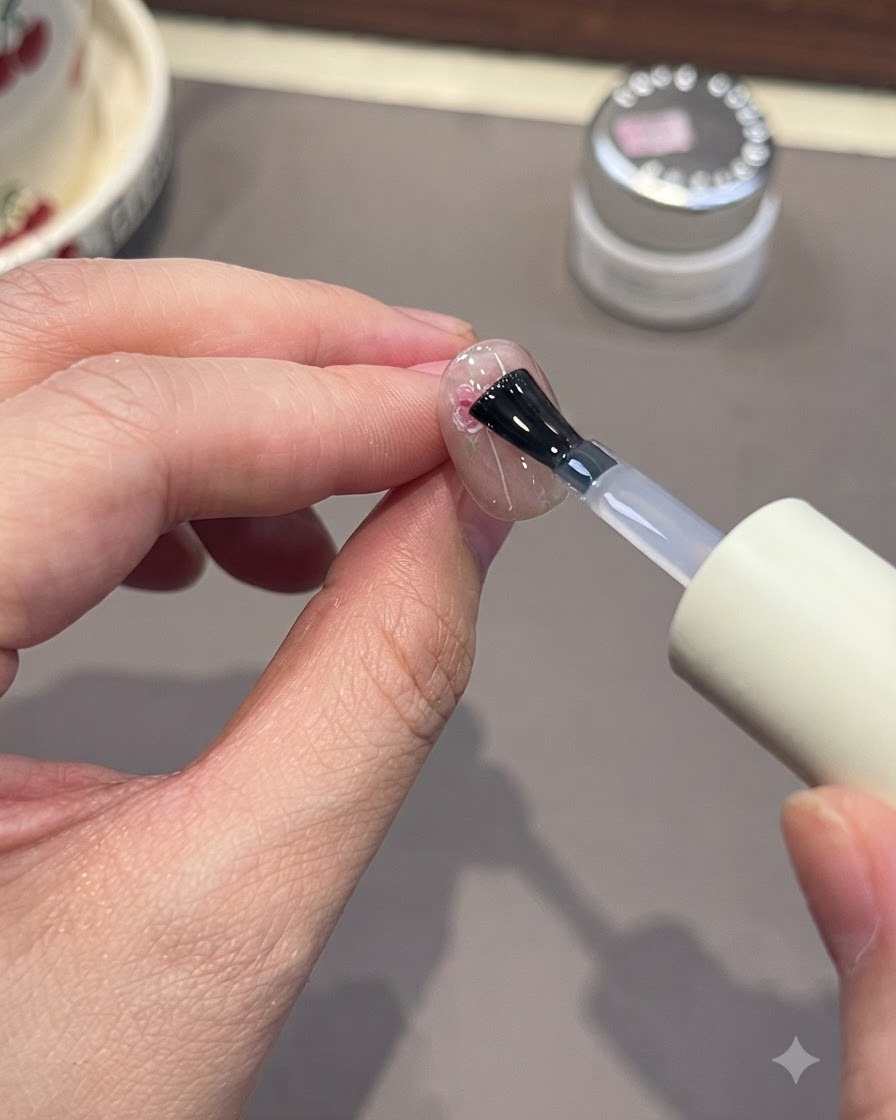
Apply a layer of standard top coat evenly over the entire nail design to seal and protect the art. Make sure to cap the free edge to prevent chipping, then cure under the UV or LED lamp as recommended.
Tip: Applying a smooth layer of top coat ensures the hand-painted details are safely locked in before adding any special effects. - 11Create 3D water droplets
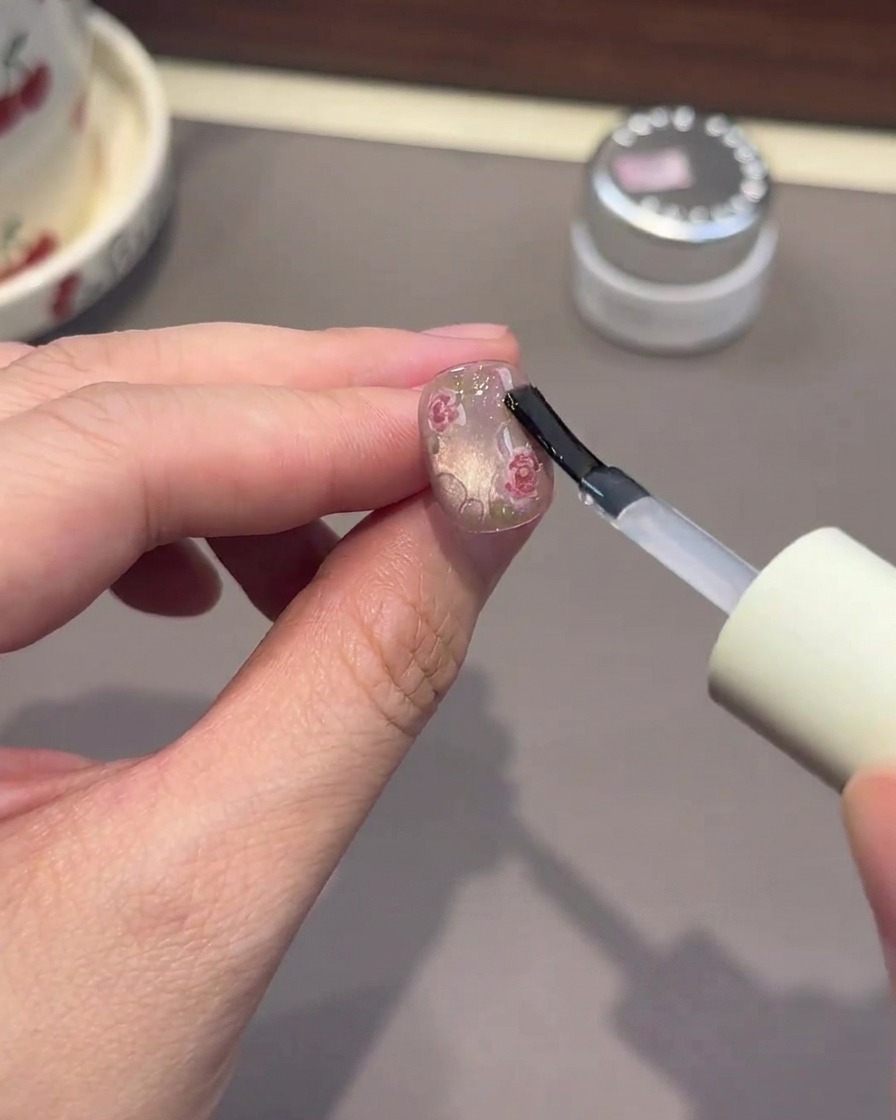
Apply a special thick clear top coat or builder gel to create realistic 3D water droplet effects over the surface. Place small dots of varying sizes to mimic morning dew resting on the petals.
Tip: Use a dotting tool or fine brush to control the placement and height of each droplet. - 12Refine and cure water droplets
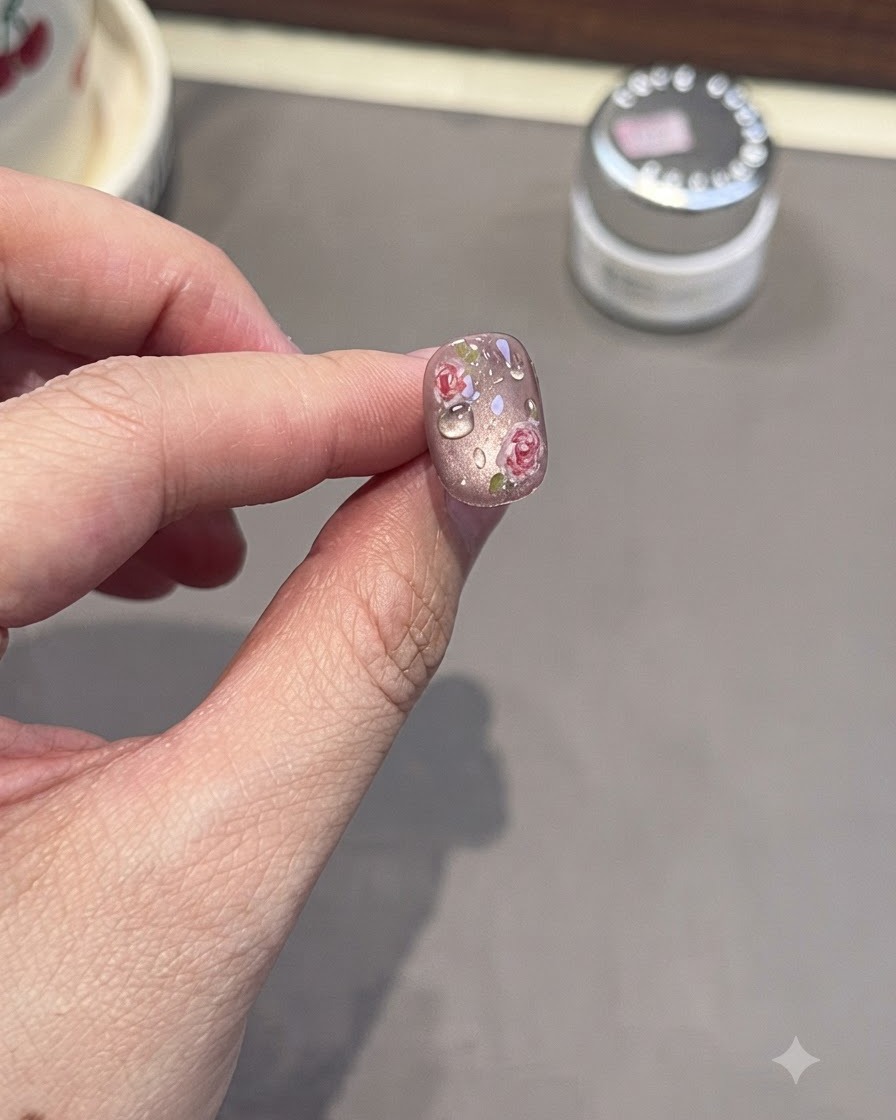
Inspect the placement of your 3D water droplets and wipe away any excess or misplaced gel using a clean brush or lint-free wipe before curing. Once satisfied with the arrangement, cure the gel to lock the dewdrop effect in place.
Tip: Check the profile angle of the nail to ensure the water droplets maintain a rounded, natural 3D shape before curing. - 13Paint additional white rose details
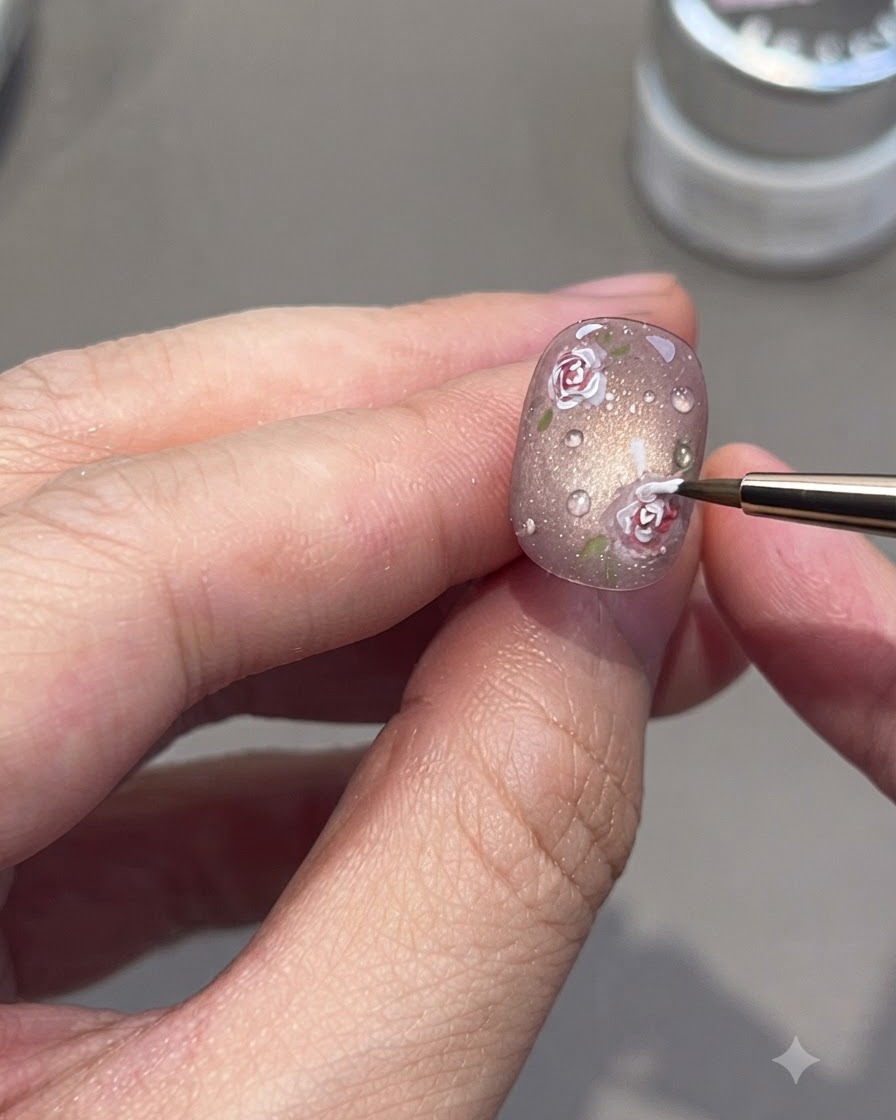
Using a fine liner brush and white paint gel, carefully paint additional white rose details over the top coat layer to give the design extra depth and dimension. Cure the nail after finishing the details.
Tip: Adding highlights over the top coat creates a distinct layered texture that makes the floral design pop.