Watercolor Bloom Floral Nail Art — Step-by-Step Gel Tutorial
Create stunning, salon-quality watercolor floral nails effortlessly using blooming gel and fine white liner details. Perfect for all skill levels.
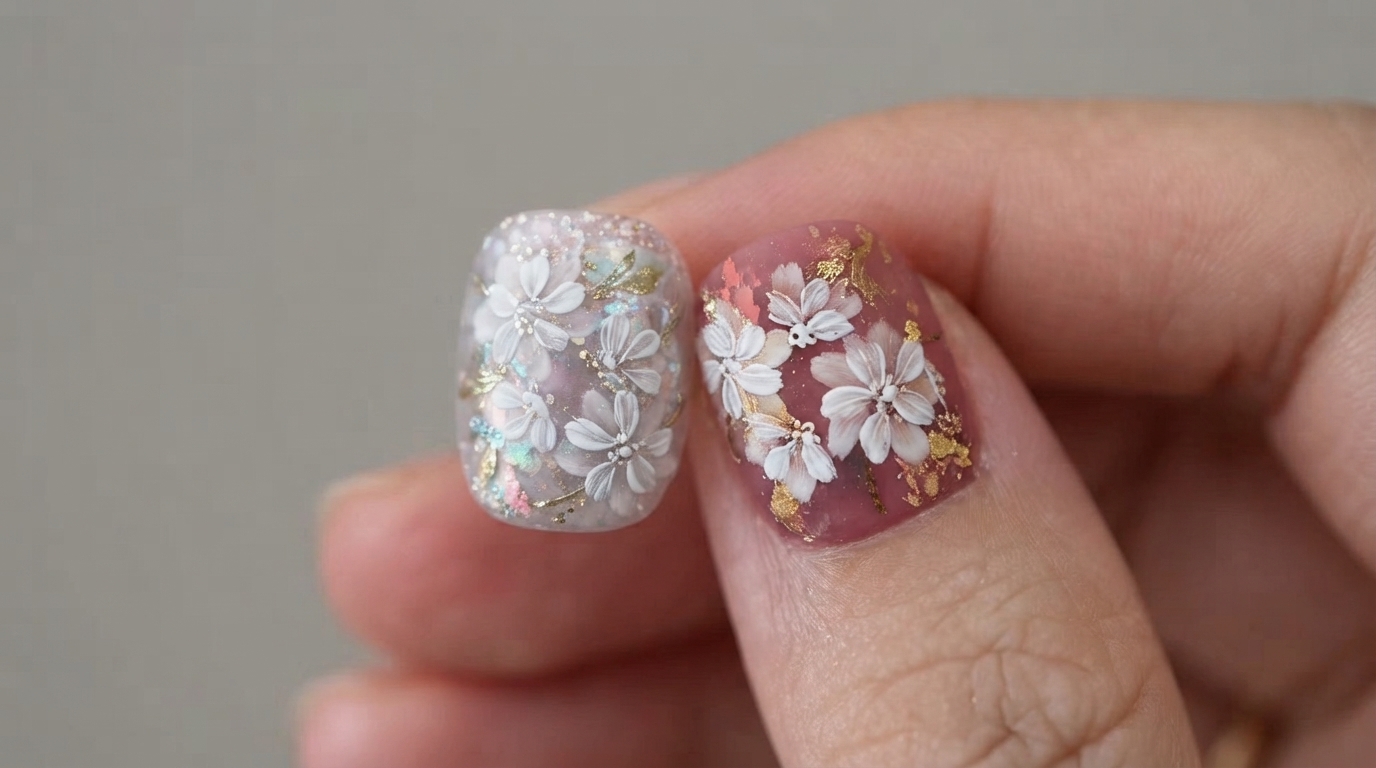
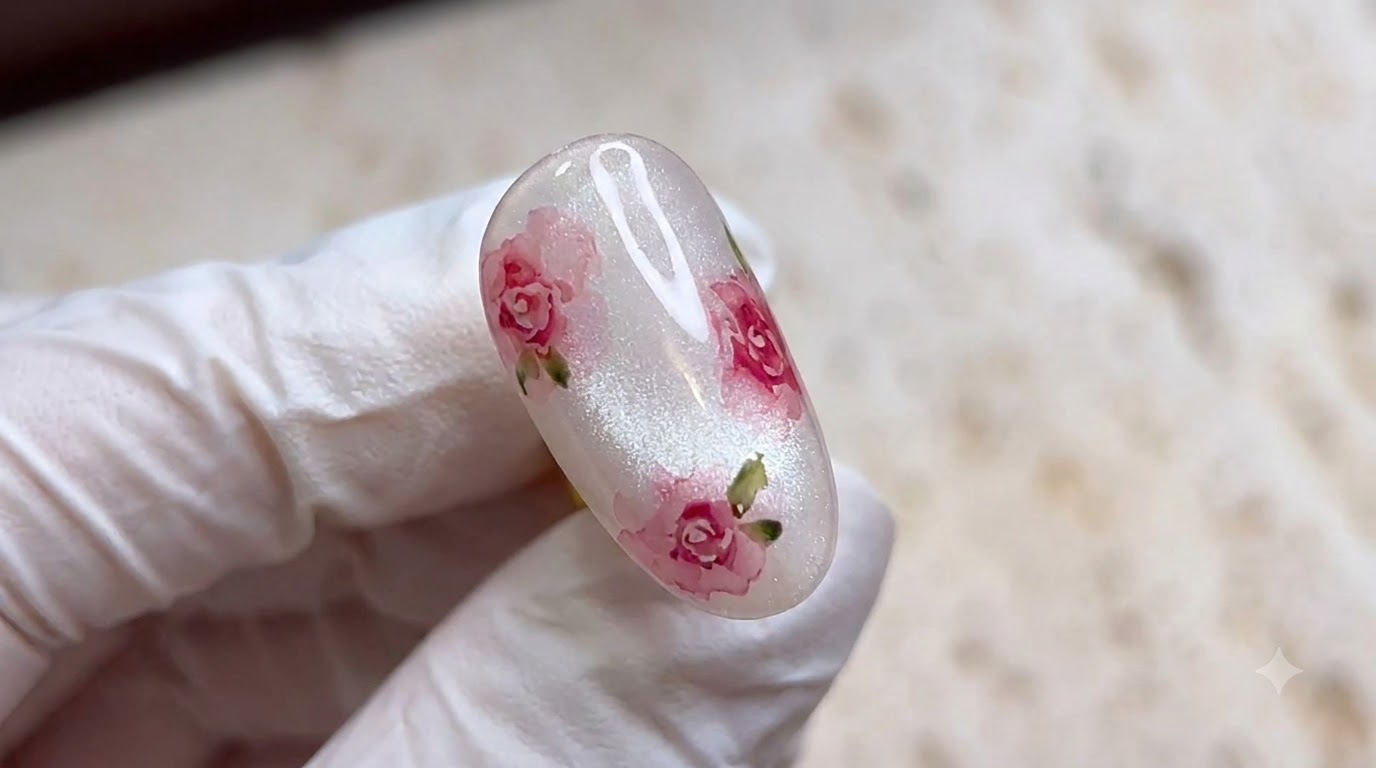
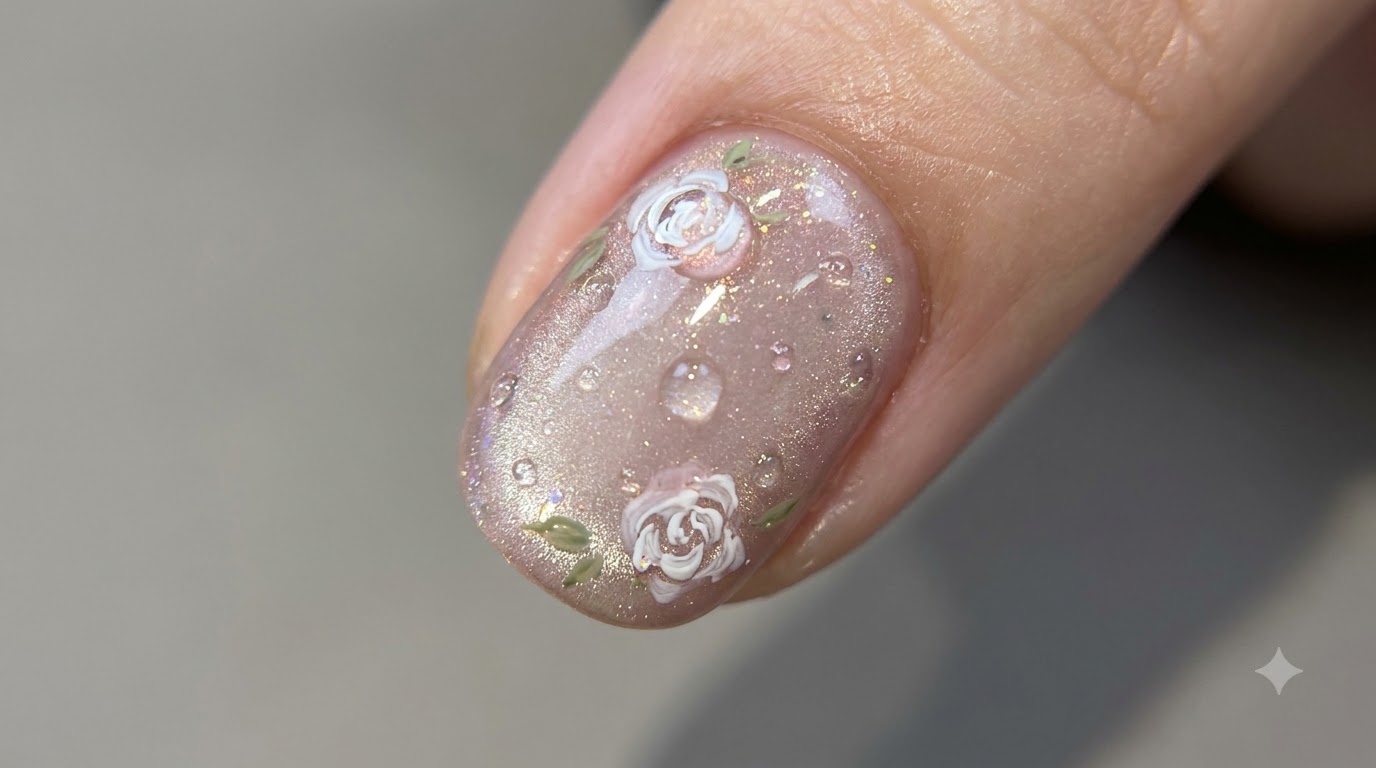
Blooming gel has completely revolutionized how we approach floral nail art at home. By utilizing a wet-surface base that allows colors to naturally feather and spread, you can achieve delicate, multi-dimensional watercolor roses in just seconds without advanced hand-drawing skills.
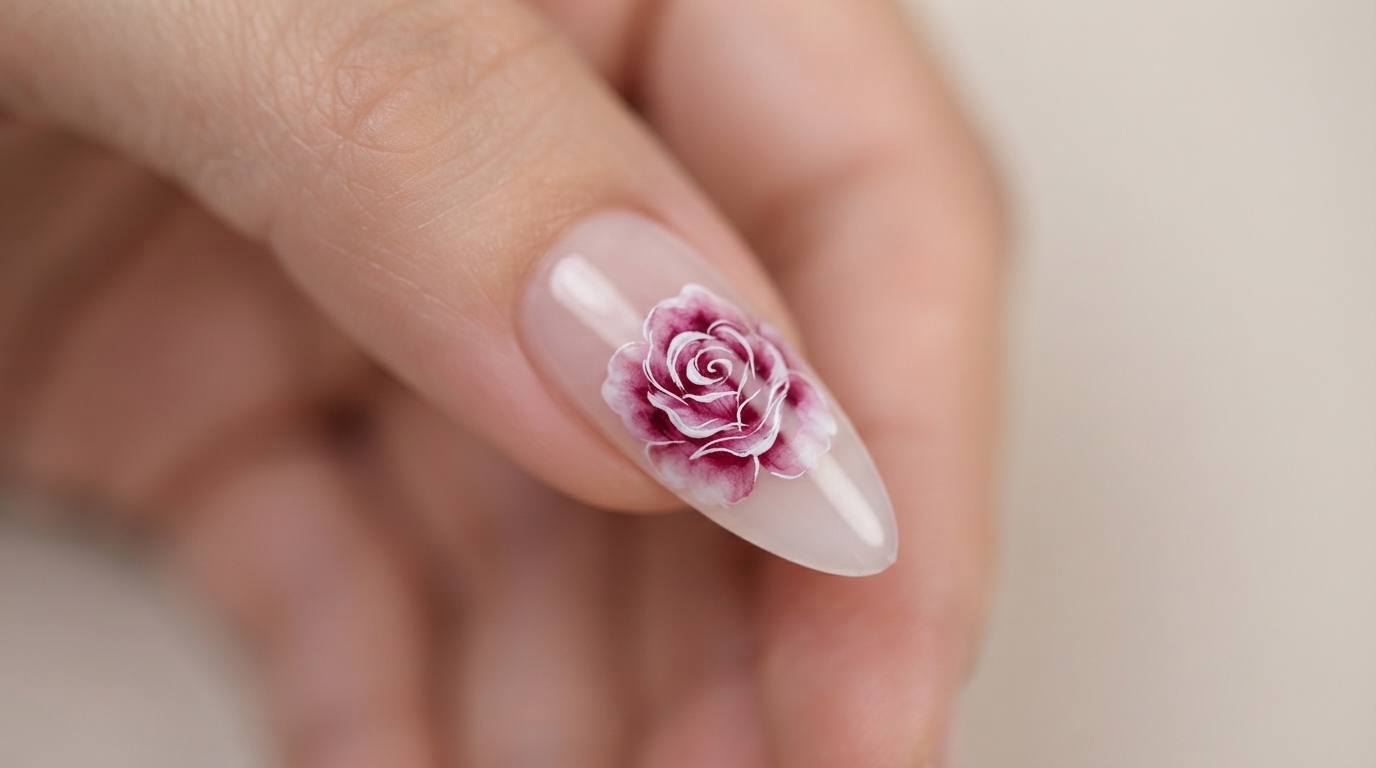
Steps
- 1Apply blooming gel
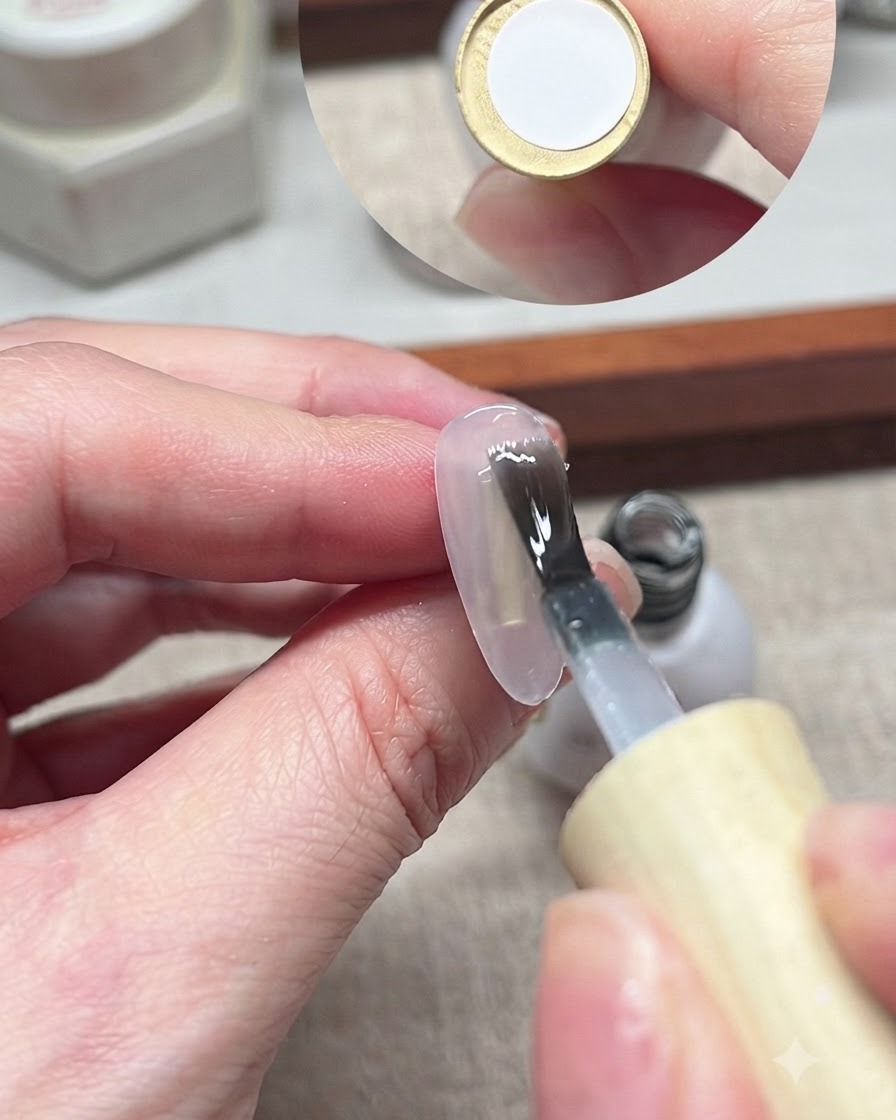
Apply a layer of blooming gel to the nail without curingcite: 1. This special gel creates a wet base that allows subsequently applied colors to spread and bloom into soft floral patterns.
Tip: Do not cure the blooming gel layer before adding your design elements. - 2Place the center dot
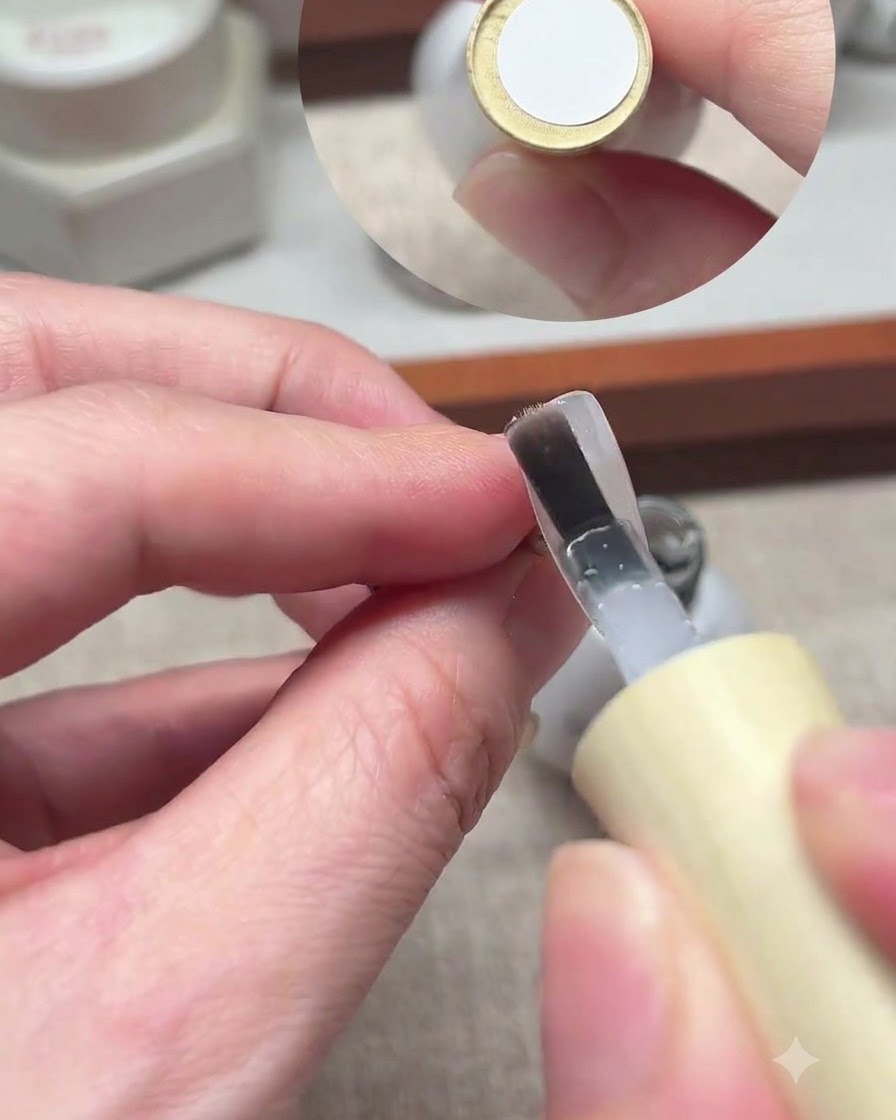
Use a dotting tool to place your chosen color onto the uncured blooming gelcite: 1. Position the dot near the center where the core of the flower will form.
Tip: A small amount of gel is enough to let the color bloom properly. - 3Let the color bloom
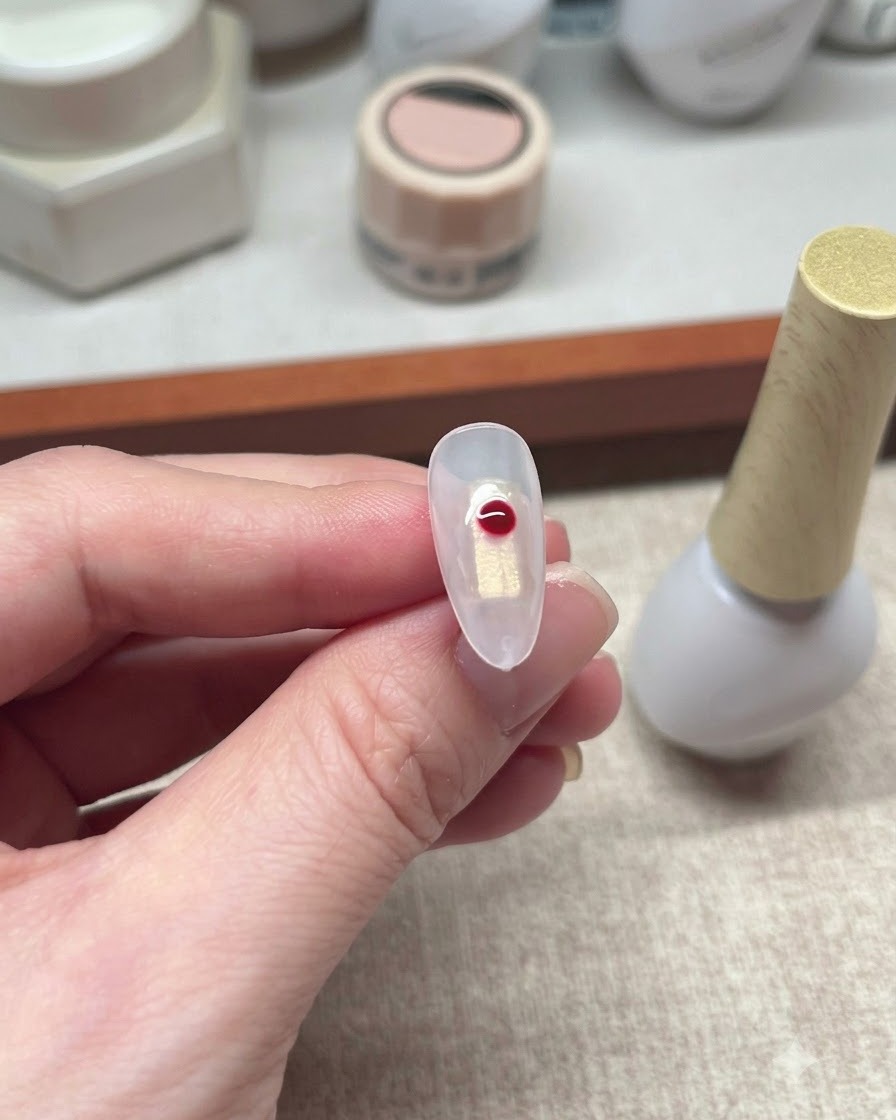
Wait a few seconds to let the color bloom slightly on the wet surfacecite: 1. This natural spreading action creates a soft, hazy background for the rose petals.
Tip: Watch the color expand to your desired shape before moving to the next step. - 4Load the liner brush
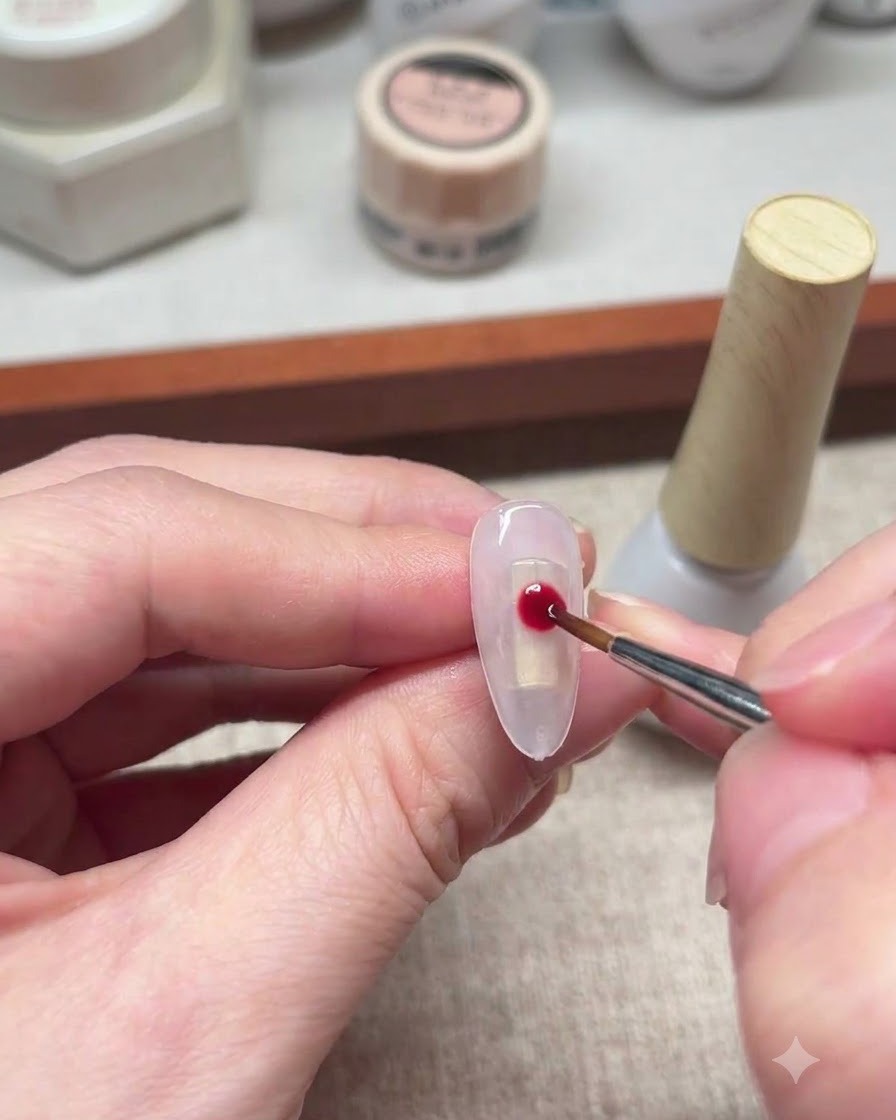
Use a liner brush with white gel to prepare for drawing the petalscite: 1. Ensure the brush has a fine tip for precise line work.
Tip: Keep the amount of white gel on the brush tip minimal to avoid thick, messy lines. - 5Draw rose petals
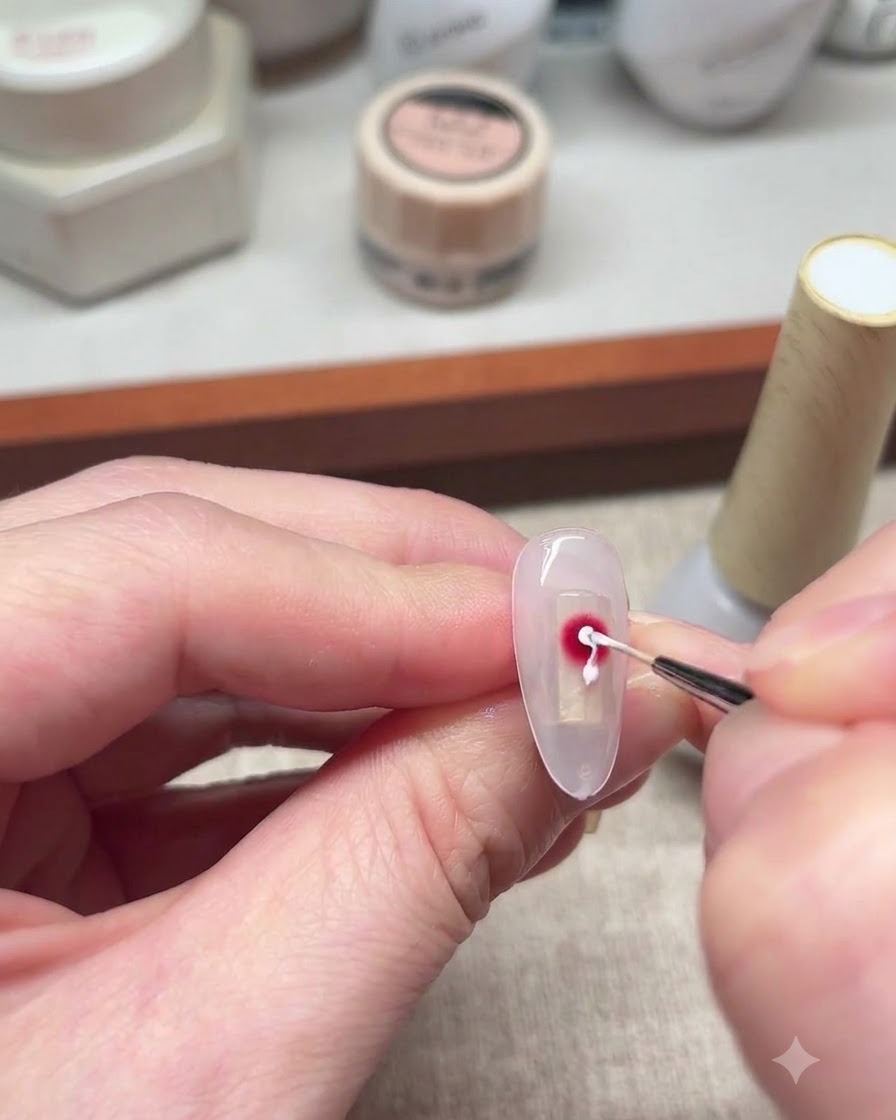
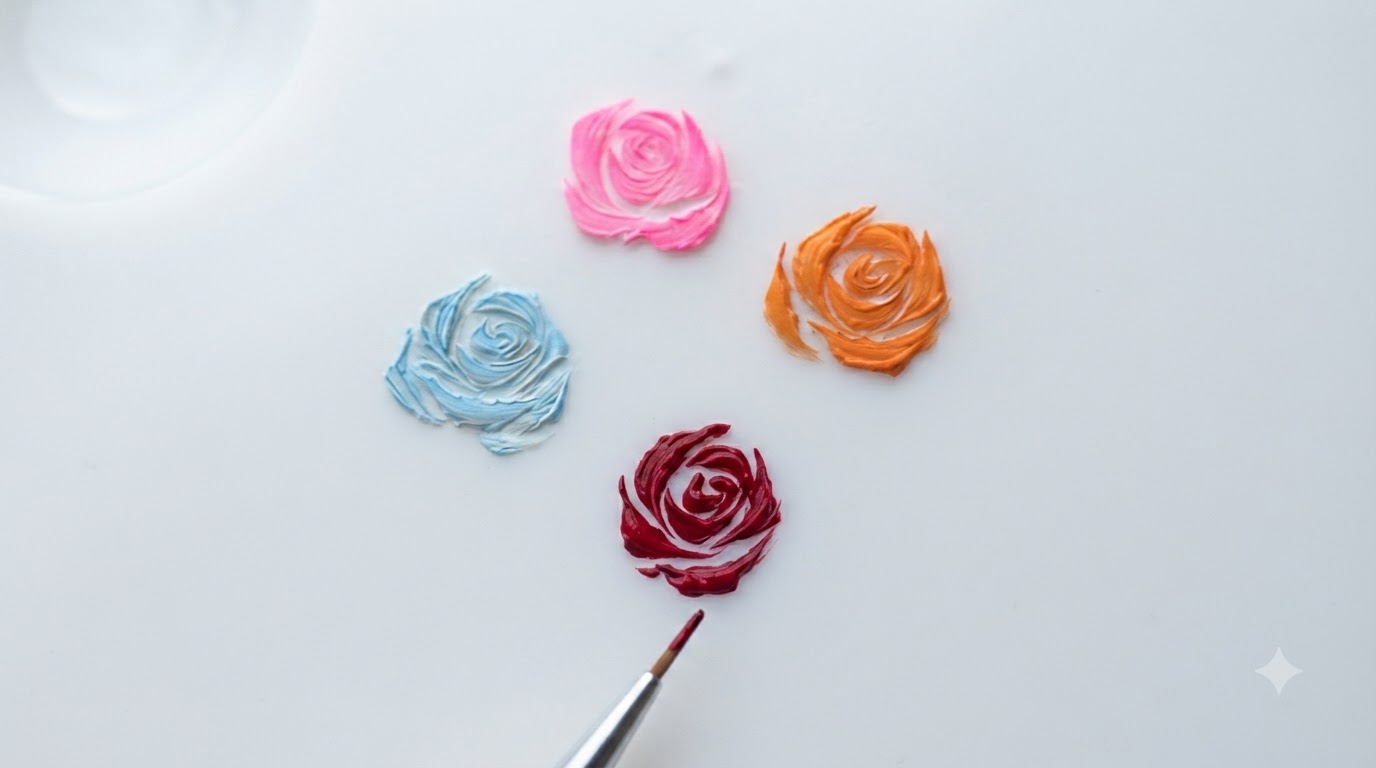
Start drawing circles from the center using the white gel to form the rosecite: 1. You can wiggle your hand slightly while drawing to make the rose look more lively and organiccite: 1.
Tip: Keep your hand relaxed and use light pressure for smooth spiral strokes. - 6Cure the design
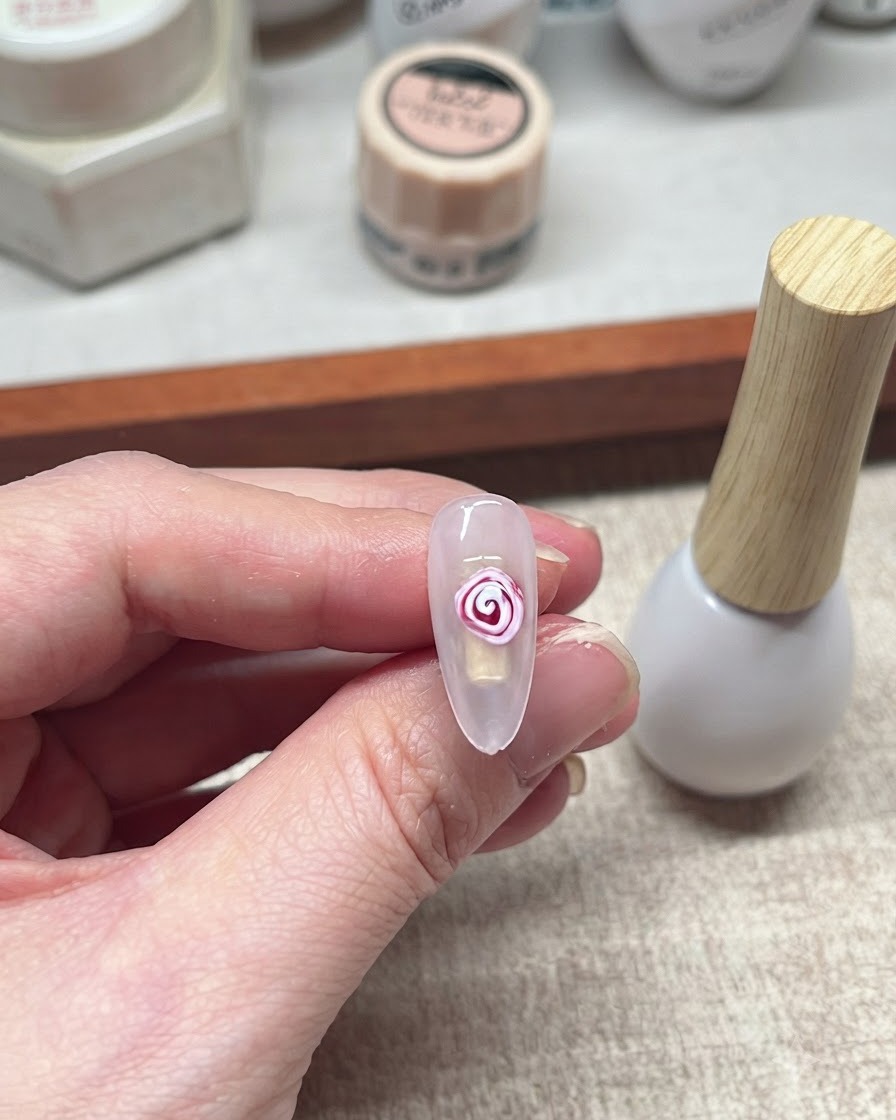
Once you are happy with the blooming rose effect, cure it under the lampcite: 1. This locks the blooming pattern and petals permanently in place.
Tip: Ensure full cure time so the layered gels do not shift or smudge. - 7Apply a dot of blue gel
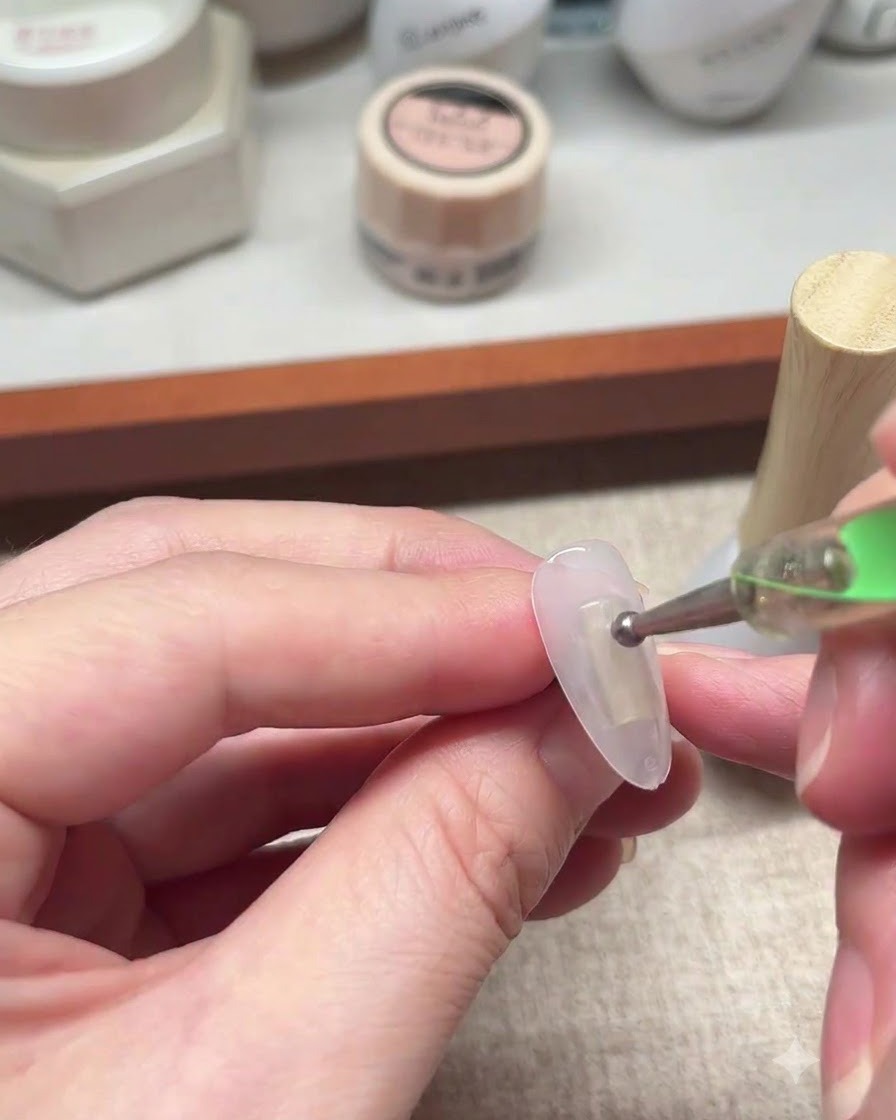
Switch to a blue gel color and use your dotting tool to pick up a small amount of product. Place a neat dot onto the prepped nail surface where desired to build your design elements.
Tip: Wipe your dotting tool clean with alcohol between color switches to keep your shades crisp and prevent muddying. - 8Start blooming pattern with blue color
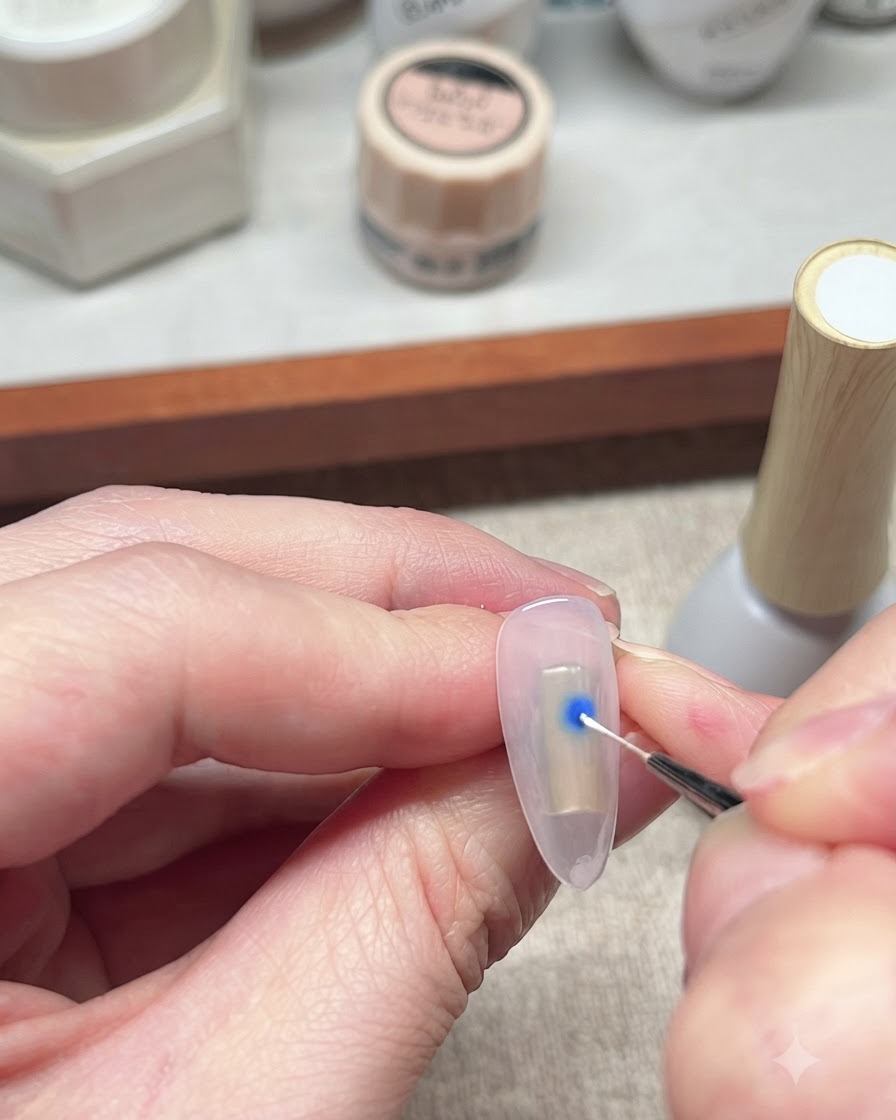
Using a fine liner brush, gently pull and feather the blue dot outwards to initiate the blooming pattern on the unset blooming gel base. This technique allows the color to spread organically into soft, watercolor-like designs without needing intricate manual drawing.
Tip: Work lightly with the tip of the liner brush to guide the edges of the blooming color precisely where you want them. - 9Draw white spiral lines
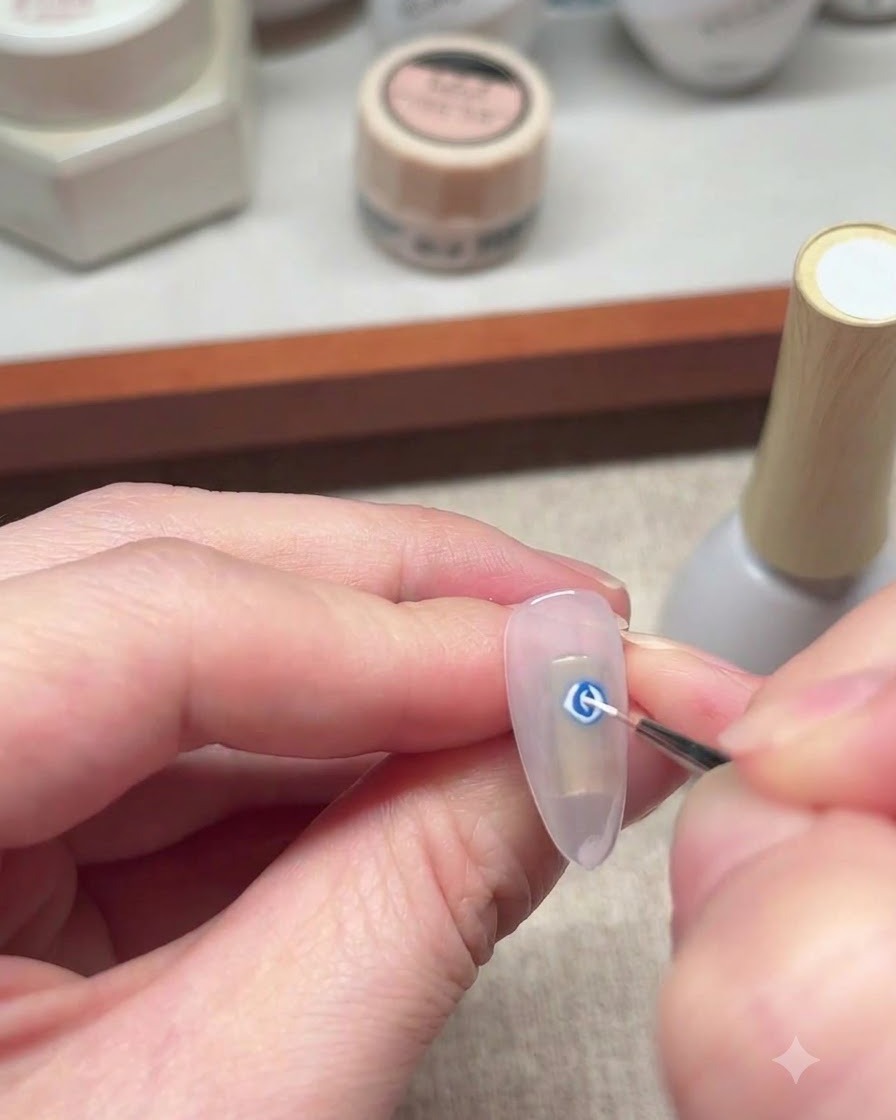
Take a fine liner brush with white gel and draw delicate spiral lines starting from the center of the blue blooming area. As the white gel interacts with the wet blooming base and blue layer, it naturally creates a multidimensional rose effect.
Tip: Keep your hand light and slightly wiggle it while drawing to give the rose petals a more organic and lively appearance. - 10Refine floral petals
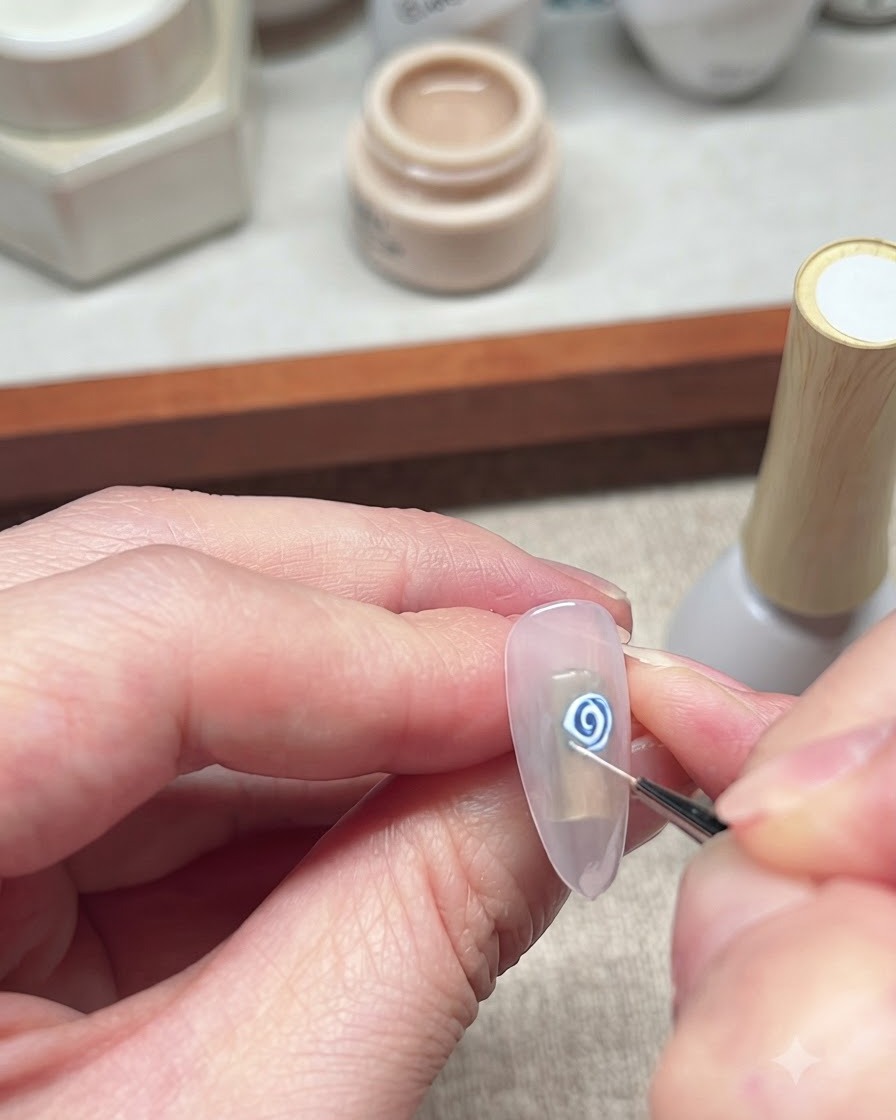
Carefully refine the shape of the floral petals using the fine liner brush dipped in white gel. Enhance the curves and ensure the center spiral is well-defined to capture the full dimension of the rose design before curing.
Tip: Make subtle adjustments to the outer petal lines to balance the overall proportions of the flower. - 11Cure the blue rose nail design
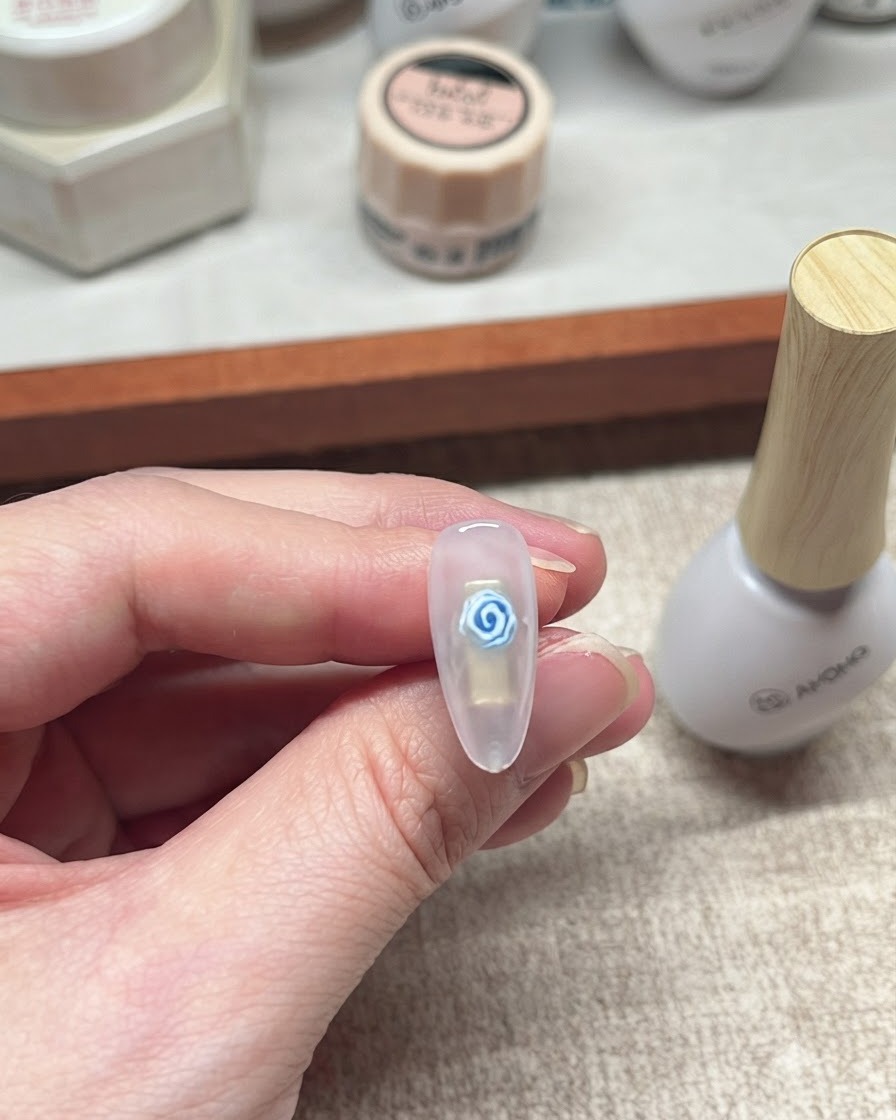
Place your hand inside the UV or LED lamp and cure the blue rose design for the recommended time to fully set and harden the gel art. Curing prevents any shifting or smudging before applying the final top coat.
Tip: Make sure your hand is placed flat inside the lamp so all fingers receive even UV exposure.