Watercolor Rose Nail Art Tutorial — Delicate Glass Pearl Cat-Eye Design
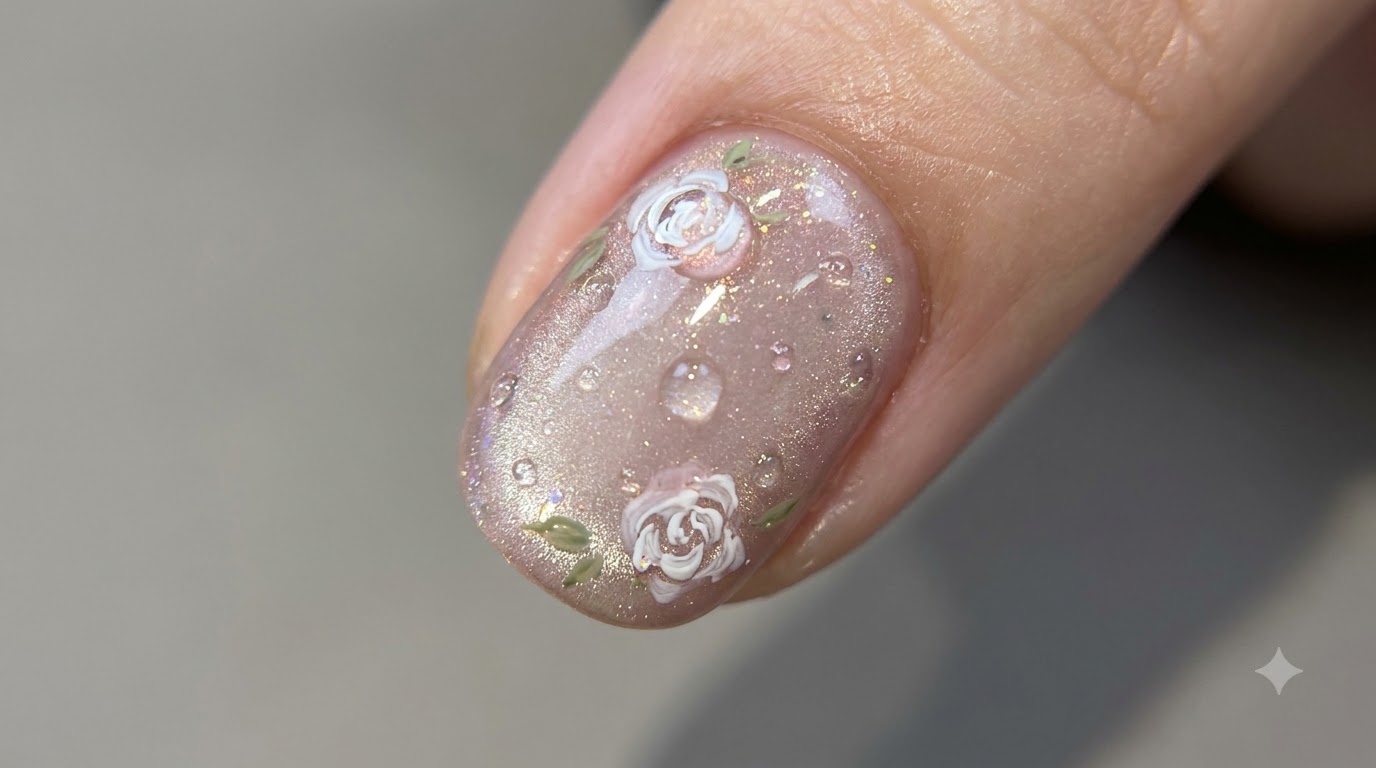
Create enchanting watercolor pink roses and subtle green leaves over a luminous glass pearl cat-eye gel base with this step-by-step tutorial.
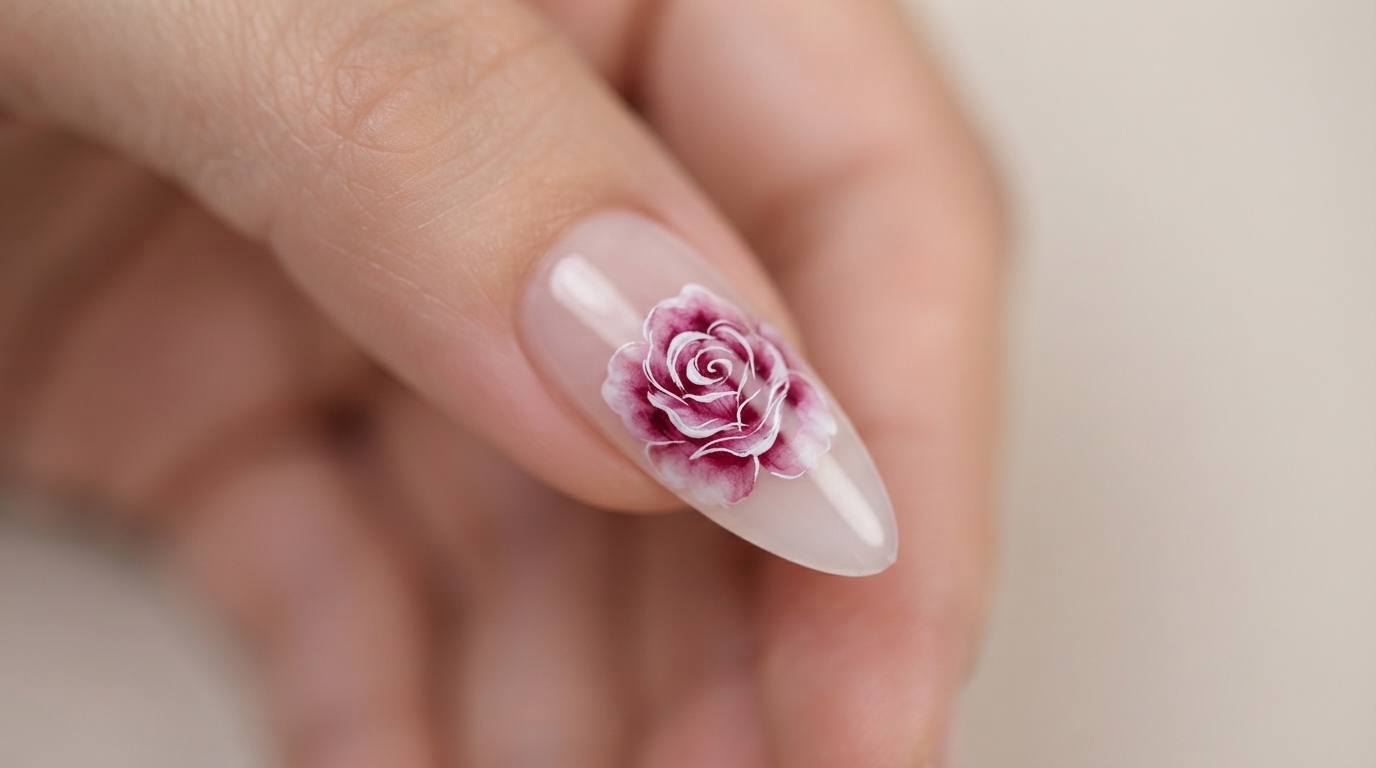
The watercolor rose trend brings a soft, romantic artistic flair to your manicure, perfectly paired with the luminous depth of a glass pearl cat-eye base. This sophisticated design combines fluid pigment blending techniques with delicate floral detailing for an ethereal salon-quality finish.
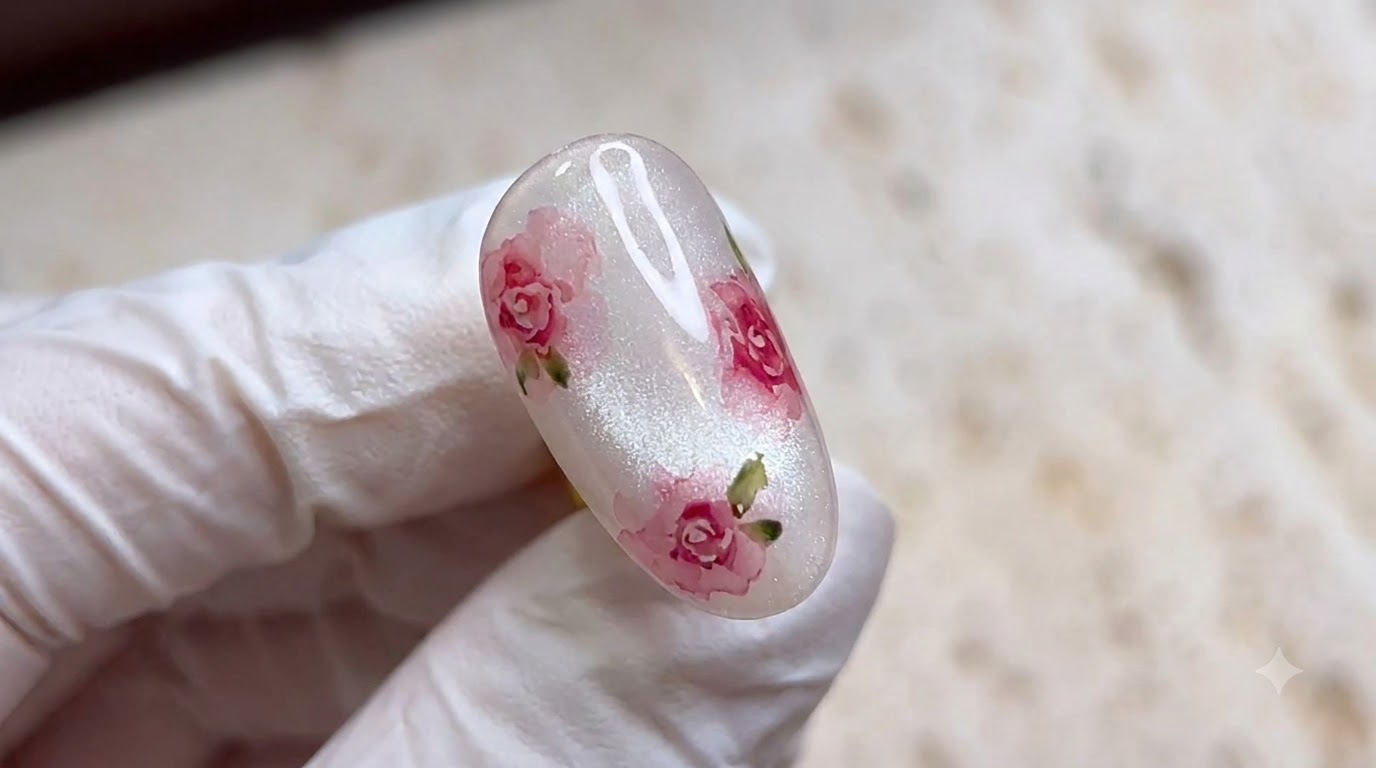
Steps
- 1Draw initial nail art details
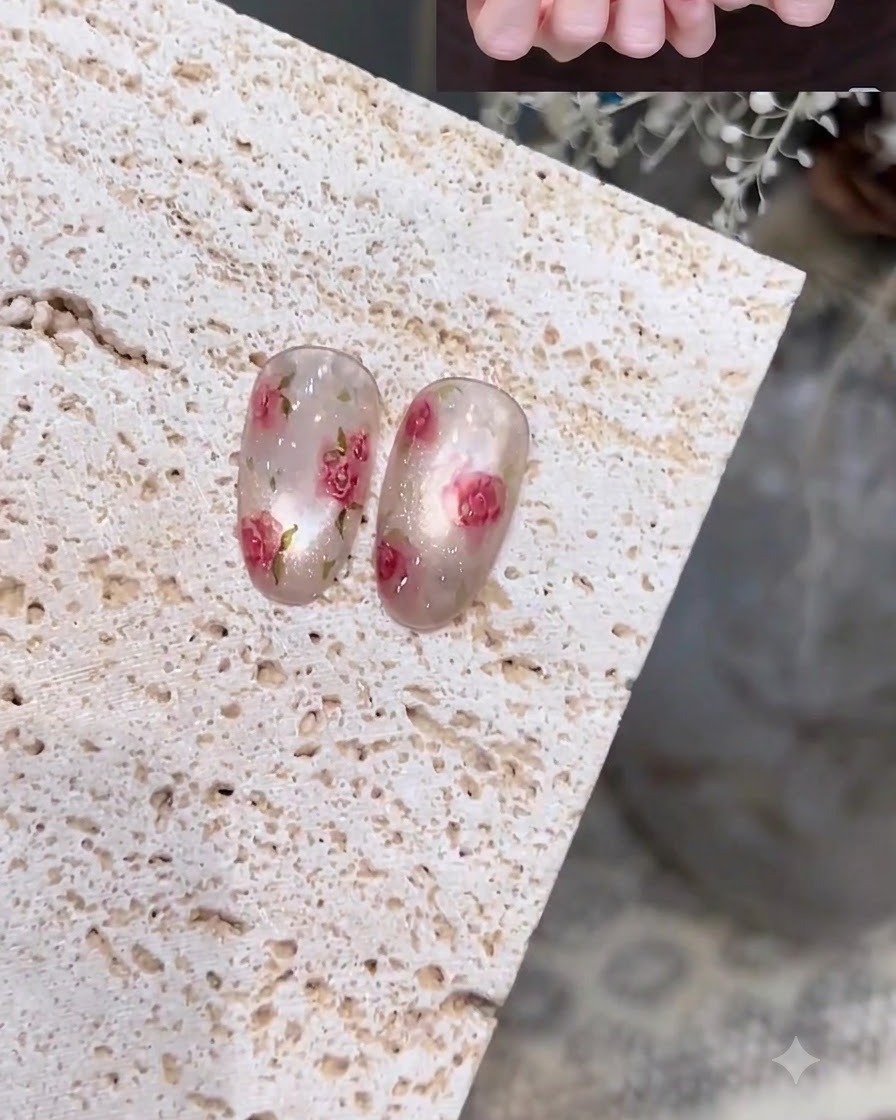
Using a fine liner brush, carefully draw the initial structural outlines and details onto the prepped nail art base. Keep your lines light and precise to establish the placement of your design elements before adding color or shading.
Tip: Hold the liner brush lightly near the ferrule like a pen to maintain maximum control over your line thickness and curves. - 2Apply glass pearl cat-eye gel
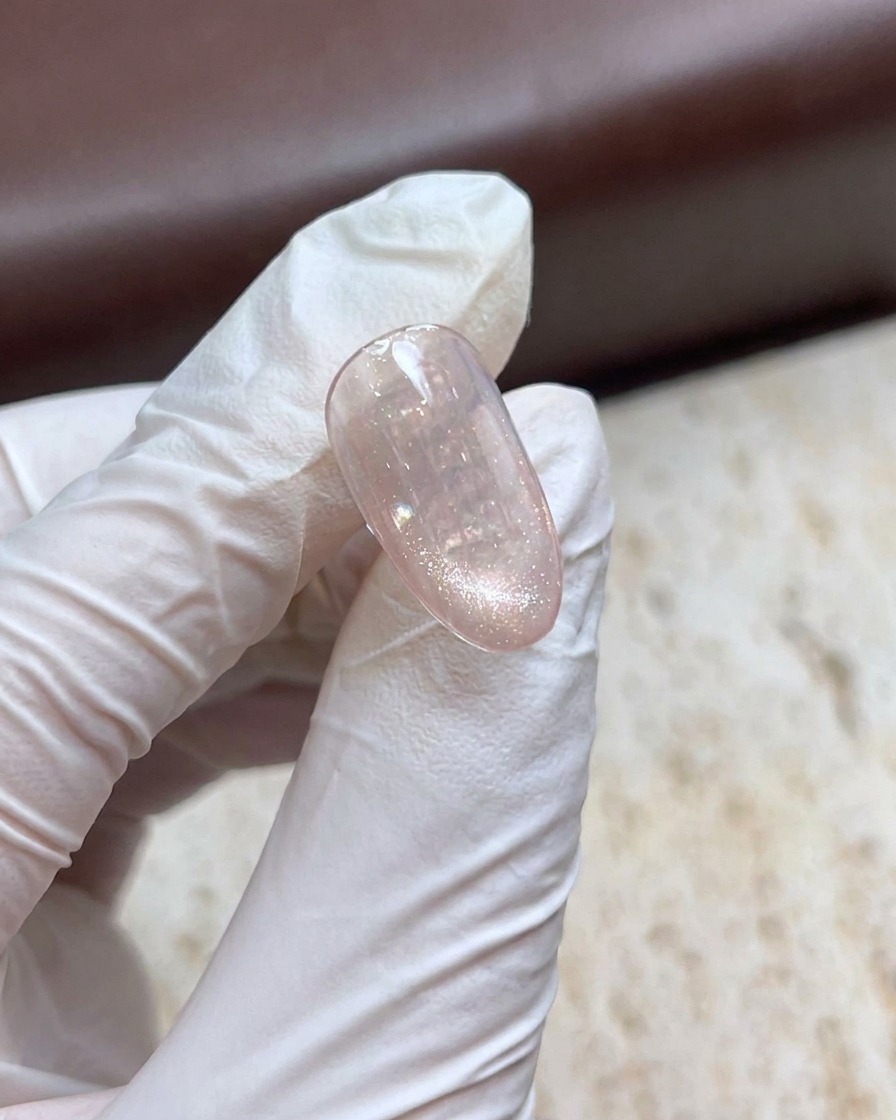
Apply a coat of glass pearl cat-eye gel onto the prepped nail surface. Before curing, hover the magnetic wand tool closely over the nail to magnetize the shimmer particles into a concentrated, glowing line that creates a luminous glass-like pearl effect. Cure completely under your UV or LED lamp.
Tip: Hold the magnet steady for a few seconds to let the magnetic particles fully shift into place before curing. - 3Apply watercolor matte top coat
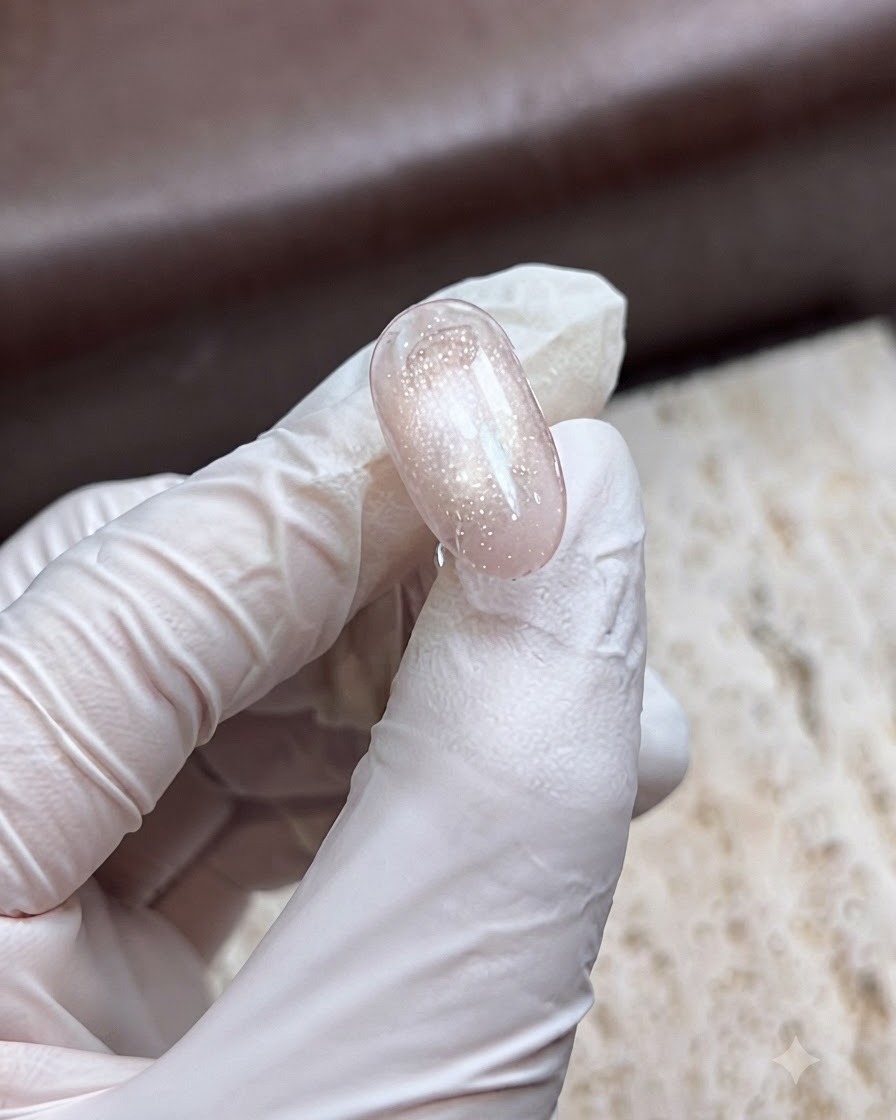
Apply a thick, even layer of watercolor matte top coat directly over the fully cured cat-eye gel surface. Do not cure this layer yet, as the wet texture is essential for creating the fluid, blooming watercolor effect when pigments are applied in the next steps.
Tip: Ensure the matte top coat layer is thick enough to allow the watercolor pigments to disperse smoothly without pooling unevenly. - 4Mix dragon fruit pink watercolor pigment
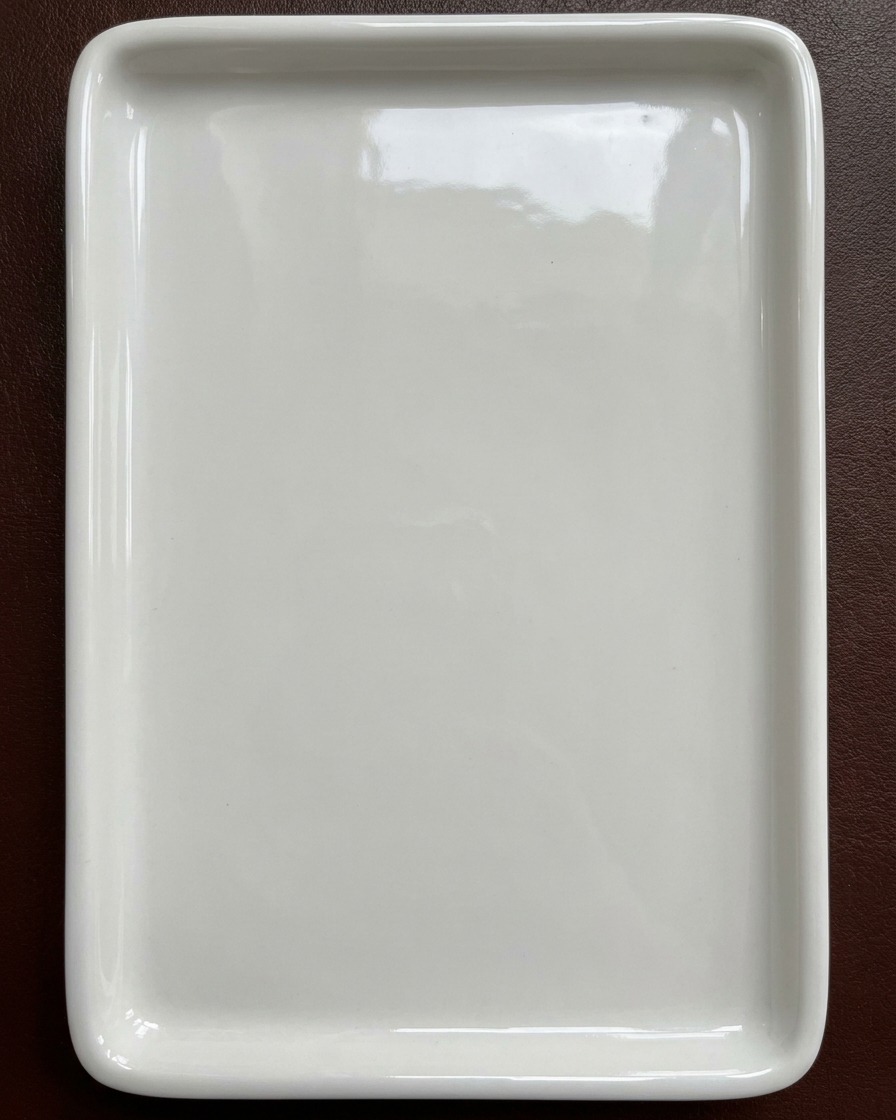
Dispense and mix dragon fruit pink watercolor pigment on a clean white ceramic palette using a fine nail art brush. Adjust the consistency and pigmentation with a touch of water or blending solution so it is ready to create soft, translucent color blocks on the nail.
Tip: Keep a paper towel handy to dab off excess liquid from your brush so you can control the intensity of the pigment. - 5Apply and blend pink color blocks
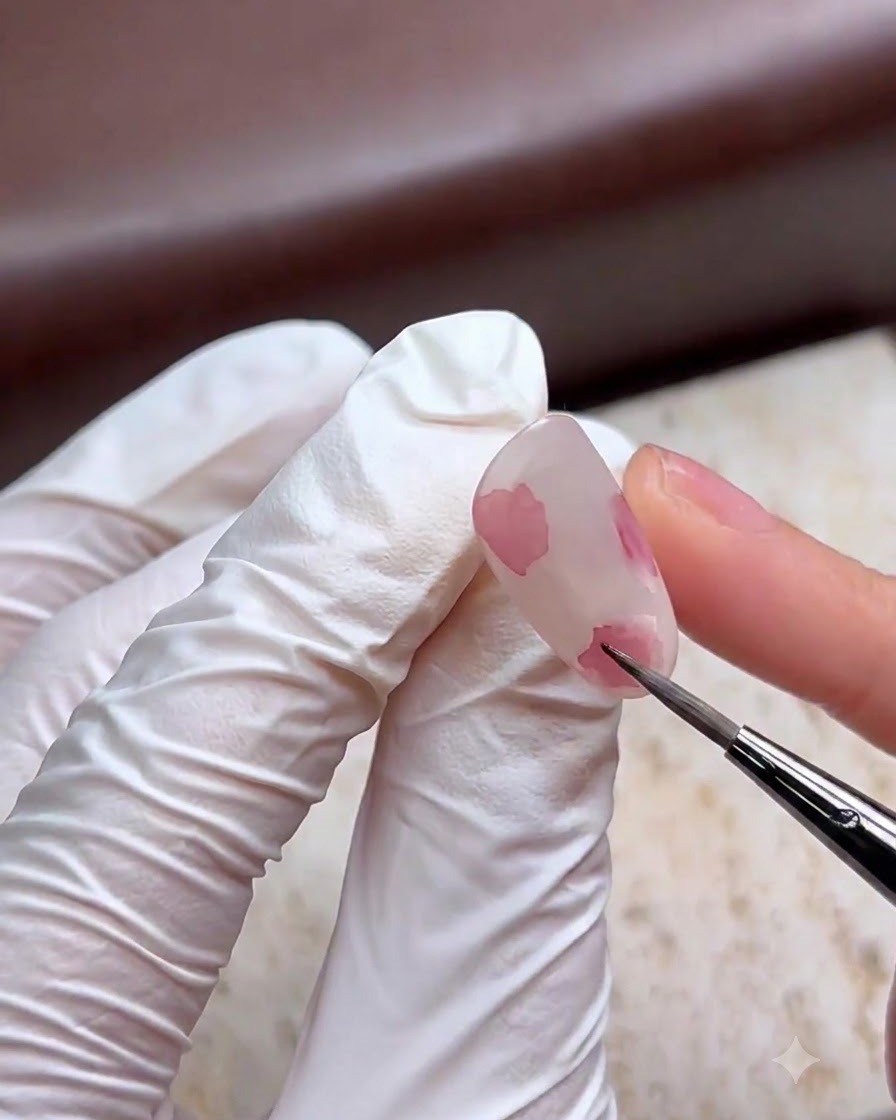
Using the damp brush loaded with dragon fruit pink pigment, lightly dab organic pink color blocks onto the uncured matte top coat layer on the nail. Softly blend the outer edges of each color block to create a hazy, blooming watercolor gradient look.
Tip: Work quickly while the matte top coat is wet to achieve seamless, soft-edged color diffusion. - 6Draw the flower center
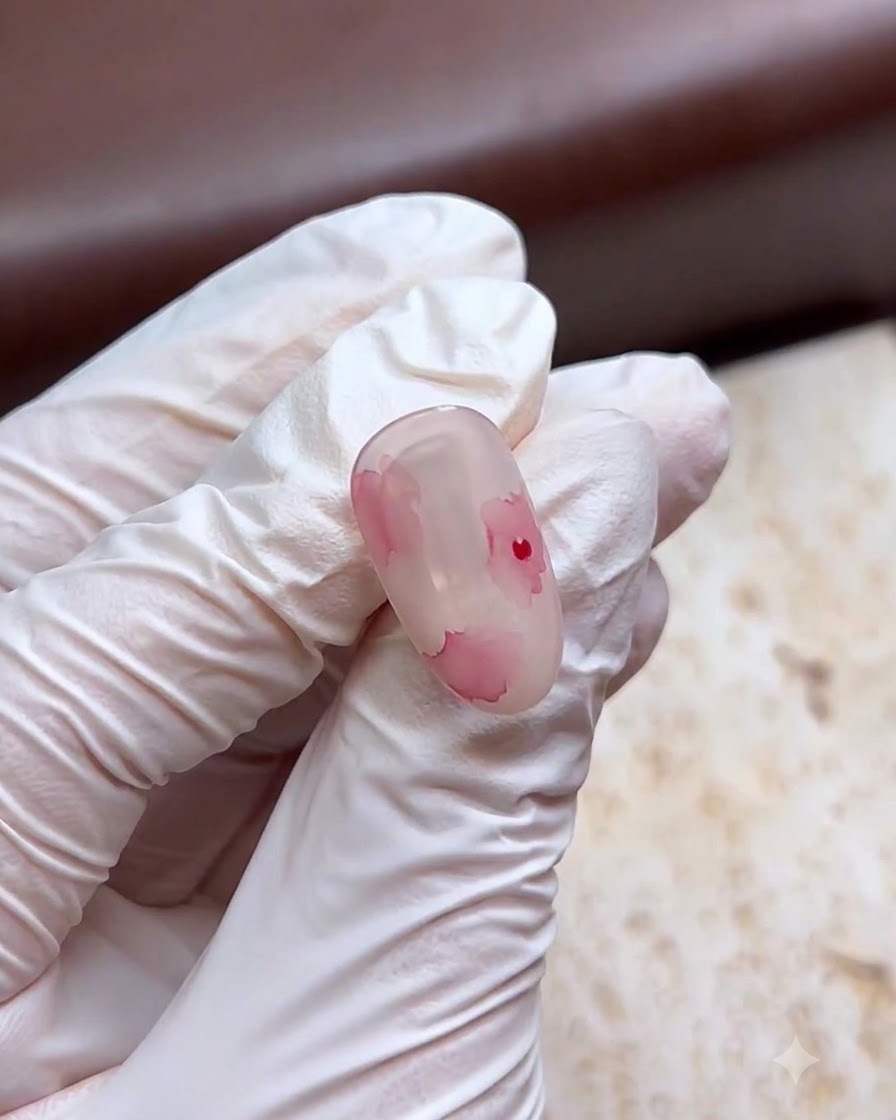
Take a fine nail art brush and use a concentrated stroke shaped like the number 6 to draw the core center of the watercolor rose. This distinct shape creates an instant focal point that mimics the folded petals of a blooming rosebud.
Tip: Keep your hand steady and use light pressure to make the center line delicate and refined. - 7Paint the first watercolor rose petals
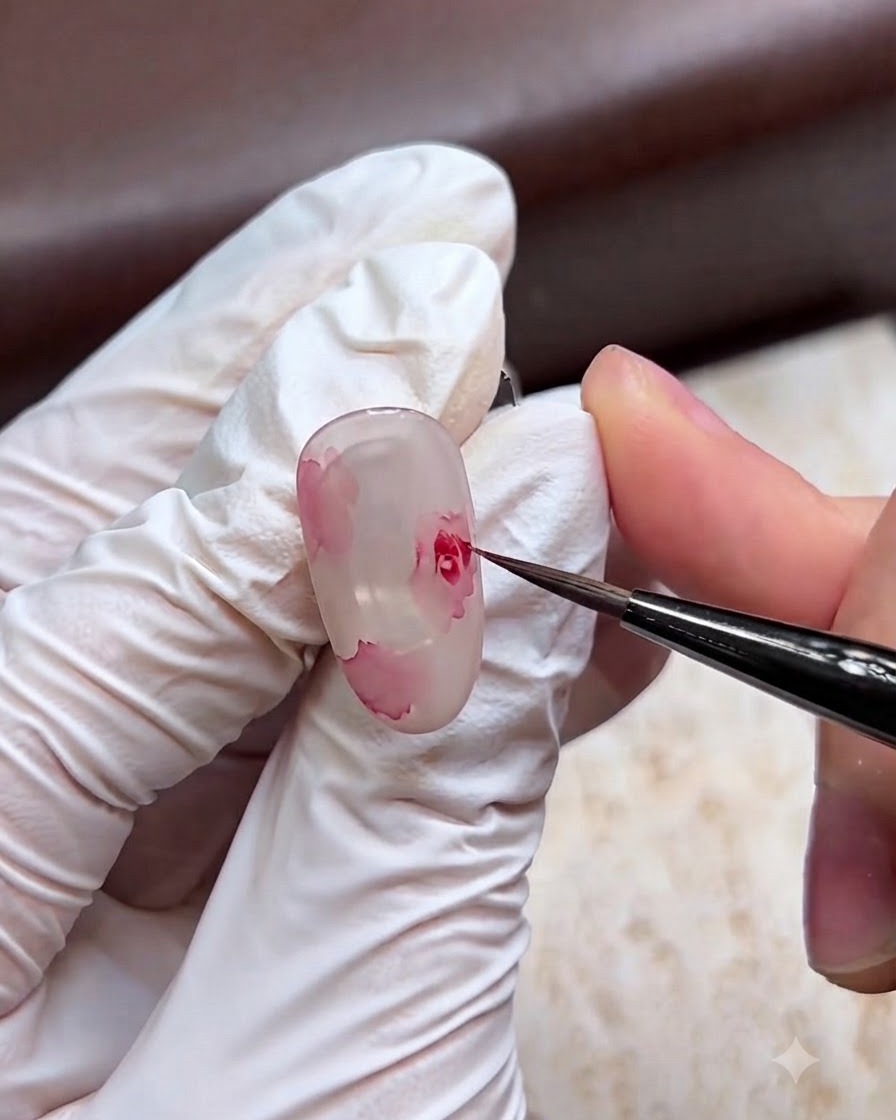
Using your fine detail brush, paint three or four delicate petals around the previously drawn flower center to form the first watercolor rose. Keep the strokes soft and translucent to maintain the watercolor aesthetic.
Tip: Do not overload your brush with pigment; thin, layered strokes create a more realistic watercolor effect. - 8Paint an additional watercolor rose blossom
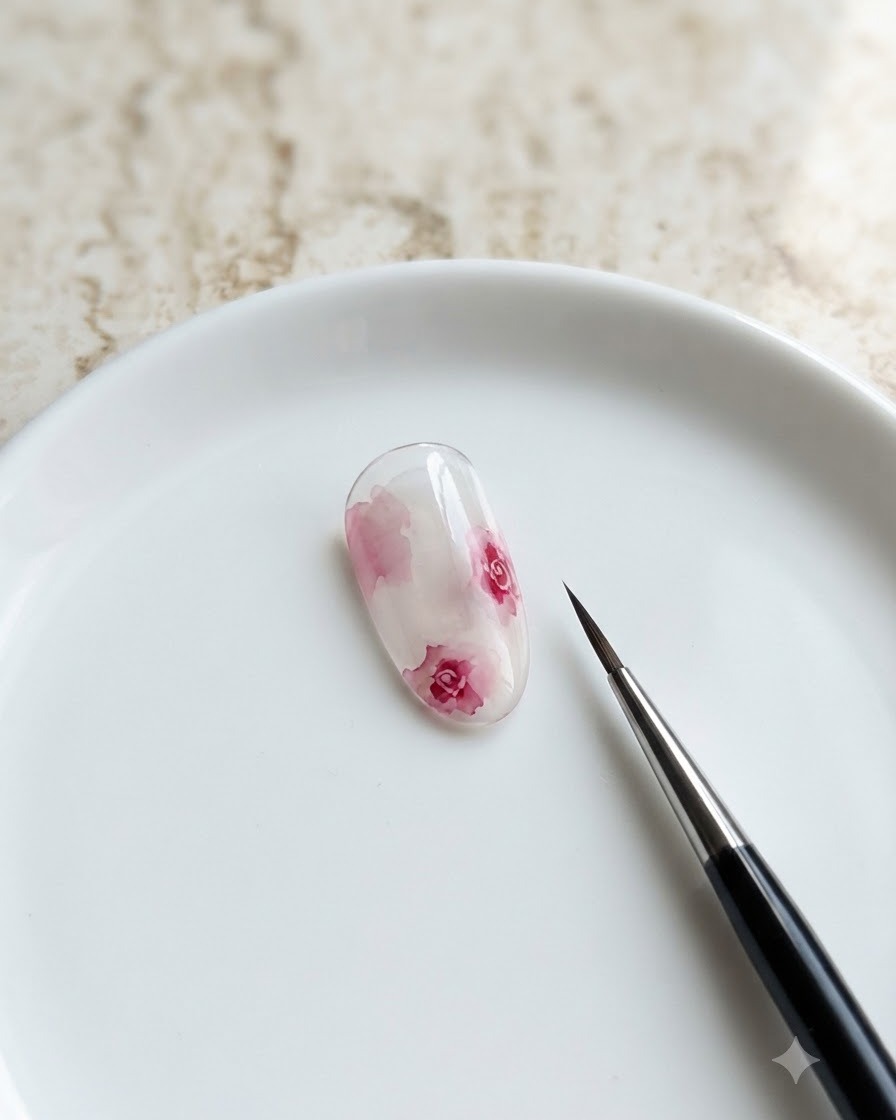
Move to another section of the nail and paint an additional watercolor rose blossom following the same technique. Balance the placement of the roses across the nail surface for an aesthetically pleasing composition.
Tip: Vary the sizing and orientation of the roses slightly to make the overall design look more natural and organic. - 9Blend the outer edges of the roses
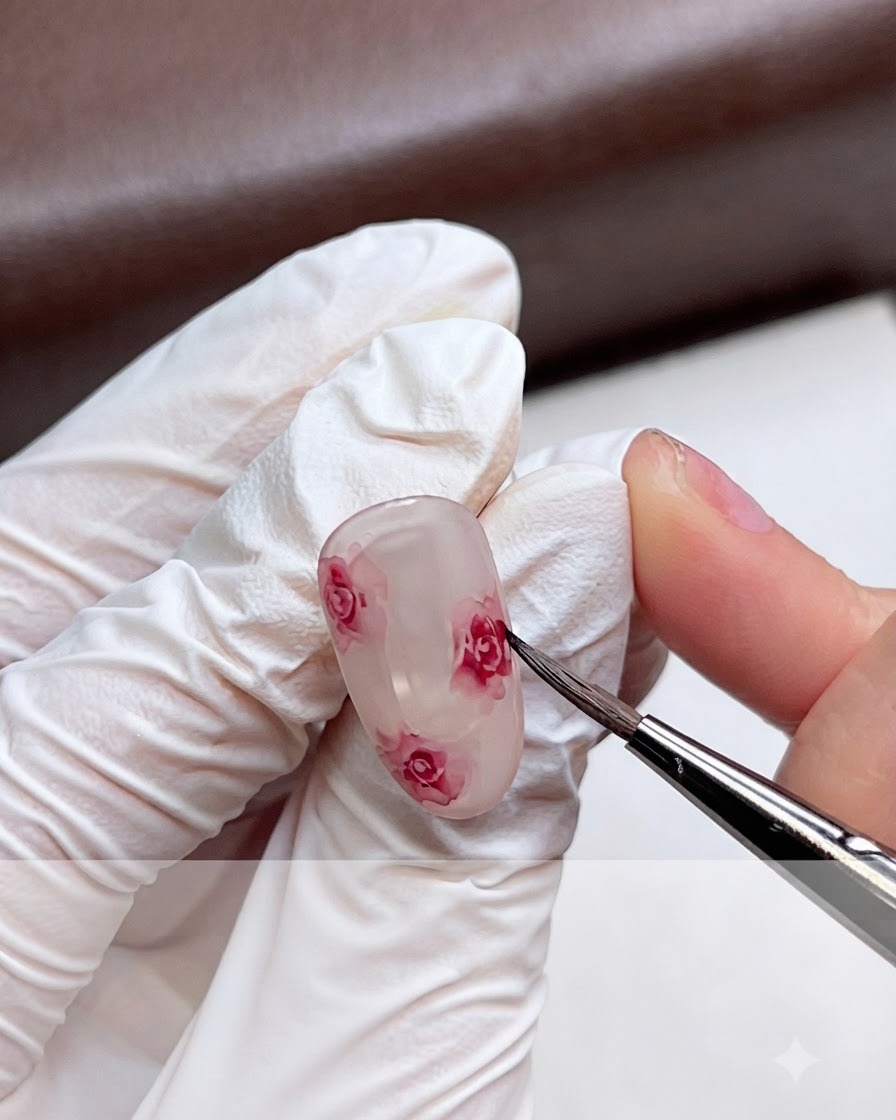
Using a clean damp brush or a blending tool, gently dab and soften the outer edges of the painted roses. This technique diffuses the pigment, creating the characteristic soft-focus watercolor look.
Tip: Work quickly while the paint is still workable to achieve a seamless, smoke-like edge blending. - 10Add delicate green atmospheric leaves
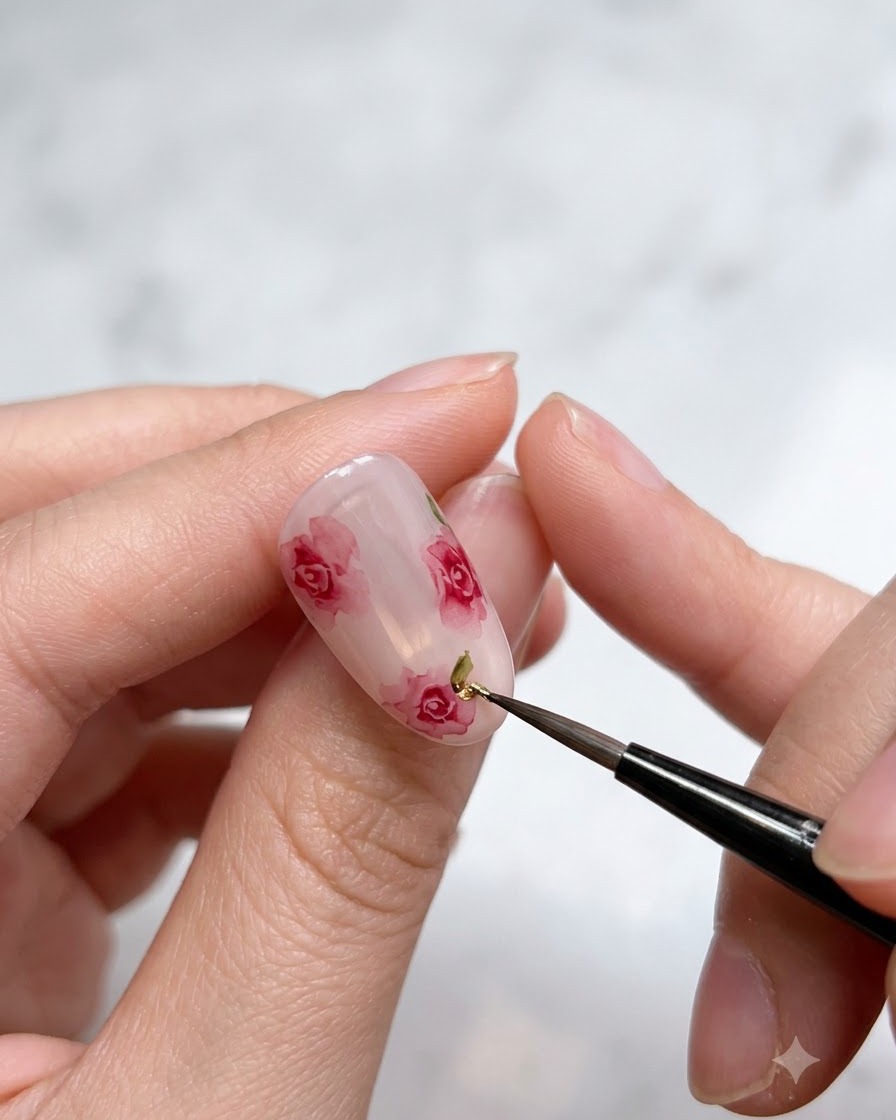
Dip a fine liner brush into a muted green shade and add delicate atmospheric small leaves next to the roses. These subtle foliage accents frame the flowers and complete the floral arrangement.
Tip: Keep the leaf strokes minimal and wispy so they enhance rather than overpower the watercolor roses.