Blooming Gel Flower Nail Art — Step-by-Step Tutorial
Create stunning, dimensional floral nail art using blooming gel, iridescent foil flakes, and hand-painted white petals with metallic gold accents.
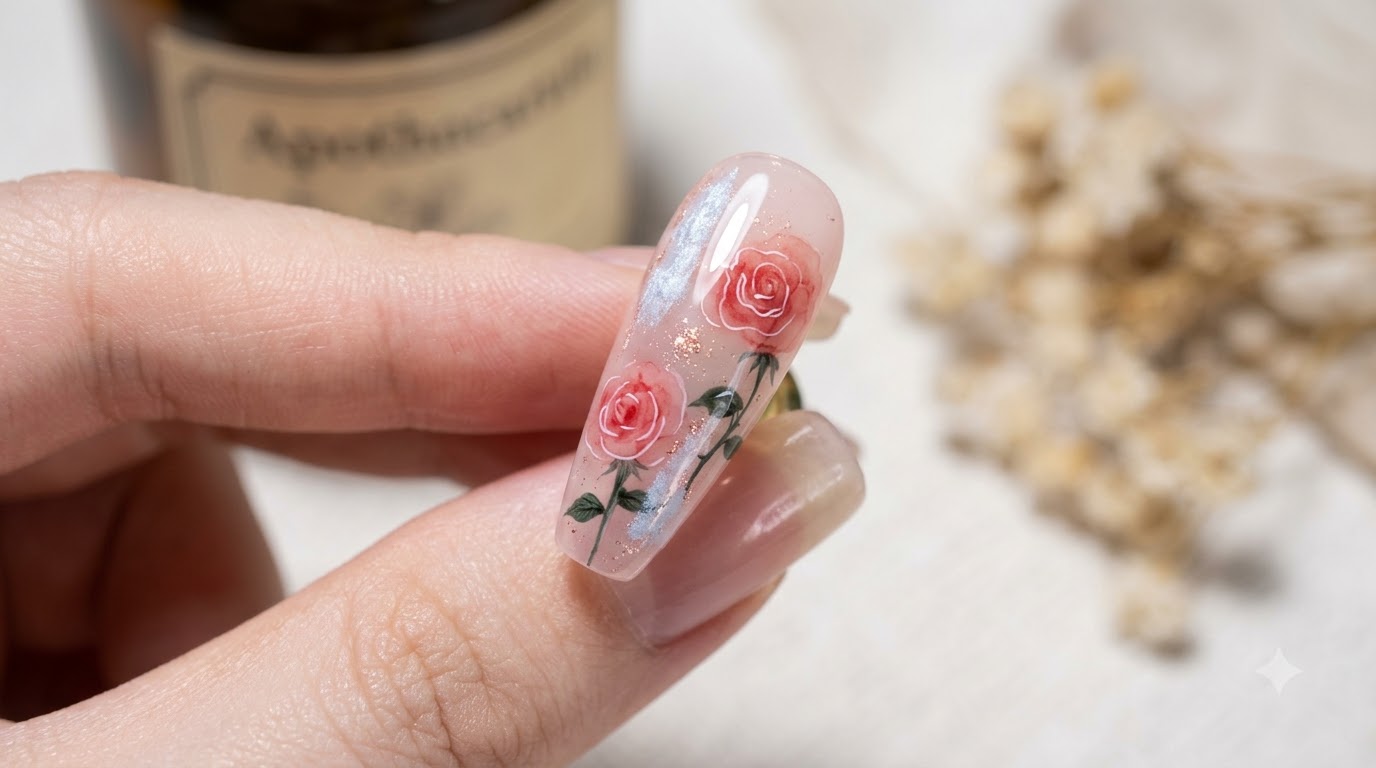
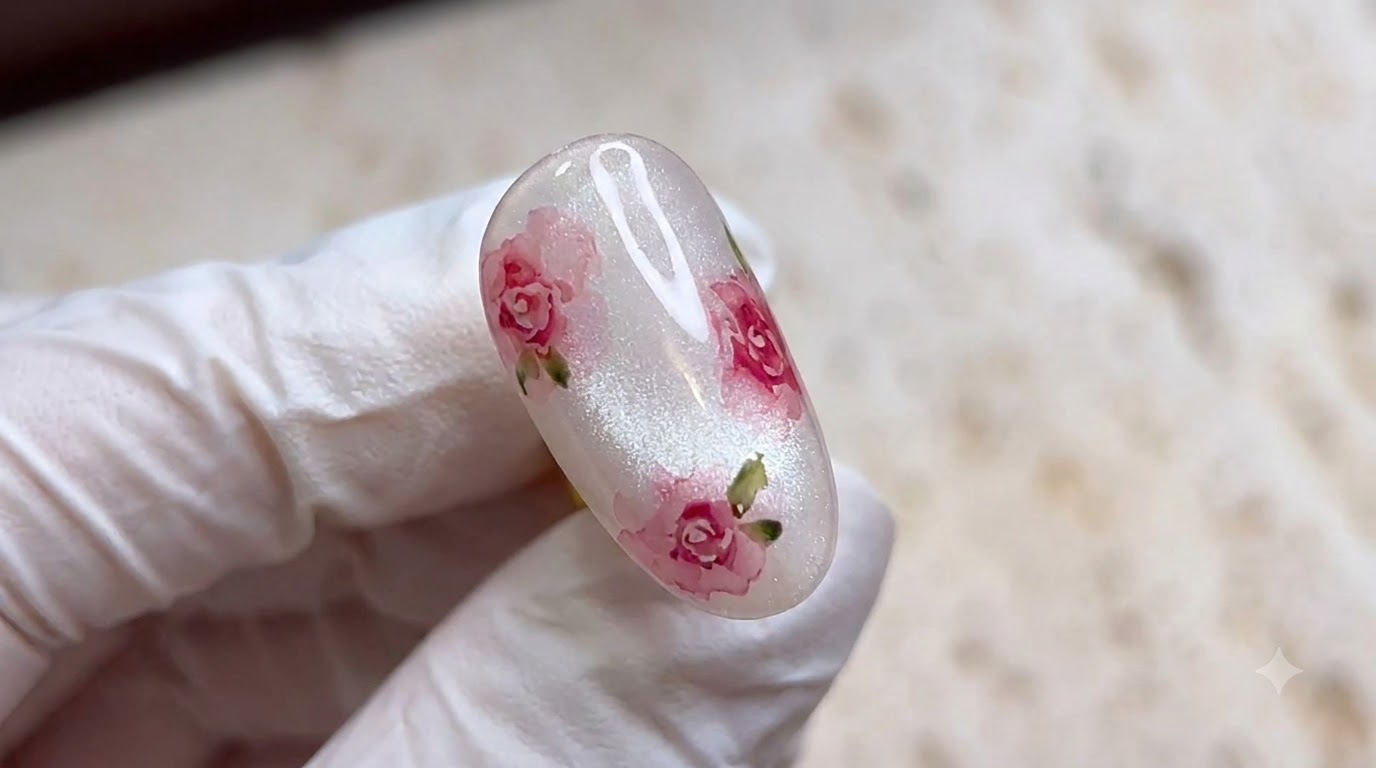
Hand-painted floral designs combined with textured iridescent foils and blooming gel effects create a mesmerizing multi-dimensional manicure. This detailed tutorial guides you through layering blooming gel colors, delicate petal brushwork, and a touch of gold mirror powder to achieve a professional salon look right at home.
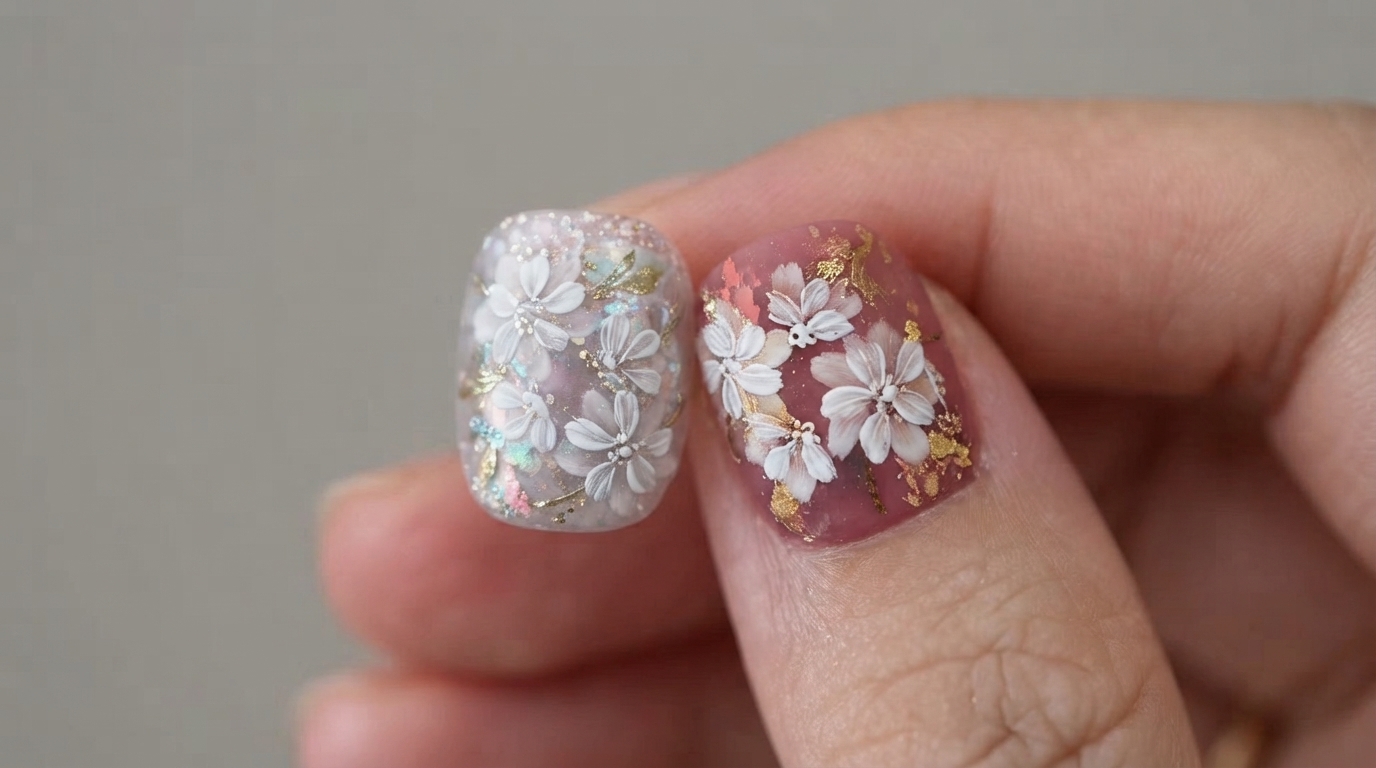
Steps
- 1Apply adhesive base coat
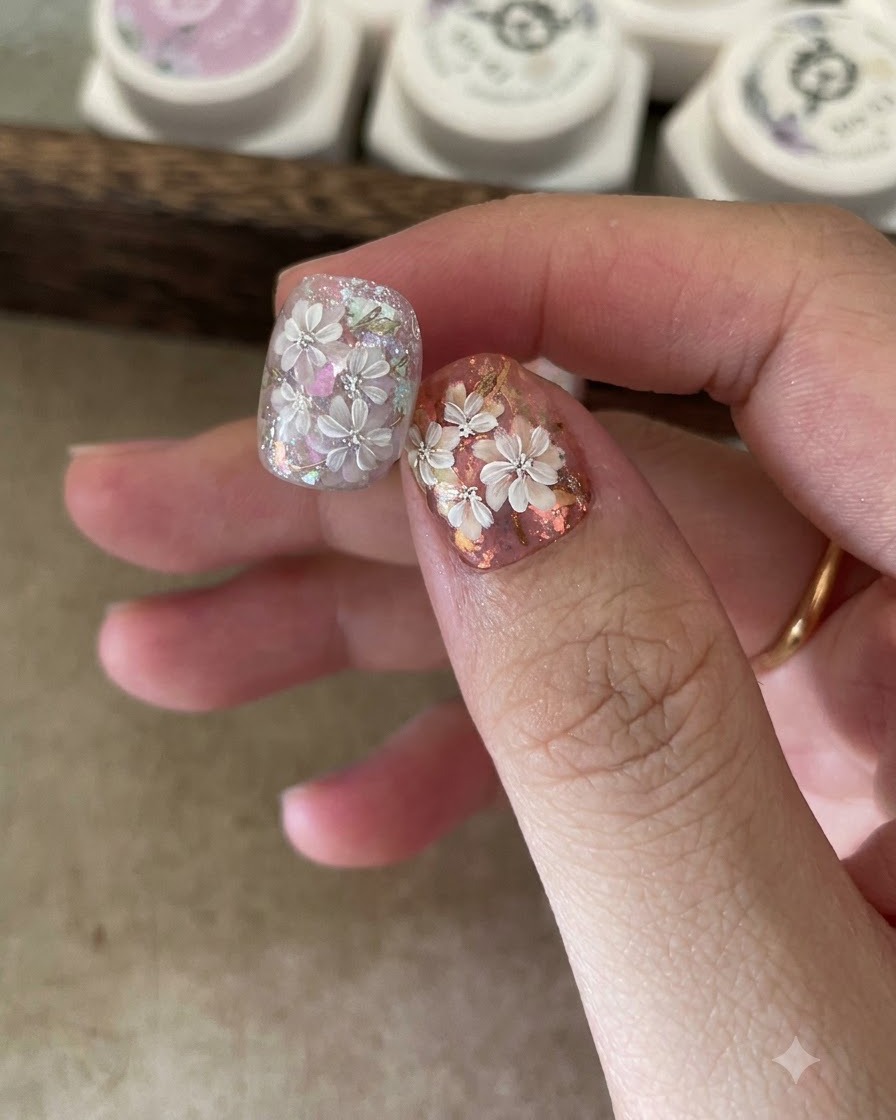
Apply a layer of adhesive base coat onto the nail tip to prepare the surface for foil application.
Tip: Ensure the base coat remains slightly tacky for the foil pieces to adhere properly. - 2Place iridescent foil pieces
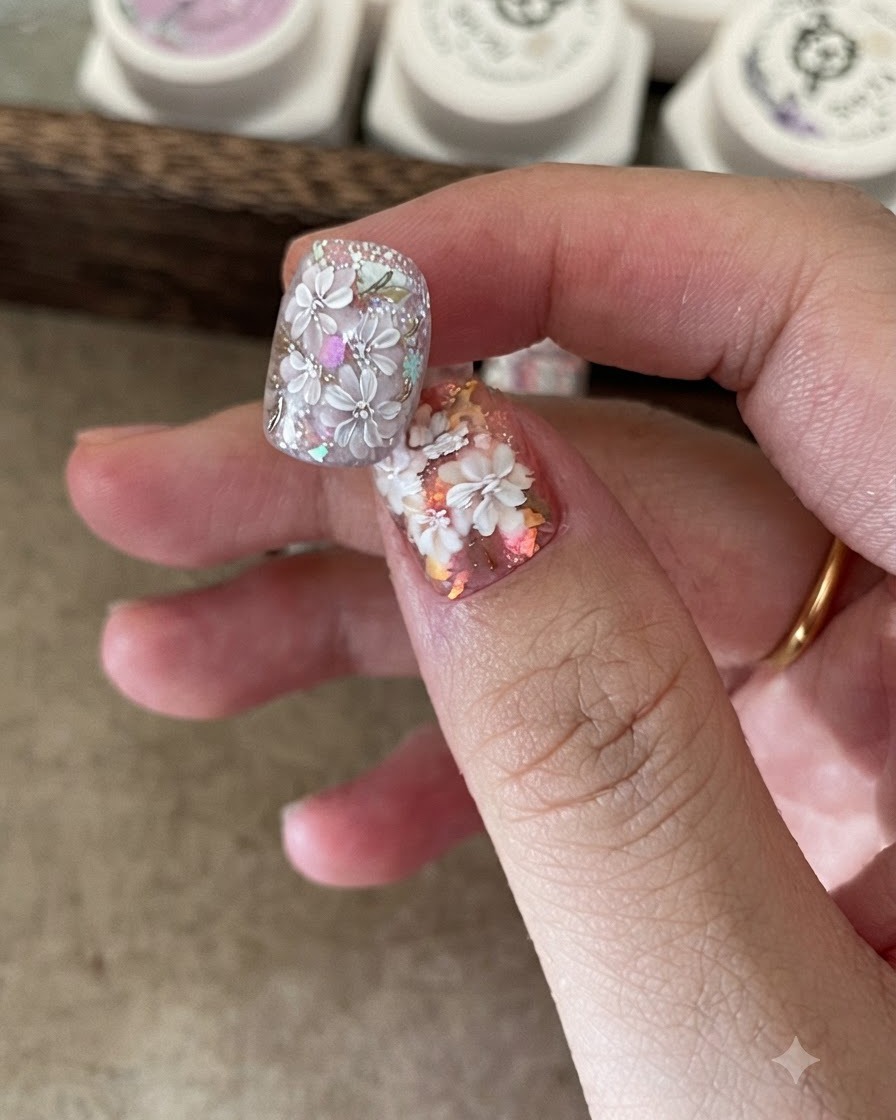
Carefully pick up iridescent foil pieces using a brush and place them onto the tacky base layer across the nail.
Tip: Distribute the foil pieces evenly to create a shimmering, textured background. - 3Apply matte top coat
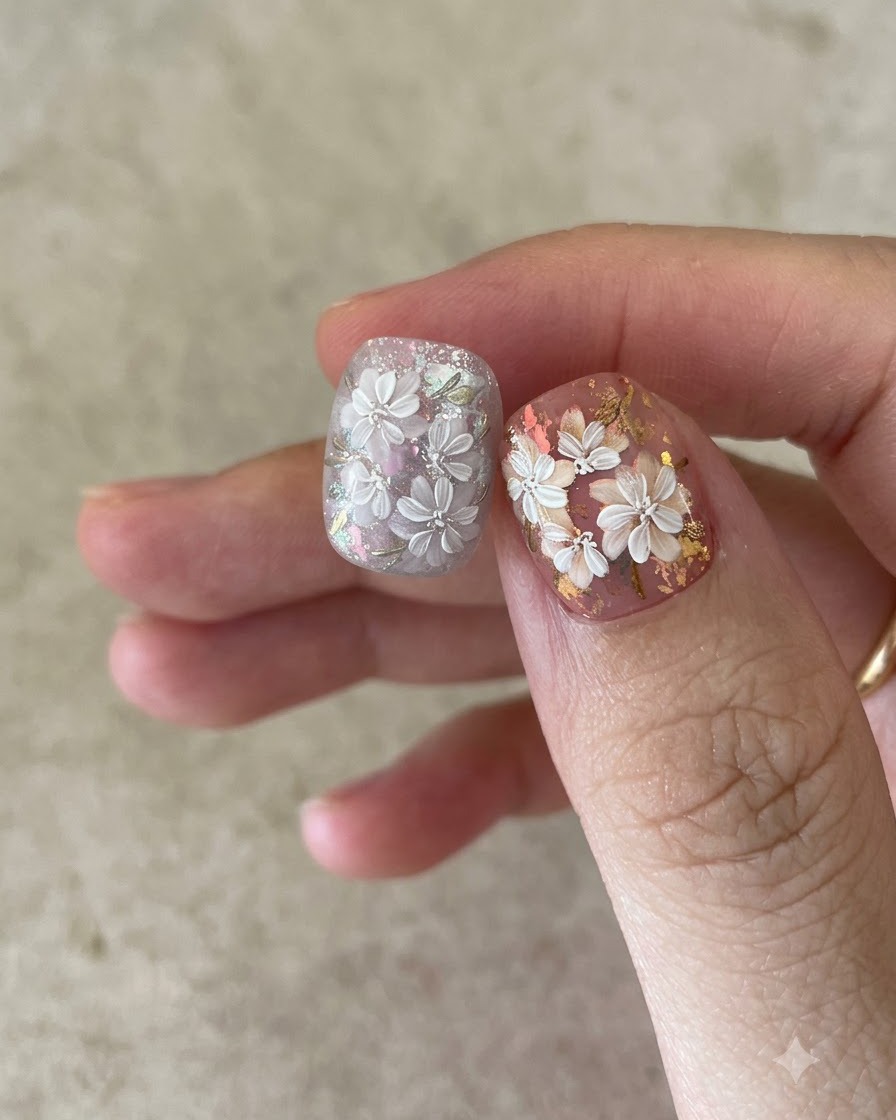
Apply a layer of matte top coat over the cured base and foil layer, then cure under a lamp.
Tip: The matte top coat creates a smooth, subdued textured base for the subsequent blooming effect. - 4Apply Magic Color gel drops
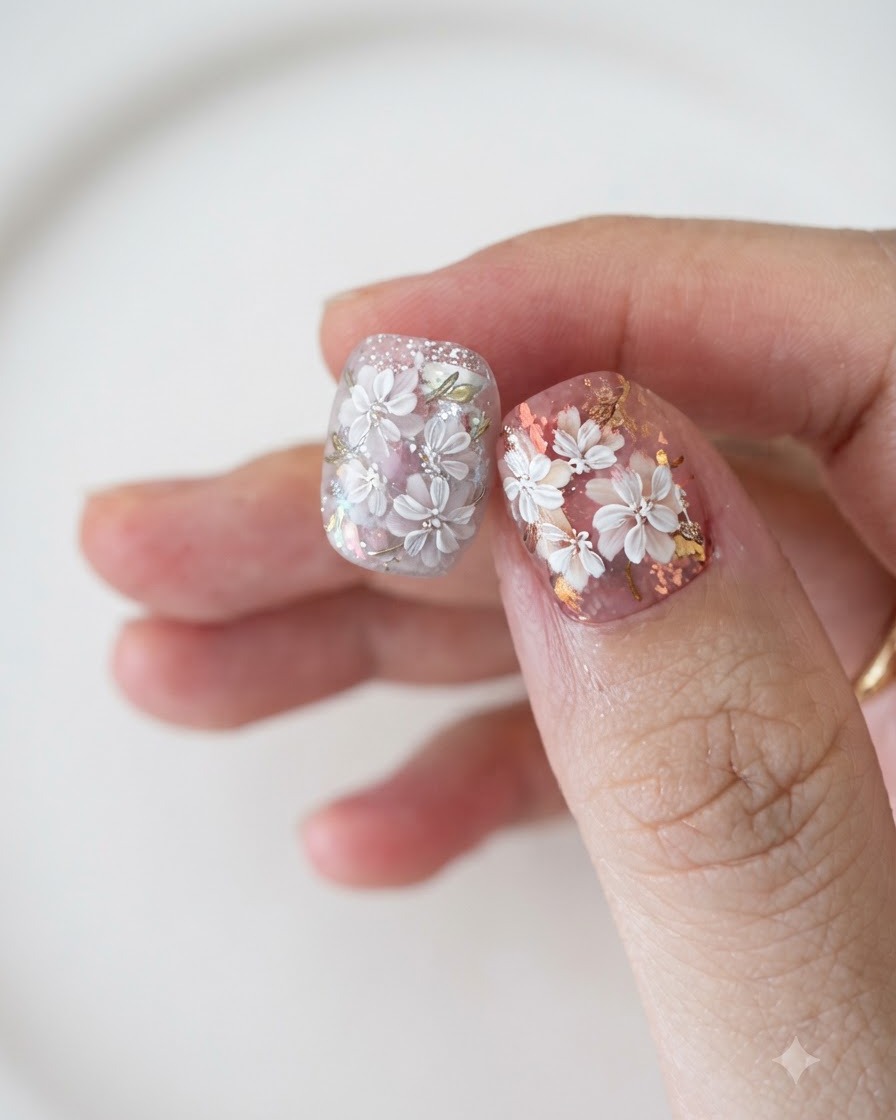
Apply small drops of purple Magic Color 51 and 55 gels onto the matte surface to prepare for the blooming design.
Tip: Keep the gel drops concentrated where you want the blooming flower effect to occur. - 5Blend gels for blooming effect
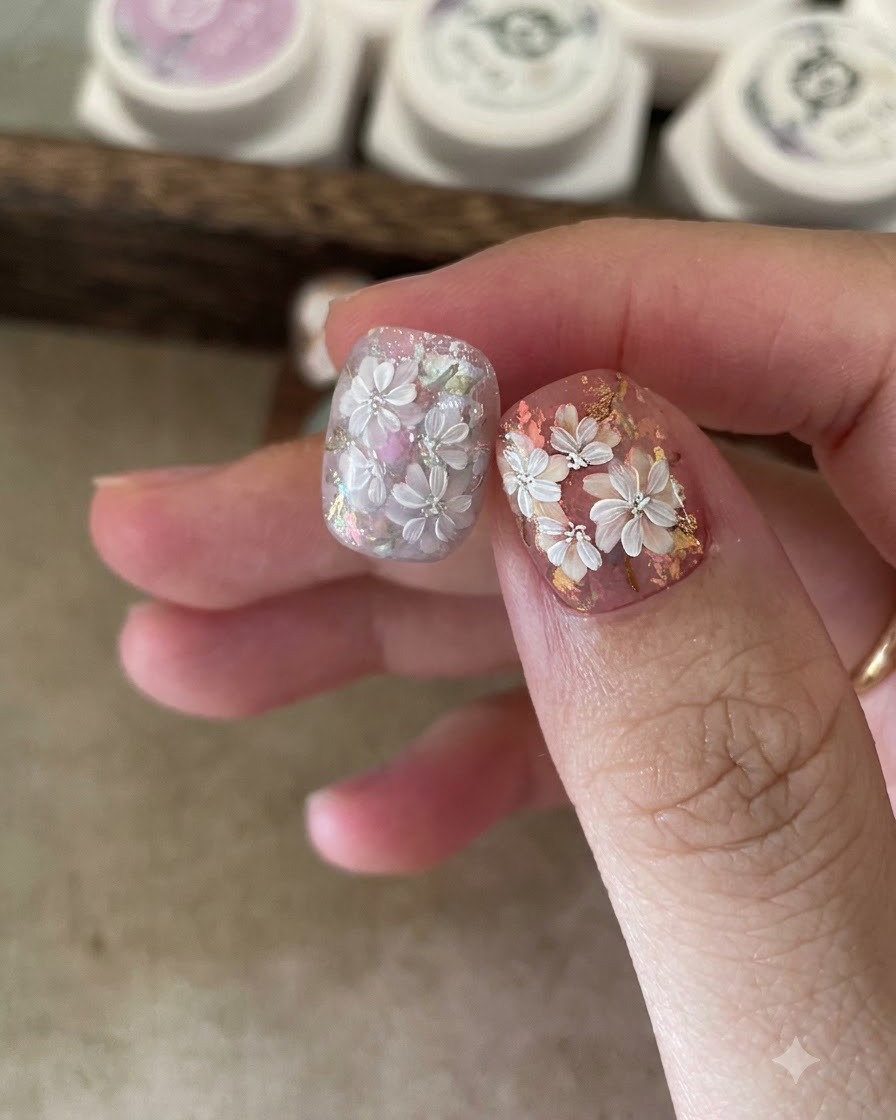
Gently use a fine brush to blend the purple gel drops together, creating a soft blooming effect across the nail.
Tip: Work quickly to feather the edges before curing the gel. - 6Apply intermediate base coat
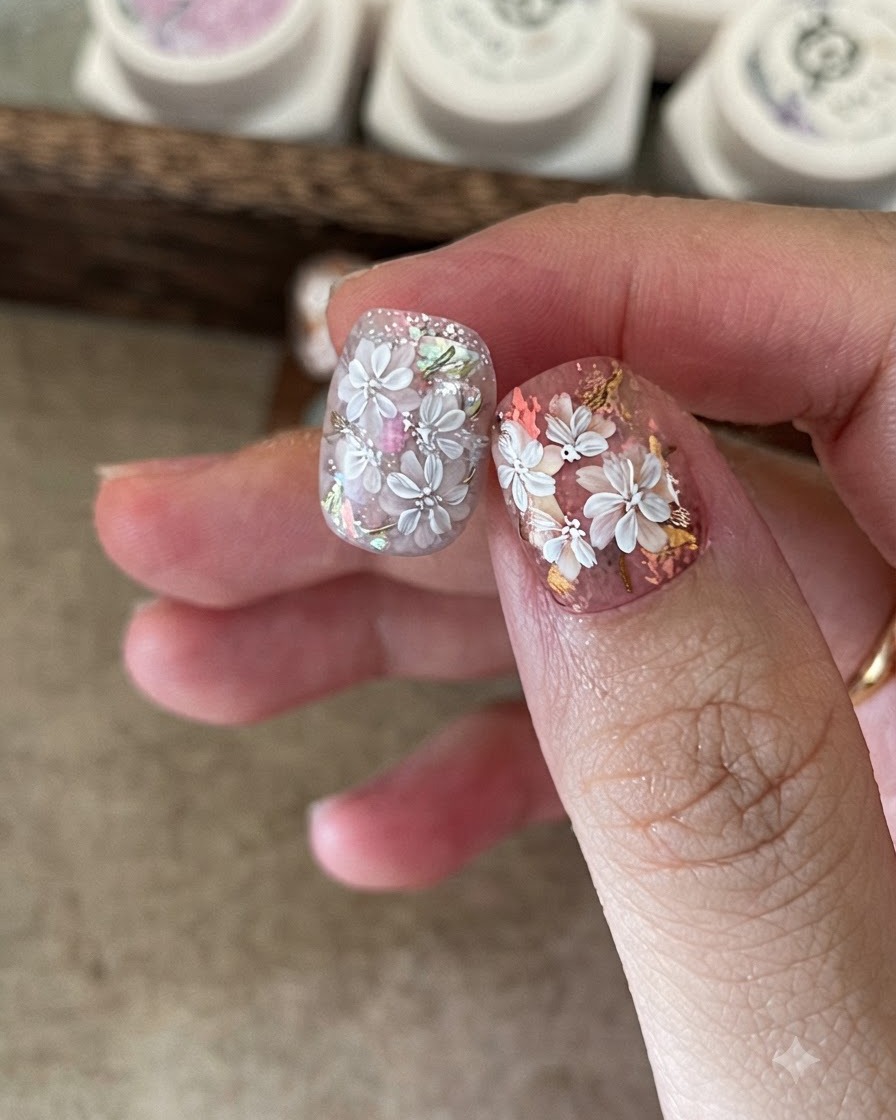
Apply another layer of base coat over the cured blooming gel layer to help adhere additional foil pieces.
Tip: This layer acts as a sticky adhesive bed for the next round of embellishments. - 7Apply more iridescent foil pieces
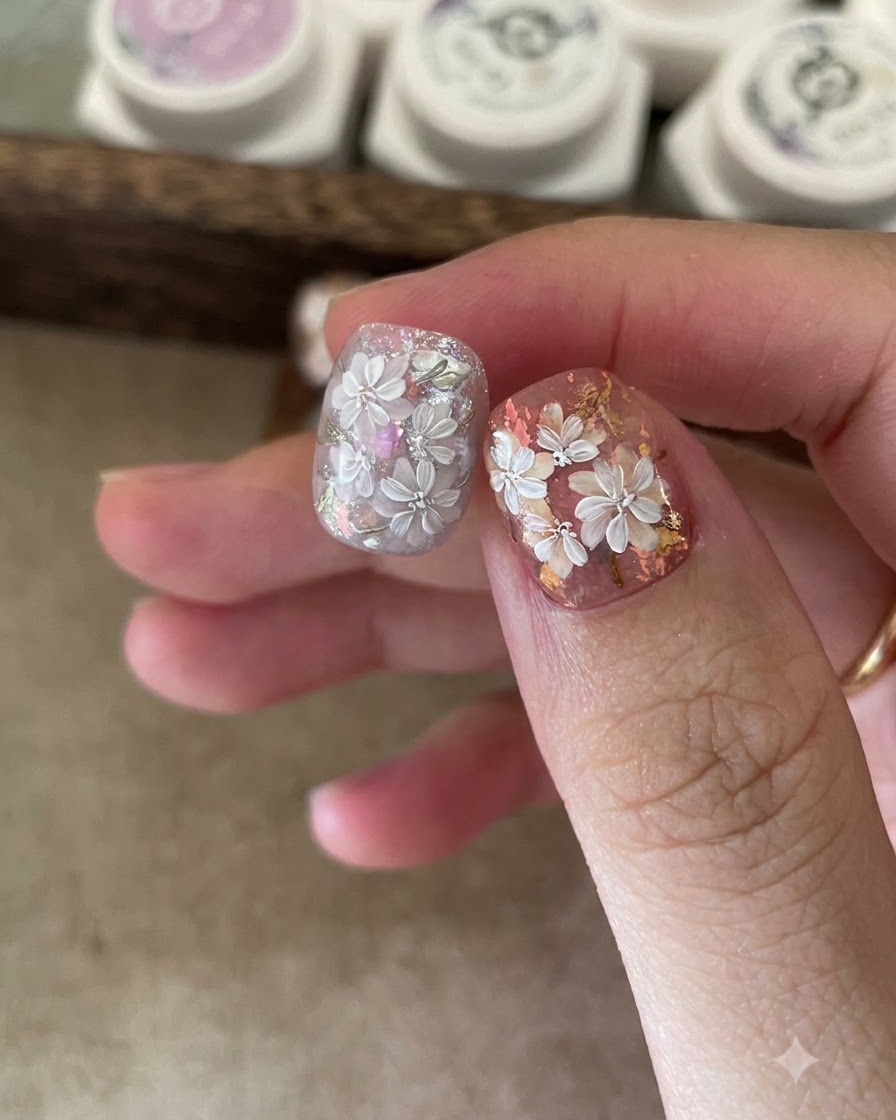
Apply another layer of base coat to help adhere more foil piecescite: 1. Place additional iridescent foil pieces onto the nail while the base coat is still tacky to create depth and shimmer.
Tip: Work quickly while the base coat is tacky to ensure the foil pieces adhere securely. - 8Paint white five-petal flower outlines
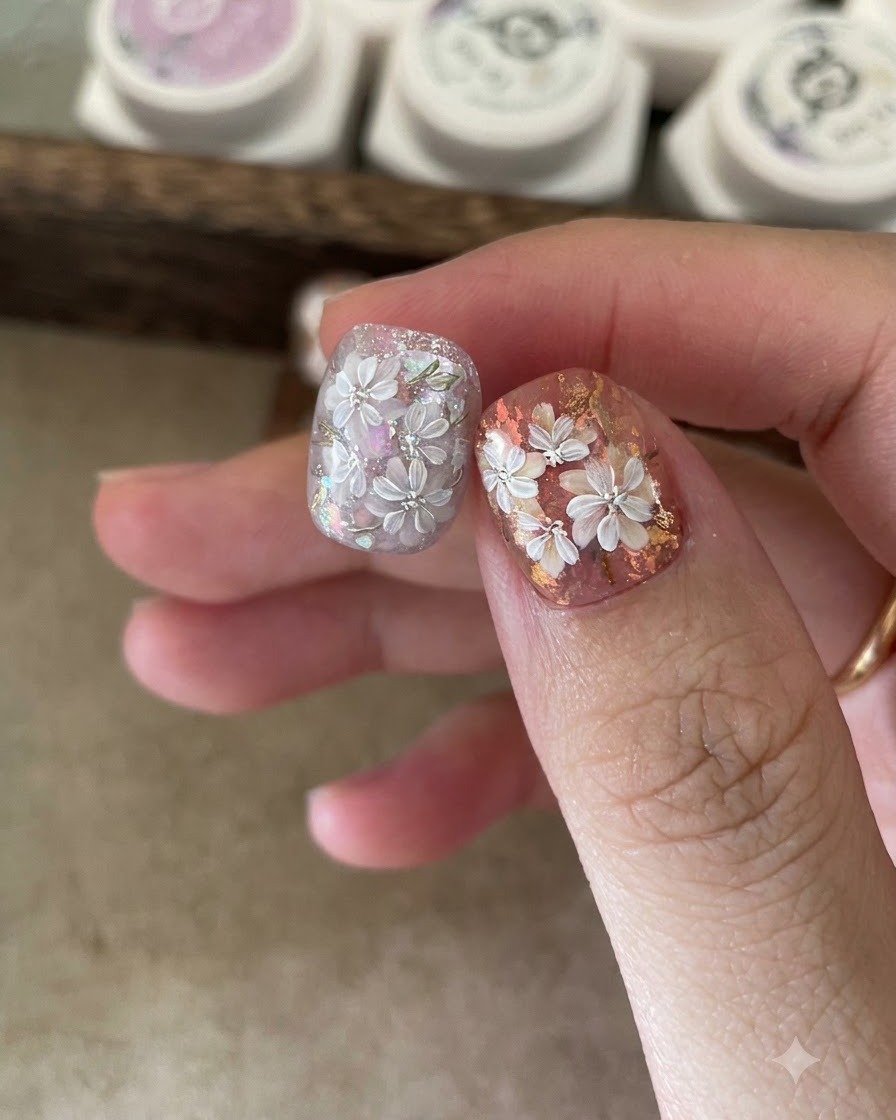
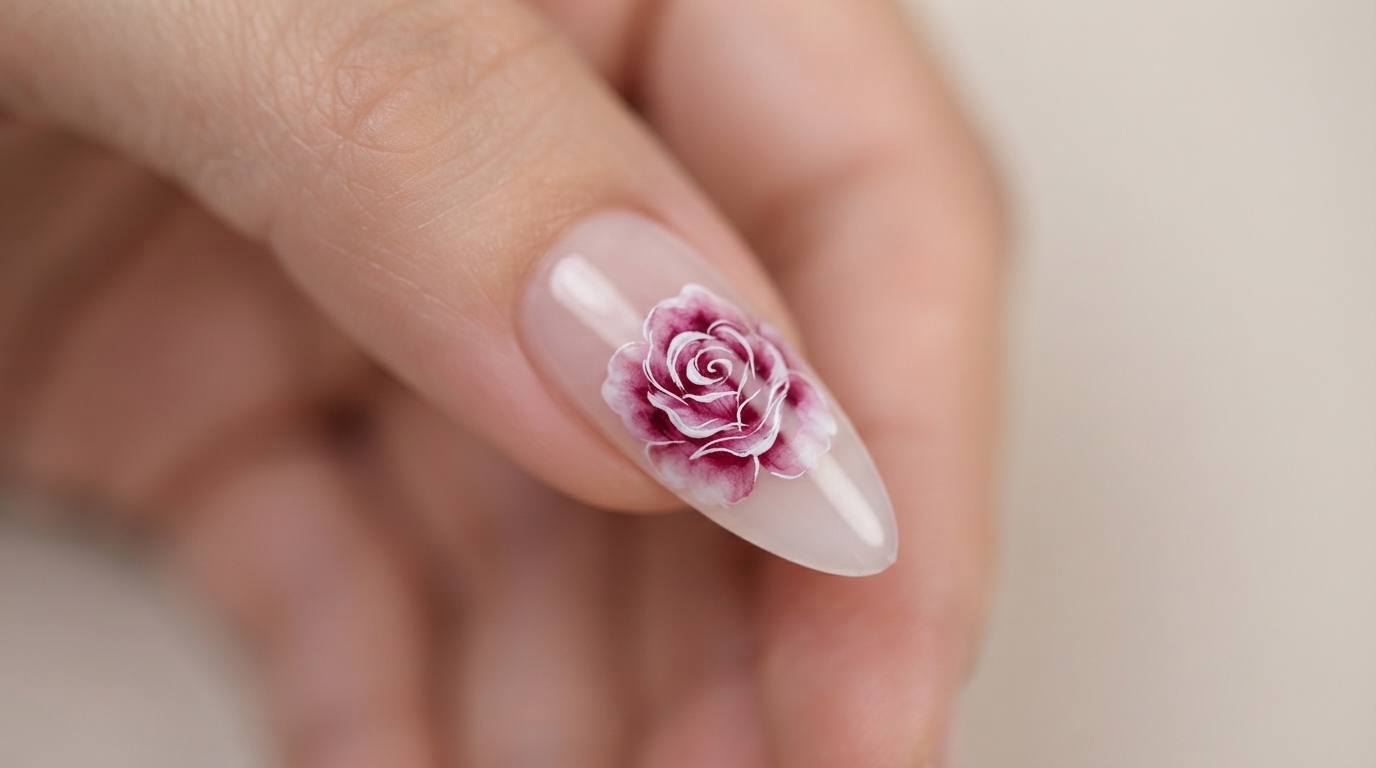
Using white nail art paint and a fine liner brush, carefully draw delicate outlines for five-petal flowers over the foiled and cured backgroundcite: 1.
Tip: Keep your brush pressure light for clean, thin petal outlines. - 9Apply gel to flower centers
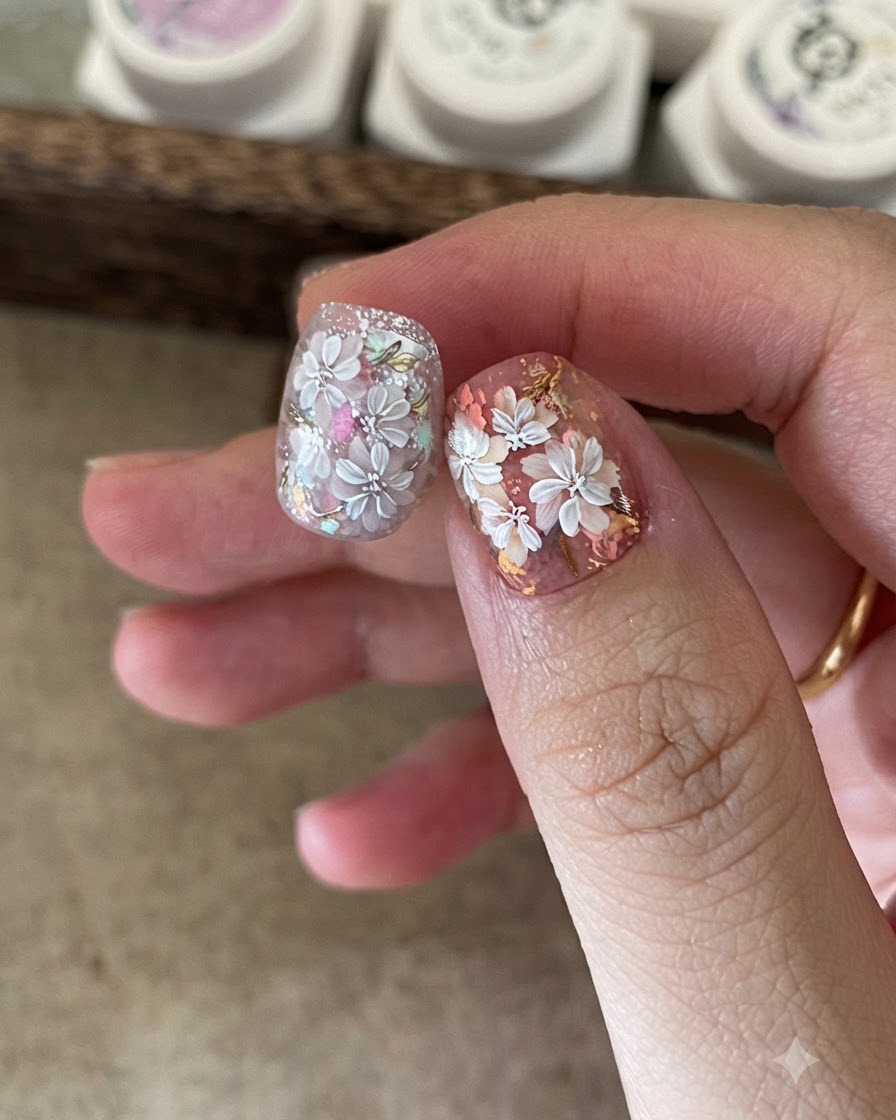
Take a small sponge and gently dab Magic Color 55 gel onto the centers of the hand-painted flowers. This adds a soft, blended depth to the design, making the floral elements look more vibrant and dimensional.
Tip: Use a light touch with the sponge to avoid smudging the surrounding petals. - 10Apply matte top coat
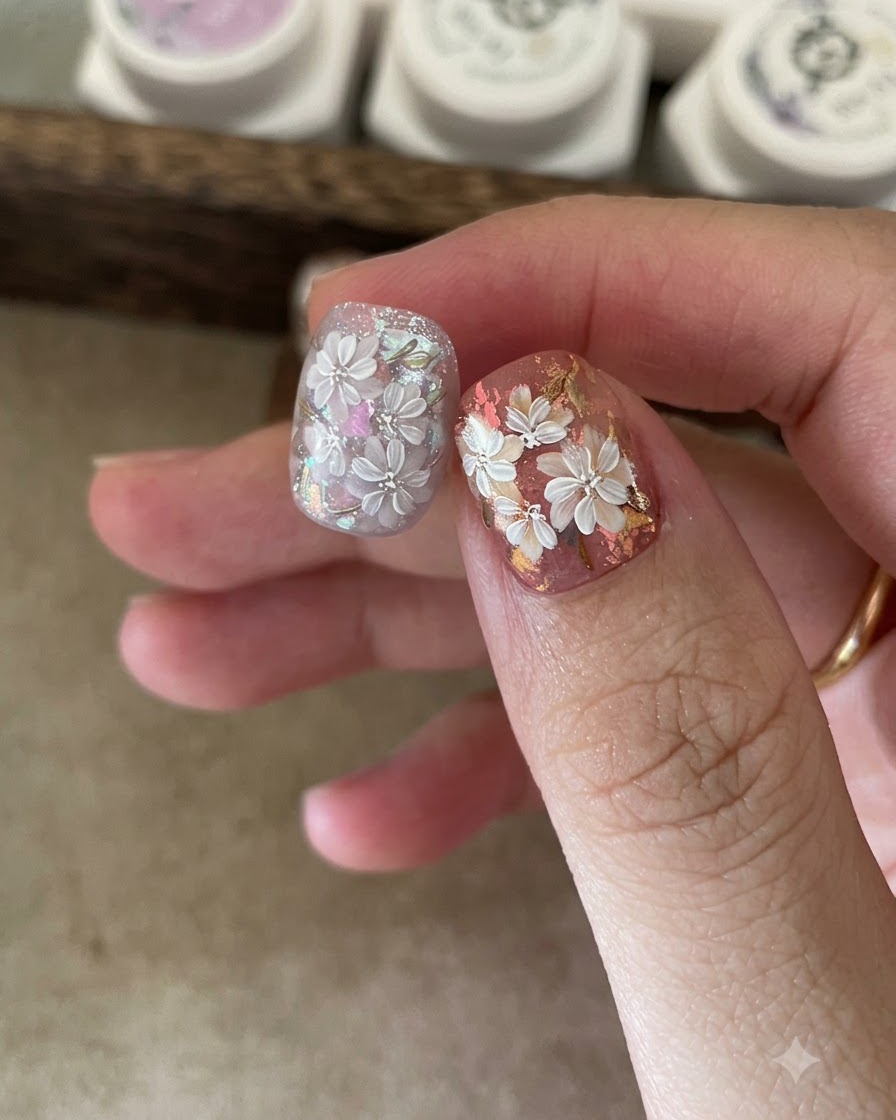
Apply a non-sticky matte top coat over the design to seal it and create a smooth velvet texture before adding further detailed elementscite: 1. Cure according to instructions.
Tip: Ensure complete coverage with the matte top coat so subsequent art layers adhere properly. - 11Paint leaf outlines with gel 47
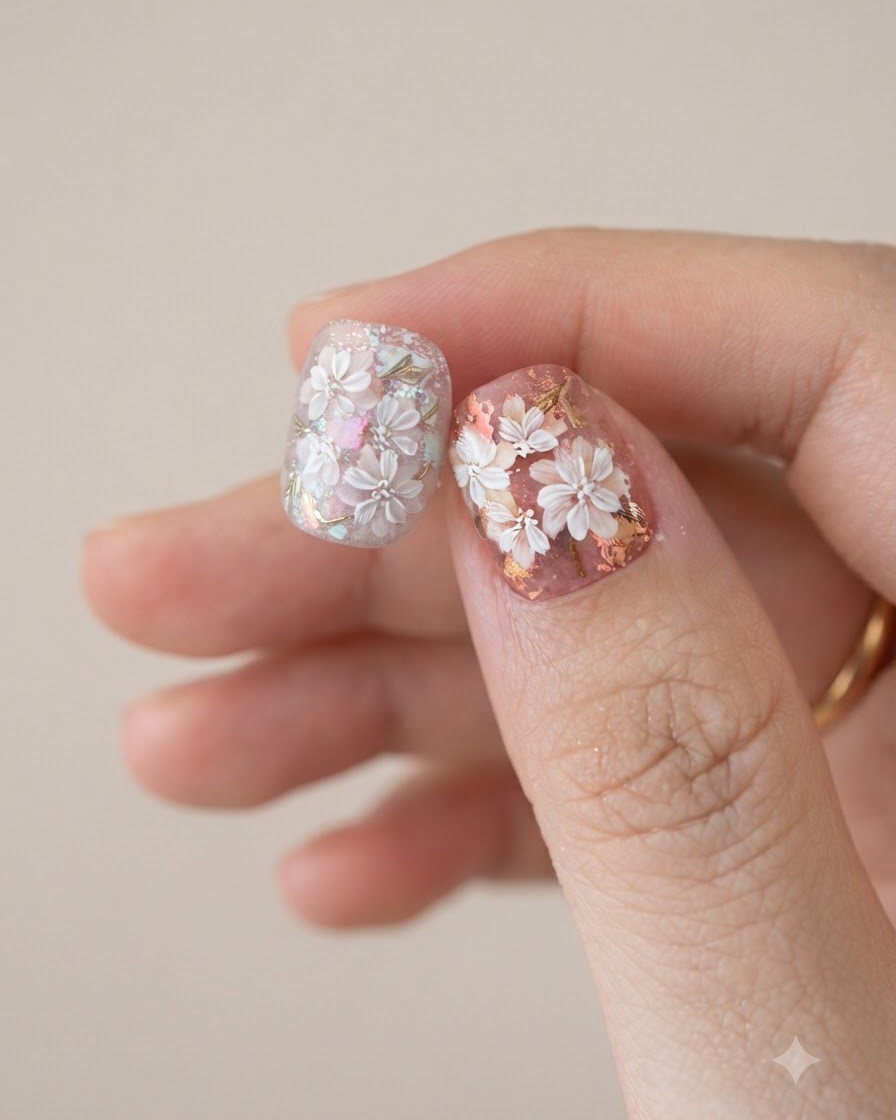
Use Magic Color gel 47 with a fine liner brush to draw delicate leaf outlines around the floral designcite: 1.
Tip: Draw varied leaf sizes and directions to make the composition look natural and balanced. - 12Apply gold mirror powder to leaves
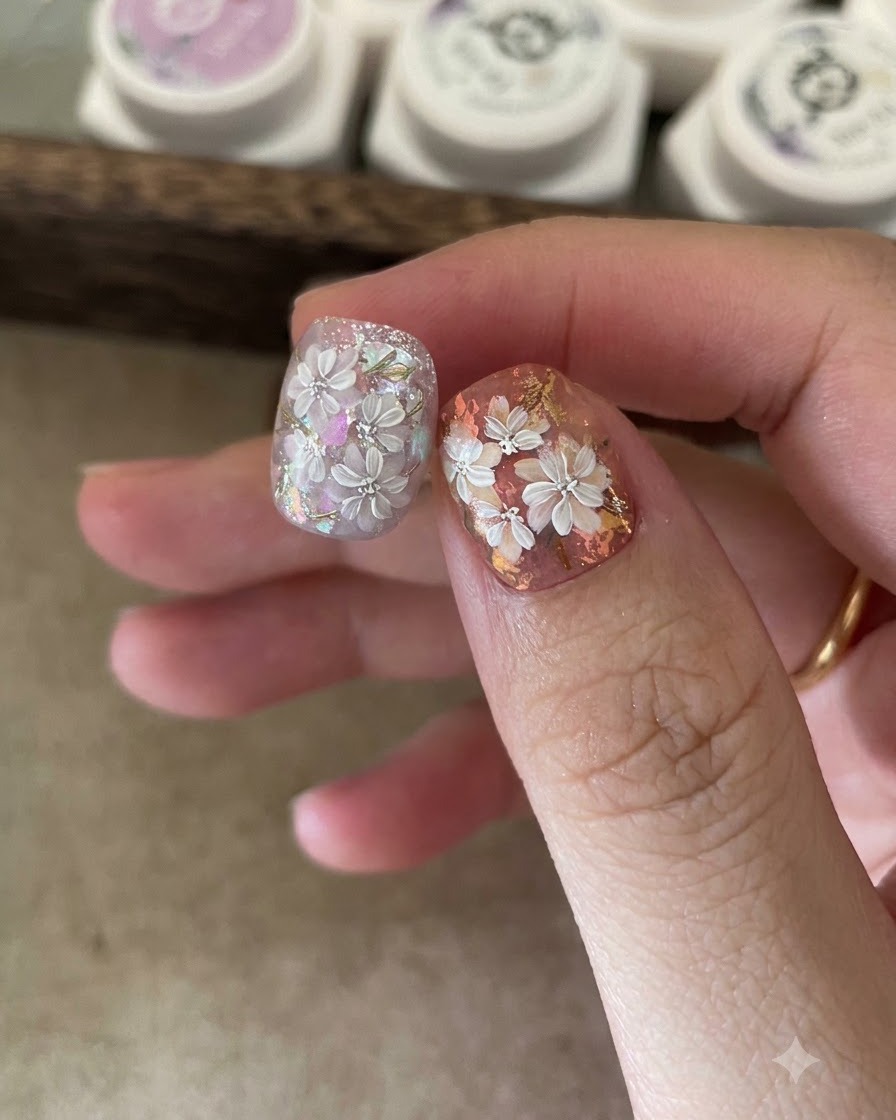
Apply gold mirror powder directly onto the painted leaf details to give them a metallic sheen, then finish with a top coat and cure for 20 secondscite: 1.
Tip: Dust off any excess mirror powder gently before applying the final top coat sealer. - 13Seal gold leaf details with top coat
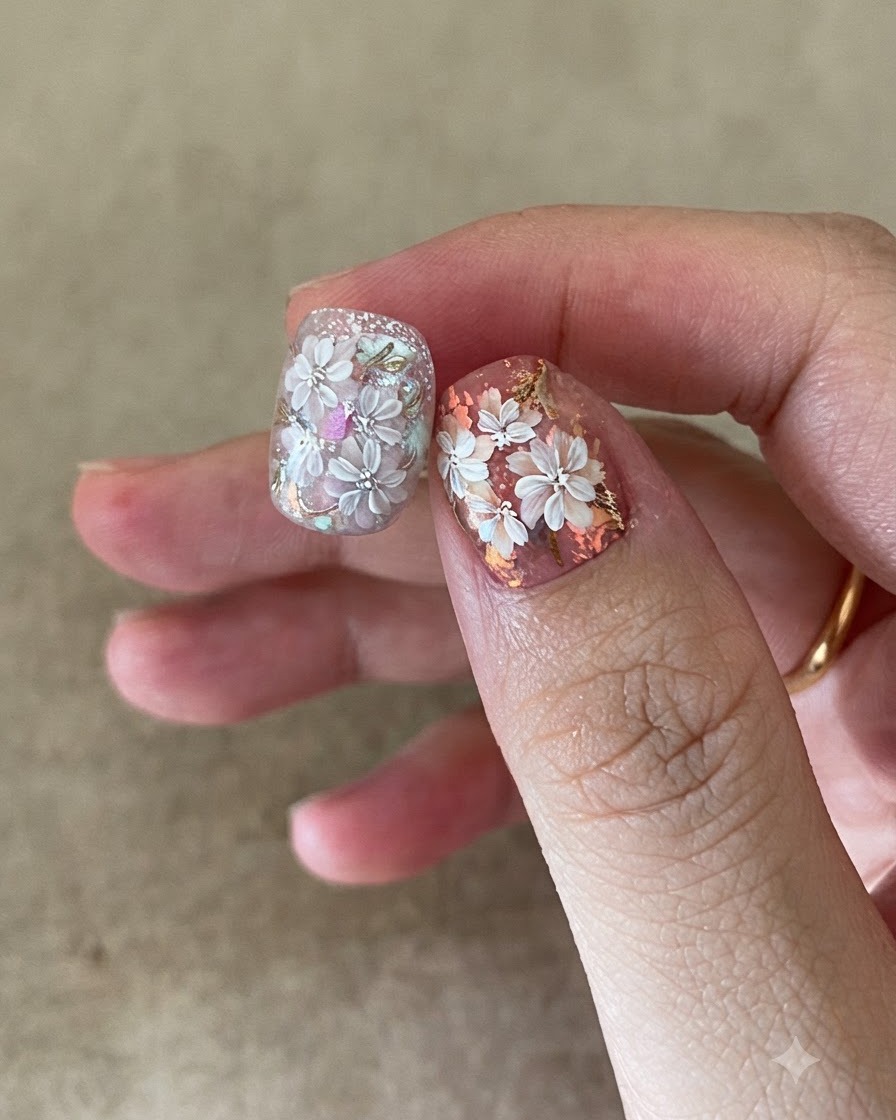
Apply a protective layer of top coat over the entire nail surface, ensuring that all the gold mirror powder and leaf details are fully sealed. This prevents chipping and locks the metallic elements in place.
Tip: Cap the free edge carefully to secure the layers and extend the wear time of your manicure. - 14Paint second layer of petals
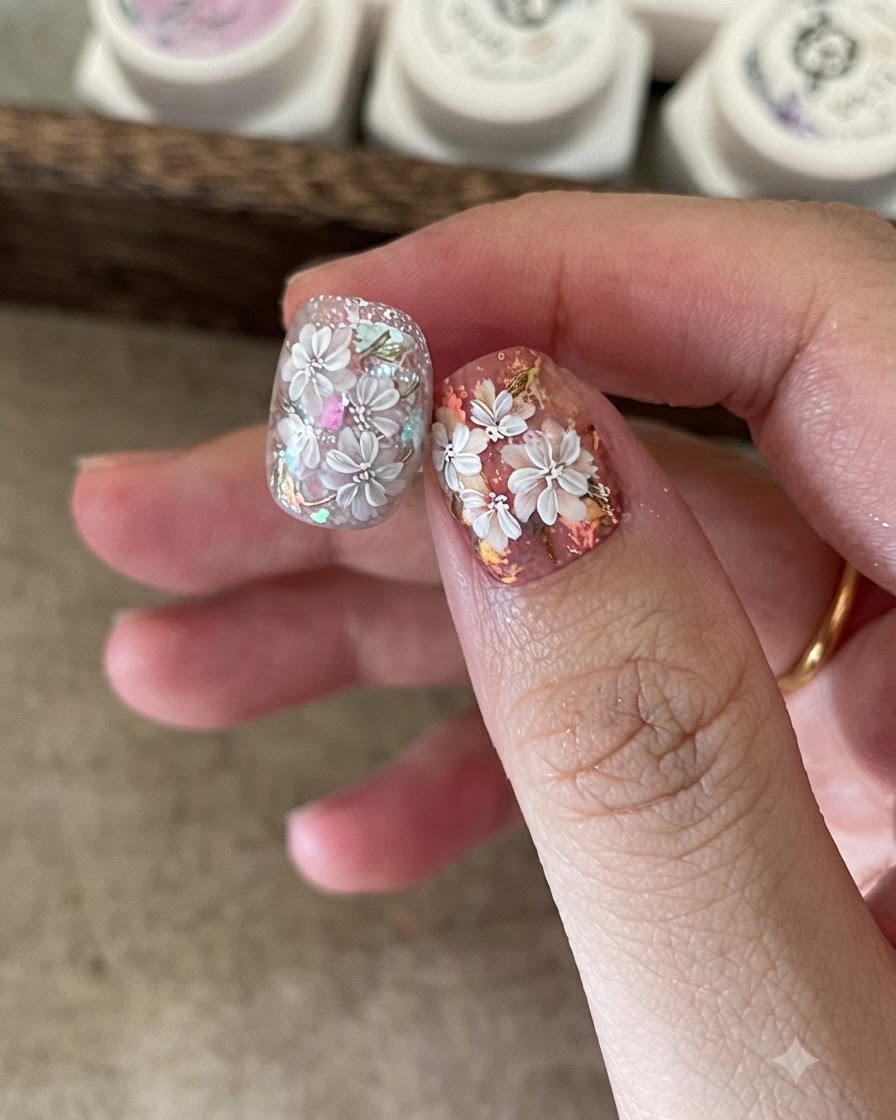
Using a fine detail brush and white nail art paint, carefully draw a second layer of overlapping petals on top of the existing flowers. This creates a layered, three-dimensional effect that gives the floral design extra depth and realism.
Tip: Keep your brush strokes light and varied in length so the petals look natural rather than uniform. - 15Add dots to flower centers
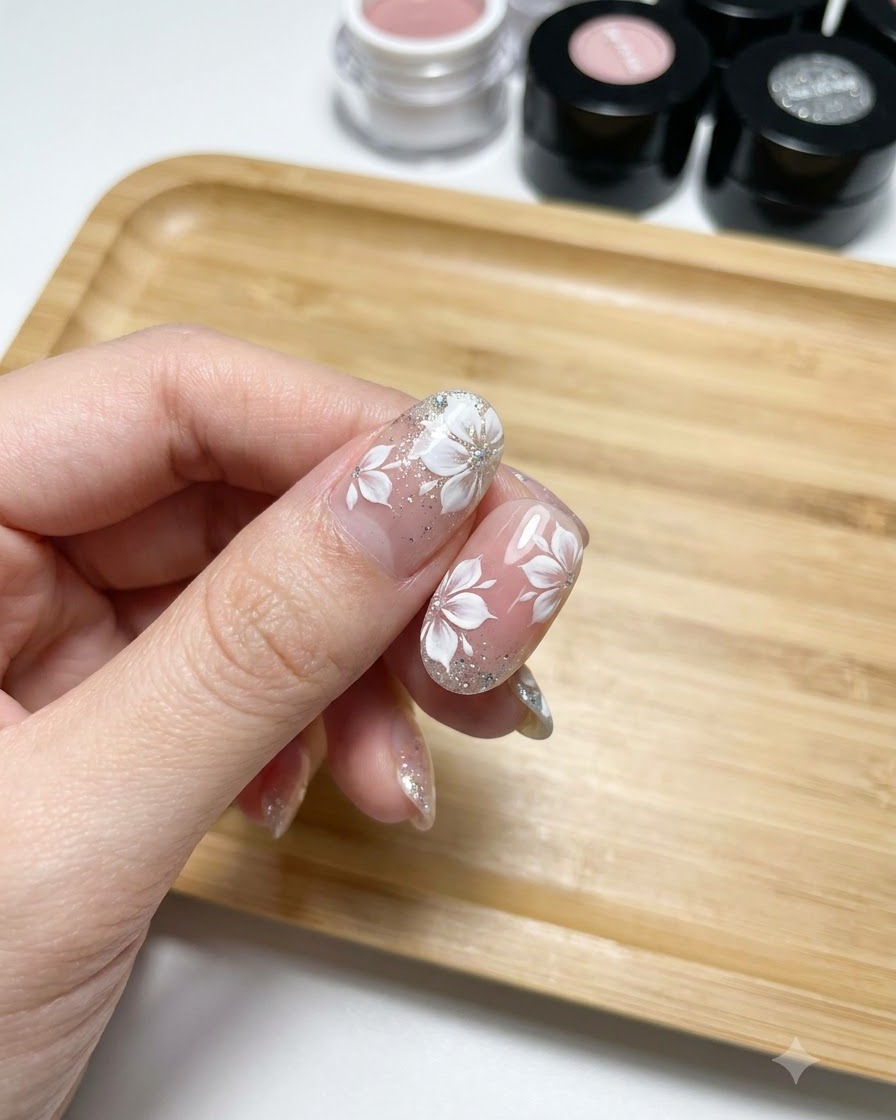
Using white nail art paint, place small dots directly into the center of each hand-painted flower to provide a finishing accent and depth. This simple detail pulls the floral design together before the final cure. Cure the design under the lamp to set all the details securely.
Tip: Keep your dots varied in size slightly for a more natural, organic look.