Cloud Watercolor Blooming Rose Nail Art — Step-by-Step Tutorial
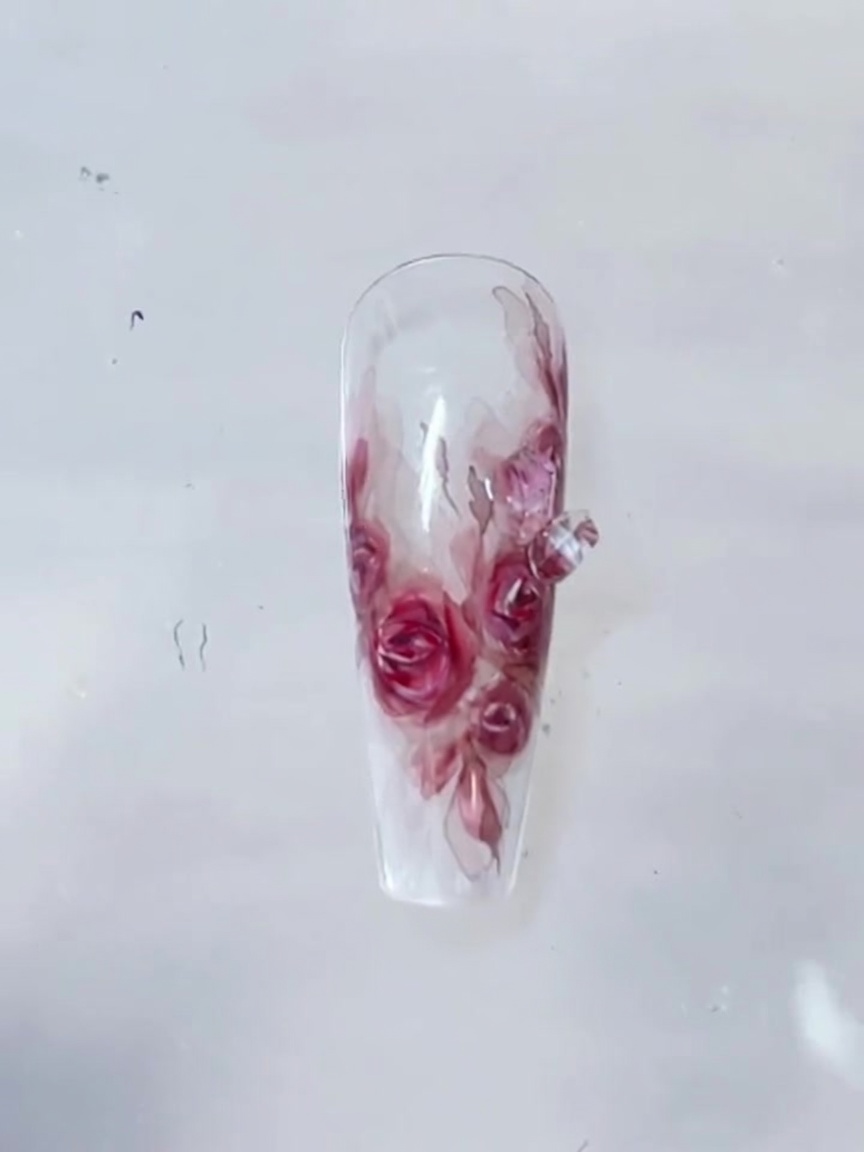
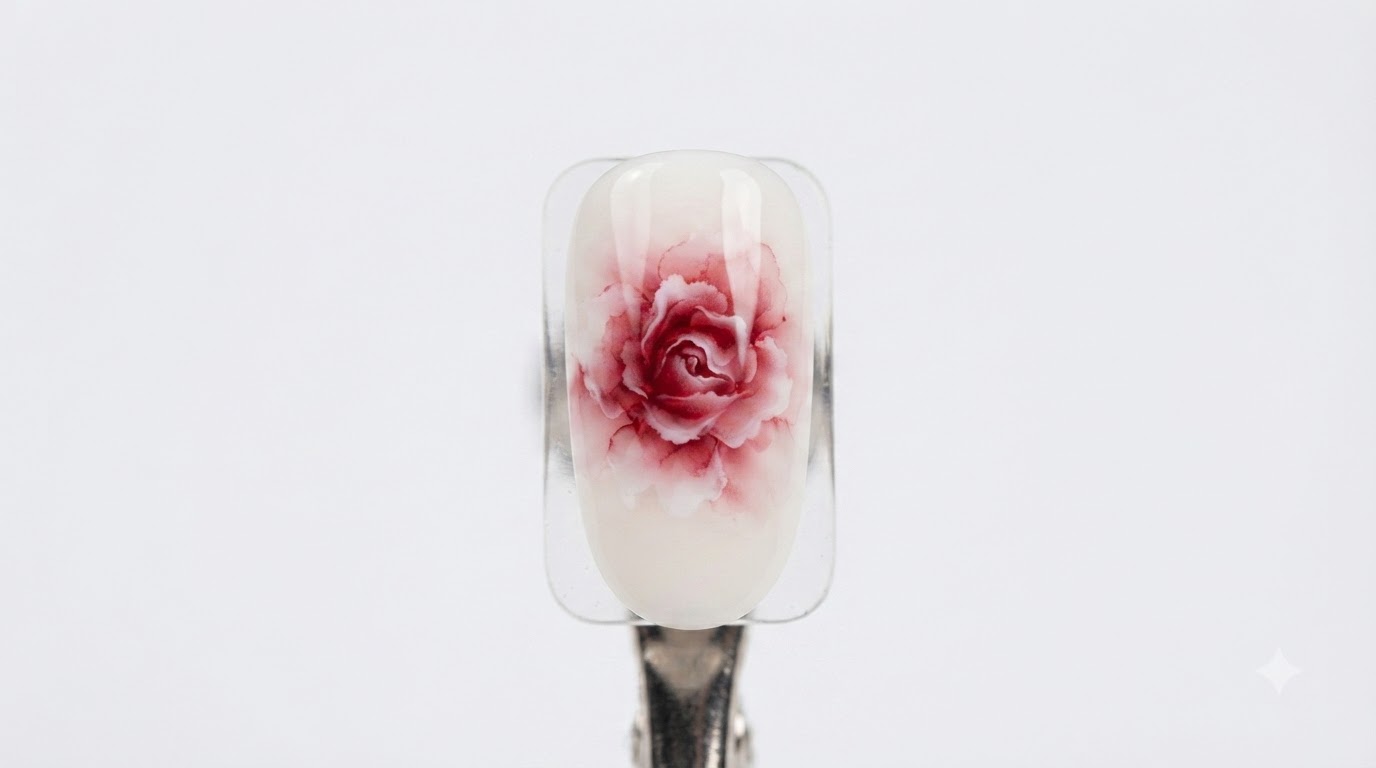
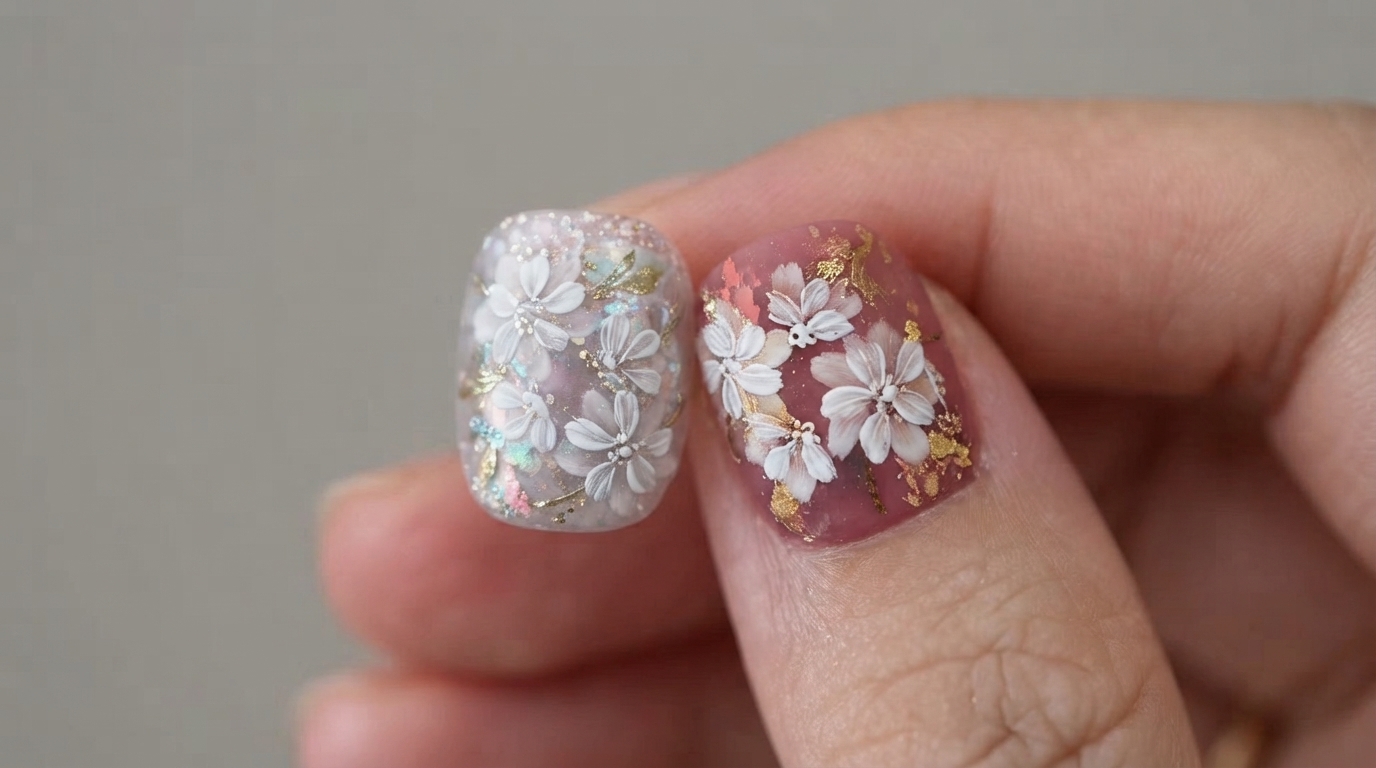
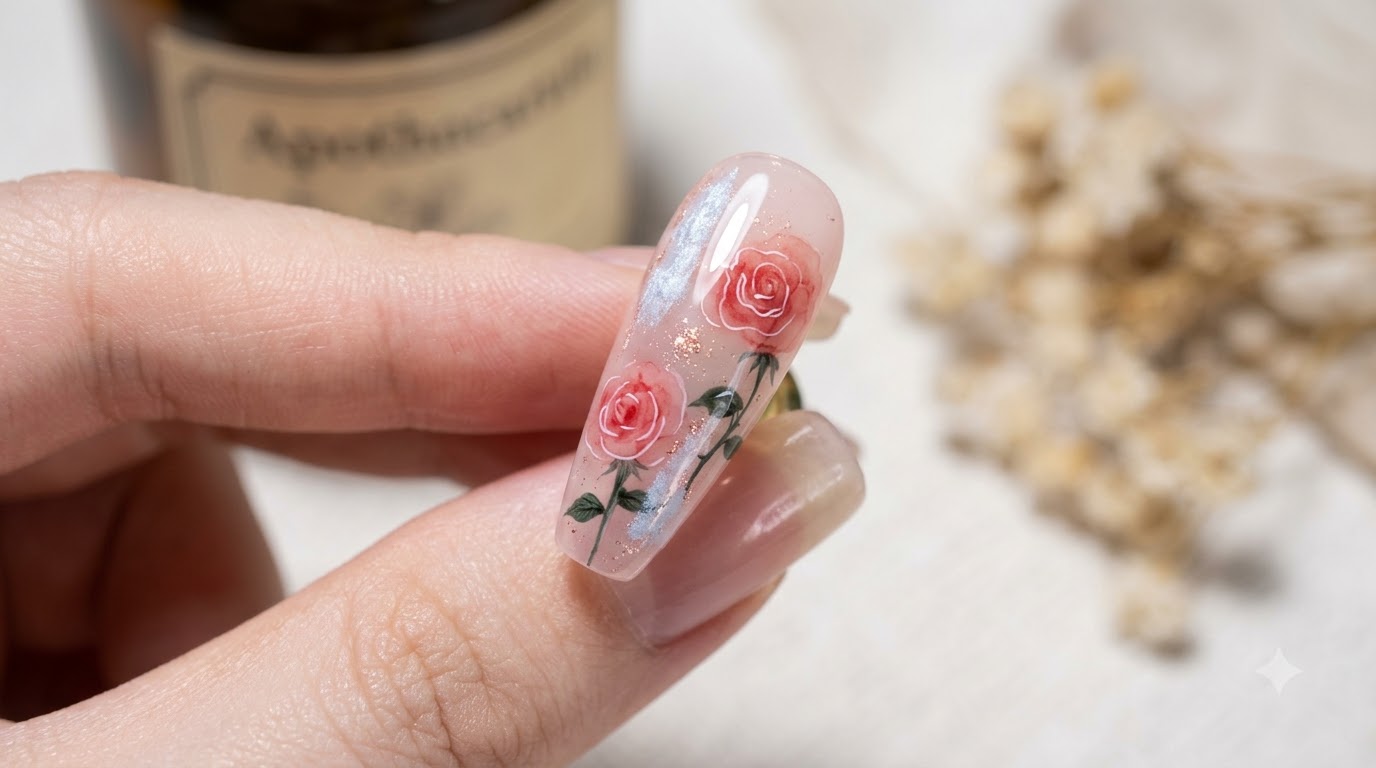
Master the ethereal cloud watercolor blooming rose nail art look featuring delicate hand-painted translucent red roses, green foliage, and shimmering accents.
Blooming gel creates effortless watercolor effects that make intricate floral nail art accessible and stunning. This romantic look combines milky translucent bases with soft-edged red roses and delicate botanical details for a sophisticated finish.
Steps
- 1Apply ice gel base color
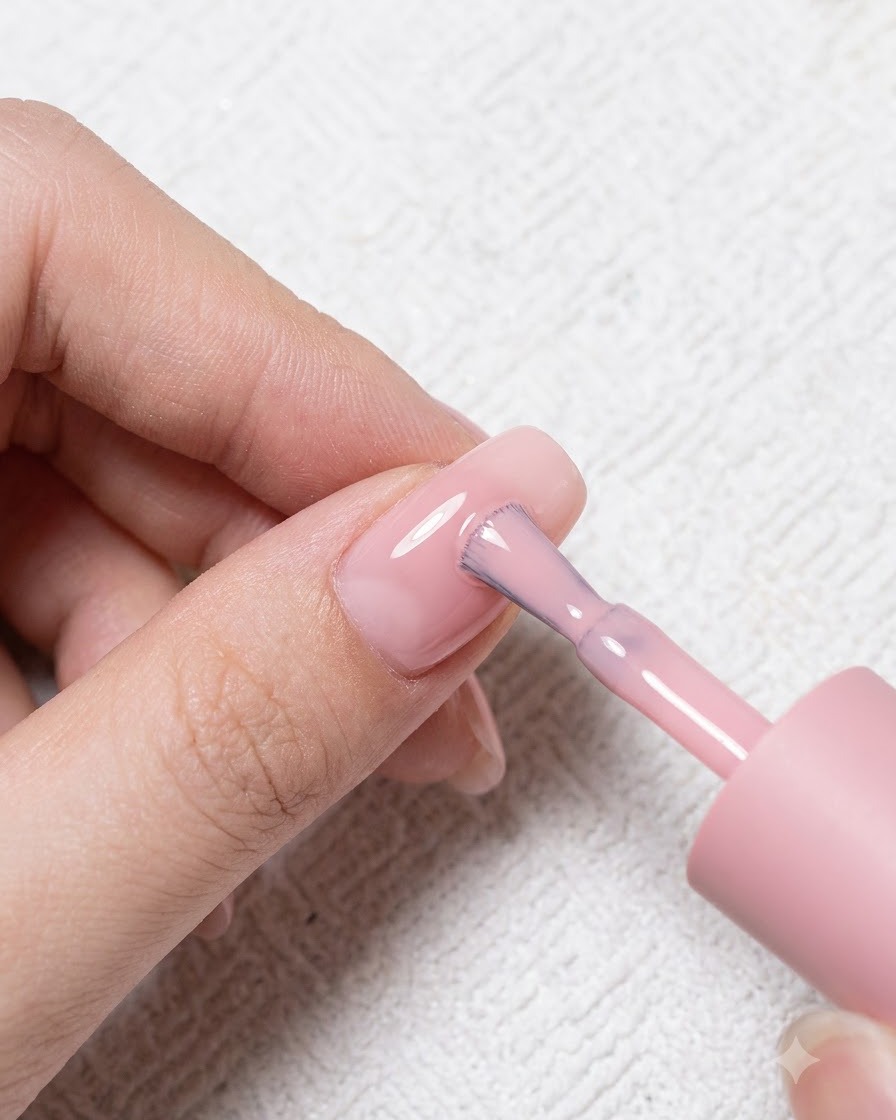
Apply a coat of ice gel shade 19 evenly across the prepped nail plate. Ensure smooth coverage from the cuticle to the free edge, capping the tip to seal the color and prevent chipping. This creates the foundational shade for the blooming nail art look.
Tip: Apply in thin, even strokes to avoid pooling around the cuticles and ensure an even cure. - 2Apply second coat of ice gel
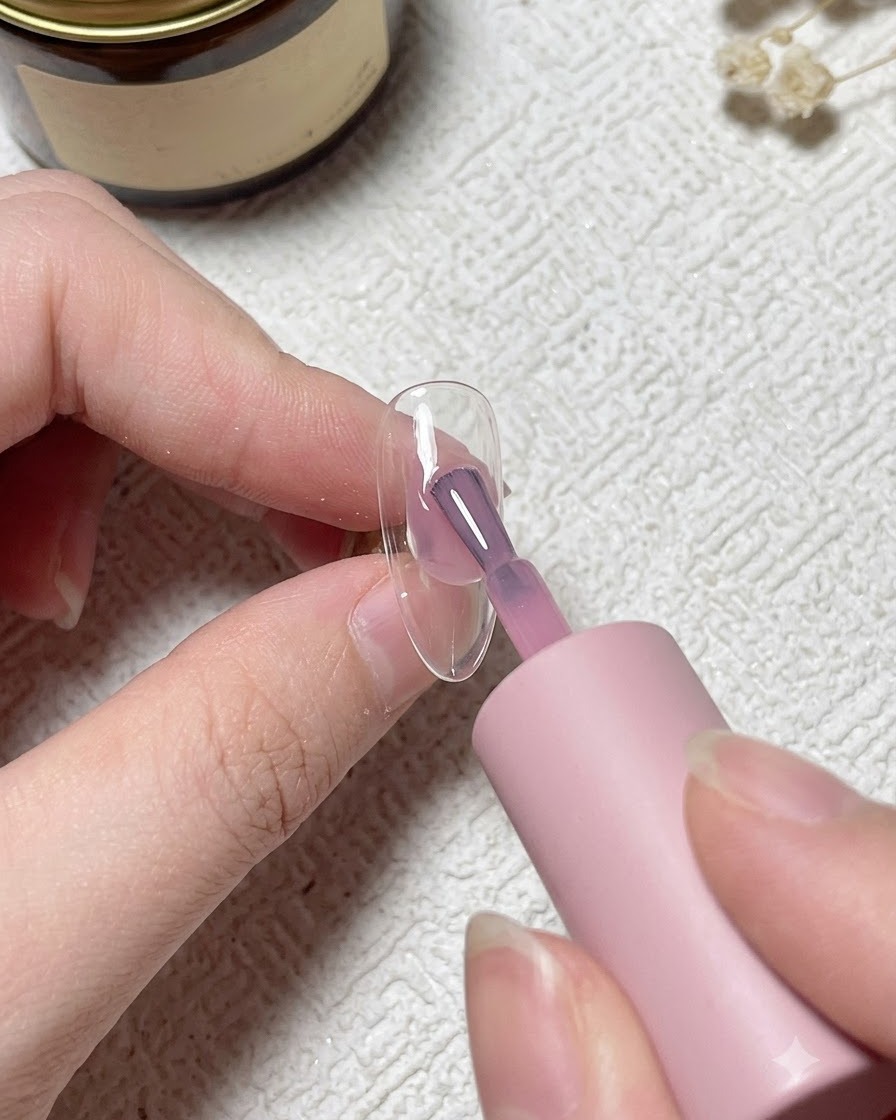
Apply a second coat of ice gel shade 19 to build full opacity and a rich, even tone across the nail. Carefully brush the polish over the surface, making sure the color is solid and smooth before moving on to the next design stage.
Tip: A second thin layer prevents patchiness and gives the base color a professional, polished finish. - 3Apply blooming gel
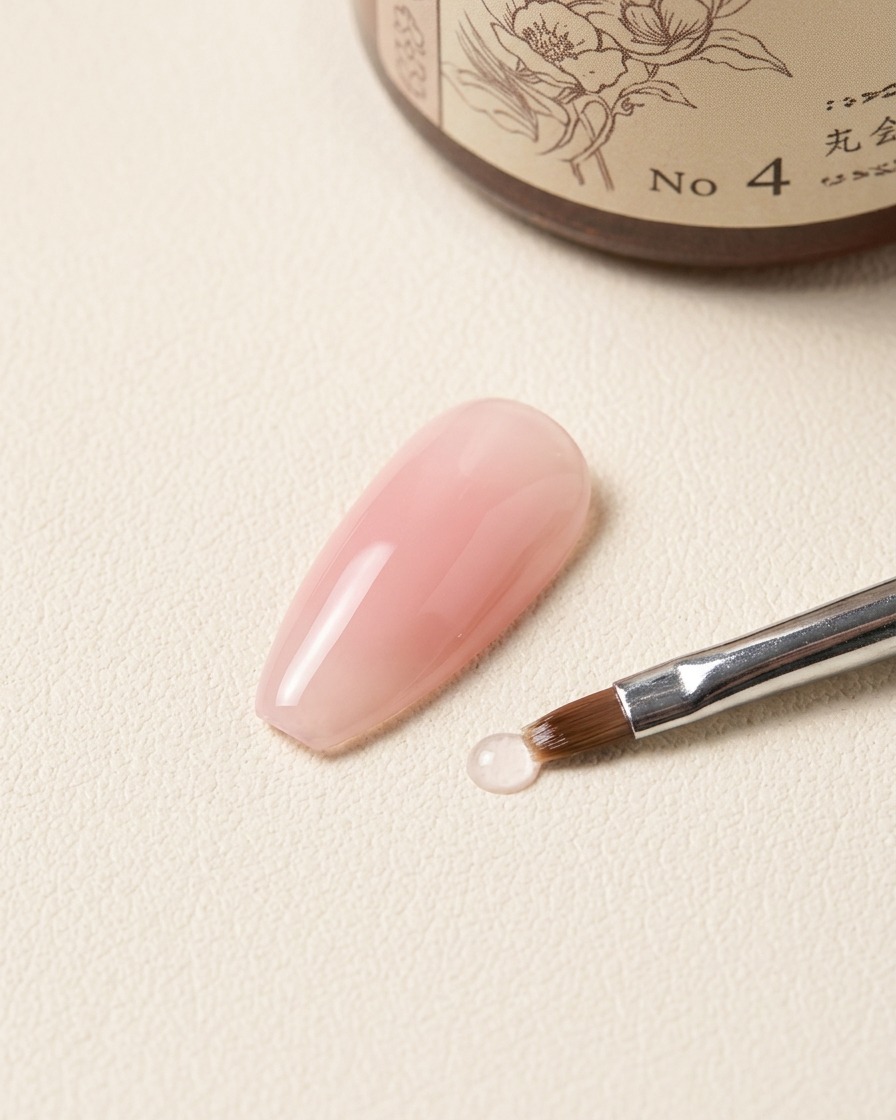
Apply a thin, even layer of blooming gel over the cured base color without curing it under the lamp. This wet layer acts as a diffusing medium that allows subsequent colors to expand and create a soft, watercolor blooming effect.
Tip: Do not cure the blooming gel layer; keeping it wet is essential for the colors to spread and blend correctly. - 4Paint the rose shape
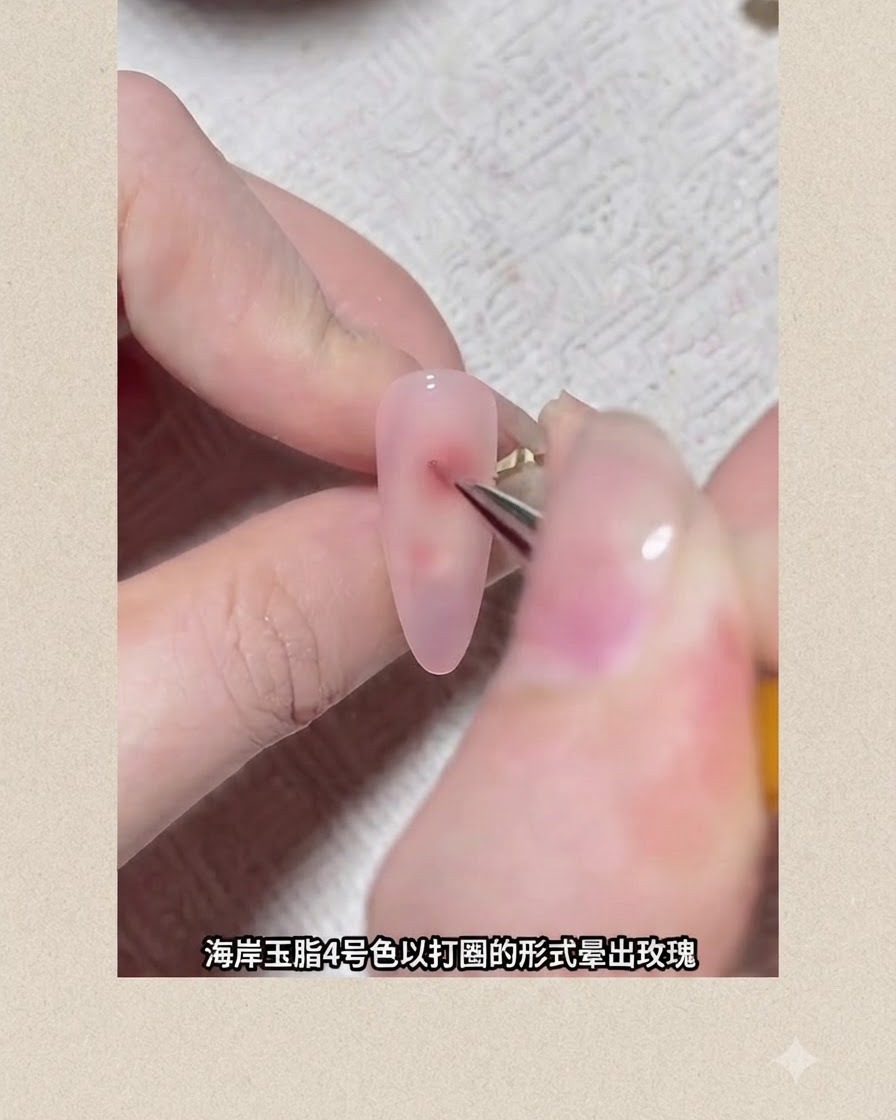
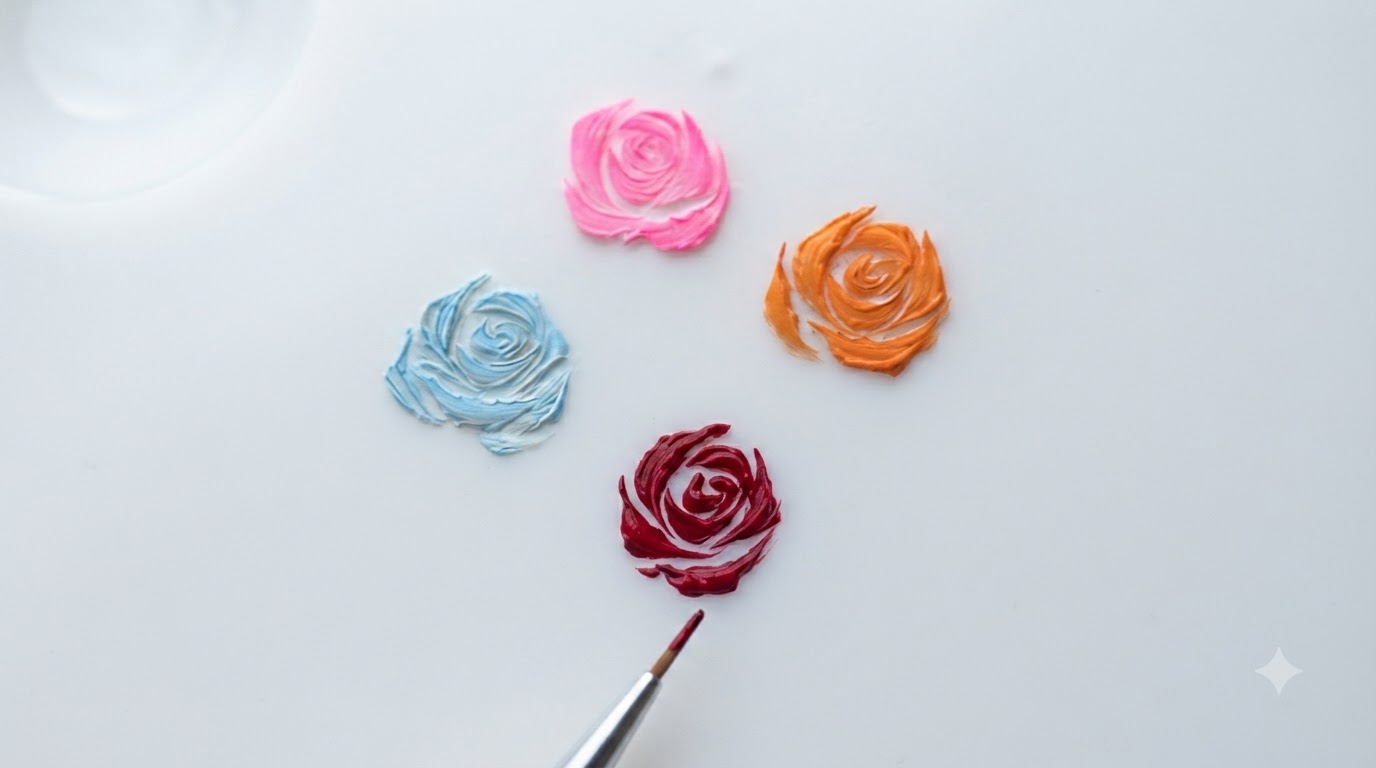
Using coast jade shade 4 on a fine detail brush, draw loose, interlocking circles on the uncured blooming gel to form the general shape of a rose. The blooming gel will naturally cause the pigment to soften and spread outwards into delicate petals.
Tip: Work with a light touch and let the blooming gel do the work of diffusing the pigment edges. - 5Deepen the rose color
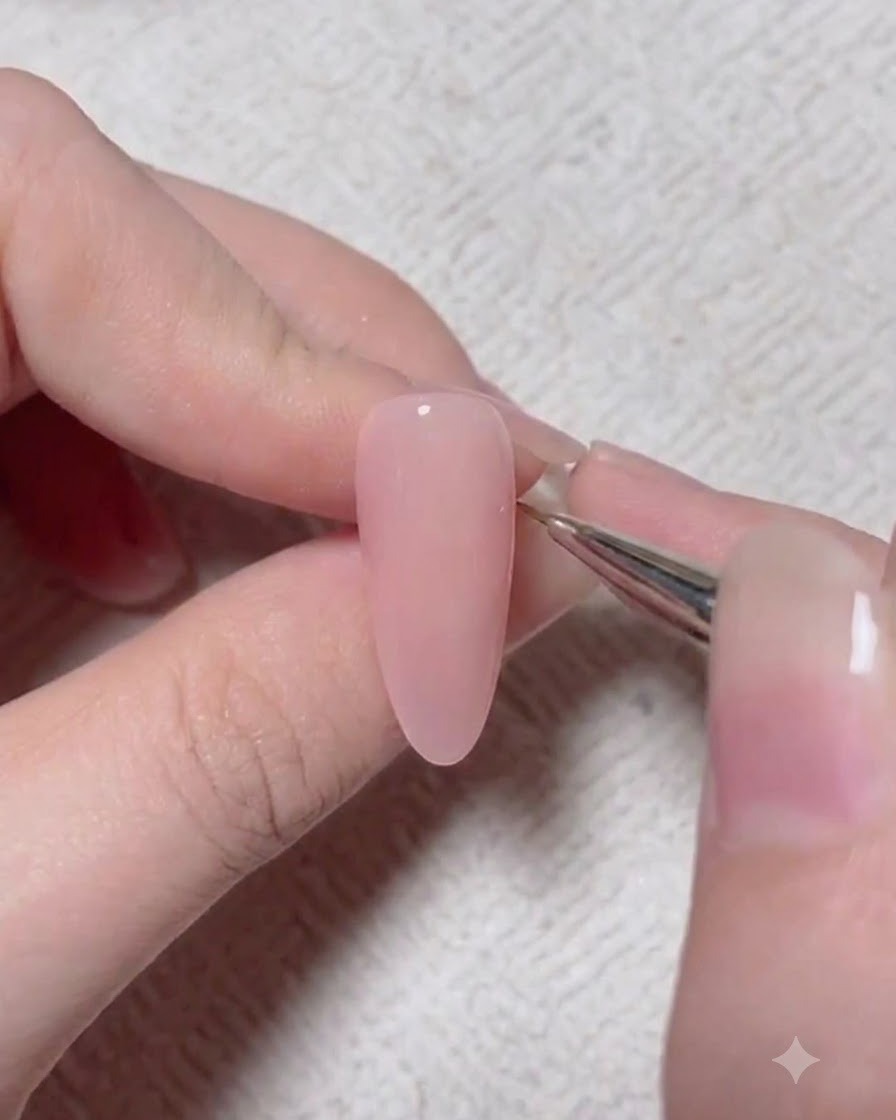
Add a deeper layer of color into the center and shadows of the rose design while the gel is still wet and uncured. This enhances the dimension and creates rich color variation as it blends naturally with the previous strokes.
Tip: Keep the darker pigment concentrated in the center of the flower to build realistic depth. - 6Cure under the lamp
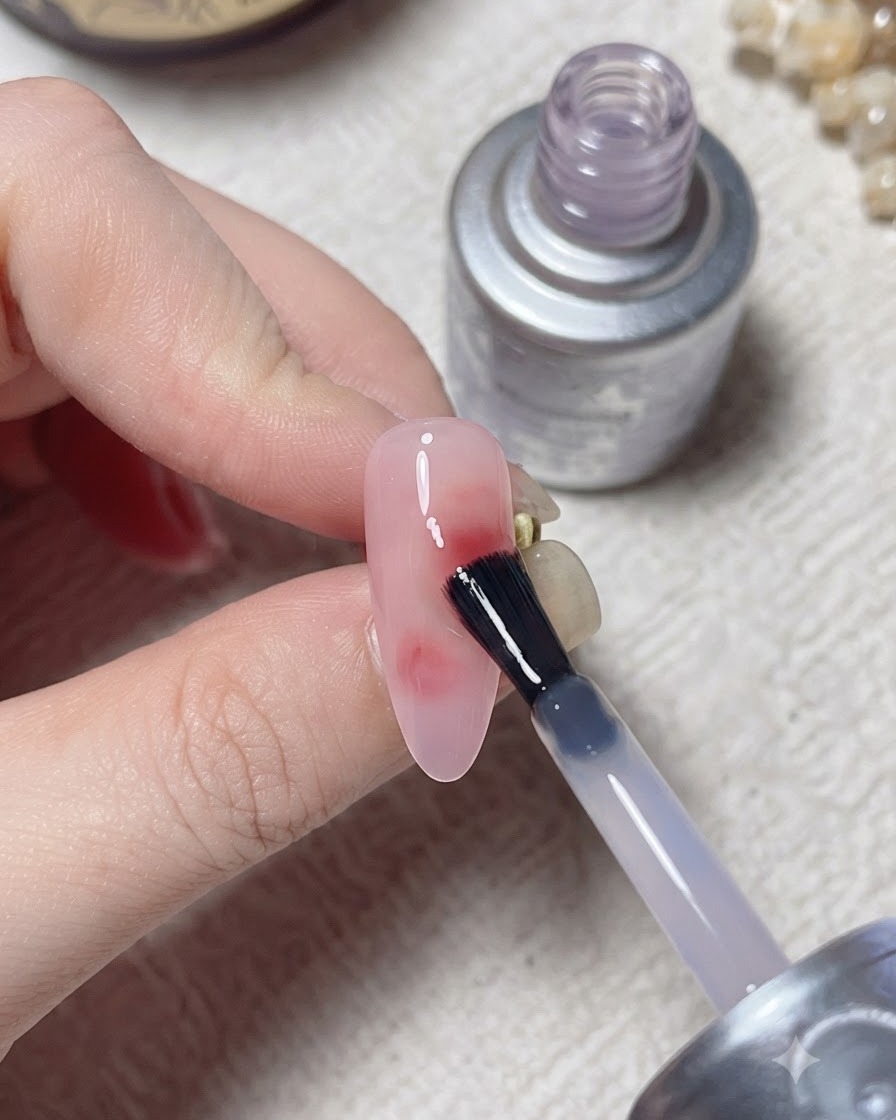
Place the nail under a UV or LED lamp to fully cure the blooming gel design and lock the rose pattern in place. Follow your lamp specifications to ensure the gel is completely set before proceeding to the next layer.
Tip: Ensure your hand is positioned correctly under the light source to cure all edges evenly. - 7Apply blooming gel
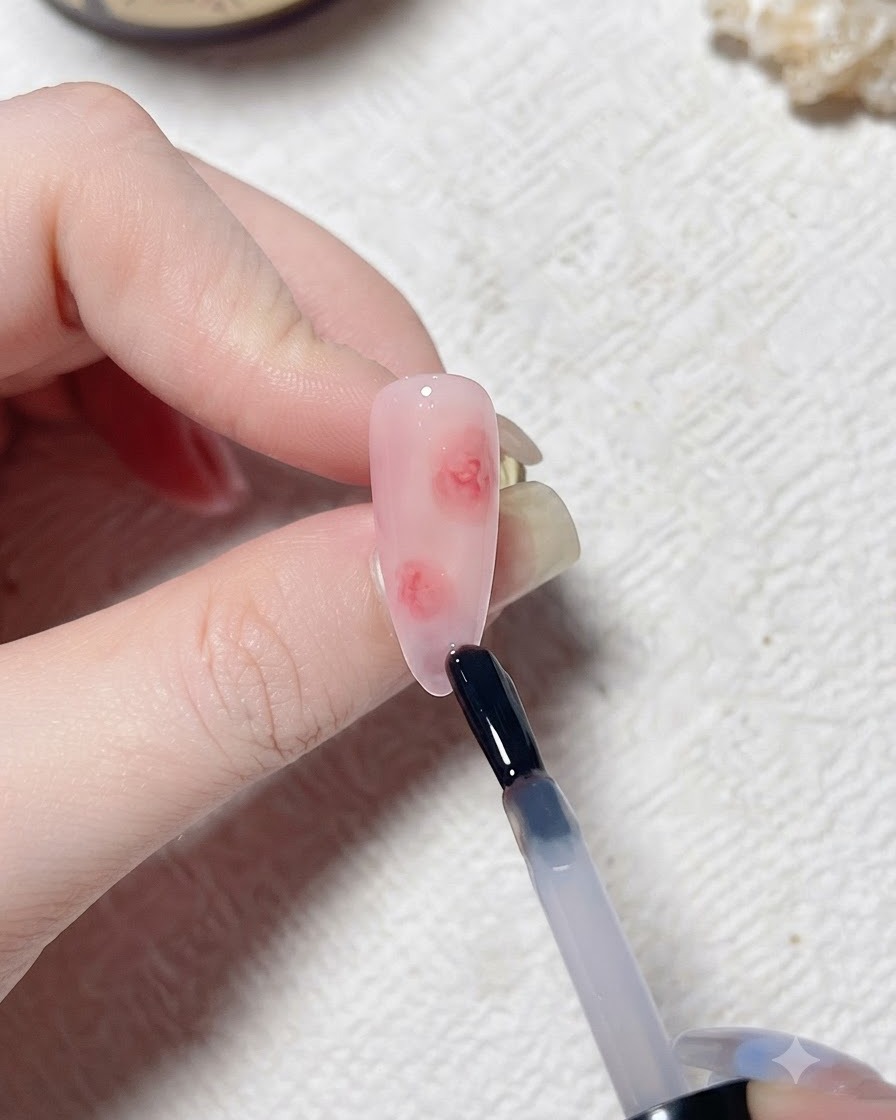
Apply another thin layer of blooming gel over the cured nail surface without curing it yet. This wet layer will help spread and blend the upcoming bright red pigment smoothly into a soft, blooming rose effect.
Tip: Keep the layer thin and even so the color pigments disperse in a controlled, natural-looking gradient. - 8Detail the rose petals
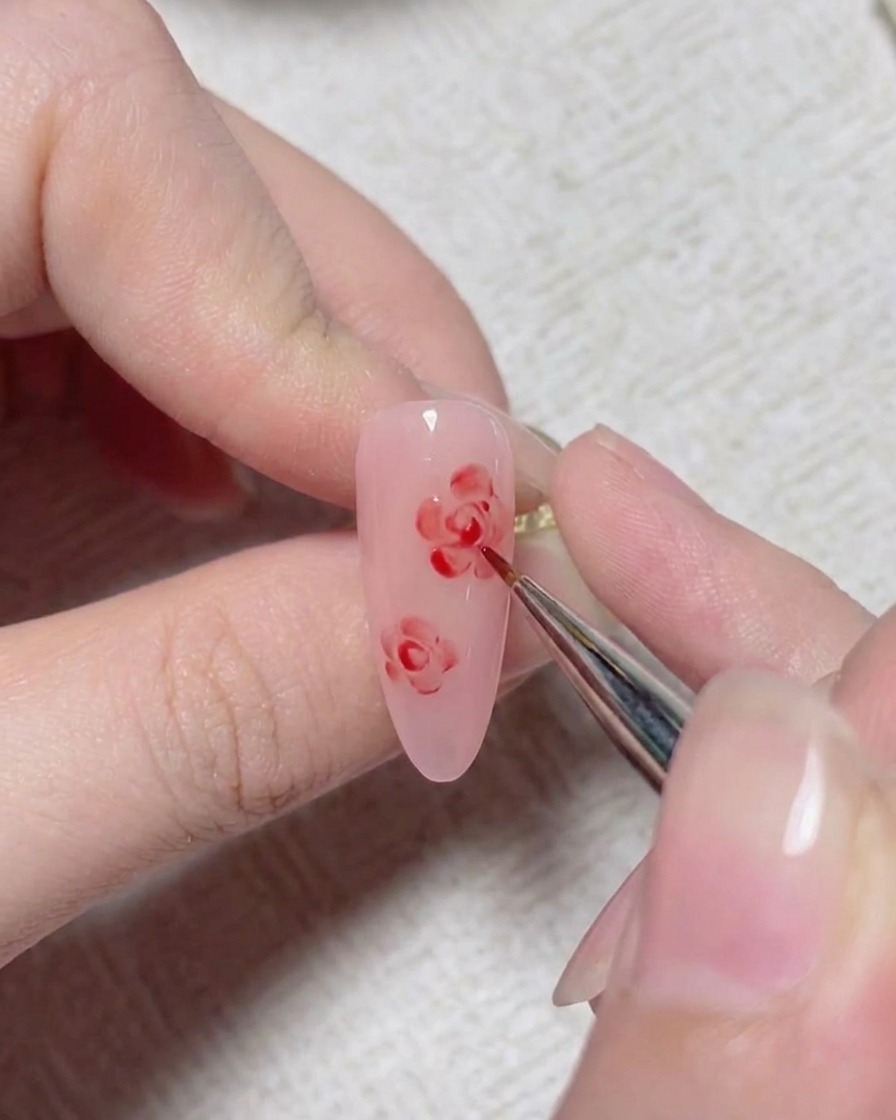
Using a fine liner brush with shade 20 bright red gel, carefully draw and blend details into the center of the roses. The blooming gel allows the red pigment to soften and expand into realistic petal shapes.
Tip: Work with a light touch using just the tip of the brush to create delicate, fine lines that naturally feather out. - 9Add white highlights
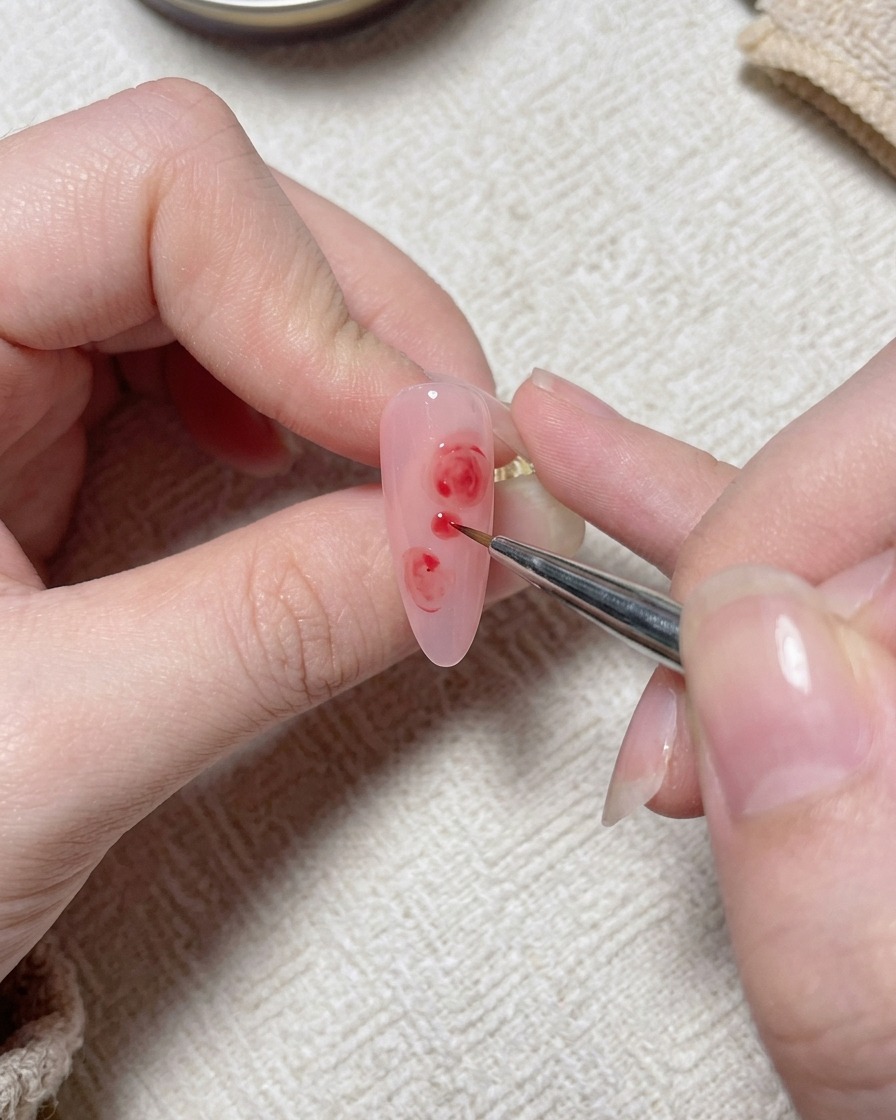
Take white paint gel and use gentle dabbing motions with a fine brush to introduce highlights. This technique adds layers, depth, and three-dimensional contrast to the blooming rose petals.
Tip: Dab very lightly to avoid overwhelming the red base color, creating soft translucent highlights. - 10Mix custom foliage color
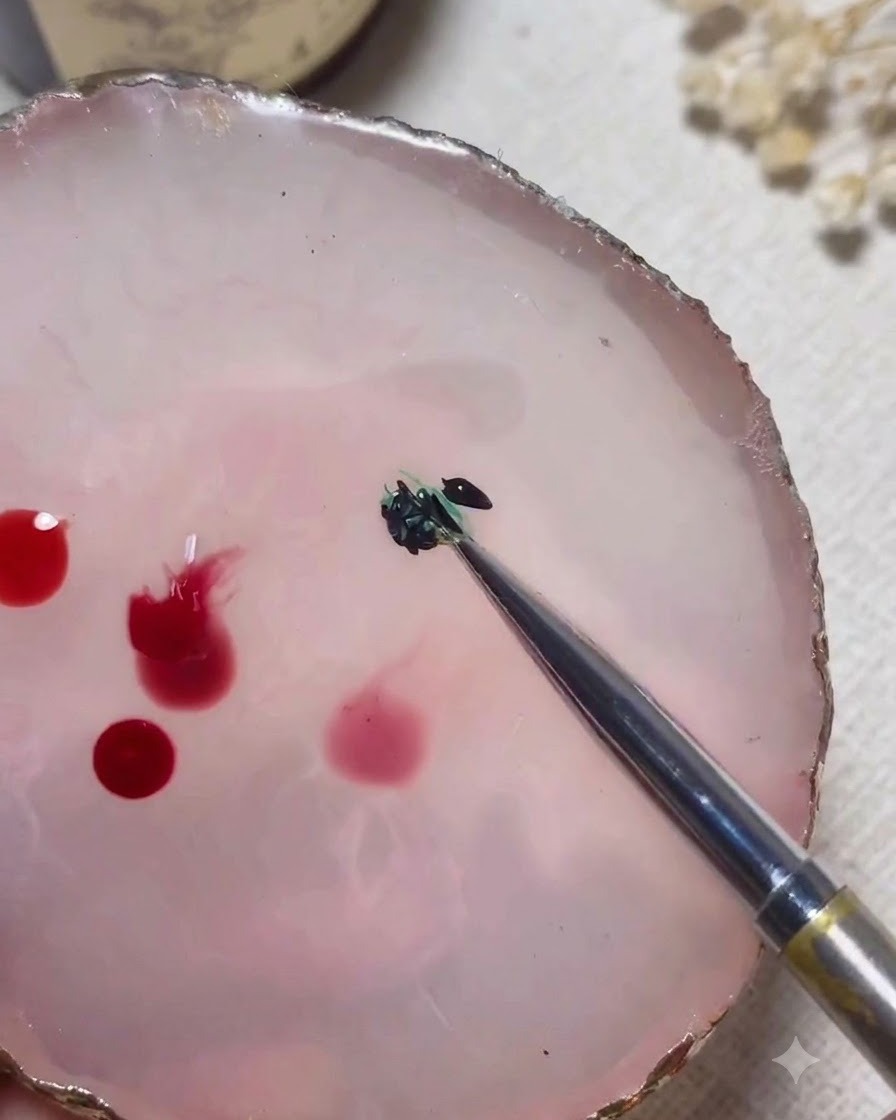
On a clean nail palette, combine number 26 green gel with a tiny touch of black gel using a mixing tool. This dark green mixture provides a rich, natural shade for painting the rose stems and leaves.
Tip: Add the black gel in extremely small increments so the green does not become overly darkened. - 11Paint branches and leaves
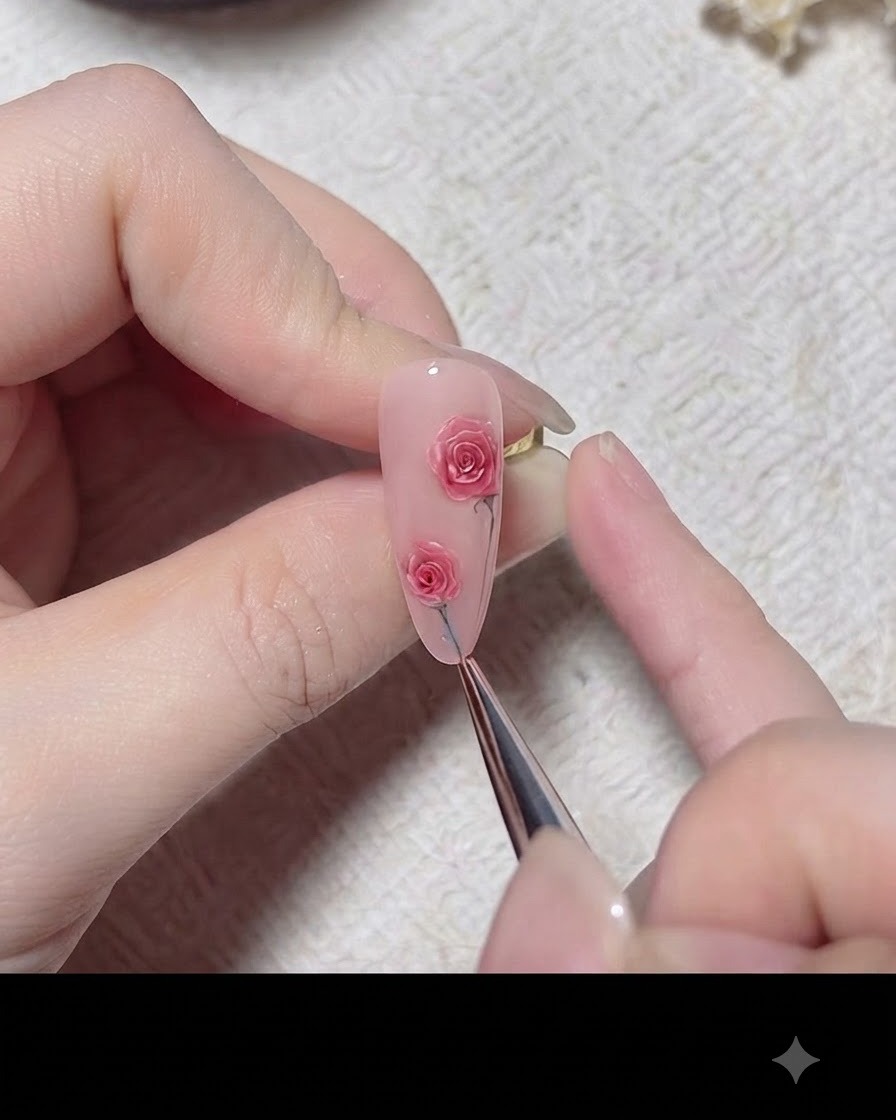
Using a fine liner brush dipped in the custom dark green gel mixture, carefully paint delicate rose branches and leaves extending from the flowers. This connects the floral elements naturally across the nail.
Tip: Keep your hand steady and use light pressure for fine, elegant stems and tapered leaves. - 12Apply Top Coat
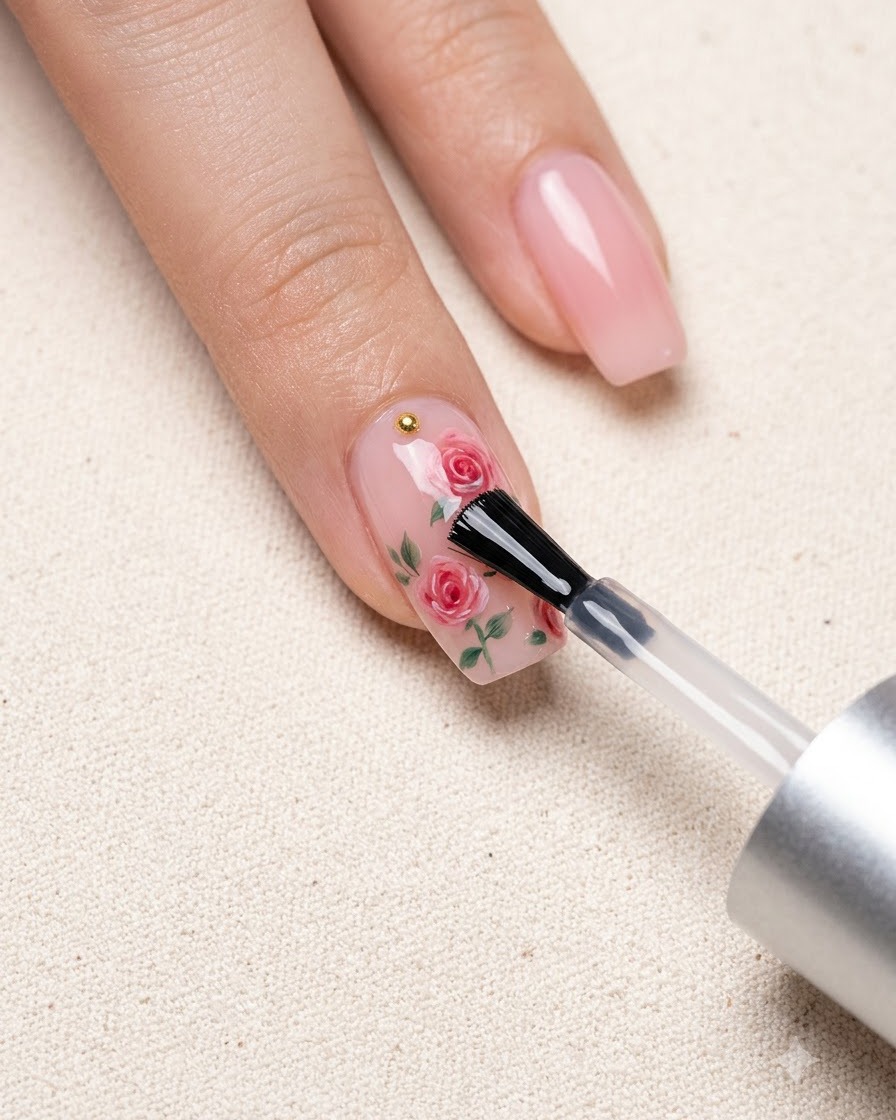
Apply a layer of steel-hardening top coat over the entire nail to seal the design, protect the nail art, and provide a durable, long-lasting high-gloss shine. Ensure the free edge is fully capped.
Tip: Cap the free edge carefully to prevent chipping and peeling at the tips.