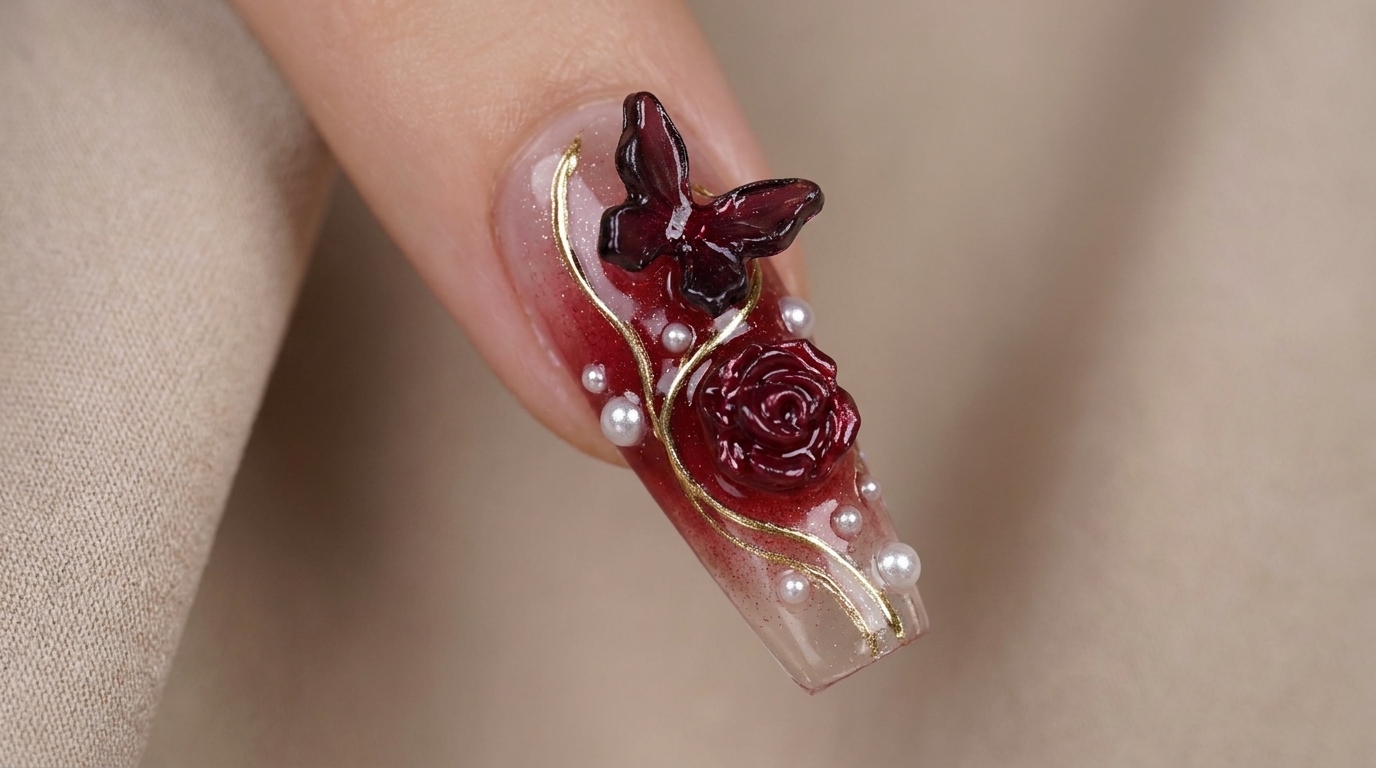
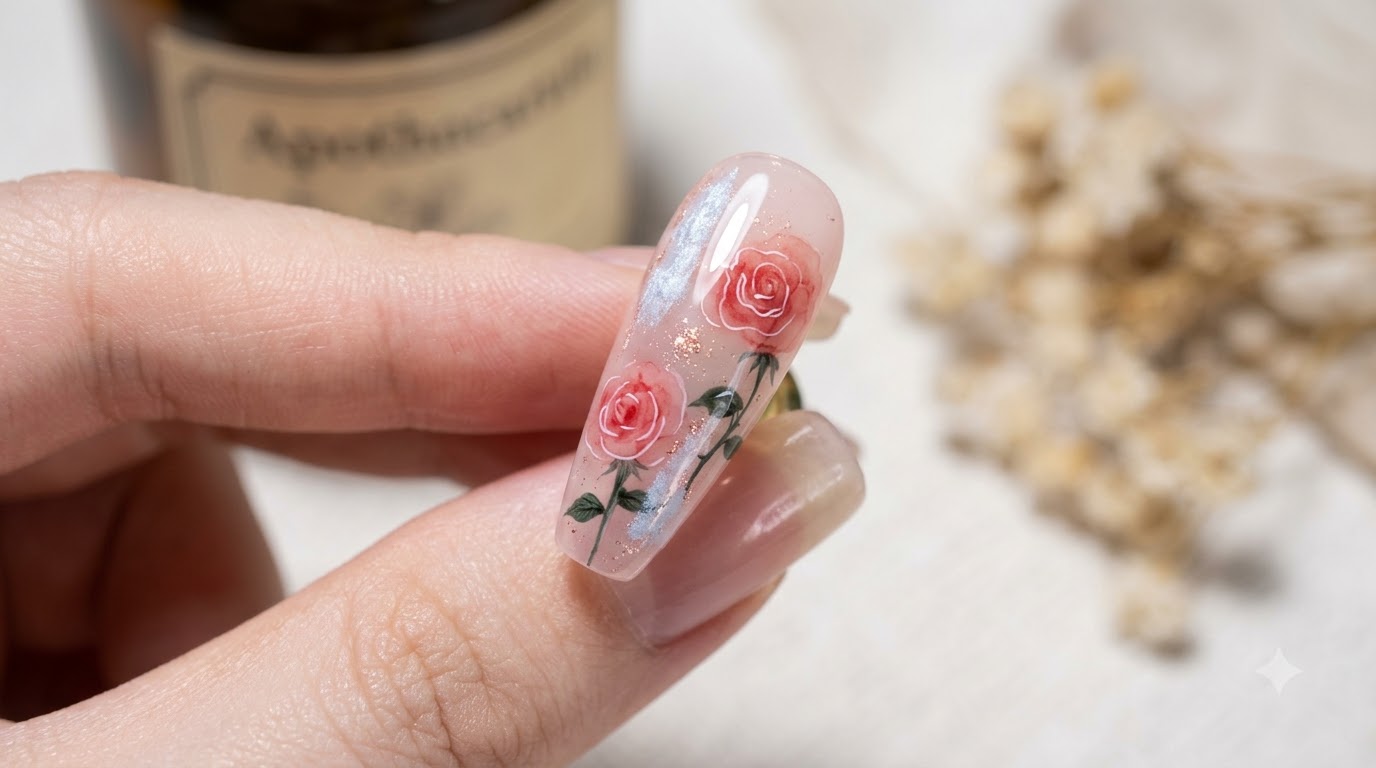
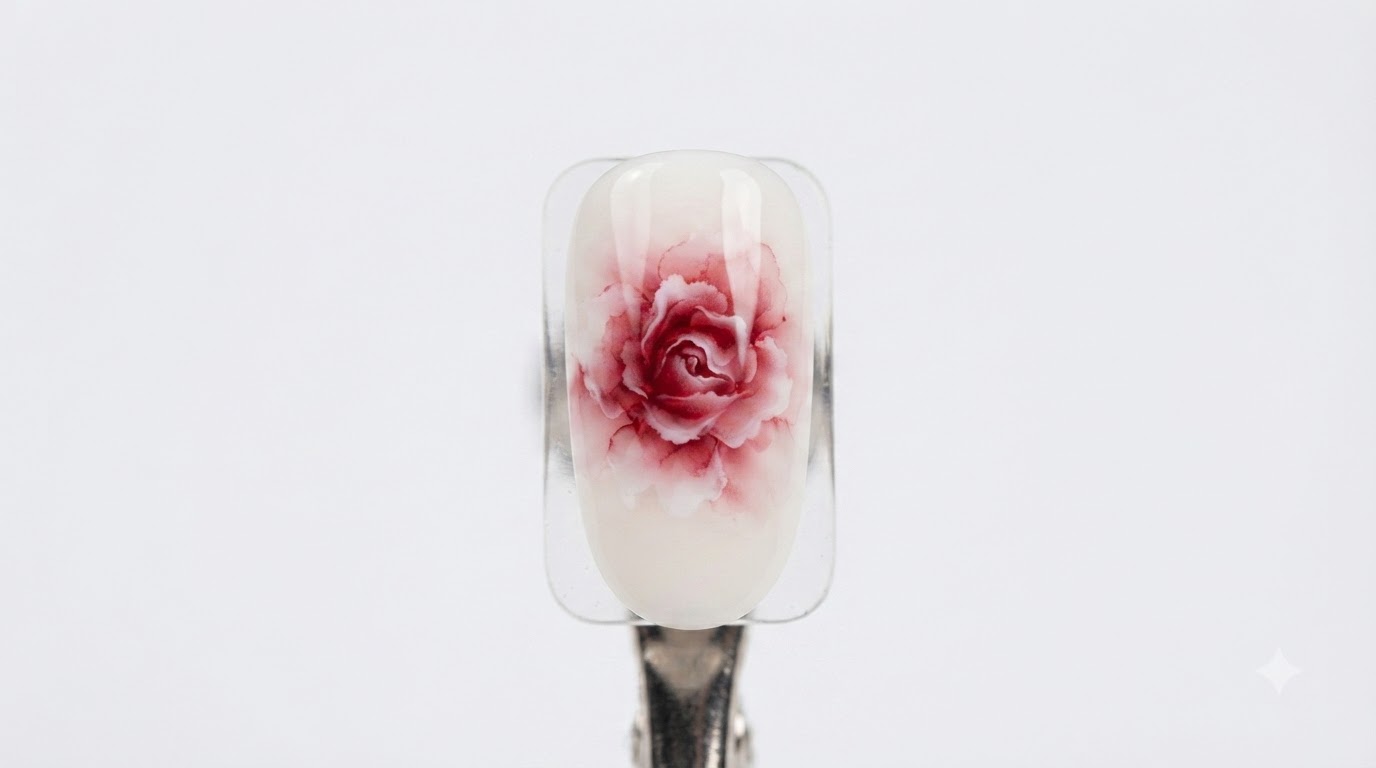
Blooming Watercolor Rose Nail Art — Step-by-Step Gel Tutorial
Create stunning, ethereal watercolor-style roses effortlessly using blooming gel and fine gel polish lines on a clean white base.
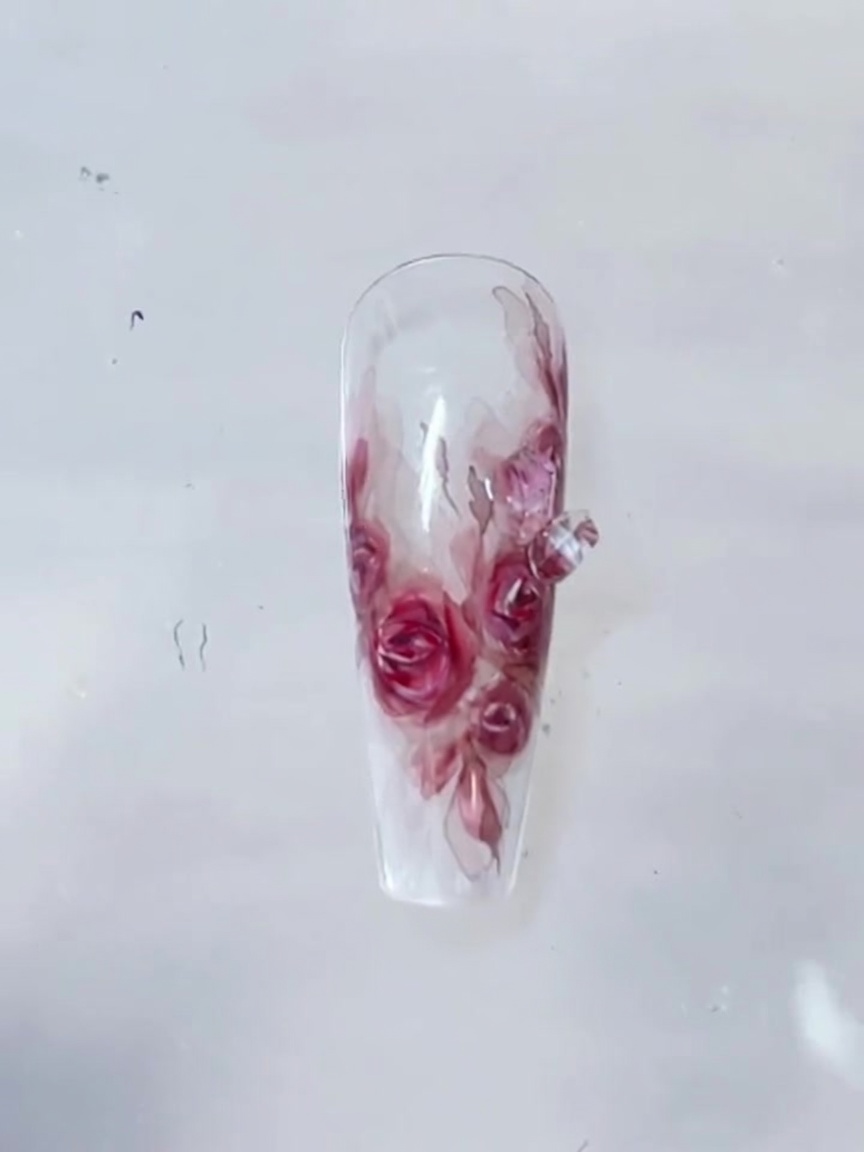
Hand-painted floral nail art can often feel intimidating, but blooming gel changes everything by letting the colors naturally disperse into soft petals. This watercolor rose technique is surprisingly easy to master and creates a romantic, professional salon look right at home.
Steps
- 1Apply blooming gel base
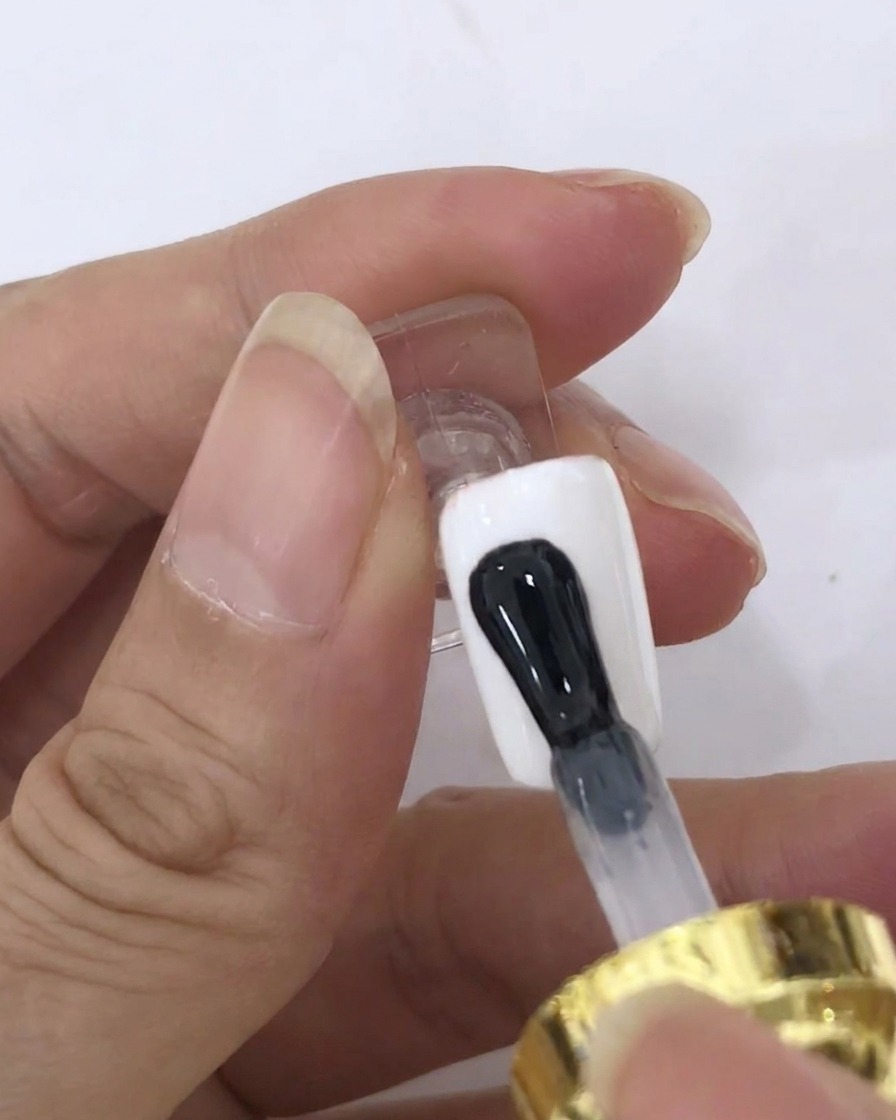
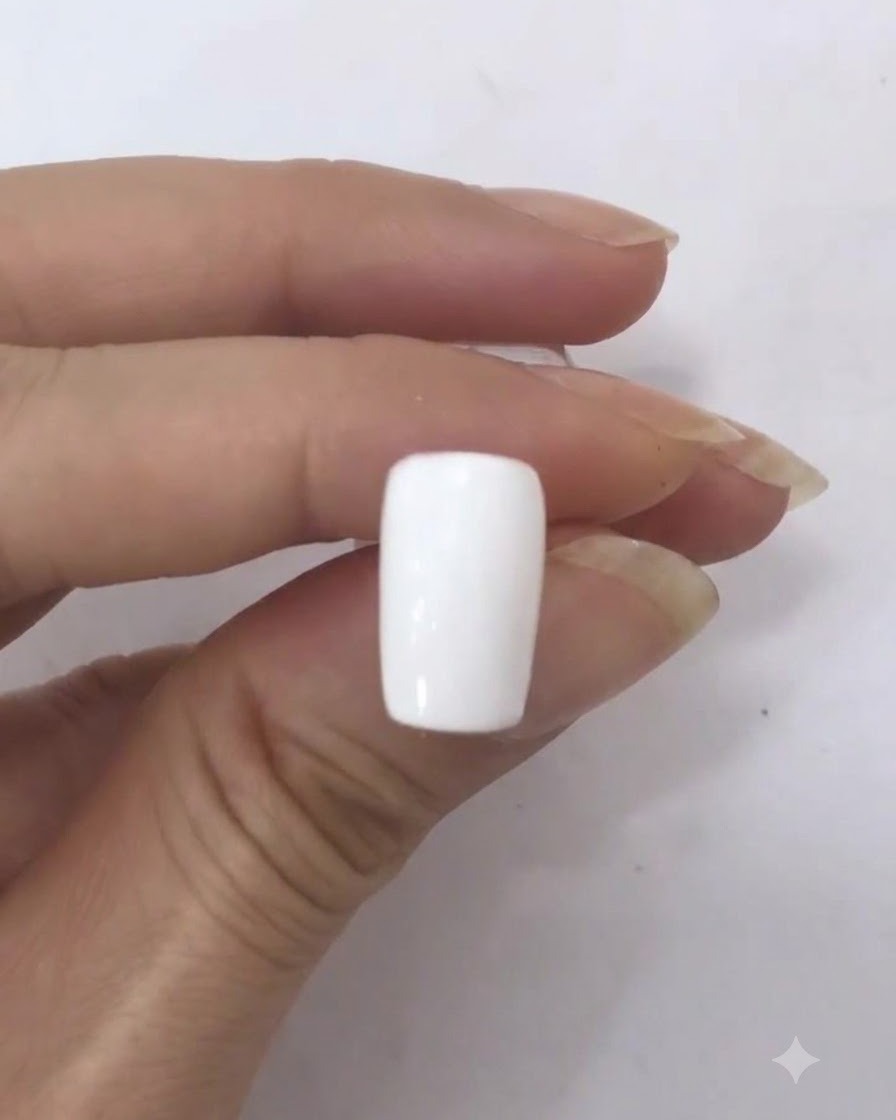
Apply an even layer of blooming gel base to the prepared nail surface using the application brush. Do not cure this layer yet, as the wet blooming gel is necessary for the colors to spread and create the rose pattern.
Tip: Make sure the blooming gel layer is smooth and covers the entire nail evenly without pooling. - 2Pick up dark red gel polish
Dip a fine liner brush into dark red gel polish, loading just a small amount of pigment onto the tip of the bristles.
Tip: Keep the amount on the brush minimal to avoid getting a blob of polish that is too large to control. - 3Place the center dot
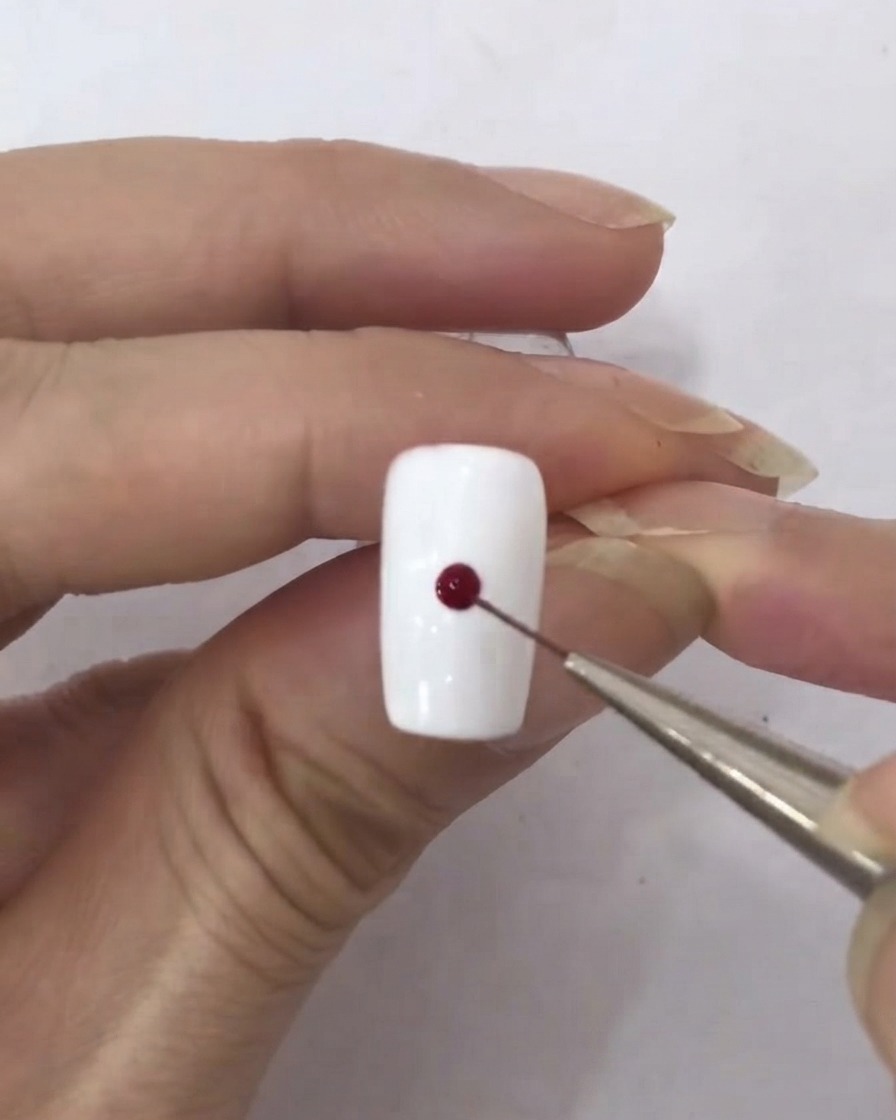
Carefully touch the loaded liner brush to the center of the wet blooming gel surface to deposit a single, clean dot of dark red gel.
Tip: Placing the dot precisely in the center helps ensure your blooming rose design stays balanced. - 4Pick up white gel polish
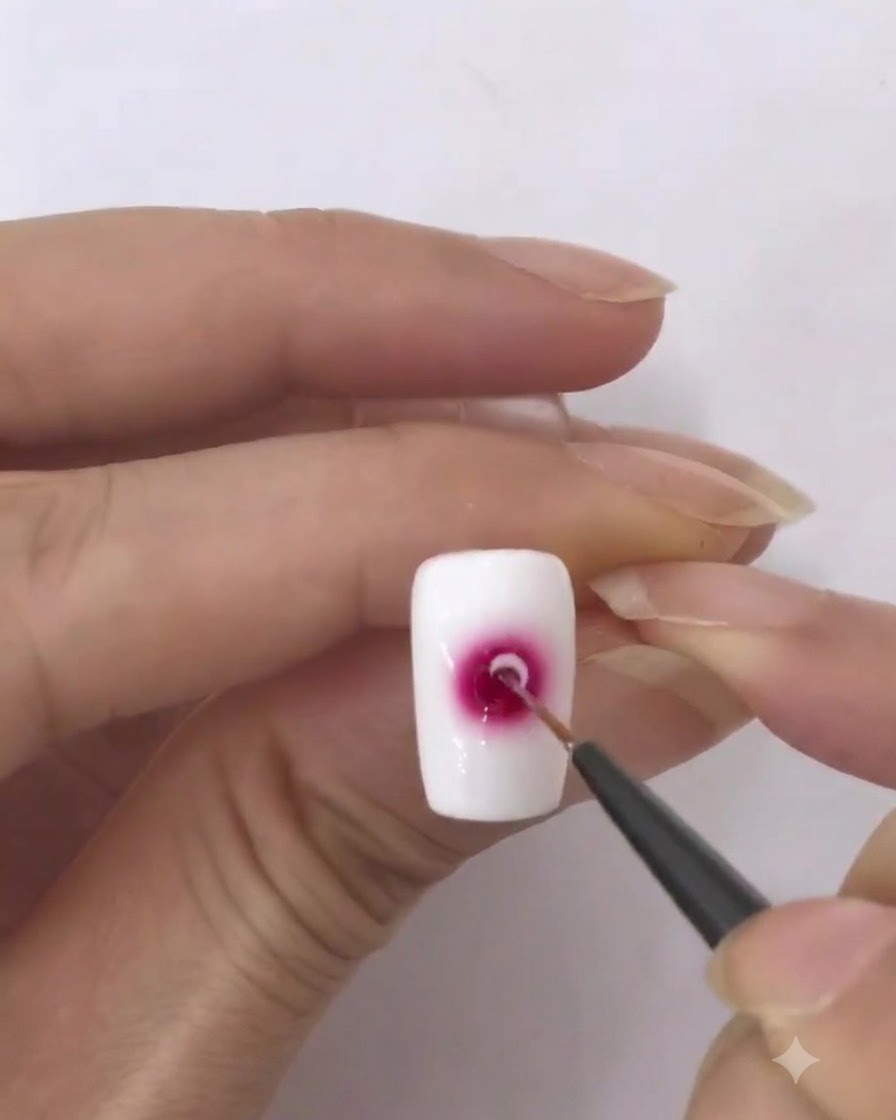
Clean your liner brush or use a fresh fine liner brush to pick up a tiny amount of white gel polish on the tip.
Tip: Use only a tiny amount of white gel so the petals remain delicate and fine. - 5Draw petal circles outward
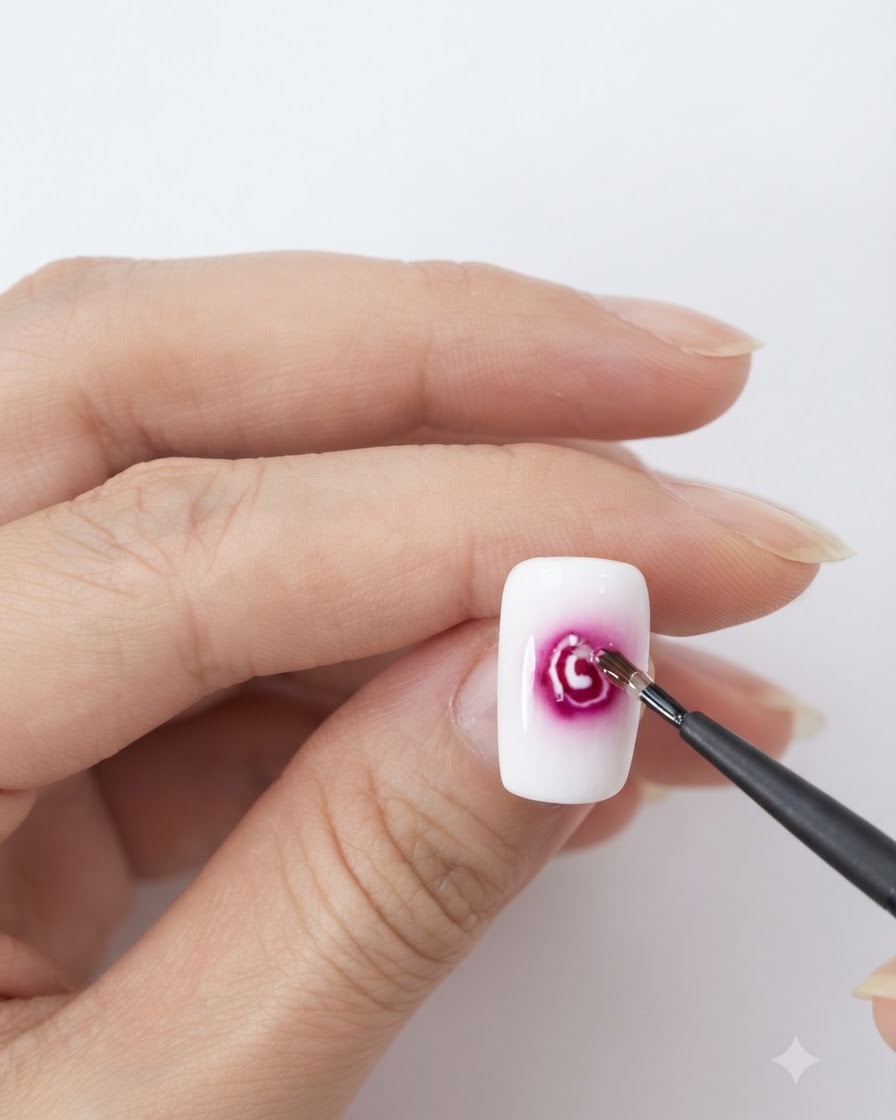
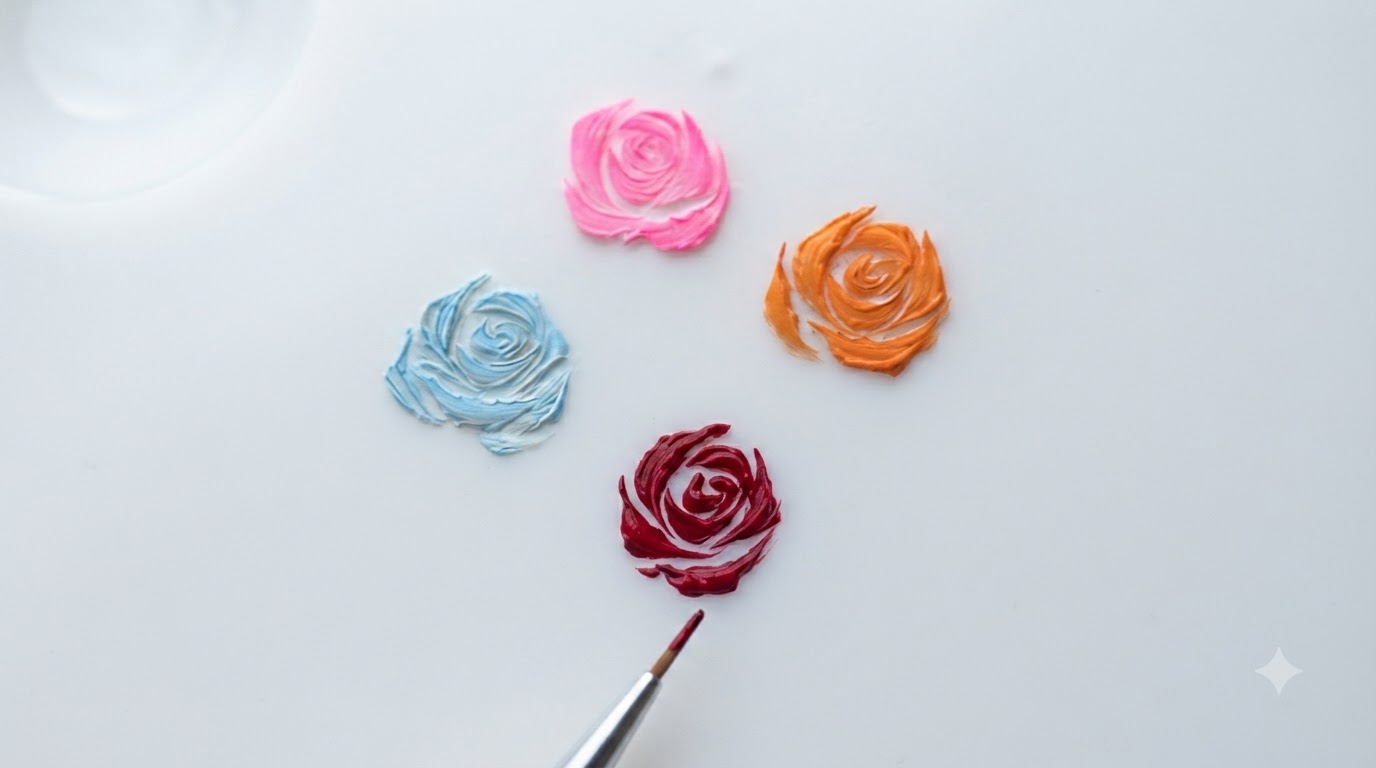
Starting right from the red center dot, use the white gel on your liner brush to draw gentle circular and curved motions outward, allowing the white to interact with the blooming base.
Tip: Keep your hand light and steady to form smooth, flowing petal outlines. - 6Expand the rose design
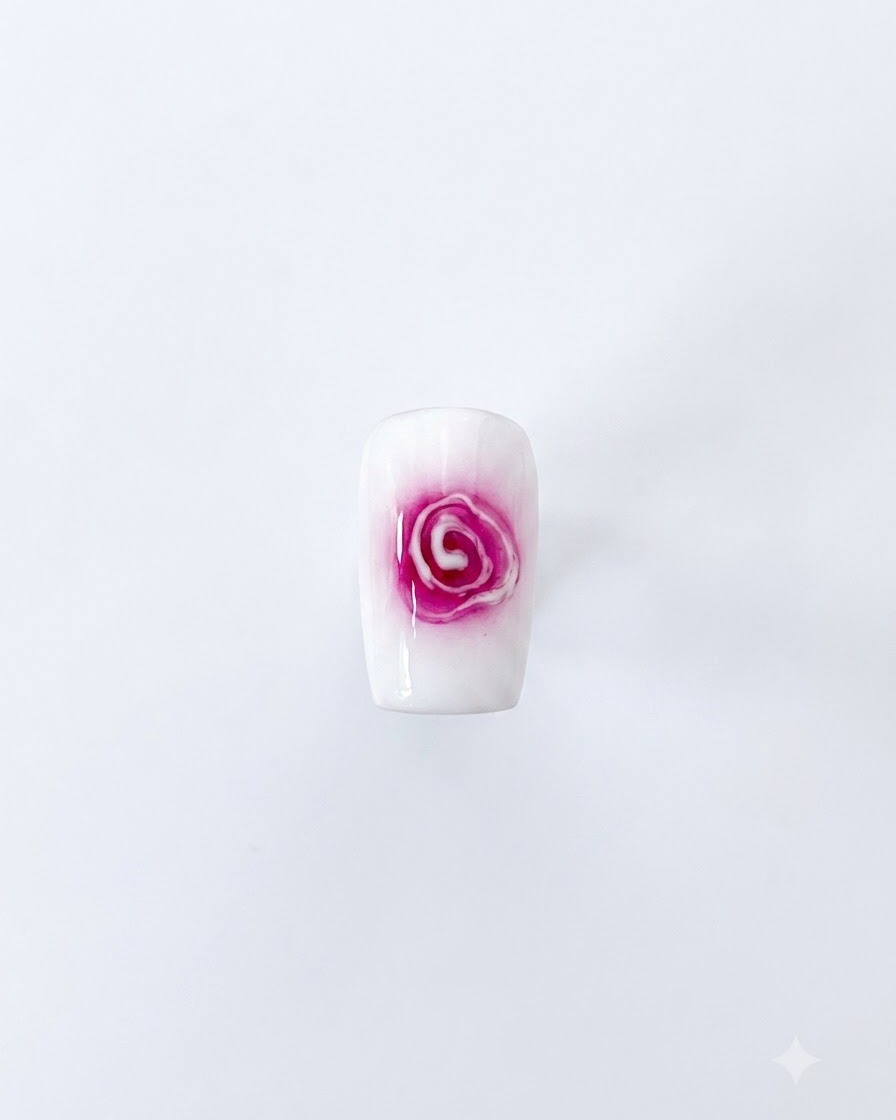
Continue adding more white gel accents and drawing outward strokes to expand the blooming rose pattern until you are satisfied with the flowers size, then cure under a lamp.
Tip: Allow the blooming gel a moment to naturally disperse the colors before curing to create a soft, watercolor effect. - 7Allow the gel to bloom
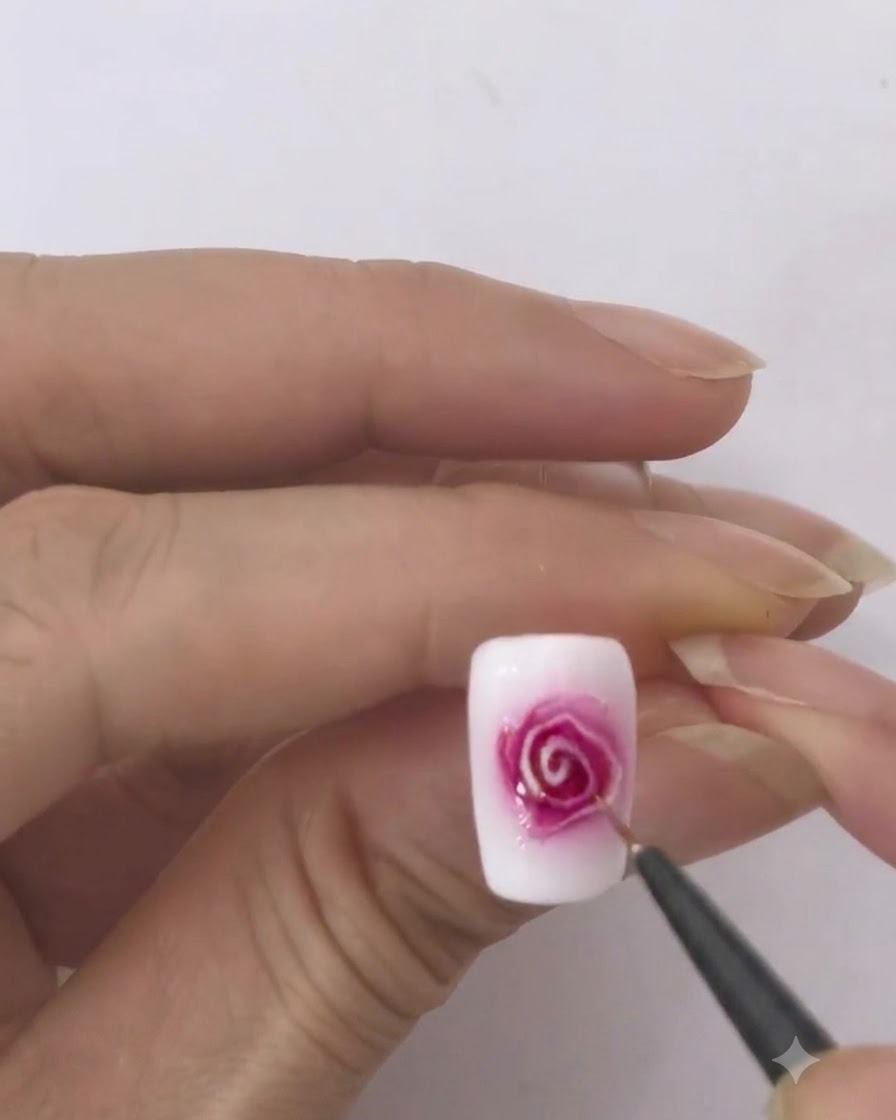
Let the red and white gel colors naturally spread and blend into each other on the uncured blooming gel surface. This creates a soft, watercolor-like watercolor rose effect without hard lines. Watch closely as the colors migrate until the desired rose petal texture forms.
Tip: Give the blooming gel a few seconds to let the pigments disperse evenly before curing. - 8Cure the blooming design
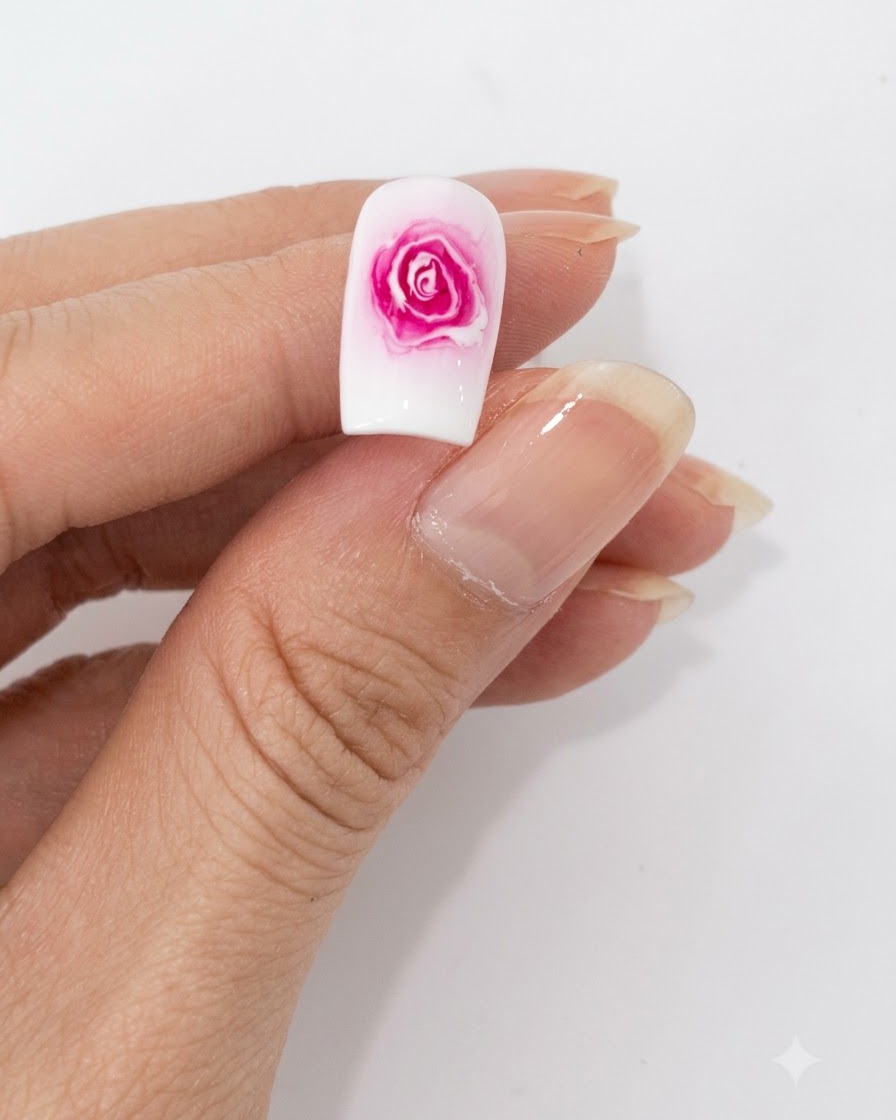
Place the nail under your UV or LED lamp to fully cure the blooming gel and color design. Make sure the hand is positioned properly so the light reaches the entire surface, setting the design securely before applying a top coat.
Tip: Ensure proper cure times according to your gel lamps specifications to prevent wrinkling or shifting of the wet art layer.