Hand-Painted Miniature Rose Nail Art — Beginner Tutorial
Learn how to paint delicate miniature gel roses in vibrant colors with this step-by-step beginner-friendly nail art tutorial.
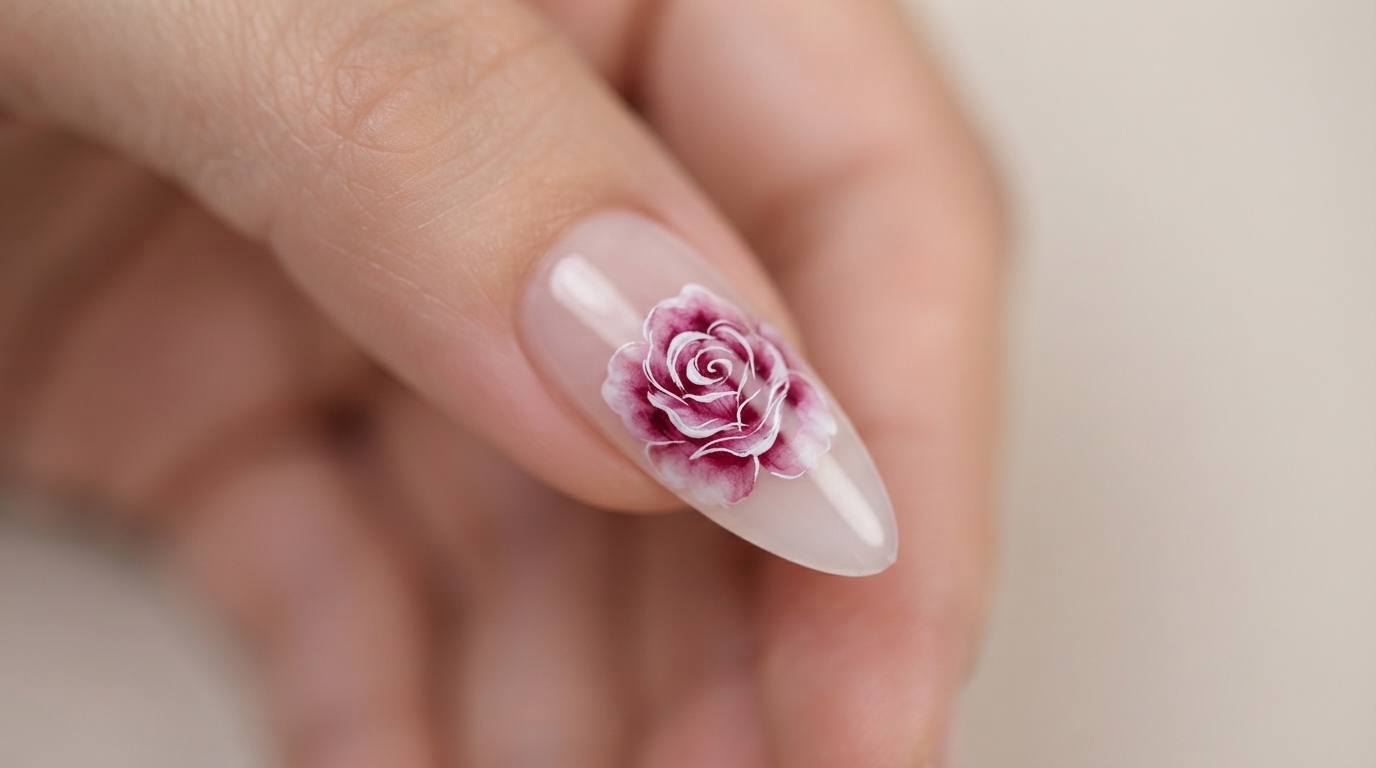
Floral nail art is a timeless trend that brings a delicate, artistic touch to any manicure. This beginner-friendly tutorial breaks down the technique of painting miniature roses using fine gel lines, allowing you to create beautiful, layered floral designs with confidence.
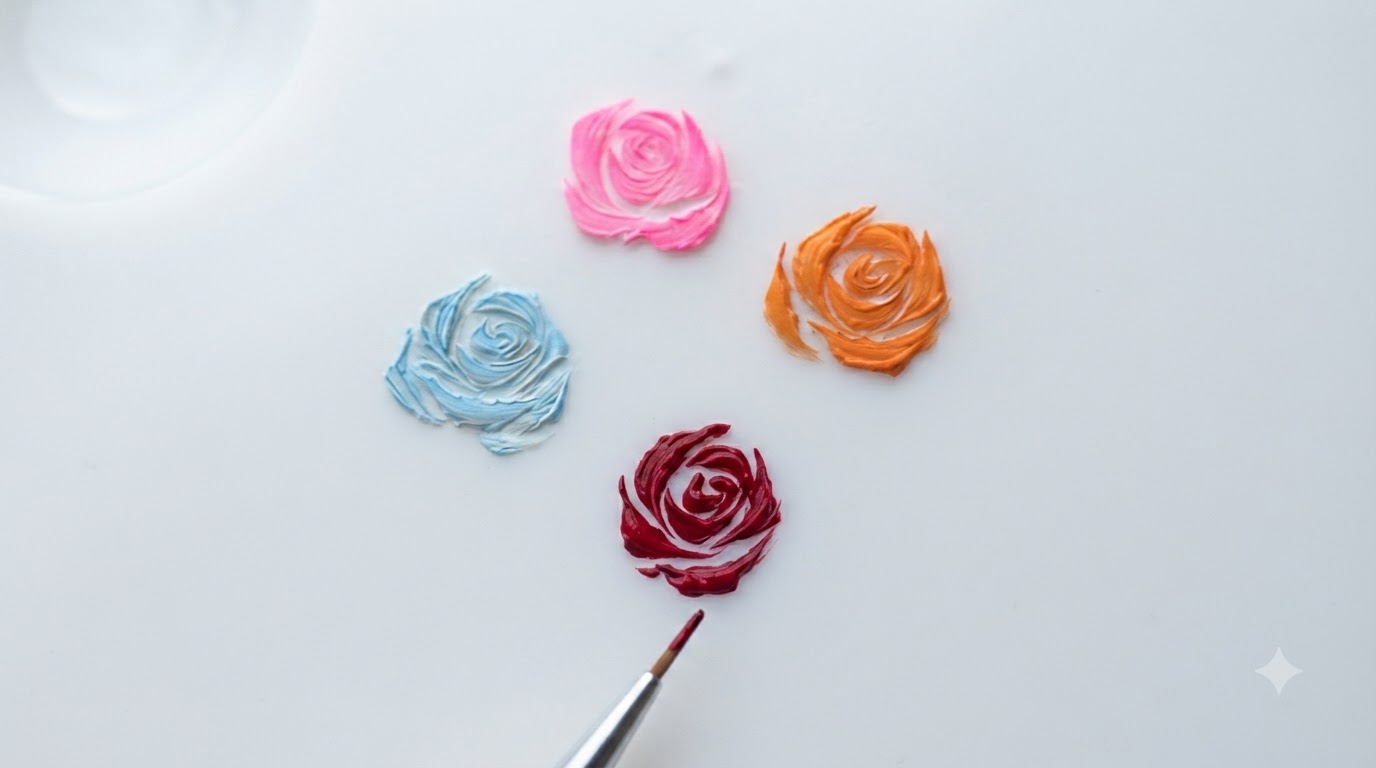
Steps
- 1Extend inner petals
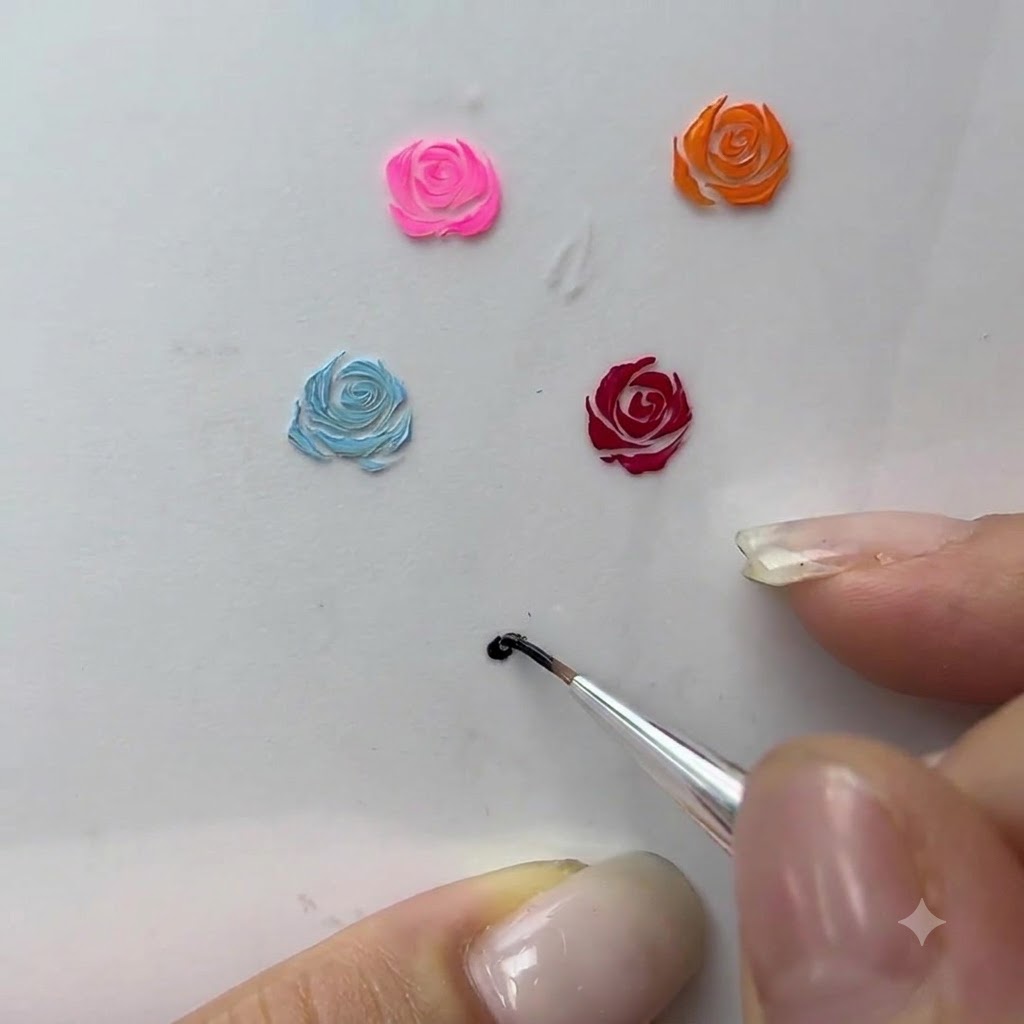
Using a fine liner brush loaded with black gel, extend the central spiral outward with slightly thicker curved strokes to form the inner petals of the rose design.
Tip: Keep your hand steady and use light pressure to maintain consistent line thickness as you curve outward. - 2Add outer petal layers
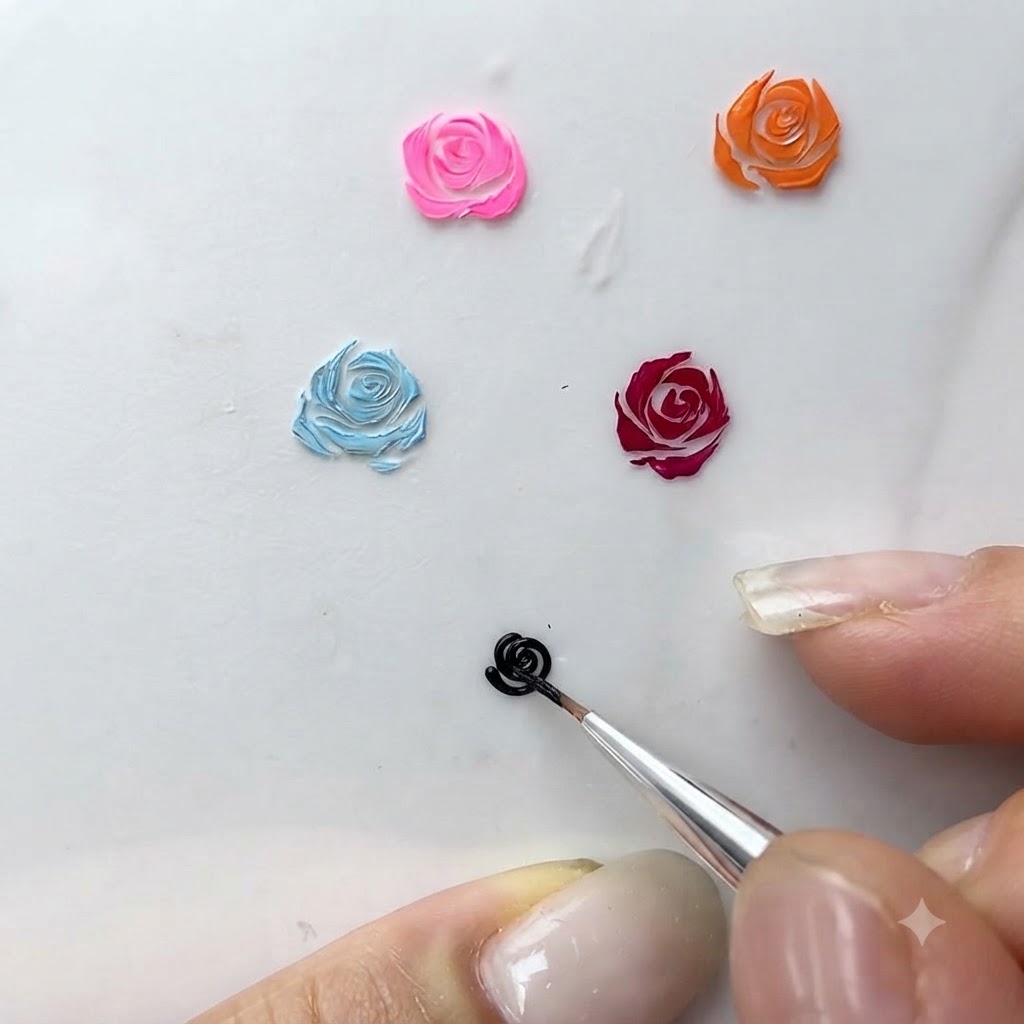
Build out the shape by adding outer petal layers around the center using larger, sweeping curved lines with the black gel.
Tip: Vary the length of your strokes to give the rose a more organic and natural appearance. - 3Shape outer petal edges
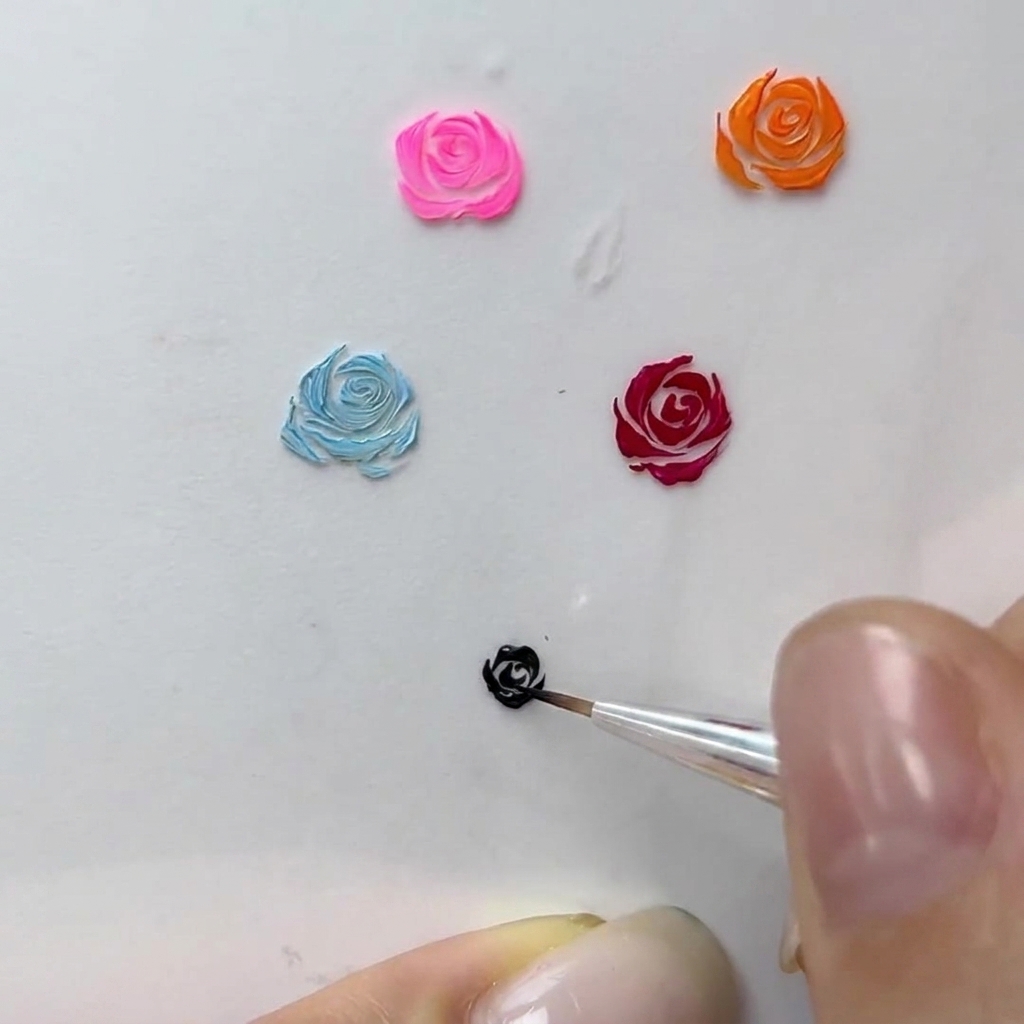
Continue shaping the outer petals by adding small, delicate curved strokes along the outer edges to enhance the floral texture.
Tip: Short strokes at the perimeter create the illusion of overlapping petals. - 4Fill gaps between petals
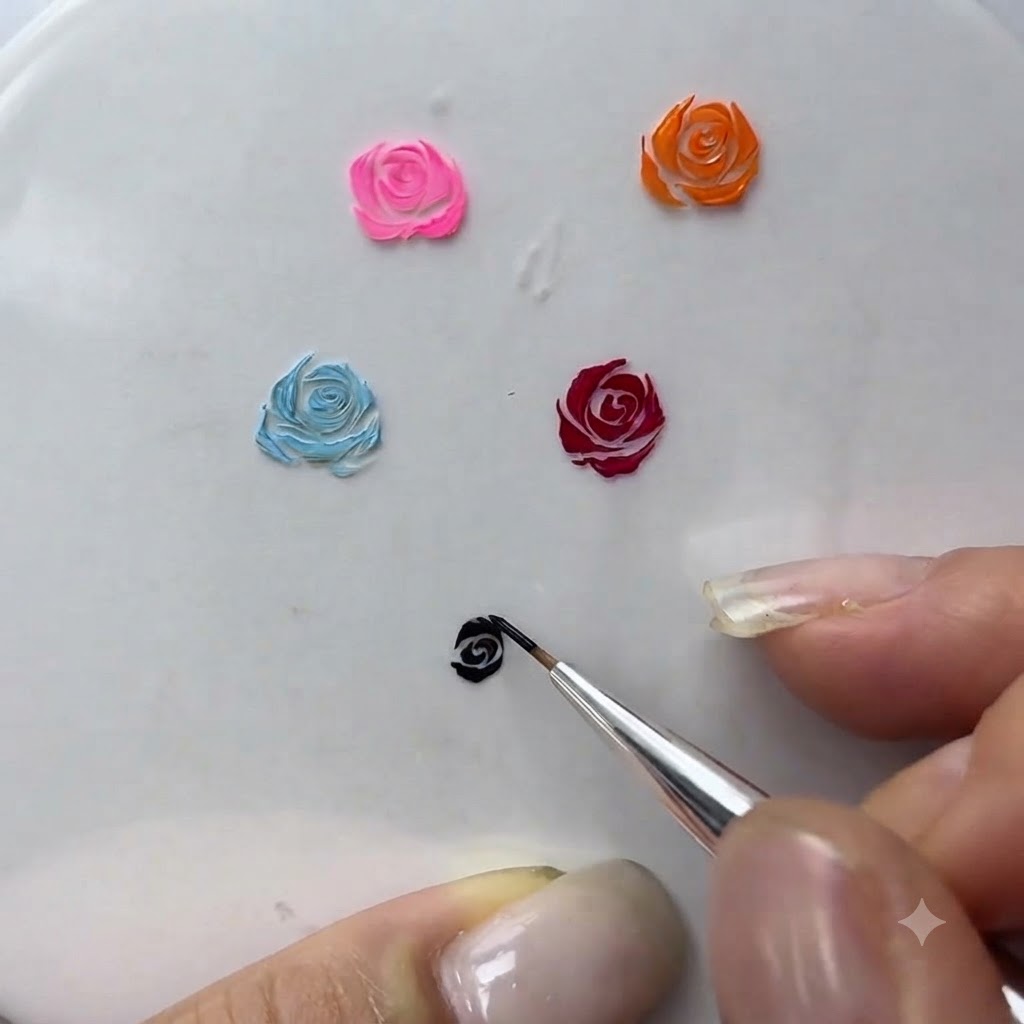
Carefully fill in any small gaps between the petals using the tip of the liner brush to define the overall rose shape more clearly.
Tip: Take your time checking the balance of the flower before moving on to final detailing. - 5Refine petal edges
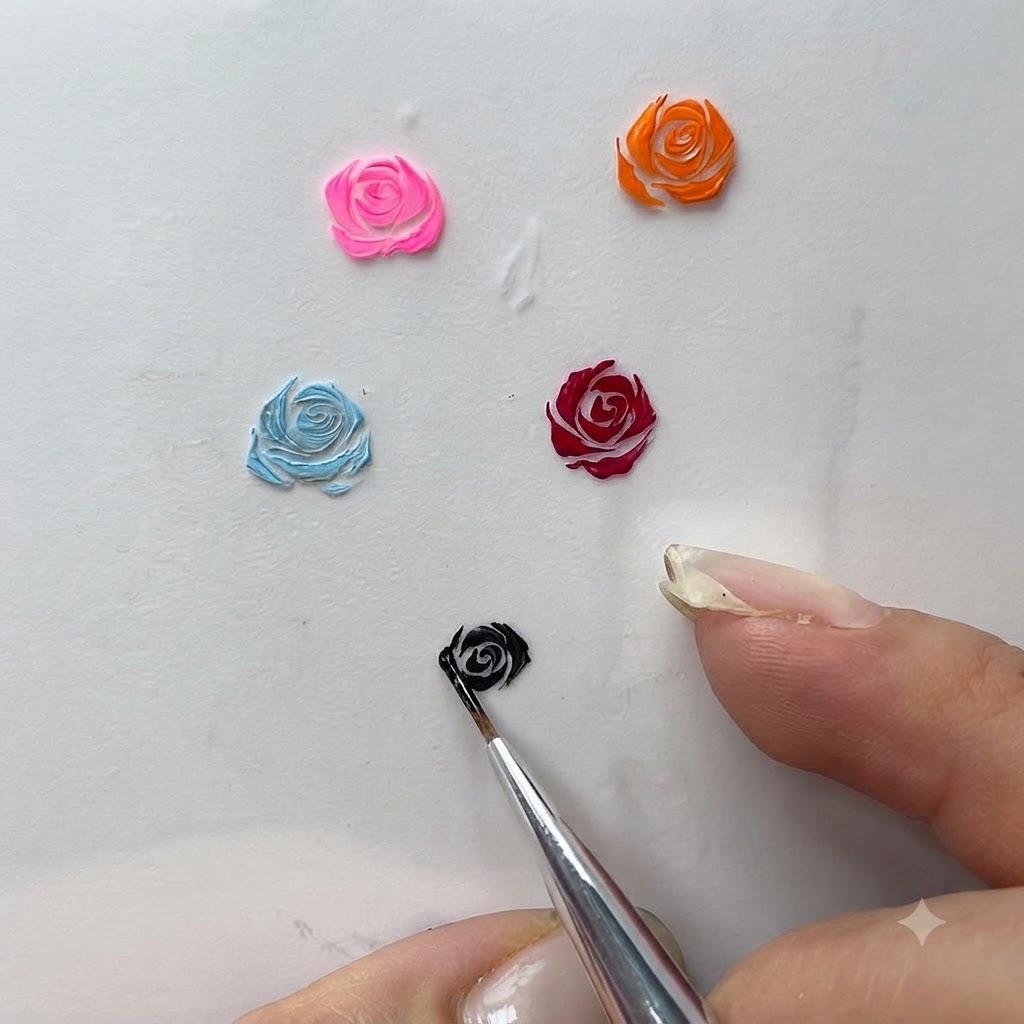
Refine the edges and clean up the contours of the petals using the sharp tip of the liner brush for a polished finish.
Tip: Wipe your brush clean on a lint-free pad if it picks up excess product to keep your lines crisp. - 6Deepen the inner rose details
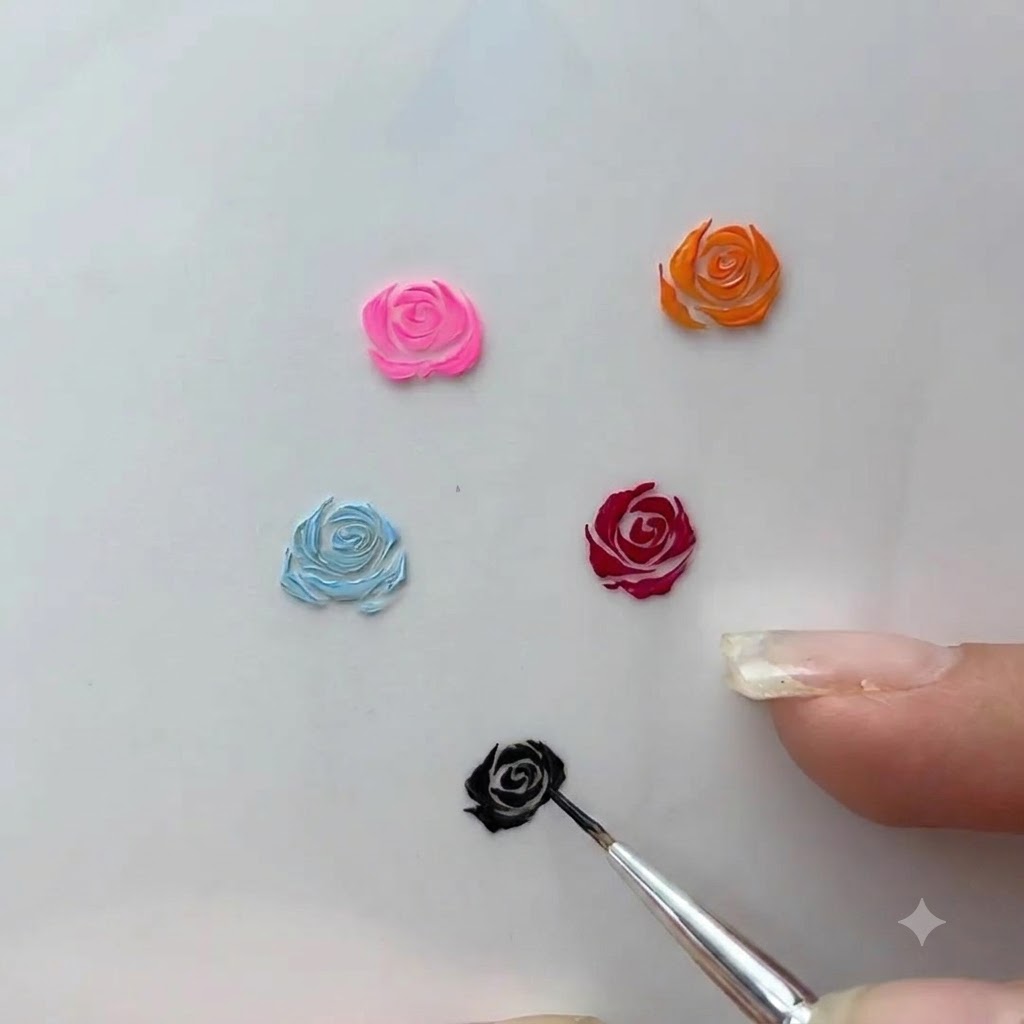
Using a fine detail brush and a darker shade, carefully define the inner spiral curves of the rose. This adds depth and dimension to the center petals, giving the flower a realistic, layered appearance.
Tip: Keep your brush strokes light and thin to maintain clean separation between the inner swirl petals.