Wine Red Butterfly
Rose New Year Gel Nail Art Tutorial
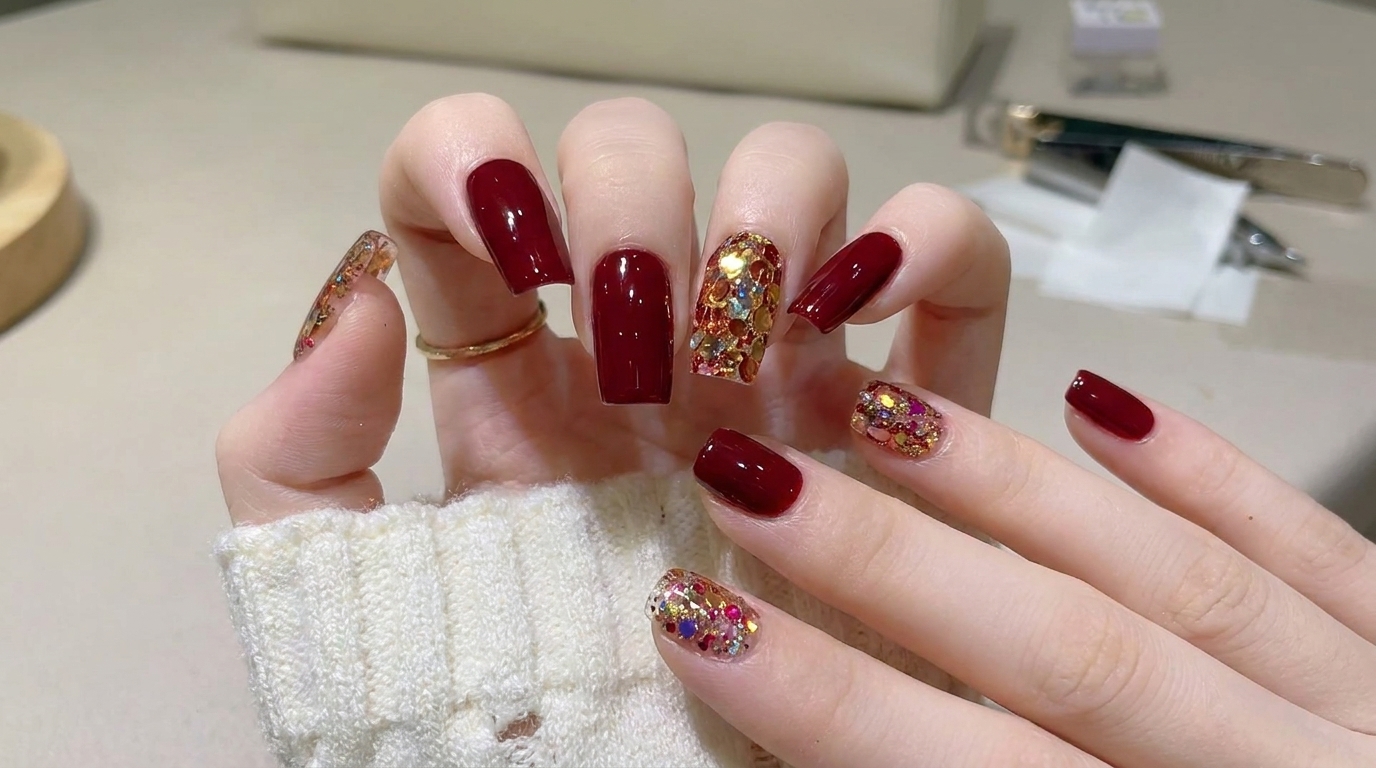
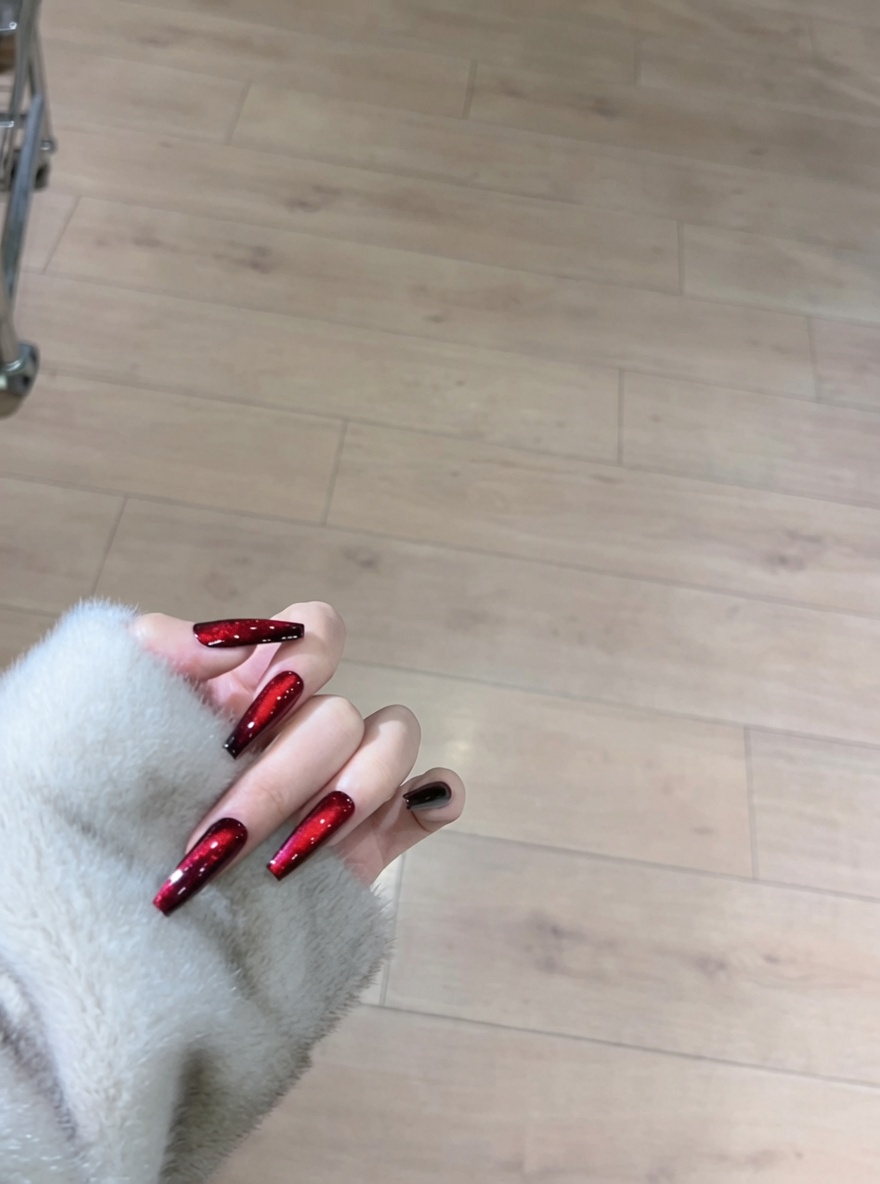
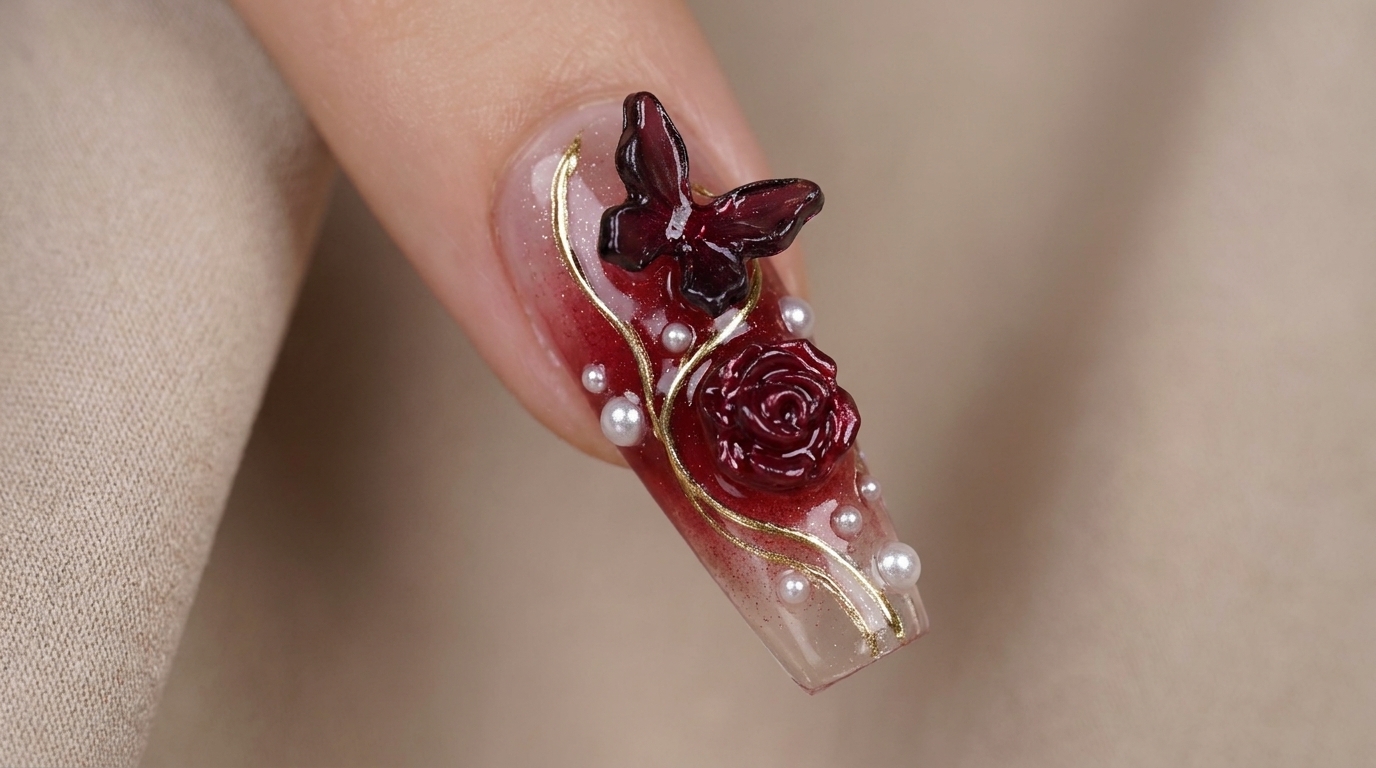
Create a stunning New Year's Eve look with this wine-red ombre gel nail tutorial featuring elegant 3D butterfly charms, sculpted roses, and gold accents.
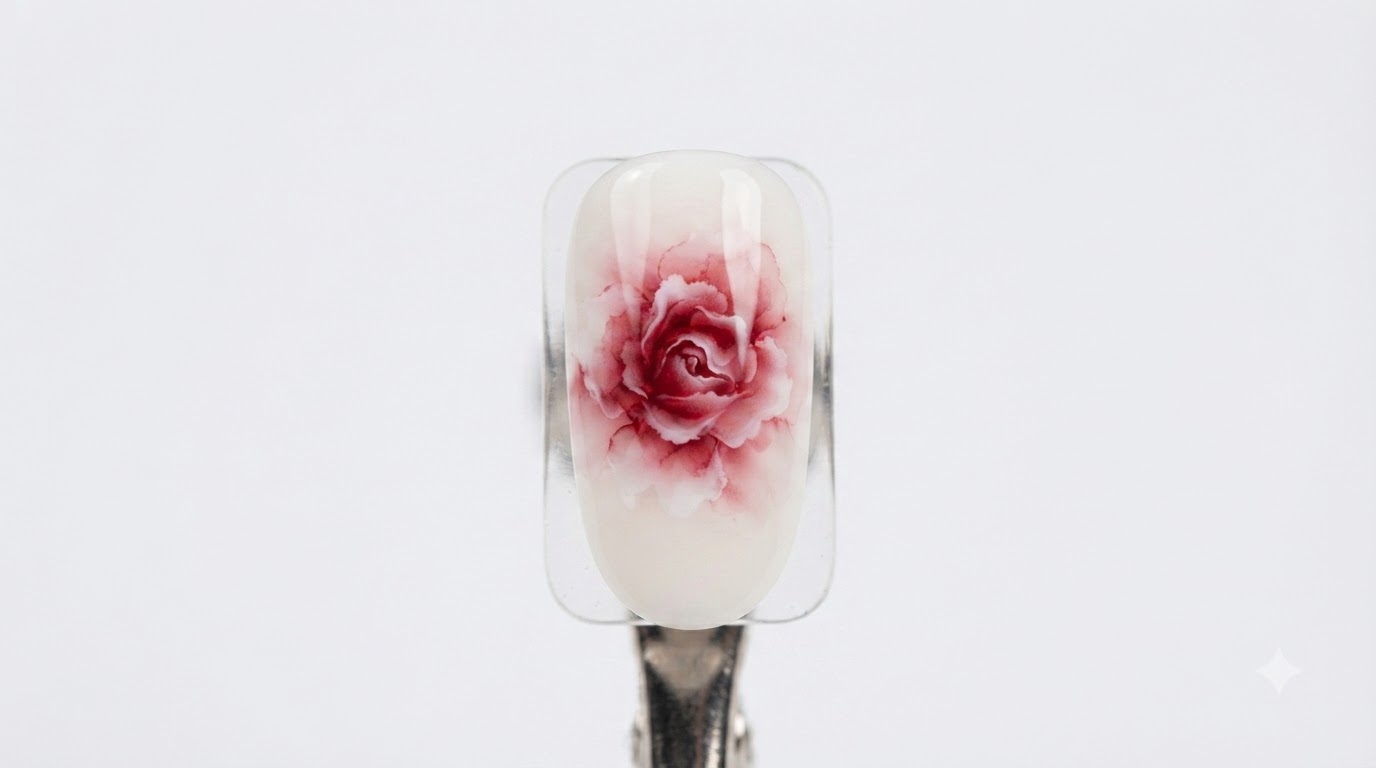
Ring in the New Year with a sophisticated, festive manicure that perfectly blends classic wine-red tones with romantic 3D embellishments. This nail art technique uses a sponge-blending method to achieve a seamless gradient base, providing the perfect canvas for ornate charms and metallic detailing. It is a fantastic way to elevate your holiday style with a look that is both luxurious and eye-catching.
Steps
- 1Apply Sheer Base Coat
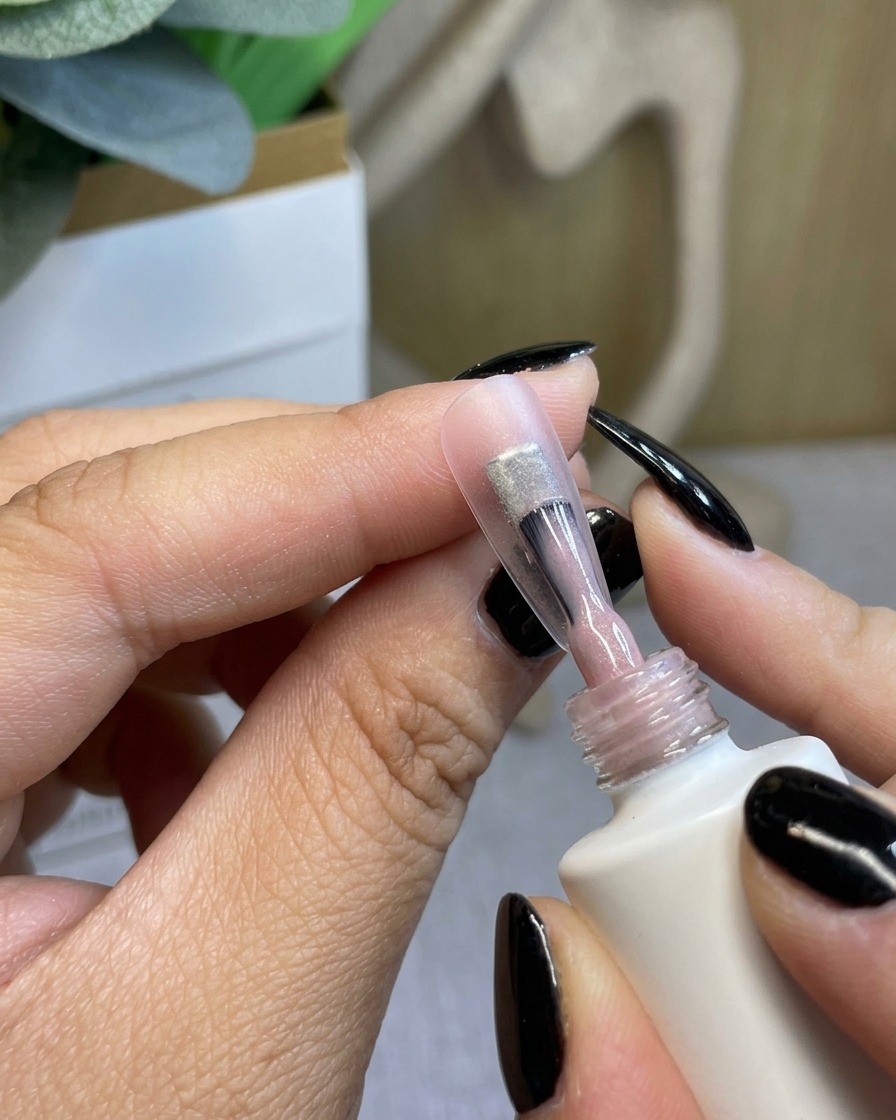
Apply a thin, even layer of sheer base coat to the prepared nail plate. Ensure it covers the nail surface uniformly. Cure under your LED lamp to create a solid, tacky foundation for the subsequent layers.
Tip: Check for even coverage before curing to prevent uneven color distribution later. - 2Create Ombre Base
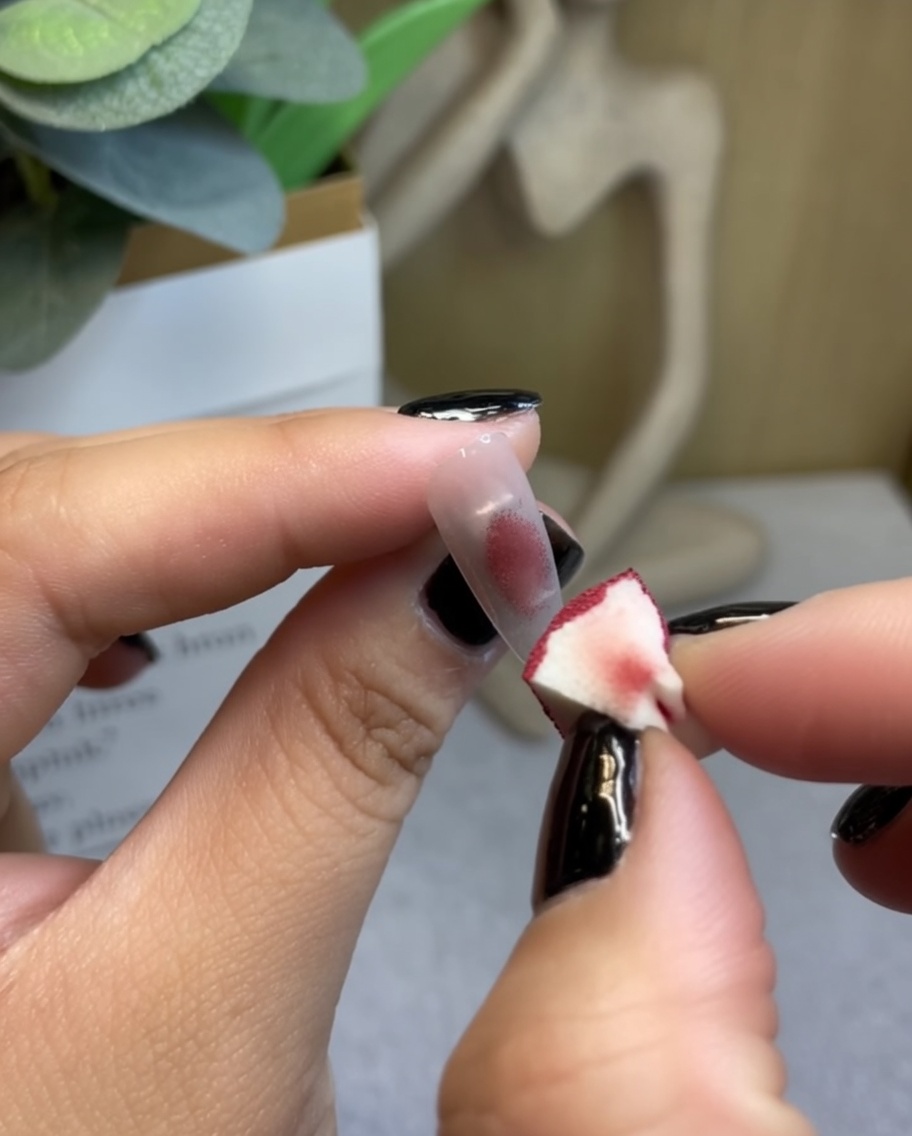
Apply a small amount of wine-red gel to a makeup sponge. Gently dab the sponge onto the center of the nail, building up the color gradually to establish the foundation of your ombre transition.
Tip: Use light, dabbing motions with the sponge to avoid creating bubbles and to ensure a soft, airbrushed blend. - 3Build Ombre Intensity
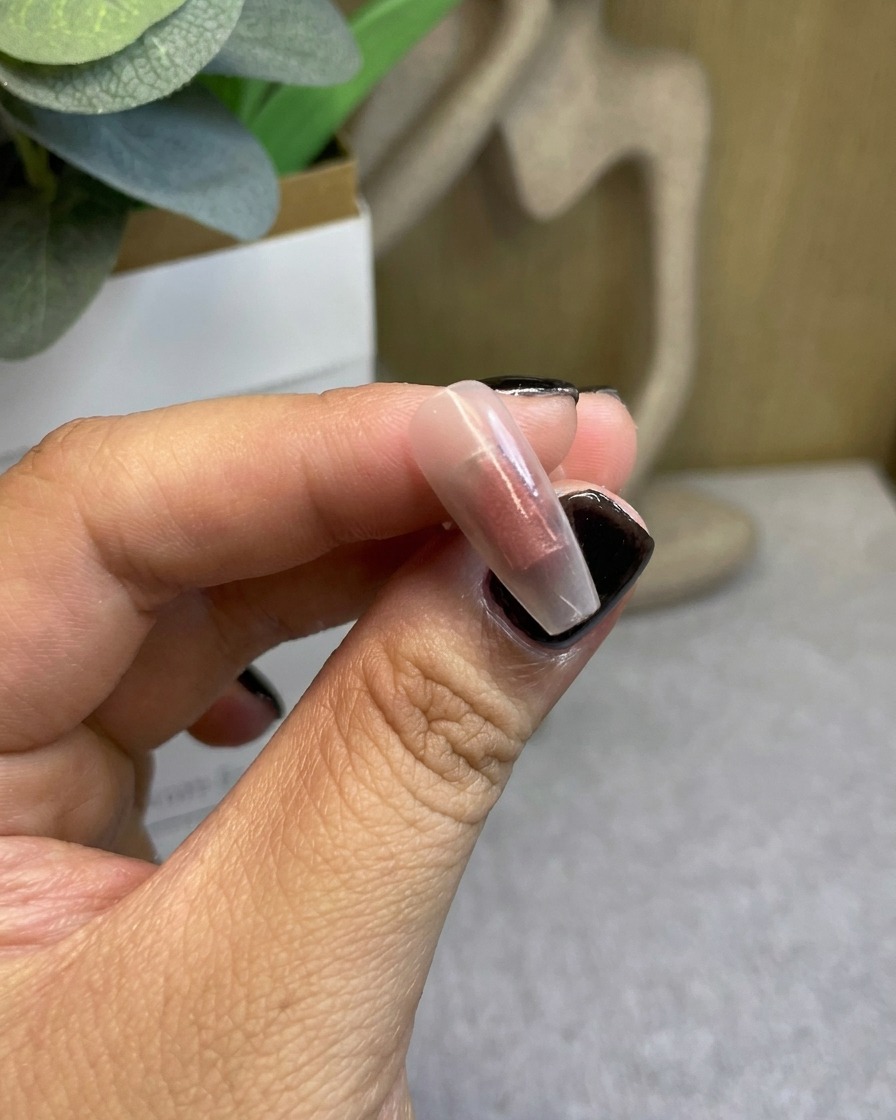
After curing the initial dabbed layer, apply a second layer of red gel using the sponge technique. Focus on the central area, overlapping slightly with the first layer to deepen the color and enhance the gradient effect.
Tip: Keep the second layer thin to ensure a smooth transition rather than a thick, blocked-out color patch. - 4Refine the Gradient
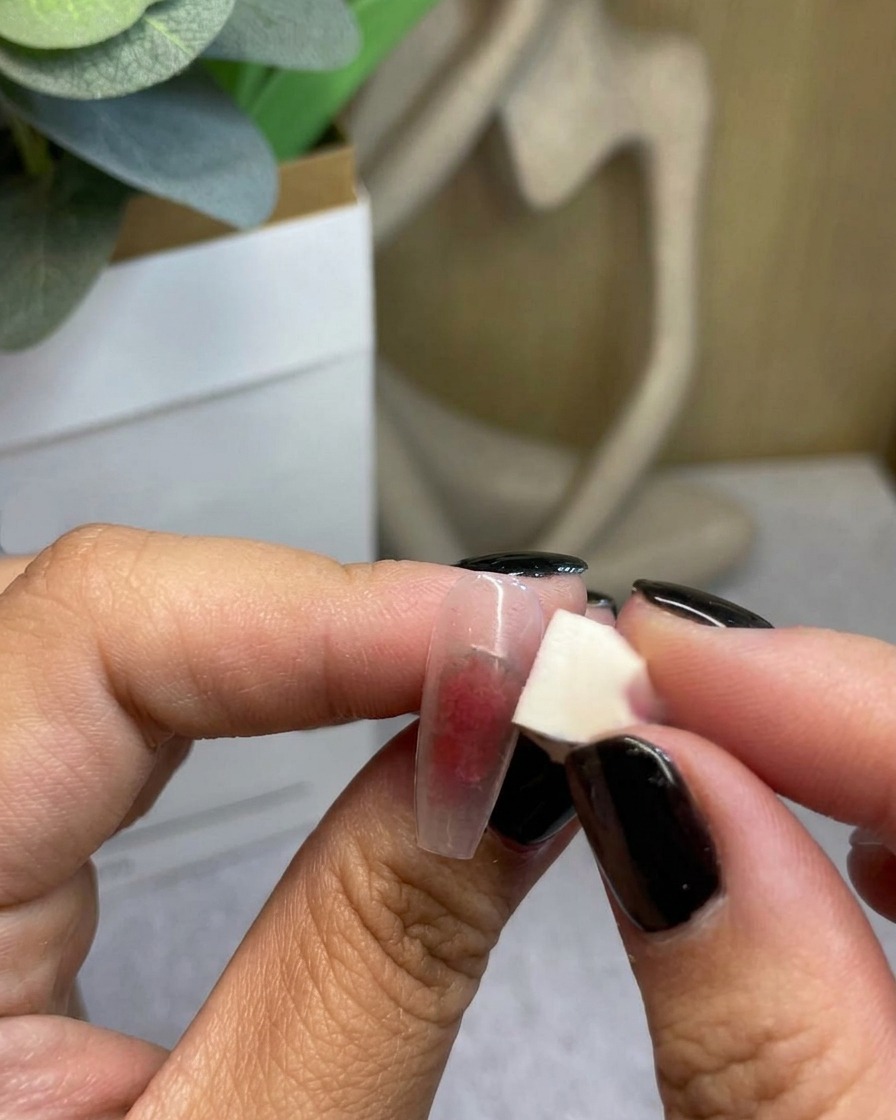
Apply a third layer of red gel color using the sponge, focusing on feathering the edges outward toward the sides of the nail to create a seamless, soft-focus transition.
Tip: The key to a perfect ombre is building the intensity slowly with multiple sheer layers. - 5Add Glitter Accents
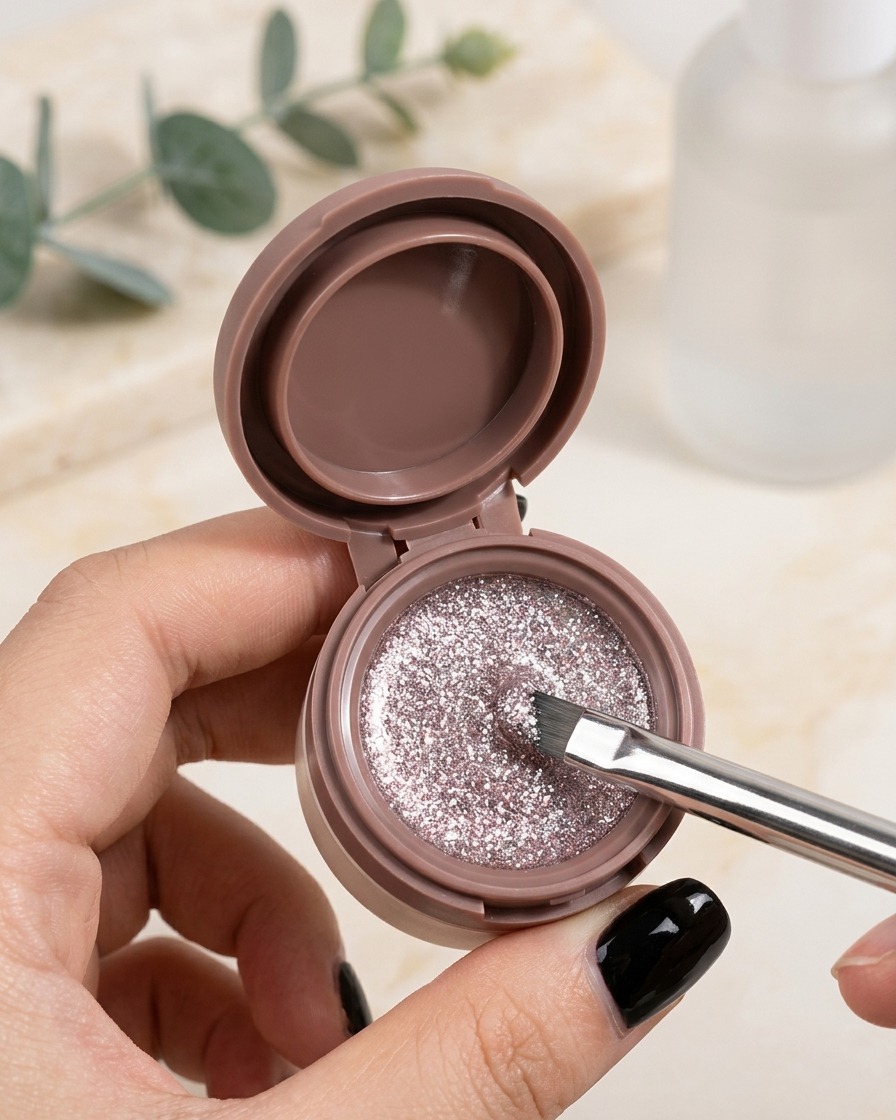
Sweep a thin, uniform layer of fine reflective glitter over the cured red ombre base. Ensure the glitter is distributed evenly across the nail surface before placing it under the LED lamp to cure.
Tip: Reflective glitter adds extra dimension and a festive New Years Eve finish to the wine-red base. - 6Attach Butterfly Charm
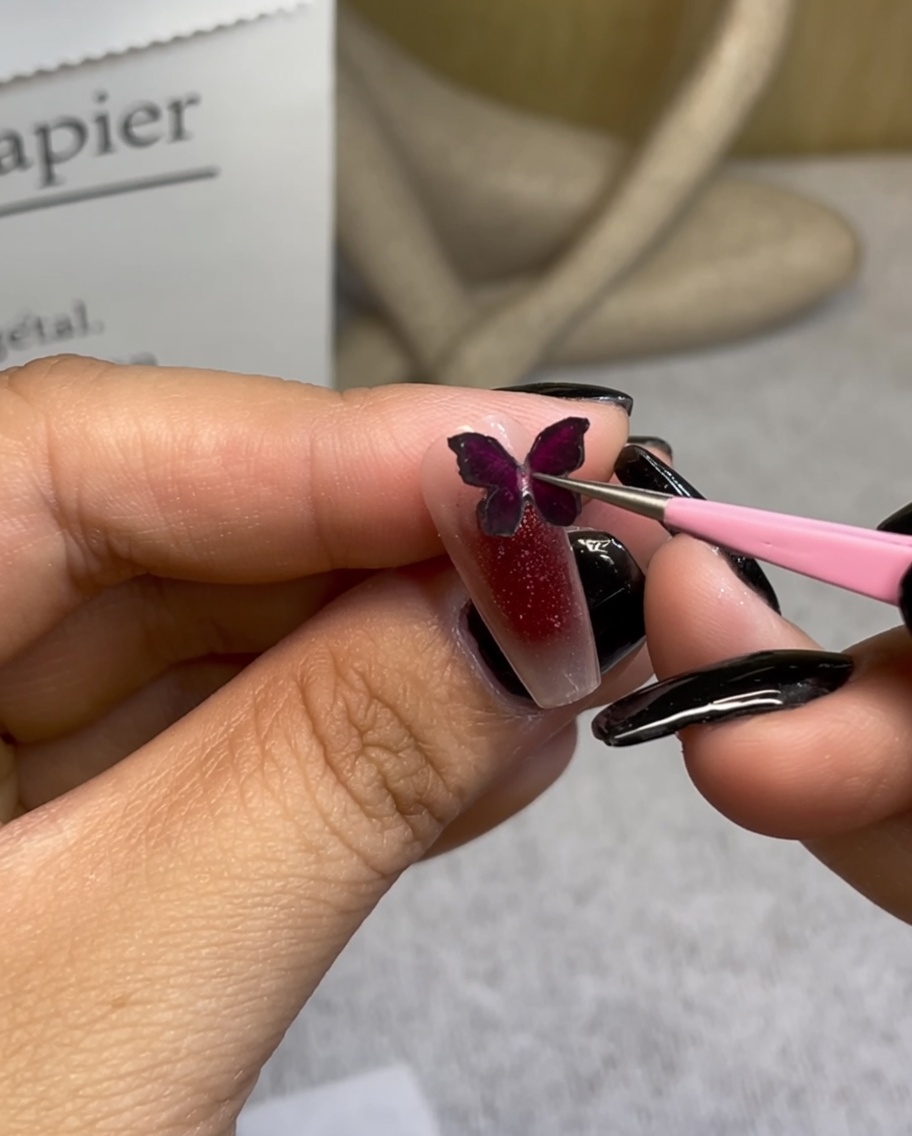
Apply a precise dot of strong nail adhesive to the center of the nail. Using tweezers, carefully pick up the dark burgundy butterfly charm and press it firmly into the adhesive to secure it in place.
Tip: Hold the charm in place with your tweezers for a few seconds to ensure the glue sets properly. - 7Embellish with pearls and crystals
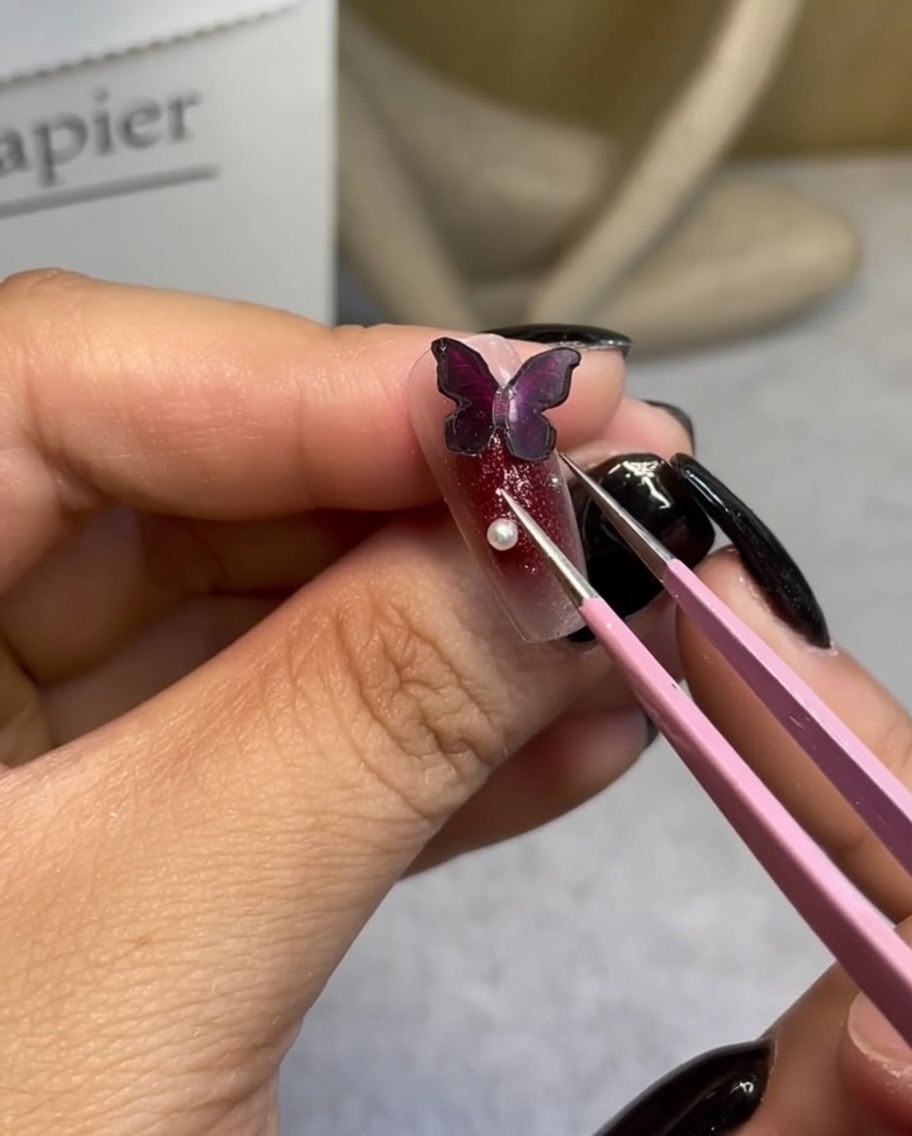
Using a dotting tool or precision tweezers, pick up small white pearls and crystals and place them around the base of the butterfly charm. Use a small amount of strong nail adhesive to secure each piece, ensuring they are tightly nestled against the charm for a cohesive, elegant finish.
Tip: Apply the adhesive in small dots exactly where you want the gems to sit to avoid messy glue residue on the nail surface. - 8Add Metallic Gold Details
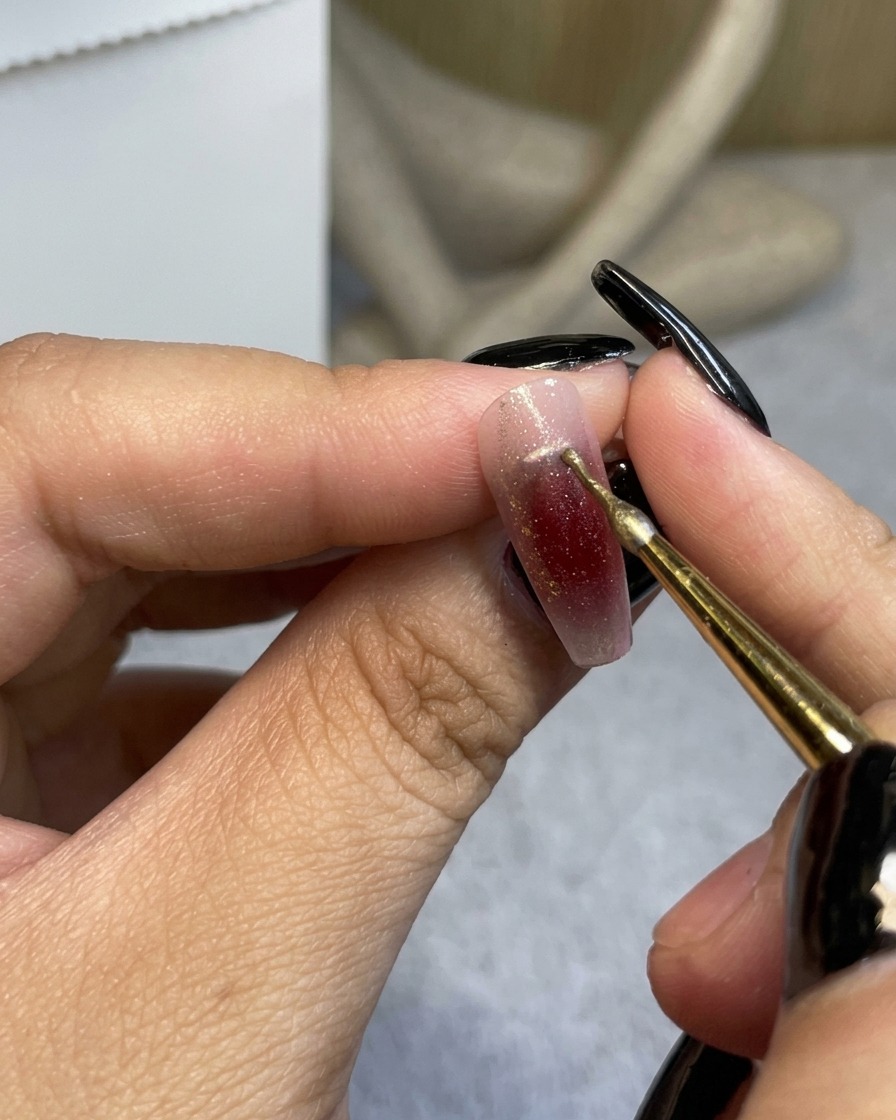
Using a fine liner brush, paint delicate, thin lines with metallic gold gel along the sides of the nail near the cuticle, following the natural curve of your nail for an elegant finish.
Tip: Keep a very light touch with the liner brush to ensure the lines remain thin and elegant rather than chunky. - 9Apply 3D rose sculpture
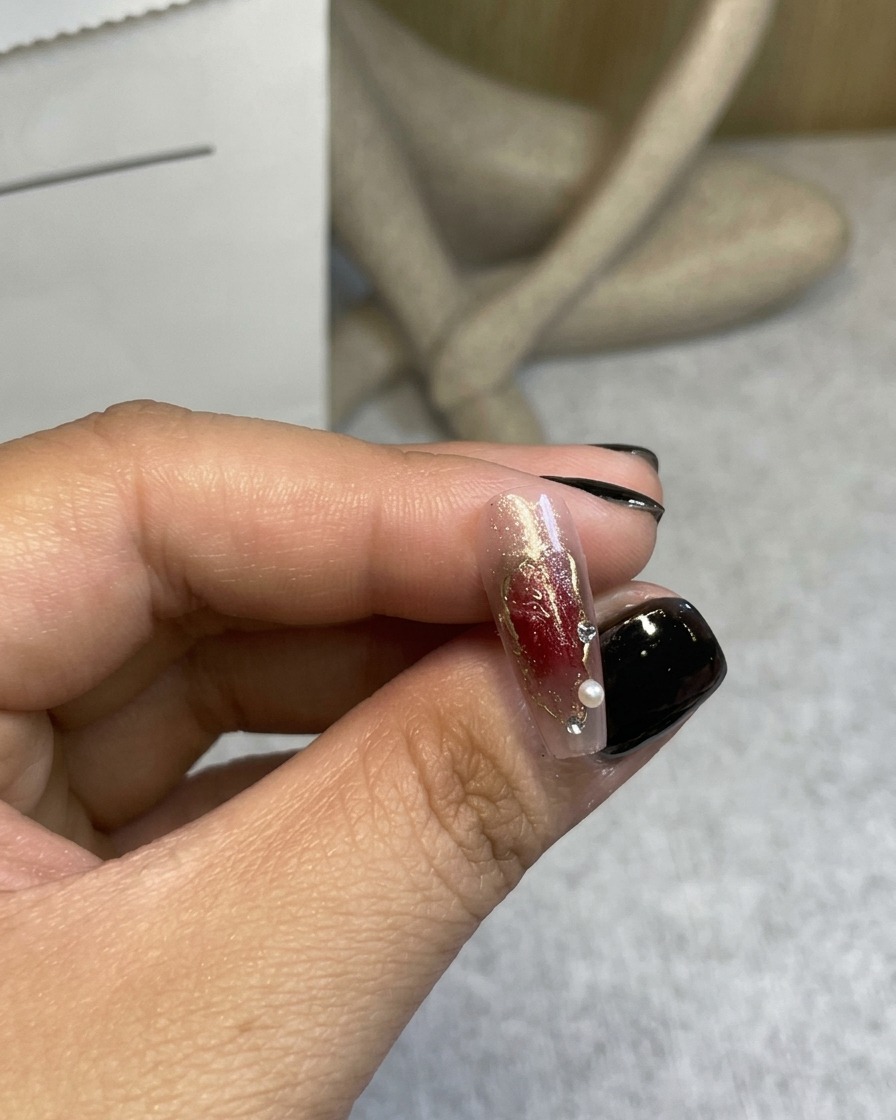
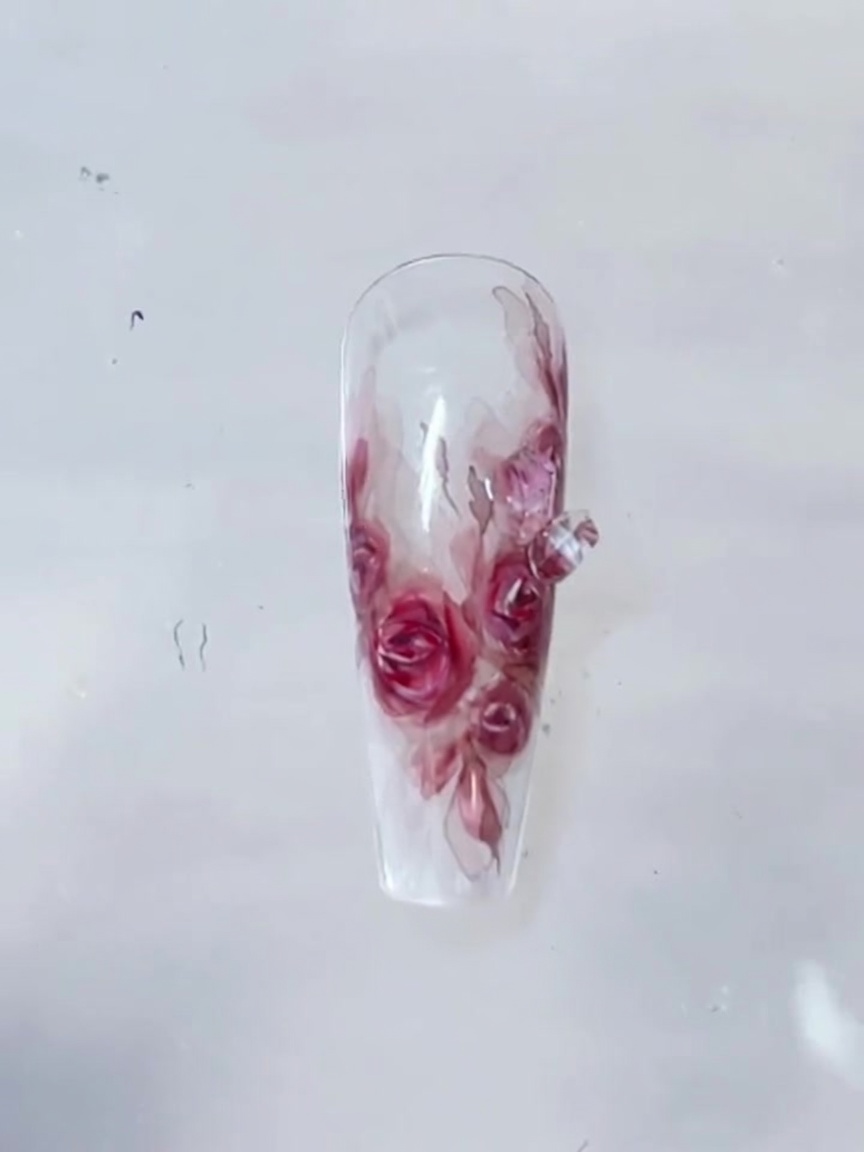
Place a drop of strong adhesive gel on the desired spot of the nail. Using your tweezers, carefully pick up the 3D wine-red rose sculpture and press it firmly into the adhesive. Hold it in place for a few seconds to ensure it is secure before moving on to cure.
Tip: Because 3D charms can be heavy, ensure you use a high-viscosity adhesive to prevent the charm from shifting or falling off. - 10Add final details and cure
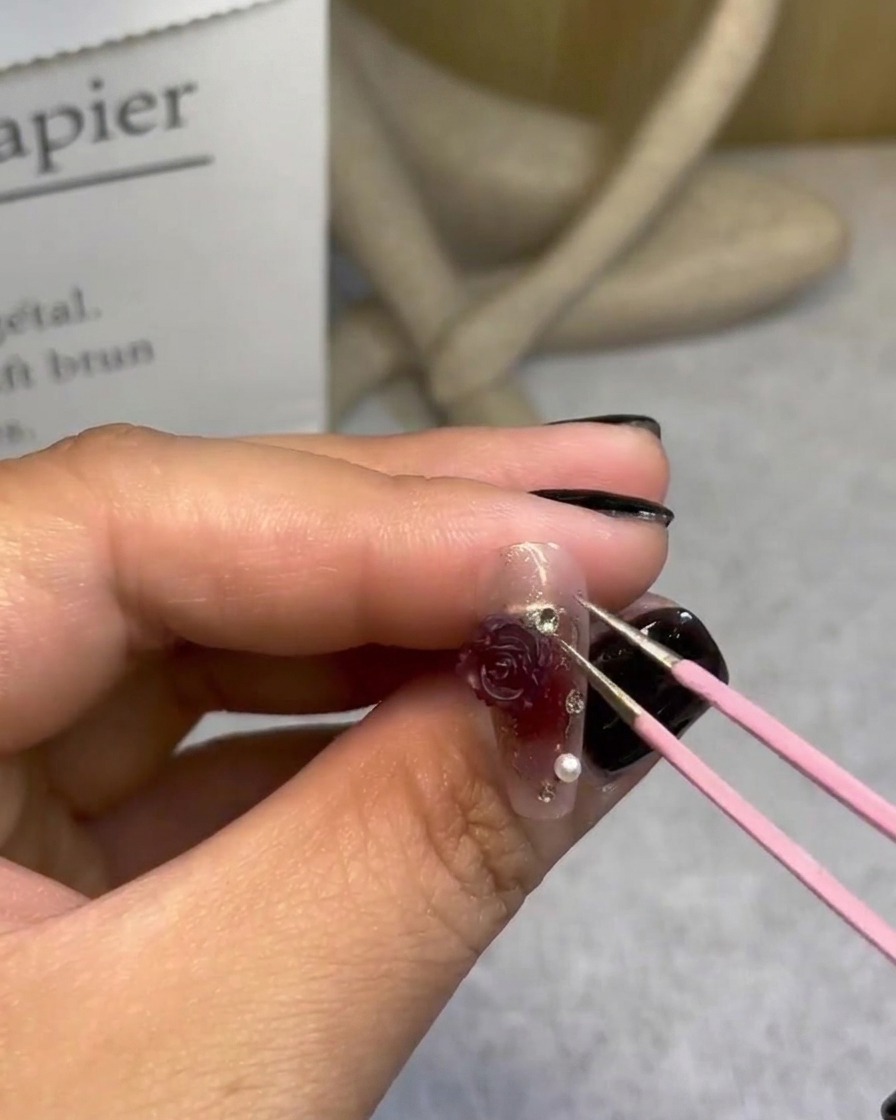
Place a few final small pearls around the 3D rose to complete the arrangement. Once you are satisfied with the placement of all embellishments, place your hand under the UV or LED lamp to fully cure the adhesive and lock all charms and accents into place.
Tip: Ensure the nail is completely flat under the lamp so the charms dont slide while the adhesive is curing.