Dark Wine Red Gel Manicure
Gold Glitter Accent — Step-by-Step Tutorial
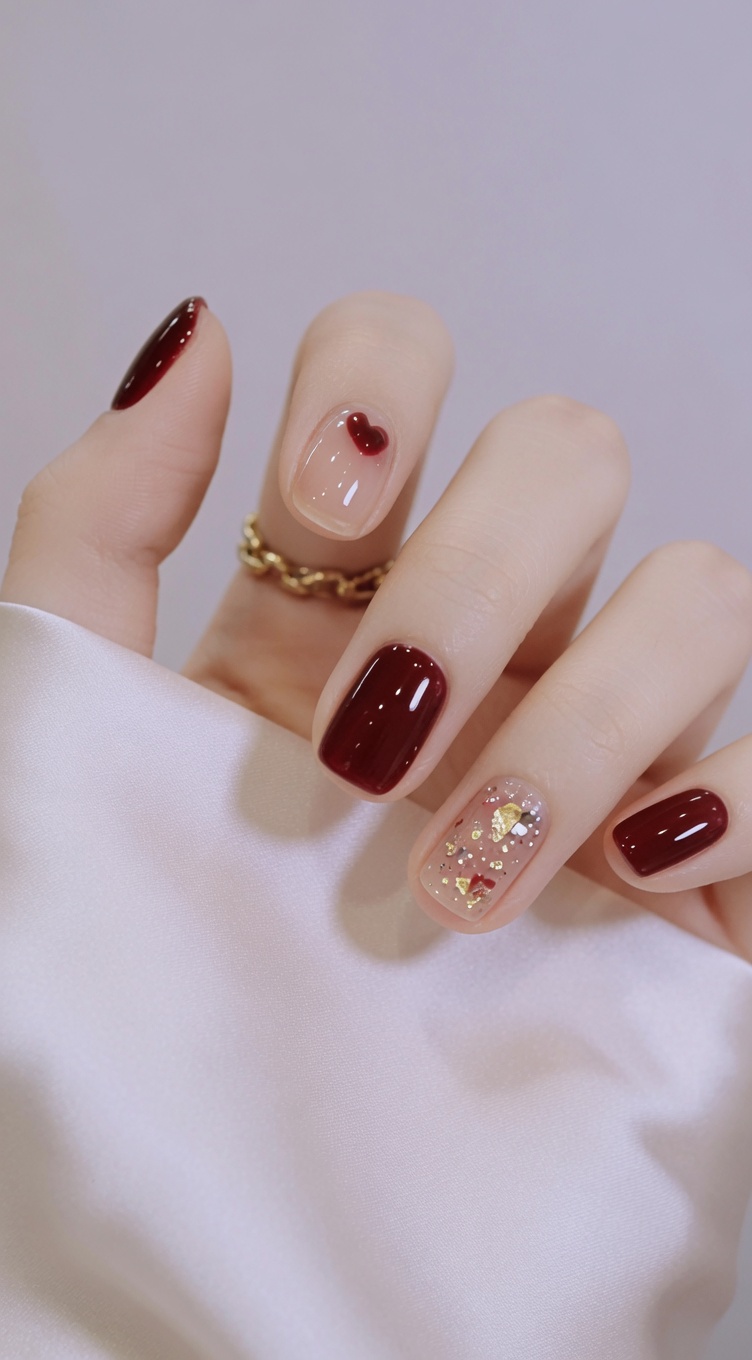
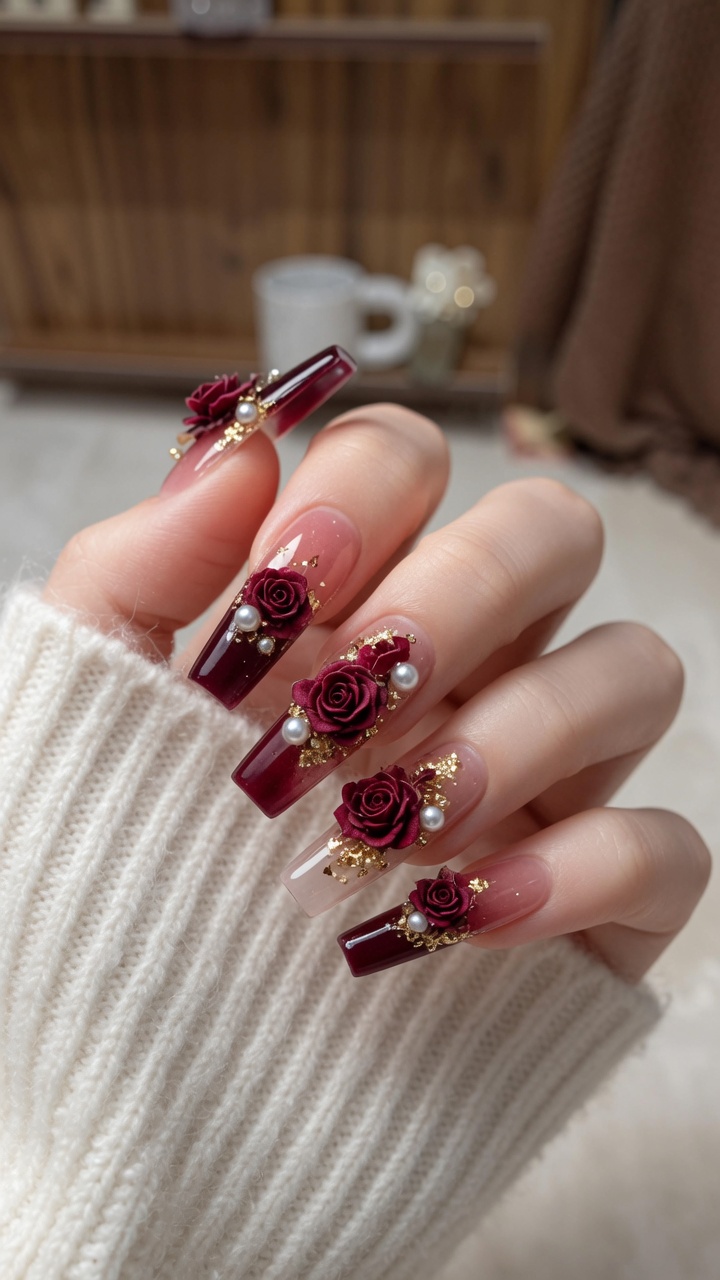
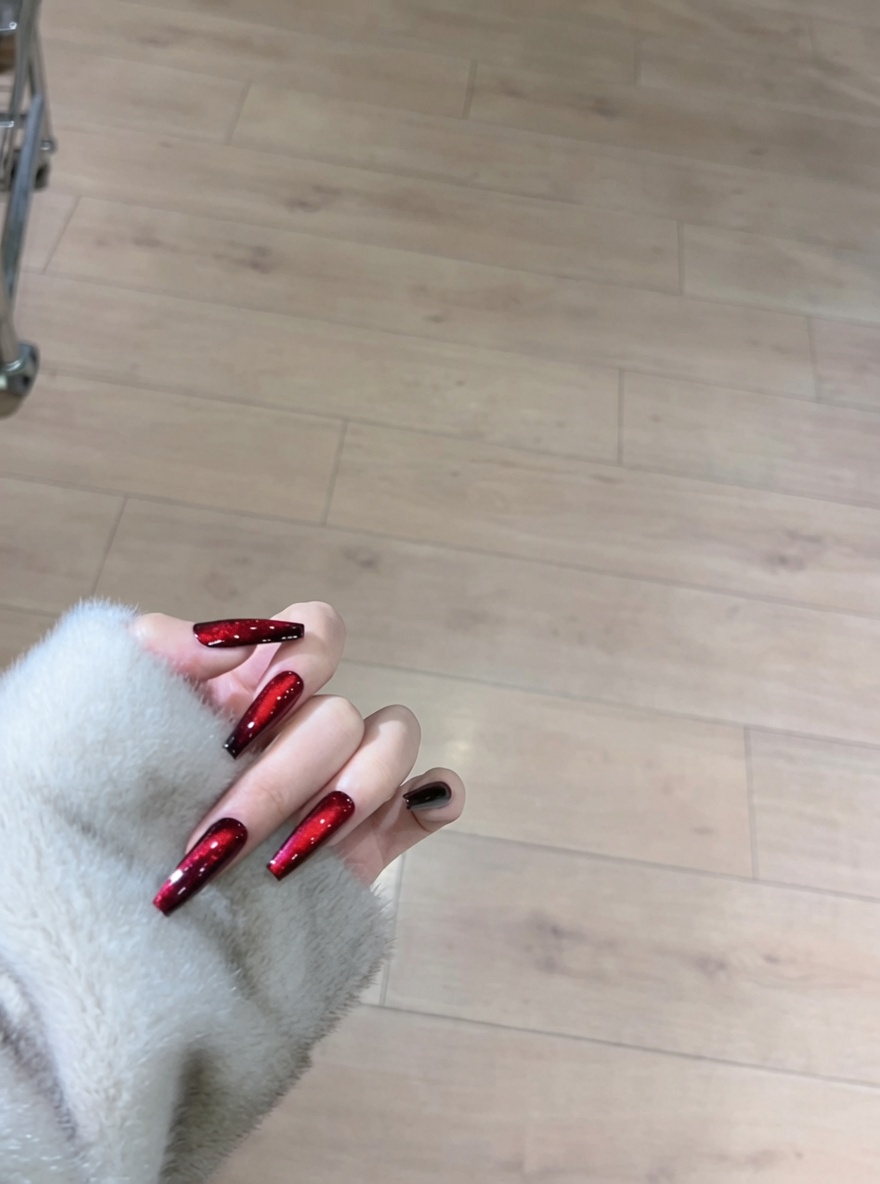
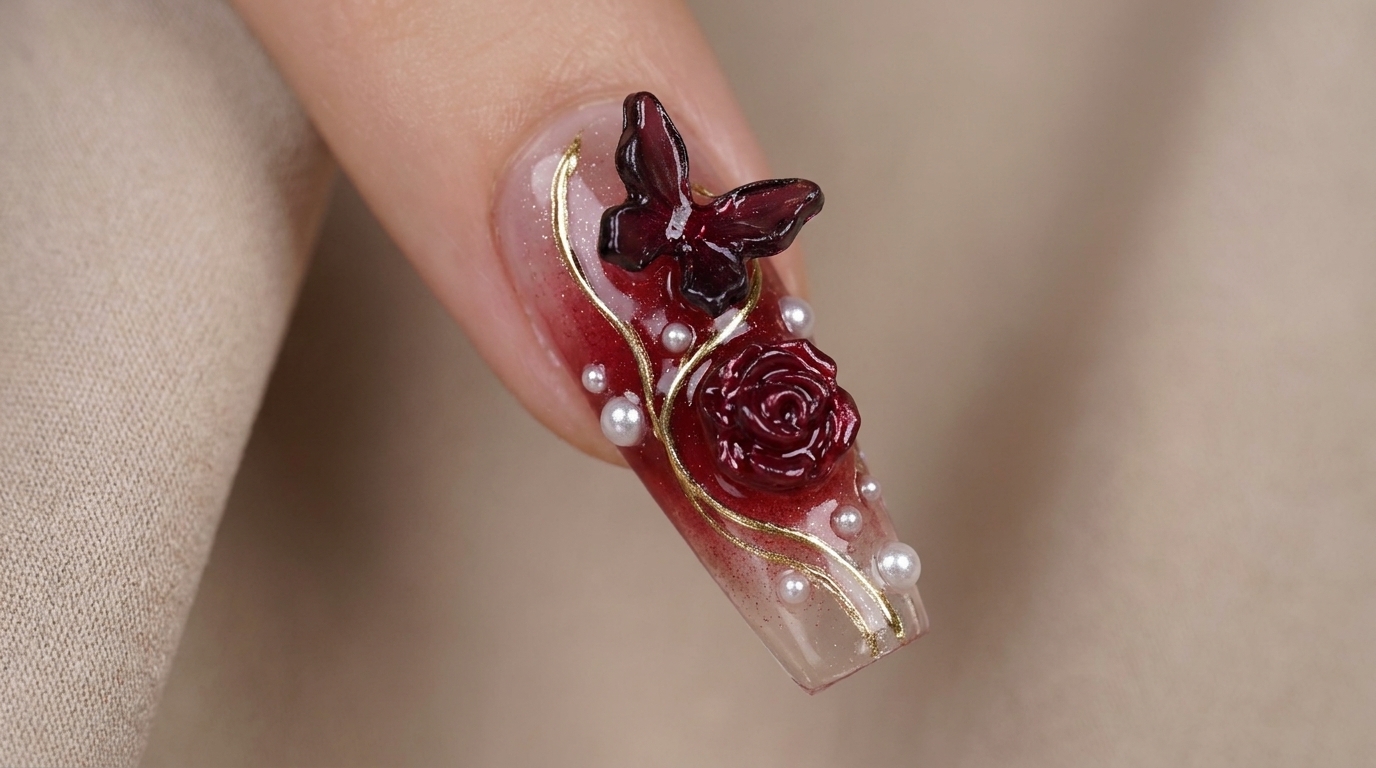
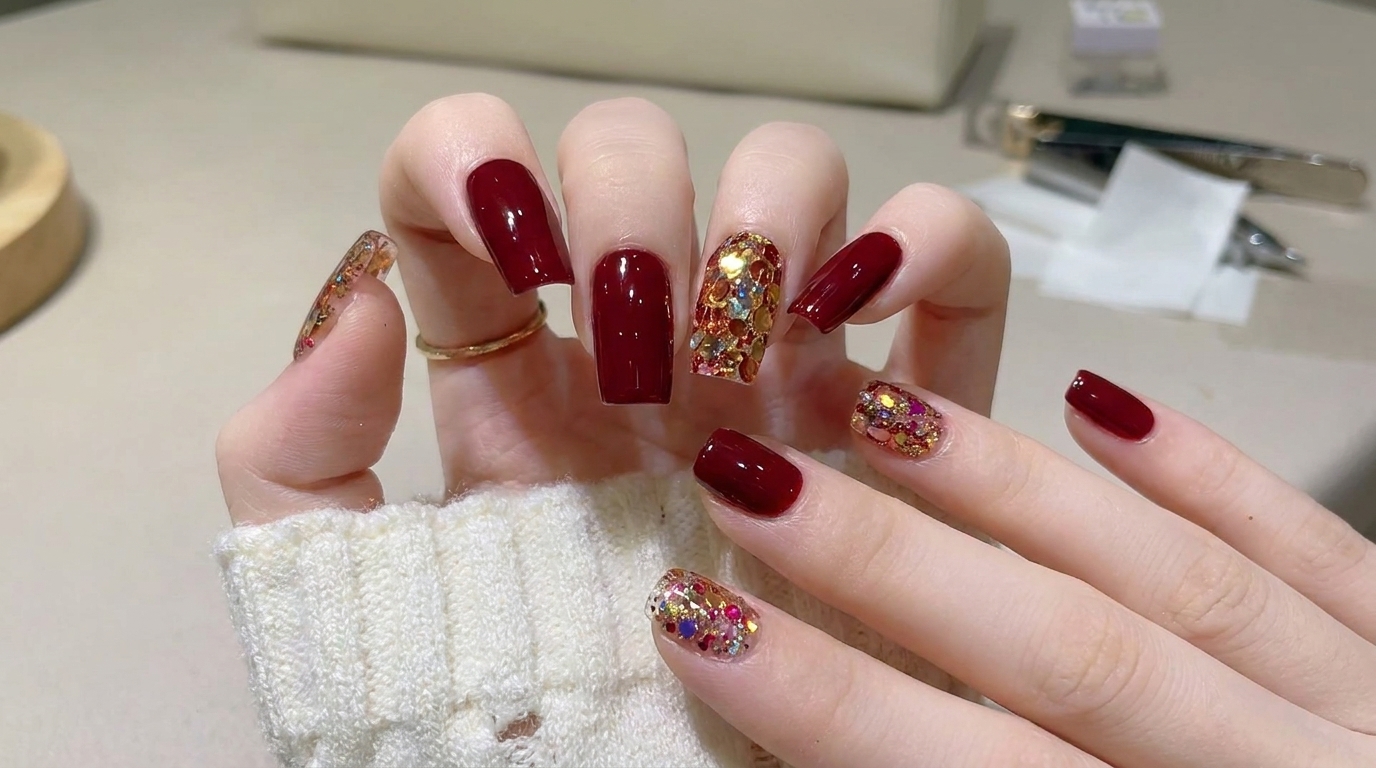
Elevate your look with a sophisticated dark wine red gel manicure featuring a stunning gold glitter accent nail. Follow this easy guide for a salon-quality finish.
The deep, moody tones of wine red gel polish paired with the festive sparkle of gold glitter create a timeless and luxurious manicure. This style is perfect for those who want a classic, elegant nail look that stands out without being over-the-top. Achieving this professional result at home is surprisingly straightforward with the right layering and curing techniques.
Steps
- 1Apply first coat of wine red gel
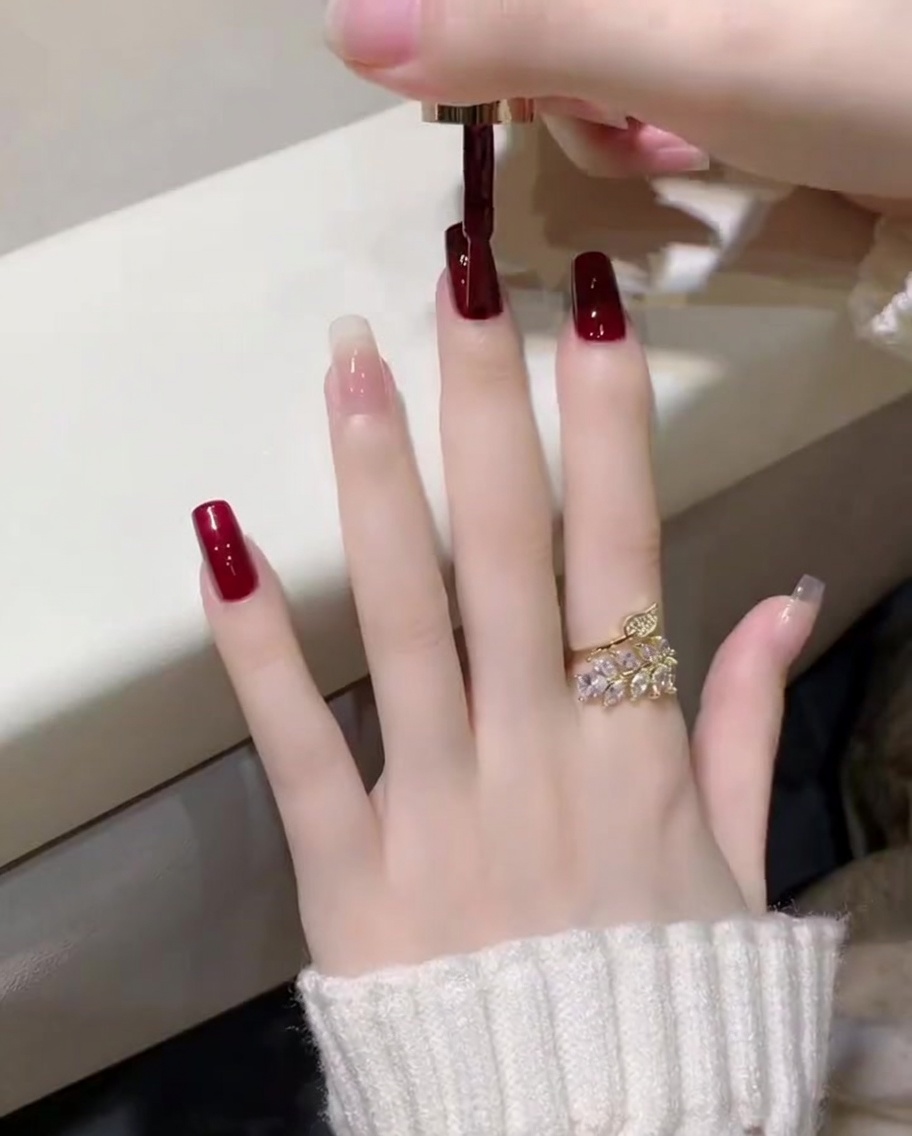
Apply a thin, even first coat of dark wine red gel polish to the nail. Start by placing a bead of polish near the cuticle and gently pushing it toward the edge before pulling it down to the free edge. Ensure thin coverage to prevent pooling and to allow for even curing.
Tip: Keep the first coat very thin; it does not need to be fully opaque at this stage. - 2Cure the gel polish
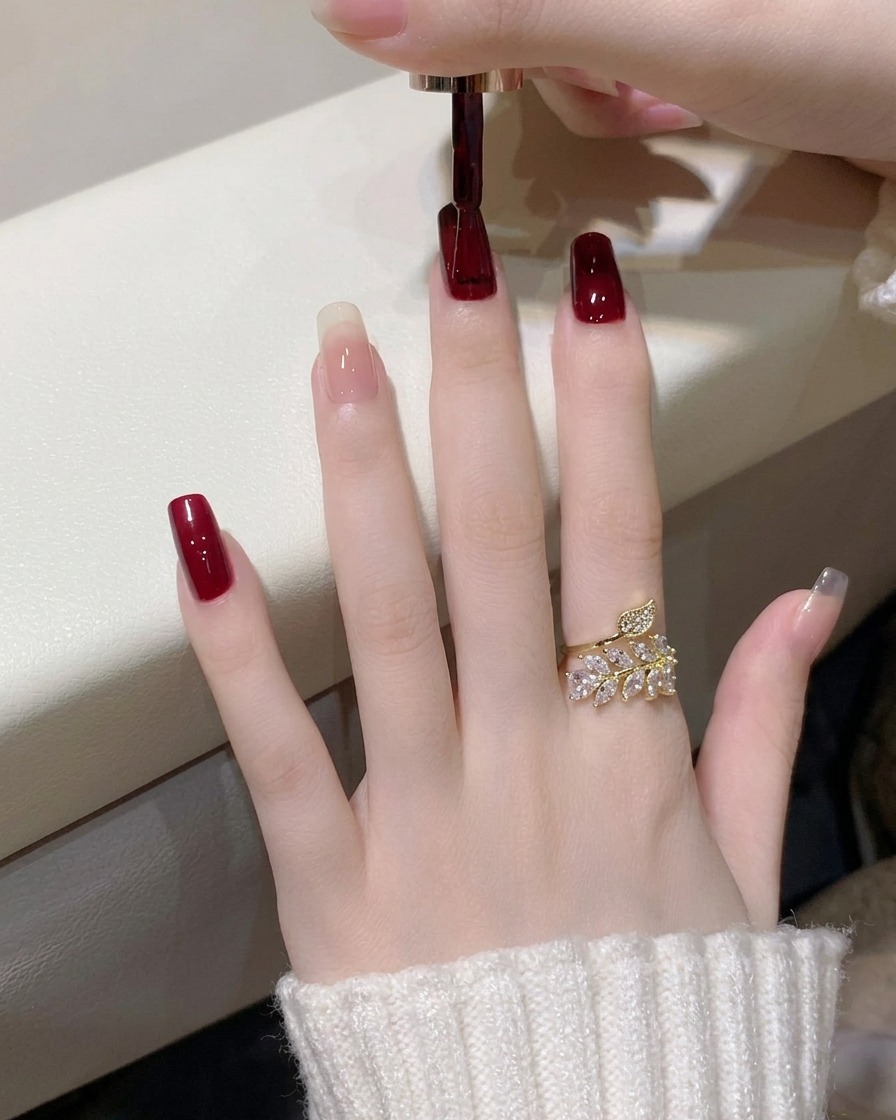
Place your hand inside the UV/LED lamp and cure the gel polish for the manufacturers recommended time, typically 30 to 60 seconds. Ensure all nails are positioned directly under the light source for an even cure.
Tip: Do not remove your hand from the lamp before the timer finishes to avoid tacky or under-cured spots. - 3Apply second coat of wine red gel
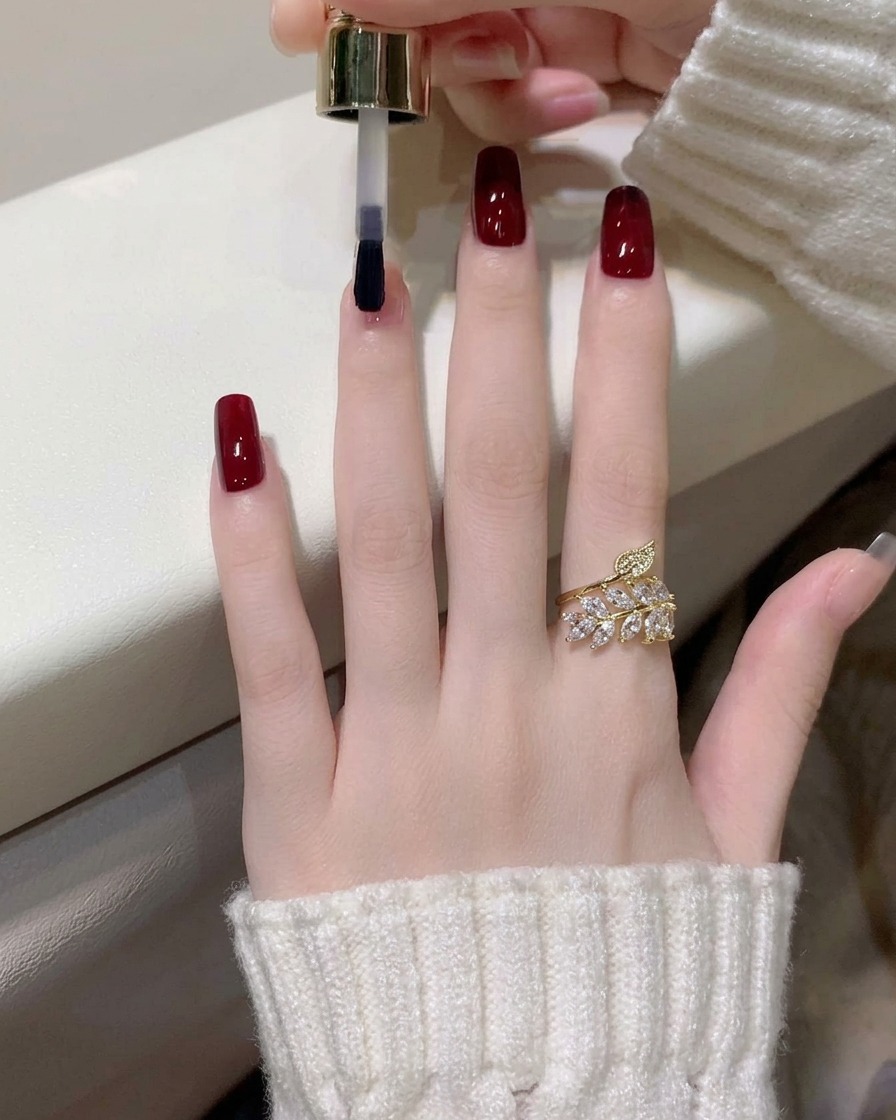
Apply a second, slightly thicker coat of the dark wine red gel polish. This layer will provide full opacity and depth of color. Remember to cap the free edge of each nail to improve durability and prevent chipping.
Tip: If the polish touches the skin around the nail, clean it up with a small detail brush dipped in rubbing alcohol before curing. - 4Prepare accent nail with base coat
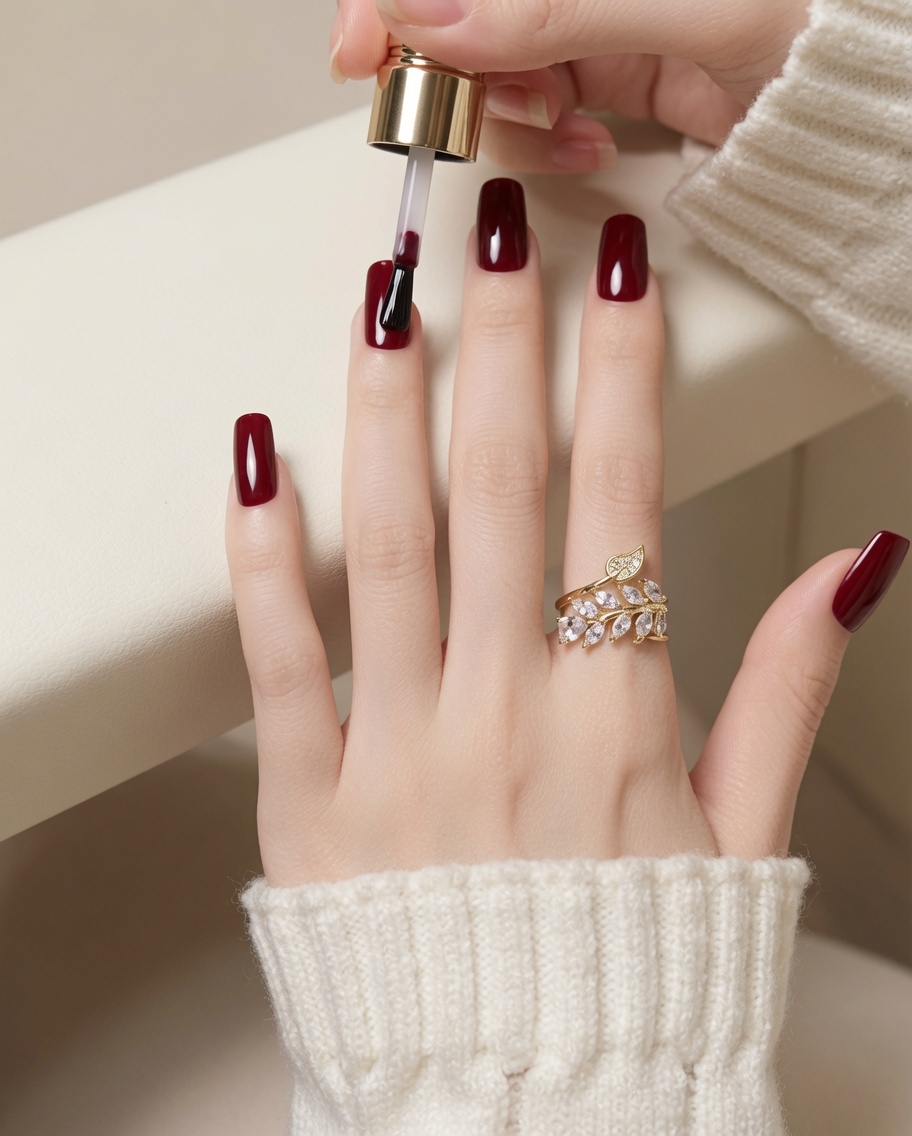
Apply a thin layer of clear gel base coat to the ring finger nail. Do not cure this layer; the tacky surface is necessary to help the glitter flakes adhere securely to the nail.
Tip: Use a fresh, clean brush to avoid transferring any color from other nails. - 5Apply glitter to accent nail
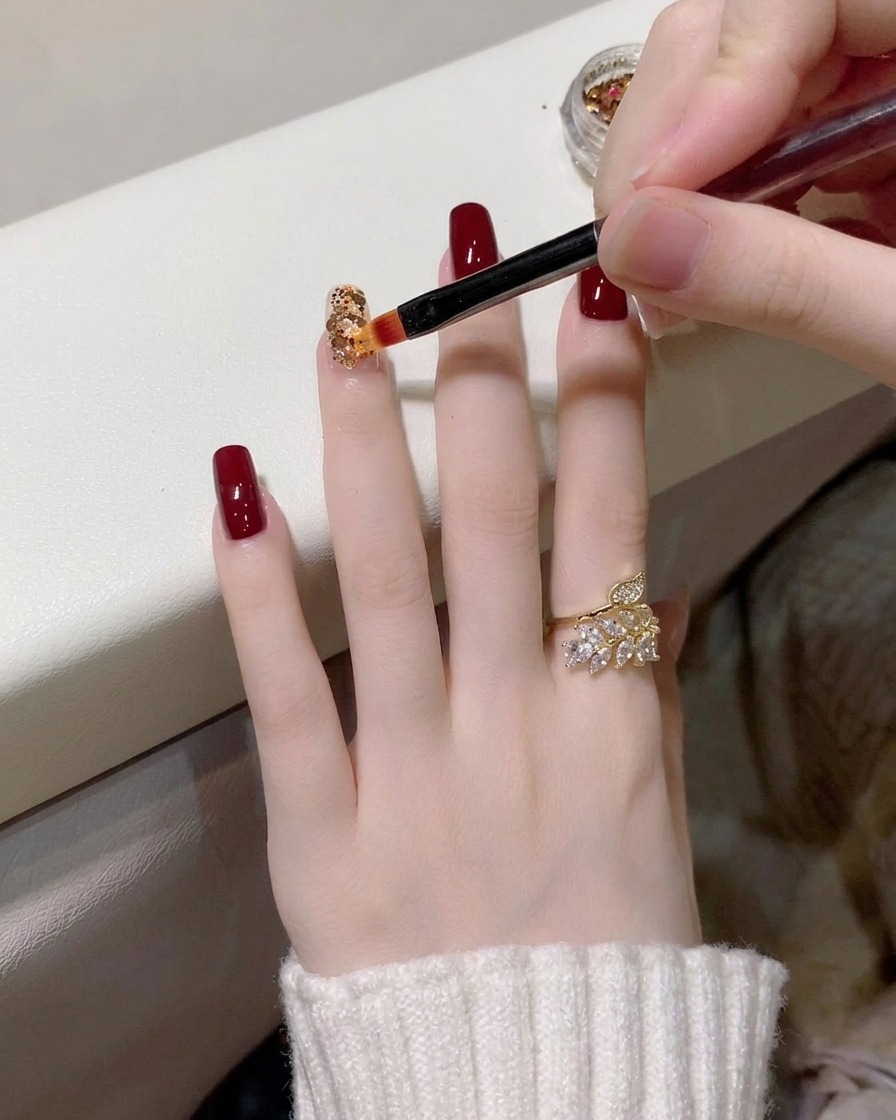
Using a small detail brush, pick up individual gold and multi-colored glitter flakes and carefully place them onto the tacky base coat of the ring finger. Work from the cuticle area down to ensure even coverage.
Tip: Press the glitter flakes gently into the tacky layer to ensure they lay flat against the nail surface. - 6Build up glitter density
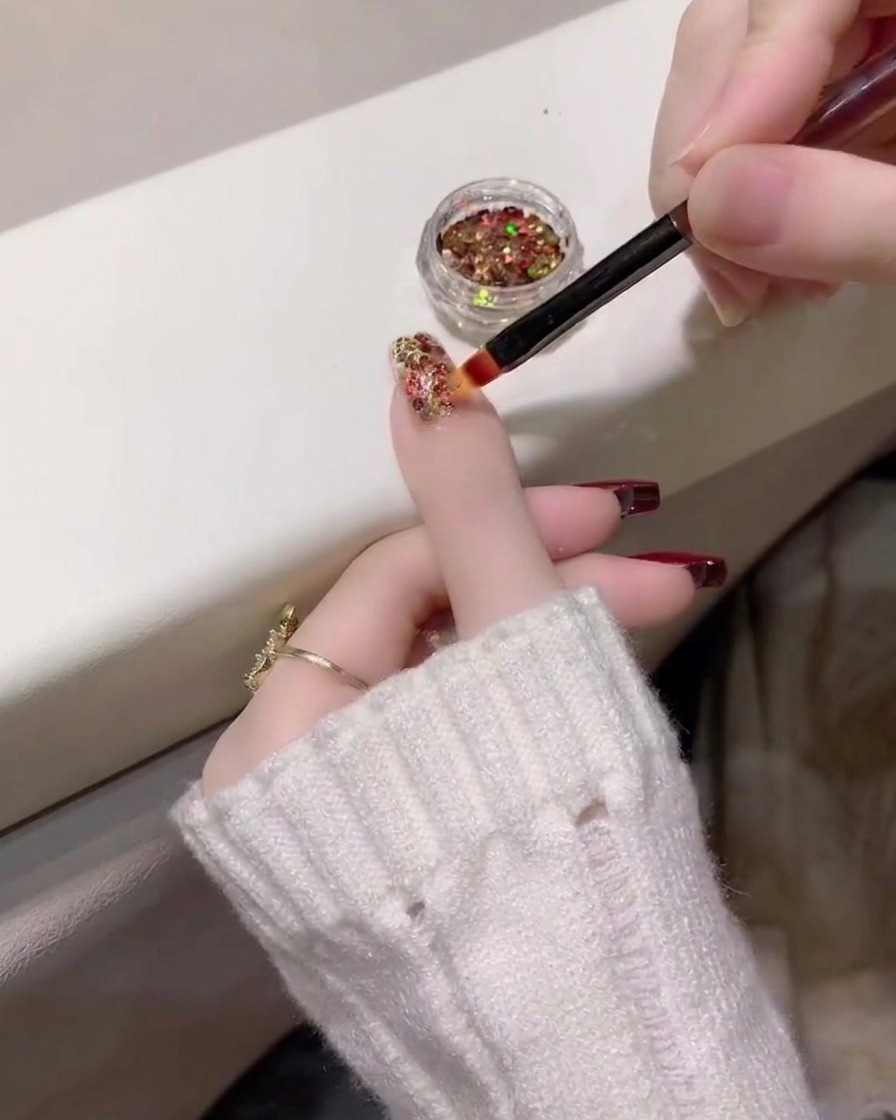
Continue adding more glitter pieces to the ring finger to achieve your desired level of sparkle and coverage. You can layer different sizes and colors of glitter for a more textured, multidimensional effect.
Tip: Check the nail from different angles to ensure there are no empty spots in the glitter coverage. - 7Apply high-gloss top coat
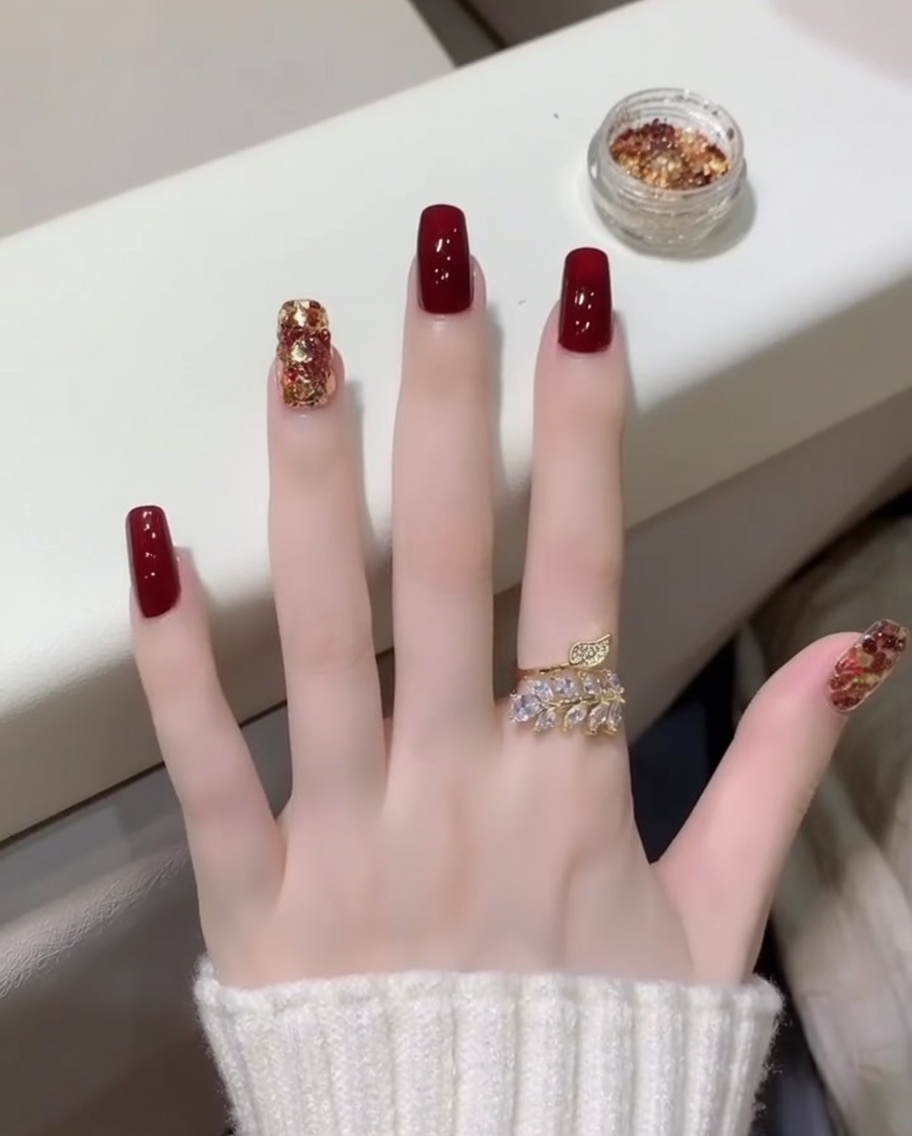
Apply a generous, smooth layer of top coat over the entire nail, ensuring full coverage over the glitter and color. Carefully cap the free edge of each nail to seal the manicure and protect against chipping. This final layer provides a durable, high-gloss finish that protects your nail art.
Tip: Apply top coat in a smooth, fluid motion to avoid streaks or bubbles in the glossy finish. - 8Cure the nails
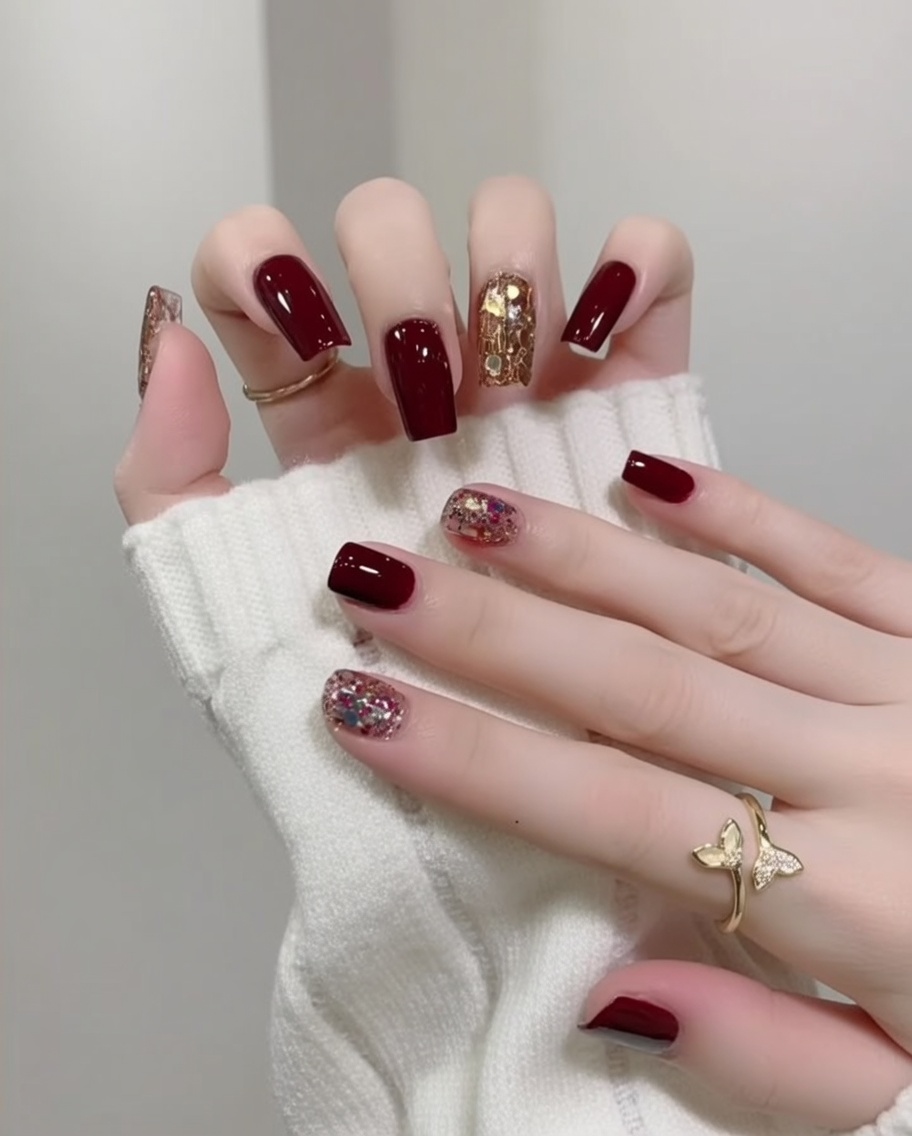
Place your fingers into the UV or LED lamp and cure the top coat for the full recommended time. Ensure all nails are positioned evenly under the light source to guarantee that the entire surface sets firmly. This final curing step locks in the shine and secures the manicure.
Tip: Keep your hand flat and steady inside the lamp to ensure all nails cure evenly.