Burgundy and Gold Glitter Gel Manicure
Heart Accent — Step-by-Step Tutorial
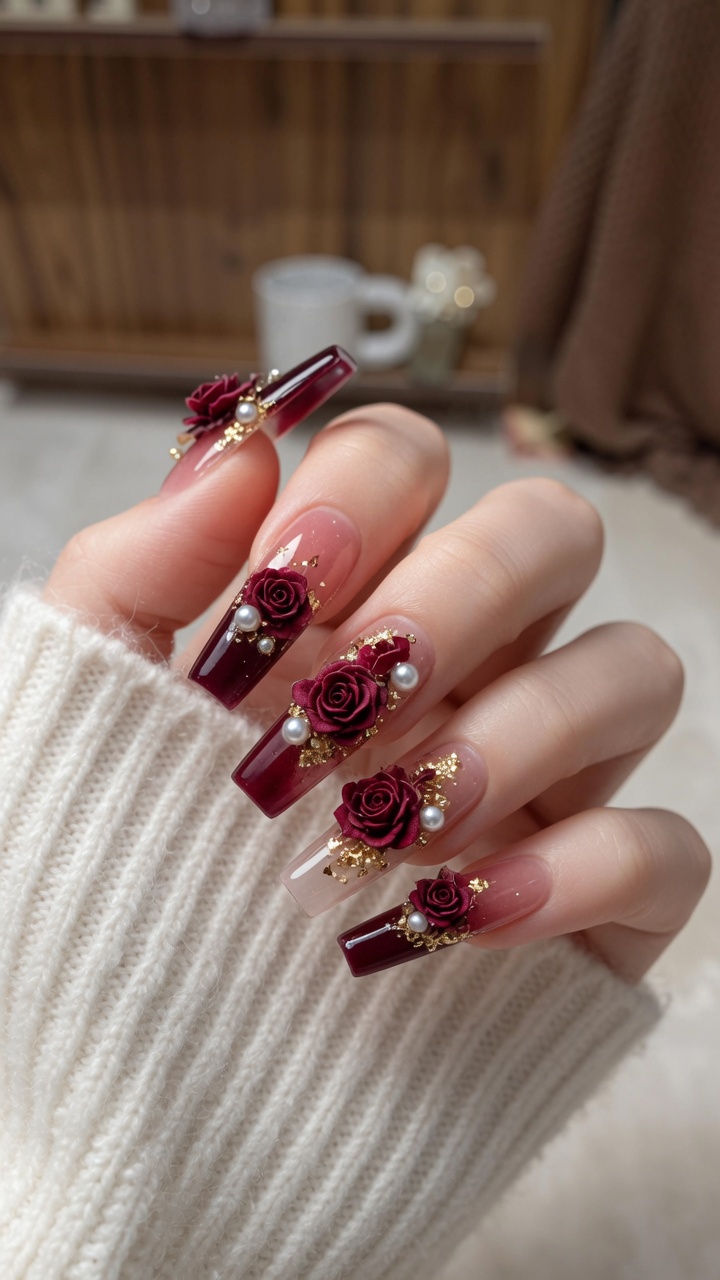
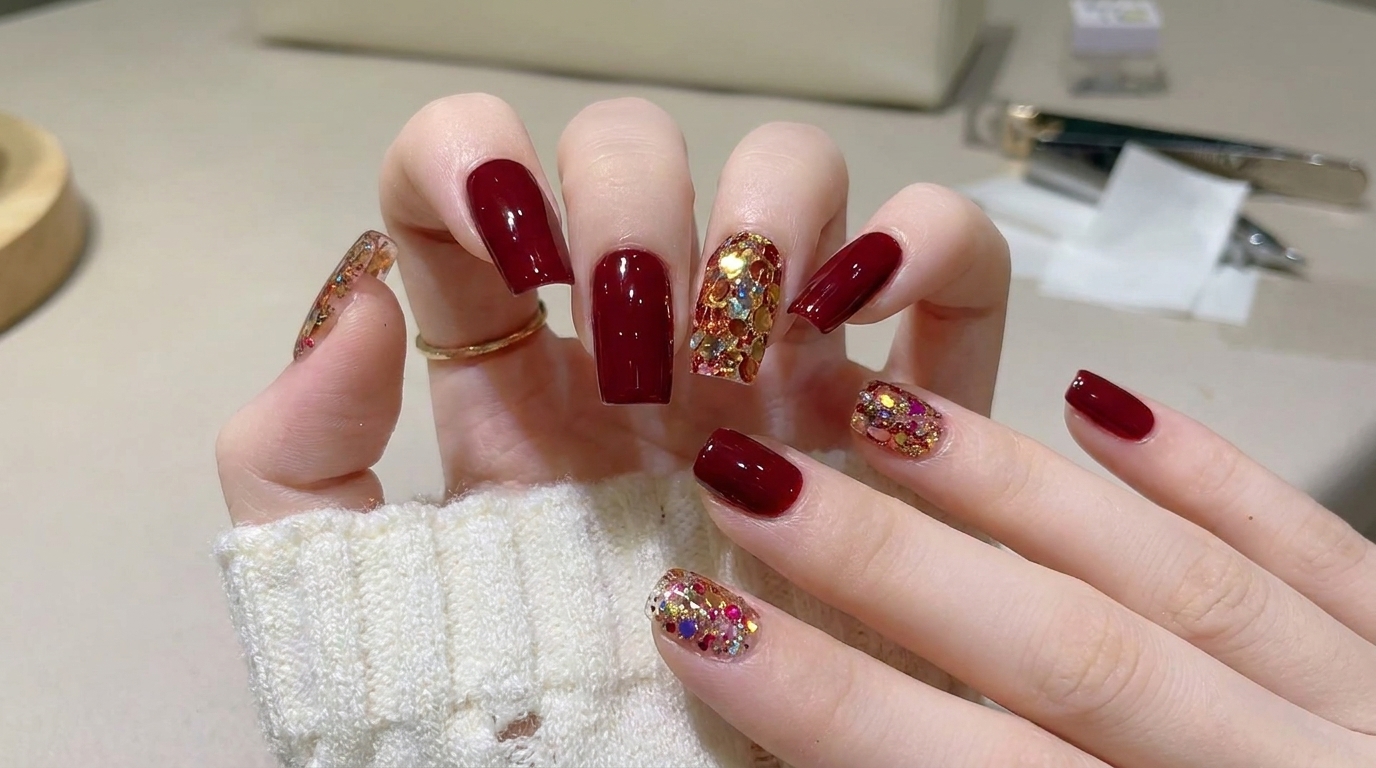
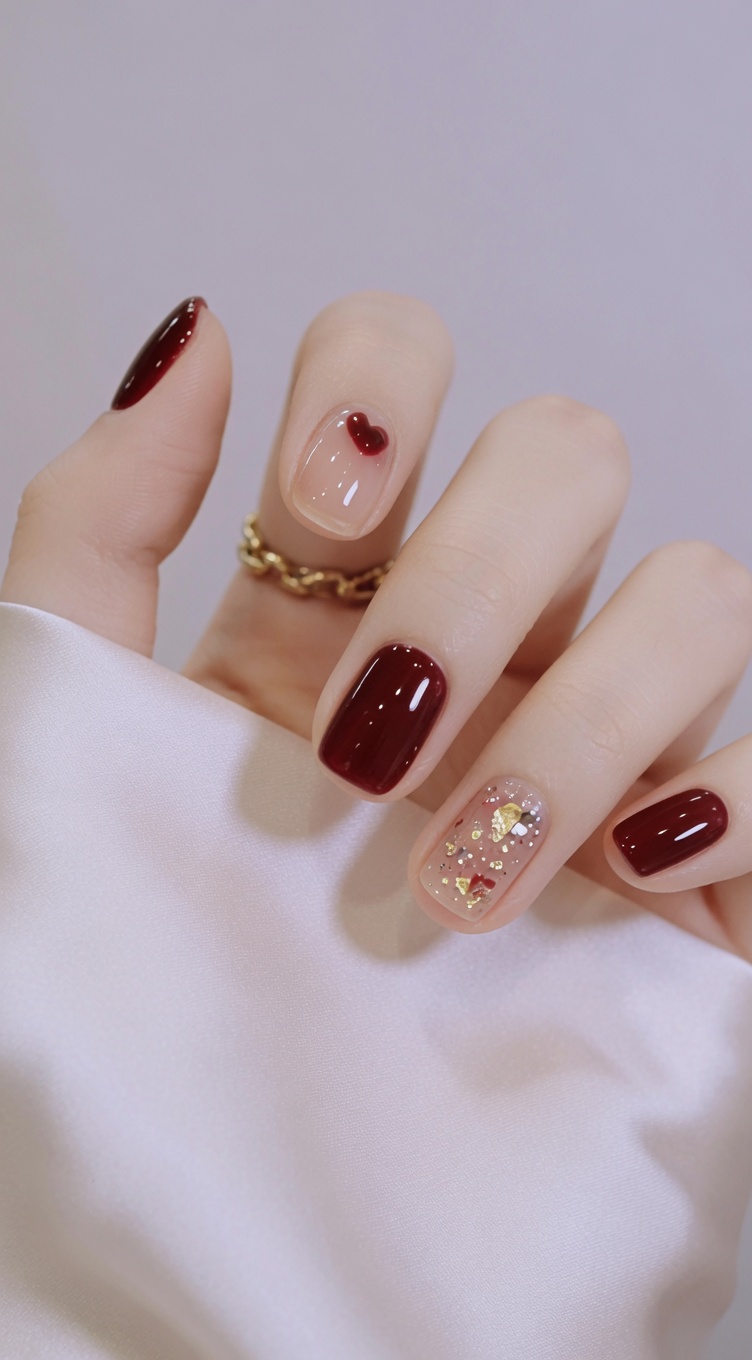
Elevate your winter manicure with this elegant burgundy and gold design. Featuring a sparkling accent nail and a sweet heart charm, it is the perfect romantic look.
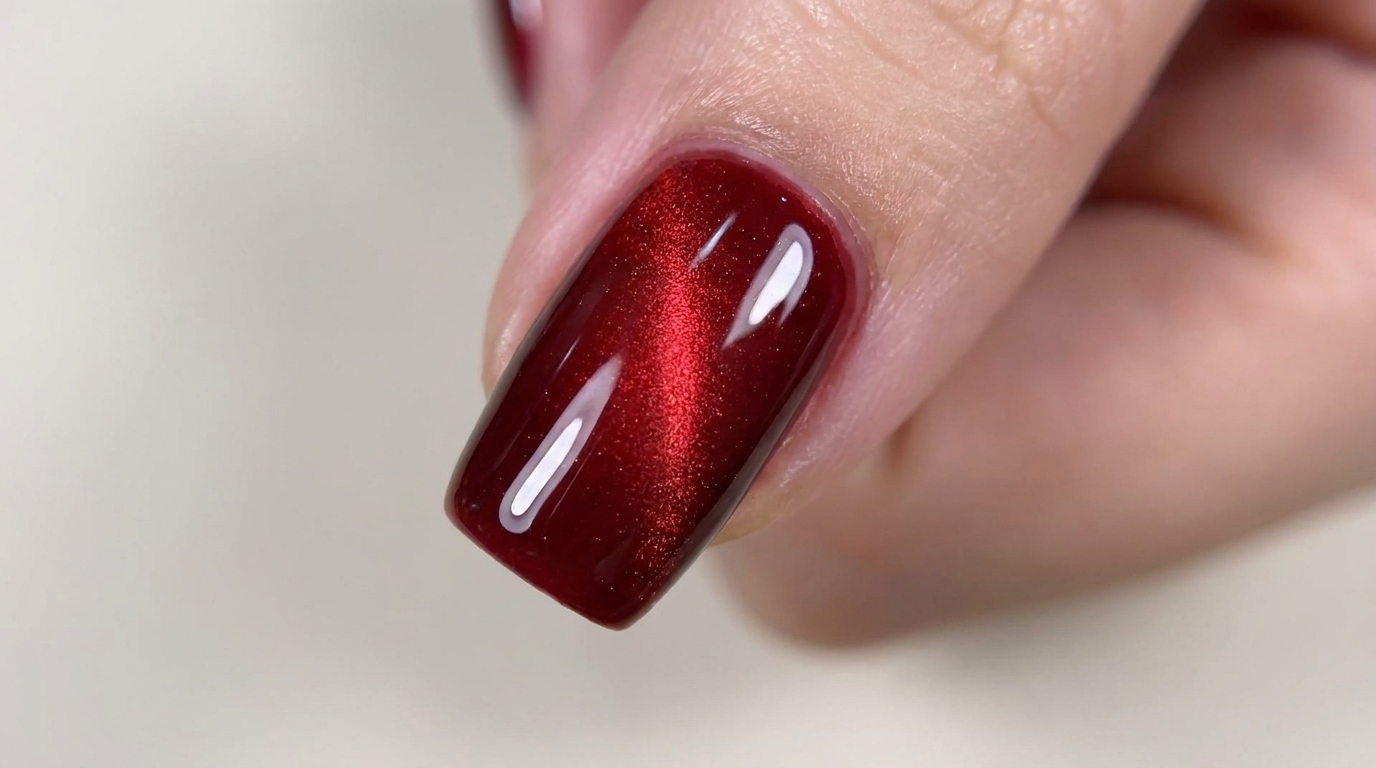
Deep burgundy tones paired with shimmering gold create a sophisticated balance between bold color and delicate detail. This manicure captures the quiet beauty of winter, adding a touch of warmth and romance to your everyday style. With just a few simple embellishments, you can easily achieve this boutique-quality look right at home.
Steps
- 1Apply clear base coat
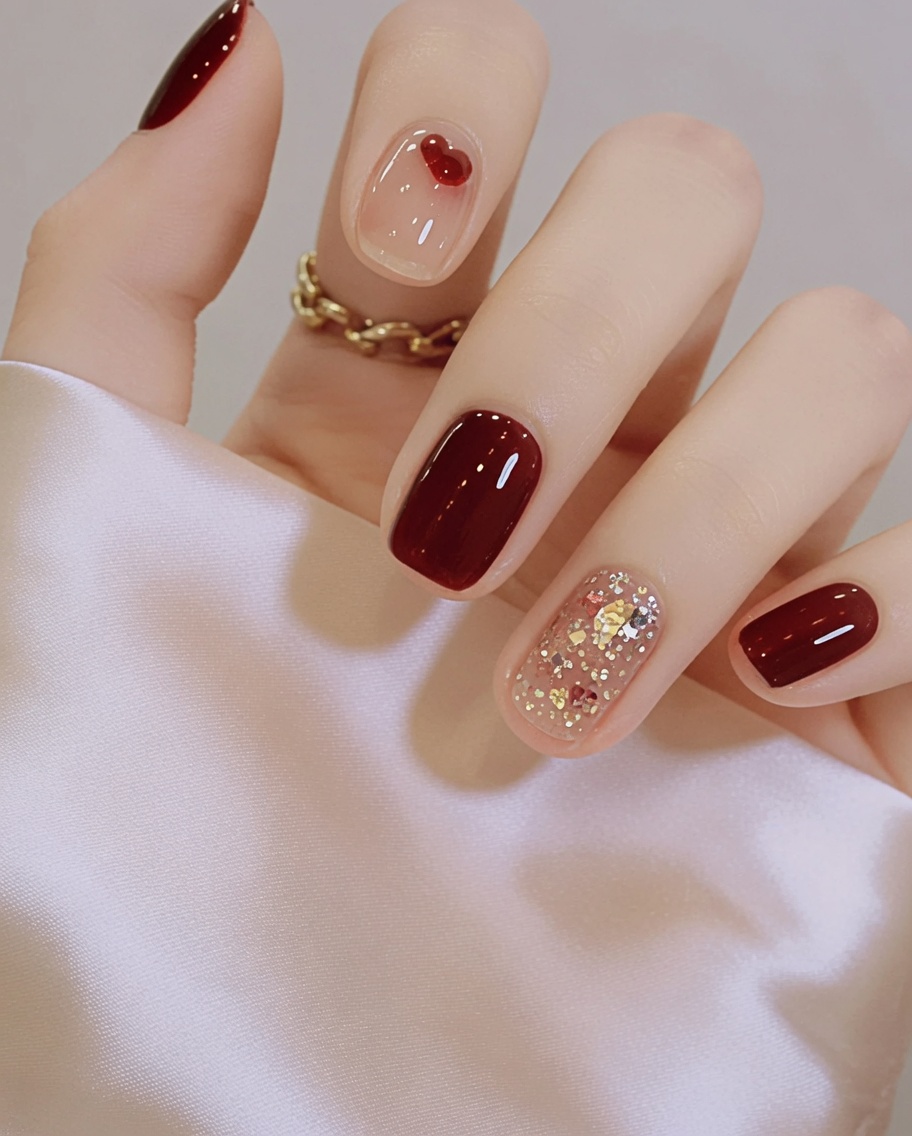
Ensure your natural nails are clean, shaped, and free of oils. Apply a thin, even layer of clear base coat to the entire nail surface, capping the free edge to ensure long-lasting wear. Cure under a UV or LED lamp as specified by the product instructions.
Tip: A clean, dehydrated nail plate is essential for preventing gel lifting. - 2Cure the base coat
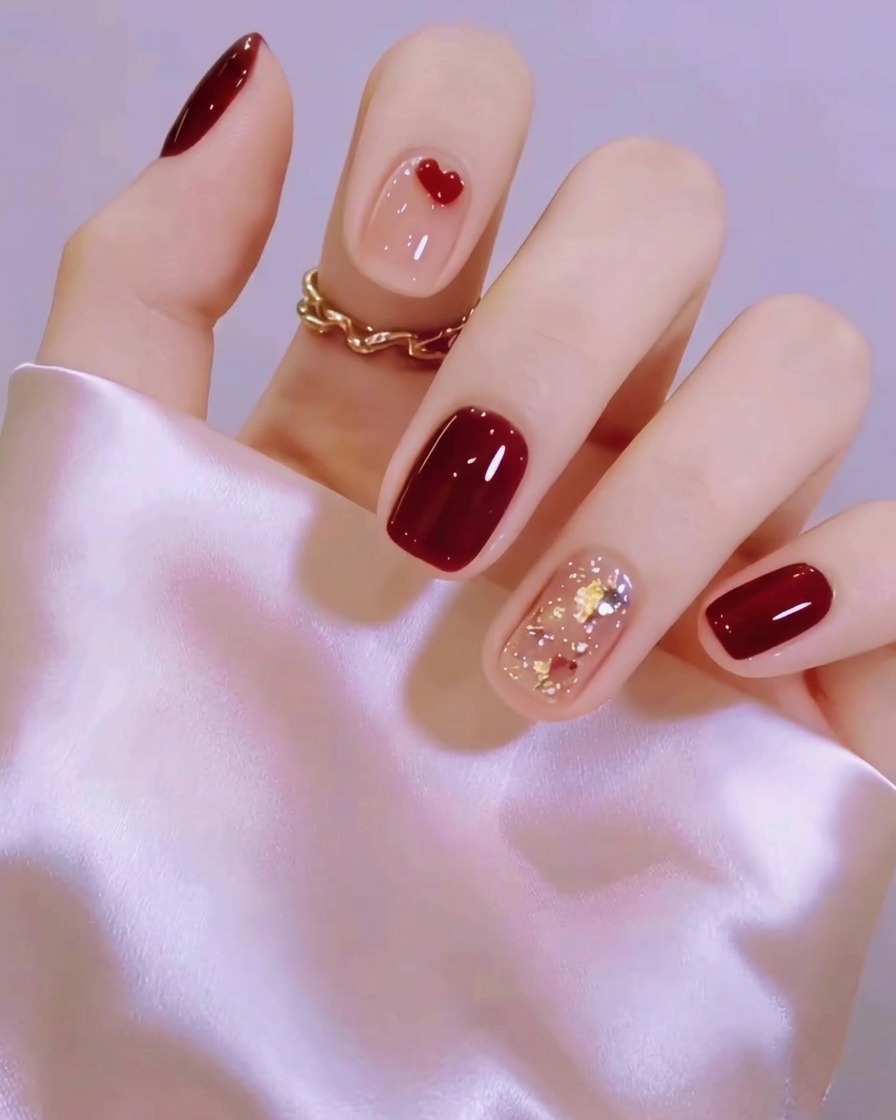
Place your fingers into the UV or LED lamp and cure the base coat for the manufacturers recommended time. This step hardens the base layer, creating a smooth and durable foundation for your color application.
Tip: Keep your fingers flat and centered in the lamp to ensure all nails receive even light exposure. - 3Apply burgundy gel polish
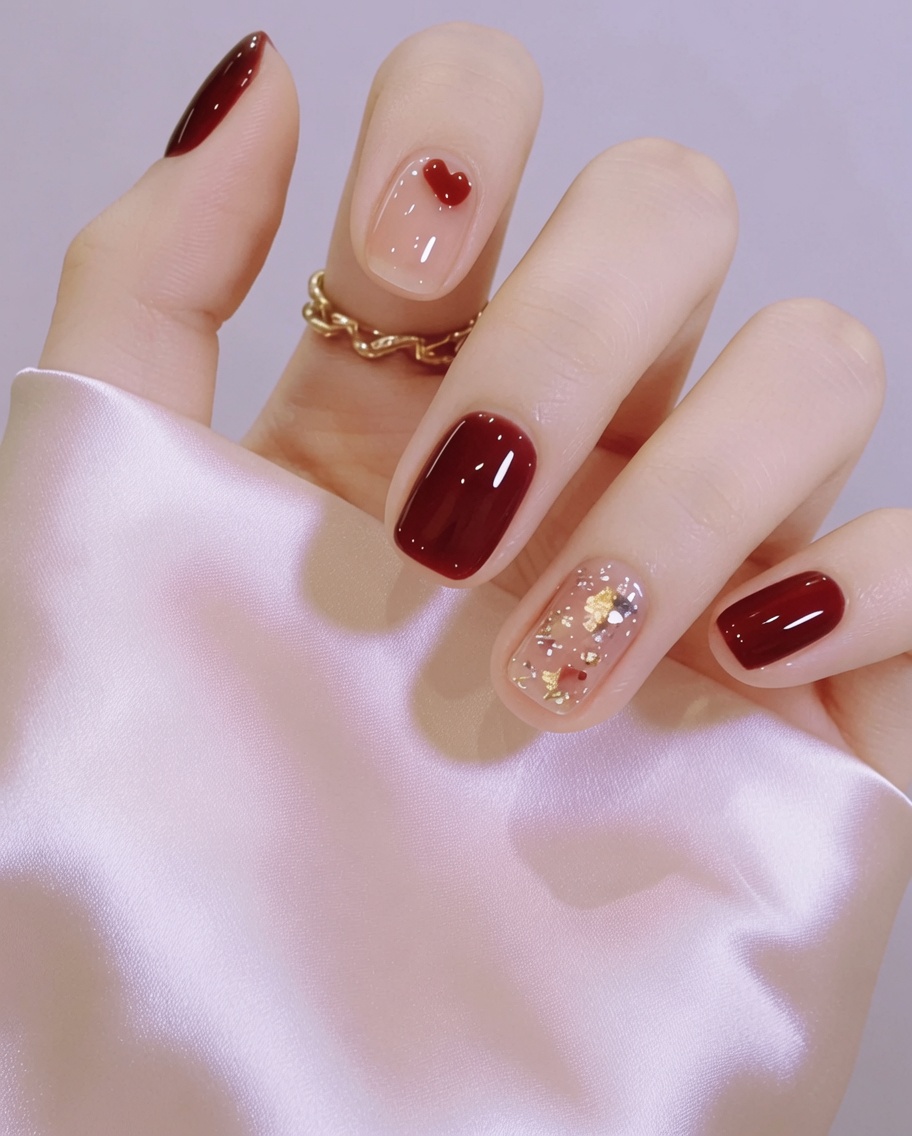
Apply a thin, controlled layer of deep burgundy gel polish to your target nails, avoiding the skin around the cuticles. Using thin coats helps prevent bubbling and ensures a smooth, professional finish.
Tip: If you get polish on your skin, clean it up with a small brush dipped in isopropyl alcohol before curing. - 4Cure the color coat
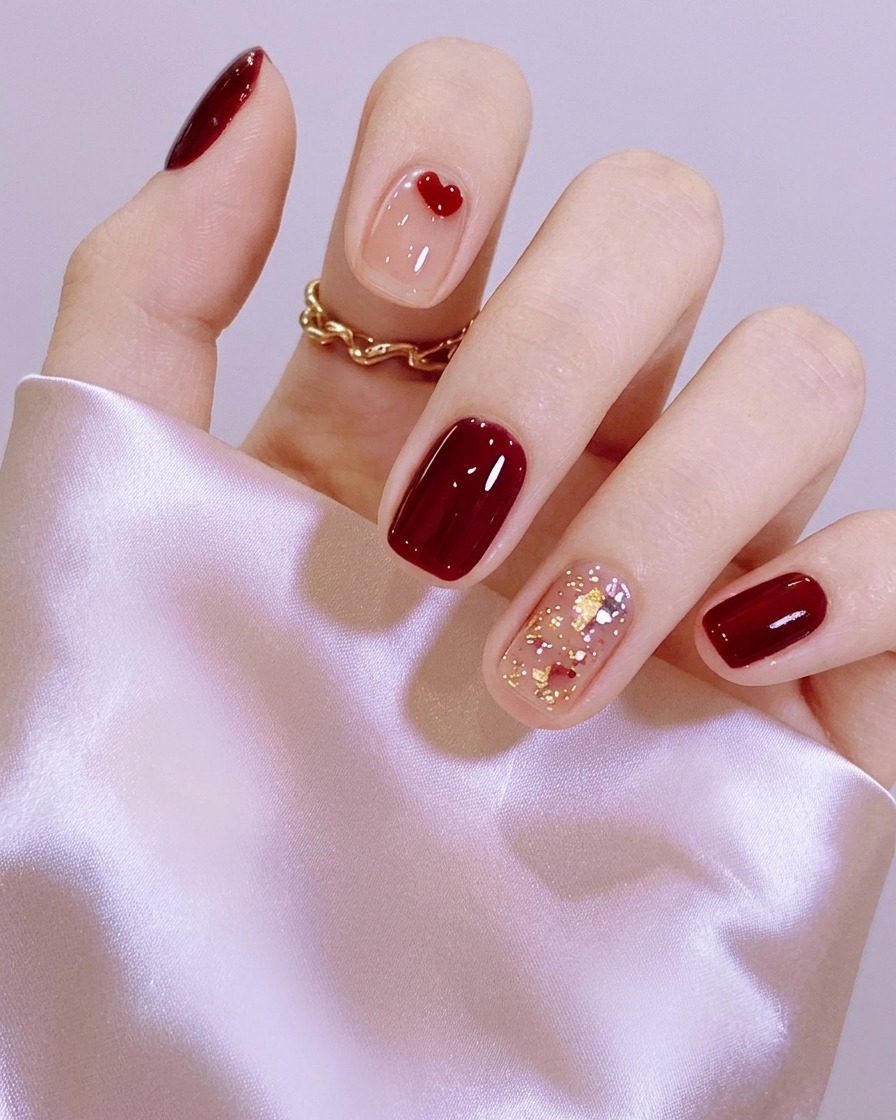
Once the burgundy polish is applied, place your nails under the UV/LED lamp to cure the color coat. Ensure the polish is fully set before proceeding to the next step.
Tip: Curing times can vary by brand; always check the bottle for specific requirements. - 5Prepare accent nail for glitter
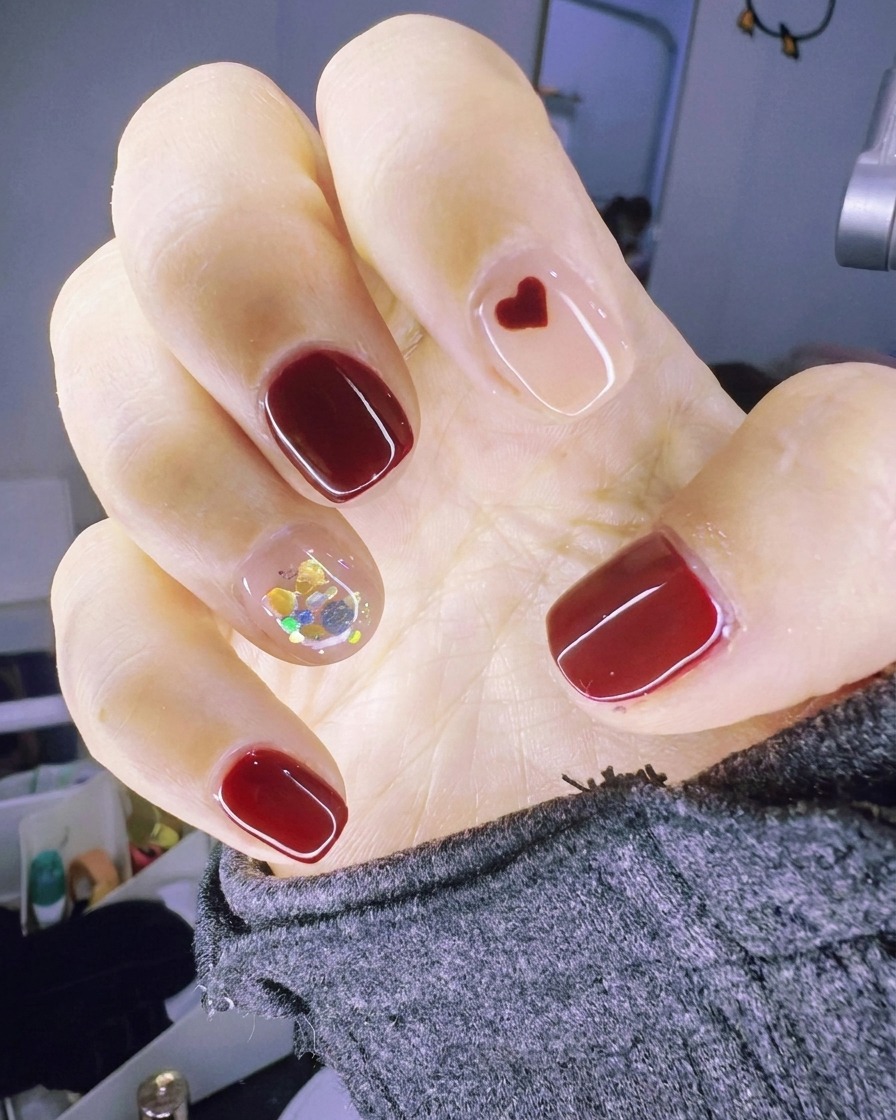
Apply a thin layer of clear gel to the accent nail. Do not cure this layer yet, as it will act as the adhesive for your gold leaf and glitter pieces.
Tip: A slightly thicker layer of clear gel provides a better base for embedding chunky glitter. - 6Apply gold leaf and glitter
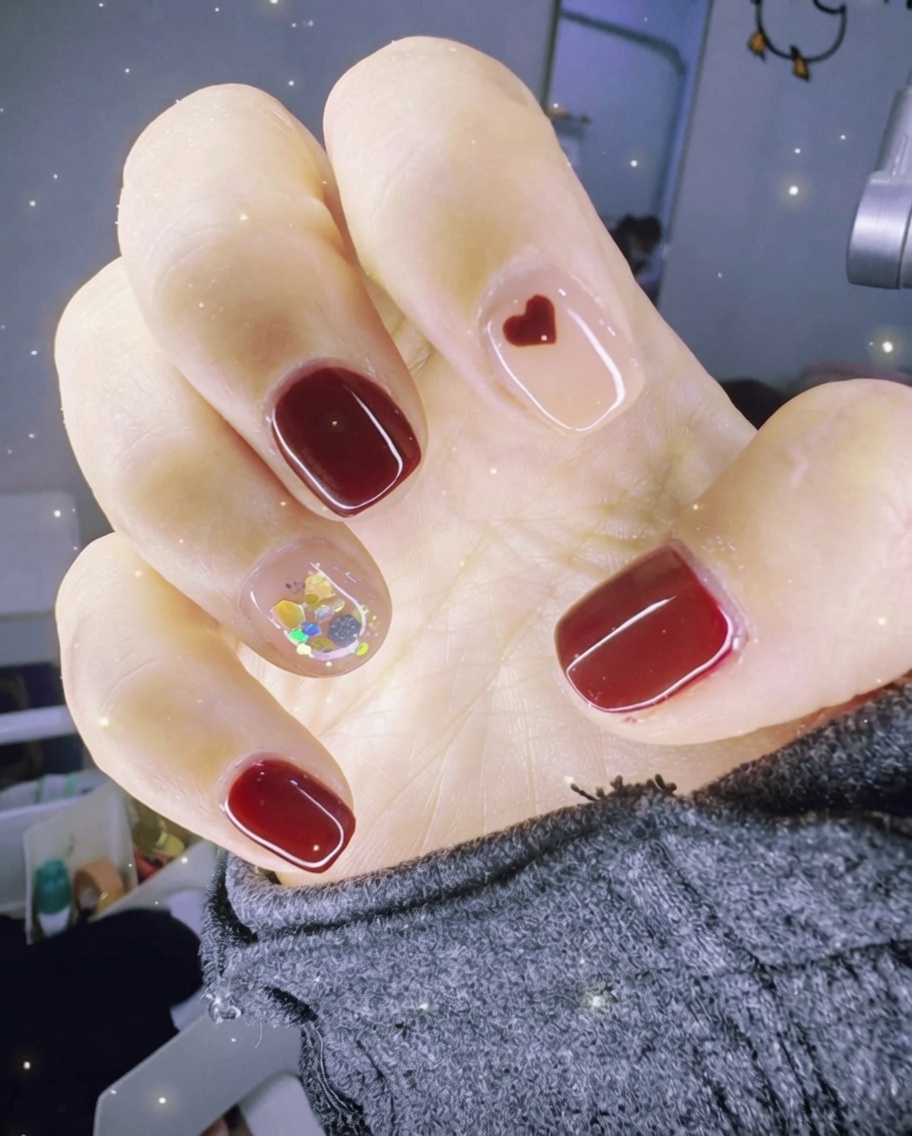
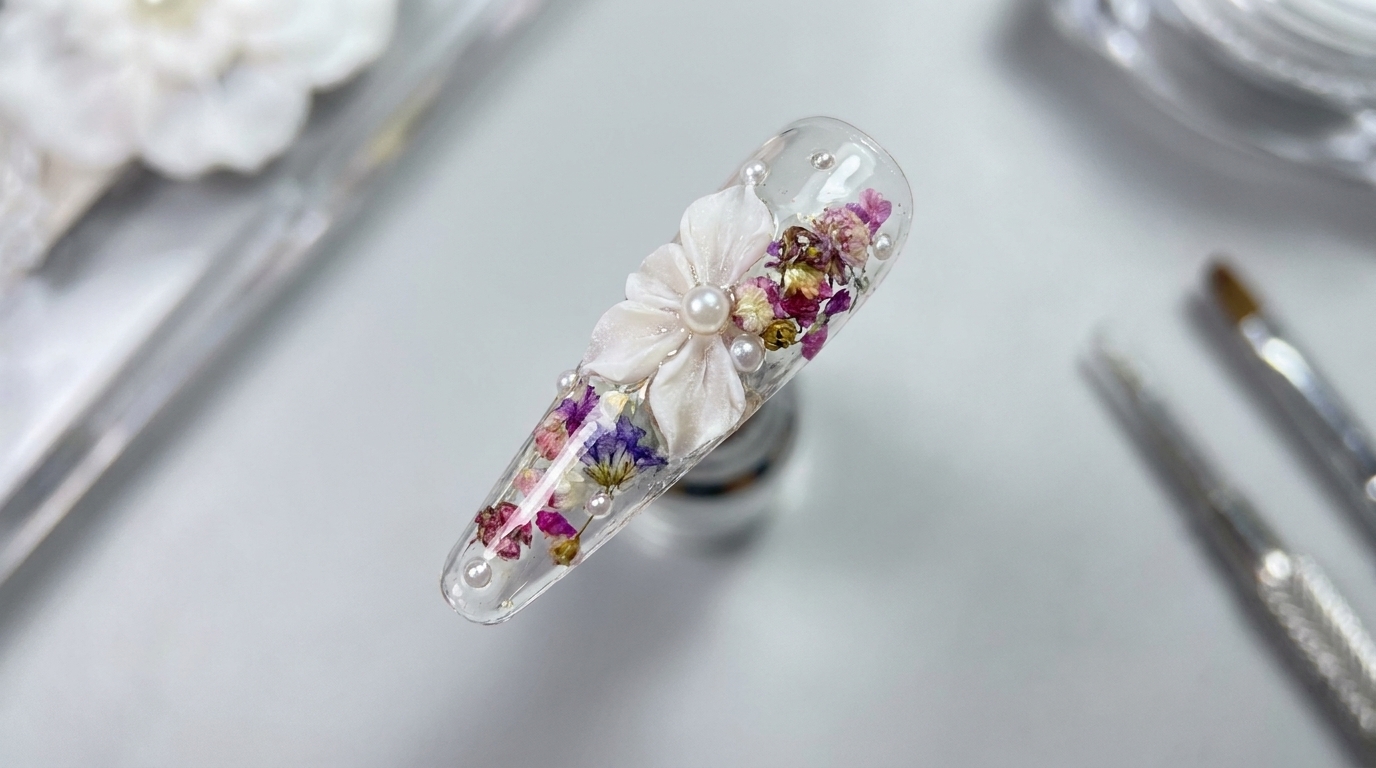
Using a dotting tool or tweezers, carefully place chunky gold leaf and glitter pieces onto the wet clear gel layer on your accent nail. Arrange them to achieve your desired pattern, then cure under the lamp to lock the design in place.
Tip: Work one nail at a time so the clear gel doesnt dry before you finish placing your glitter. - 7Place heart charm
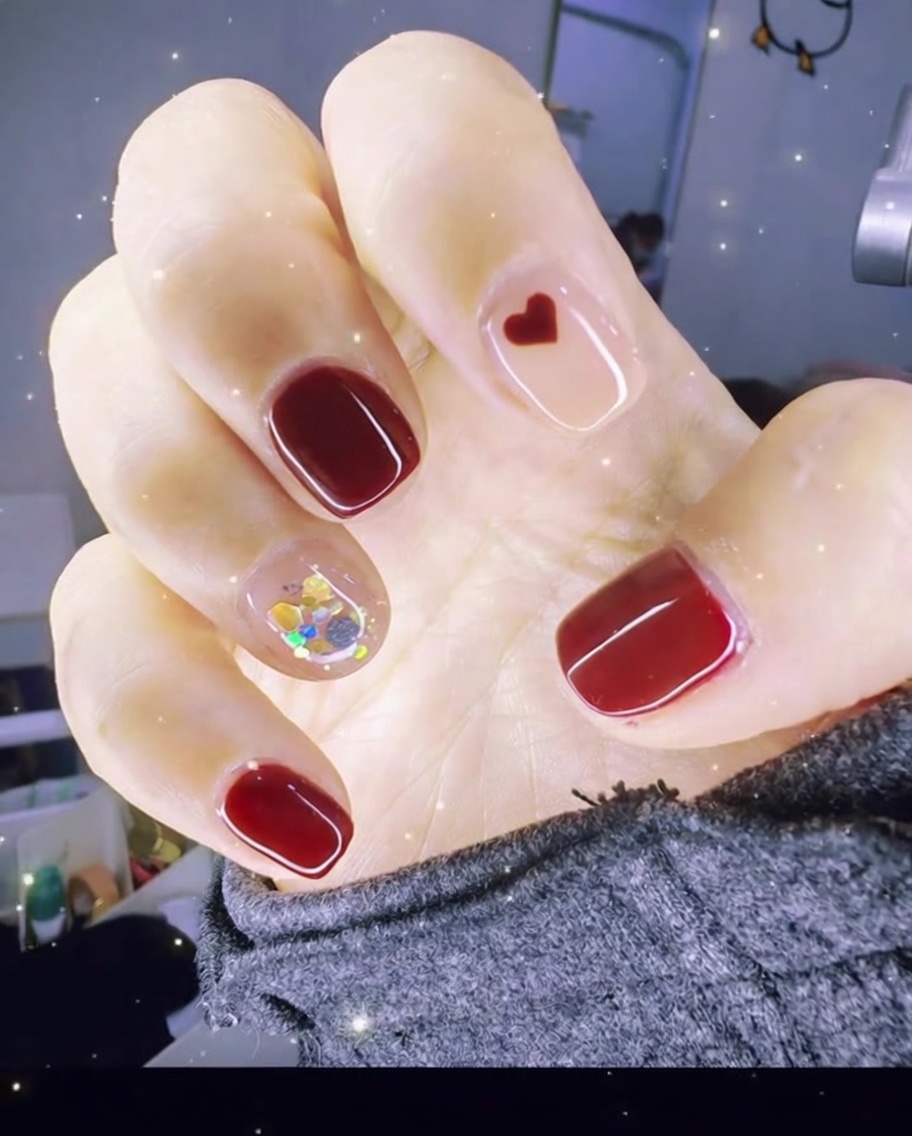
Apply a tiny drop of nail adhesive to the center of the ring finger nail. Use tweezers to carefully place the small red heart charm onto the adhesive, ensuring it is centered. Press down gently to secure it.
Tip: A little adhesive goes a long way; too much can cause the charm to slide or create a bulky finish. - 8Apply top coat
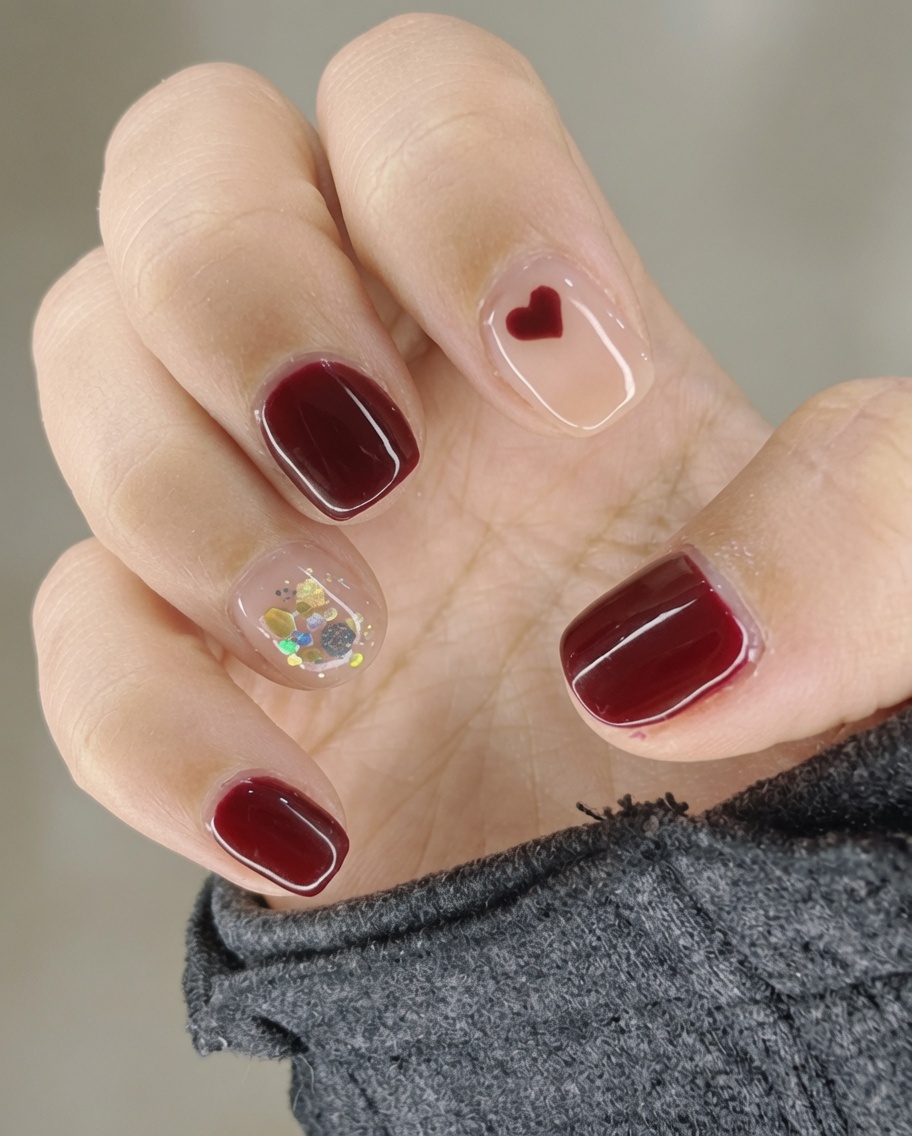
Apply a generous, even layer of clear glossy top coat over every nail, including the ones with nail art. Ensure you cap the free edge of each nail to seal the manicure and provide extra durability.
Tip: Capping the free edge helps prevent tip wear and extends the life of your manicure. - 9Cure the top coat
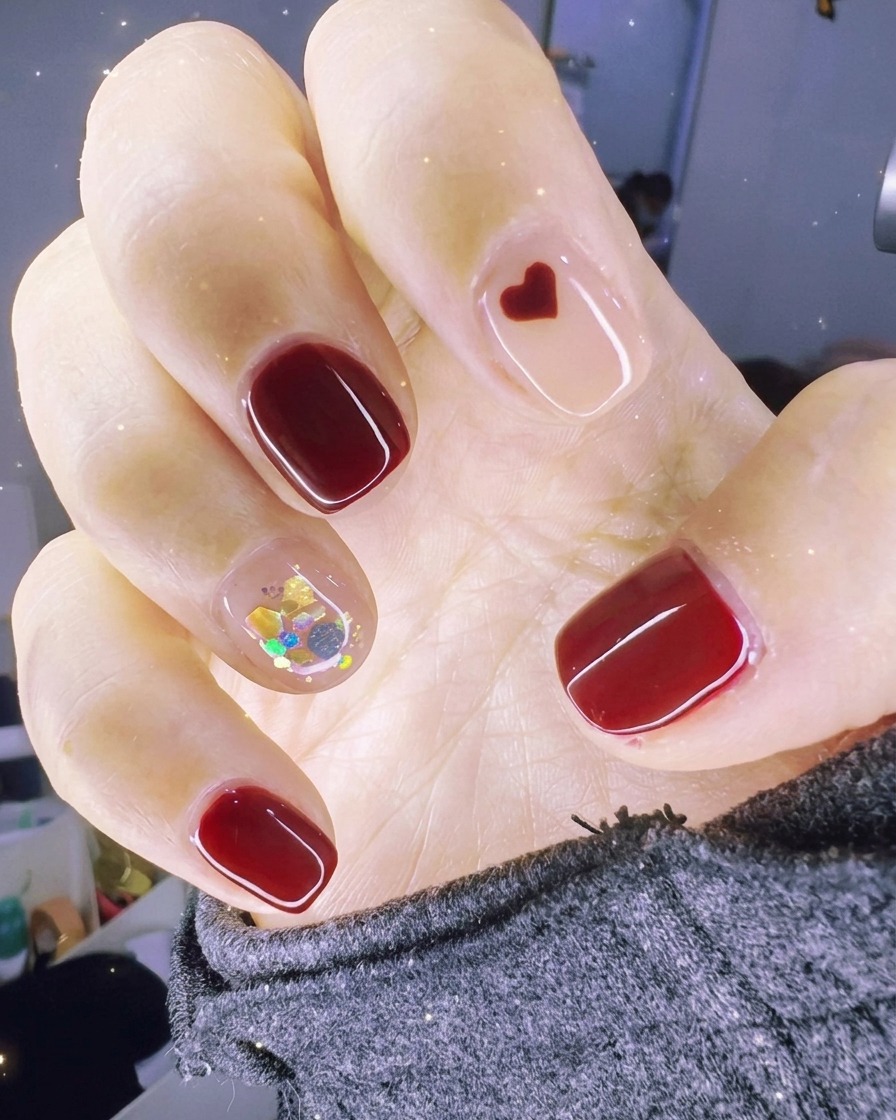
Place your hand under the UV lamp and cure for the full recommended time specified by your top coat brand. This step is crucial for achieving a long-lasting, rock-hard finish and locking in the nail art.
Tip: Ensure your fingers are positioned flat inside the lamp for uniform curing across all nails. - 10Final wipe and finish
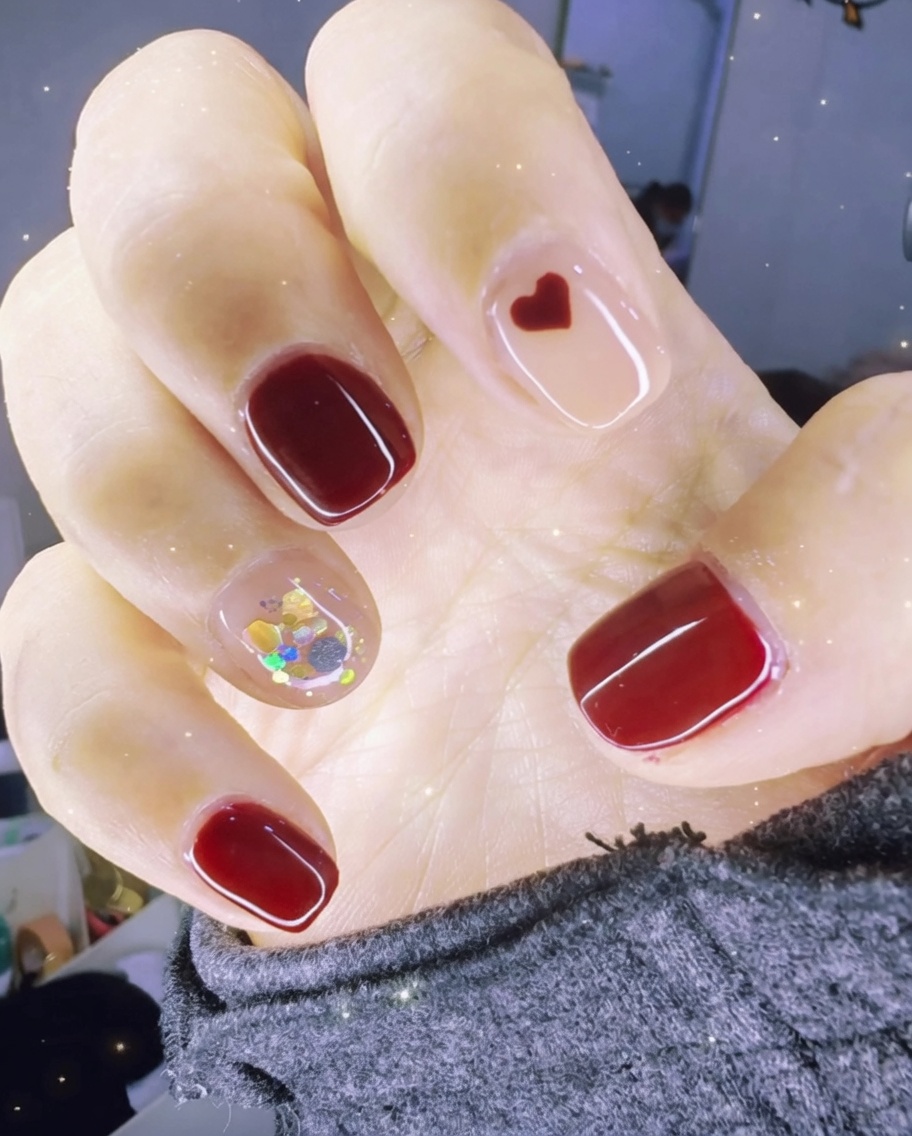
Using a lint-free wipe soaked in isopropyl alcohol, gently wipe the surface of each nail to remove the sticky inhibition layer. This reveals the final high-gloss shine and completes the manicure.
Tip: Use a fresh section of the lint-free wipe for each nail to avoid spreading uncured gel residue.