Red Cat-Eye Ombre Gel Nails — Professional Salon Tutorial
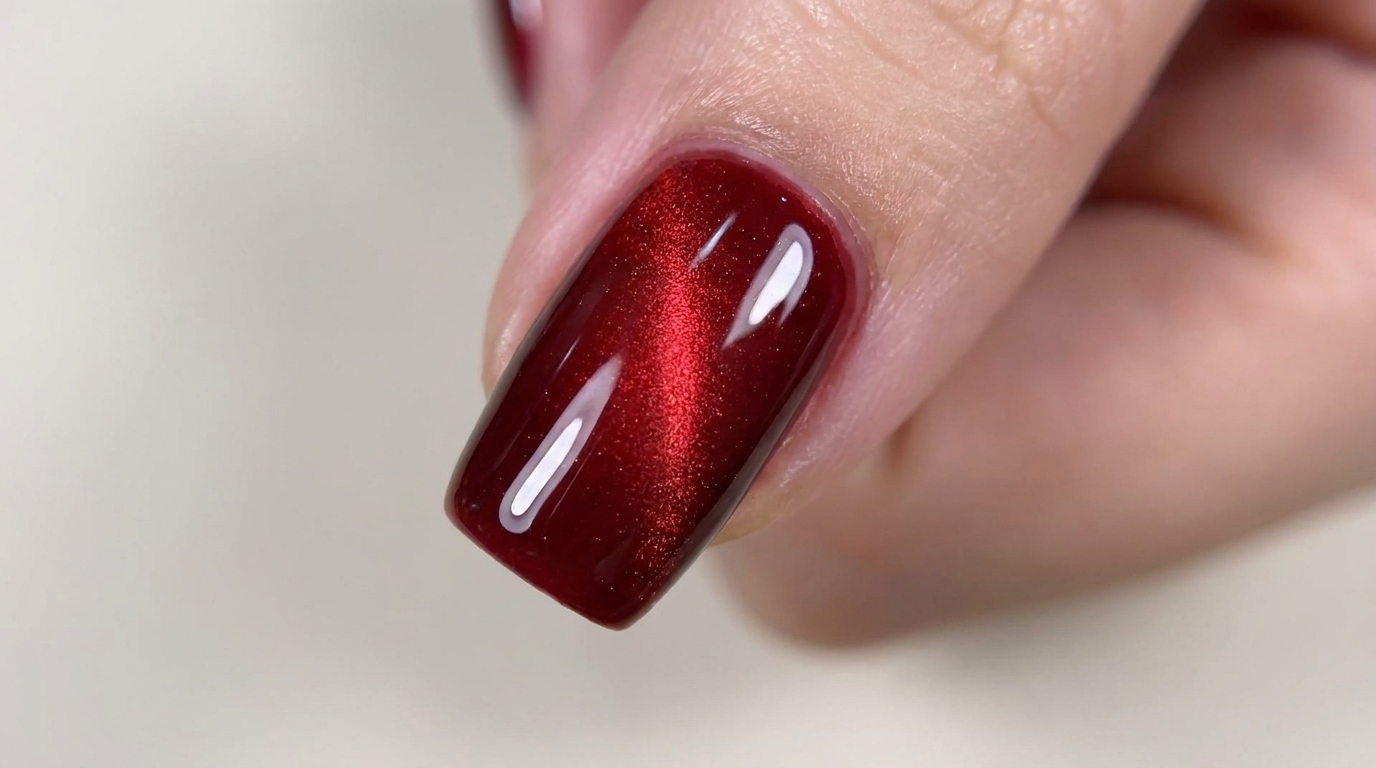
Create a stunning, multi-dimensional red cat-eye effect with a seamless black-to-red ombre base. Follow this simple guide for a salon-quality magnetic finish.
The cat-eye nail trend continues to evolve, and this deep red iteration offers a sophisticated, moody depth perfect for any season. By layering a rich magnetic polish over a black ombre foundation, you achieve a professional gradient that creates an illusion of light moving across the nail surface. This technique focuses on strategic magnet placement to draw the shimmer into a sharp, luminous center strip.
Steps
- 1Apply black gel base
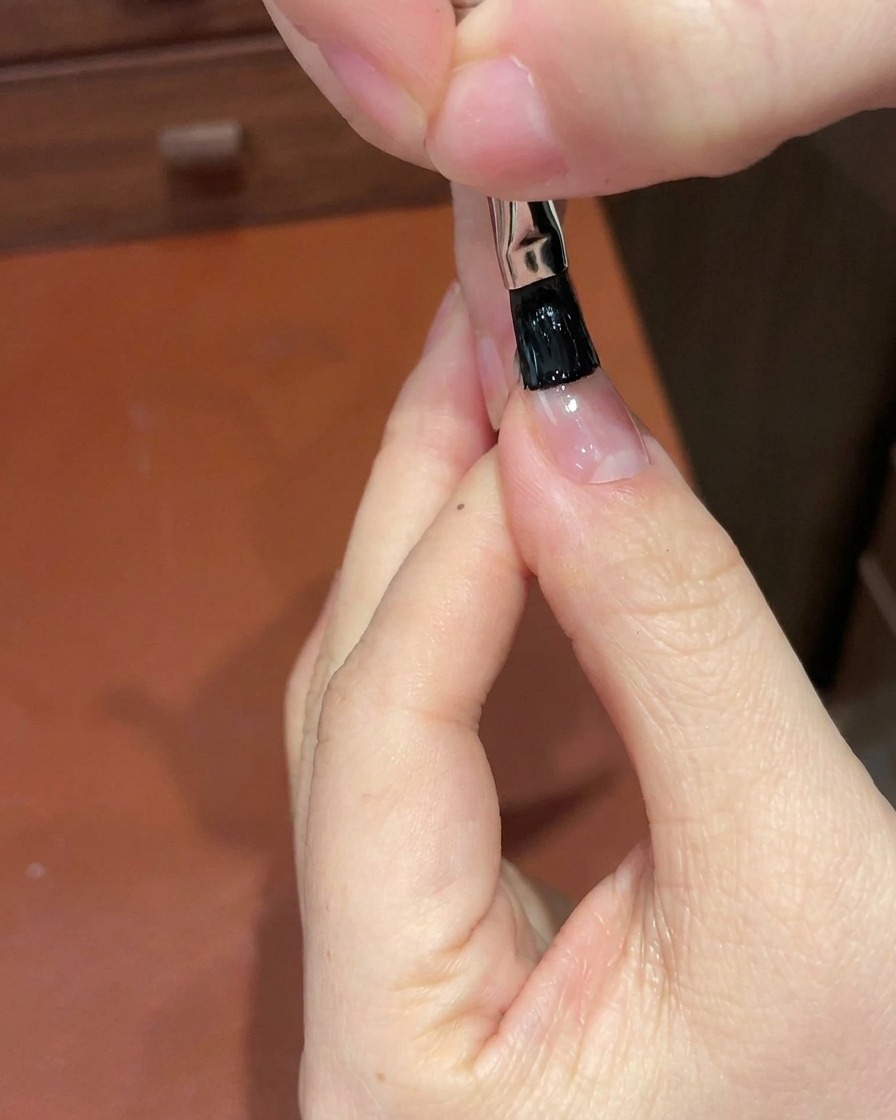
Apply a thin layer of black gel polish specifically to the tip of the nail using a fine detail brush to start creating the ombre foundation.
Tip: Keep the layer thin to prevent the gel from pooling when blending. - 2Create ombre blend
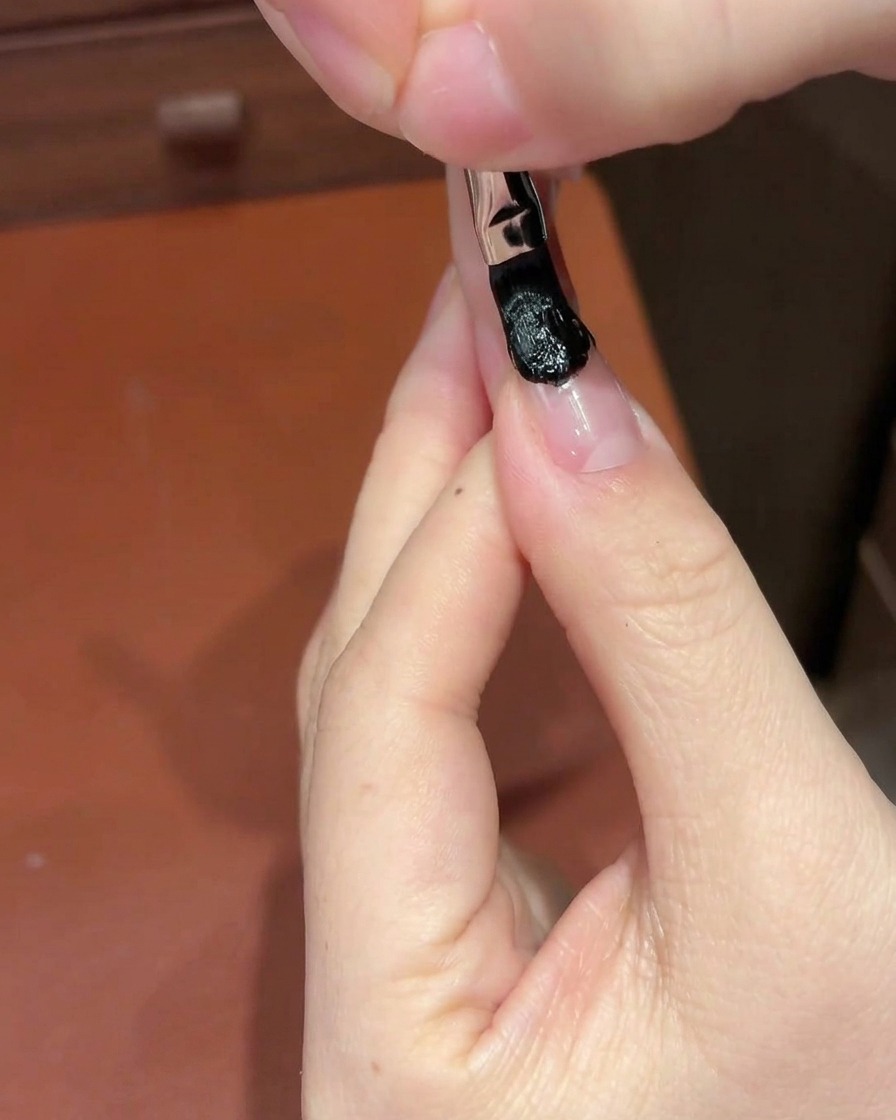
Using a small sponge, gently tap and blend the black gel downwards toward the center of the nail to create a smooth, natural-looking gradient ombre effect.
Tip: Use a dabbing motion rather than wiping to maintain the ombre transition. - 3Cure the ombre base
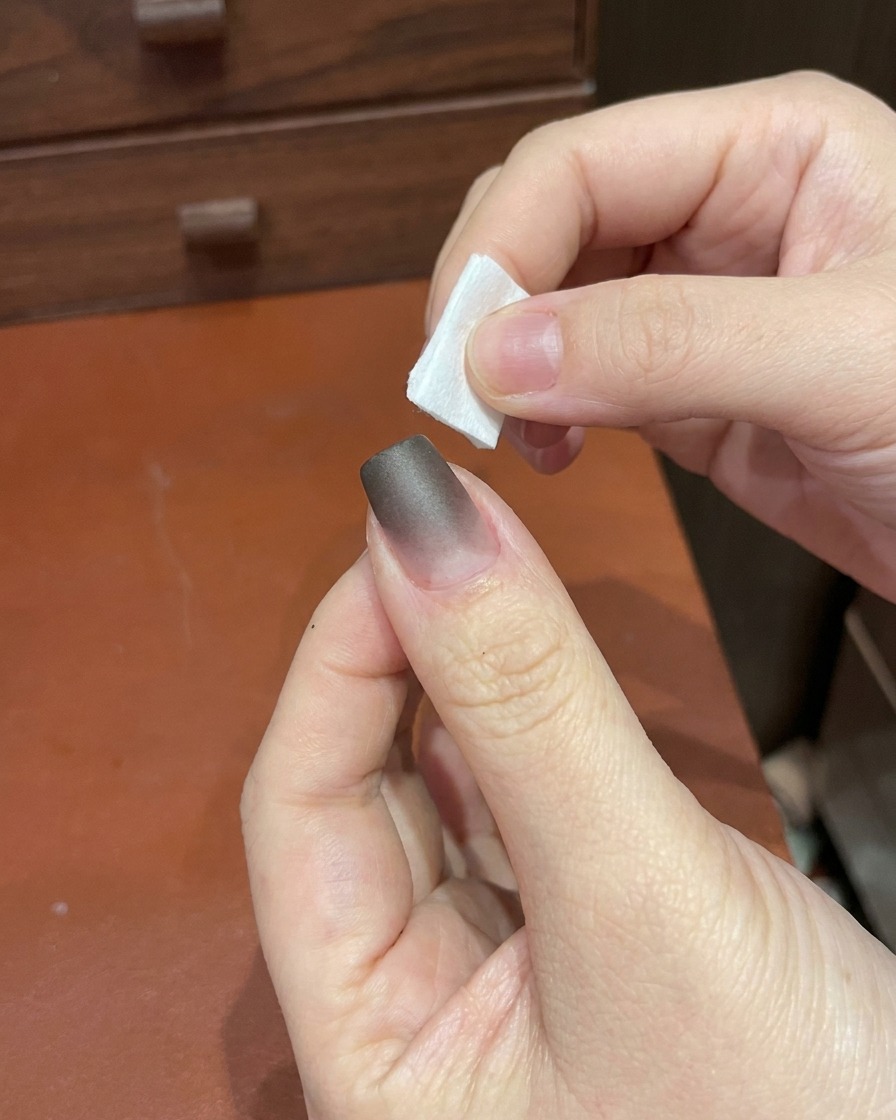
Place your nail under a UV/LED lamp to cure the black ombre base layer, ensuring the gel is fully set before moving on to the next color application.
Tip: Follow your gel products specific curing time to ensure proper bond. - 4Apply red cat-eye gel
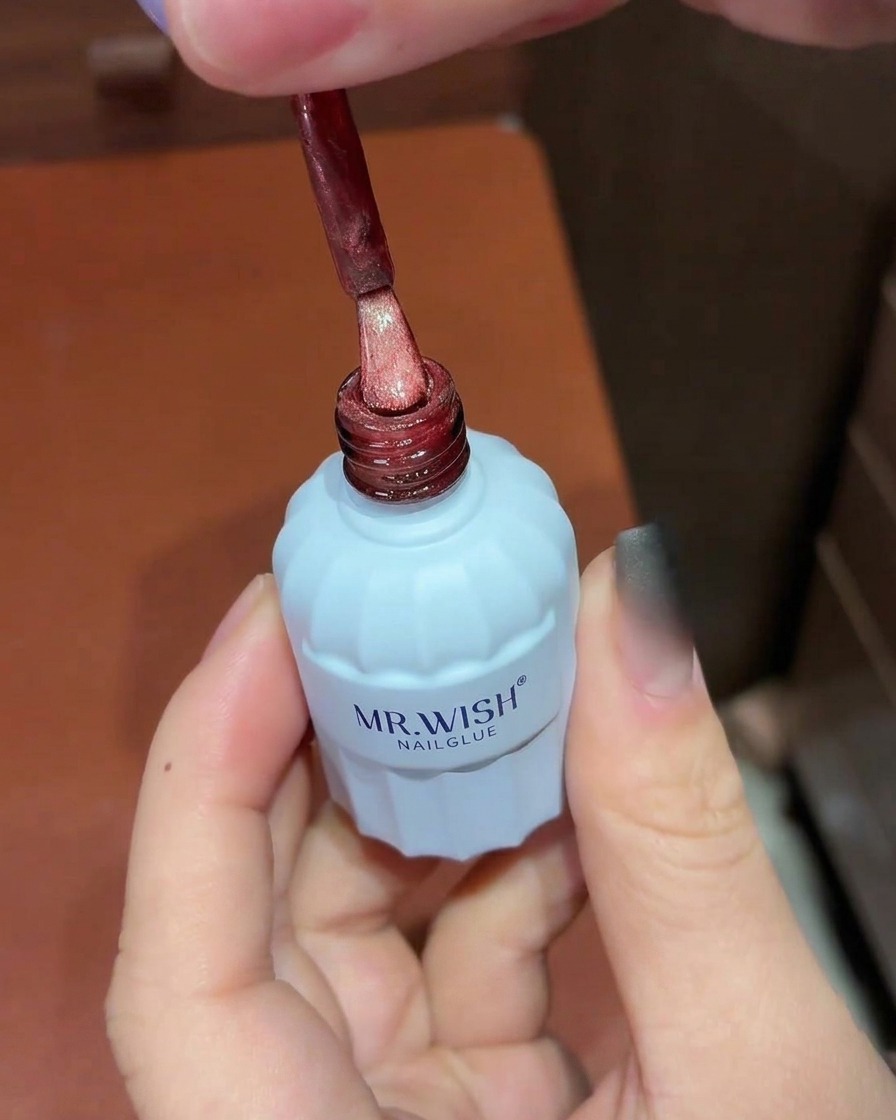
Apply an even coat of the red cat-eye gel polish over the entire nail, covering the previously cured black ombre base.
Tip: This specific formula does not require an additional base coat before application. - 5Form cat-eye shimmer
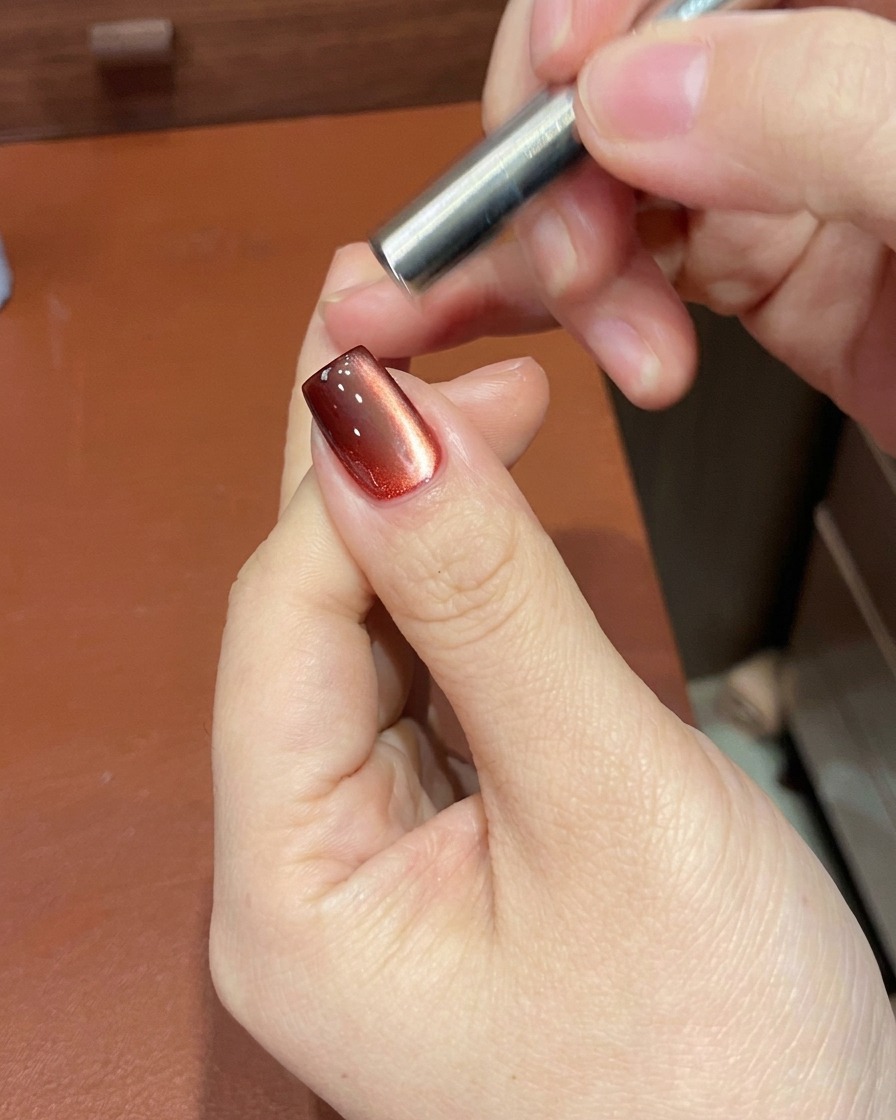
Hold a nail magnet close to the nail surface and move it from left to right to pull the magnetic particles into a wide, luminous light strip across the nail.
Tip: Do not let the magnet touch the wet polish surface. - 6Refine shimmer depth
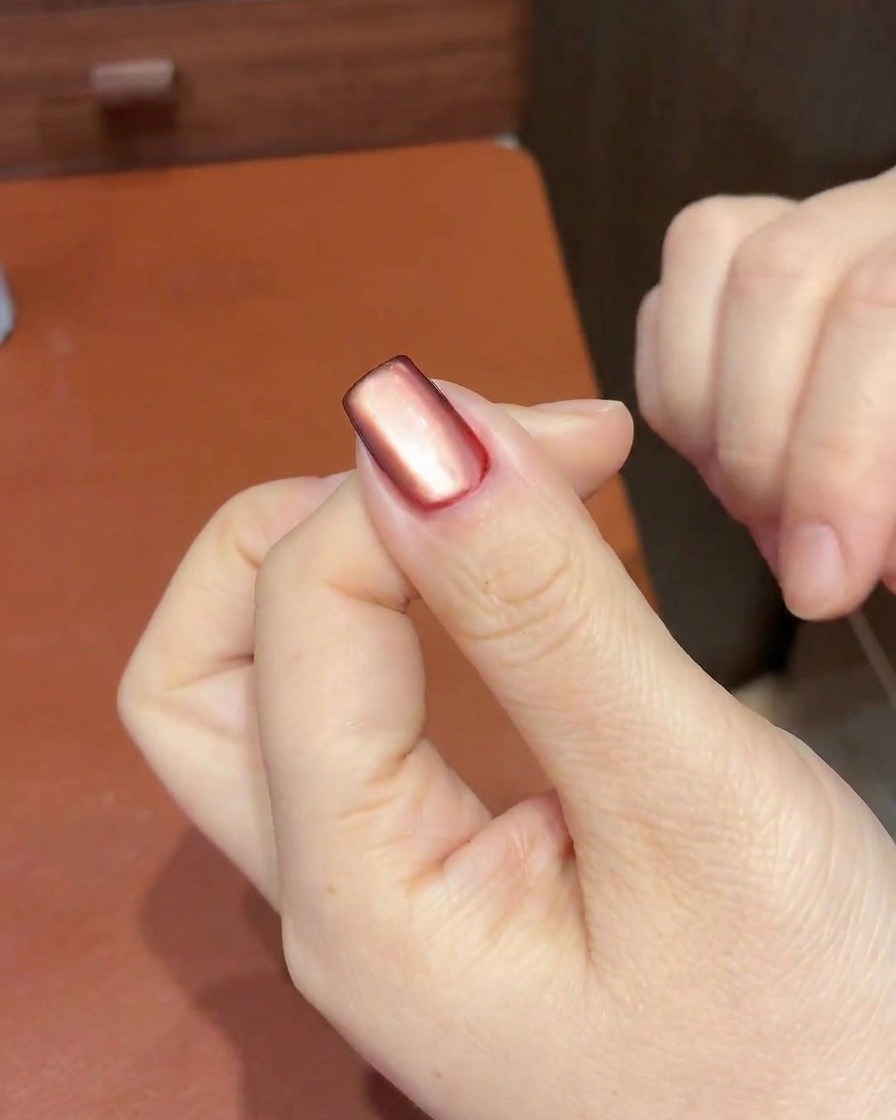
Using the magnet, carefully pull the shimmer from the center and push the light toward the cuticle area to create enhanced depth and a multi-dimensional effect.
Tip: Gentle, controlled movements create the most precise light reflections. - 7Shape the cat-eye shimmer
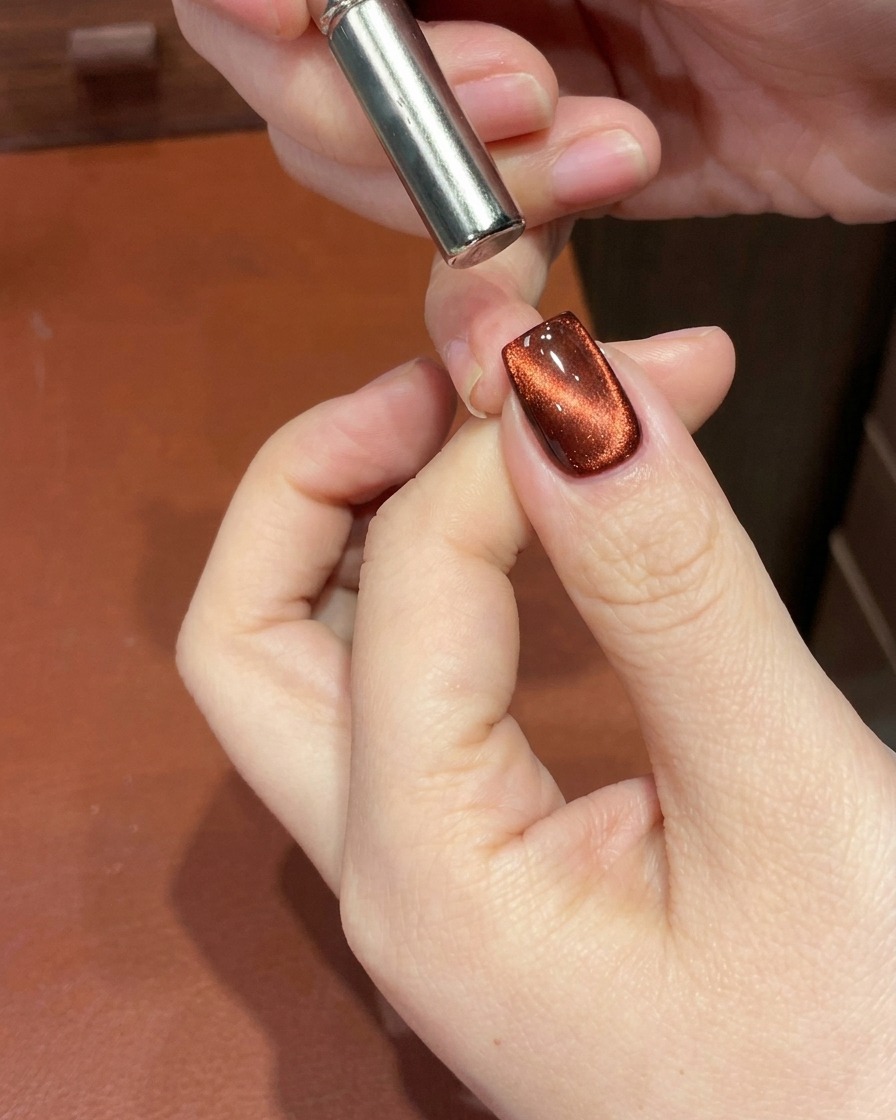
While the cat-eye gel is still wet, use your magnet to manipulate the shimmer. Position the magnet near the cuticle area to pull the light particles upward, creating a deep, dimensional gradient effect that concentrates the shimmer toward the base of the nail.
Tip: Work slowly with the magnet to achieve the desired depth, and ensure you dont touch the uncured polish with the magnet tool. - 8Refine the shimmer strip
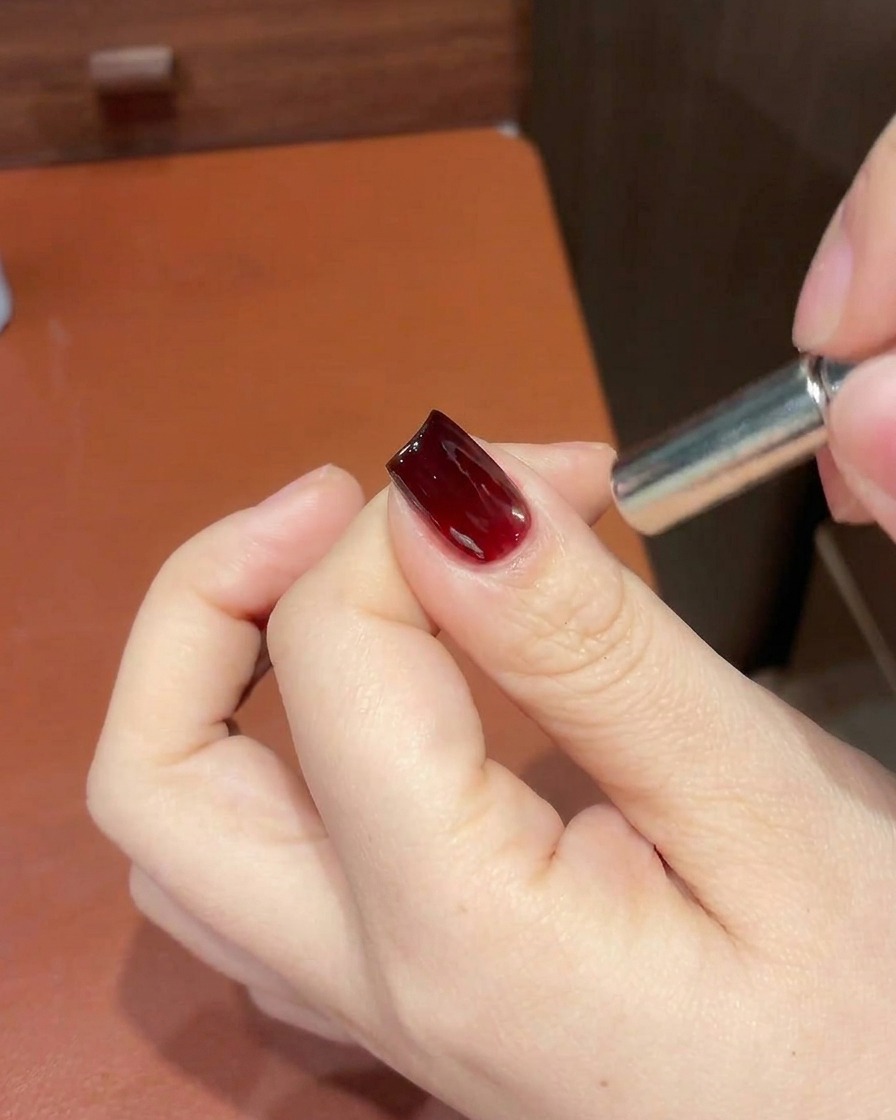
Continue using the magnet to precisely adjust the magnetic shimmer strip near the free edge or base of the nail. This final refinement ensures the cat-eye effect is sharp, clean, and perfectly placed before you move on to curing.
Tip: Keep the magnet parallel to the nail surface for the crispest line effect. - 9Cure the cat-eye design
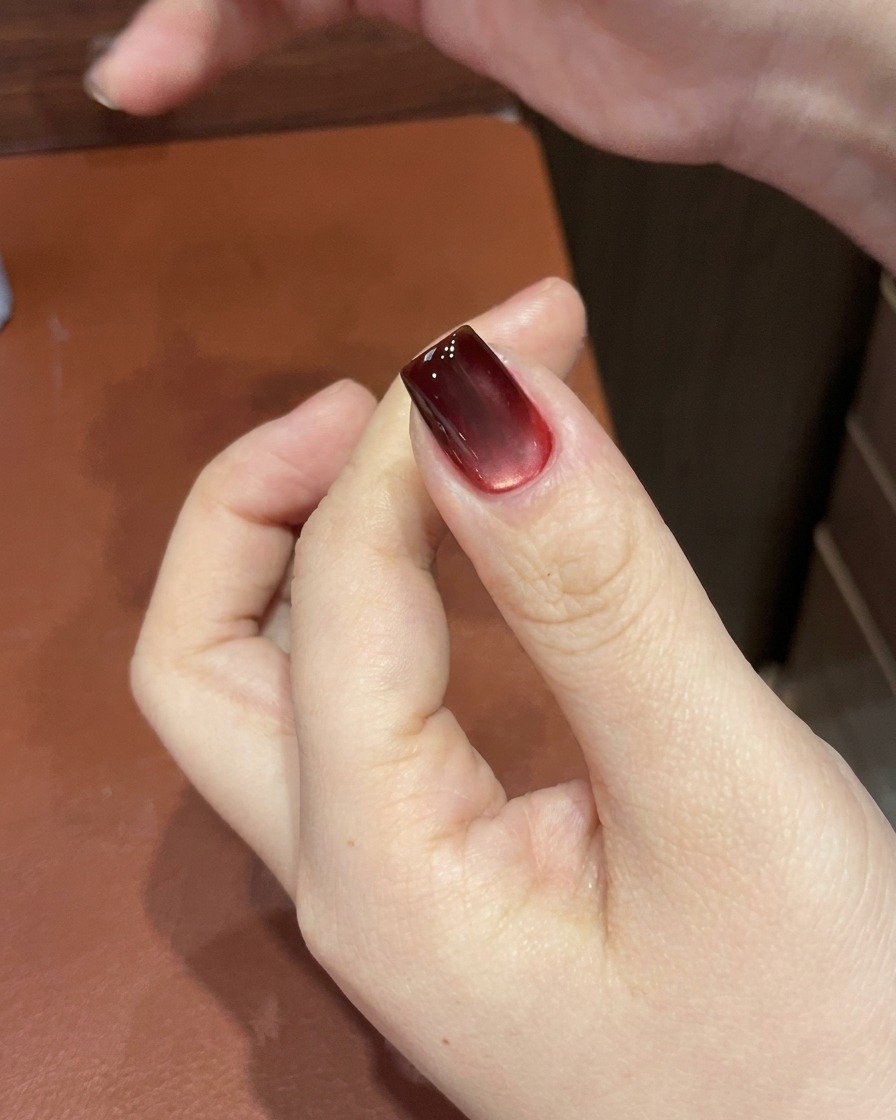
Once you are satisfied with the magnetic shimmer pattern, place your hand under the UV or LED lamp to cure. Follow the manufacturers recommended cure time to ensure the gel is fully set and the magnetic particles are locked in place.
Tip: Ensure your hand is positioned correctly inside the lamp so the light reaches the entire nail surface evenly. - 10Apply cuticle oil
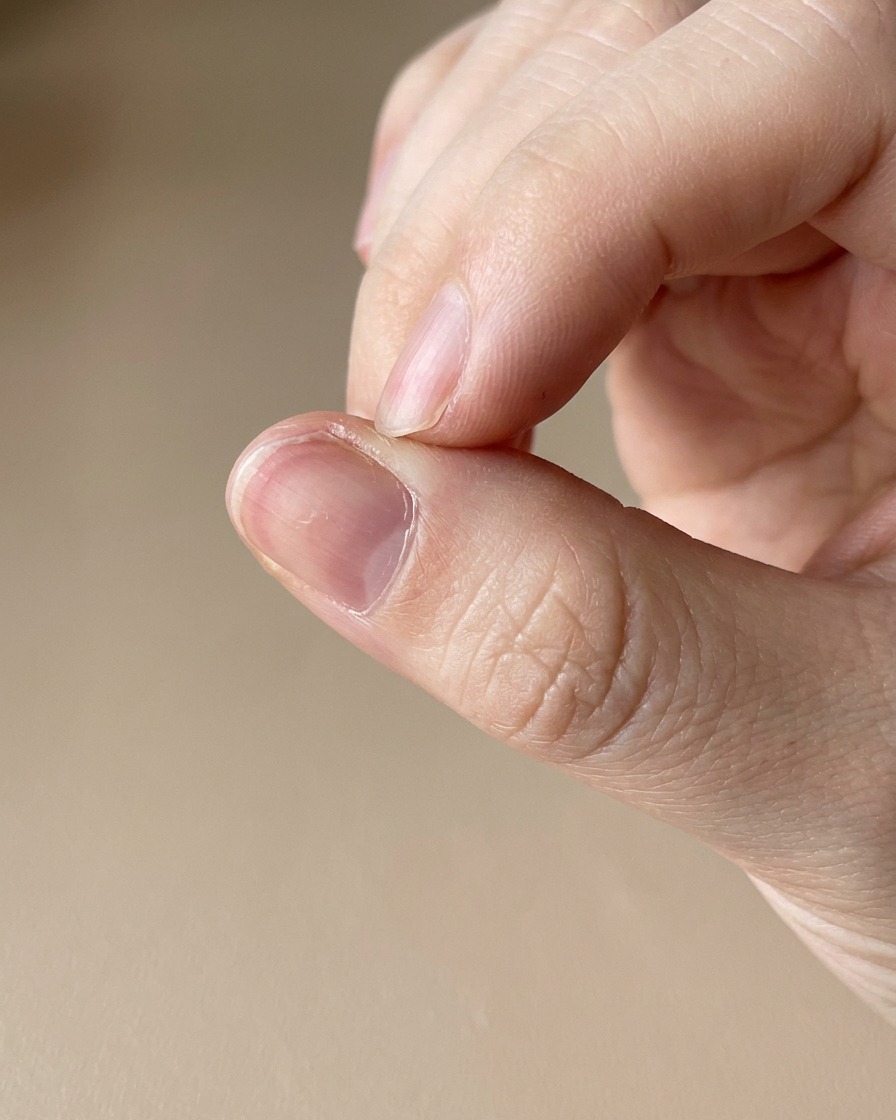
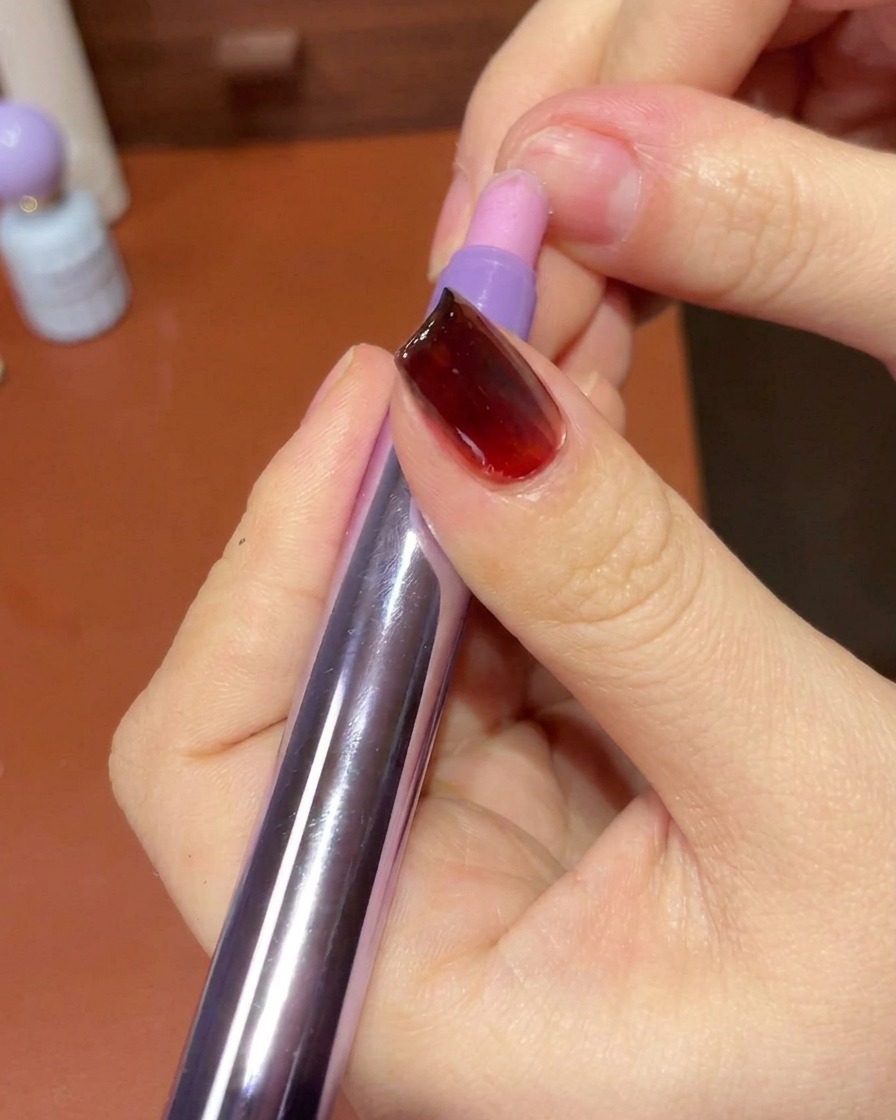
Use a cuticle oil essence pen to hydrate the skin around the nail plate. Apply the oil carefully to the cuticle and sidewalls to nourish the skin, which can become dry after the buffing and curing process.
Tip: Regular application of cuticle oil helps maintain healthy nail growth and keeps the surrounding skin soft and supple. - 11Buff and smooth the nail
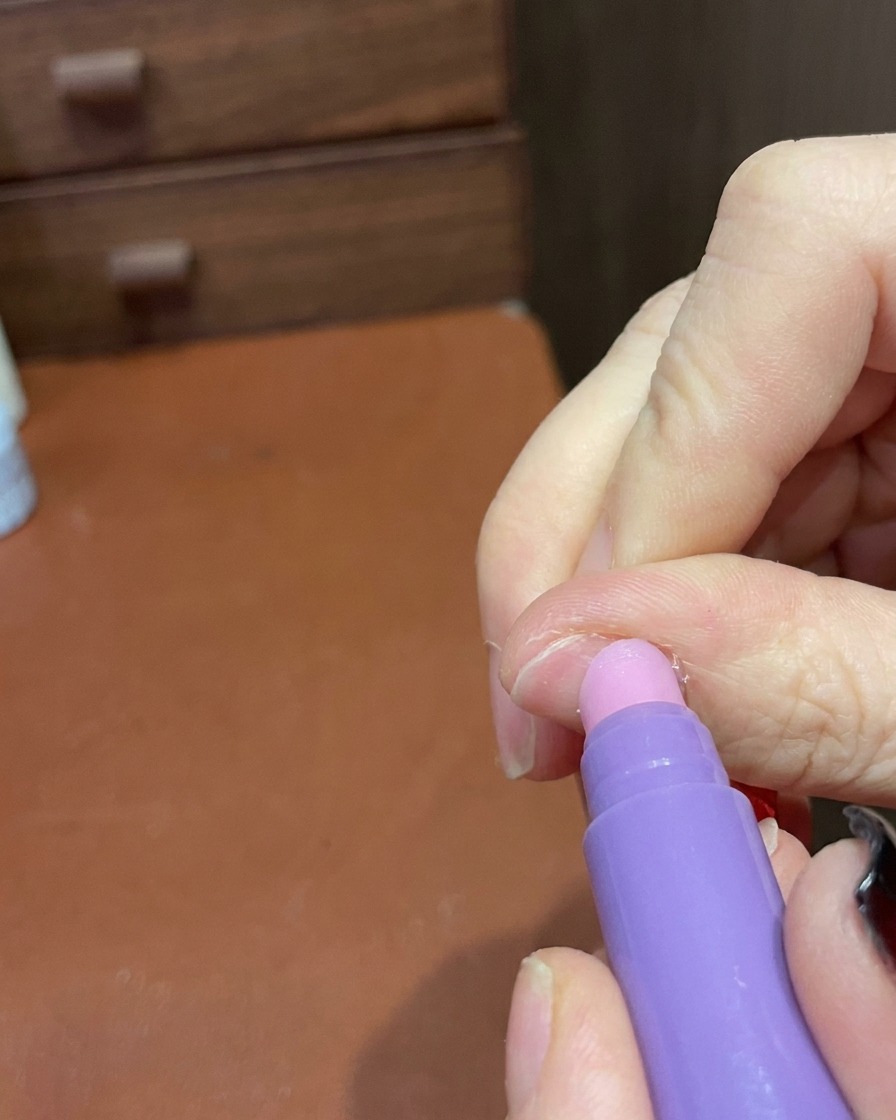
Using the tip of the essence pen or a gentle buffer, lightly smooth the surface of the nail and tidy the surrounding skin. This step helps remove any minor imperfections and ensures the finish looks polished and professional.
Tip: Use light pressure when buffing the nail surface to avoid damaging the finished gel coat. - 12Final cleanup
Using a lint-free wipe, gently clean the nail surface and the cuticle area to remove any excess oil or debris. This final wipe ensures a perfectly clean, smudge-free finish for your completed manicure.
Tip: Ensure your wipe is completely lint-free to avoid leaving tiny fibers on the tacky layer or the finished surface.