Frozen Dried Flower 3D Sculpted Nail Art Tutorial
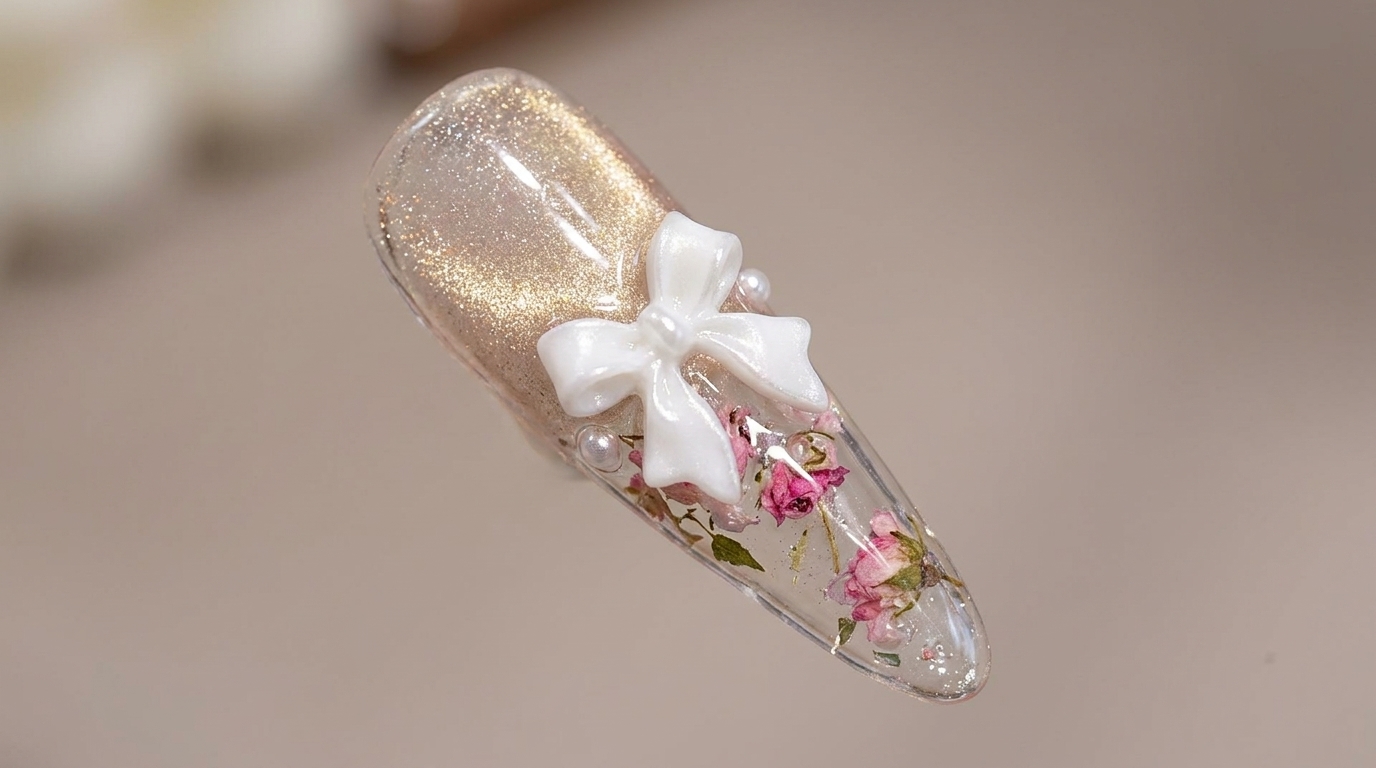
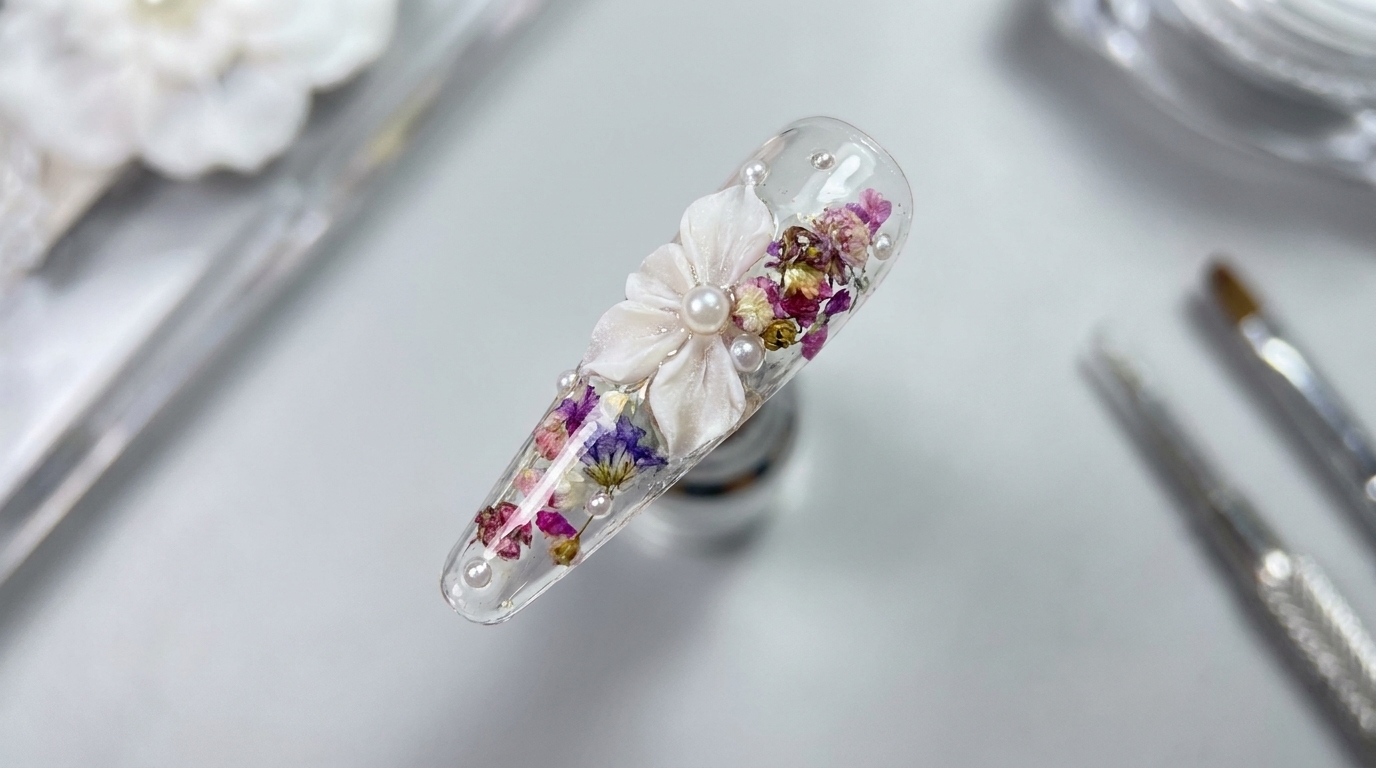
Create a stunning, ethereal manicure with embedded dried flowers and custom 3D white sculpted petals for a professional, ice-translucent nail art look.
This unique nail design blends delicate floral elegance with modern 3D sculpting techniques to create an ice-translucent masterpiece. By layering natural dried flowers with handcrafted white petals, you can achieve a sophisticated, dimensional look that is perfect for special occasions or a refined everyday style. This tutorial guides you through the process of building the base, embedding your floral design, and sculpting stunning 3D accents.
Steps
- 1Clean the nail surface
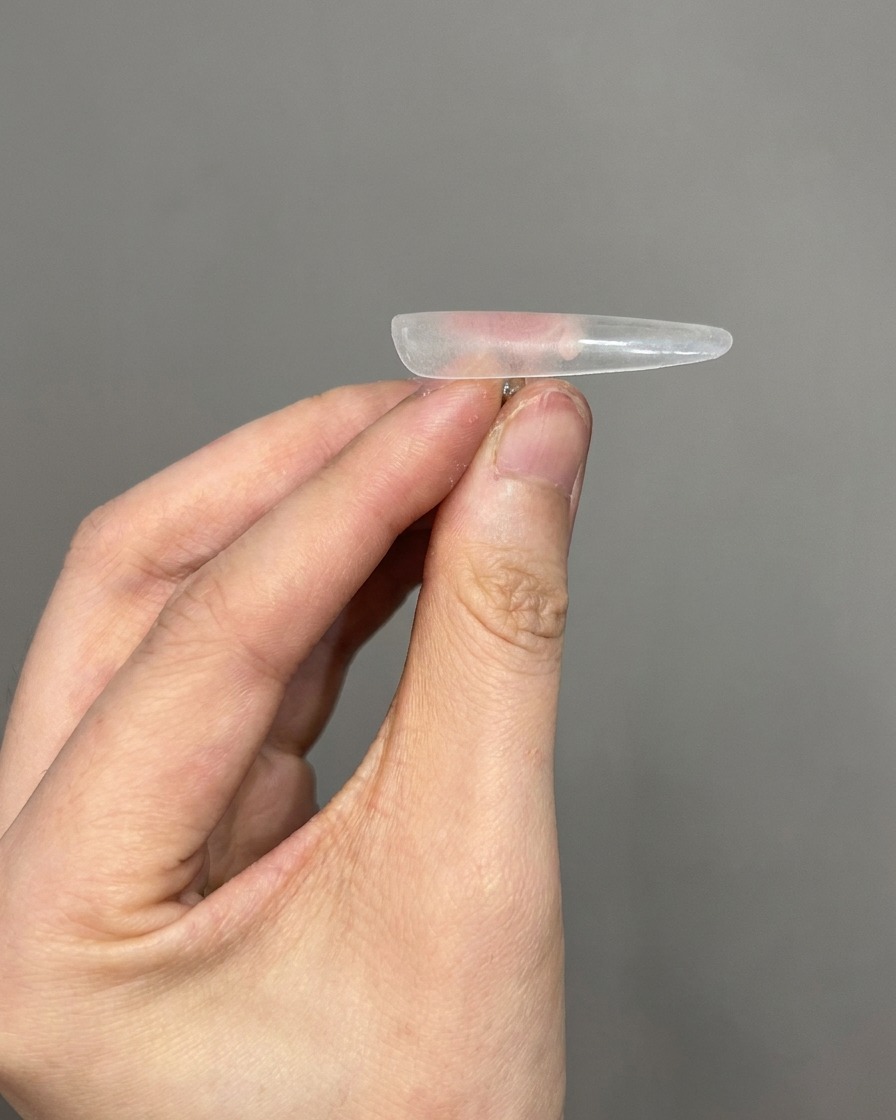
After filing and shaping the nail tip, use a soft dust brush to thoroughly remove all residual dust from the surface. A perfectly clean nail is essential to prevent air bubbles and ensure optimal adhesion for your gel layers.
Tip: Be thorough, as even small amounts of dust can create bumps or cause the gel to lift prematurely. - 2Apply half cat-eye gel
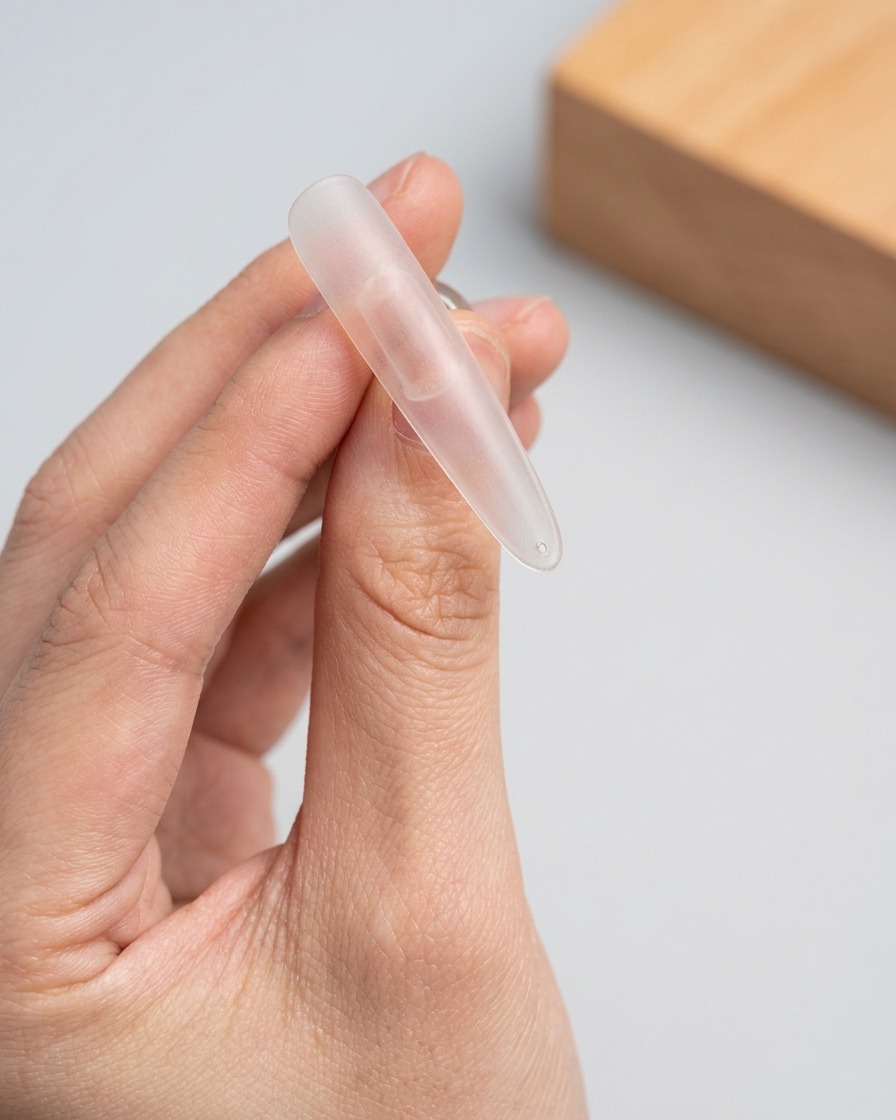
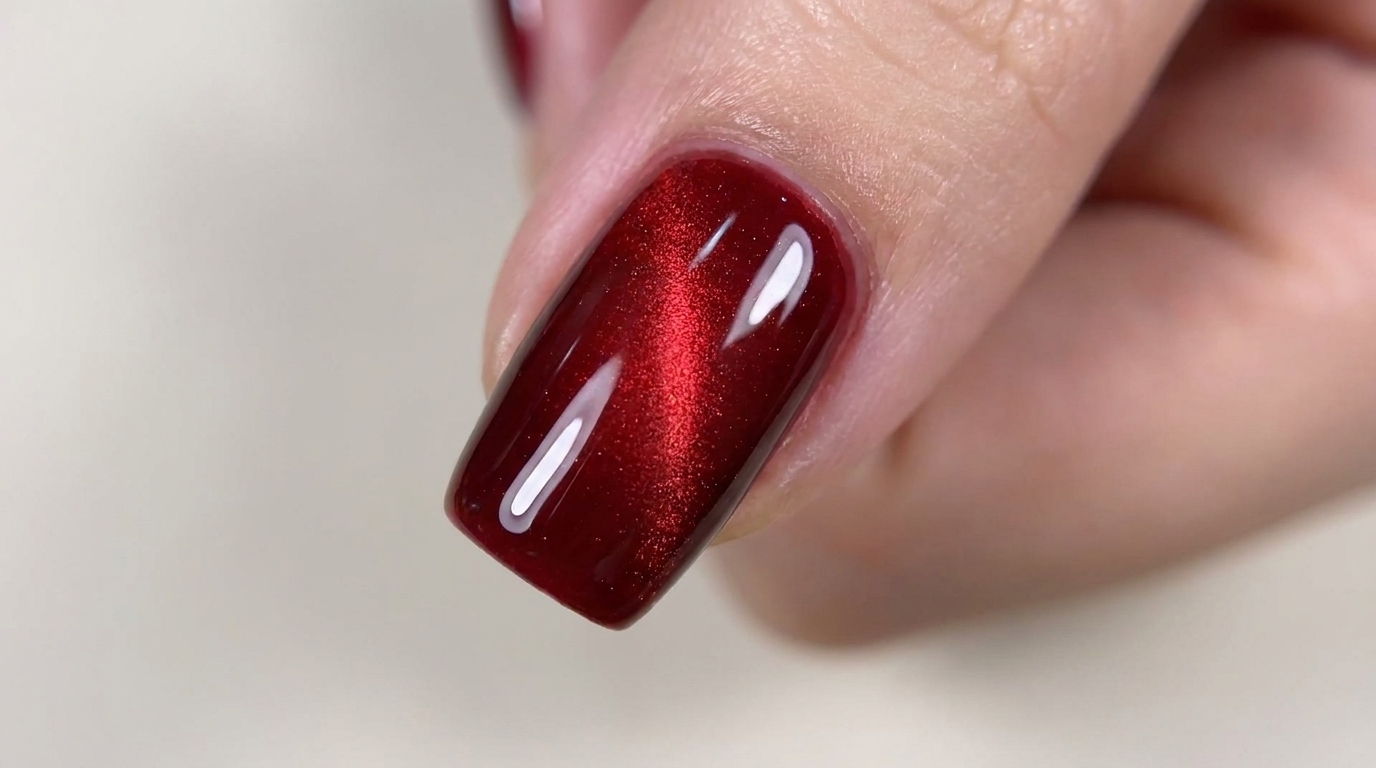
Apply your chosen cat-eye gel to approximately the top half of the nail tip. This placement creates a foundation for the magnetic effect, allowing you to blend it into the rest of the nail for a seamless gradient look.
Tip: Apply a thin layer to maintain better control when blending, preventing the gel from pooling. - 3Blend the cat-eye gel
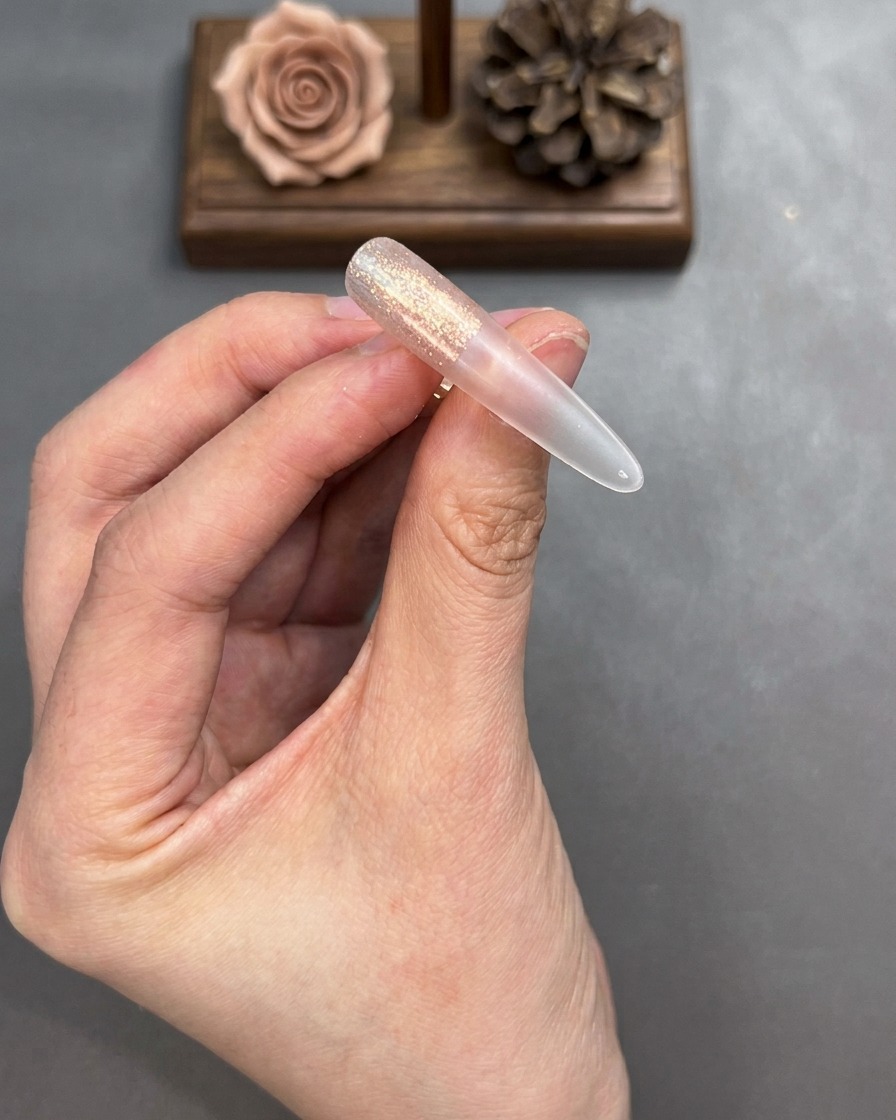
Using a clean, soft-bristled brush, gently blend the edges of the cat-eye gel where it meets the clear nail section. Focus on creating a soft, natural transition rather than a harsh line, as this will enhance the overall aesthetic of the finished look.
Tip: Use light, sweeping motions to avoid wiping away too much product. - 4Magnetize and prep
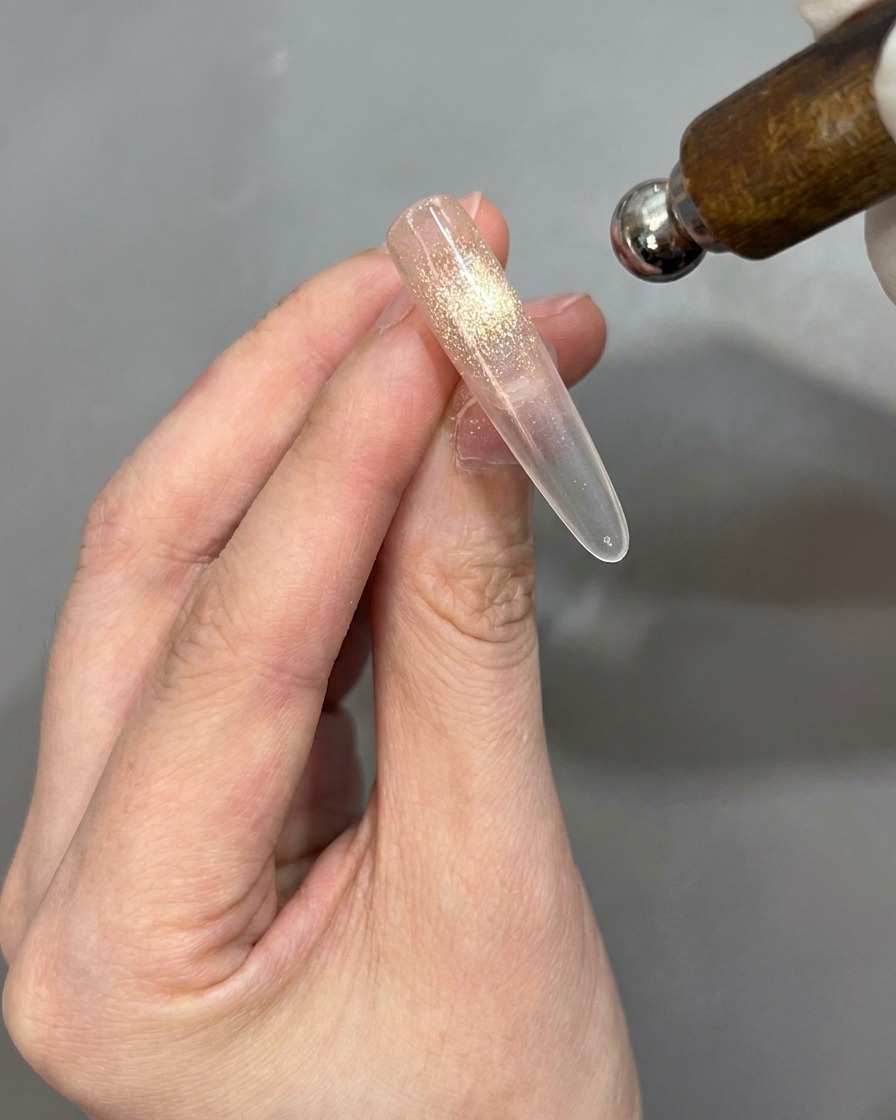
Hold a magnetic tool near the wet cat-eye gel to manipulate the metallic particles into your desired shimmer pattern. Once the effect is set, carefully flip the nail tip over to prepare the surface for the upcoming floral application.
Tip: Experiment with different magnet angles to see various shimmer patterns before committing to the cure. - 5Apply base coat for embellishments
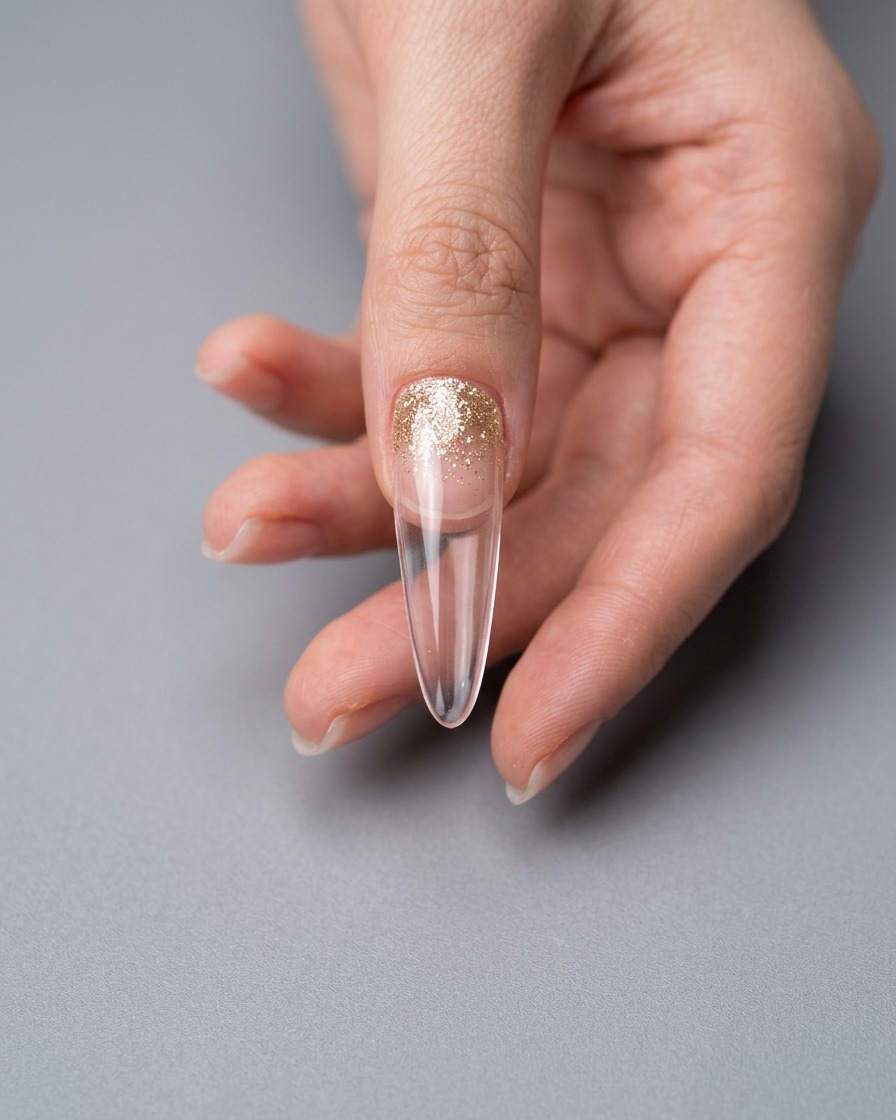
Apply a thin, even layer of base coat to the specific area of the nail tip where you intend to place your dried flower decorations. This sticky layer will act as an adhesive, keeping the flowers securely in place before you cure them.
Tip: Do not fully cure this layer yet, as it needs to remain tacky to hold the decorations effectively. - 6Place dried flower decorations
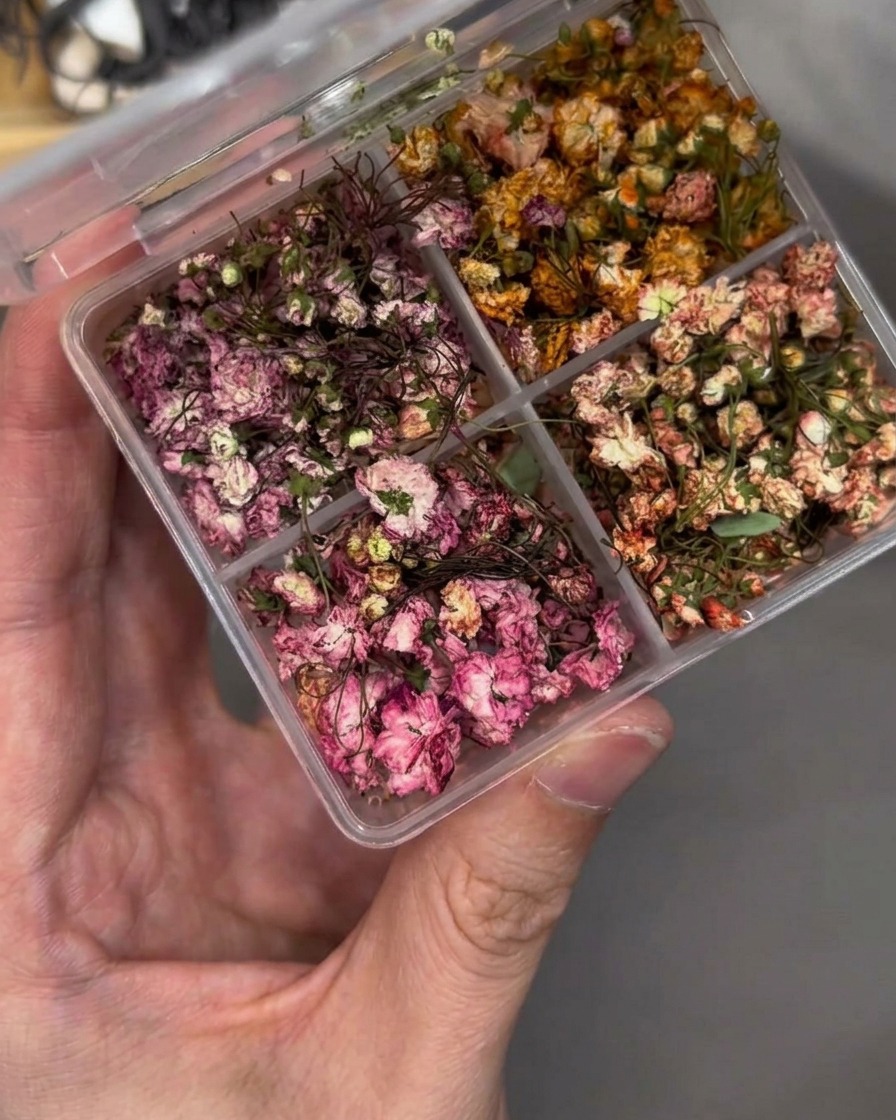
Using fine-tipped tweezers, carefully pick up your chosen dried flowers and position them onto the tacky base coat on the nail tip. Arrange them according to your desired aesthetic design, pressing down gently to ensure they lie flat against the surface.
Tip: Work with small pieces of dried flowers to avoid bulkiness, which can make the final top coat application more difficult. - 7Place pearls and rhinestones
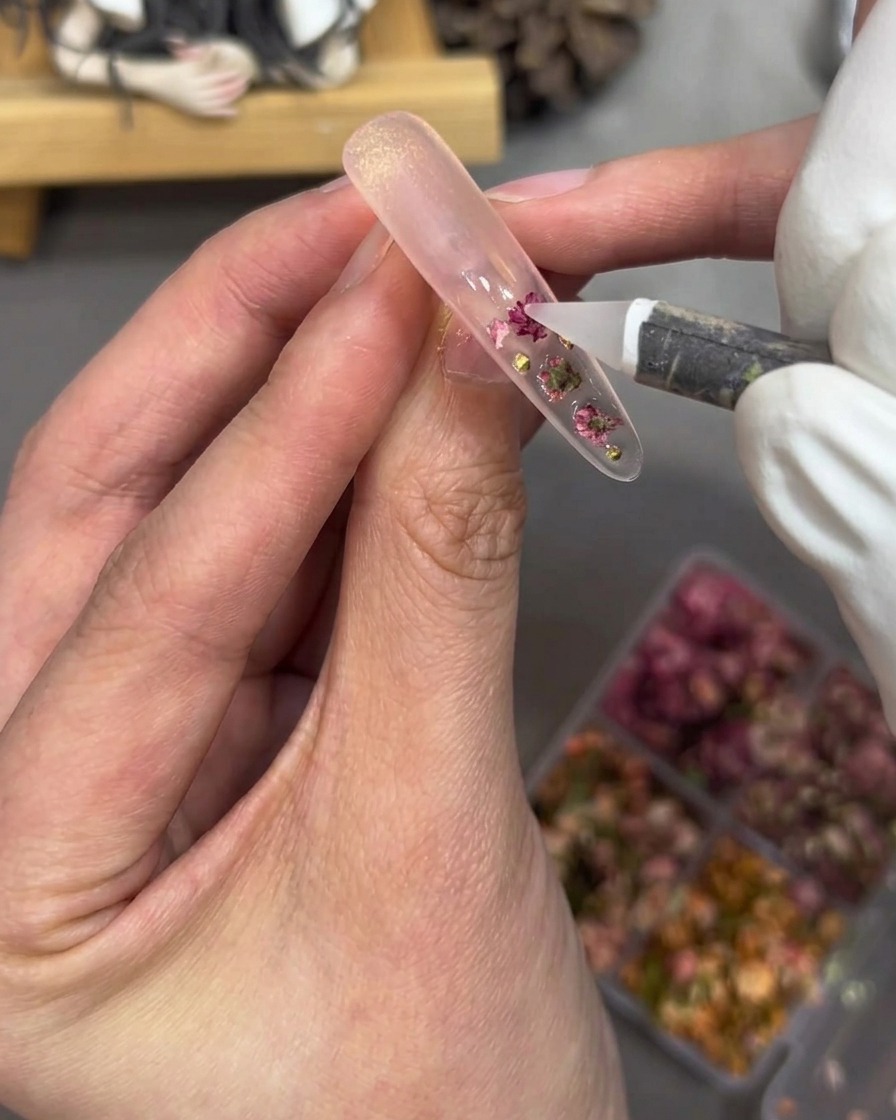
Carefully place your chosen pearls and rhinestones onto the nail surface according to your desired design. Ensure they are positioned exactly where you want them before proceeding to the curing stage, as the gel will hold them in place once hardened.
Tip: Use a wax-tipped picker tool to easily pick up and place tiny pearls and rhinestones with precision. - 8Cure and secure decorations
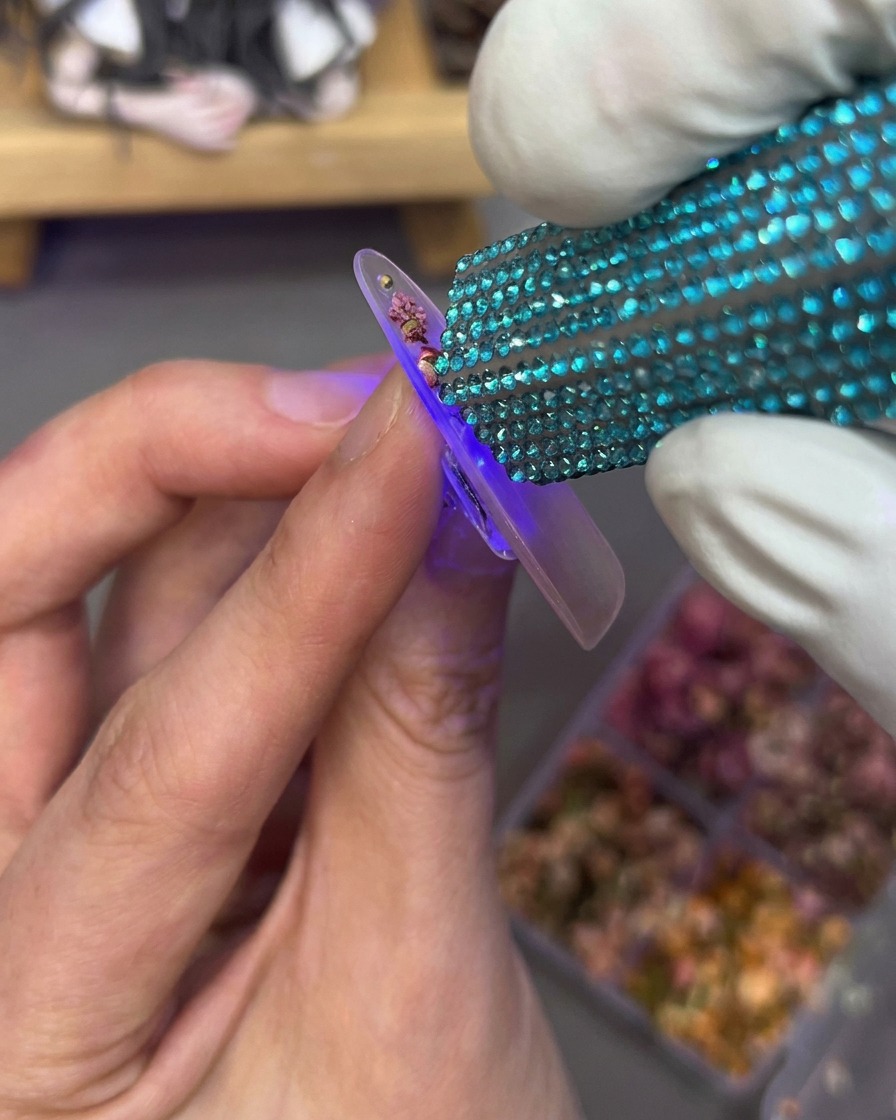
While holding the dried flowers and embellishments down with your tool to ensure they lay flat, place the nail tip under the UV/LED lamp. Cure for the full recommended time to lock the decorations and base layer securely onto the nail surface.
Tip: Keep steady pressure on the decorations while starting the cure to prevent them from shifting or floating out of the gel. - 9Apply sealing layer
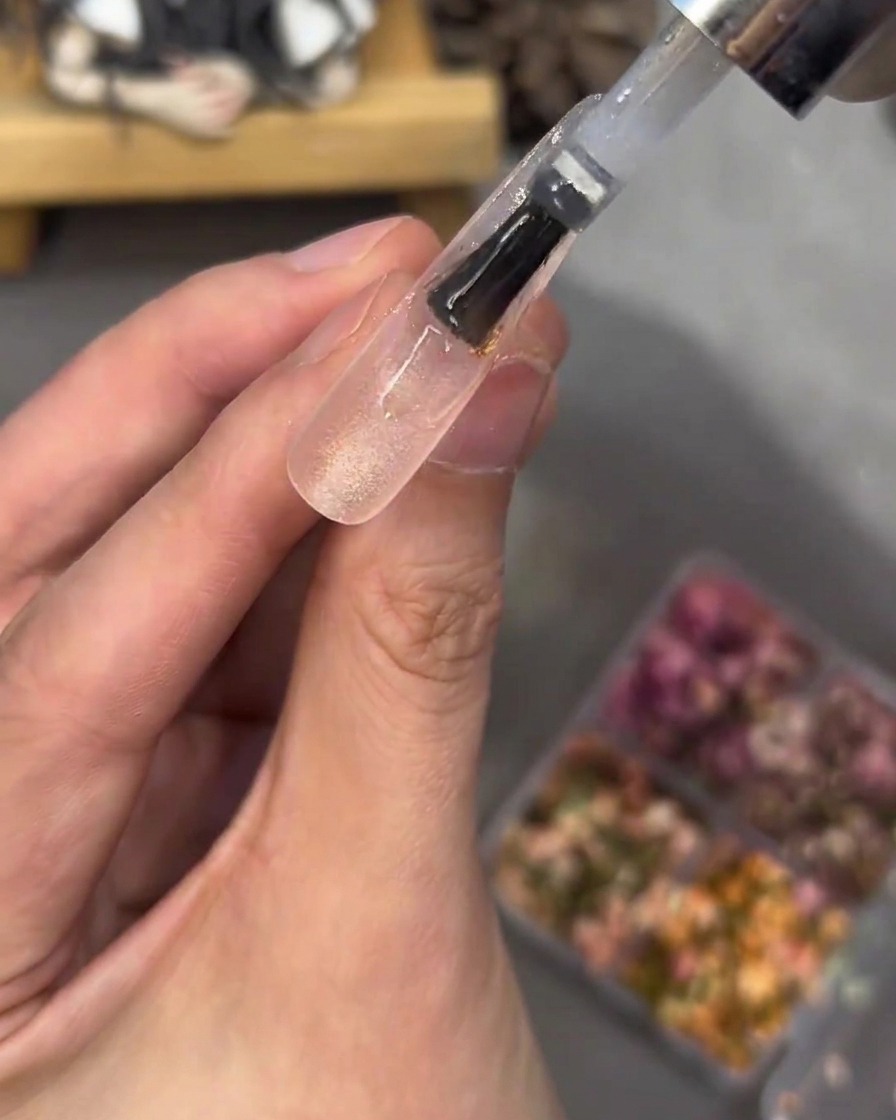
Apply a generous, even layer of clear builder or sealing gel over the entire nail to encapsulate the dried flowers and decorations. This creates a smooth, leveled surface and protects the nail art from snagging or wearing off.
Tip: Use a slightly thicker consistency gel for the sealing layer to help fill in the gaps around textured decorations like rhinestones. - 10Apply top coat
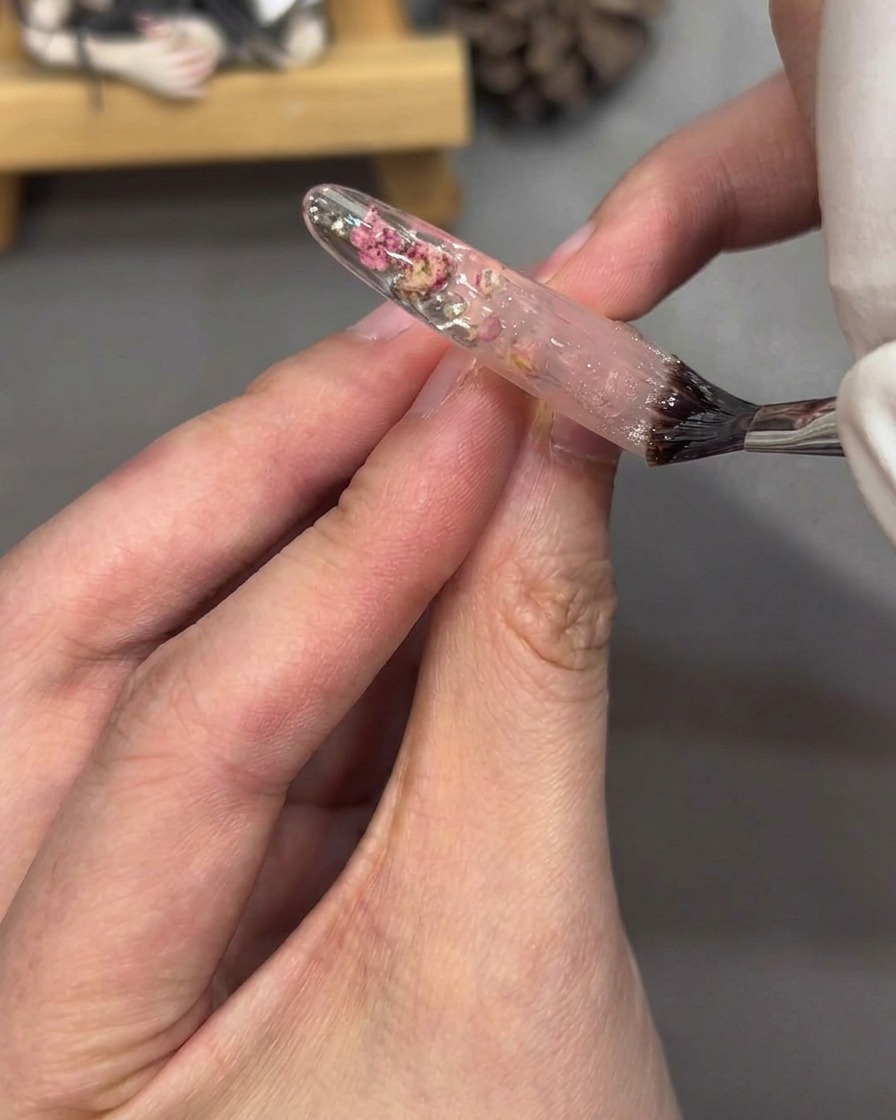
Apply a final coat of high-gloss gel top coat over the entire surface of the nail. Cap the free edge to ensure a long-lasting, chip-resistant finish. Cure under the lamp for the final hardening stage.
Tip: Ensure the top coat covers all edges of the encapsulated decorations for a completely smooth finish. - 11Prepare sculpting gel bead
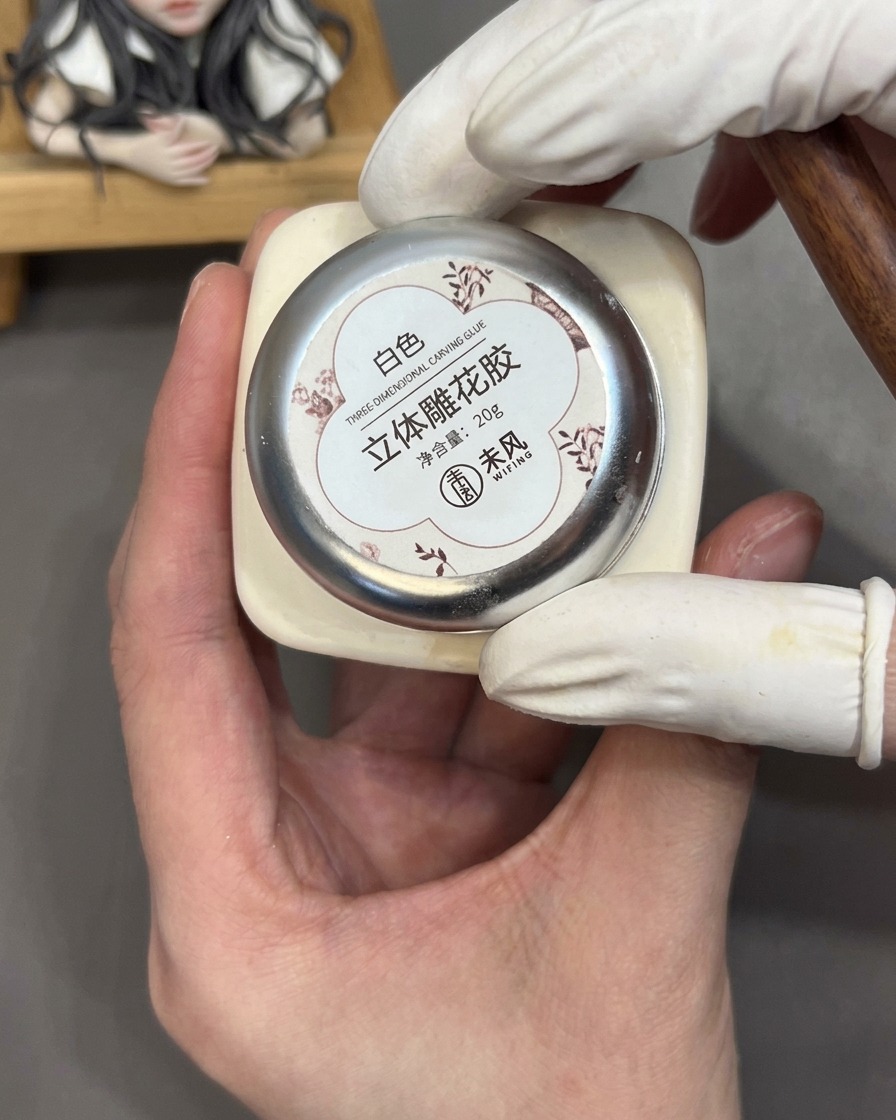
Dispense a small, pea-sized bead of white 3D sculpting gel onto your palm or a silicone mat. Having this prepped and ready allows you to pick up the exact amount needed for each individual petal without rushing.
Tip: Use a small amount of slip solution on your brush if the sculpting gel feels too sticky to work with. - 12Sculpt the petals
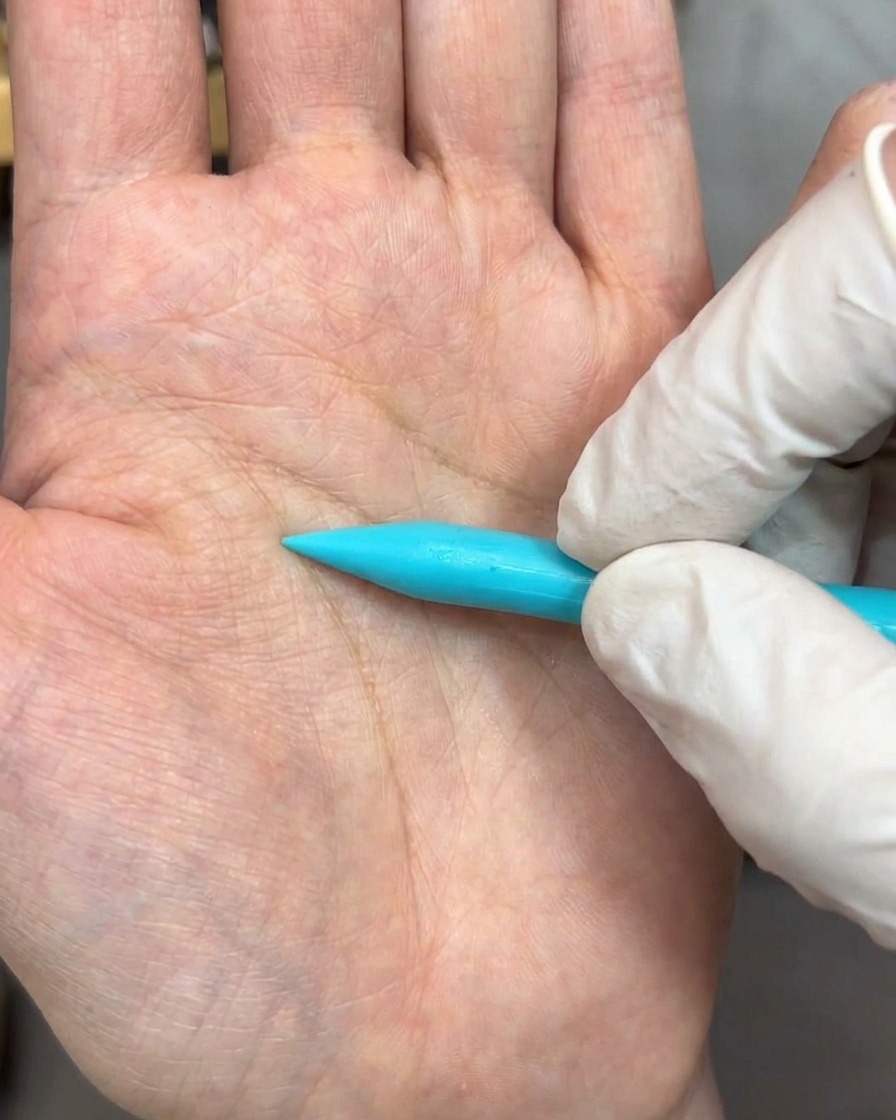
Use a sculpting tool to press and flatten the white gel bead into an organic petal shape, softening the edges to look realistic. Once shaped, carefully lift the petal and position it onto the nail design.
Tip: Lightly dust your sculpting tool with a tiny bit of clear powder or slip solution to prevent the gel from sticking to the tool instead of the nail. - 13Position the petal
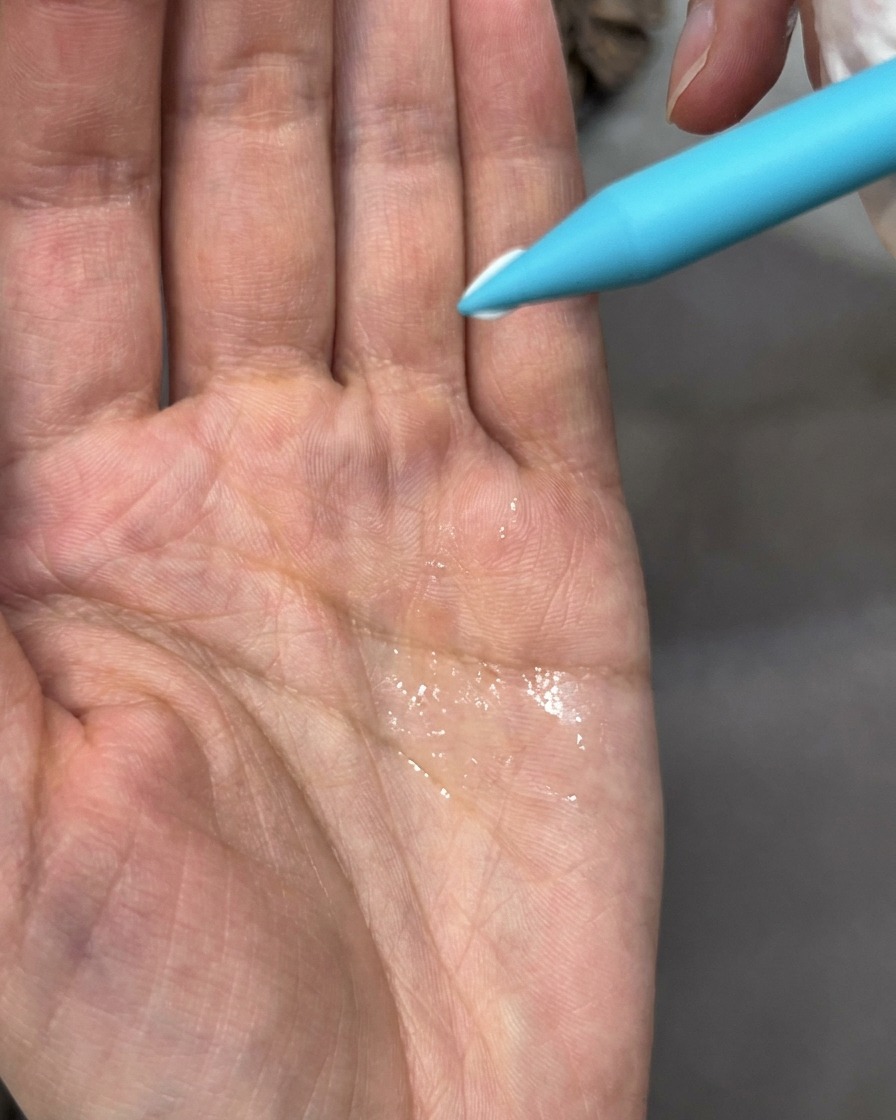
Take the sculpted petal and carefully place it onto the nail surface. Use your sculpting brush to gently nudge and adjust the petal into the desired position, ensuring it adheres properly to the base layer.
Tip: Work with a slightly tacky surface to help the petal stay in place while you adjust it. - 14Add another petal
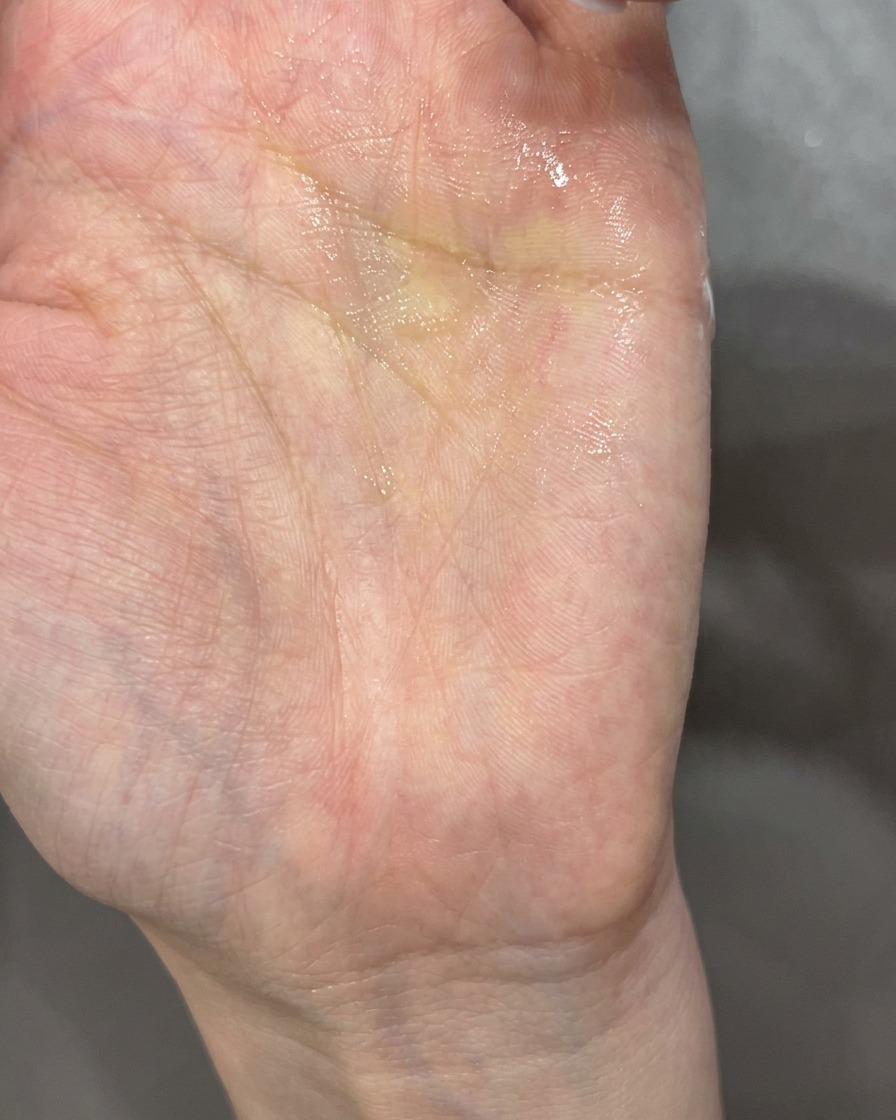
Sculpt a second petal using white gel and apply it to the nail. Position it slightly overlapping or next to the first petal to begin forming the flower shape, then adjust it with your brush.
Tip: Vary the angle of each petal slightly to give the flower a more natural, three-dimensional look. - 15Tint the petals
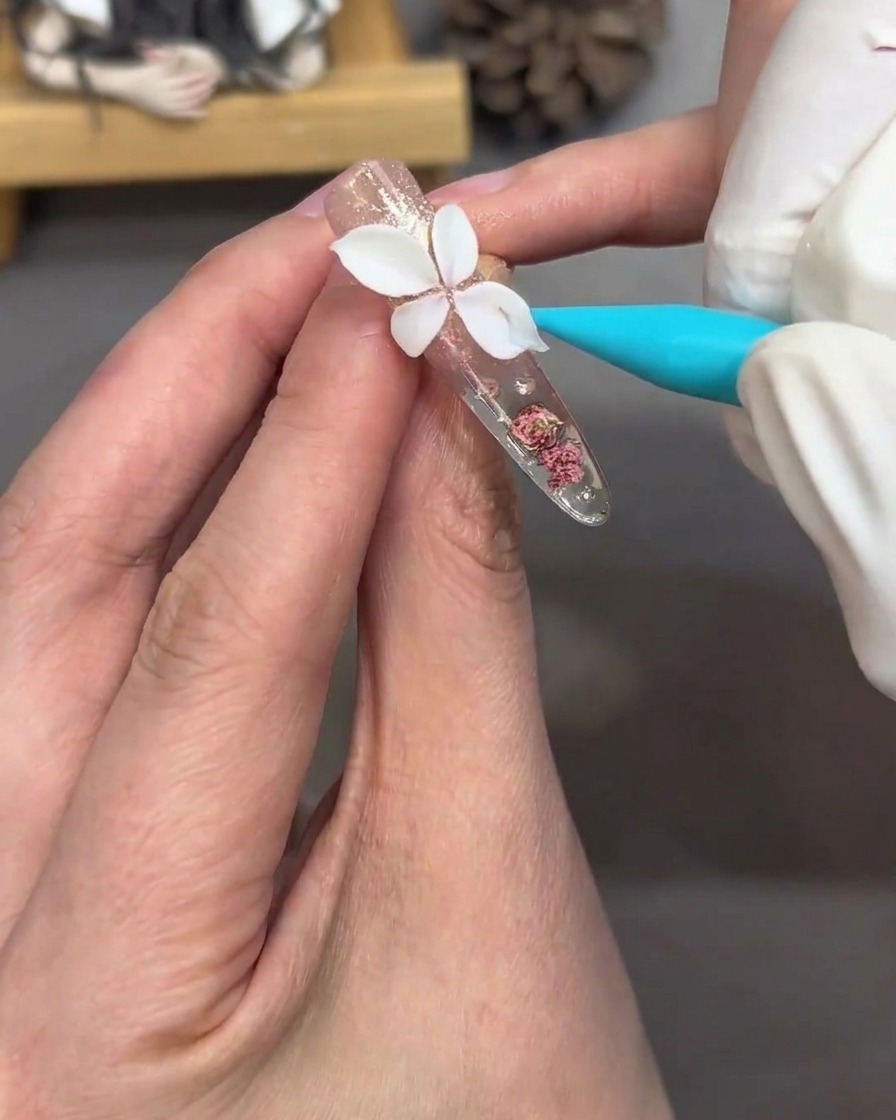
Using a fine brush, carefully apply a light pink color over the sculpted petals. This adds a soft, delicate tint to the white gel, enhancing the flowers appearance.
Tip: Use a light hand to apply the color, building it up gradually to ensure even coverage without obscuring the petal texture. - 16Create ice-translucent finish
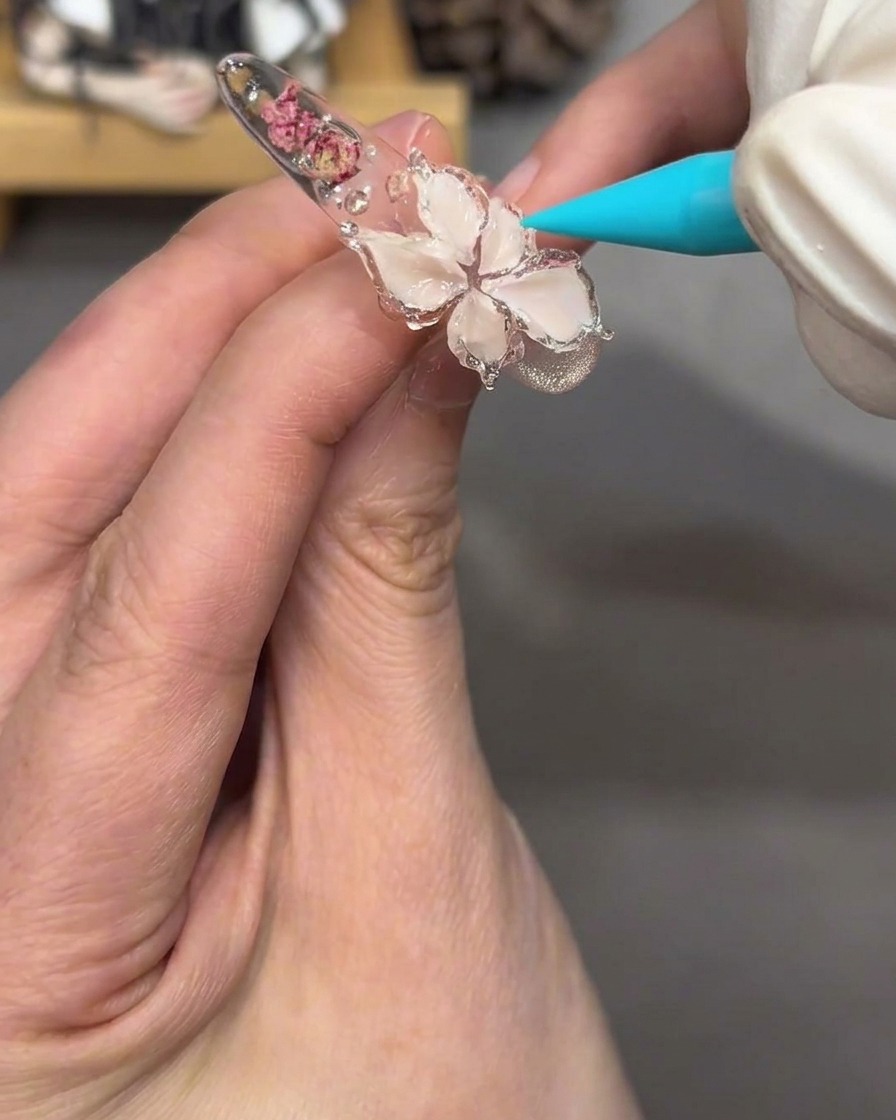
Apply a final layer of clear jelly gel over the floral and sculpted design. This coating creates a beautiful, glass-like depth and gives the entire nail an ice-translucent effect.
Tip: Ensure the jelly gel is applied smoothly to avoid air bubbles, maintaining the clarity of the effect.