Ice-Encapsulated Rose Nail Art — Elegant 3D Floral Tutorial
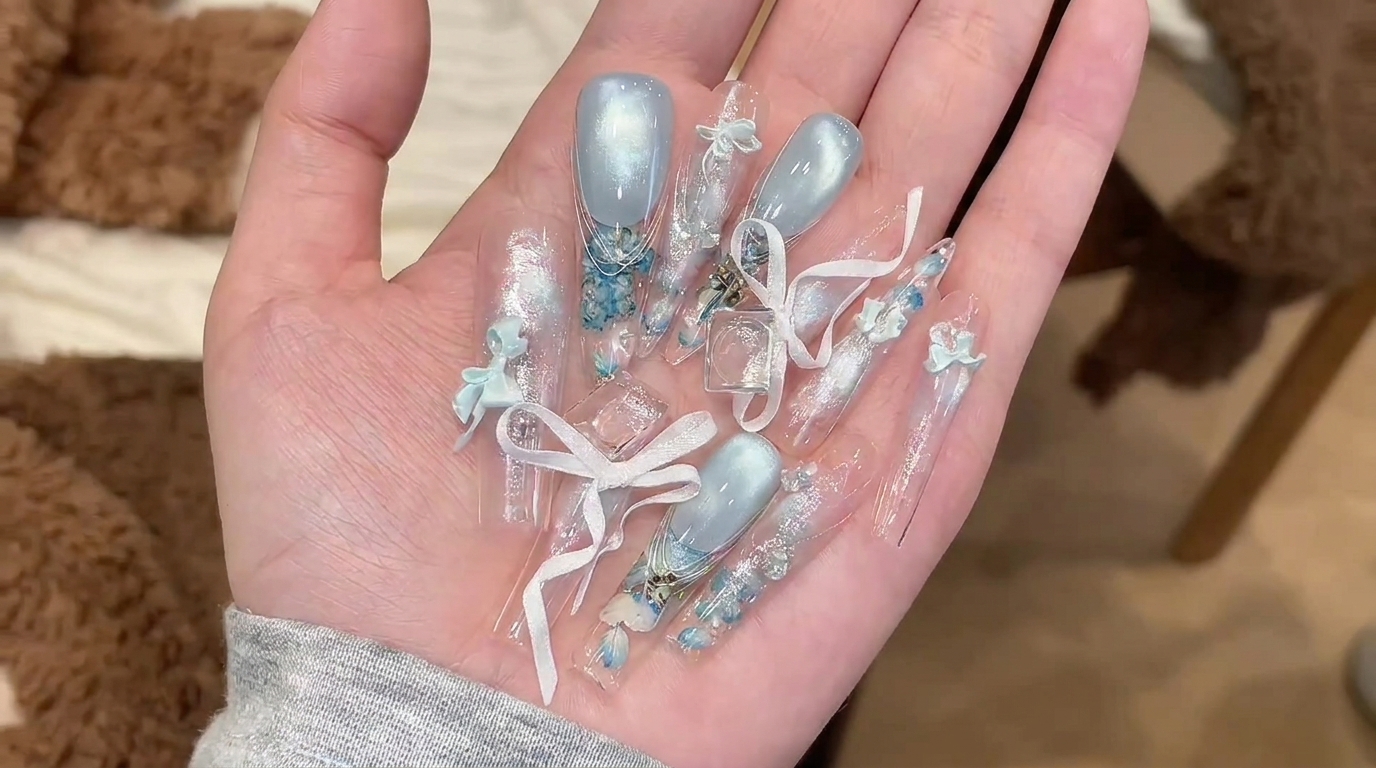
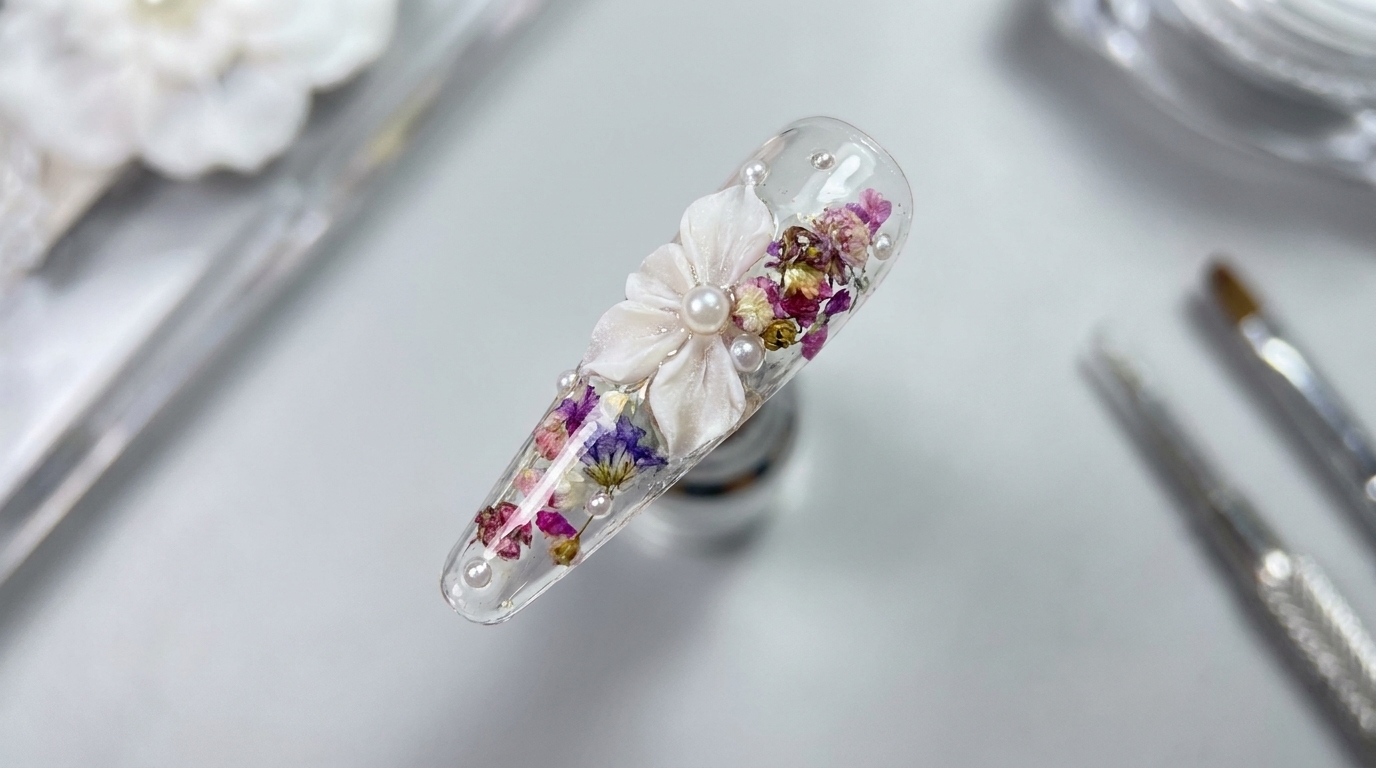
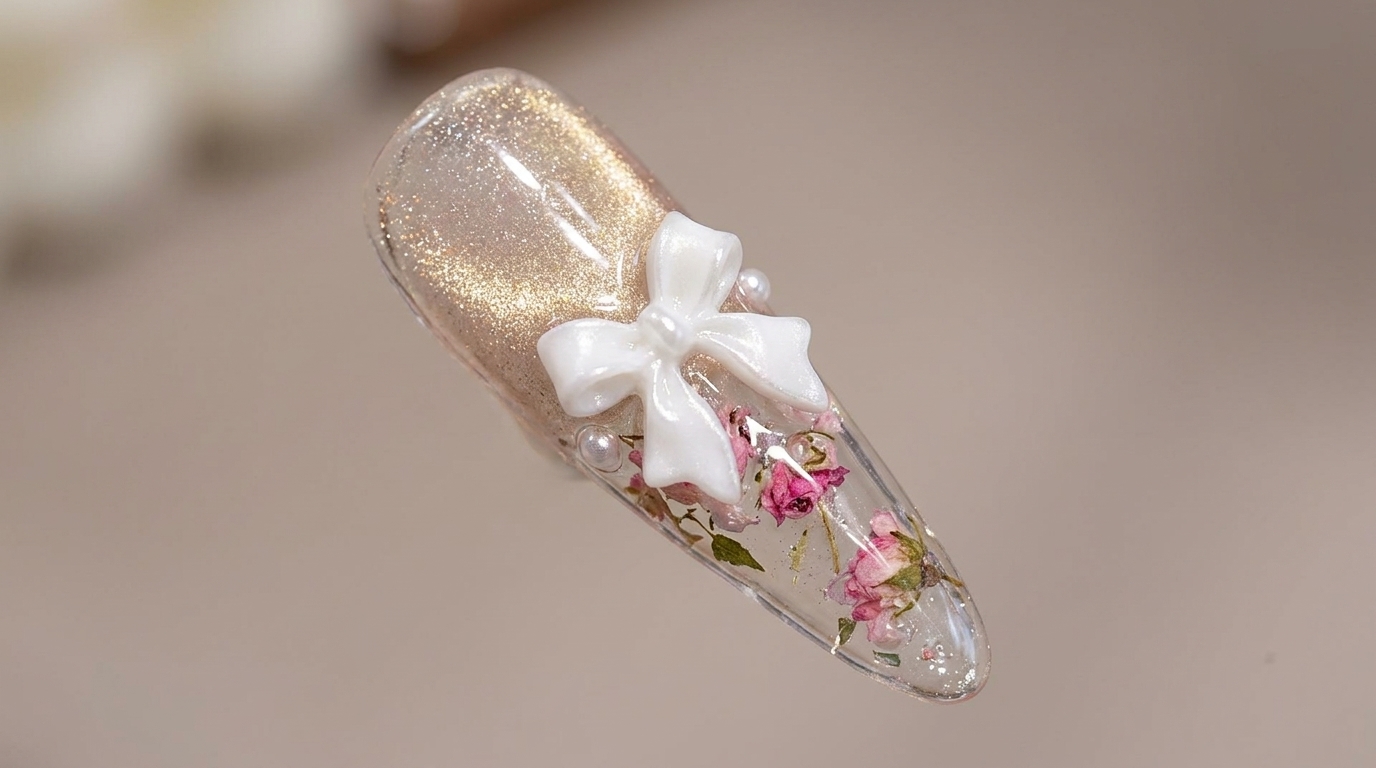
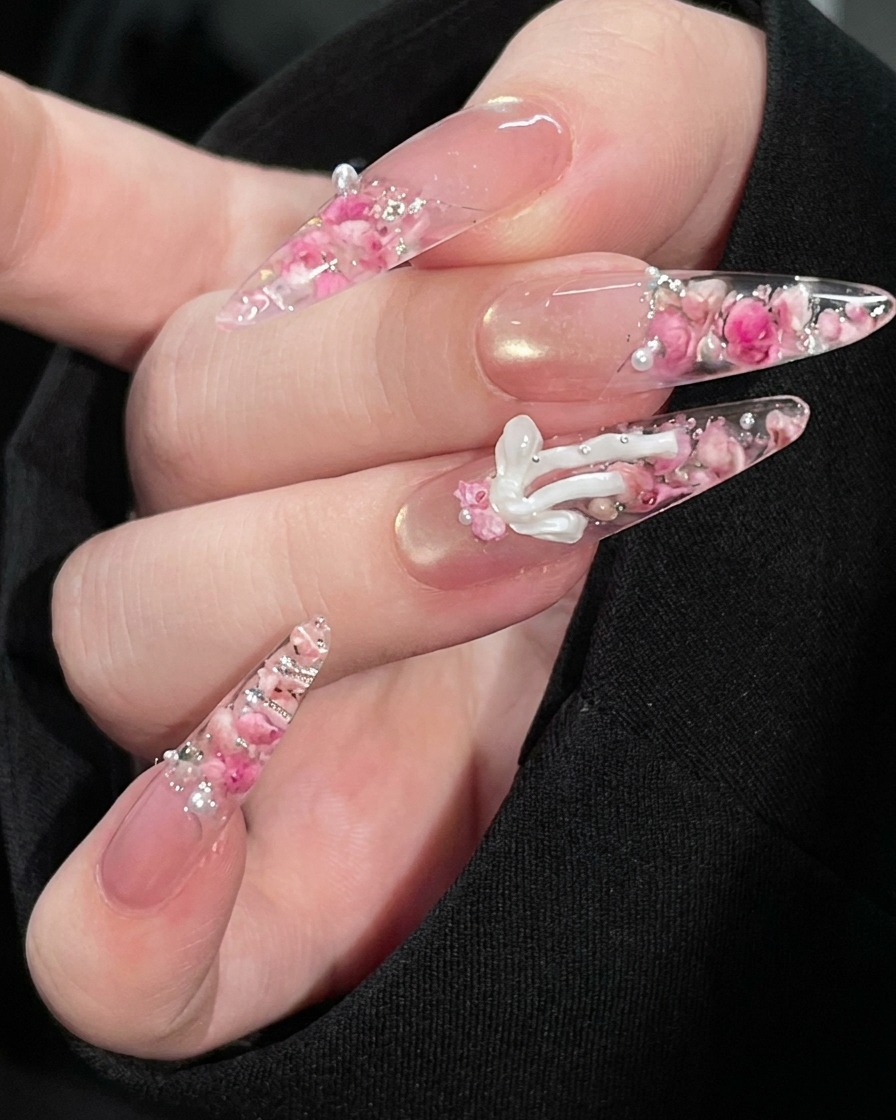
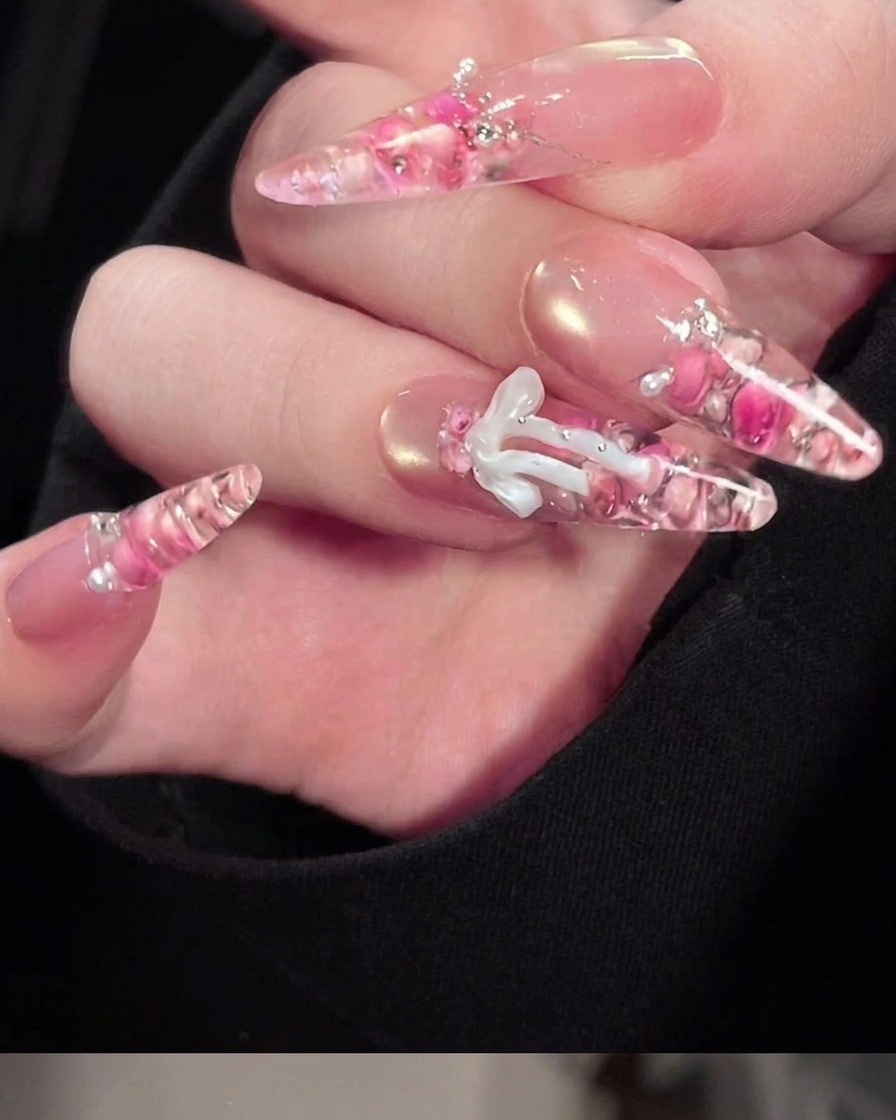
Create a stunning, ethereal look with this ice-encapsulated rose nail design. Featuring shimmering magnetic cat-eye gel, delicate dried roses, and a 3D bow.
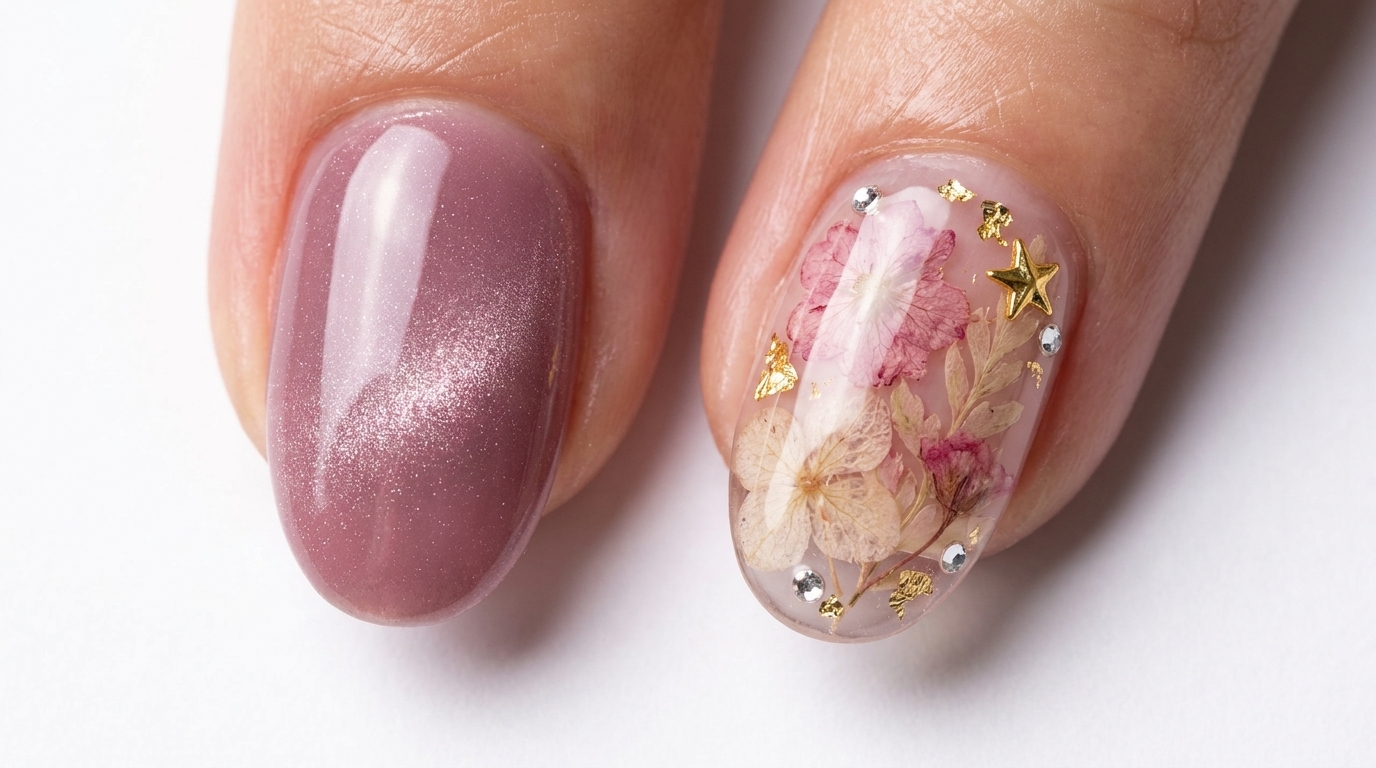
This unique design captures the beauty of preserved florals trapped within a glass-like, shimmering base. By combining the depth of magnetic cat-eye gel with the classic elegance of 3D charms and dried botanicals, you can achieve a sophisticated, high-fashion look right at home. It is a perfect choice for those looking to add a romantic, textural element to their manicure repertoire.
Steps
- 1Apply French sticker
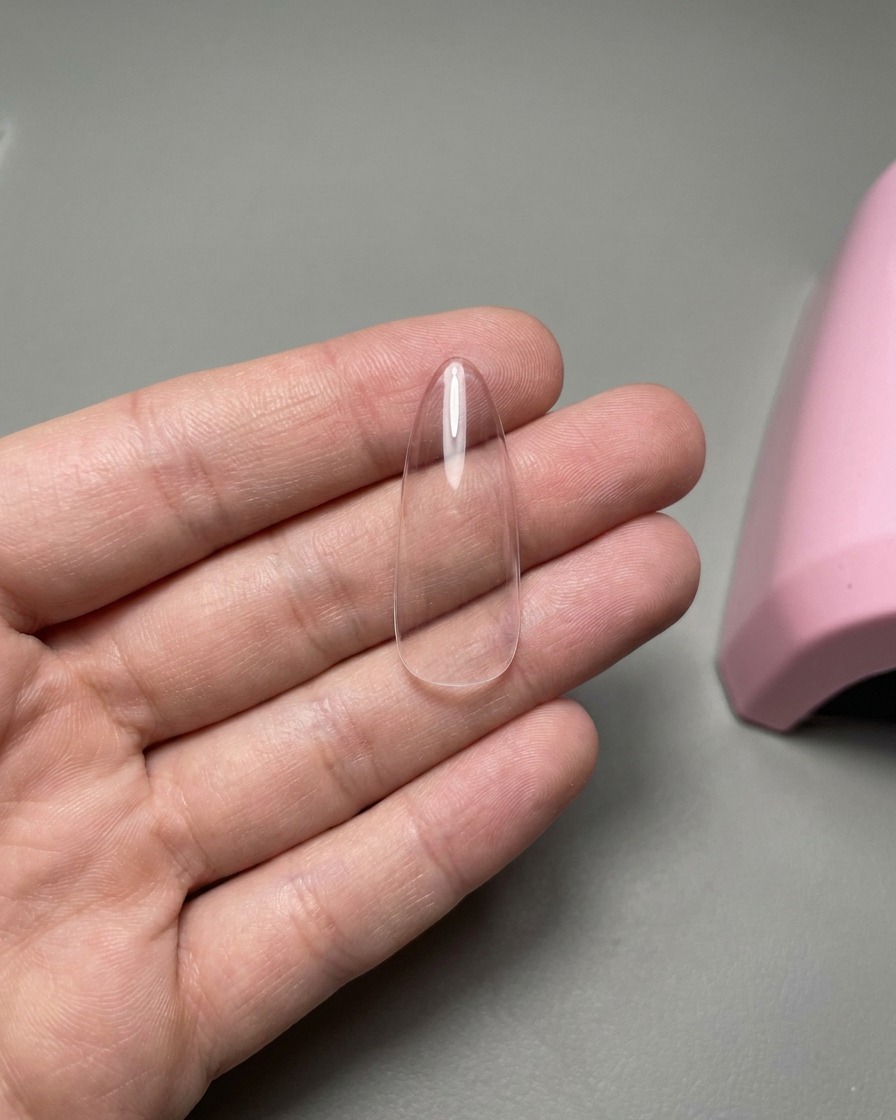
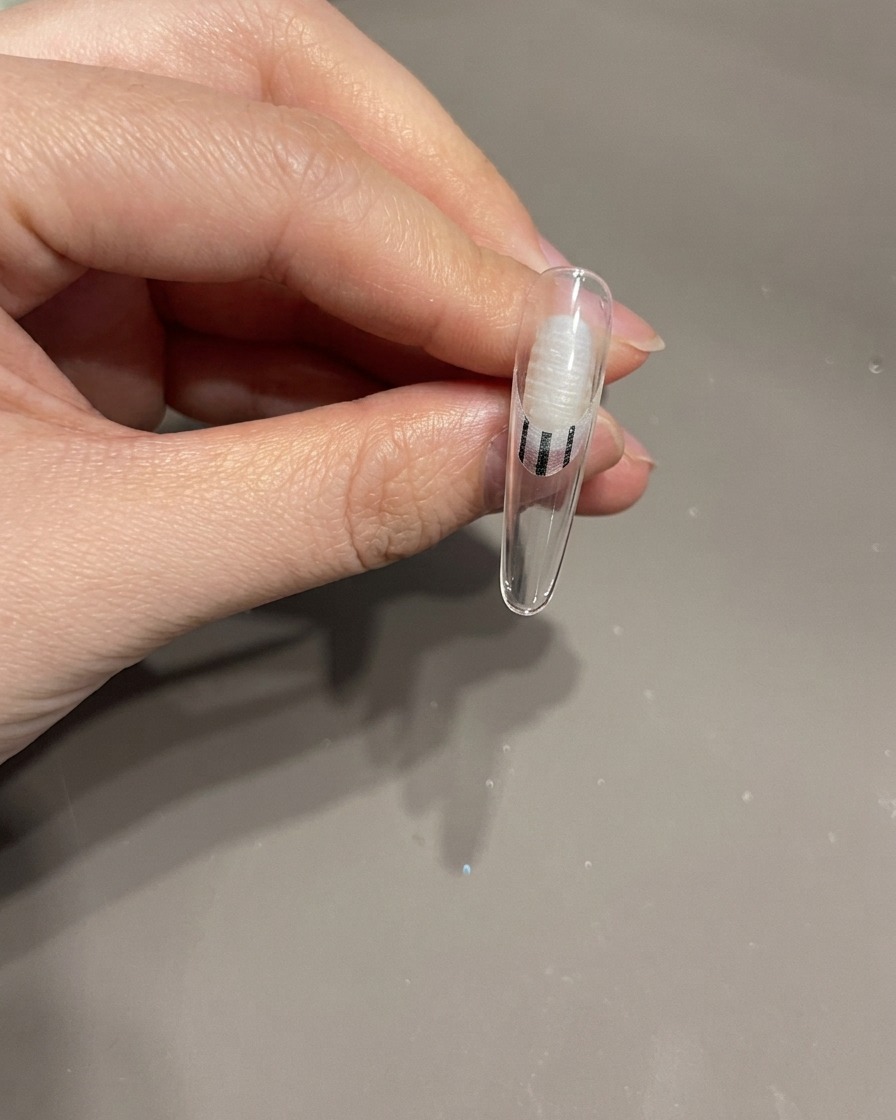
Take a clear nail tip and carefully apply a French sticker to the tip area. This will act as a guide to create a clean, crisp line for the base color application, ensuring a professional look.
Tip: Press down firmly on the edges of the sticker to prevent any gel from bleeding underneath during the application process. - 2Apply white gel base
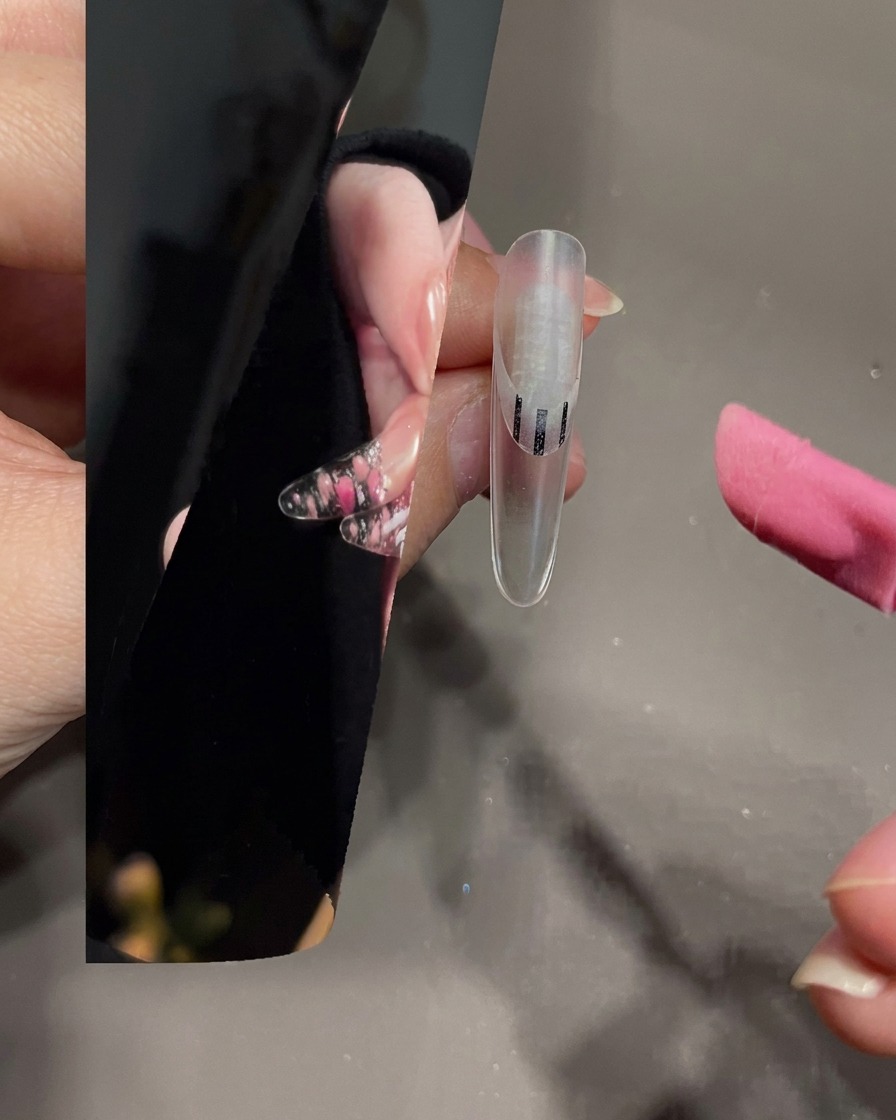
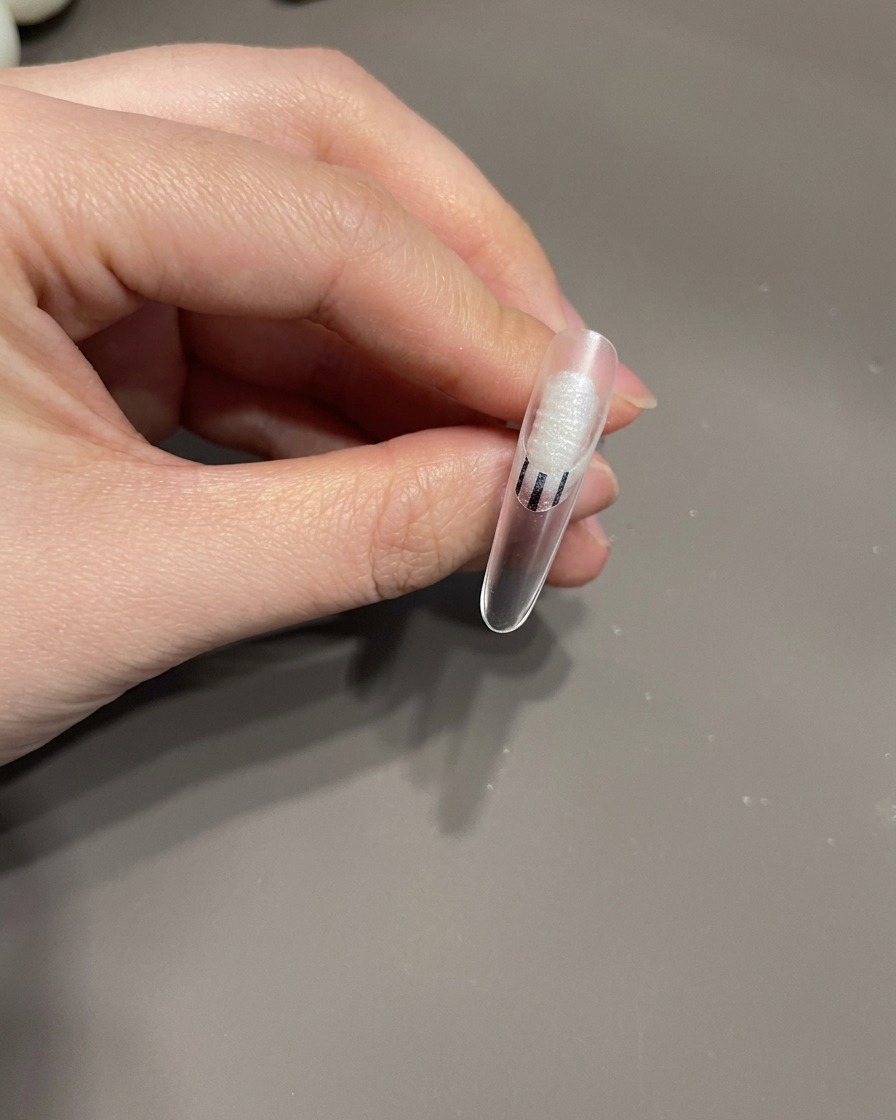
Using a small nail art brush, apply a thin, even coat of white gel to the exposed area of the nail tip not covered by the sticker. Keep the layer thin to ensure it cures properly without bubbling.
Tip: Apply the gel in thin, controlled strokes to maintain an even thickness, which helps in achieving a smooth finish. - 3Cure the white gel
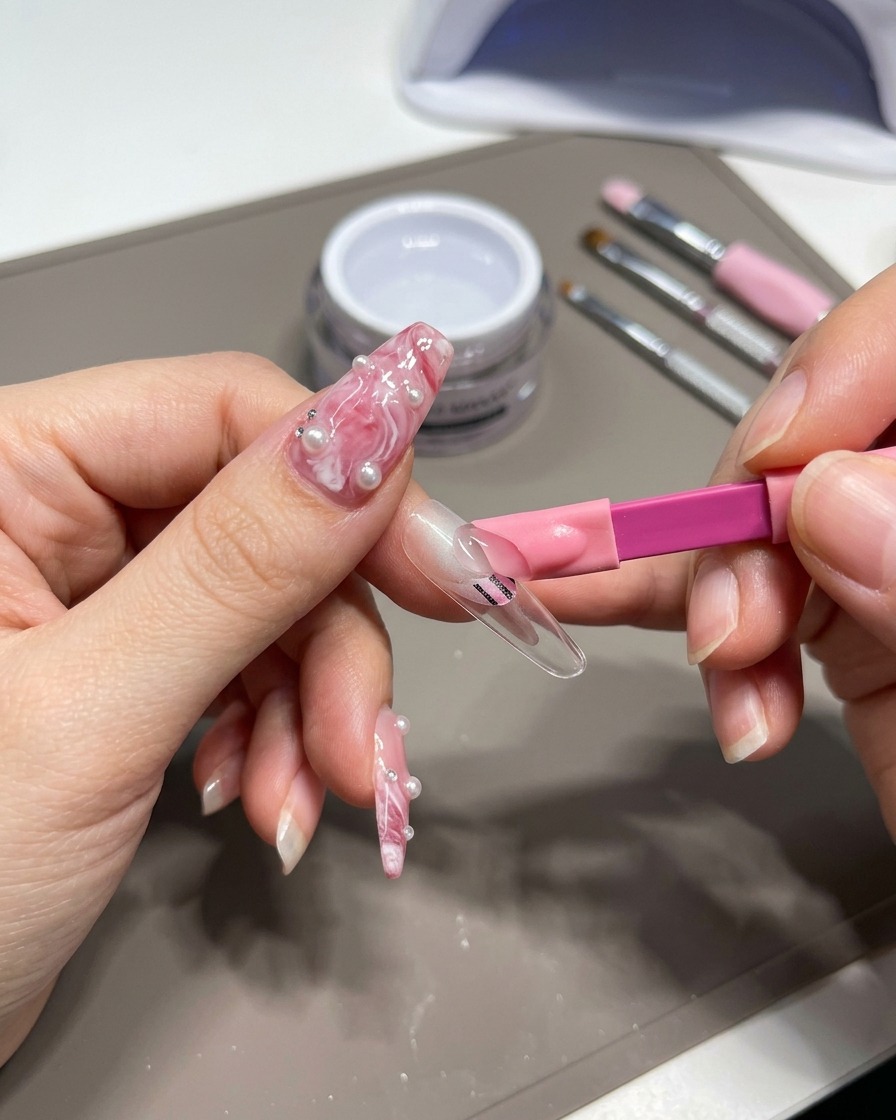
Place the nail tip under your UV/LED lamp. Cure the white gel for the time recommended by the manufacturer to ensure it is fully set and ready for the next step.
Tip: Ensure the nail tip is positioned directly under the light source for an even cure. - 4Remove the French sticker
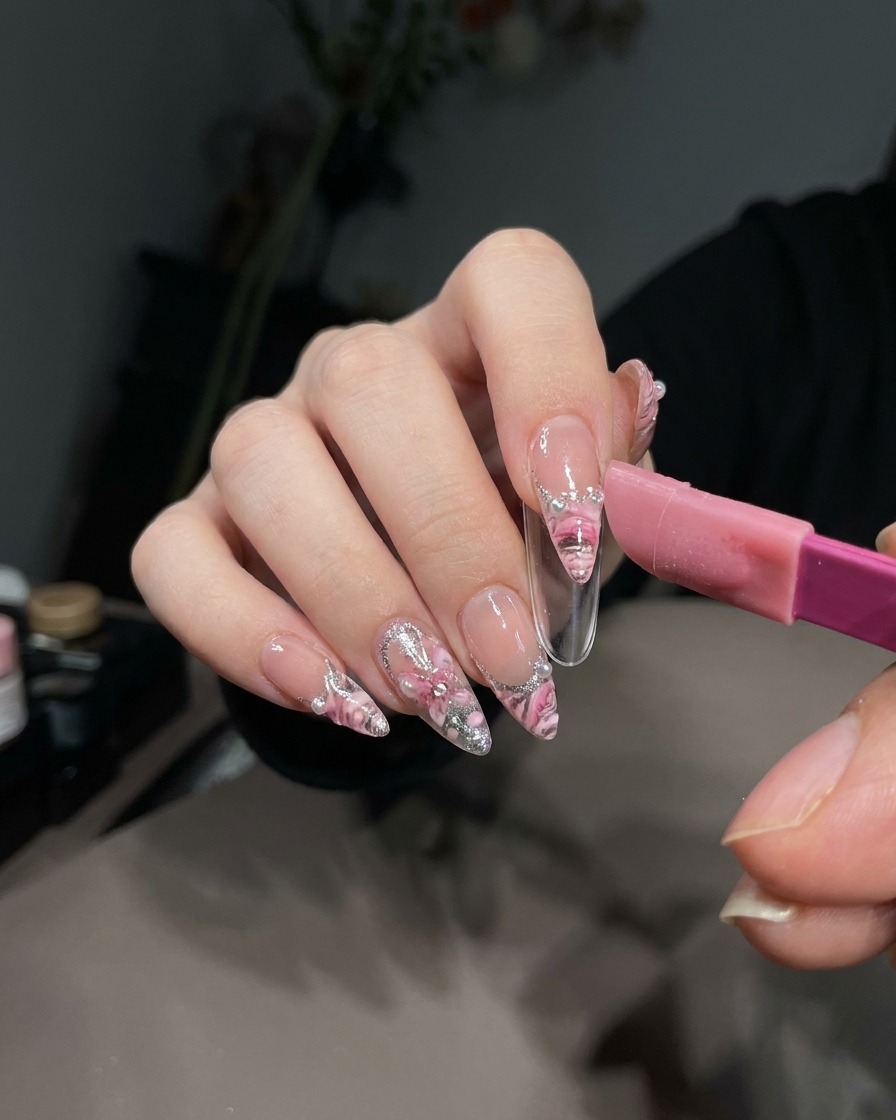
Once the white gel is fully cured, carefully peel off the French sticker from the nail tip. Peel slowly and at an angle to reveal a clean, sharp line between the white gel and the clear tip.
Tip: If there are any small rough edges after removal, you can gently buff them later, but removing the sticker while the gel is cured helps maintain the shape. - 5Apply magnetic cat-eye gel
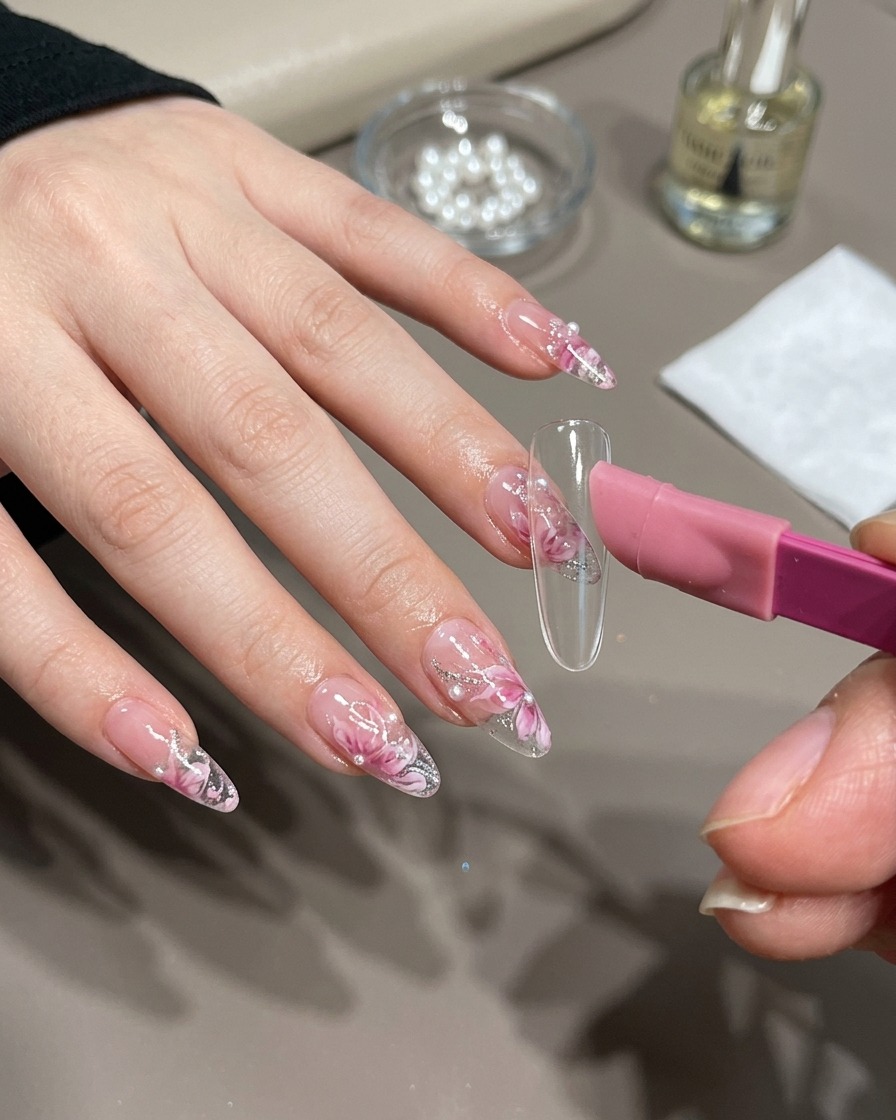
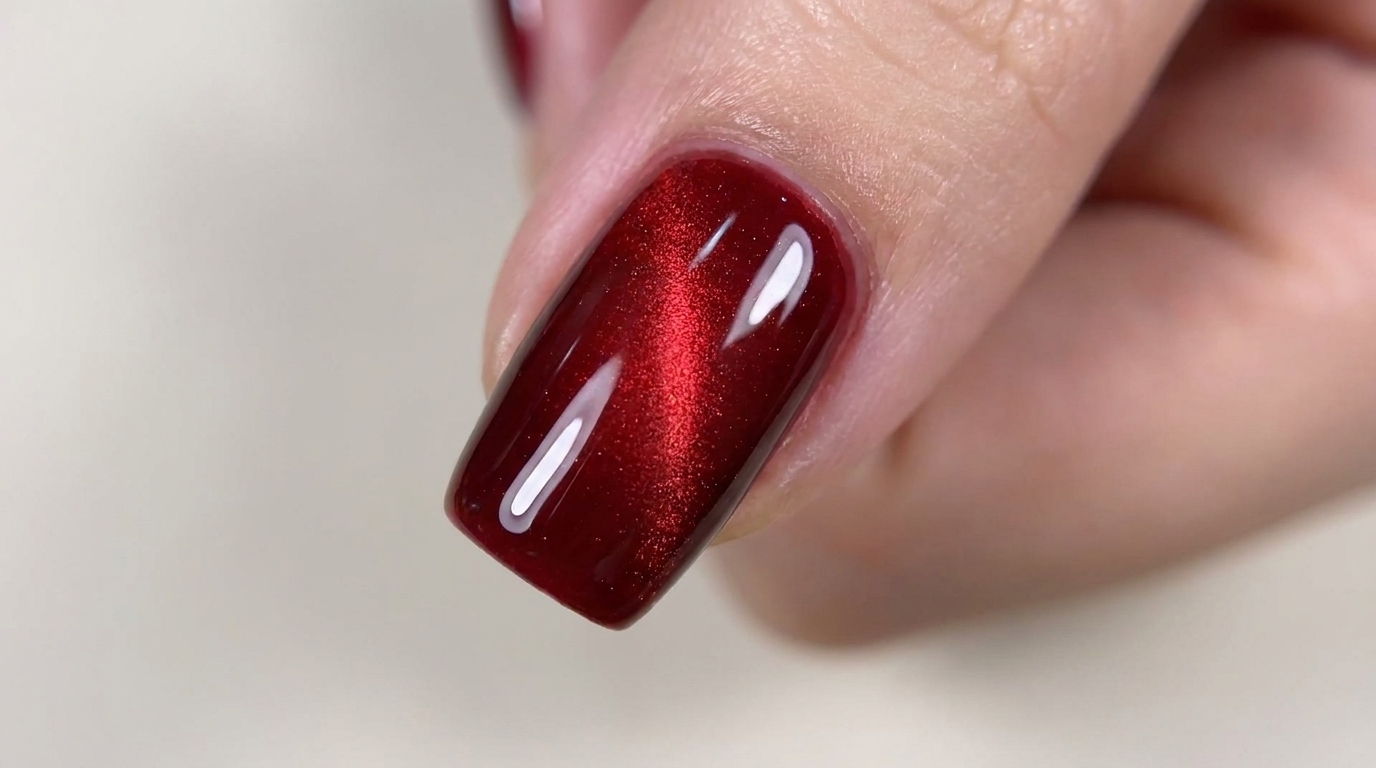
Apply a layer of golden magnetic cat-eye gel over the nail tip. This gel contains metallic particles that will react to the magnet to create depth and shimmer.
Tip: Ensure the magnetic gel is applied smoothly and evenly across the surface for the best results. - 6Create cat-eye effect
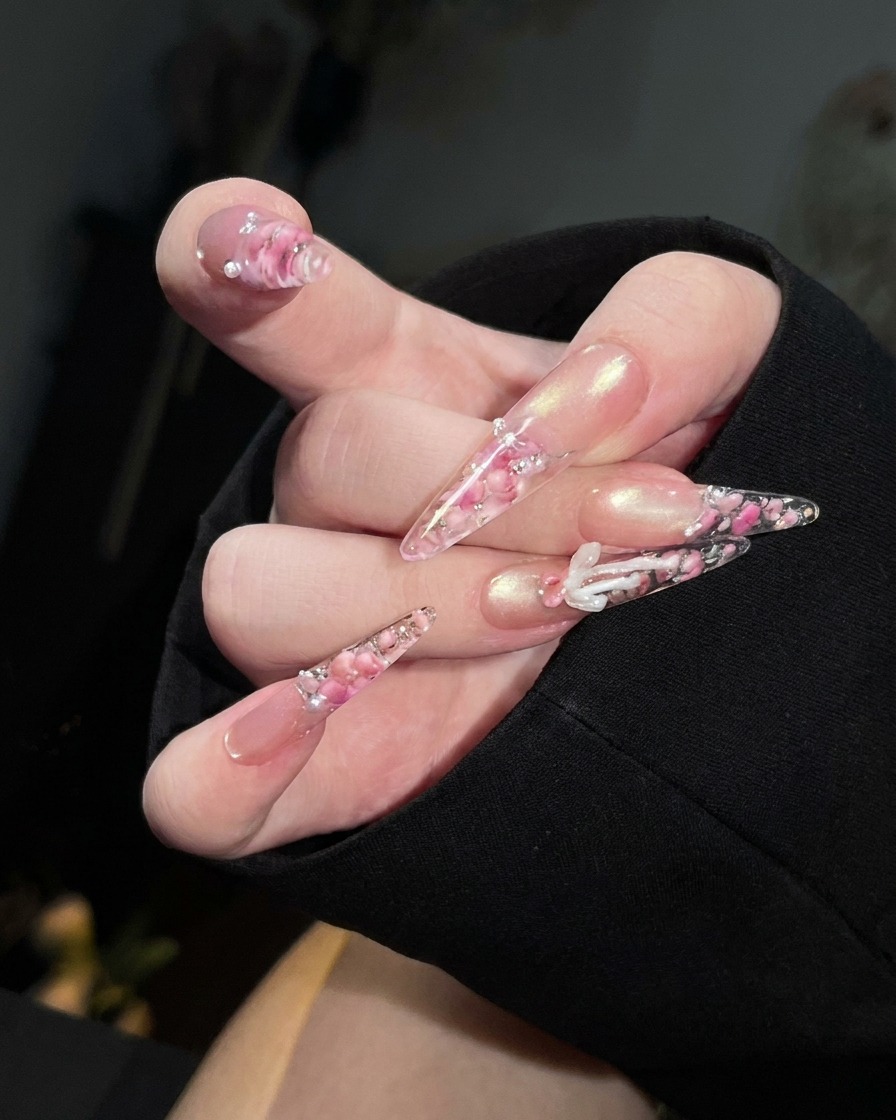
While the magnetic gel is still wet, hold a magnet tool near the surface of the nail. Move the magnet to manipulate the metallic particles, creating a deep, glass-bead effect before curing.
Tip: Experiment with the magnets angle and distance to get the most dramatic cat-eye look before placing it in the lamp. - 7Cure the cat-eye gel
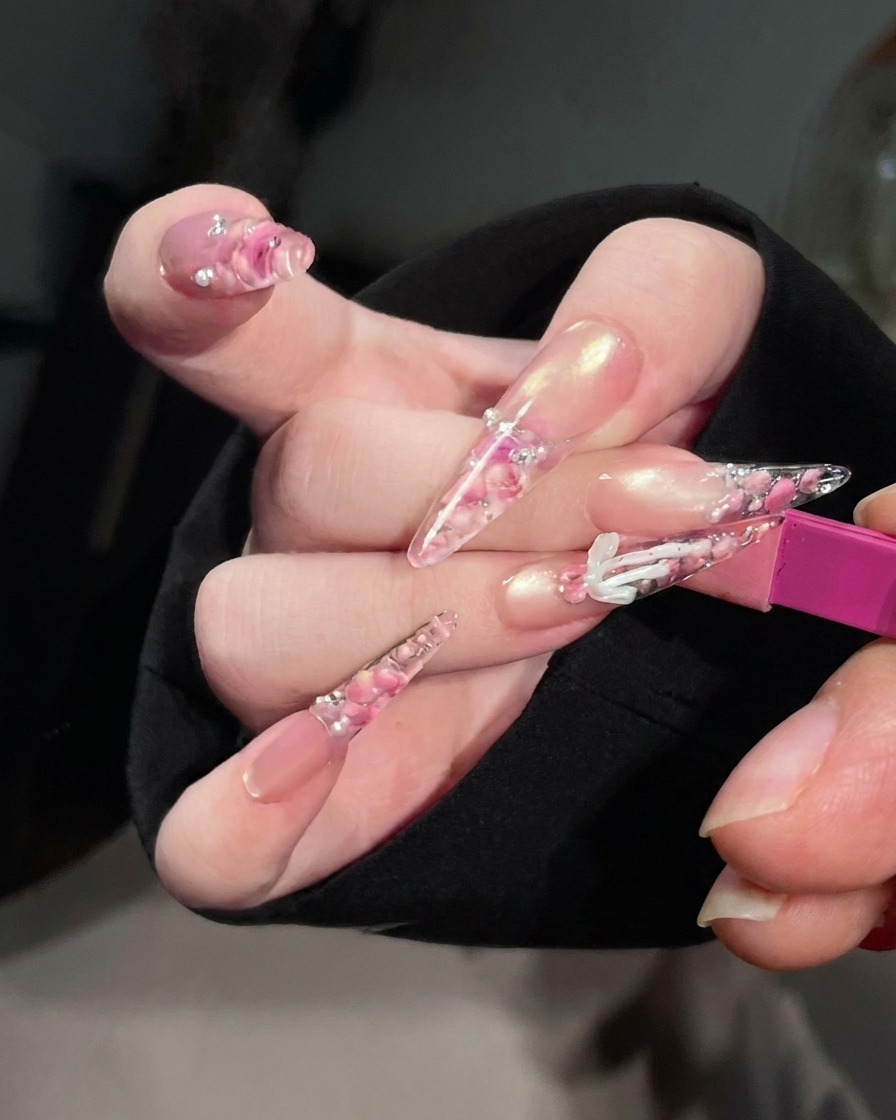
Place your nails under the UV/LED lamp to cure the magnetic cat-eye gel. Ensure your fingers are positioned so the light covers the entire nail surface to set the glass-bead effect created by the magnet. Follow the gel manufacturers recommended curing time.
Tip: Keep your hand flat inside the lamp to ensure even curing and avoid any smudging of the cat-eye effect. - 8Apply base gel to underside
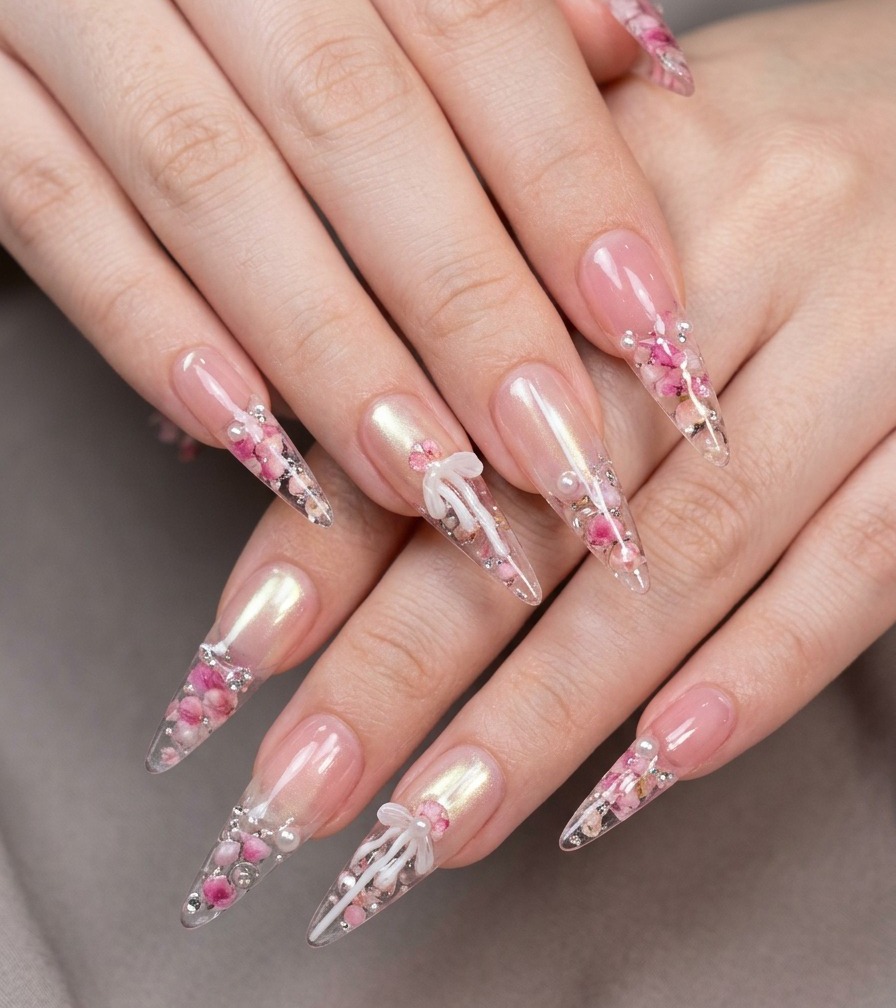
Apply a thin layer of clear base gel to the underside of the nail tip. This layer acts as an adhesive for the dried flowers and accents that will be placed on the back of the nail for the ice-encapsulation effect. Do not cure this layer yet.
Tip: Apply a thin, even coat to ensure the embellishments stay in place without sliding. - 9Place dried flowers
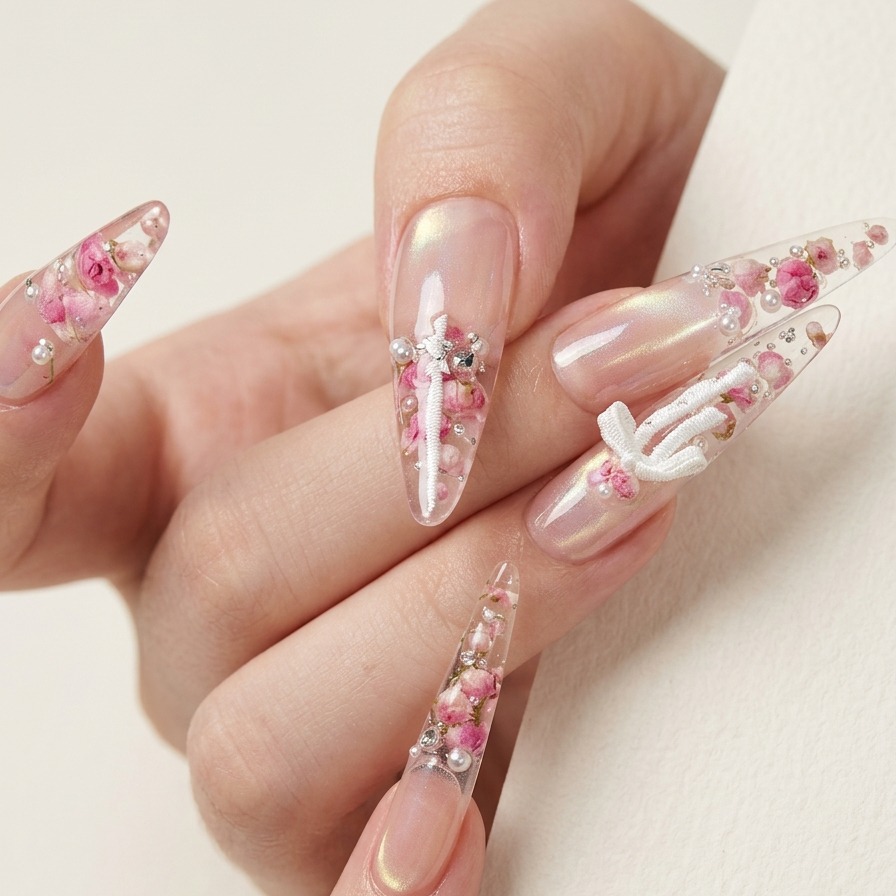
Using precision tweezers, carefully place dried rose flower petals into the uncured base gel on the underside of the nail. Arrange them to create a delicate, floral design that will be visible through the clear nail tip.
Tip: Work carefully to keep the petals within the nail boundaries for a clean look. - 10Add pearl and stone accents
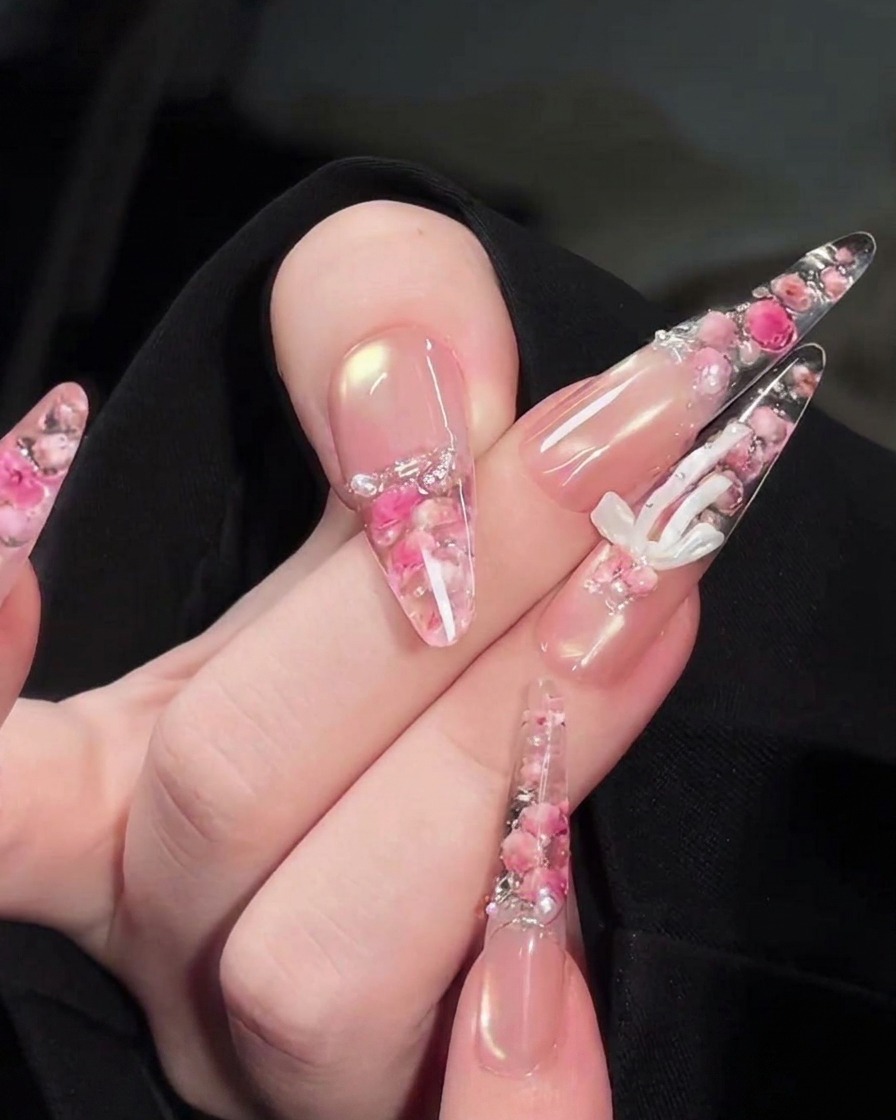
Using a precision brush or dotting tool, place small pearls and decorative stones among the rose petals on the underside of the nail. These accents add texture and a sophisticated touch to the ice-encapsulated design.
Tip: Place the stones and pearls while the base gel is still wet so they adhere securely. - 11Cure the floral design
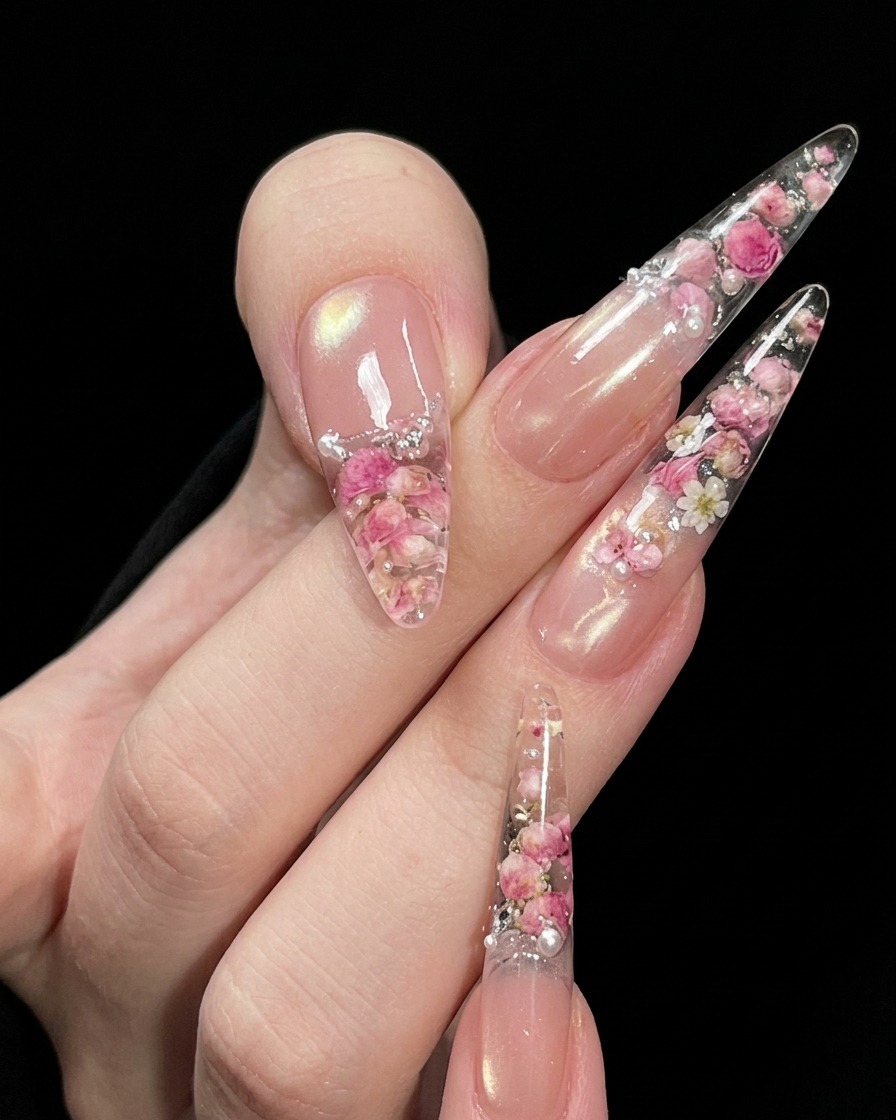
Once the flowers, pearls, and stones are arranged, place the nails under the UV/LED lamp. Cure the design thoroughly to lock all elements in place on the underside of the nail.
Tip: Ensure the nail is positioned correctly in the lamp so the light reaches the underside where the decorations are placed. - 12Cure the encapsulated rose nails
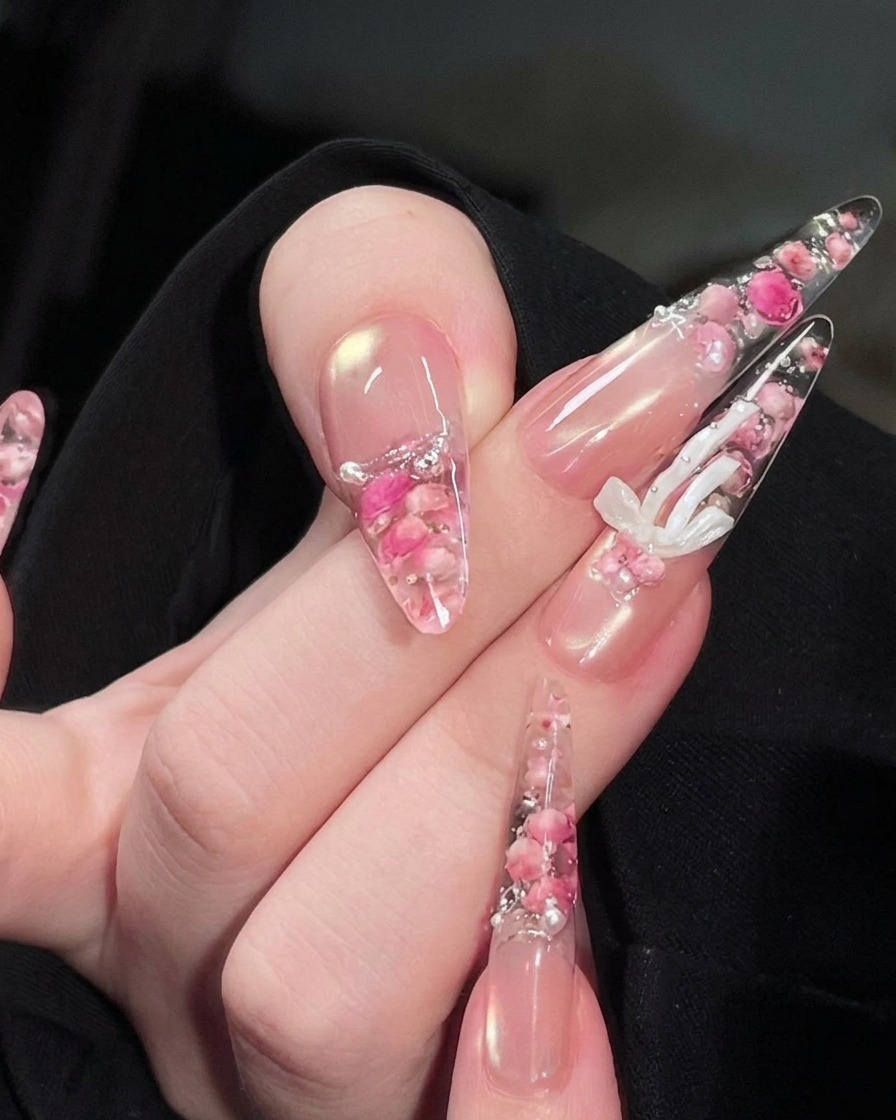
Place the nail under your UV or LED lamp to cure the thick layer of top coat used for encapsulation. Ensure the hand is positioned correctly to allow the light to fully reach and set the gel, securing the embedded rose flowers, pearls, and stones in place.
Tip: If the nail feels warm, it is normal during a full-cure cycle of a thicker gel layer; keep the hand steady to prevent shifting. - 13Smooth the nail surface
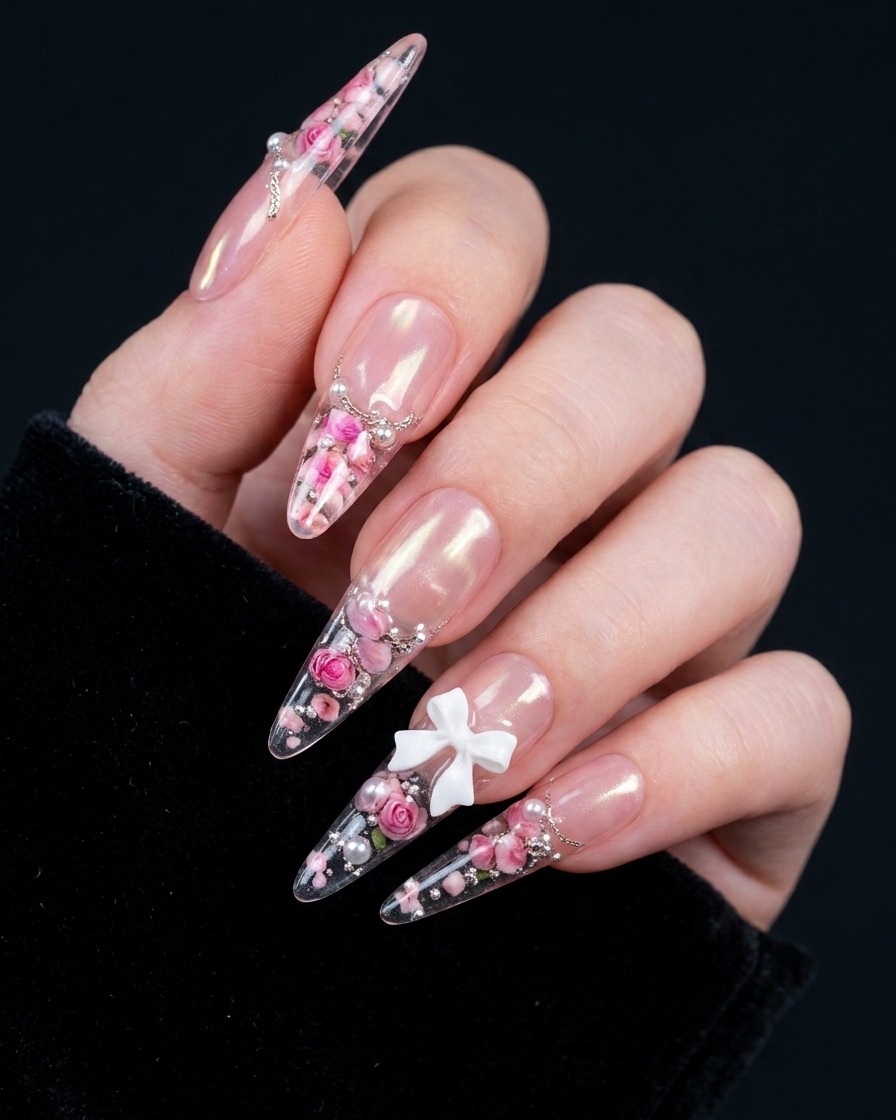
After curing, use a nail file or buffer to gently smooth out any uneven areas or sharp edges on the surface of the encapsulated nail. This ensures a uniform finish and comfortable wear, preparing the nail for the final top coat application.
Tip: Use a light touch to avoid filing away the encapsulation layer and exposing the embedded flowers. - 14Apply final top coat
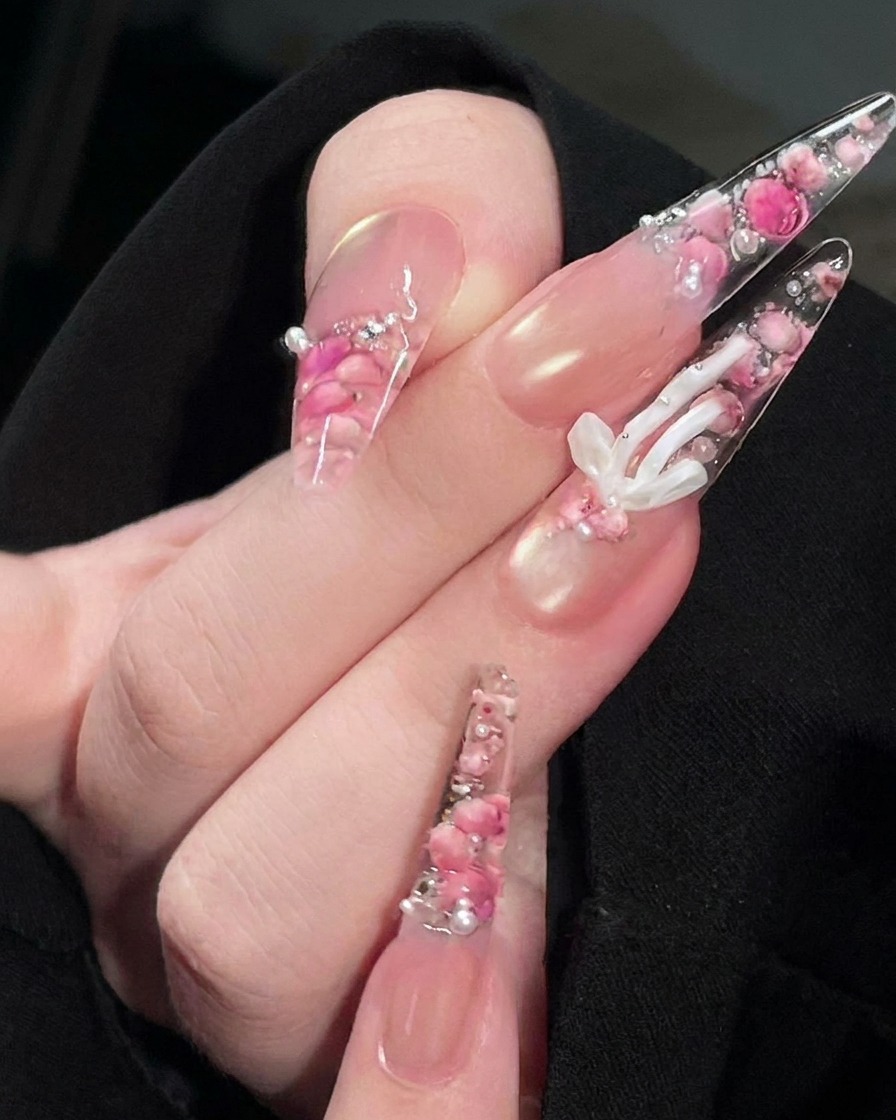
Apply a final, even layer of top coat over the entire nail surface, including the edges and the underside of the free edge. This seals the design, adds a high-gloss finish, and protects the encapsulated elements from damage.
Tip: Ensure the entire surface is covered to avoid dull patches, and seal the free edge to prevent chipping. - 15Final cure
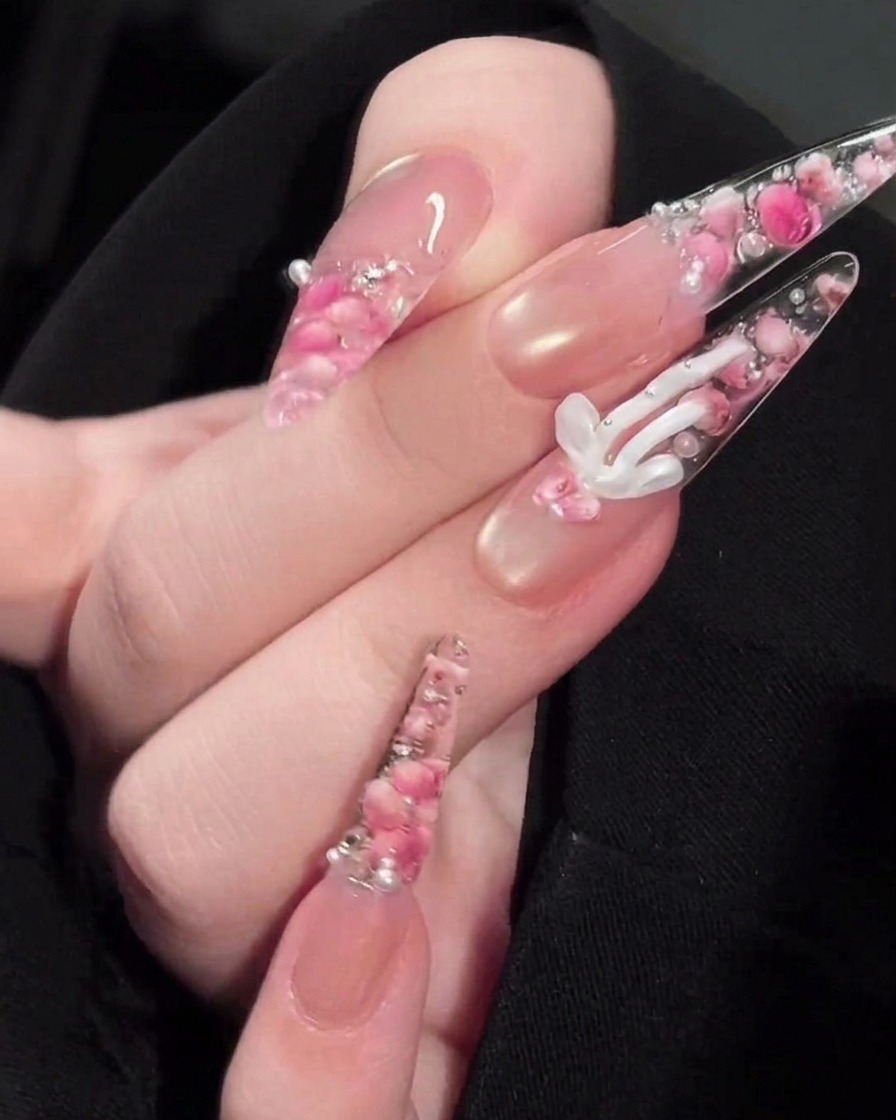
Cure the final layer of top coat under your UV or LED lamp for the full recommended time. This ensures a durable, long-lasting finish and a high-gloss, smooth surface.
Tip: Do not touch the nails immediately after removing from the lamp; allow them to cool for a few seconds to ensure the top coat is fully set. - 16Create 3D bow
Using a silicone mold, carefully press or pour gel into the bow shape. Ensure the mold is filled completely to capture all the intricate details of the bow. Cure the mold according to your gels requirements to harden the shape.
Tip: Apply the gel slowly to avoid air bubbles, which can cause defects in the 3D charm. - 17Detail the 3D bow
Use a fine detail brush and white stringy gel to add accent lines or highlights to the 3D bow. This adds texture and dimension to the charm, making the details stand out on the nail.
Tip: Use a very light, steady hand to draw clean, thin lines for the best aesthetic result. - 18Cure the 3D bow
Place your hand under the UV or LED lamp to cure the 3D bow that was just created. Ensure the bow is positioned directly under the light source to allow the gel to harden completely, securing its shape.
Tip: Keep your hand steady while curing to prevent the uncured gel from shifting. - 19Draw swirling lines
Using a fine detail brush and white gel polish, draw delicate swirling lines across the surface of the nail. Follow the natural curves of the nail to enhance the overall aesthetic of the ice-encapsulated design.
Tip: Use a light touch with the detail brush to create smooth, consistent line thickness. - 20Apply top coat adhesive
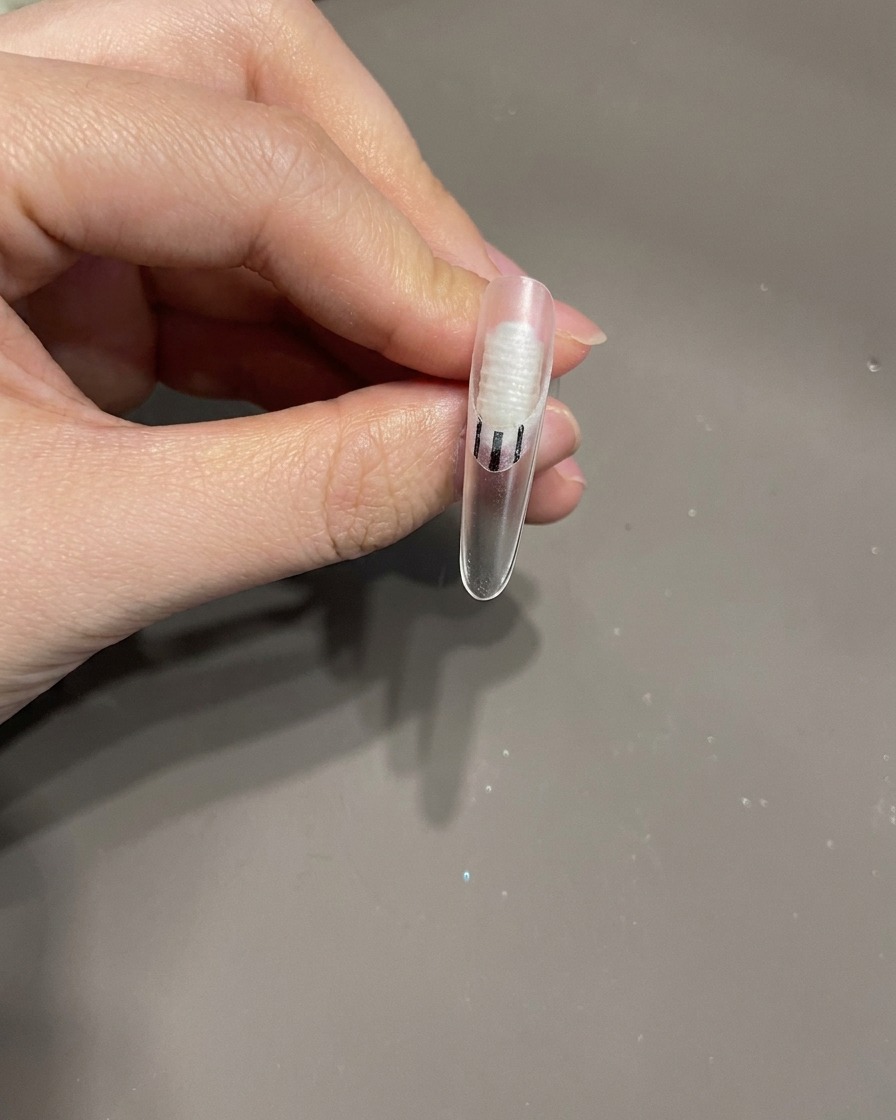
Apply a small, thick bead of top coat to the area of the nail where you intend to place the 3D bow. This will act as the adhesive to hold the bow firmly in place on the nail surface.
Tip: Ensure the bead of top coat is not too large to prevent it from leaking out from under the bow. - 21Place the 3D bow
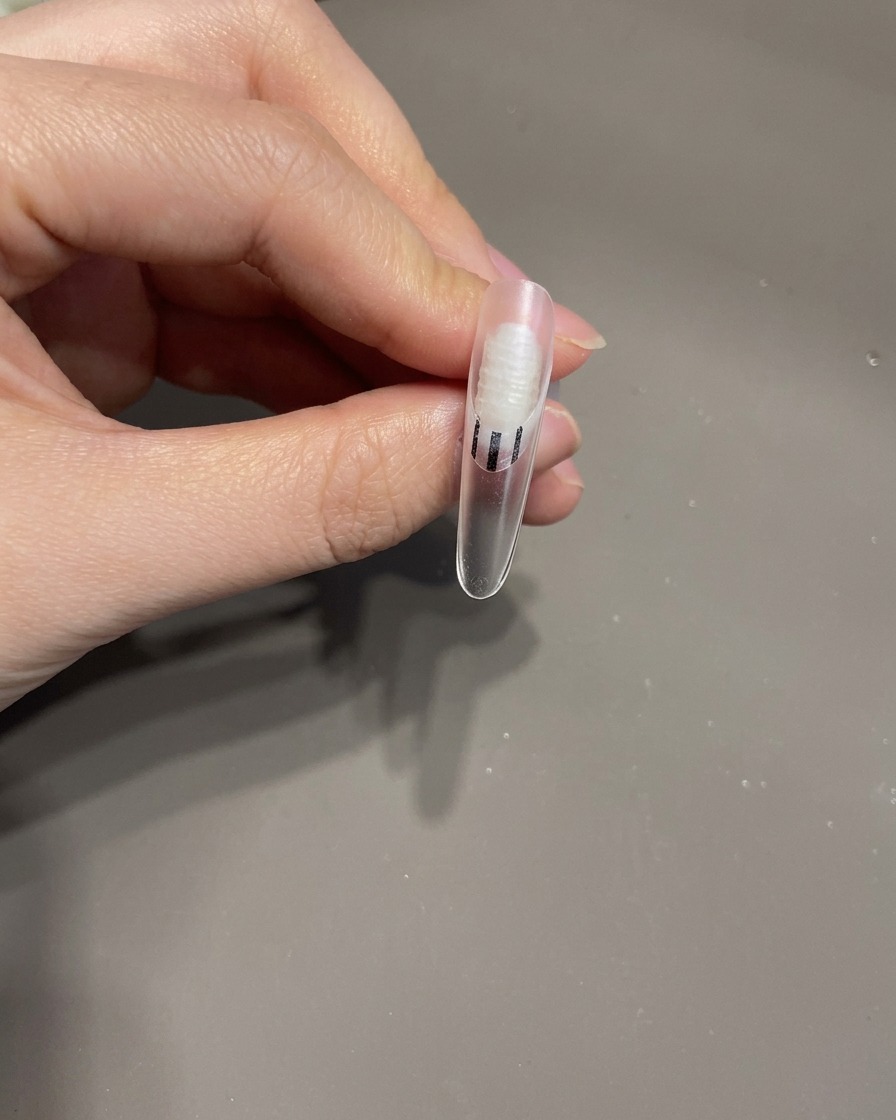
Using tweezers, carefully pick up the 3D bow and place it onto the bead of top coat you previously applied to the nail. Position it precisely where you want it and press down gently to ensure it adheres well.
Tip: Tweezers are essential for precision placement of small 3D nail art pieces. - 22Final cure
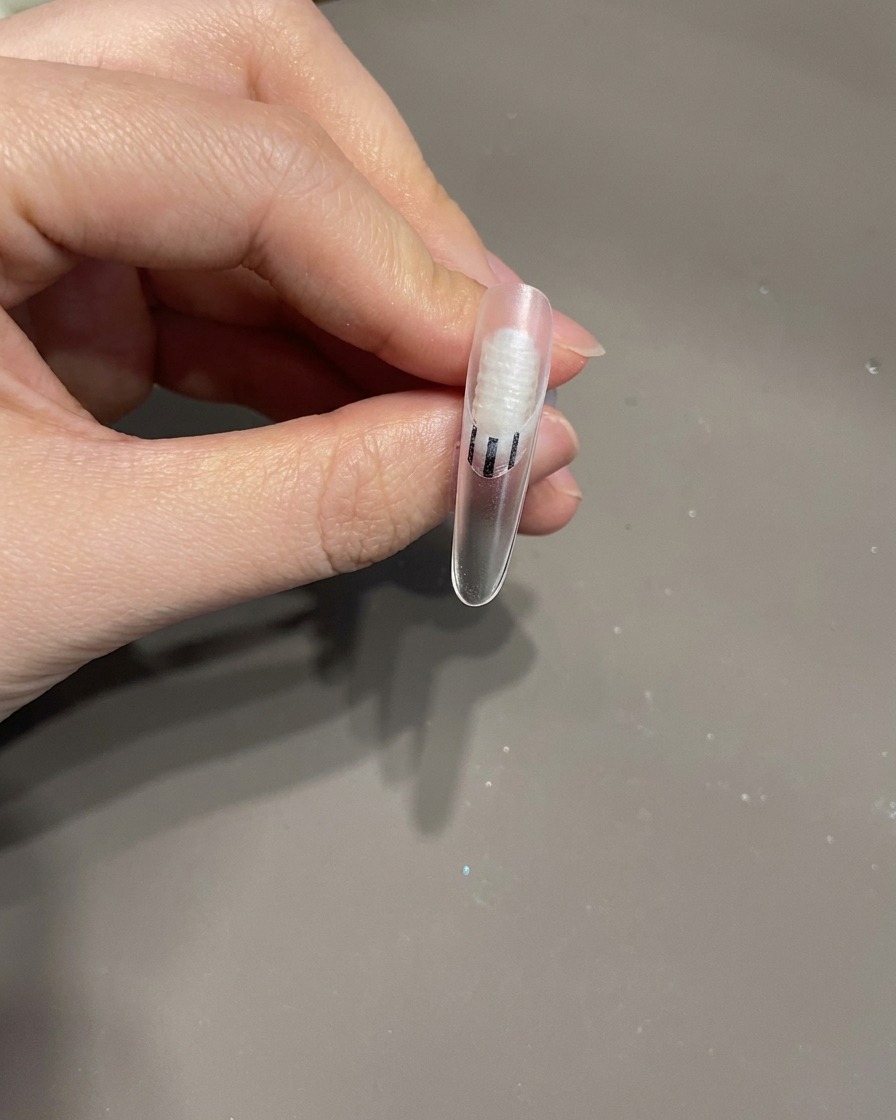
Place the nail under the UV or LED lamp for a final cure. This will harden the top coat adhesive holding the bow and ensure all the nail art details, including the swirling lines, are set firmly in place.
Tip: A full-time cure is recommended for the final step to ensure durability.