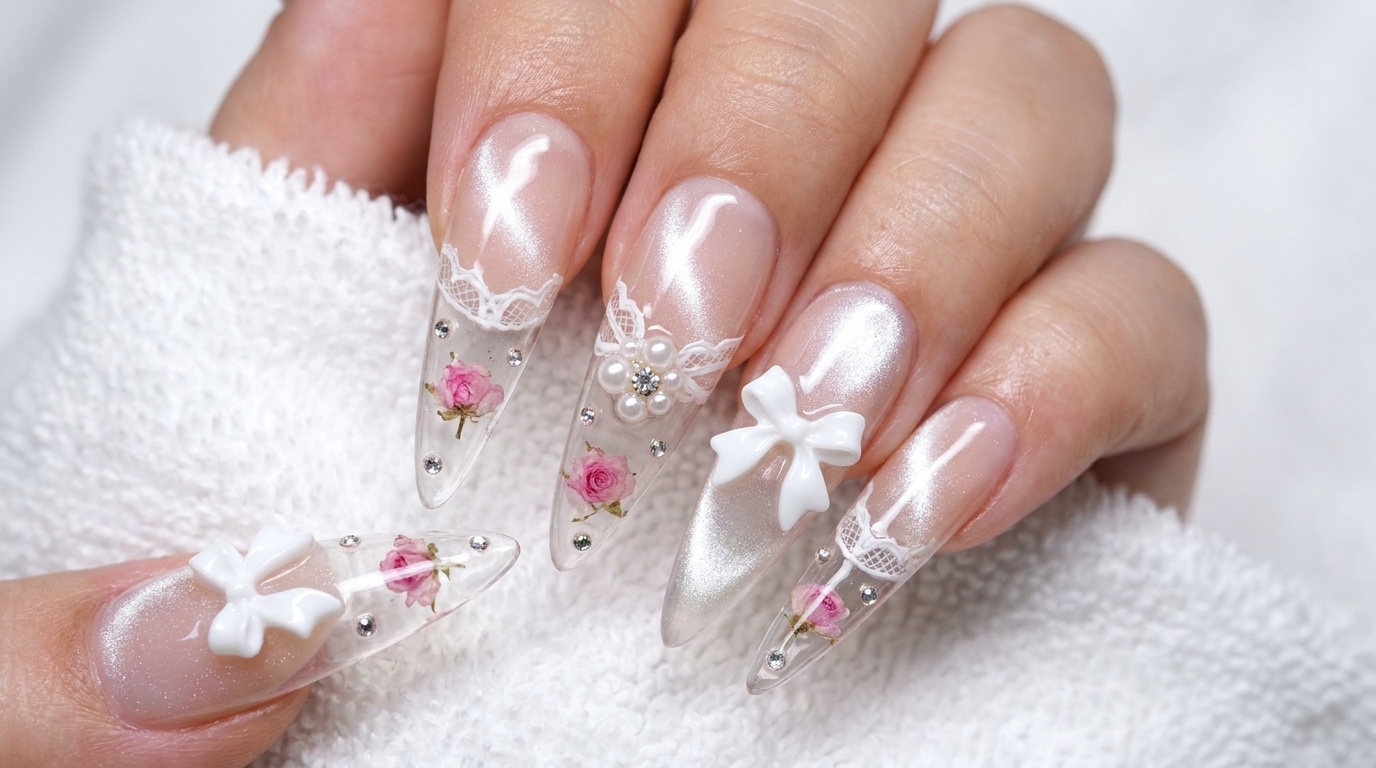
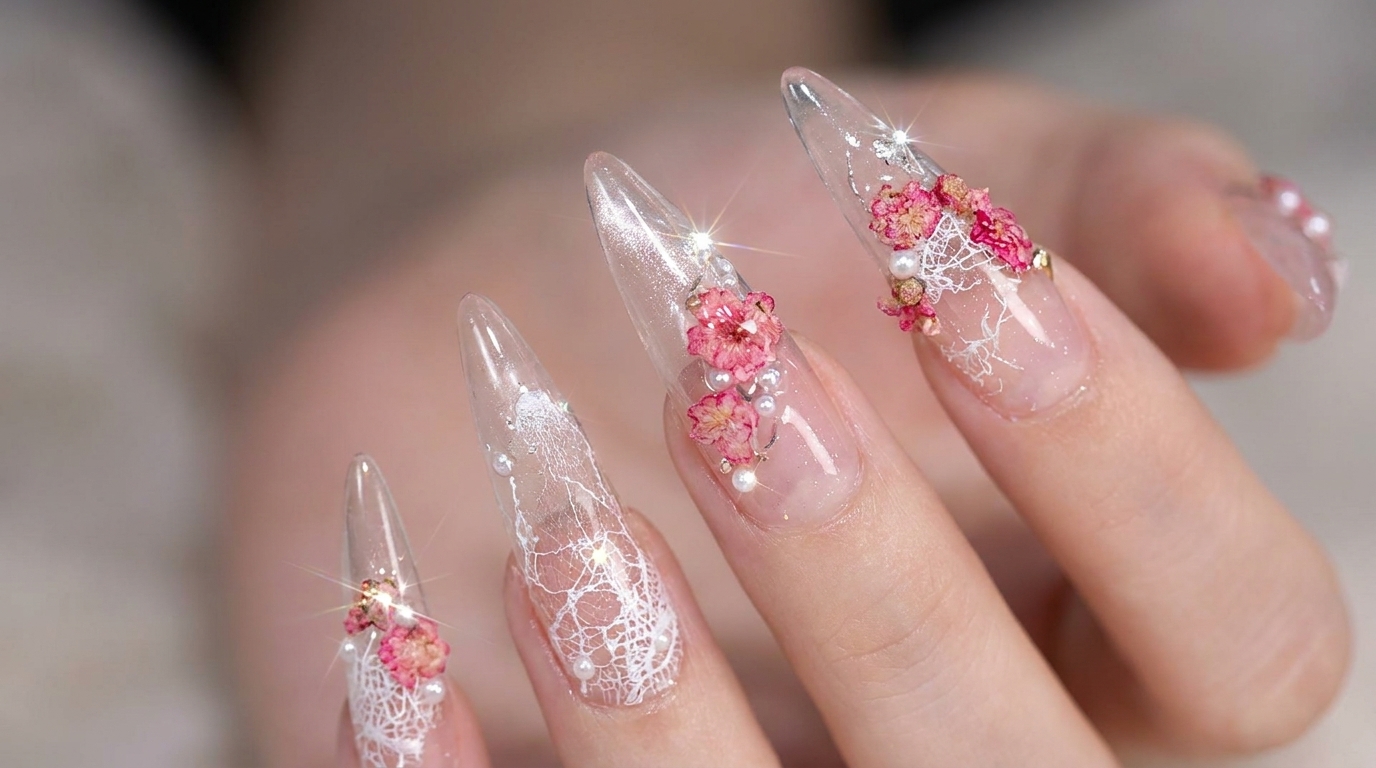
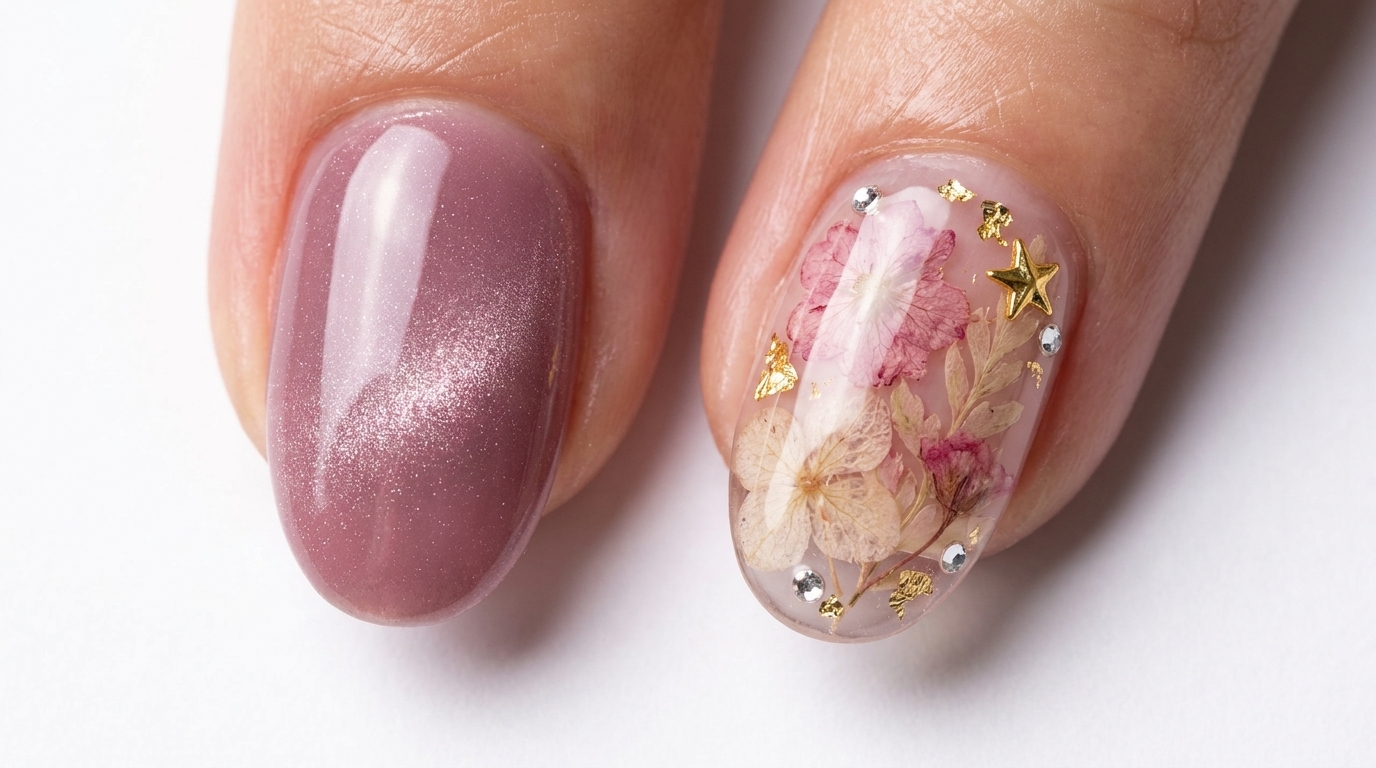
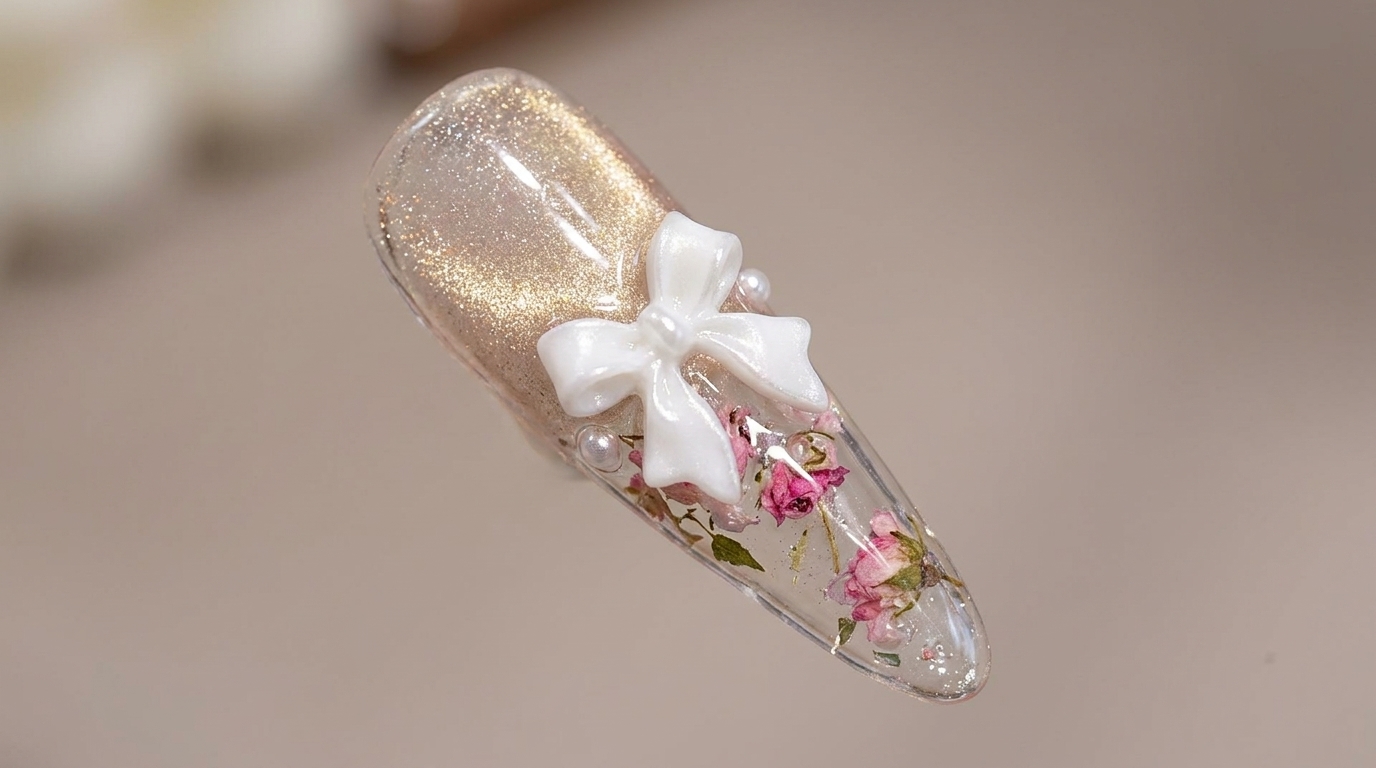
Glacier Blue Encapsulated Dried Flower Nails — Stiletto Tutorial
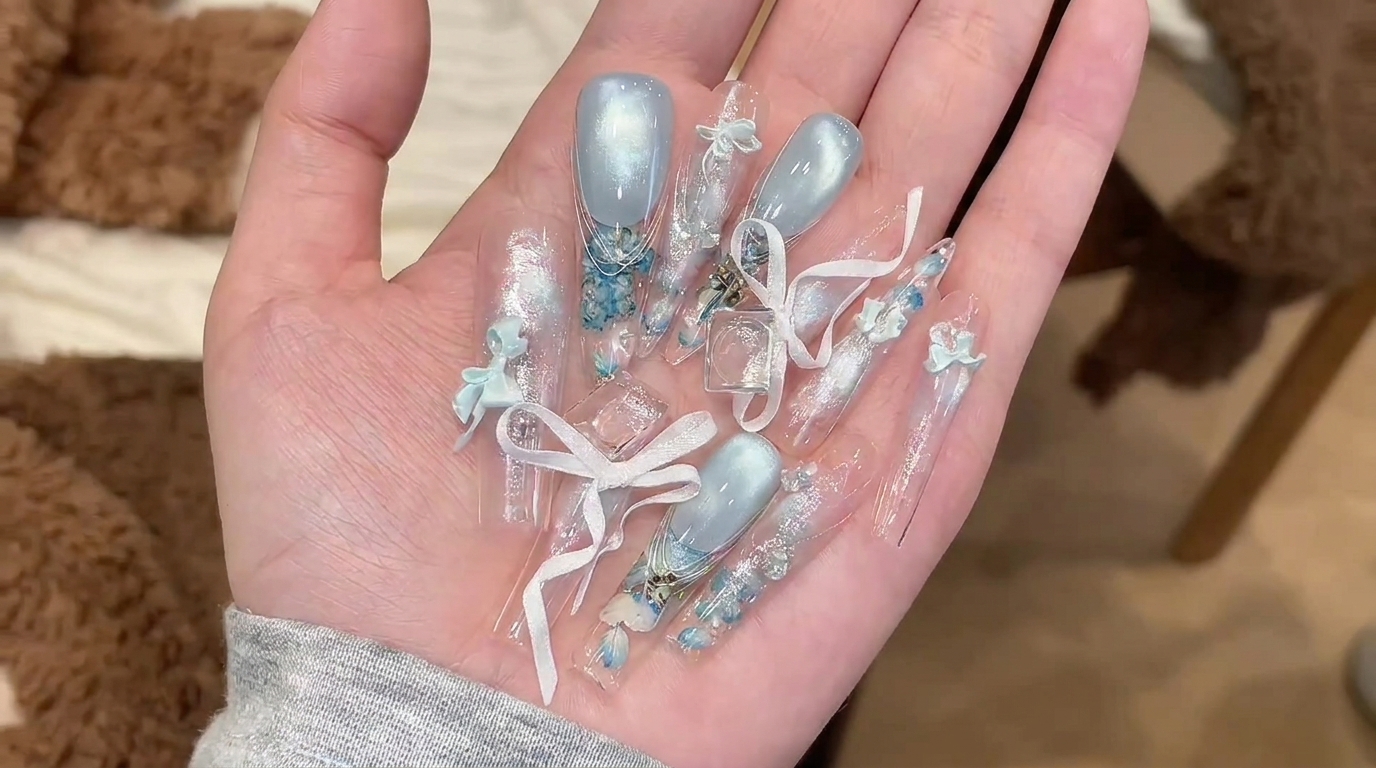
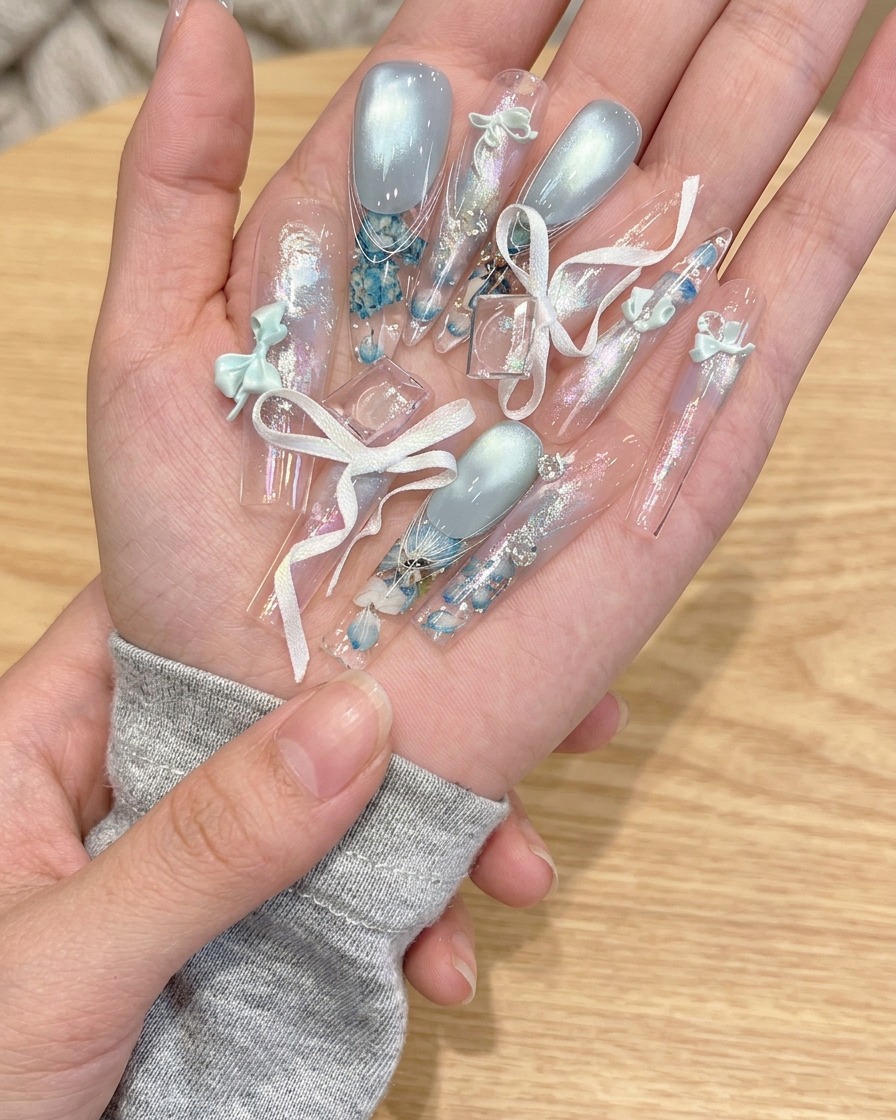
Master the icy, romantic look of glacier blue cat-eye nails with encapsulated dried flowers and 3D accents in this detailed step-by-step tutorial.
Embrace a sophisticated winter-inspired aesthetic with these stunning stiletto nails. Combining the mesmerizing shimmer of cat-eye polish with the delicate beauty of preserved florals and elegant spider gel lines, this look is perfect for those seeking a dimensional, high-fashion manicure. Follow along to learn how to layer these complex textures for a professional, glassy finish.
Steps
- 1Apply stiletto nail tip
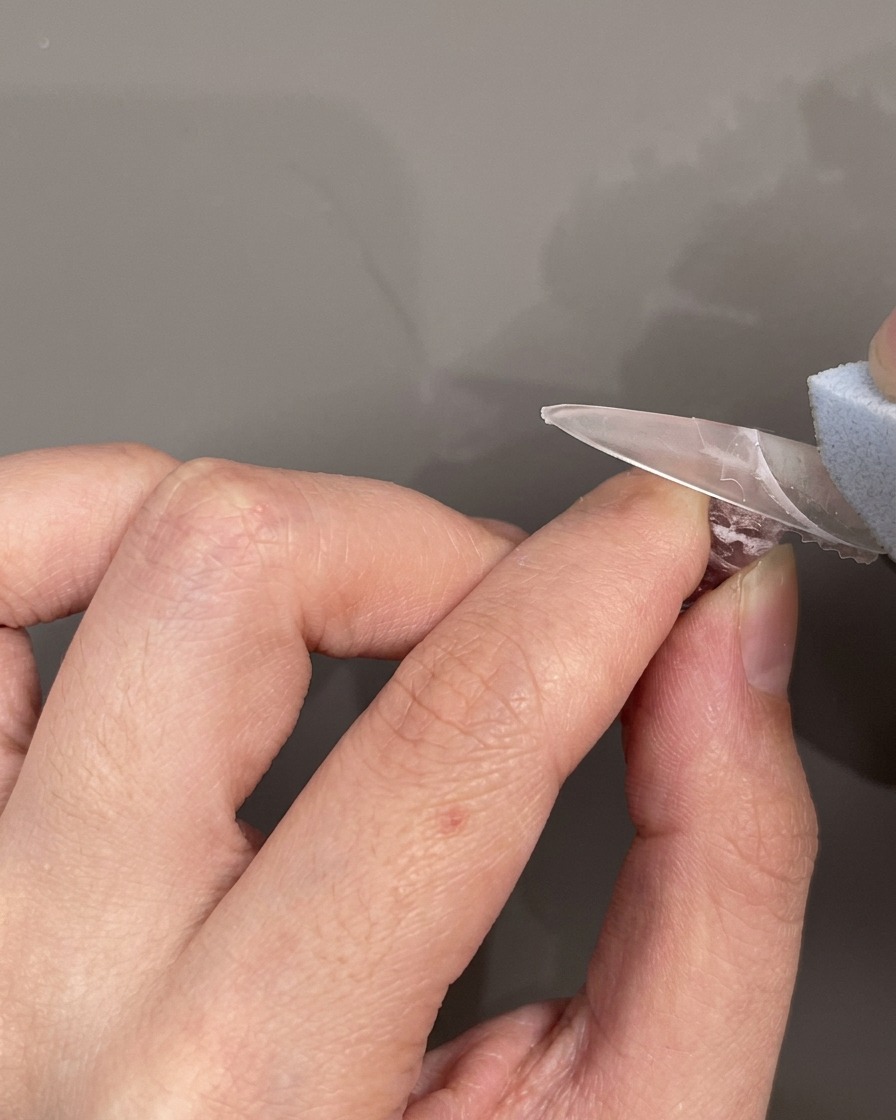
Begin the nail extension process by applying a clear stiletto-shaped nail tip to your natural nail. Use a brush-on adhesive to ensure a strong, even bond. Press the tip firmly onto the nail plate, ensuring it is centered and aligned with your natural cuticle line for a seamless transition.
Tip: Check for air bubbles before the glue fully sets; if any appear, gently lift and reapply the tip for a more durable hold. - 2Apply smile line guide
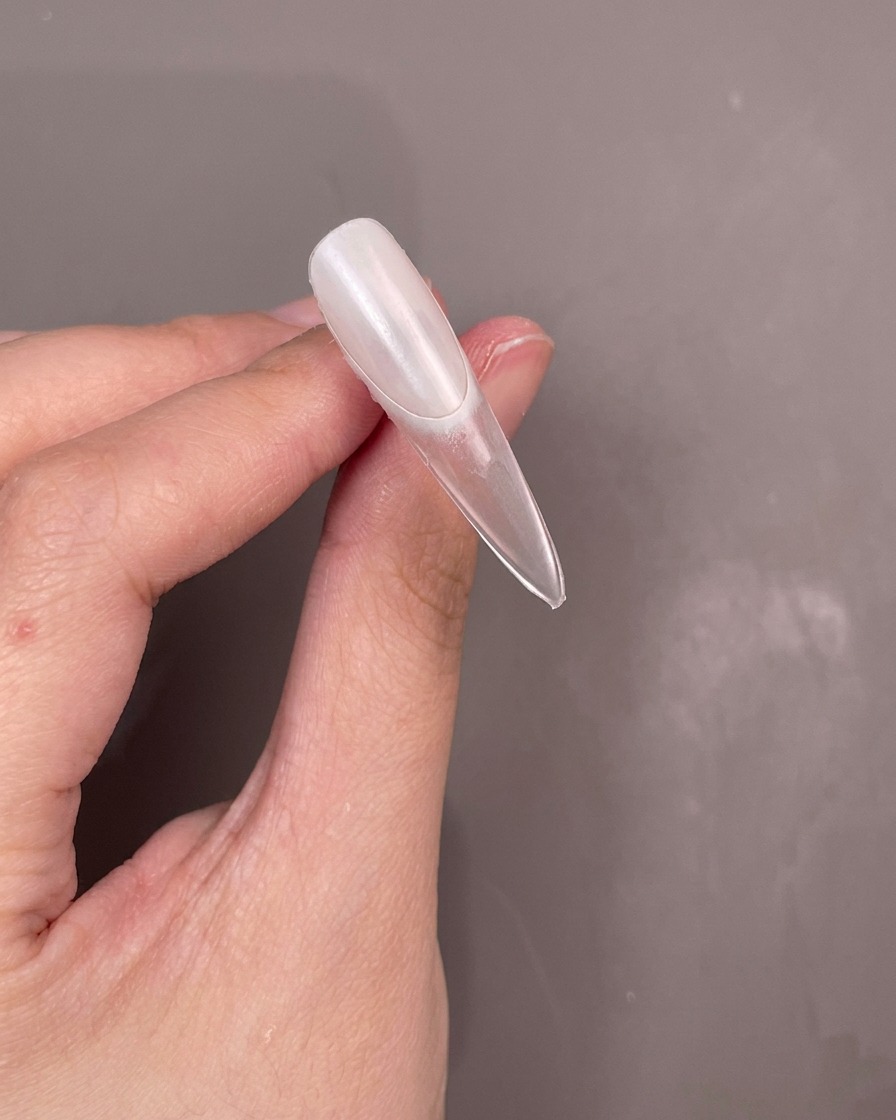
Carefully place a silicone French smile line guide over the nail surface. This guide will act as a template to create a clean, consistent curve for your French tip. Position it where you want the smile line of the French manicure to begin.
Tip: Ensure the guide is pressed down firmly at the edges to prevent the gel from seeping underneath, which helps maintain a crisp, sharp line. - 3Apply cat-eye gel to tip
Using a flat gel brush, apply a layer of blue cat-eye gel polish to the area of the nail exposed by the French tip guide. Ensure an even coating to create the base for the magnetic shimmer effect.
Tip: Apply a thin, consistent layer to make it easier to manipulate the magnetic particles for the desired shimmer effect. - 4Remove guide
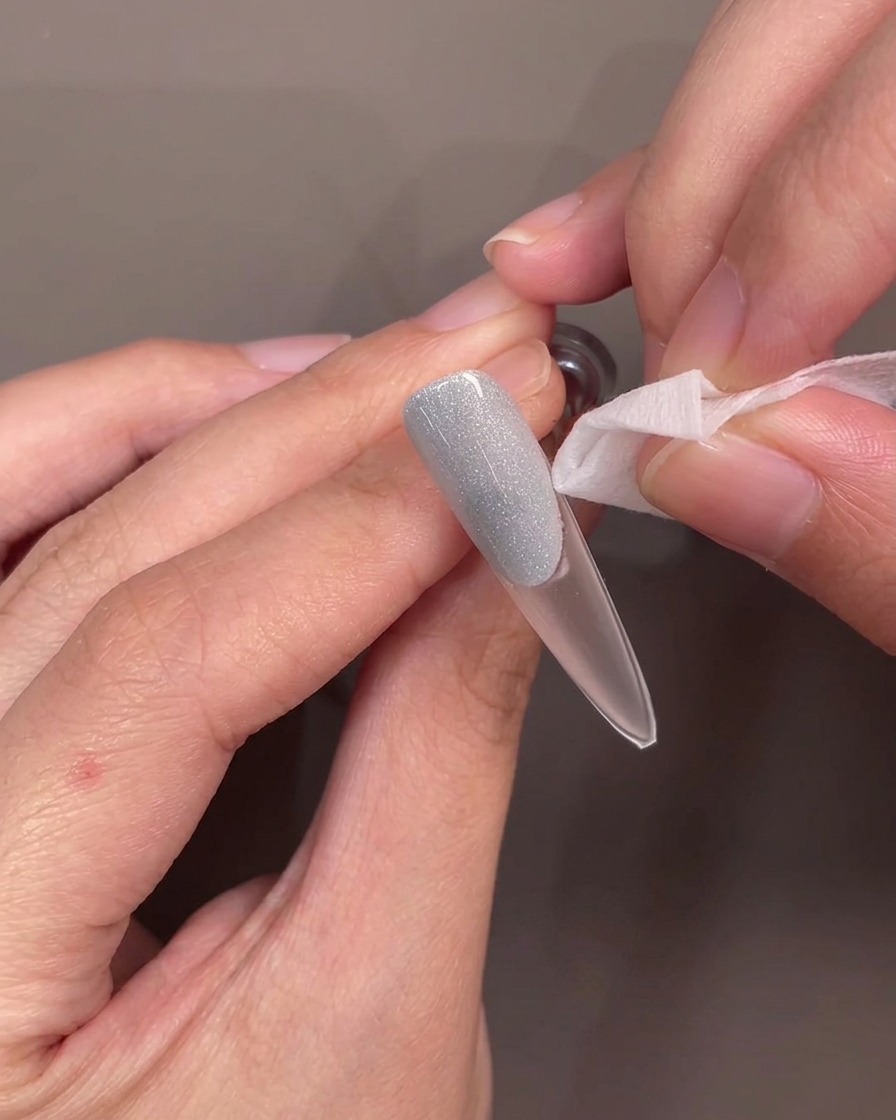
Once the cat-eye gel is applied, use a pair of tweezers to carefully and slowly peel off the silicone smile line guide. This will reveal a clean, crisp, and perfectly curved French smile line.
Tip: Peel the guide off while the gel is still wet to ensure a clean edge without dragging or smudging the polish. - 5Activate cat-eye effect
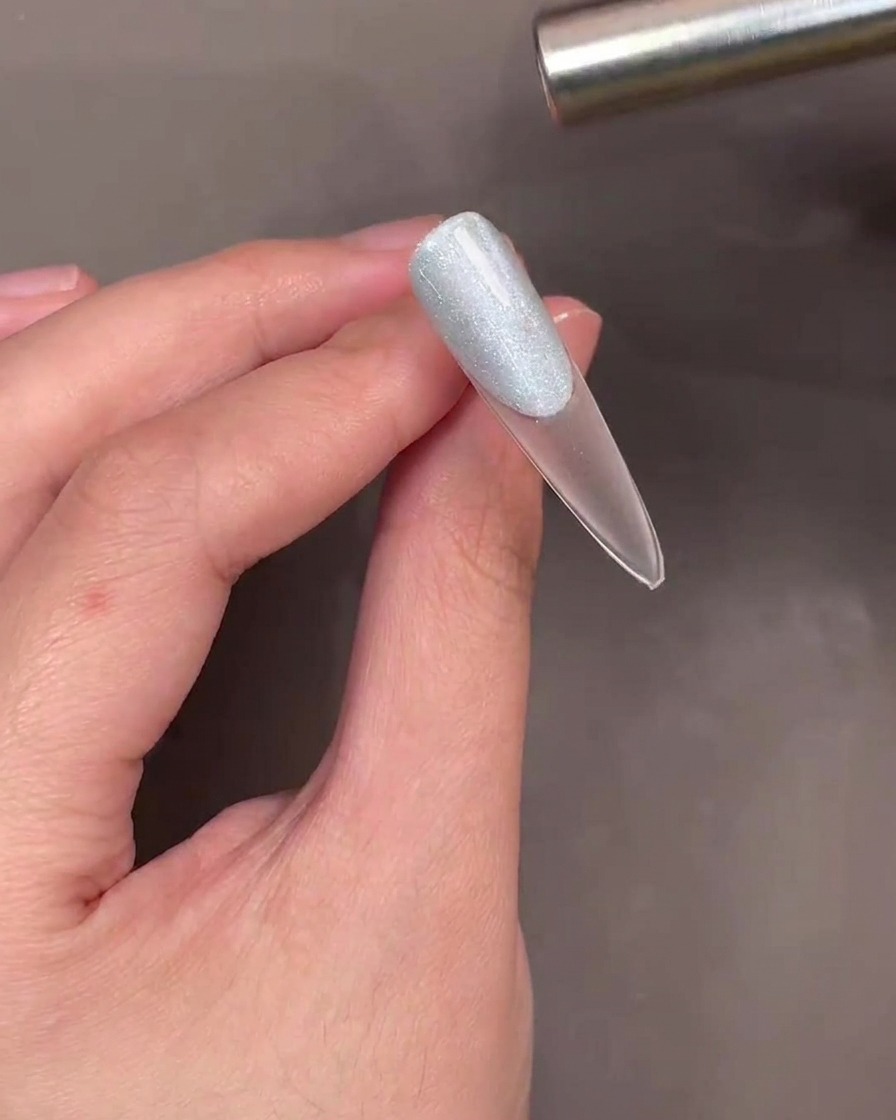
Before curing, hold a cylindrical magnetic wand over the wet blue gel tip. Move the magnet to manipulate the iron particles within the gel, creating the signature cat-eye shimmer effect. Once you are satisfied with the look, proceed to cure.
Tip: Hold the magnet close to the nail but be careful not to touch the wet gel. Experiment with different angles to get the most vibrant shimmer. - 6Apply reinforcement coat
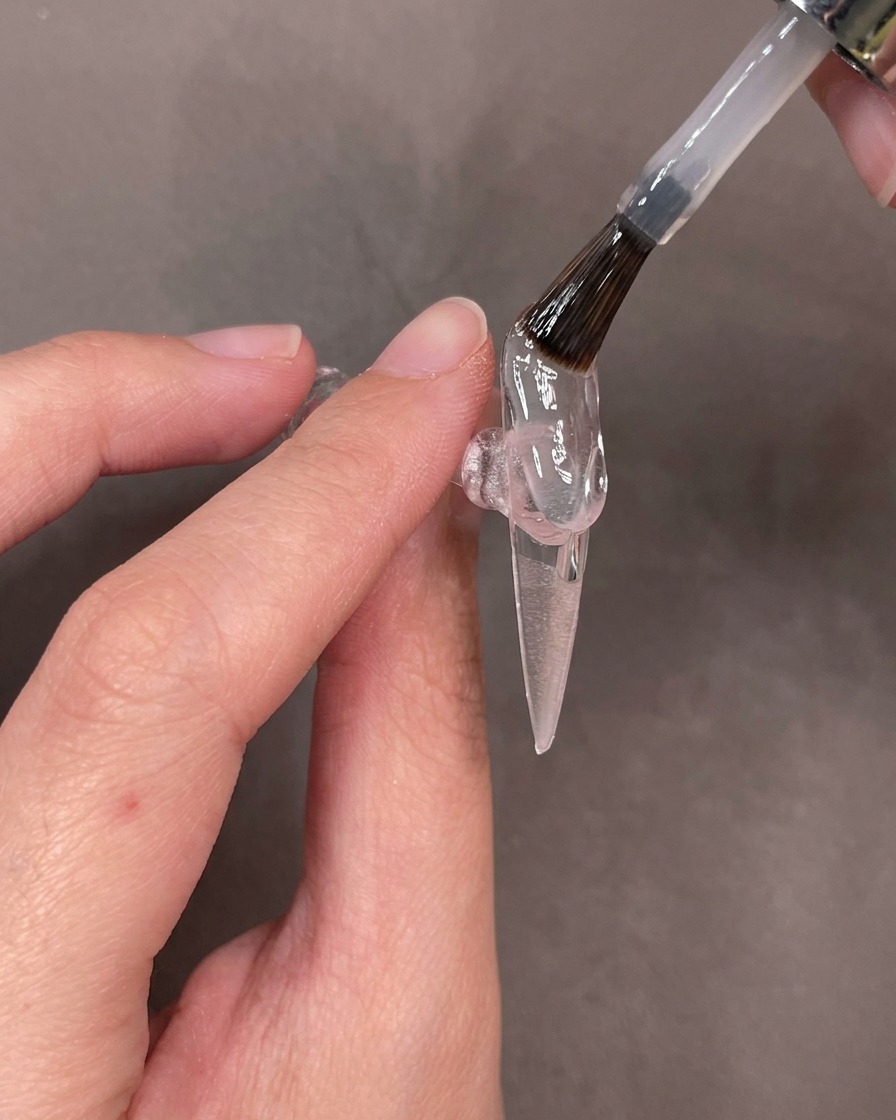
After curing the cat-eye gel, apply a layer of clear reinforcement top coat over the entire nail. This adds strength, levels out the surface, and prepares the nail for the next phase of the design.
Tip: Be sure to cap the free edge with the top coat as well to enhance durability and prevent chipping. - 7Outline with spider gel
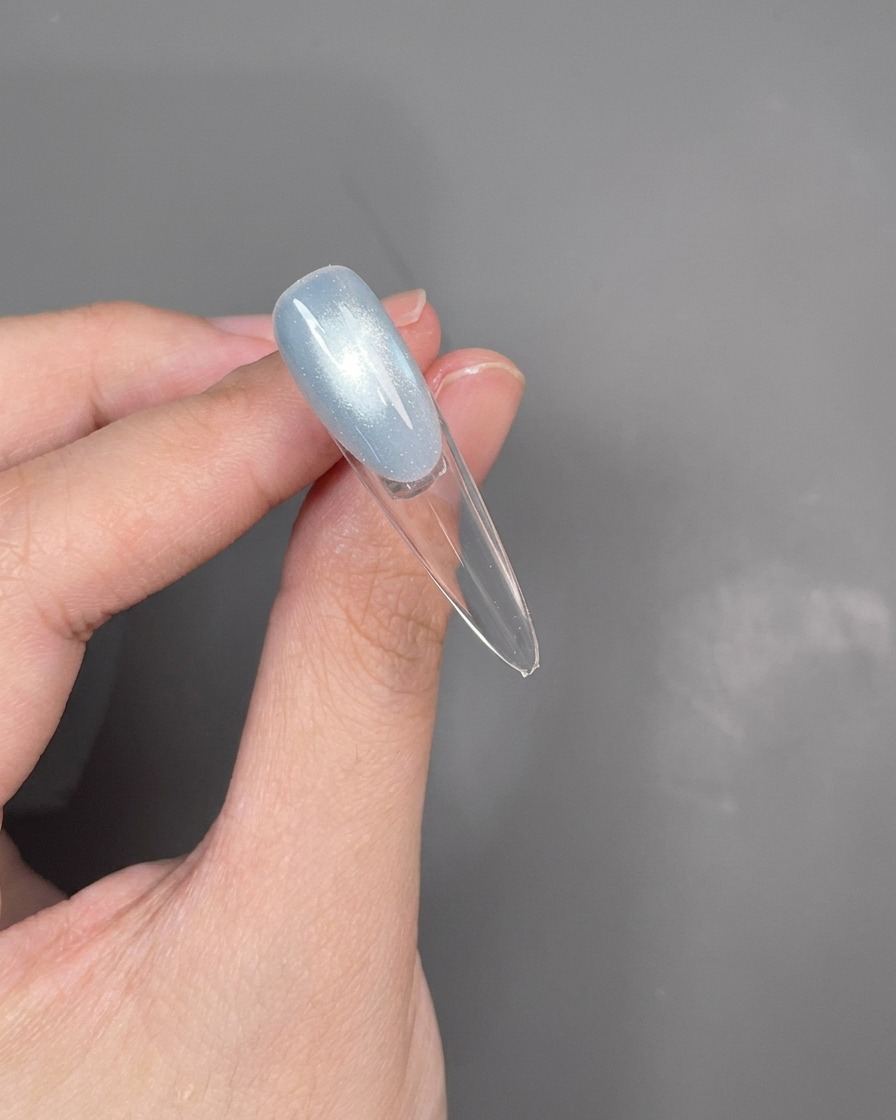
Using a dotting tool, carefully pick up a small amount of silver metallic spider gel. Gently stretch a thin, precise line along the French smile line, following the curve to accentuate the design.
Tip: Keep a light hand to ensure the spider gel line remains thin and consistent without breaking. - 8Prepare underside for art
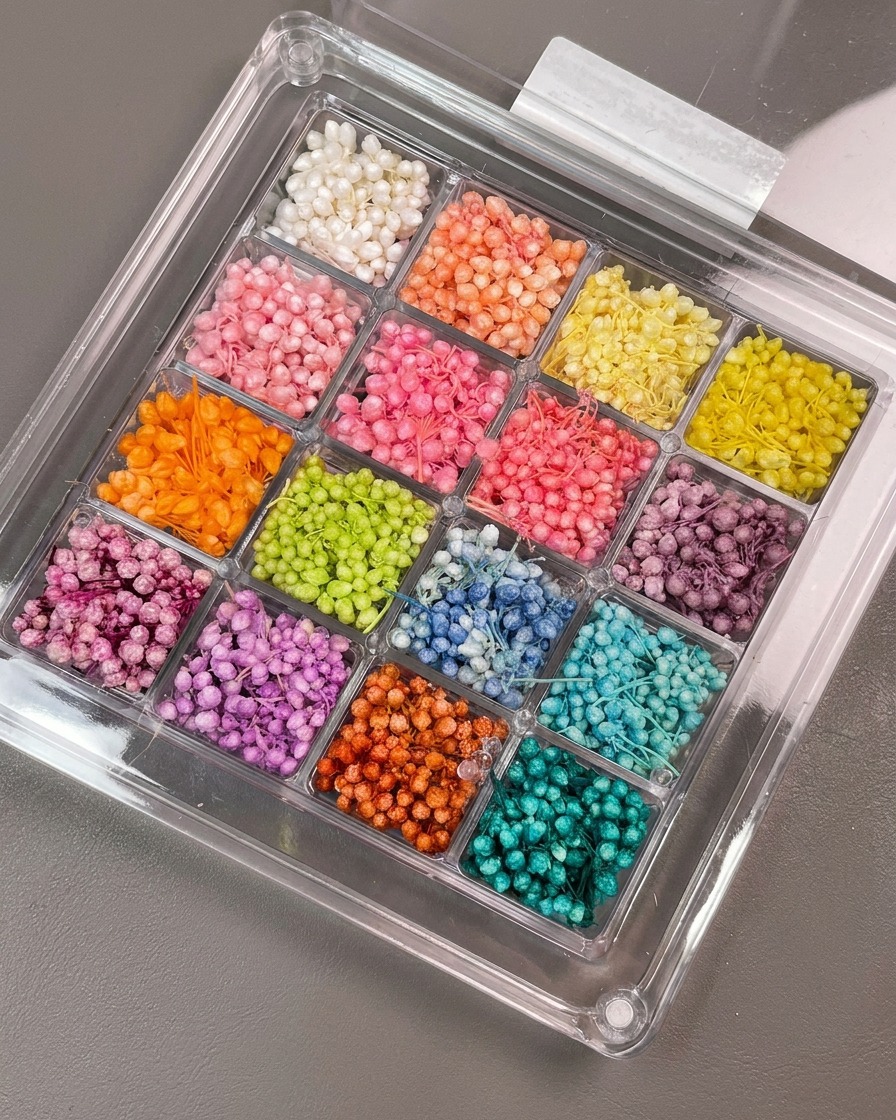
Turn the finger over to reveal the underside of the clear nail extension. Apply a thin, even layer of clear base gel to the free edge, which will act as the adhesive for the dried flower decorations.
Tip: Ensure the base gel is applied only where the flowers will be placed to avoid excess stickiness. - 9Place dried flowers
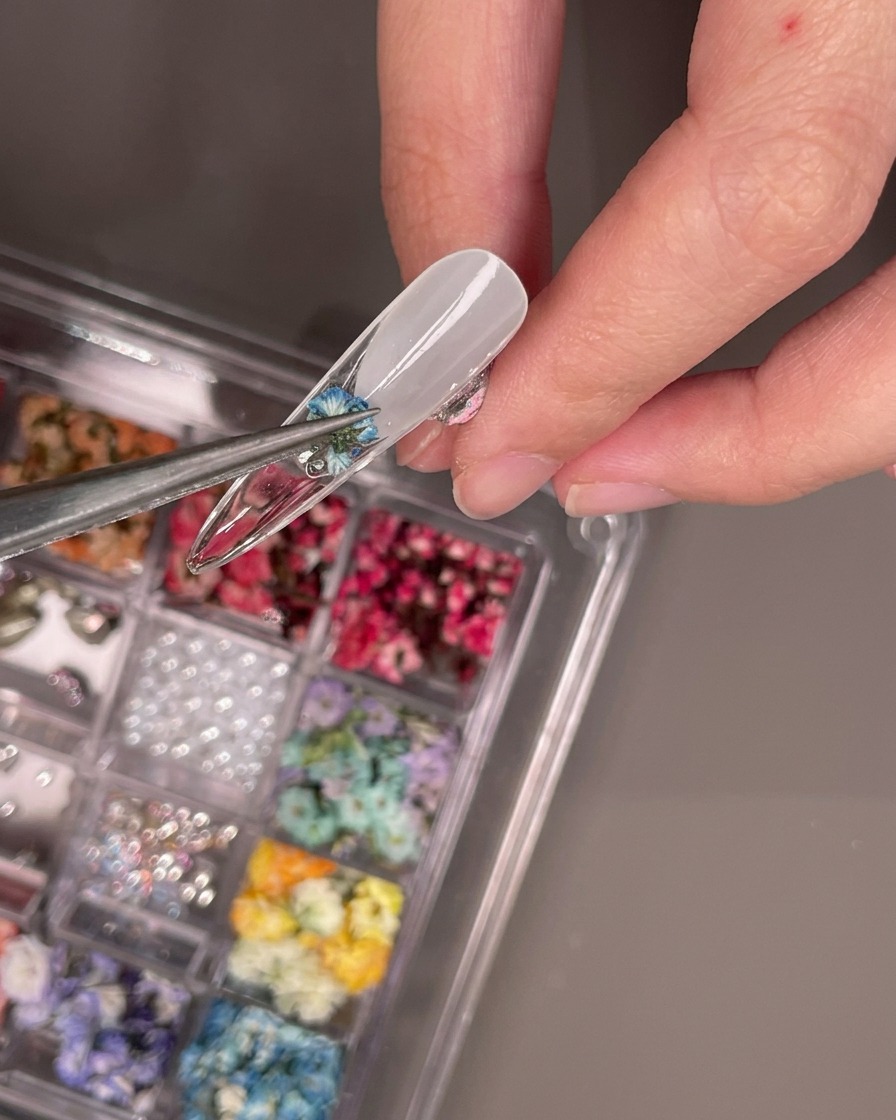
Using sharp tweezers, carefully pick up small blue dried flowers and press them into the wet base gel on the underside of the nail. Arrange them to create a delicate, clustered floral design.
Tip: Use light pressure to ensure the flowers lay flat against the nail surface without damaging the delicate petals. - 10Add rhinestone accents
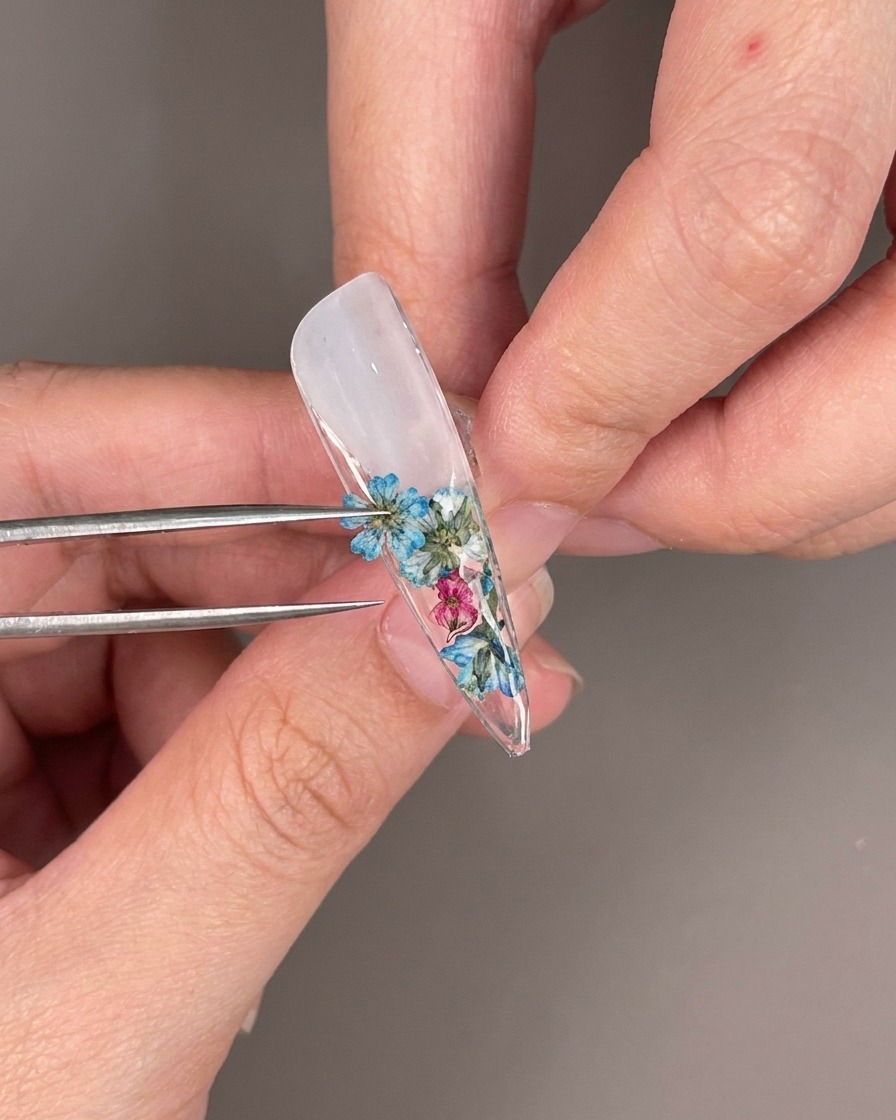
Using your tweezers, place tiny clear rhinestones in the gaps between the dried flowers on the underside of the nail. This adds a subtle, sparkling dimension to the floral design.
Tip: Avoid overcrowding the area; a few strategically placed rhinestones will enhance the floral effect without overwhelming it. - 11Encapsulate floral design
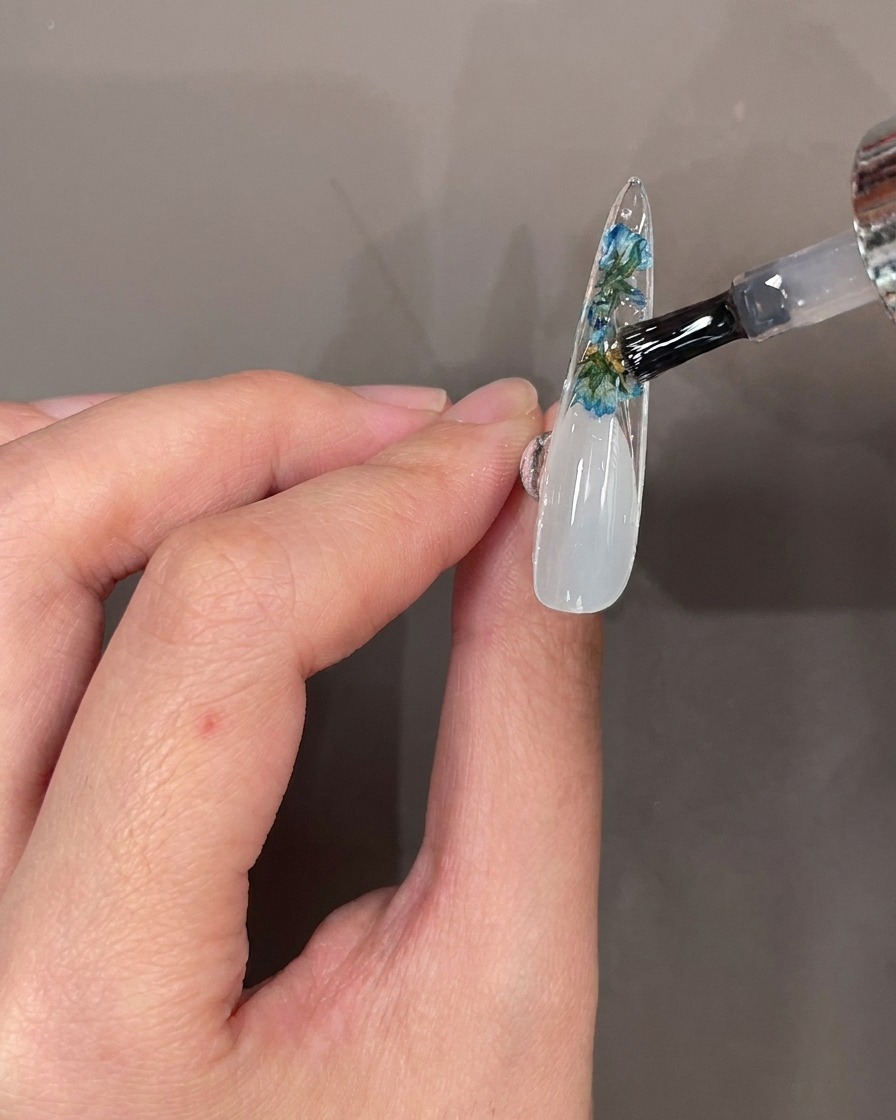
Apply a clear top coat over the entire decorated area on the underside of the nail. This seals and protects the flowers and rhinestones, ensuring they stay secure and creating a smooth, glossy finish.
Tip: Check for any exposed edges of the flowers or stones and cover them completely with the top coat for a long-lasting result. - 12Apply French guide
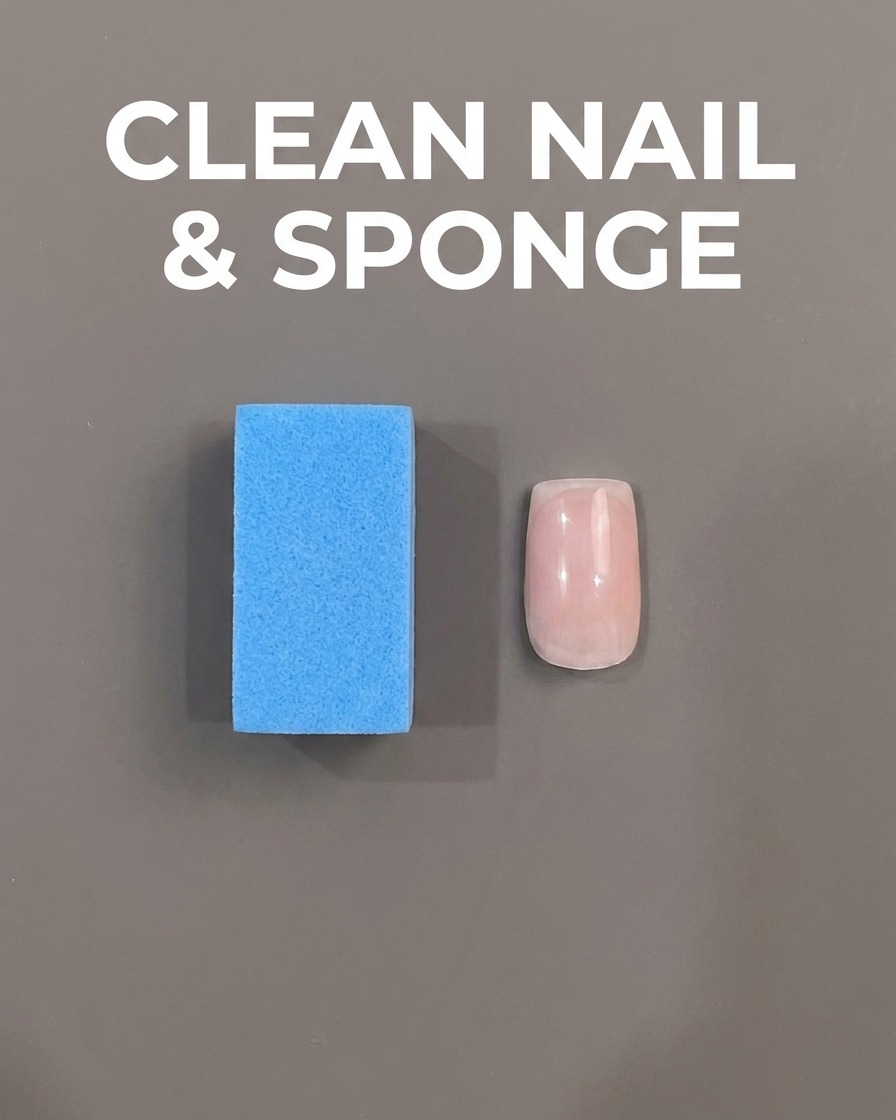
Position a French tip guide sticker onto the bare nail to mark the desired smile line. Press the edges down firmly to ensure a clean, crisp line when applying the product.
Tip: Remove the guide immediately after applying the gel to prevent the line from becoming jagged or smudged. - 13Apply nude gel base
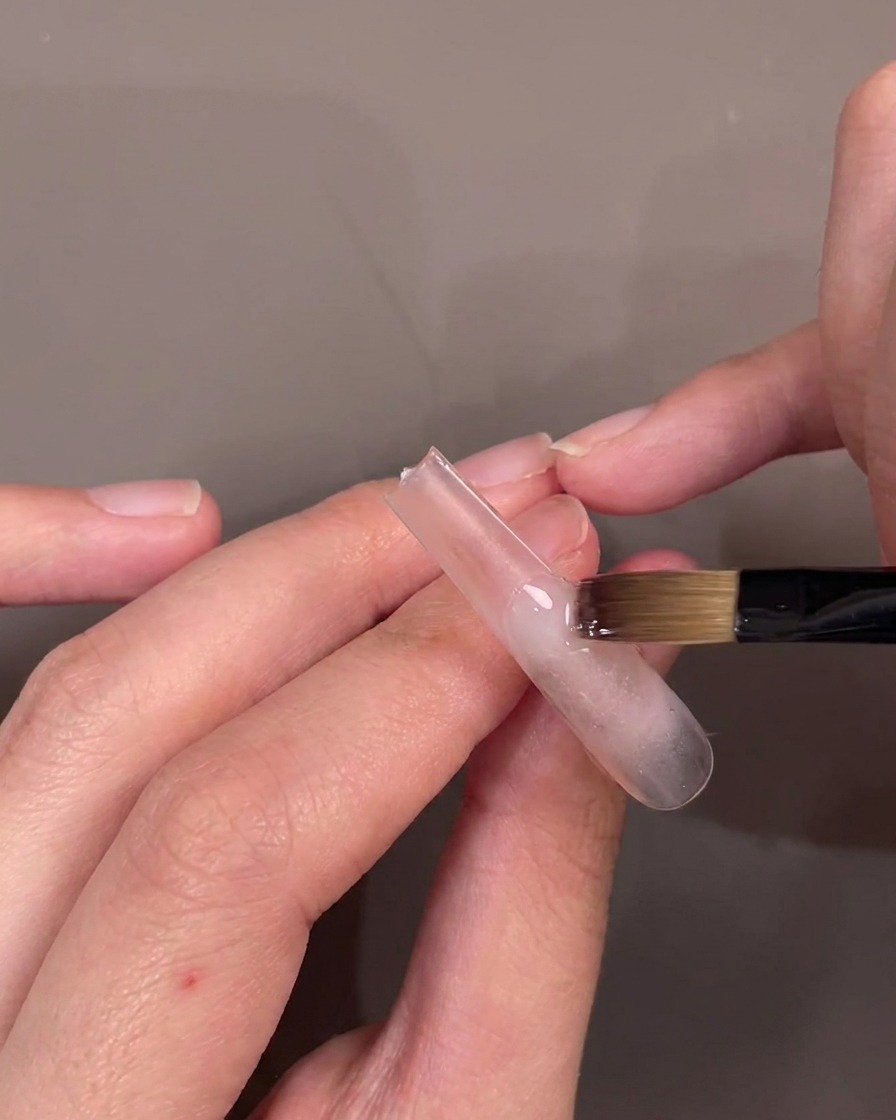
Apply a coat of nude gel polish to the top half of the nail, starting near the cuticle area. Use a flat brush to ensure an even application and clean lines.
Tip: Work in thin layers to ensure the gel cures evenly and maintains a natural look. - 14Blend nude gel
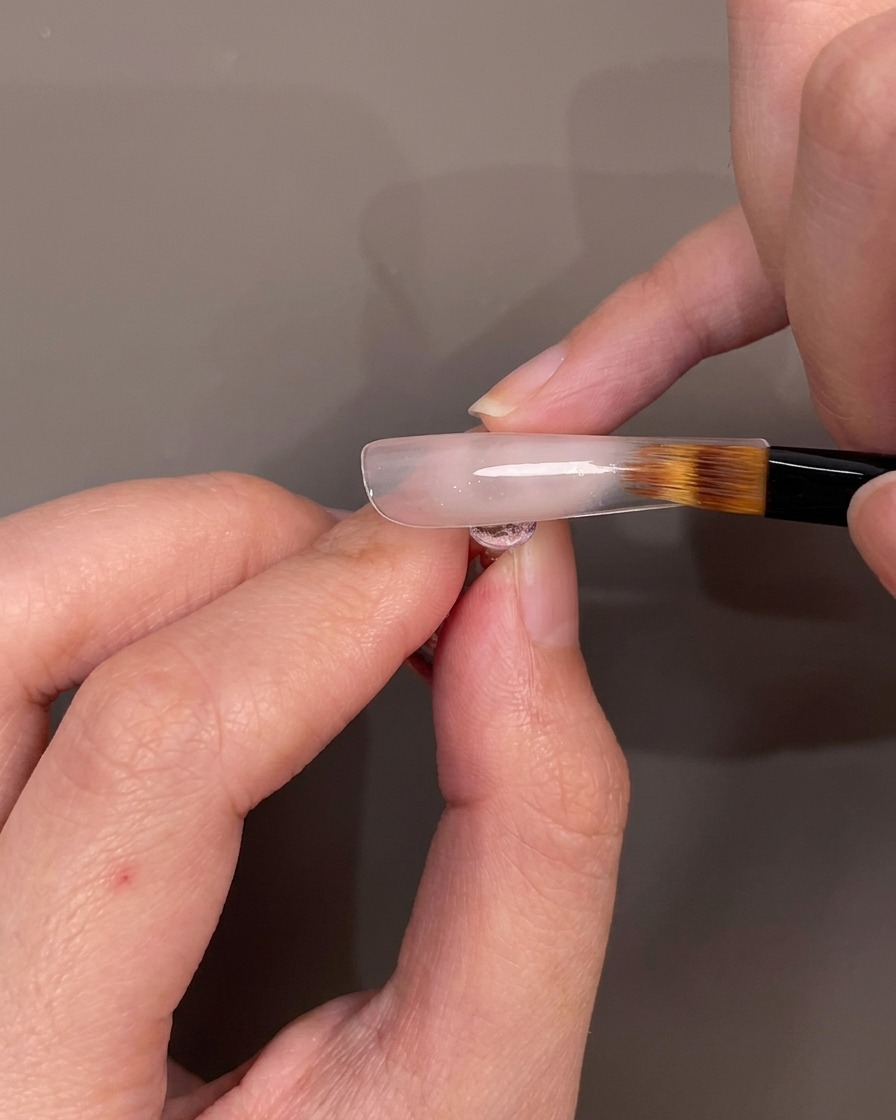
Using the flat brush, gently fade and blend the nude gel downward toward the French tip smile line. Create a soft gradient transition for a seamless look.
Tip: Use light, sweeping motions to avoid streaking the gel during the blending process. - 15Apply white texture gel
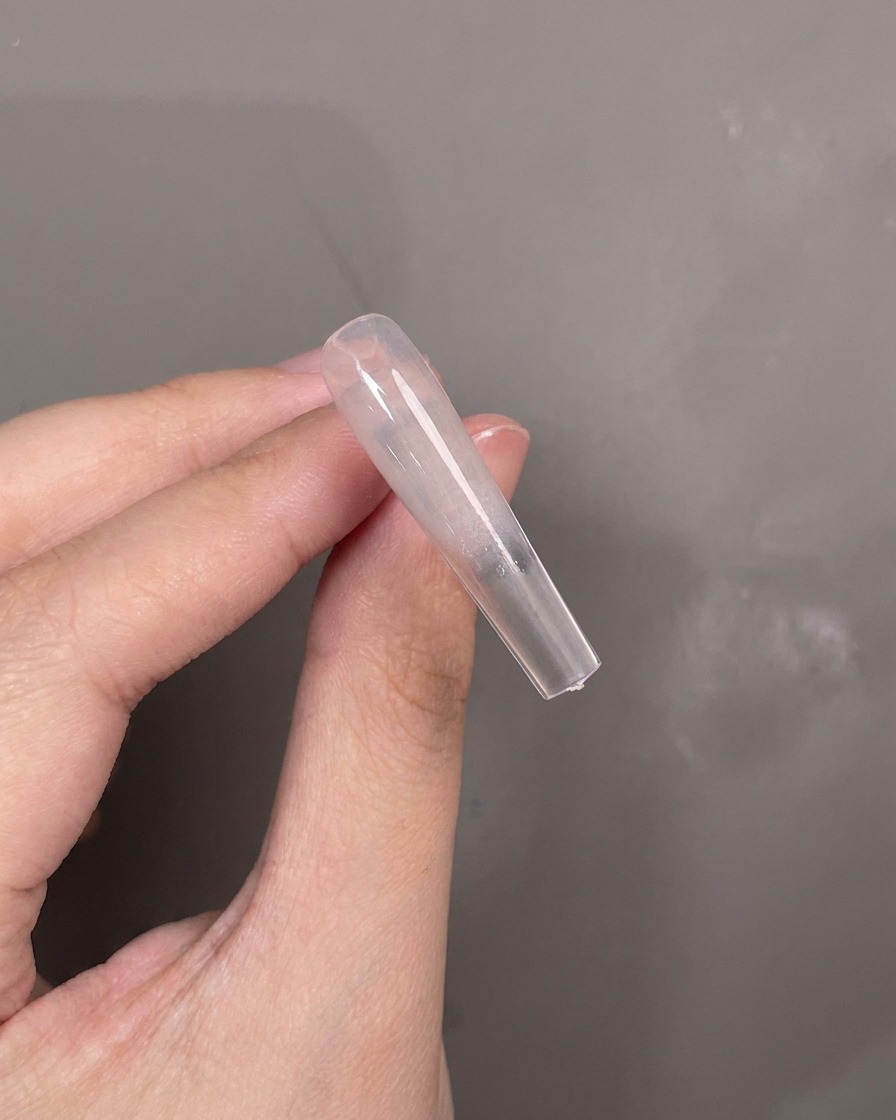
Use a blue silicone tool to spread white texture gel horizontally across the mid-section of the nail. This adds depth and dimension to the nail art design.
Tip: Keep the layer thin to prevent the texture gel from becoming too bulky. - 16Apply sheer pink gel
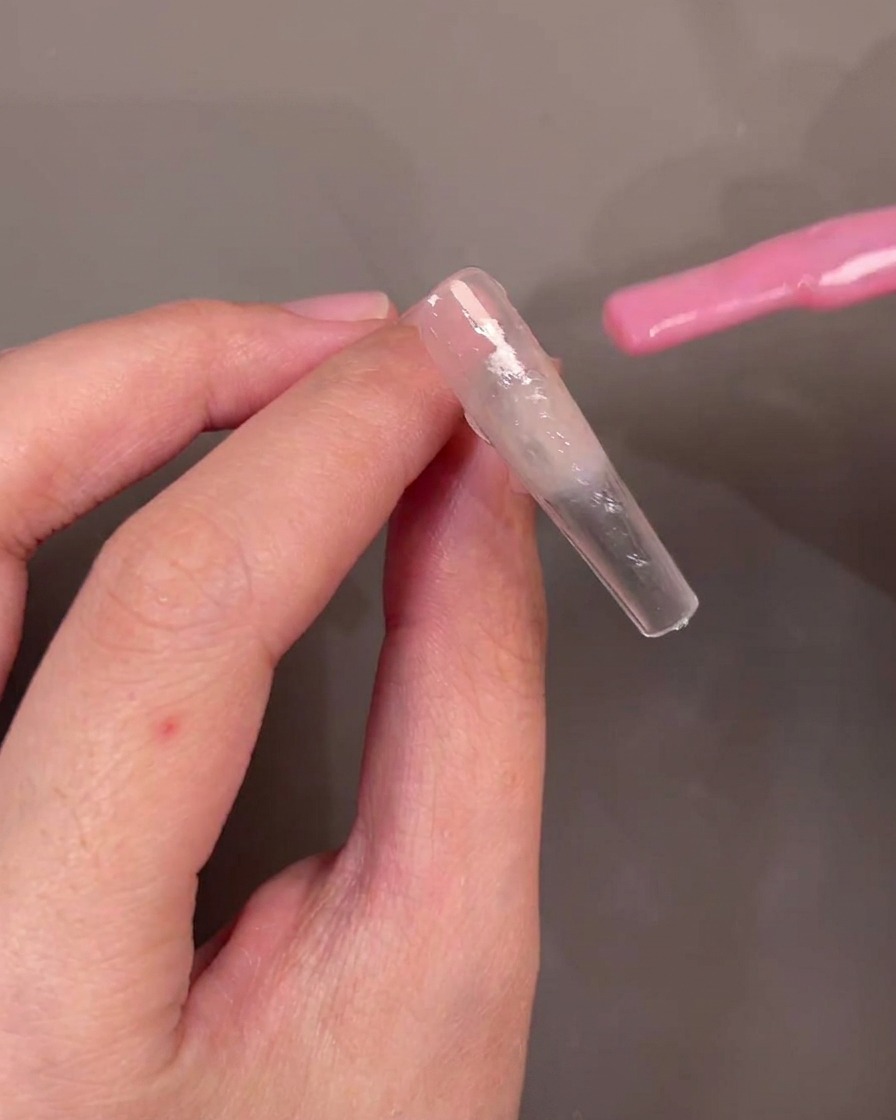
Apply a layer of sheer pink gel polish diagonally across the nail surface, overlapping with the existing design elements.
Tip: Applying sheer colors diagonally helps create dynamic, multi-dimensional lighting effects on the nail. - 17Blend sheer pink
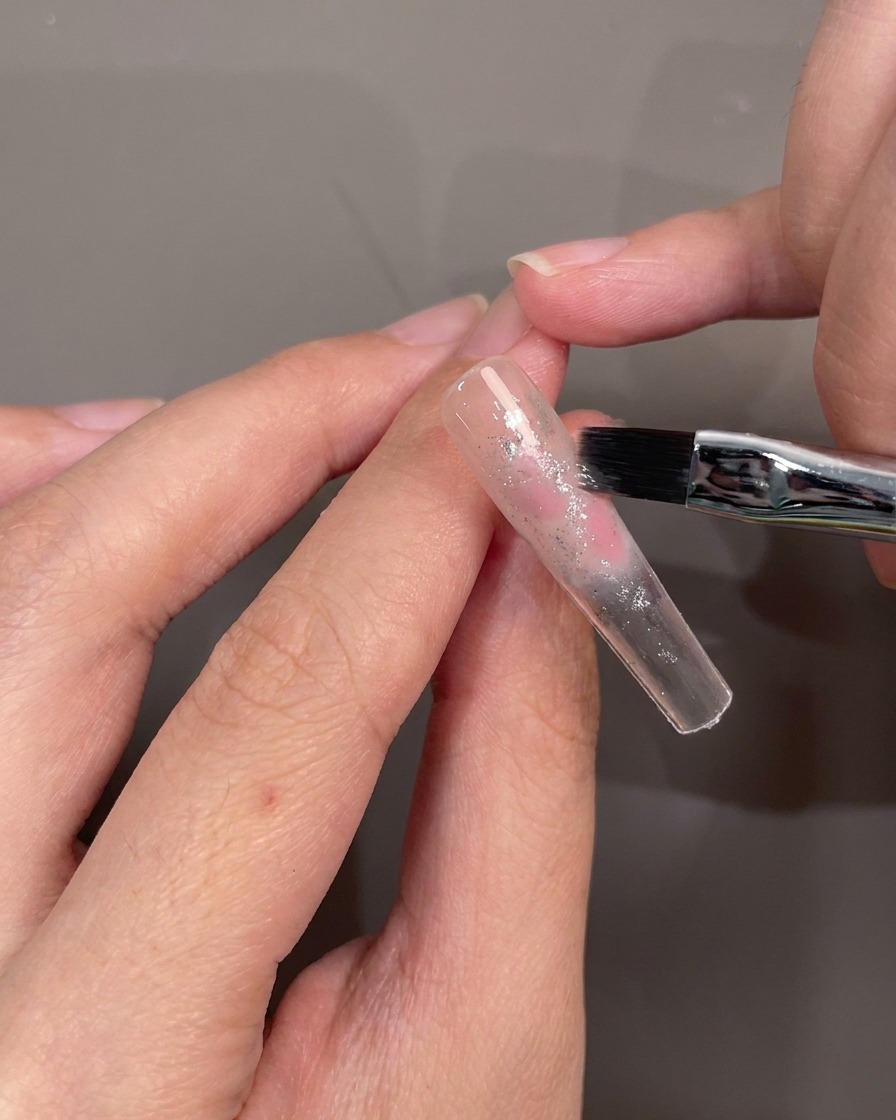
Use a flat brush to blend the sheer pink gel into the surrounding colors. Focus on softening the edges where the colors meet to achieve a smooth gradient.
Tip: Clean your brush with a lint-free wipe soaked in cleanser if you notice colors muddying together. - 18Apply blue cat-eye gel
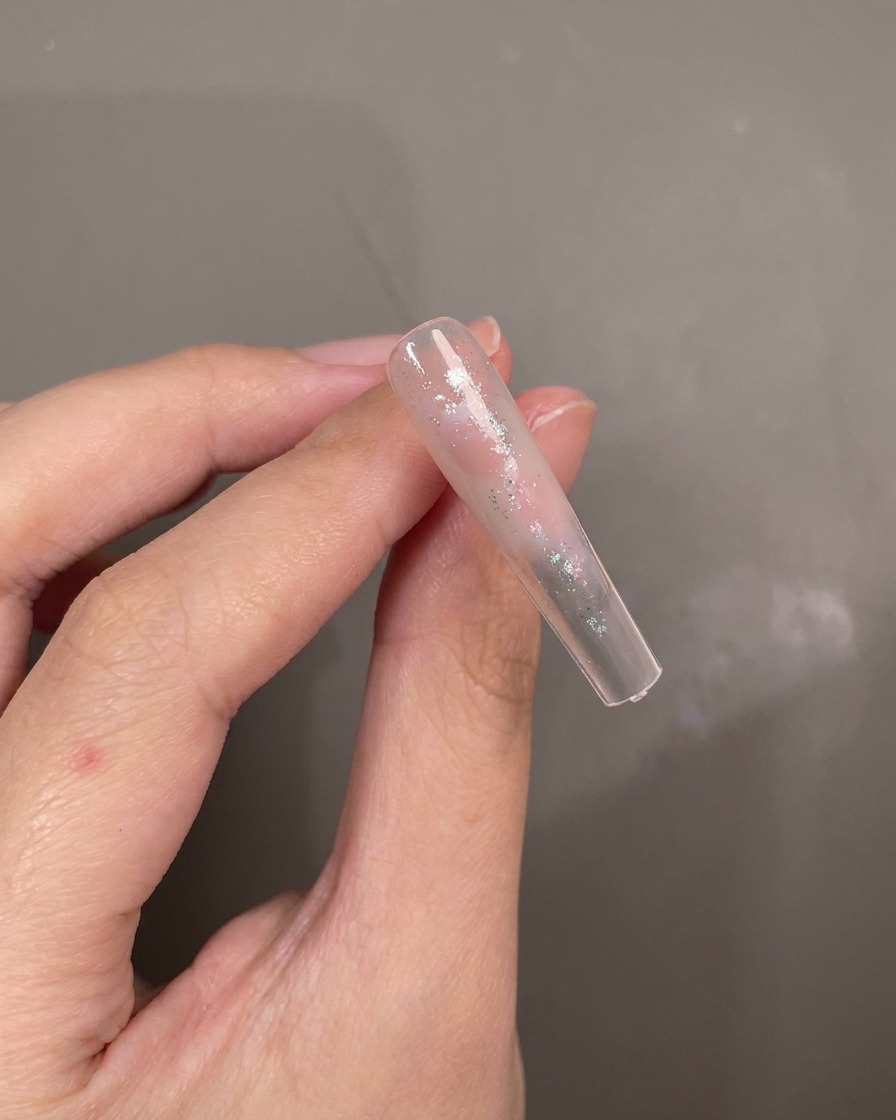
Dab blue cat-eye gel polish onto the nail and blend it gently into the existing abstract design. This creates a shimmering, deep color effect.
Tip: Work quickly once the cat-eye gel is applied so you can use your magnet to create the desired effect before it self-levels too much. - 19Activate the cat-eye shimmer
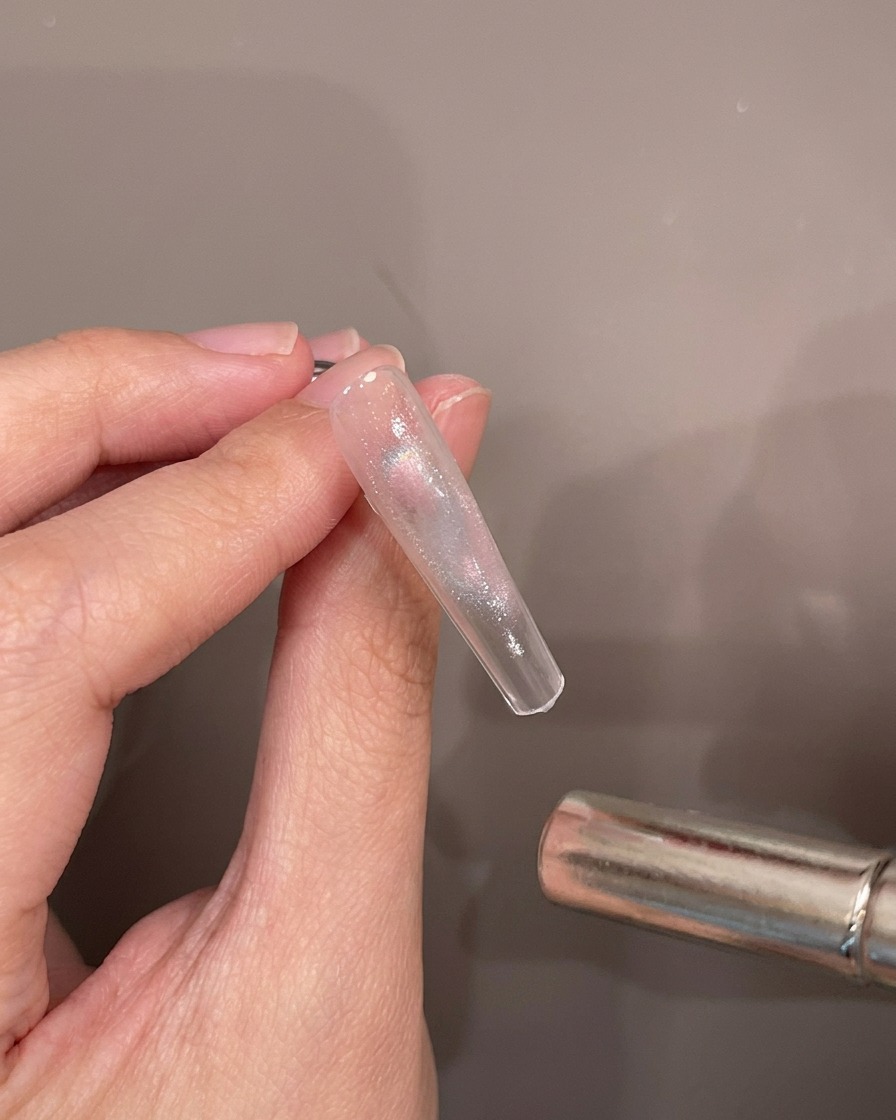
Hold a cylindrical magnetic wand close to the blended gel surface to activate the magnetic particles. Hover it around the edges to push the shimmer where you want it, creating a glowing glass bead effect.
Tip: Keep the magnet steady and close to the nail for a few seconds to get the sharpest, most defined cat-eye effect. - 20Apply texture gel and glitter
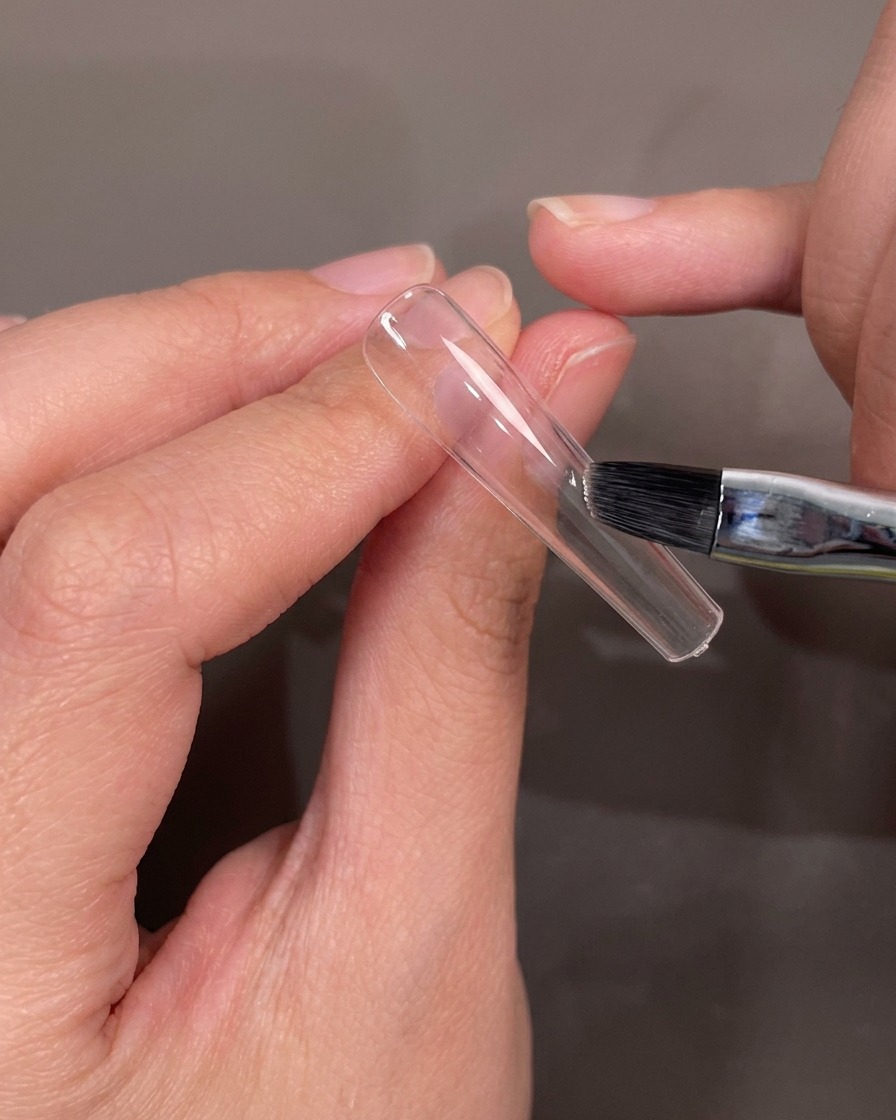
Using a small flat brush, carefully apply dots of white texture gel and crushed diamond glitter into the empty spaces of your blended design. This adds depth, dimension, and brilliant sparkle to the nail art.
Tip: Use a light tapping motion with the brush to place the glitter exactly where you want it without disturbing the blended colors underneath. - 21Seal with reinforcement gel
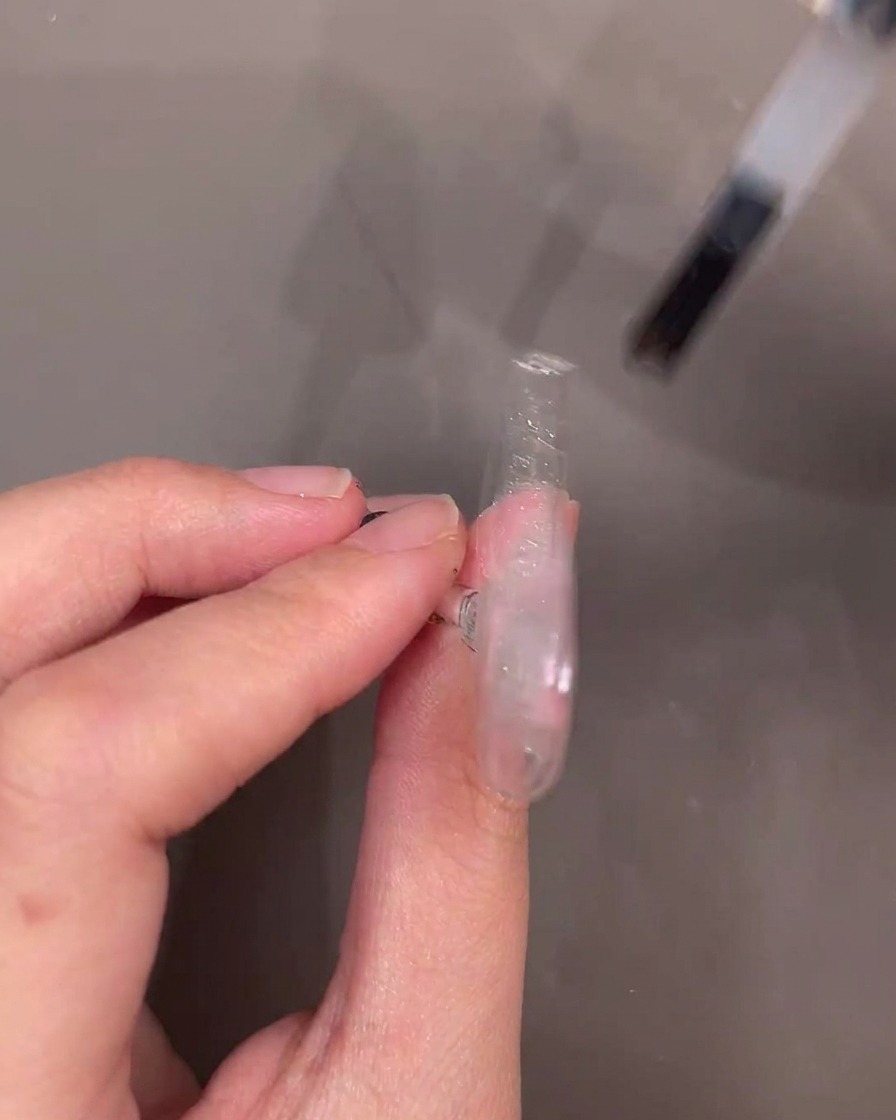
Brush a smooth, even layer of clear reinforcement gel over the entire blended design. This important step seals in the texture gel and glitter, smoothing out the surface and providing extra strength to the nail structure.
Tip: Make sure to cover all the textured areas completely so the nail surface is perfectly even before applying any topcoat or further line art. - 22Apply glitter spider gel
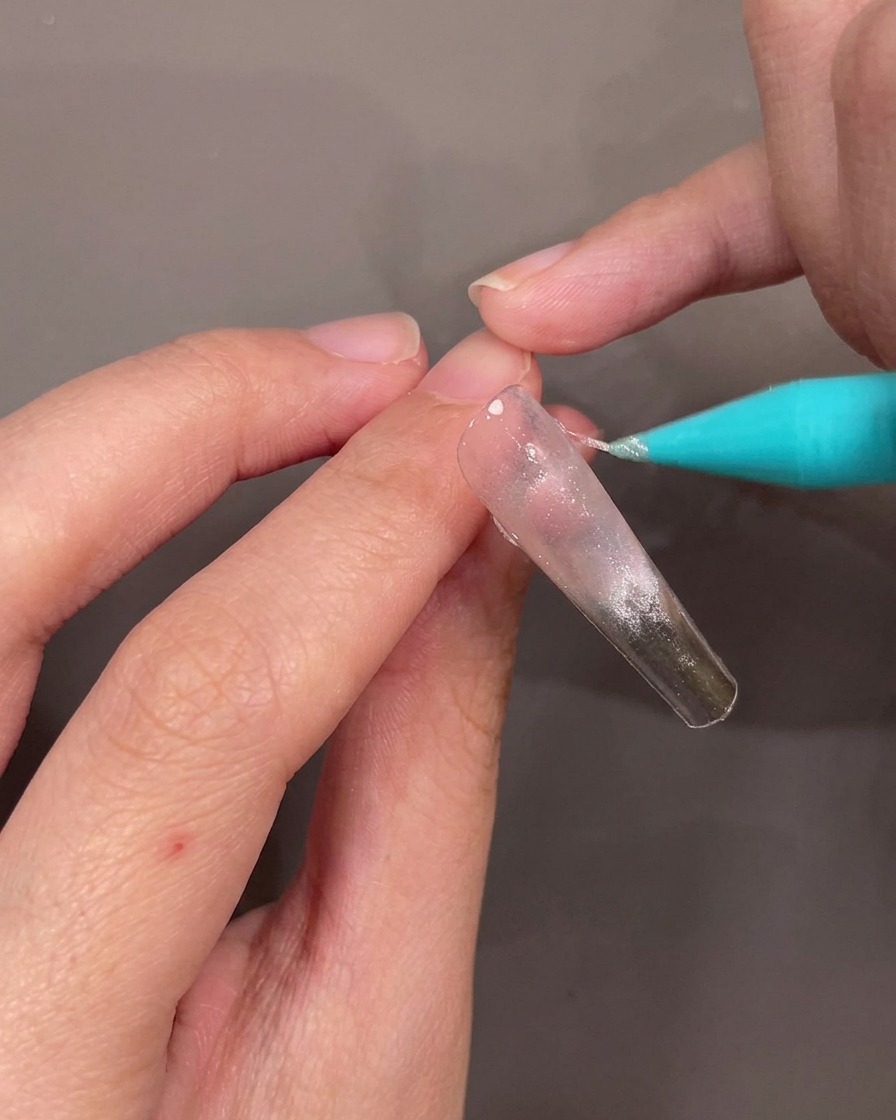
Using a fine detail brush or a spider gel tool, stretch a thin, consistent line of fine glitter spider gel diagonally across the nail surface. The line should be precise and follow the angle established by the previous nail art layers. Cure under a UV or LED lamp to set the design.
Tip: For the cleanest line, lift the gel tool away from the nail in one smooth, continuous motion to avoid blobs or uneven thickness. - 23Embed dried flowers on underside
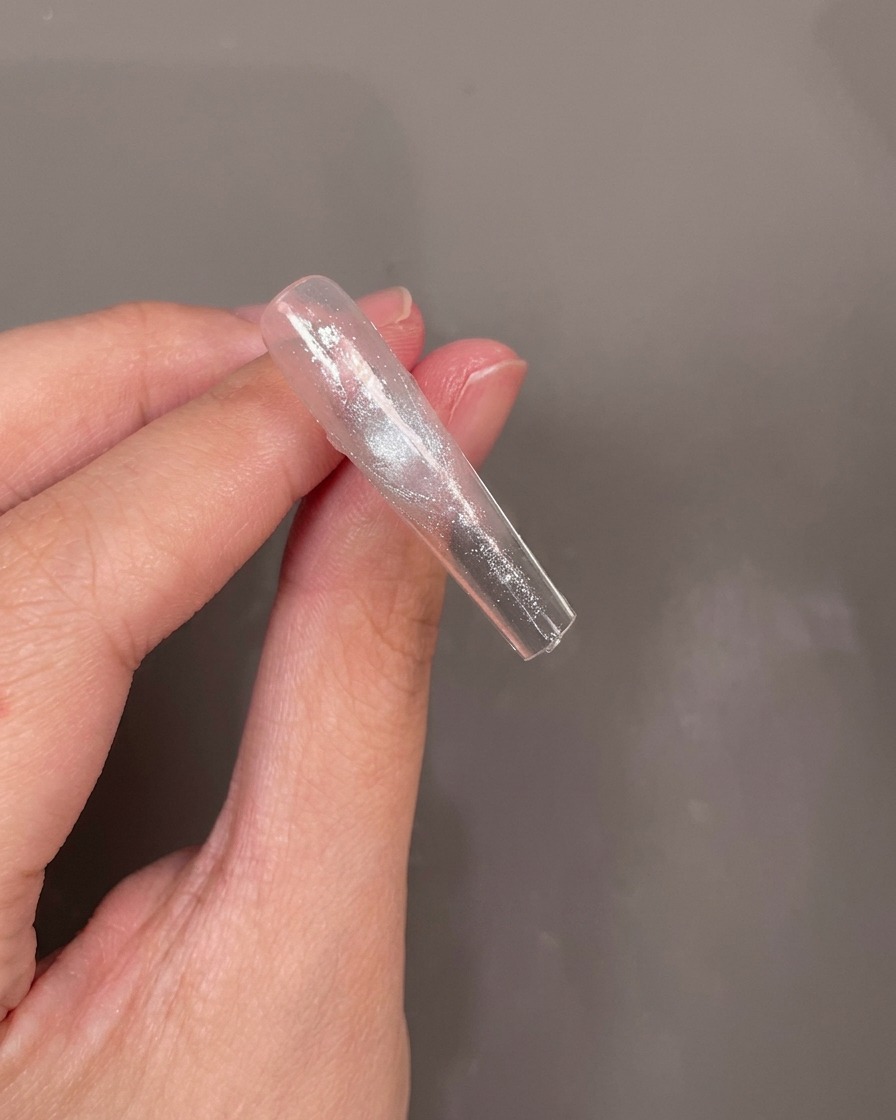
Flip the nail tip over to access the underside. Apply a thin layer of clear base or builder gel, then carefully place your chosen dried blue flowers onto the wet gel surface. Ensure they are laid flat to avoid bulkiness before curing in a lamp.
Tip: Use a pair of precision tweezers to position the flowers exactly where you want them, as the gel will hold them in place once cured. - 24Add accent petals
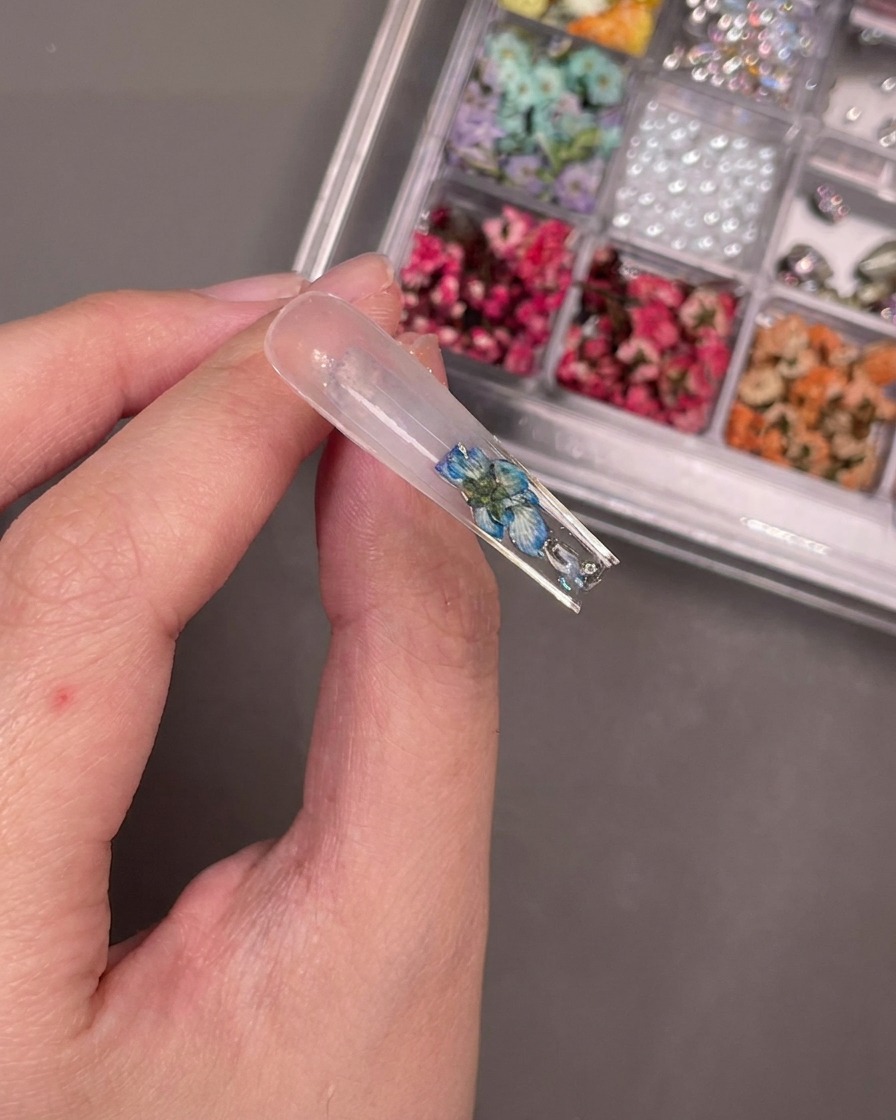
To add depth and complexity to your floral design, use tweezers to pick up individual loose dried flower petals and place them around the main flower on the underside of the tip. Secure them into the layer of wet gel and cure to lock them in place.
Tip: Working with individual petals allows you to fill in small gaps and customize the density of the floral arrangement to your liking. - 25Encapsulate floral design
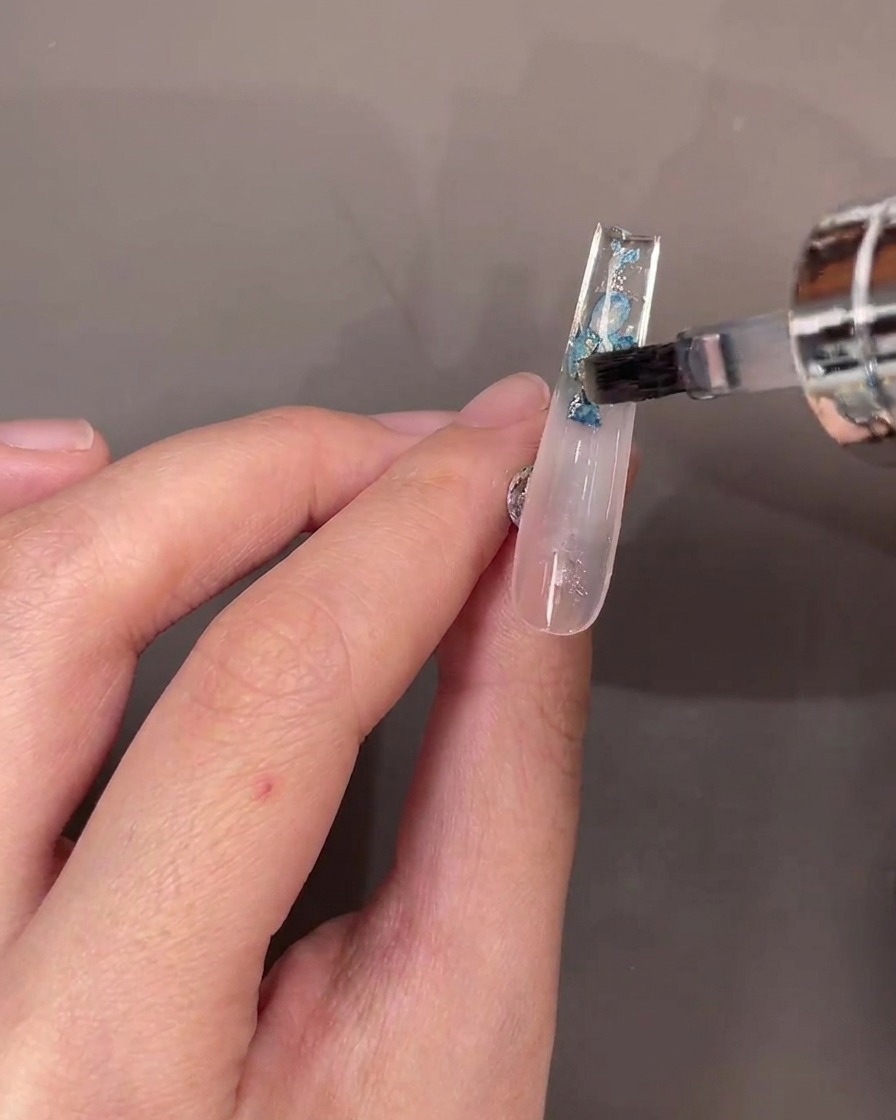
After the flowers are positioned and cured, apply a layer of clear top coat over the entire underside of the nail tip. This step encapsulates the floral elements, smoothing out the surface and protecting the design from wear and tear. Cure fully under your lamp.
Tip: Ensure the top coat covers all edges of the flowers so they are completely sealed and do not catch on clothing. - 26Attach zircon embellishment
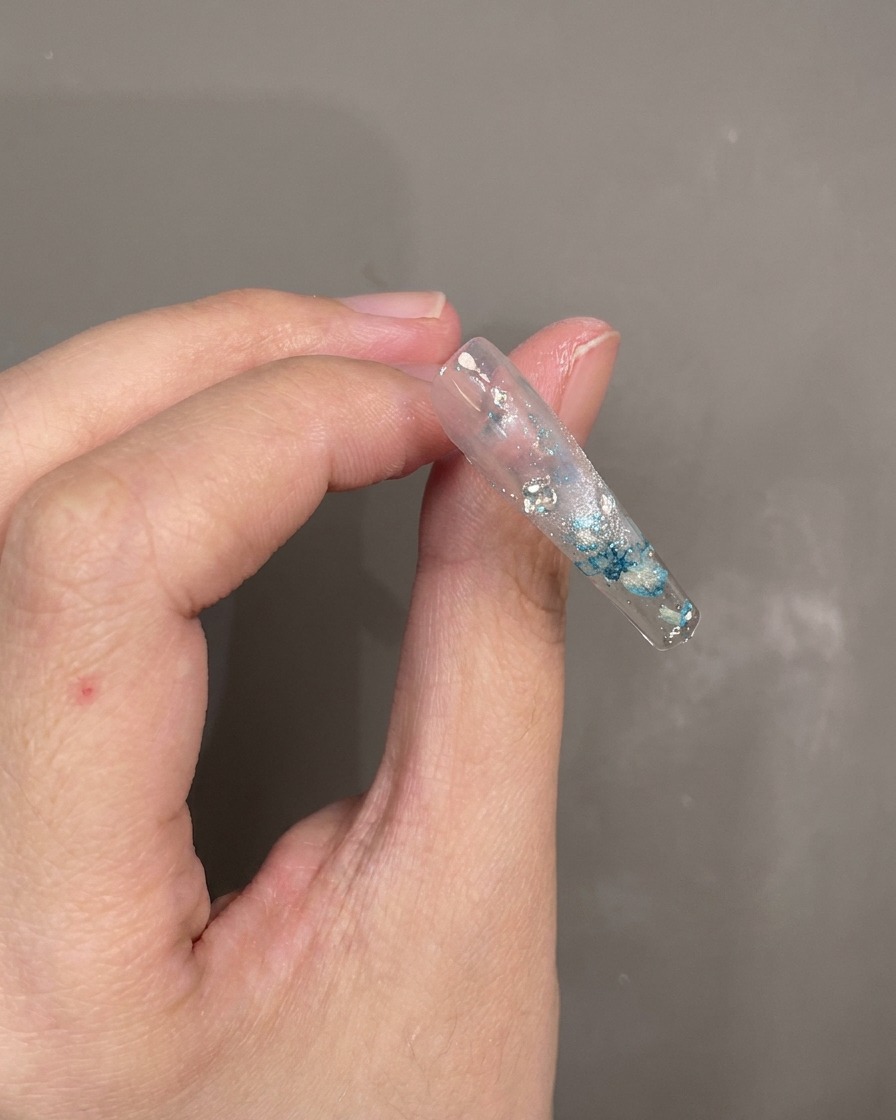
Flip the nail back over to the top side. Place a small dot of rhinestone glue or thick builder gel at the base of the nail. Use a wax pickup pen to pick up a large, clear zircon rhinestone and place it into the glue. Cure to secure the stone, then apply a final coat of top gel around the stone to seal it.
Tip: Avoid getting glue on the top surface of the rhinestone, as it can dull the stones sparkle.