Ice-Sealed Dried Rose Cat-Eye Nails
3D Bows — Step-by-Step Tutorial
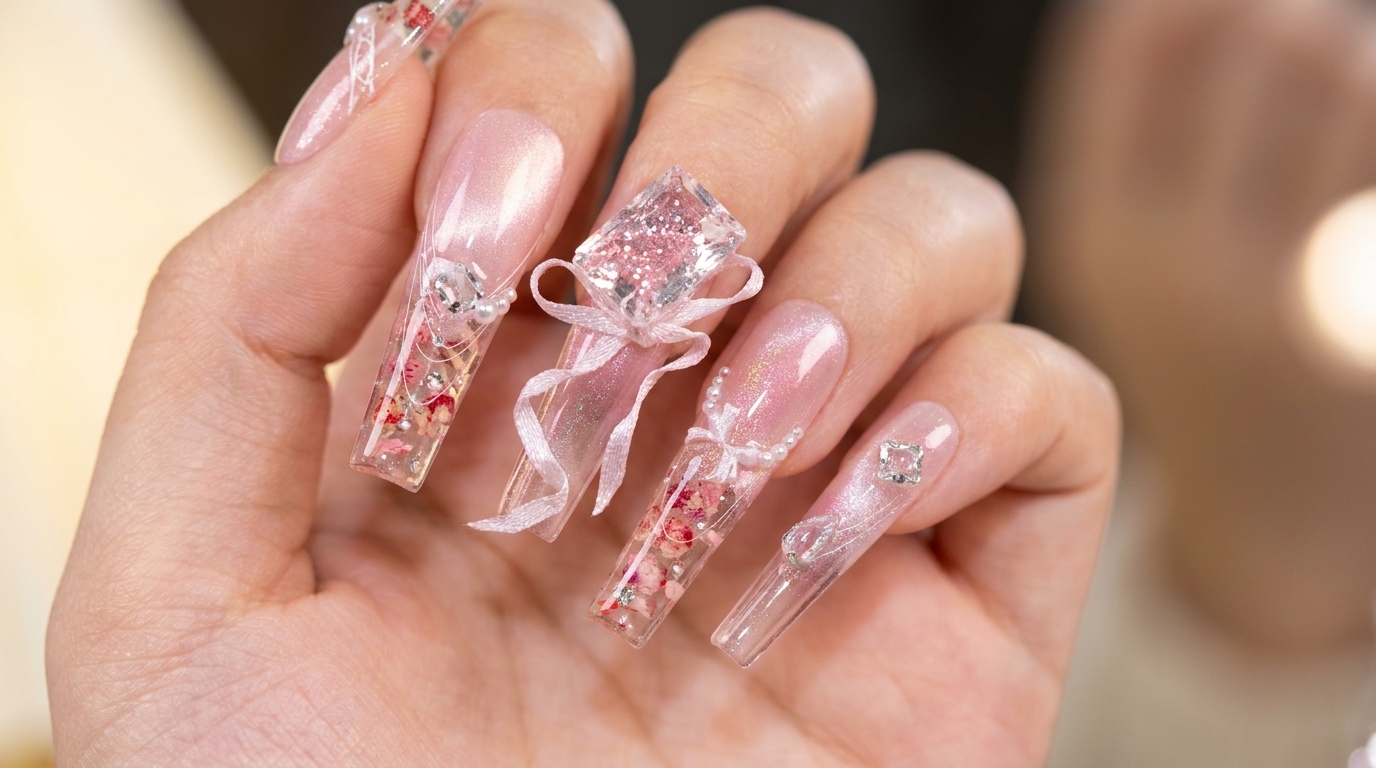
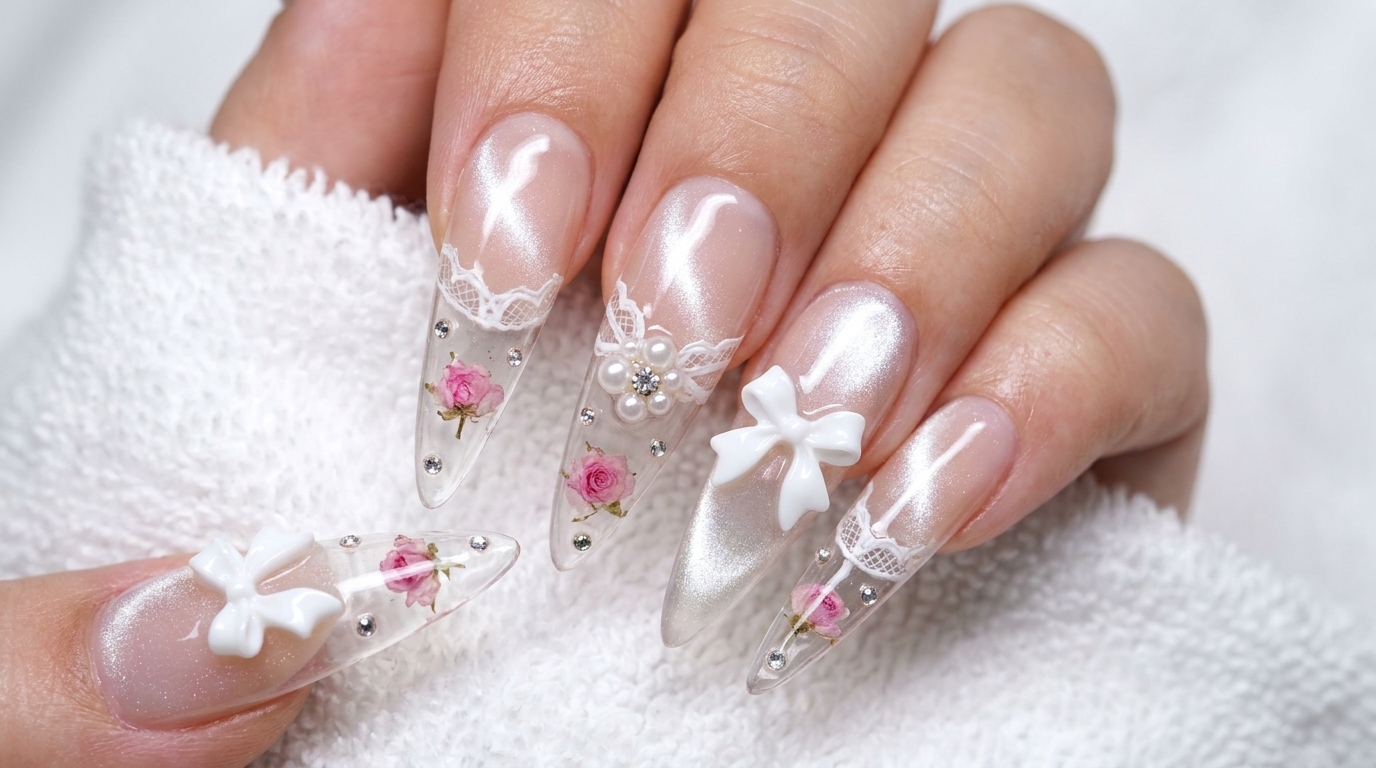
Create an incredibly clear, icy nail design featuring encapsulated real dried roses, a milky cat-eye gradient, and delicate 3D bow embellishments.
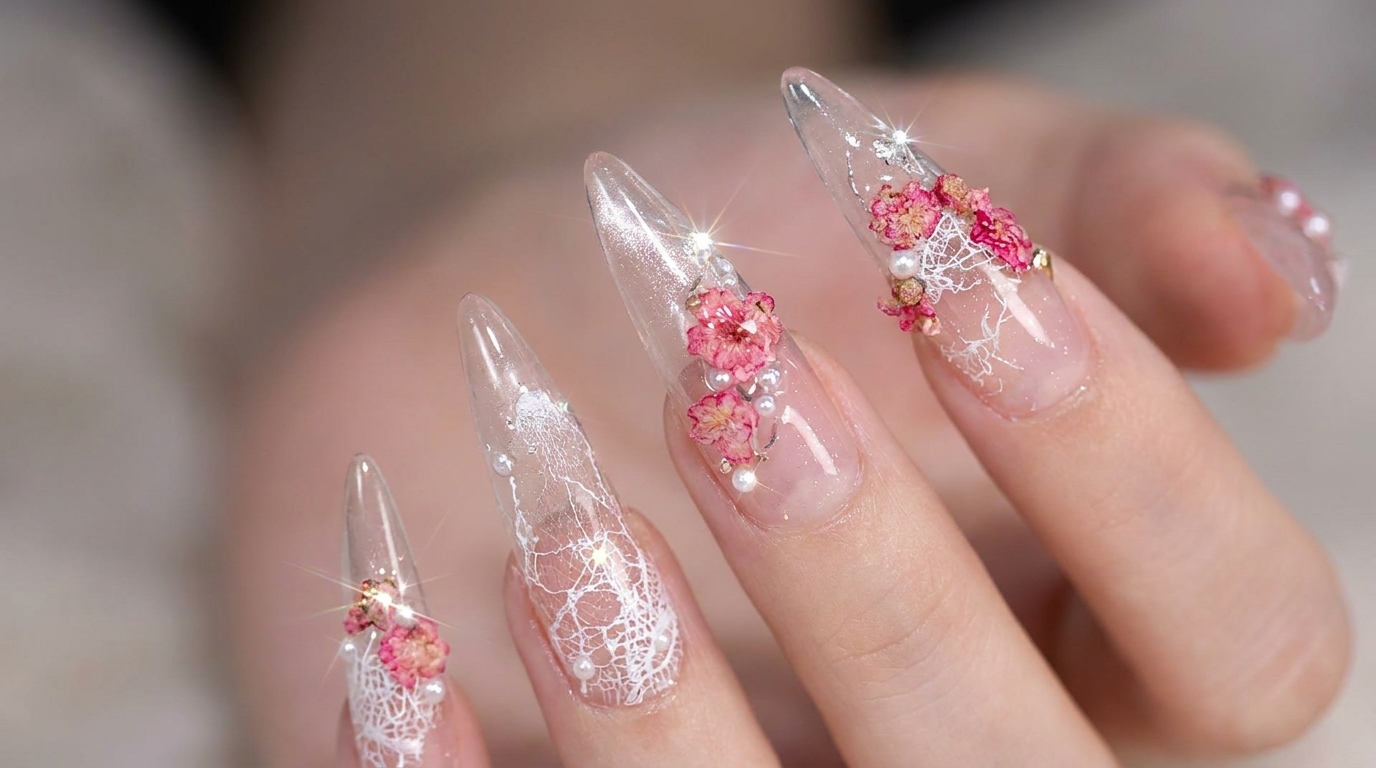
This ice-sealed rose design brings an incredibly clear and icy aesthetic to your fingertips. By encapsulating real dried flowers and combining them with a soft milky cat-eye gradient, the natural nail bed stays beautifully concealed while the magnetic shimmer takes center stage. Topped with intricate 3D bows, it is a stunning dimensional look perfect for any elegant occasion.
Steps
- 1Place the central rose
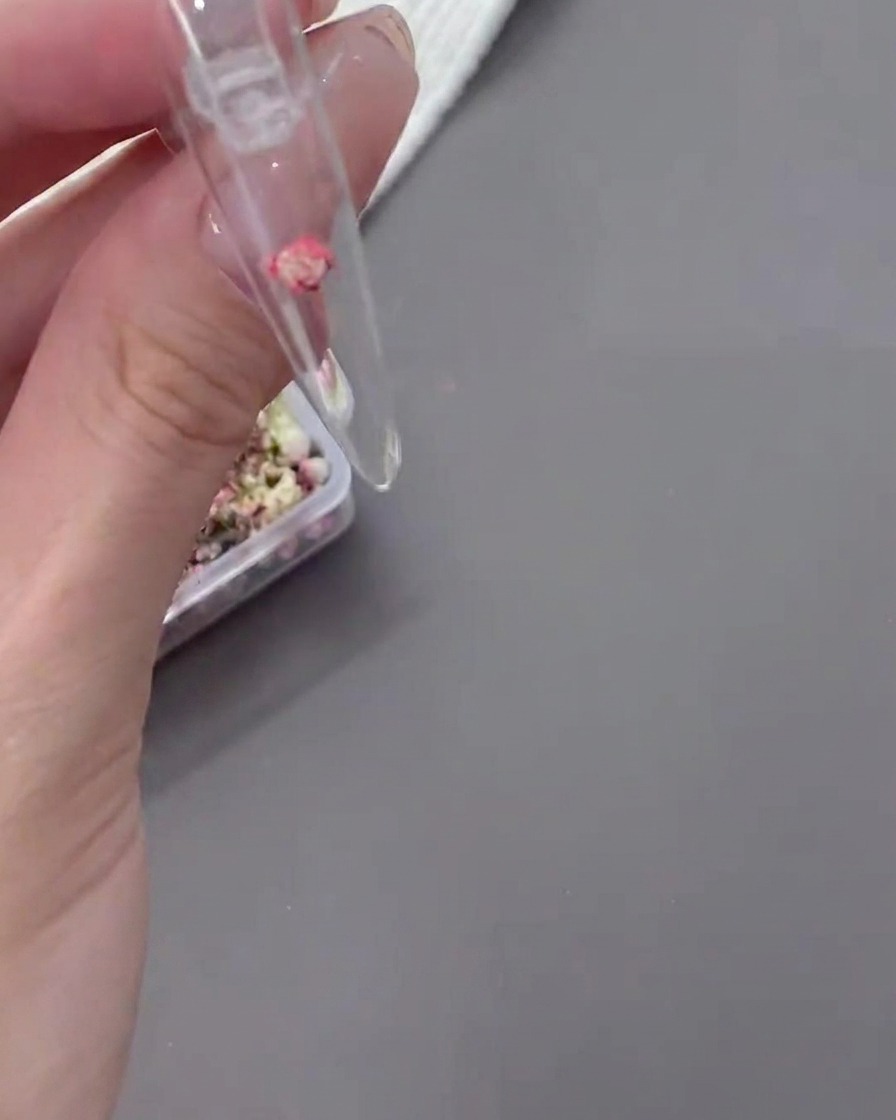
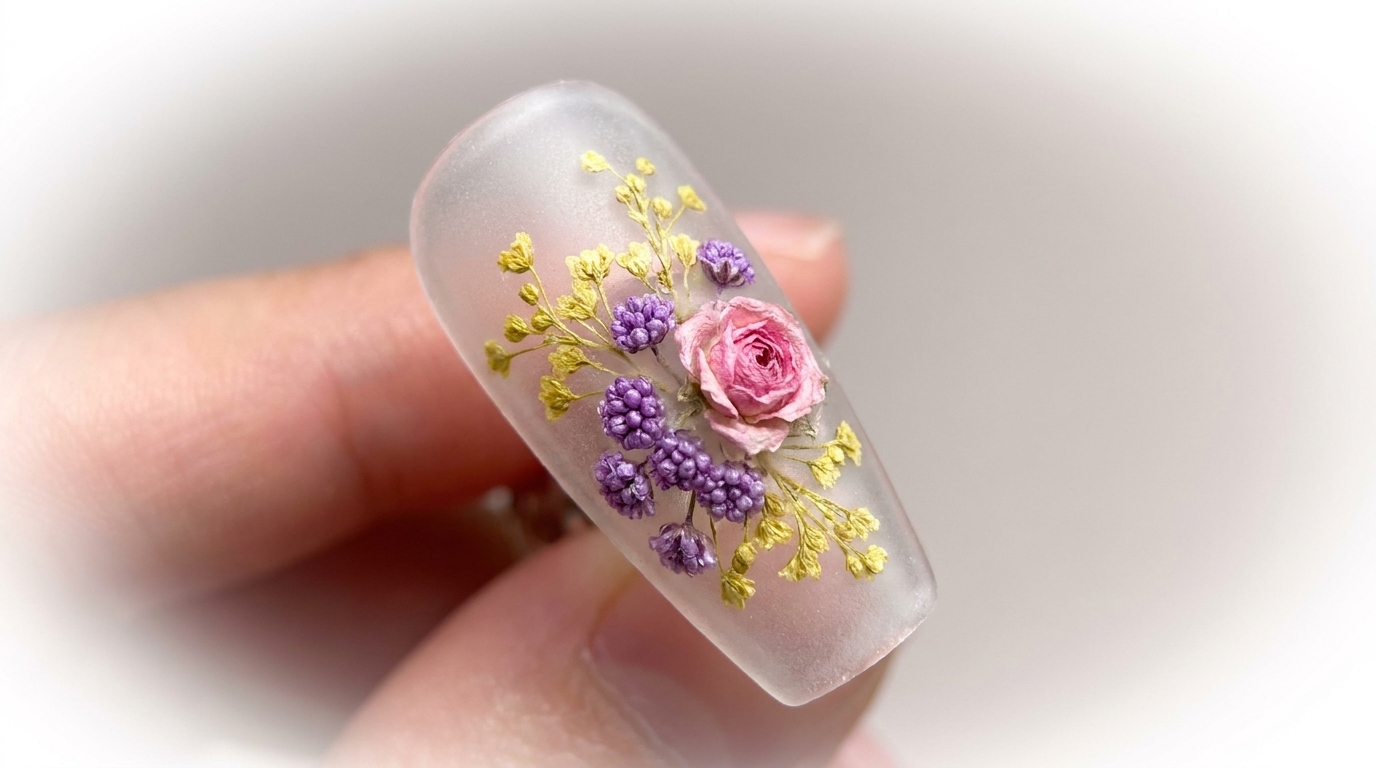
Pick up a large pink dried rose and gently press it into the wet reinforcement blooming gel in the center of the concave back of the nail tip. Ensure it is positioned perfectly in the middle, as this will serve as the focal point of your floral design. Do not cure the gel just yet.
Tip: Using real dried flowers adds a beautiful, natural texture to the nail art. Handle them gently to avoid crushing the delicate petals. - 2Add smaller dried flowers
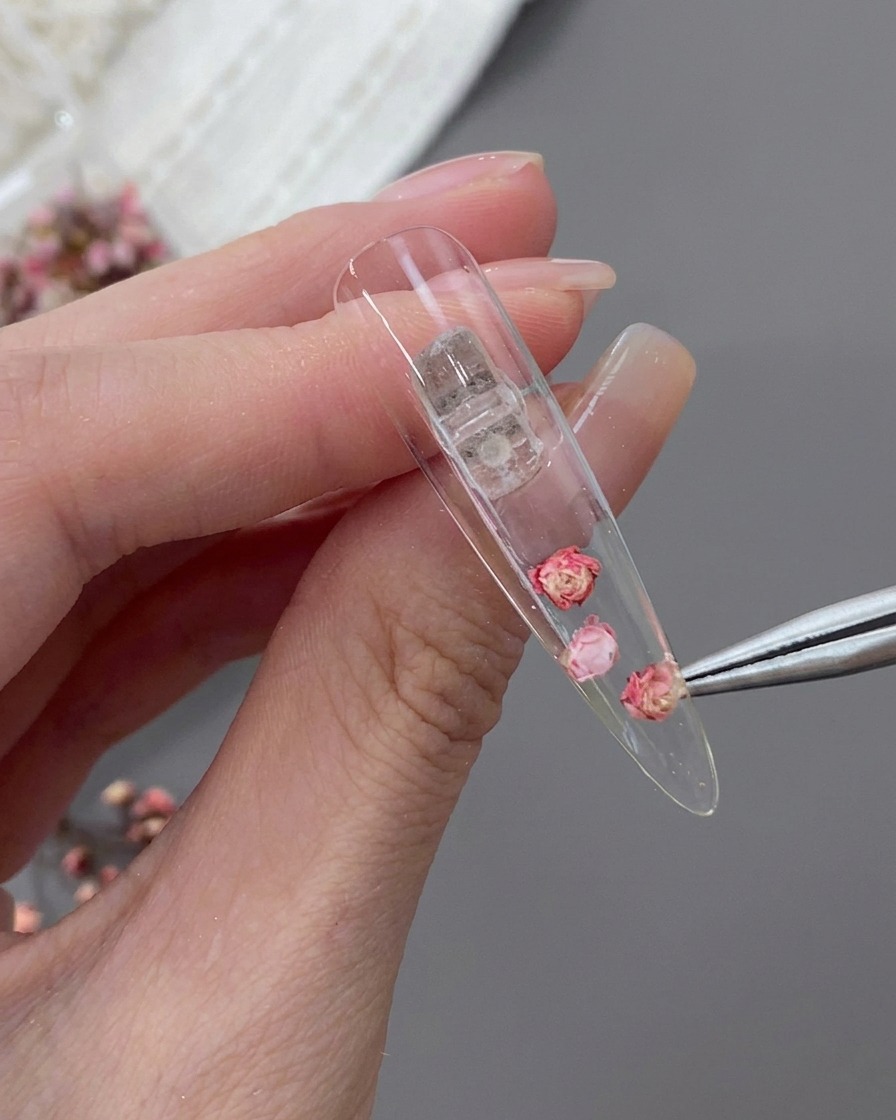
Using fine point tweezers, pick up smaller pink and white dried flowers and arrange them along the edges around the central rose. Be careful not to stick them too densely—leave a little space between the flowers to maintain a delicate, clear look. Check the alignment from the front of the nail to ensure the composition looks balanced.
Tip: Checking the design from the front while working on the back ensures the final encapsulated look will be perfectly placed when applied to the natural nail. - 3Embed rhinestones
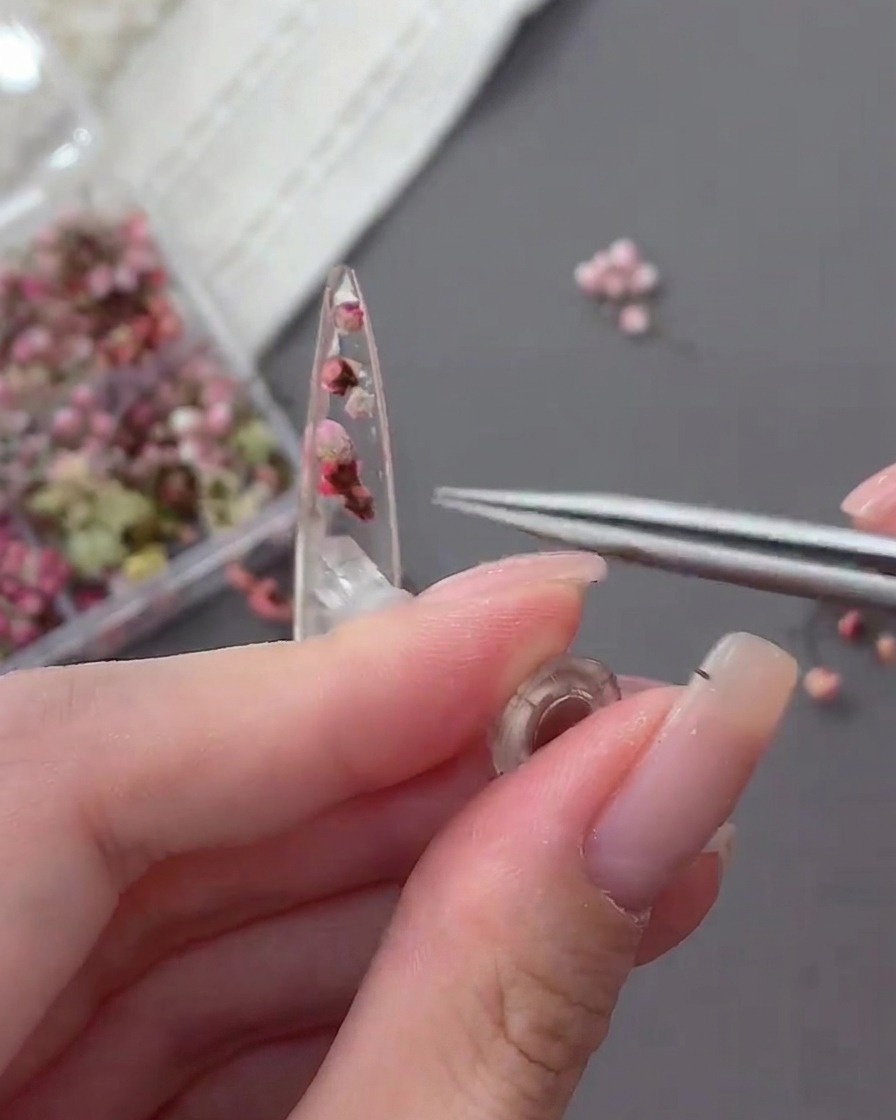
While the blooming gel is still wet, place small, transparent, round rhinestones with pointy backs among the embedded dried flowers. This adds a subtle, icy sparkle that complements the natural flowers. Ensure they are spaced out nicely before curing.
Tip: Use a wax pencil to pick up and place the small rhinestones easily. - 4Cure the design
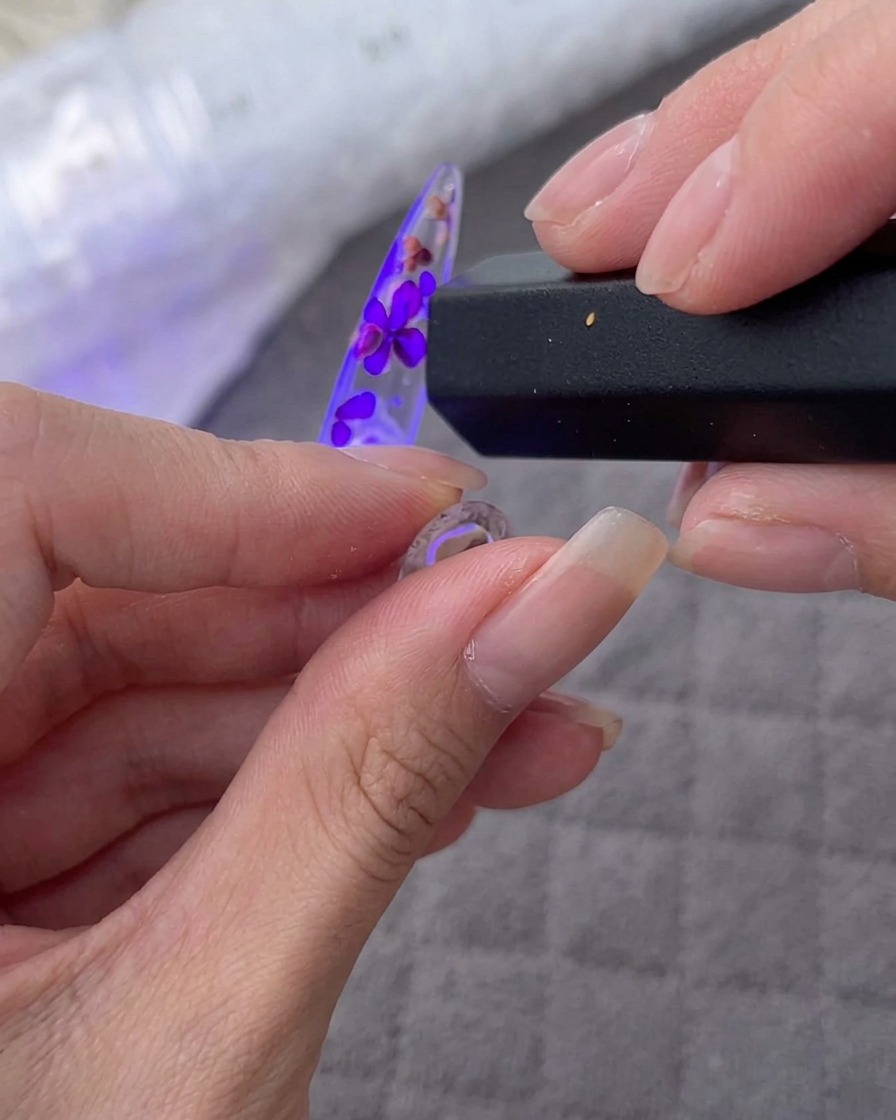
Once the flowers and rhinestones are perfectly positioned, place the nail tip under your UV/LED lamp. Cure for the full recommended time to ensure the gel is completely hardened and the decorations are securely locked in place.
Tip: Hold the nail steady to prevent the small rhinestones from shifting before the gel sets. - 5Encapsulate with top coat
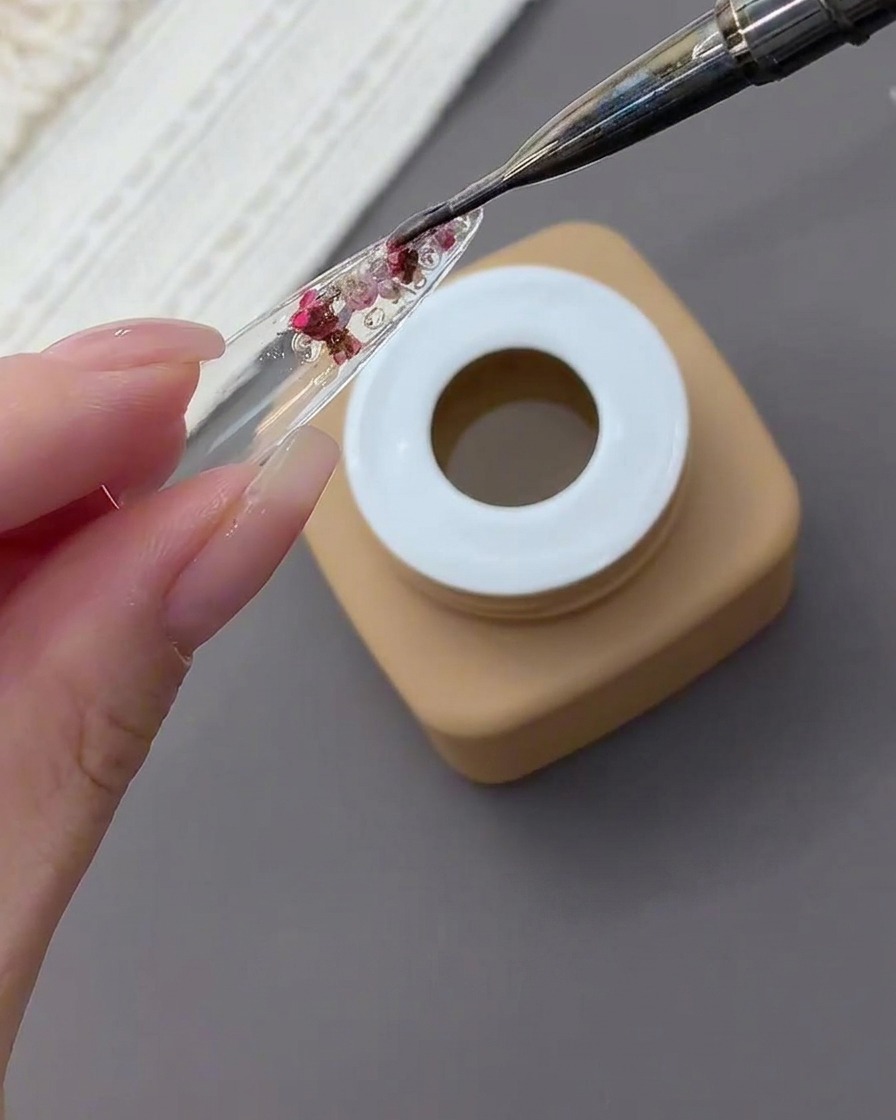
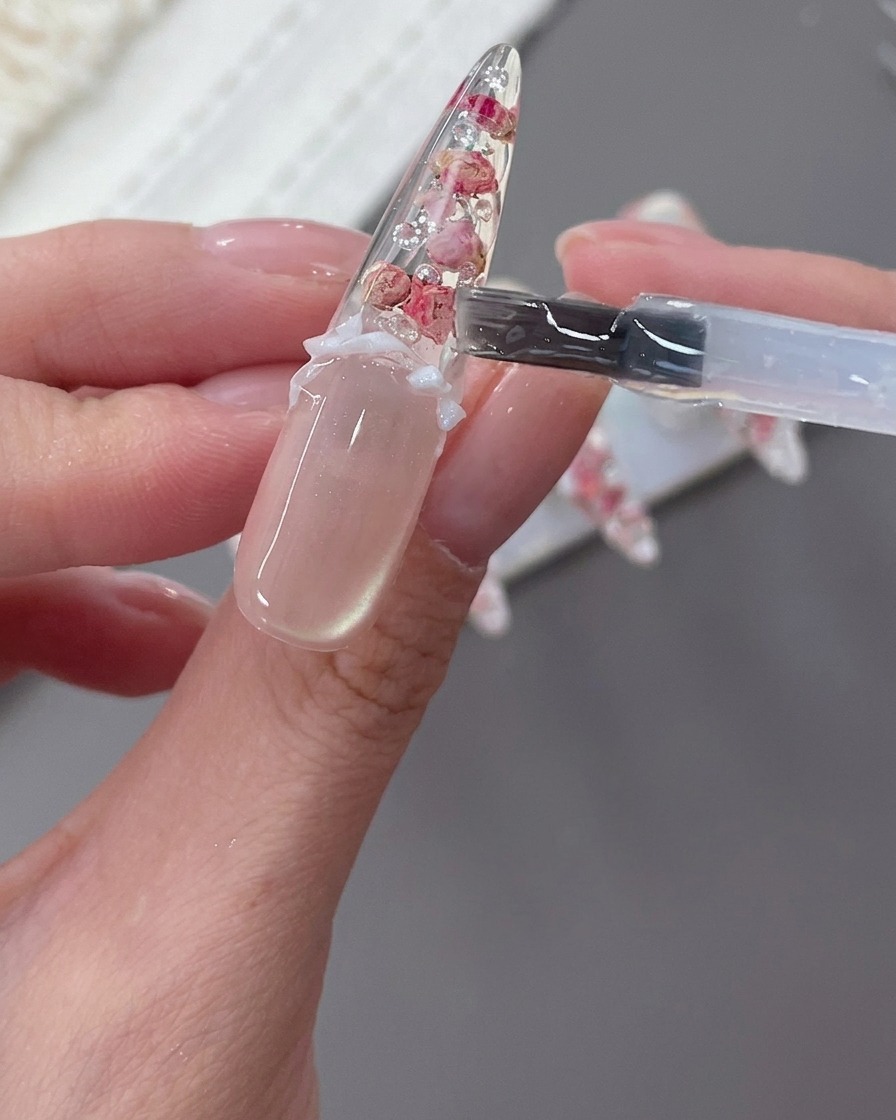
Once the flowers and rhinestones are cured in place, use a nail art brush to apply a thick layer of high-transparency top coat over the entire back of the nail tip. This step thoroughly encapsulates all the 3D elements, fills in any gaps, and levels the surface to make the overall design look incredibly clear, bright, and icy.
Tip: Float the top coat over the flowers rather than pressing down hard with the brush, which prevents air bubbles from getting trapped in the design. - 6Create a concealing gradient
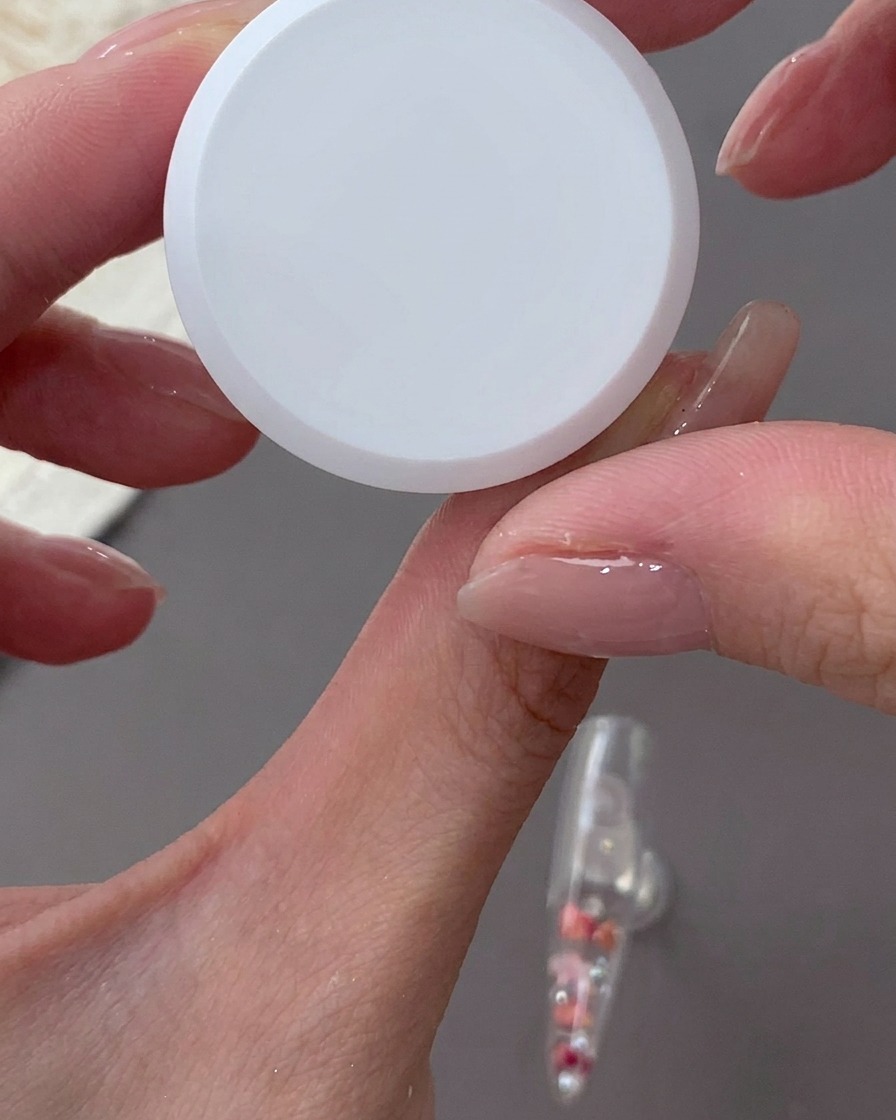
Apply a milky white patting gel to a small makeup sponge and gently dab it along the cuticle area of the nail tip. This creates a soft gradient that conceals the natural nail bed, providing a clean base for the cat-eye gel application.
Tip: Patting rather than brushing creates a more natural, diffused transition. - 7Final cure
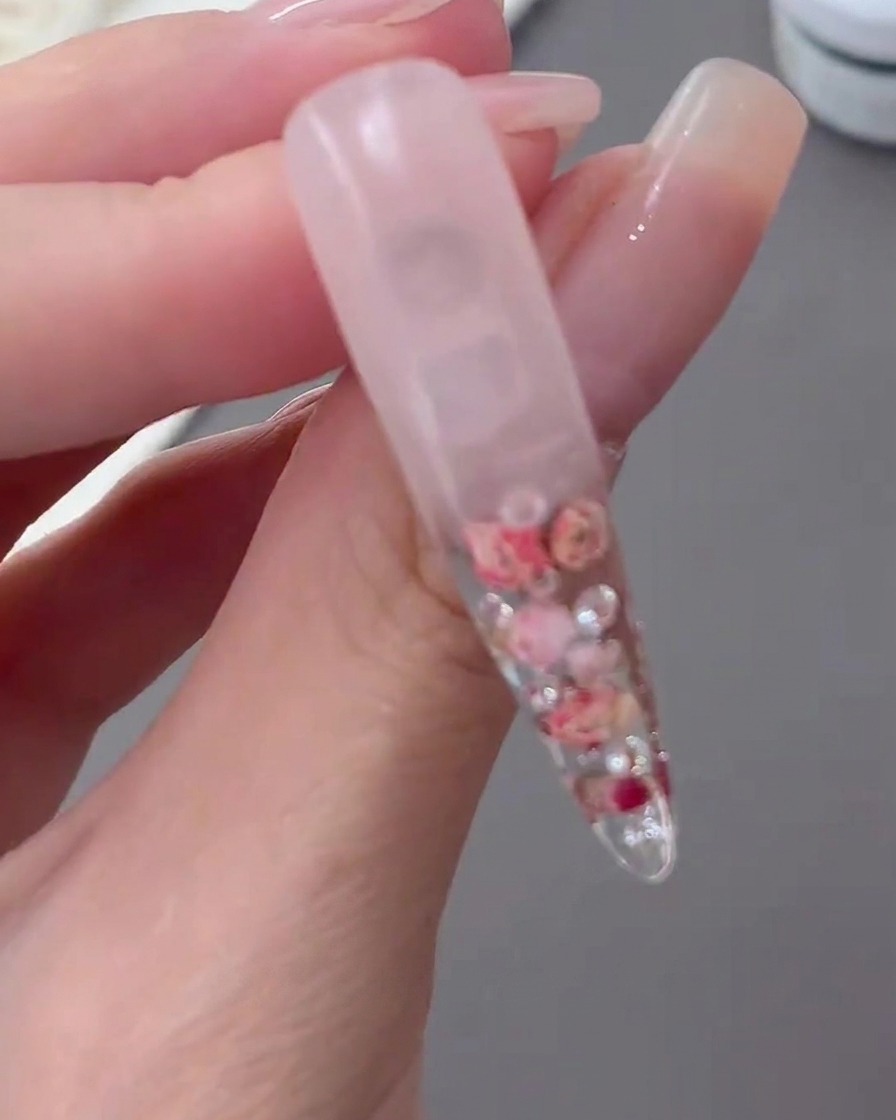
After creating the gradient, place the nail tip under the UV/LED lamp again to cure the encapsulated layers and the milky gradient edge. This final cure ensures the entire structure is stable and ready for the next layer of color.
Tip: Make sure the entire nail surface is exposed to the lamp light for an even cure. - 8Apply cat-eye gel
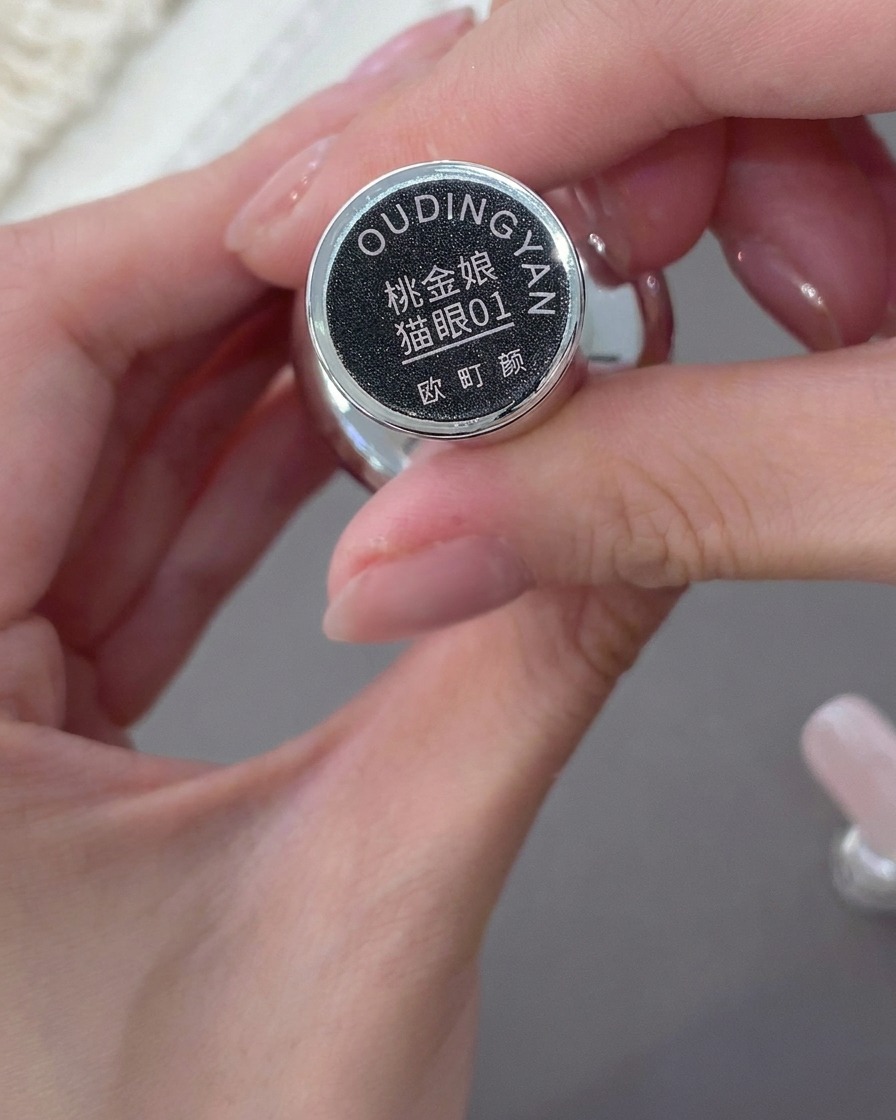
Apply an even coat of a sheer pinkish-nude cat-eye gel polish, such as a gentle Myrtle shade, over the entire nail surface. Do not cure immediately; this wet layer is absolutely necessary for the magnetic effect to activate properly.
Tip: Keep the coat thin to ensure the magnetic particles can move freely. - 9Create magnetic effect
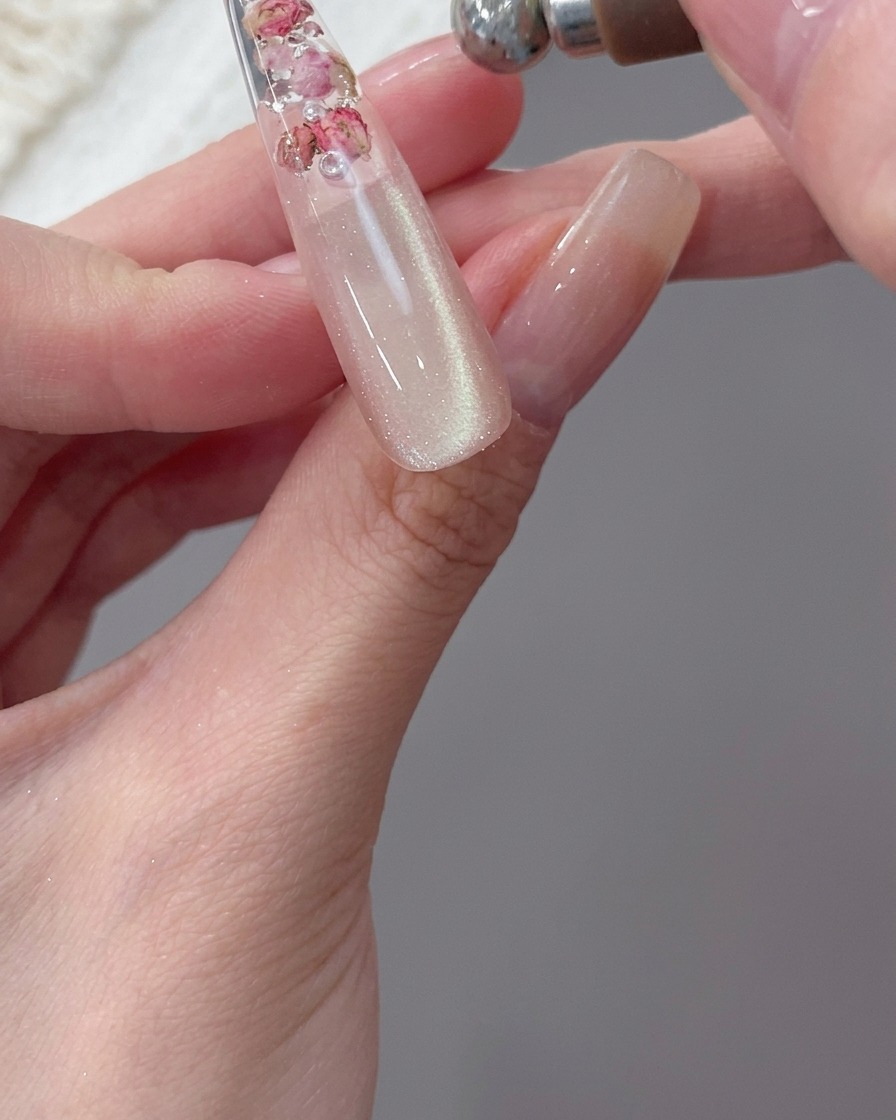
Hold a cylindrical magnet alongside the nail surface, moving it slightly to pull the magnetic shimmer particles into a wide, bright band of light. Refine the shape of the light using the magnet until you achieve the desired cat-eye effect.
Tip: Experiment with the magnet angle to control the width and intensity of the shimmer band. - 10Create cat-eye effect
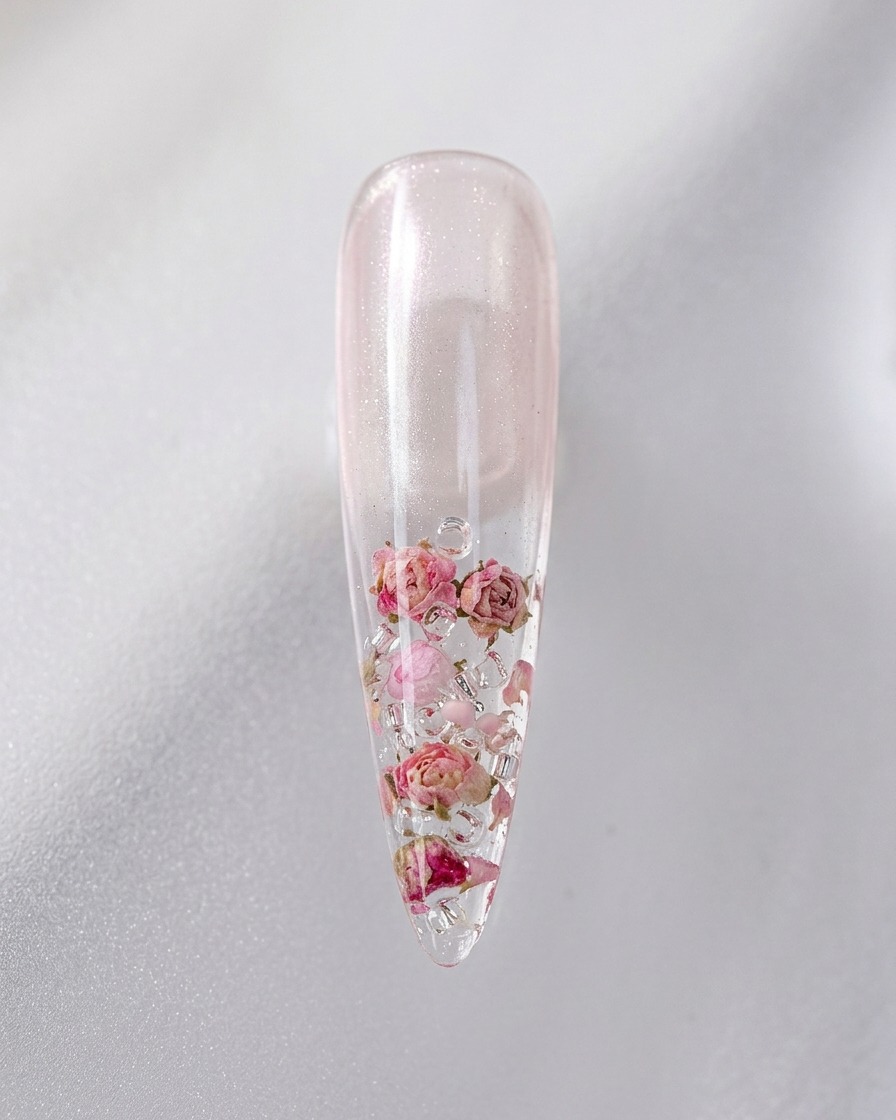
With the cat-eye gel applied, use a spherical glass bead magnet to gently push and refine the magnetic particles. Move the magnet toward the tip to concentrate the shimmer and enhance the cat-eye reflection, creating a bright, glowing effect across the surface.
Tip: Work in small, controlled motions to avoid over-mixing the particles; you want a sharp, defined line of light. - 11Prepare 3D bow
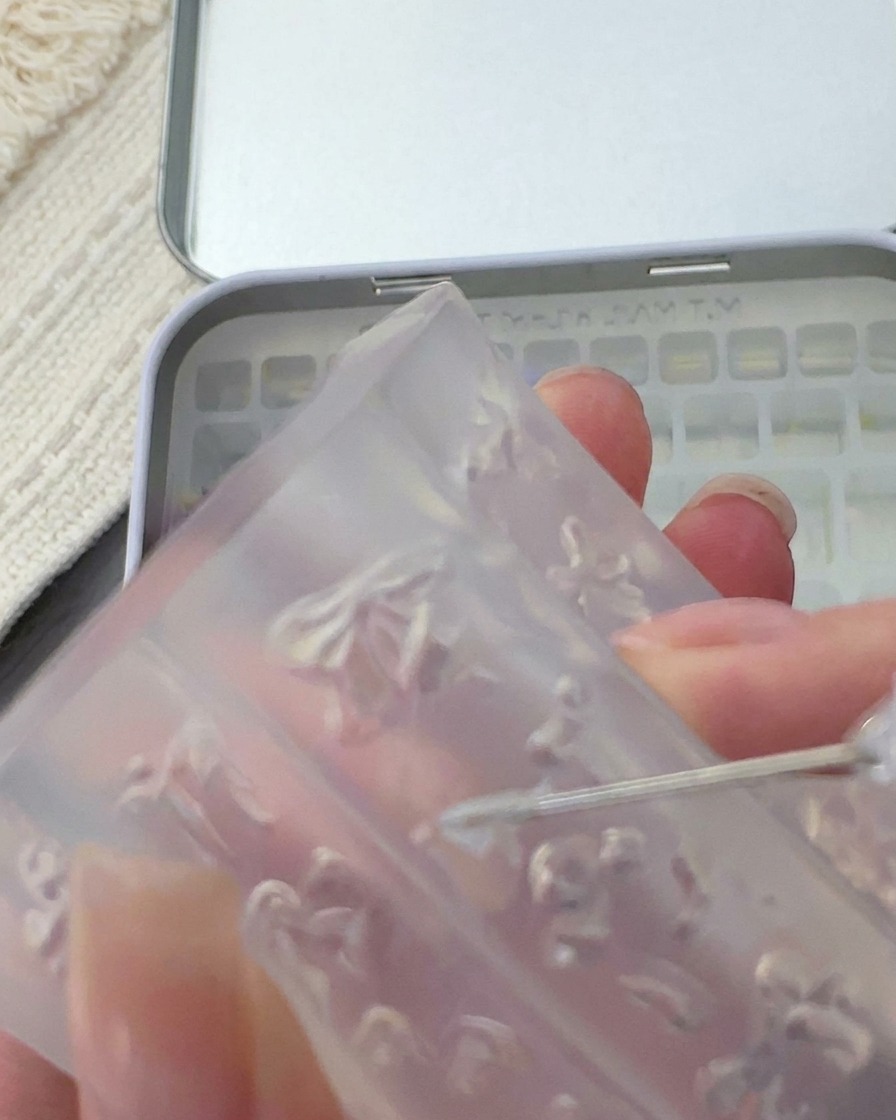
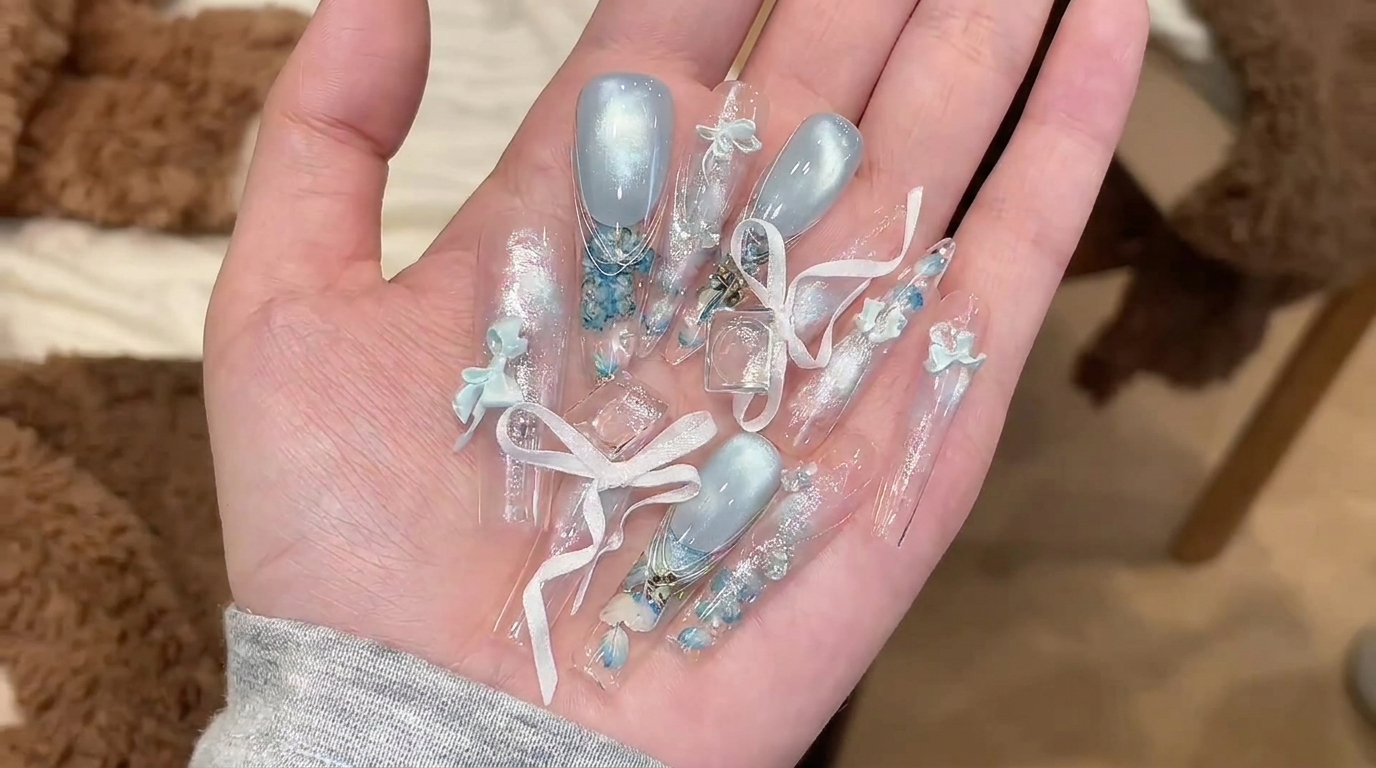
Using a fine-tipped tool, carefully lift the pre-molded 3D white gel bow out of the silicone carving mold. Ensure the bow is fully cured and maintains its shape before removing it, as this detail will be a focal point on the nail.
Tip: Be gentle when lifting to avoid distorting the delicate edges of the bow. - 12Place the 3D bow
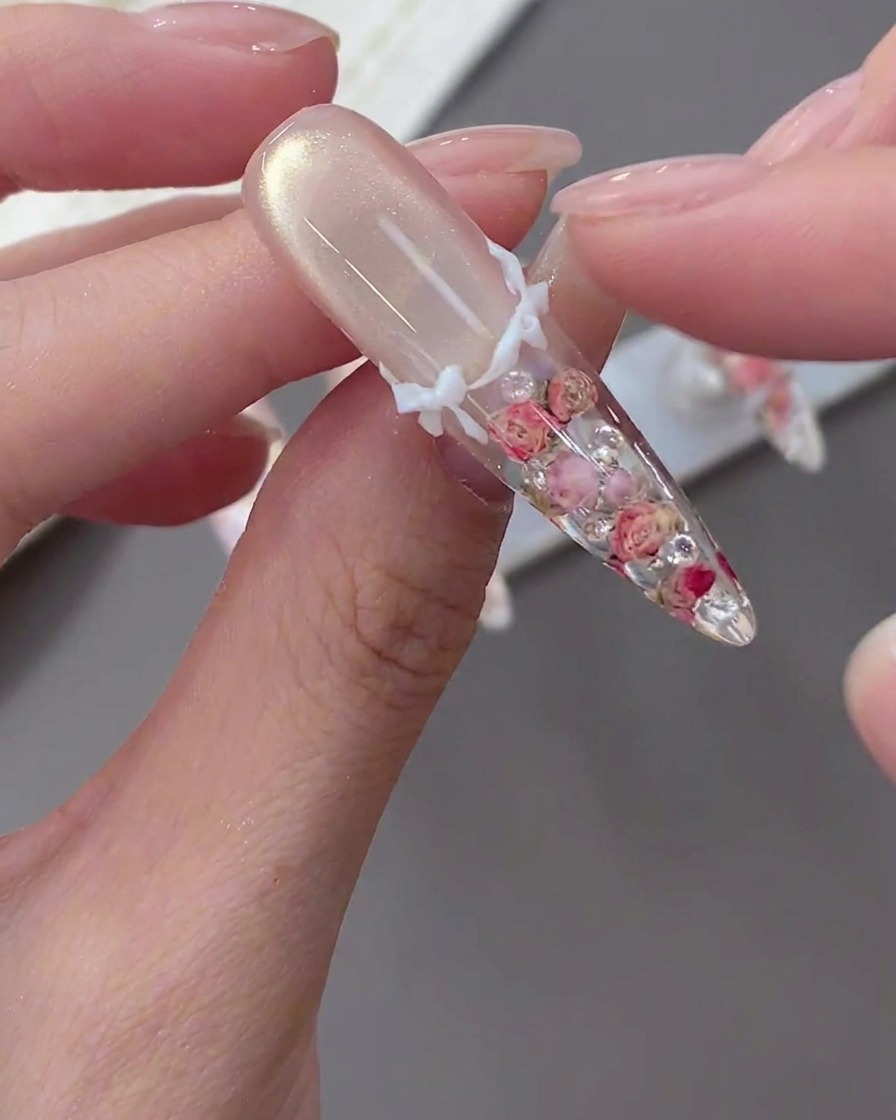
Apply a small amount of adhesive gel to the desired area, then firmly press the 3D white bow onto the middle-upper section of the nail surface. Adjust its position to ensure it is centered and secure.
Tip: Use a steady hand to place the bow; once set in the adhesive, it should not be moved excessively. - 13Encapsulate the bow
Using a thin brush, apply clear top coat carefully around the edges of the 3D bow and over the entire nail surface. This step encapsulates the charm, ensuring it remains securely attached and protected from snagging.
Tip: Ensure the top coat fills the gaps around the bow for a smooth, seamless finish. - 14Add final embellishments
Carefully place tiny white pearls and rhinestones around the center of the 3D bow to add extra elegance. Once all decorations are in place, cure the nail under the lamp to lock everything into position for the finished look.
Tip: Use a wax pencil or tweezers for precise placement of these small embellishments.