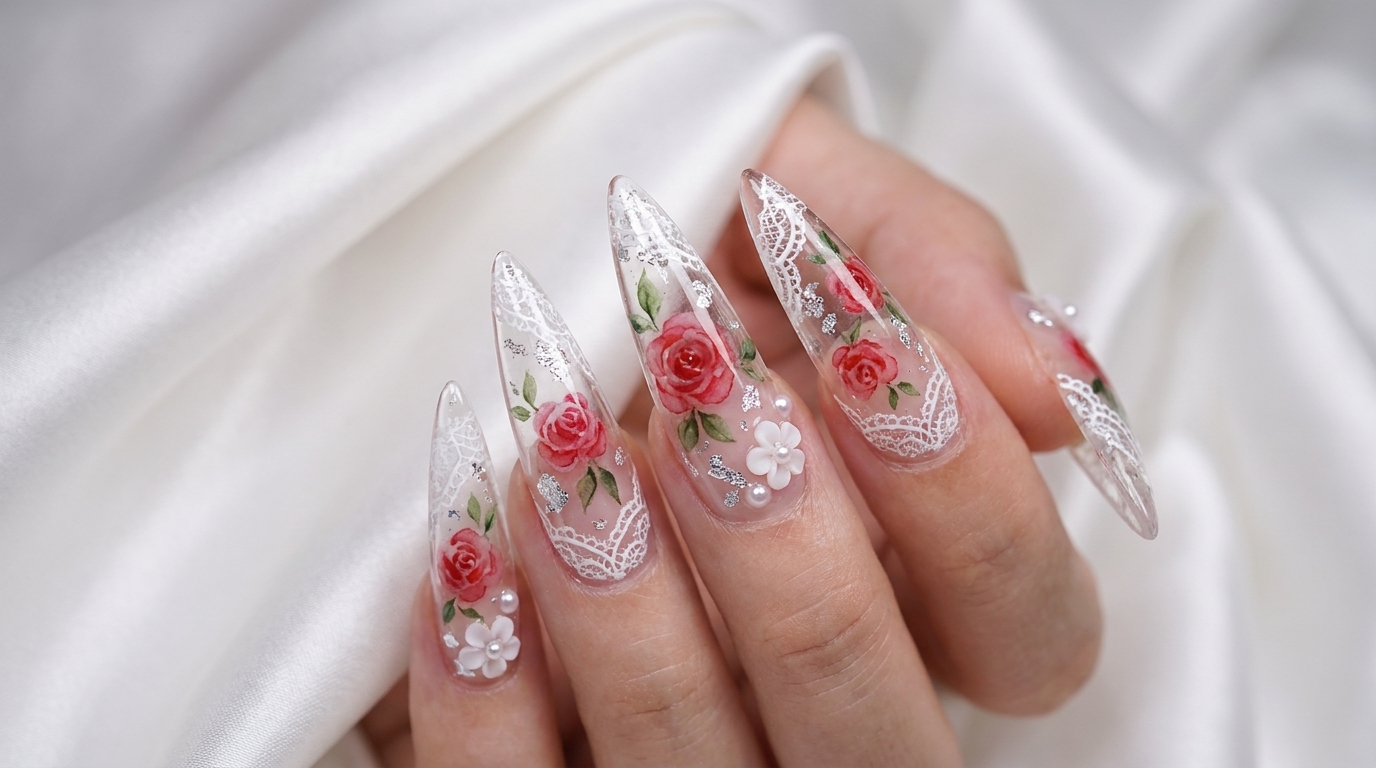
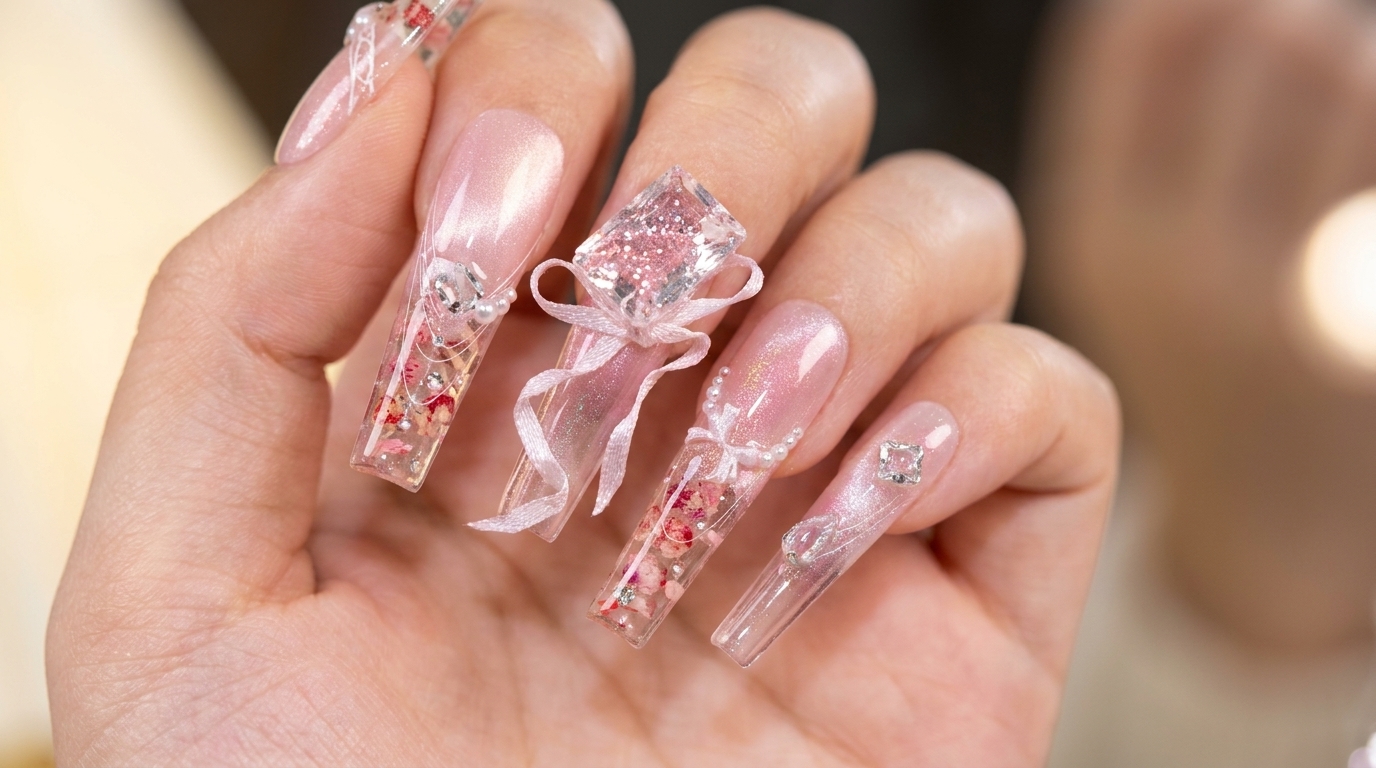
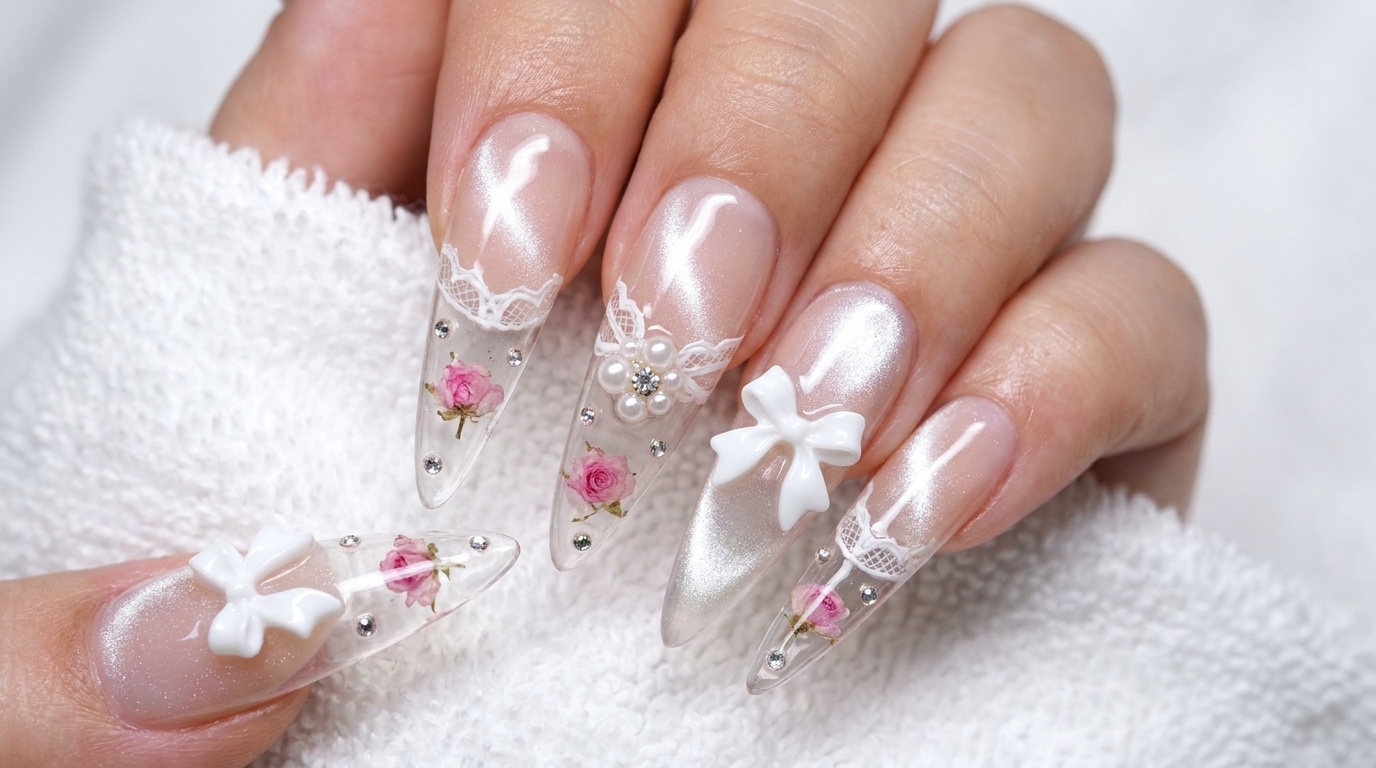
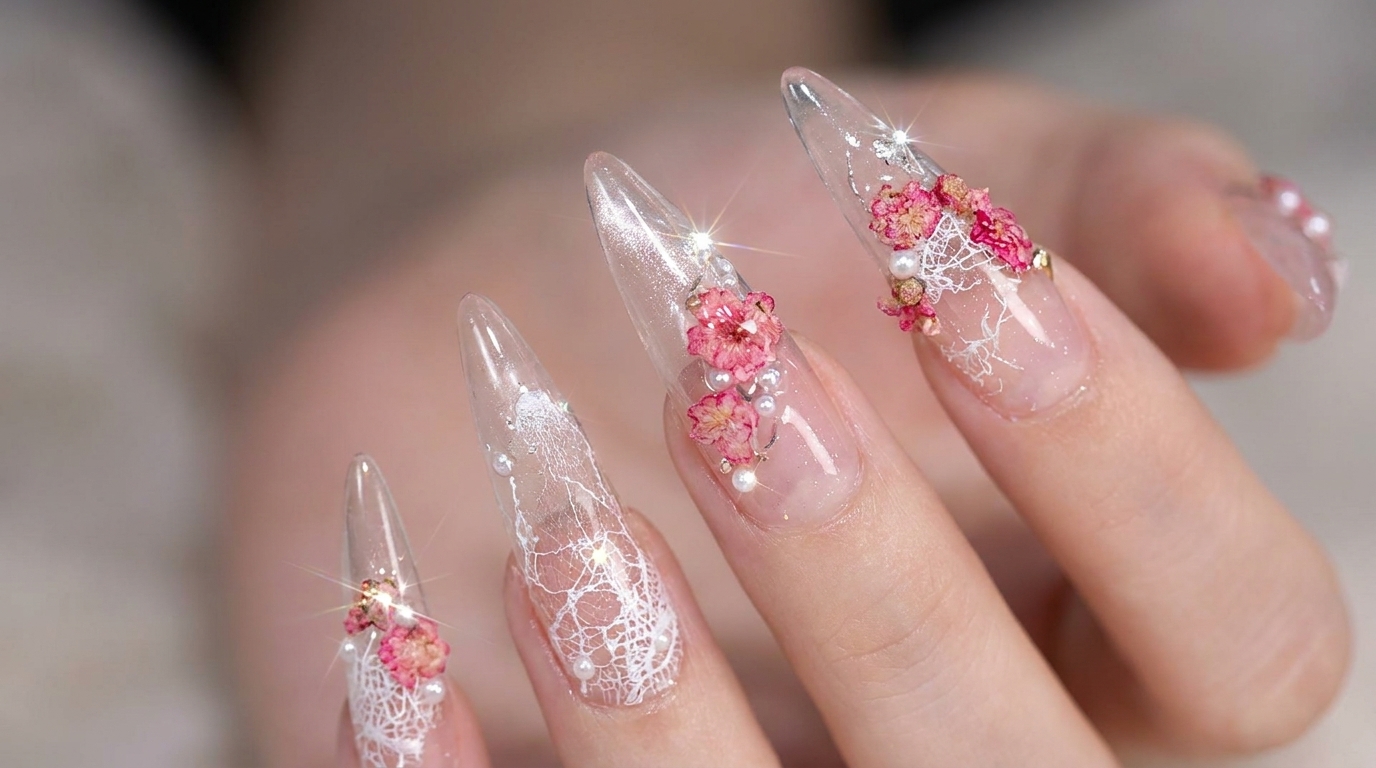
Encapsulated Dried Flower Nail Art — Professional Frosted Design Tutorial
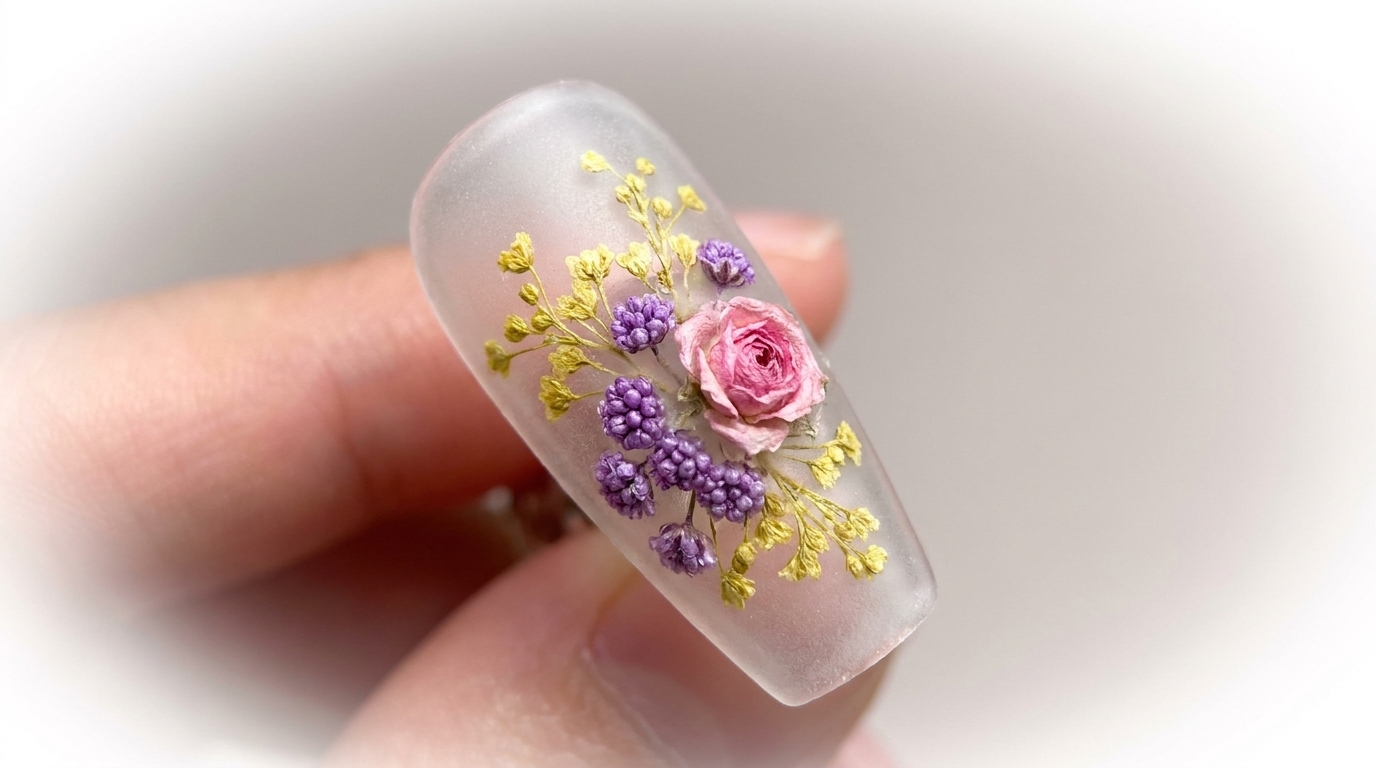
Create a stunning oil-painting aesthetic with encapsulated dried flowers. This guide shows you how to securely embed delicate botanicals in a matte finish.
Encapsulating dried flowers requires precision, especially when working with varied shapes like roses and delicate botanical accents. By using a specialized watercolor matte top coat, you can achieve a textured, frosted look that protects the flowers while ensuring they remain securely anchored to the nail. This technique transforms simple pressed flowers into a sophisticated, artistic design that feels like a miniature oil painting.
Steps
- 1Trim the dried flower base
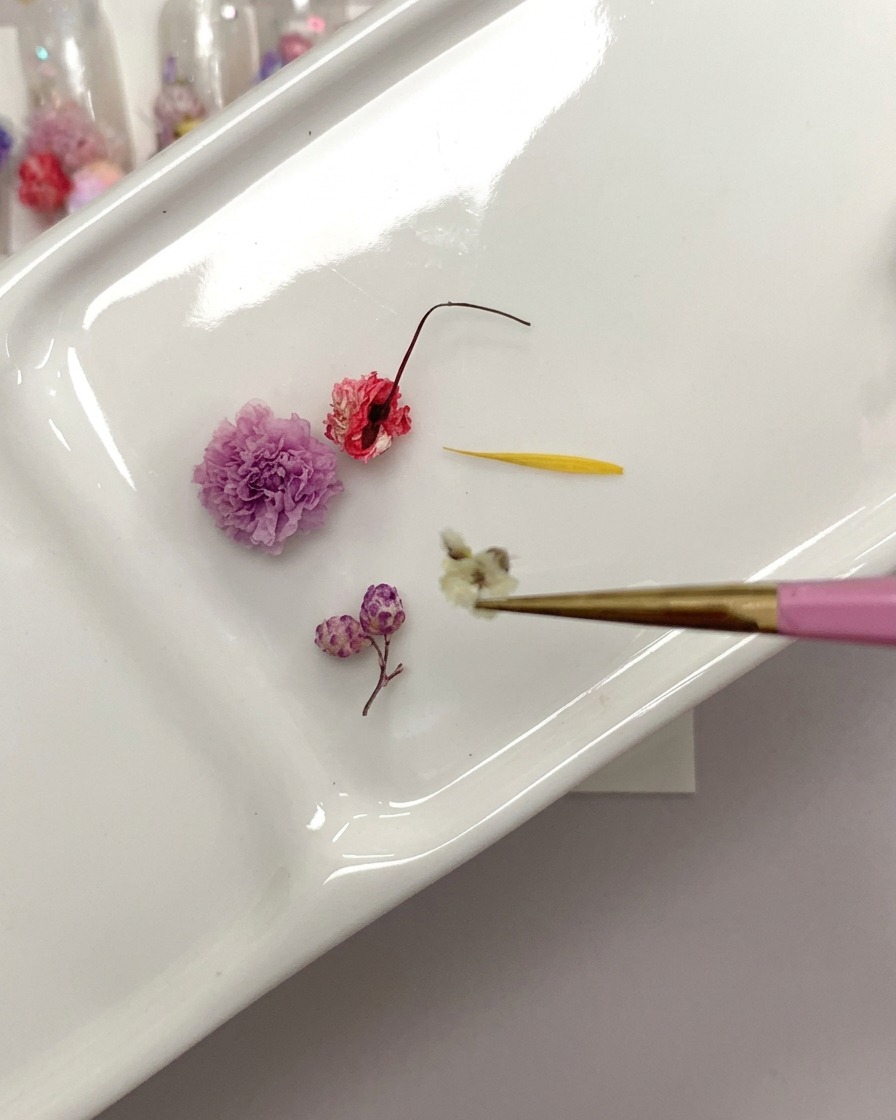
Using tweezers, carefully trim any excess twigs or stems from the base of the dried rose. Removing these extra bits ensures the flower can sit flush against the nail surface, which is essential for secure adhesion and a clean, professional finish.
Tip: Be gentle when trimming to avoid damaging the delicate petals of the dried rose. - 2Apply frosted gel glue
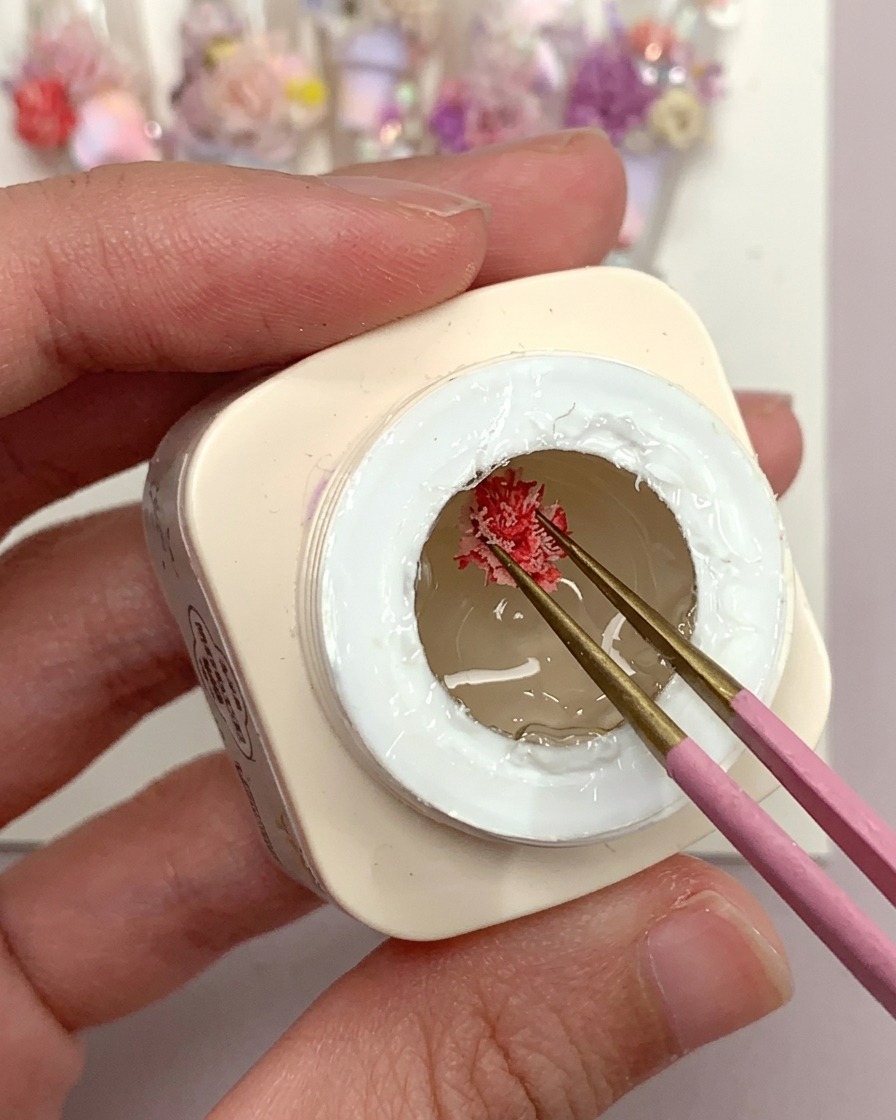
Apply a sufficient amount of frosted gel glue onto the area of the clear nail tip where you intend to place the dried rose. This gel acts as the adhesive base that will hold the flower securely in place.
Tip: Ensure the layer of glue is thick enough to allow the flower base to be partially embedded for a stronger hold. - 3Place the dried rose
Carefully pick up the prepared dried rose with your tweezers and place it directly into the wet frosted gel glue on the nail tip. Position it exactly where you want it before the glue sets.
Tip: Check the positioning from multiple angles to ensure the rose is centered and looks aesthetically pleasing. - 4Embed the flower
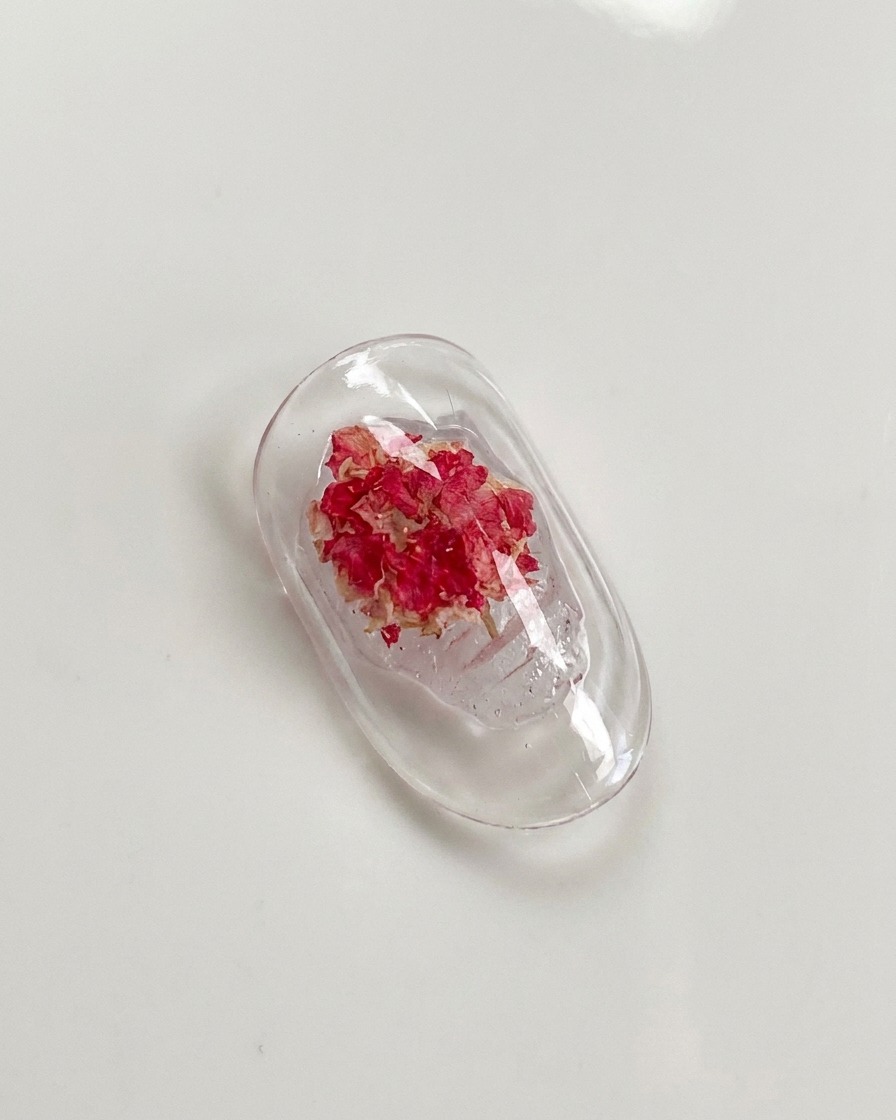
Using a detail brush, gently press down on the center and base of the rose to ensure it is firmly embedded into the frosted glue. This ensures the flower wont move and provides a secure foundation for the next steps.
Tip: Apply gentle pressure so you dont crush the delicate petals of the rose. - 5Apply matte top coat
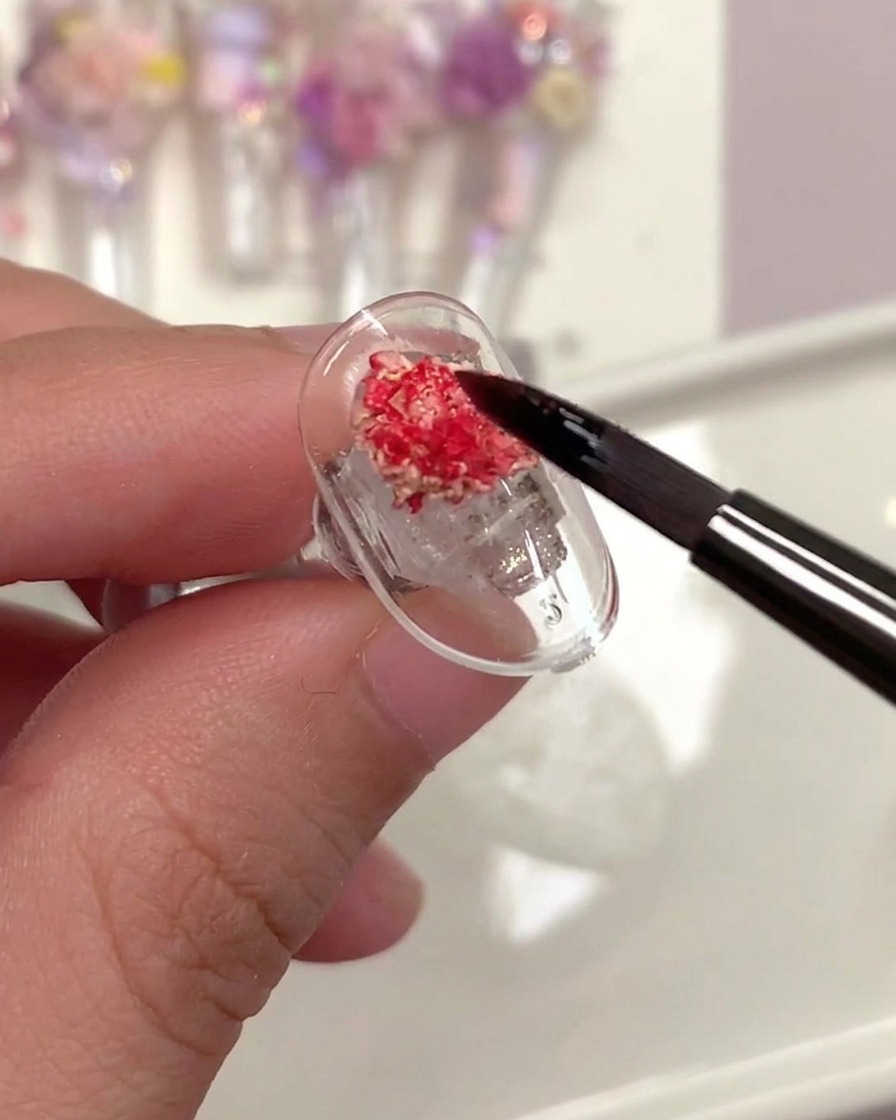
Apply a layer of watercolor matte top coat over the surface of the dried rose and the surrounding nail area. This helps to encapsulate the flower, providing a protective layer and a beautiful frosted oil-painting texture.
Tip: Make sure to get the top coat into the gaps of the flower for a complete and secure encapsulation. - 6Cure the nail
Place the nail under a UV/LED lamp to cure the watercolor matte top coat. This step locks in the flower, ensuring a secure and long-lasting finish with the desired frosted effect.
Tip: Follow your lamps recommended curing time to ensure the gel is fully hardened. - 7Select flower materials
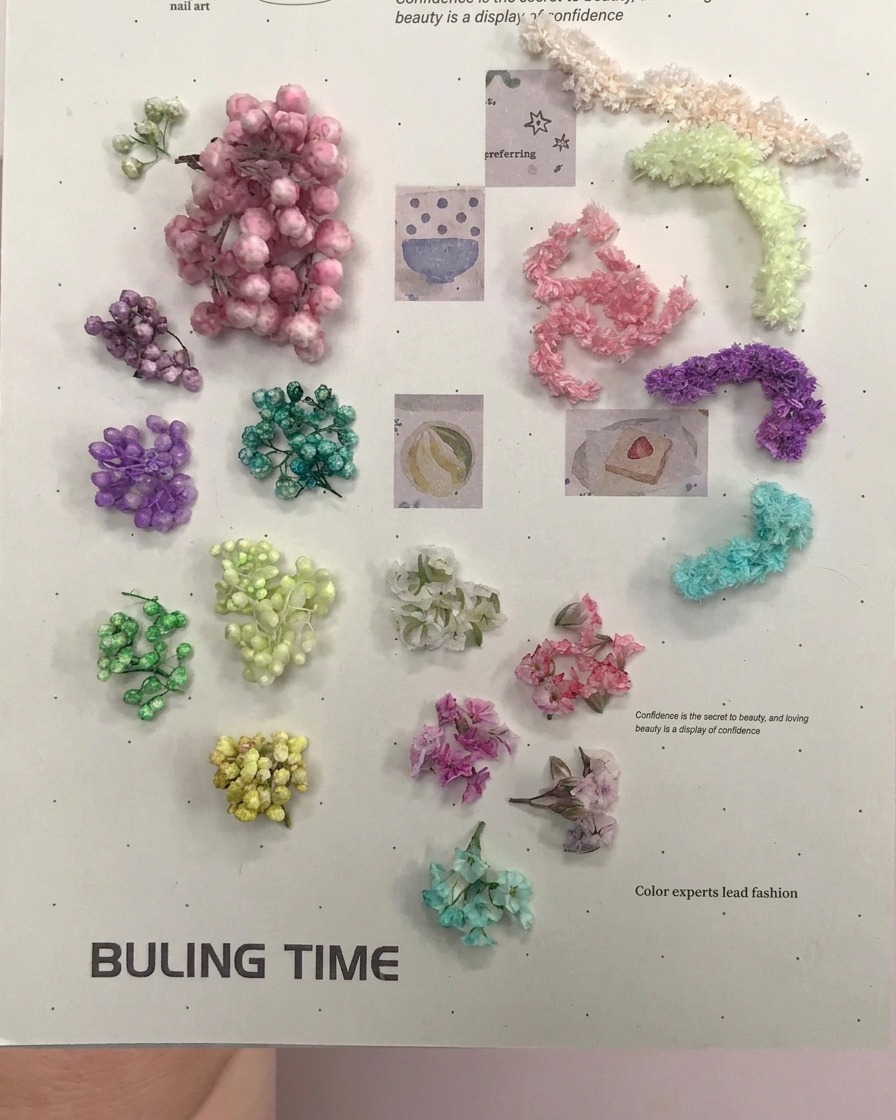
Using a pair of precision tweezers, carefully pick up the small purple flower balls from your material palette. Ensuring you have the right components ready makes the encapsulation process much smoother and more efficient.
Tip: Keep your workspace organized so you can easily access different flower materials during the application. - 8Apply glue and place flower balls
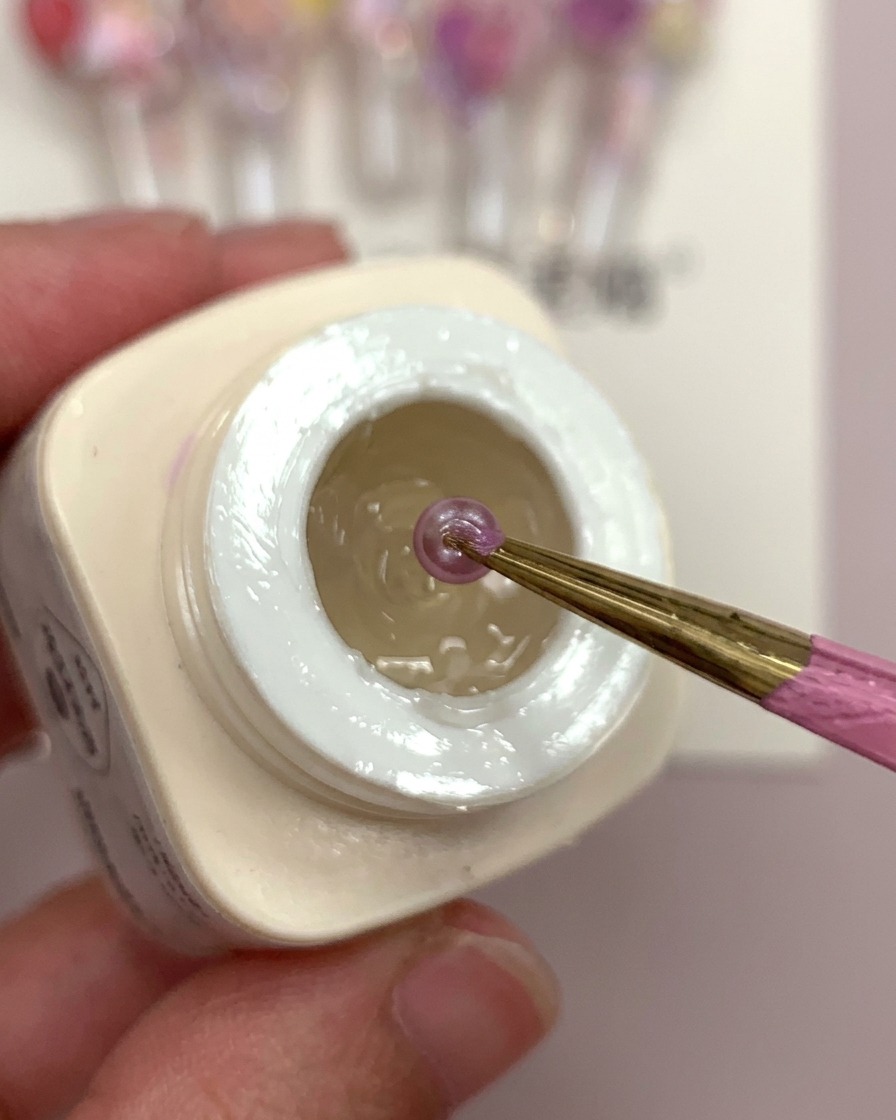
Apply a small amount of frosted glue to the desired area on the nail surface. Use tweezers to place the purple flower balls into the wet glue, ensuring they are positioned exactly where you want them for the final design.
Tip: Check the positioning from multiple angles before moving to the next step to ensure the placement is perfect. - 9Press flowers into position
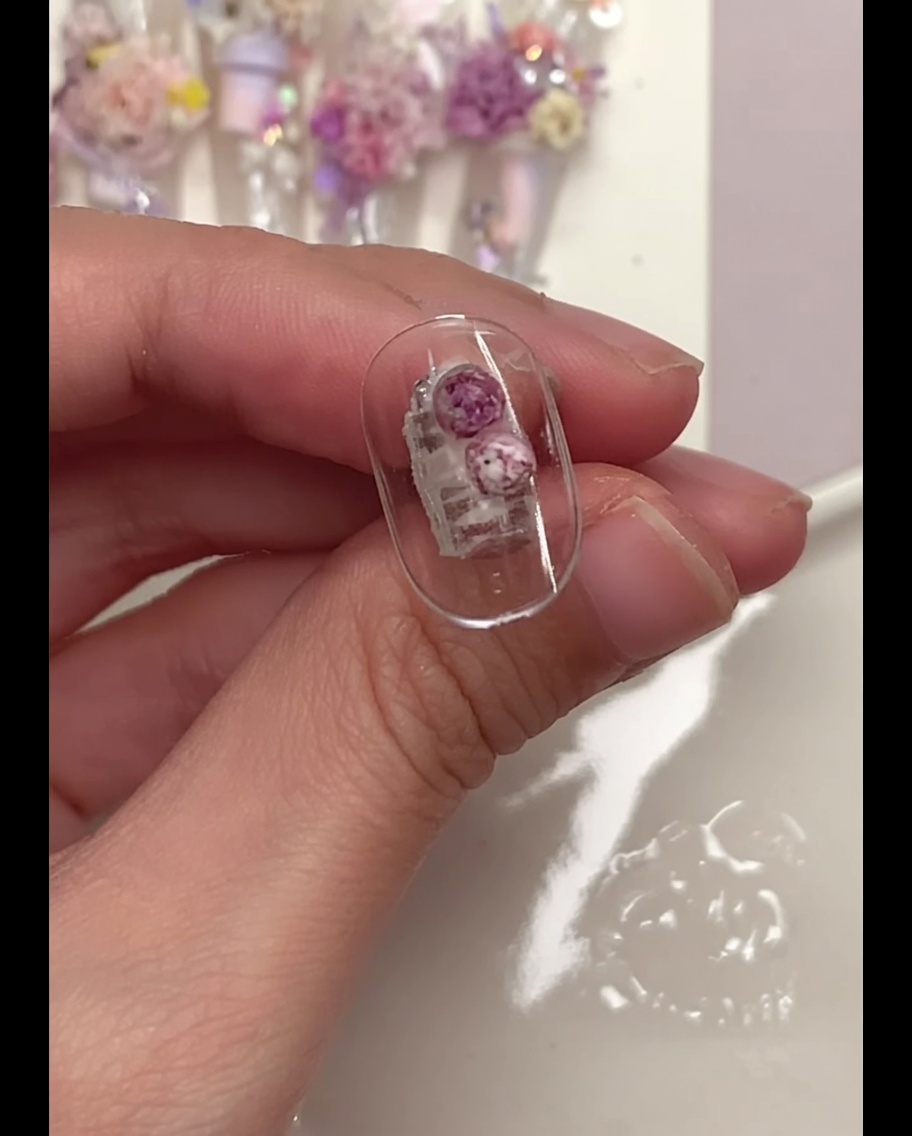
Gently use a detail brush to press the flower balls firmly into the glue. This ensures the base of the material is fully embedded for a secure hold, preventing the flowers from catching or falling off later.
Tip: Apply gentle pressure; you want to embed the material without squashing the delicate flower texture. - 10Select trumpet-shaped flower head
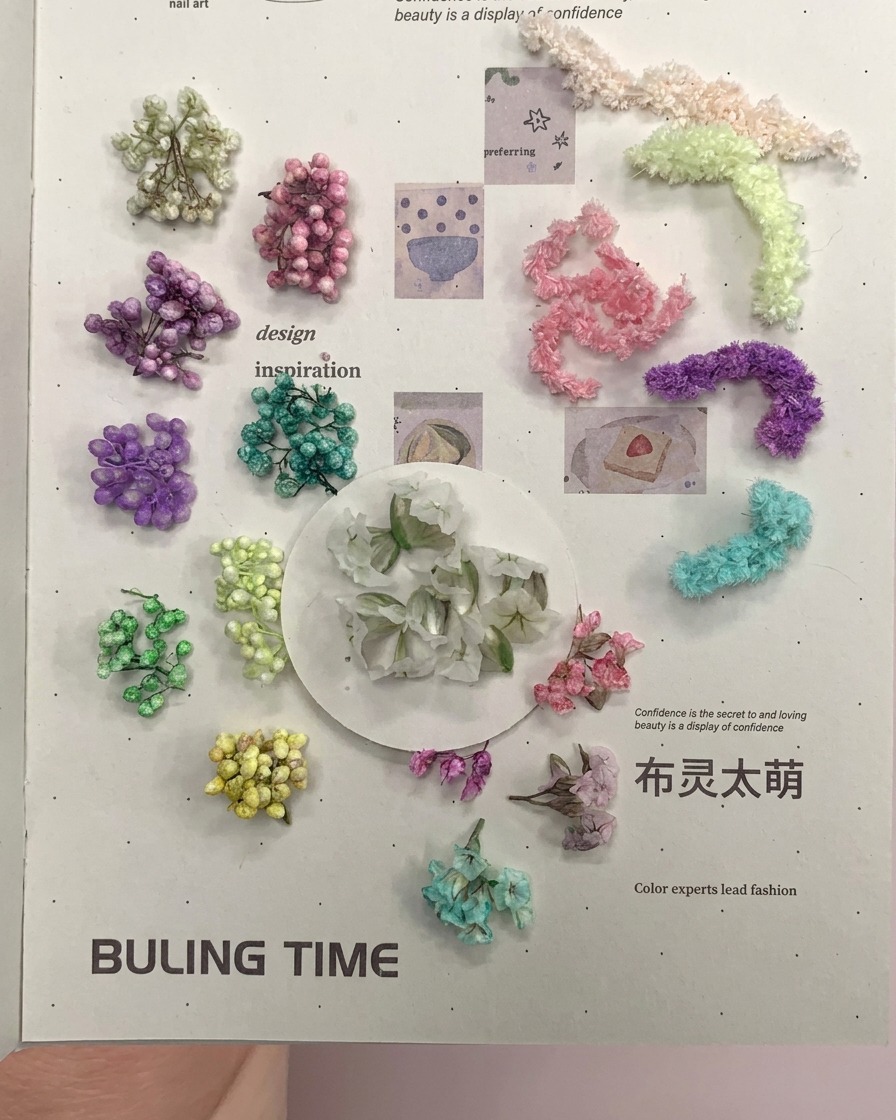
Using tweezers, select a trumpet-shaped flower head. Because these have a more pointed base, they require a specific approach when being fixed to the nail to ensure stability.
Tip: Since these flower heads are more pointed, it is often best to fix them adjacent to other, flatter flower materials for better support. - 11Place the flower head
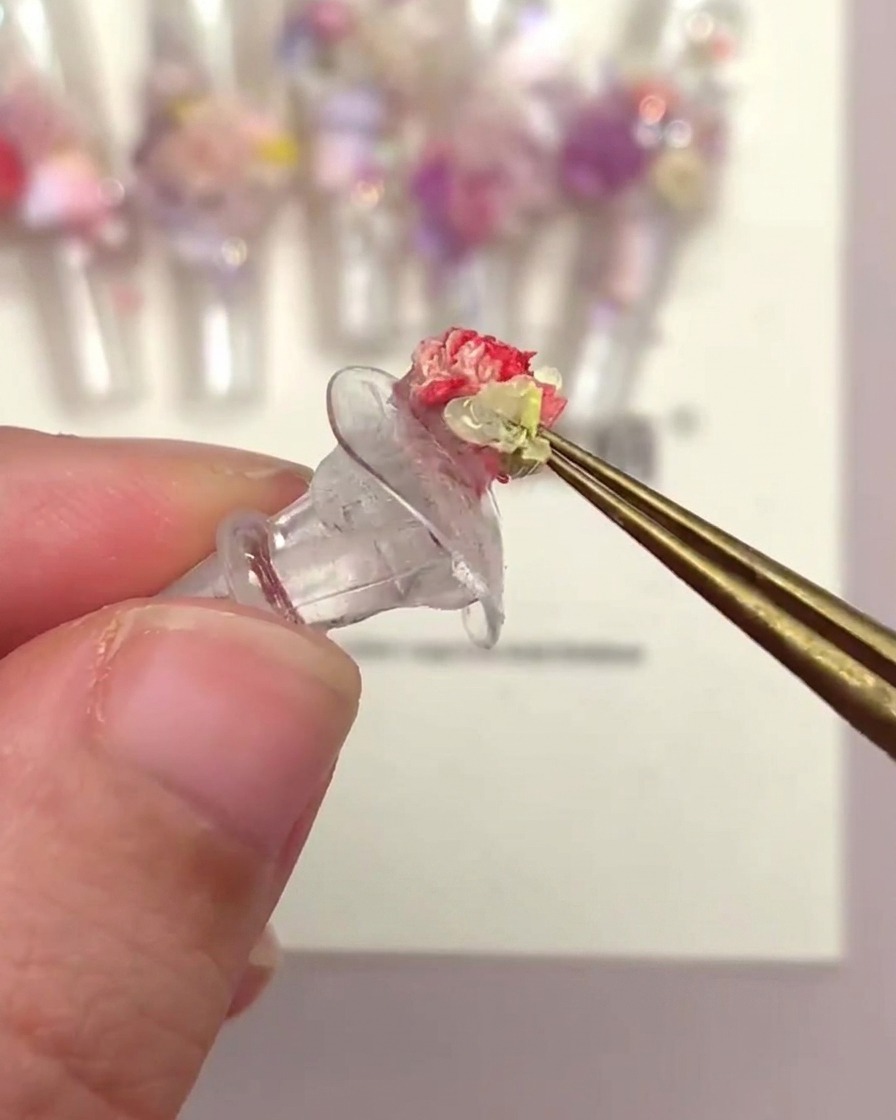
Position the trumpet-shaped flower head onto the nail tip, ideally next to other existing flowers to provide extra support for its pointed base. Press firmly to ensure it is secure.
Tip: Using external force to fix these pointed flower heads is essential for long-lasting wear. - 12Encapsulate linear flower material
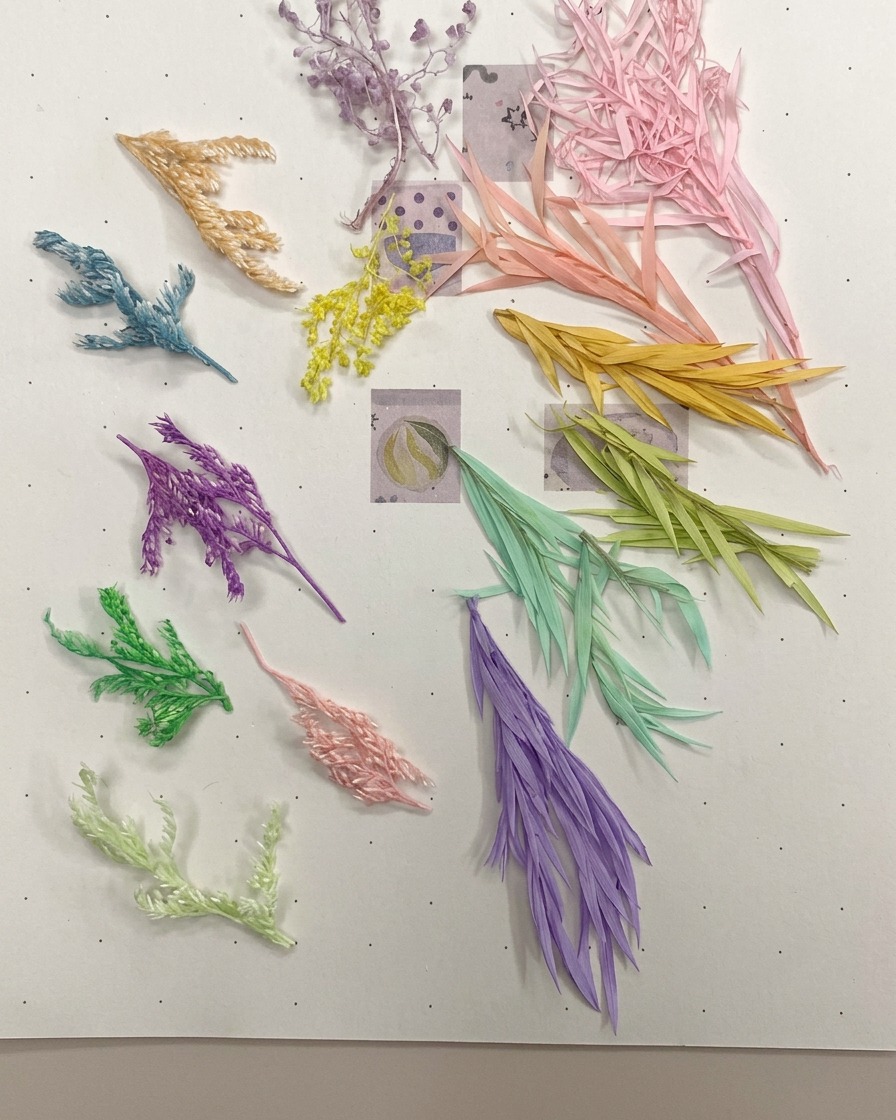
Place the yellow linear flower material onto the nail. To ensure it is fully secure, apply a thin layer of watercolor matte top coat on both the surface and underneath the flower, making sure all sides are covered.
Tip: Curing after this application ensures the material stays securely in place. - 13Apply watercolor matte top coat
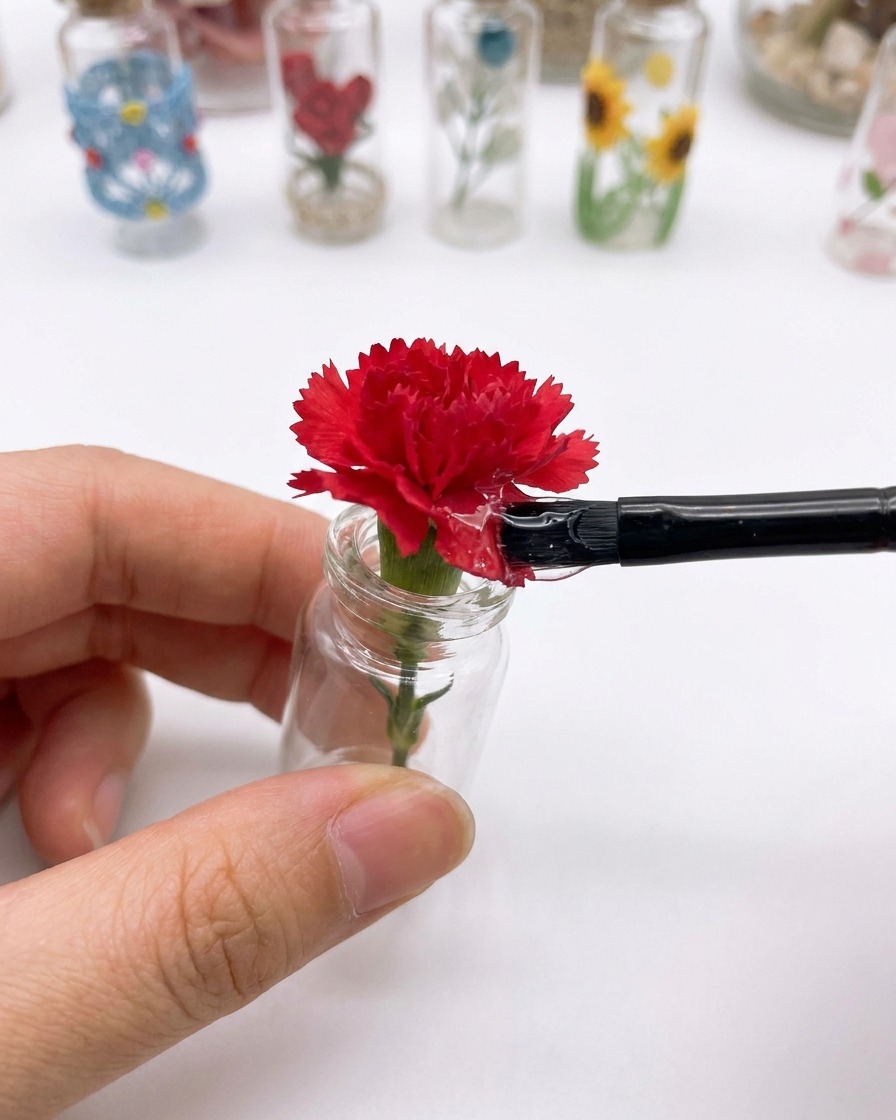
Apply a thin, even layer of the watercolor matte top coat over the surface of the flower and its base. Ensure all gaps and the bottom of the flower are coated to secure the placement effectively. Cure under your UV/LED lamp to finish the encapsulation, achieving a durable, frosted texture.
Tip: Applying the top coat to both the surface and the base of the flower is essential to ensure it remains securely attached and wont fall off. - 14Secure underneath the flowers
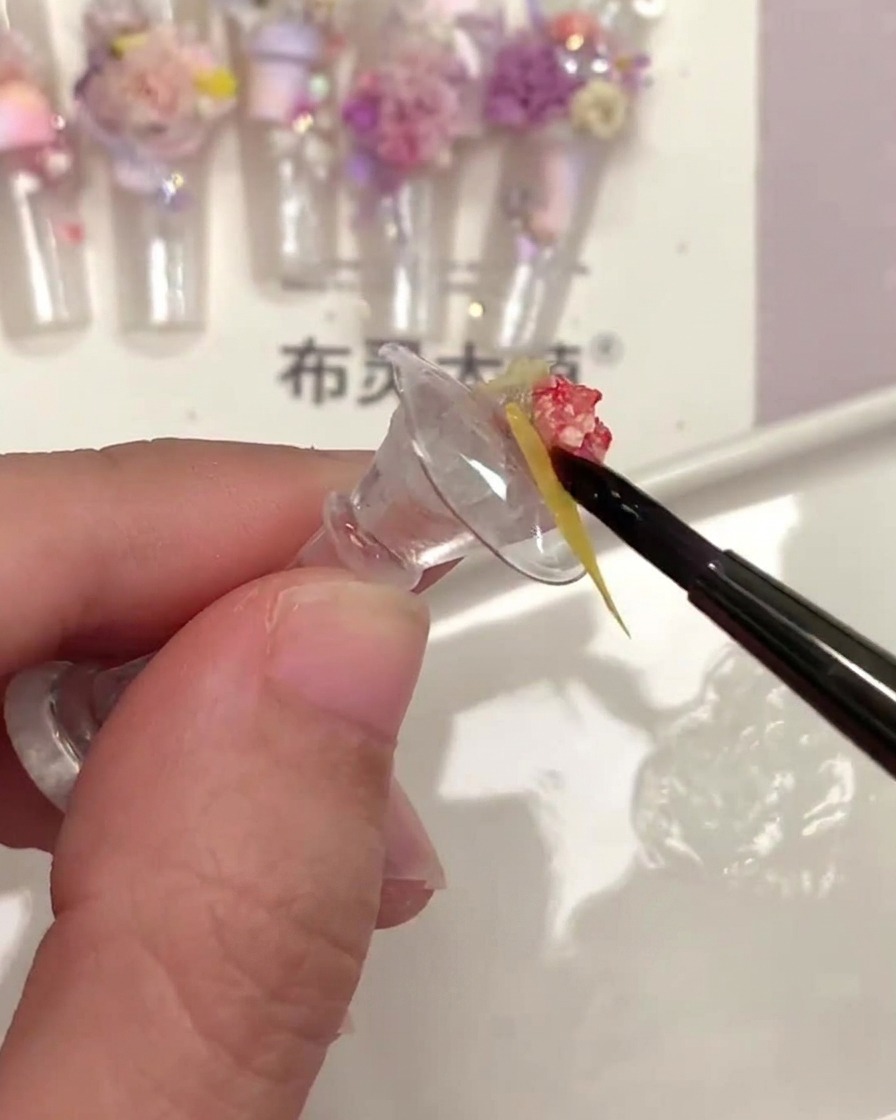
Apply a thin layer of matte top coat beneath the pointed and linear flower elements. Brushing the top coat on the bottom ensures that these pieces are fully encapsulated and securely anchored to the nail surface and adjacent floral pieces.
Tip: Positioning pointed flower materials next to larger, more stable flowers provides extra support during encapsulation. - 15Cure the design
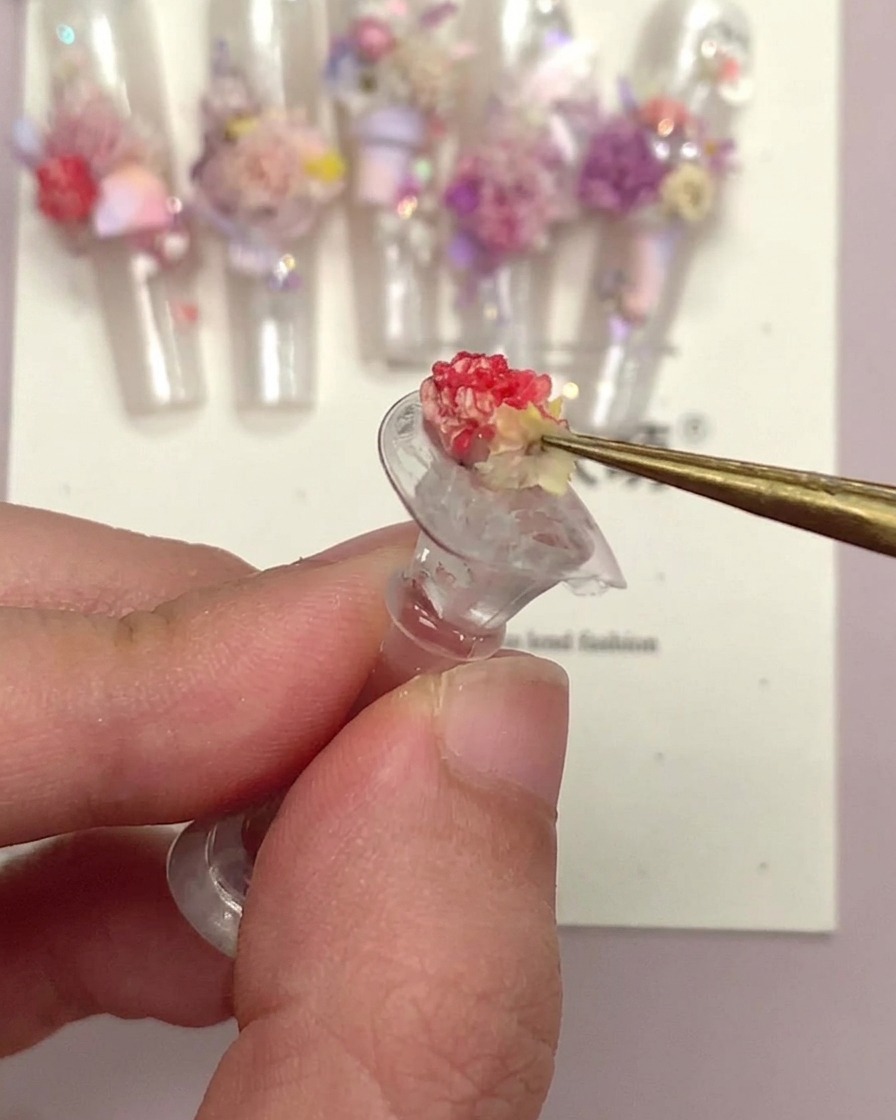
After placing the flower and applying the watercolor matte top coat, place the nail charm under your UV or LED lamp to cure. This locks the dried flower in place and completes the encapsulation process, ensuring the frosted oil-painting texture is set securely.
Tip: Ensure the flower is firmly pressed into the base glue before curing to prevent it from shifting during the process. - 16Inspect the encapsulation
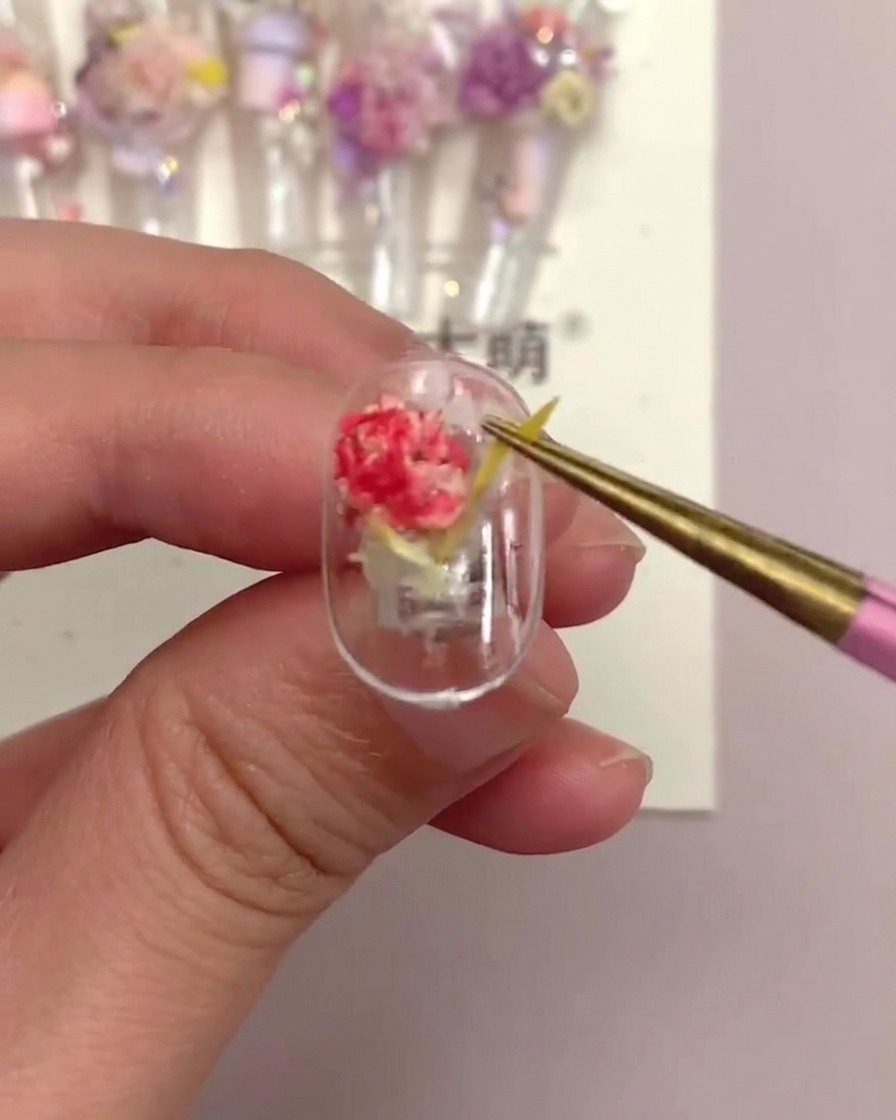
After curing, gently test the dried flowers by lightly tugging them with tweezers. A proper encapsulation using matte top coat on both the top and bottom will ensure the pieces are completely secure and wont detach or snag during wear.
Tip: If any piece shifts or feels loose during the inspection, apply a small amount of additional top coat to the gap and cure again.