Ethereal Dried Flower
Lace Nail Art — Step-by-Step Tutorial
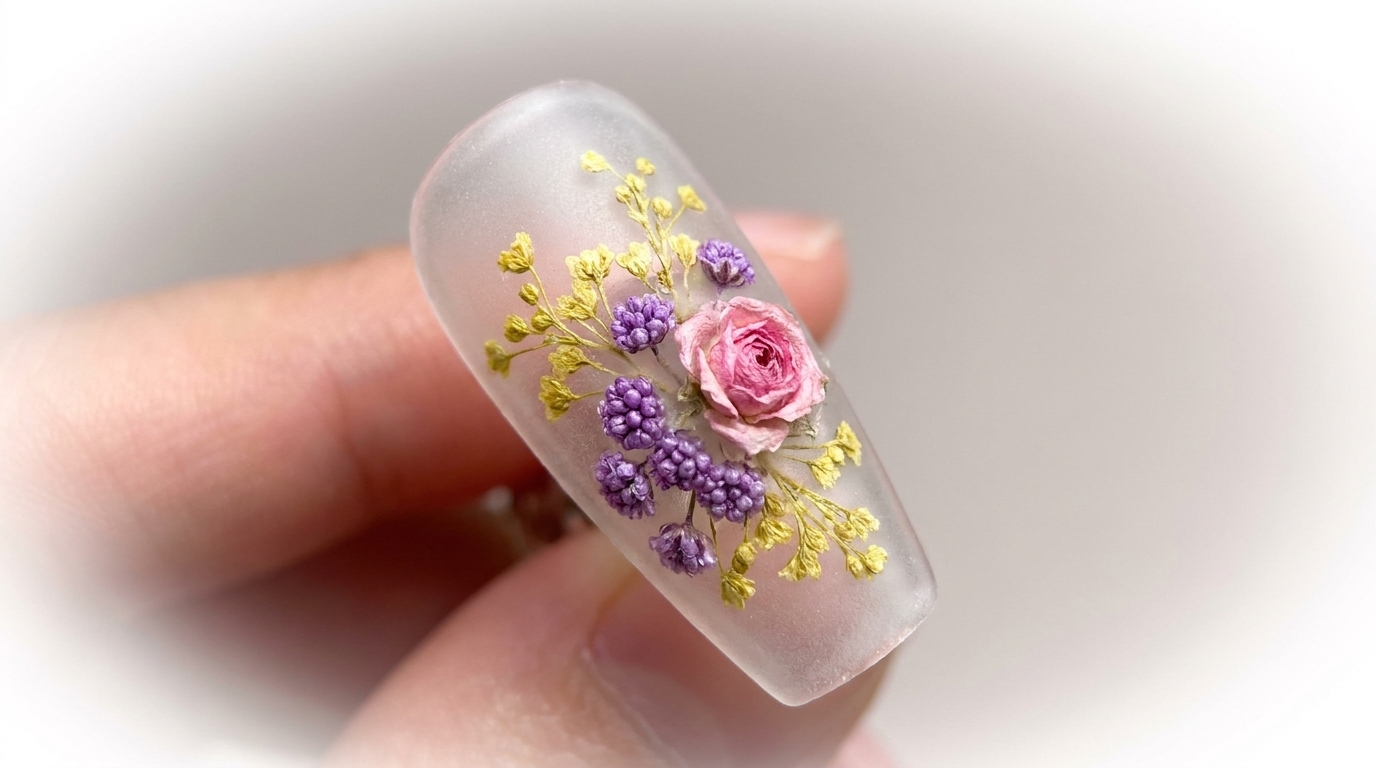
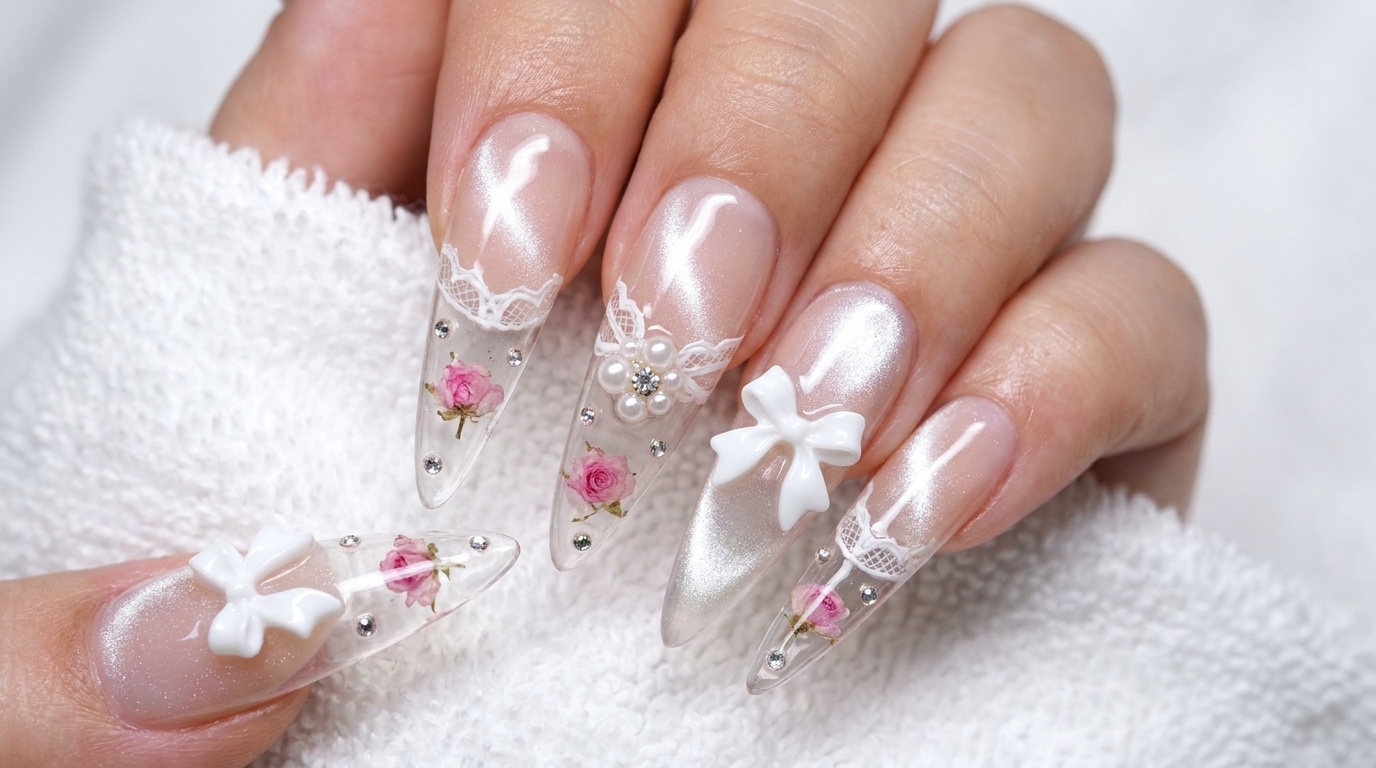
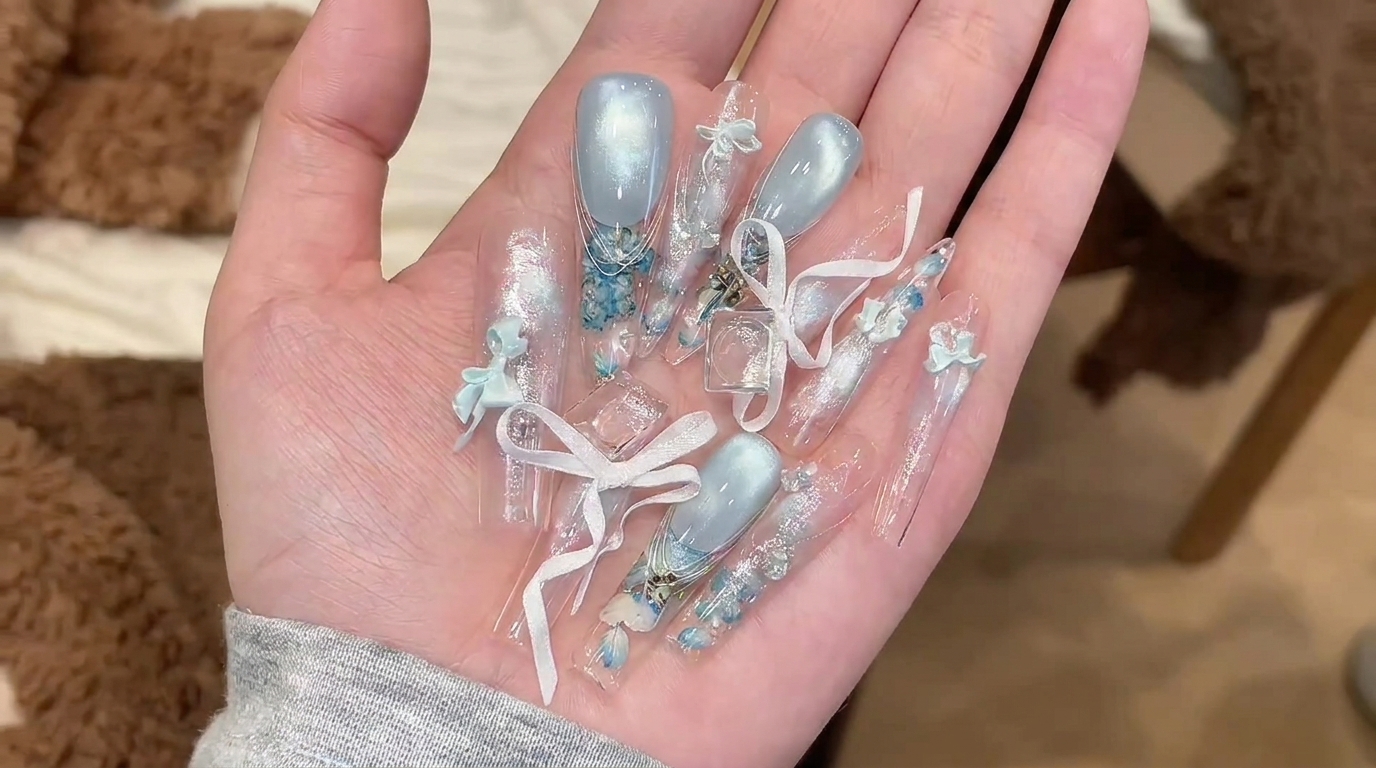
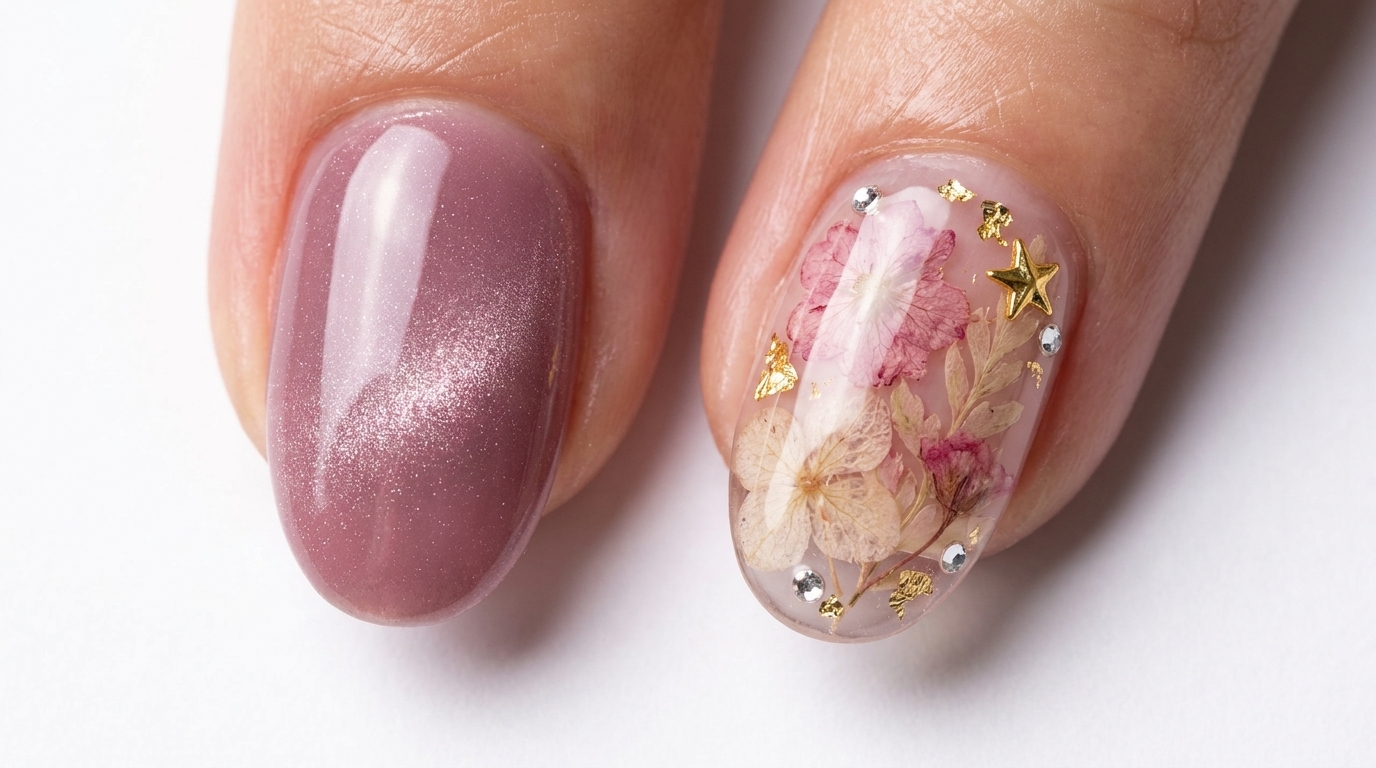
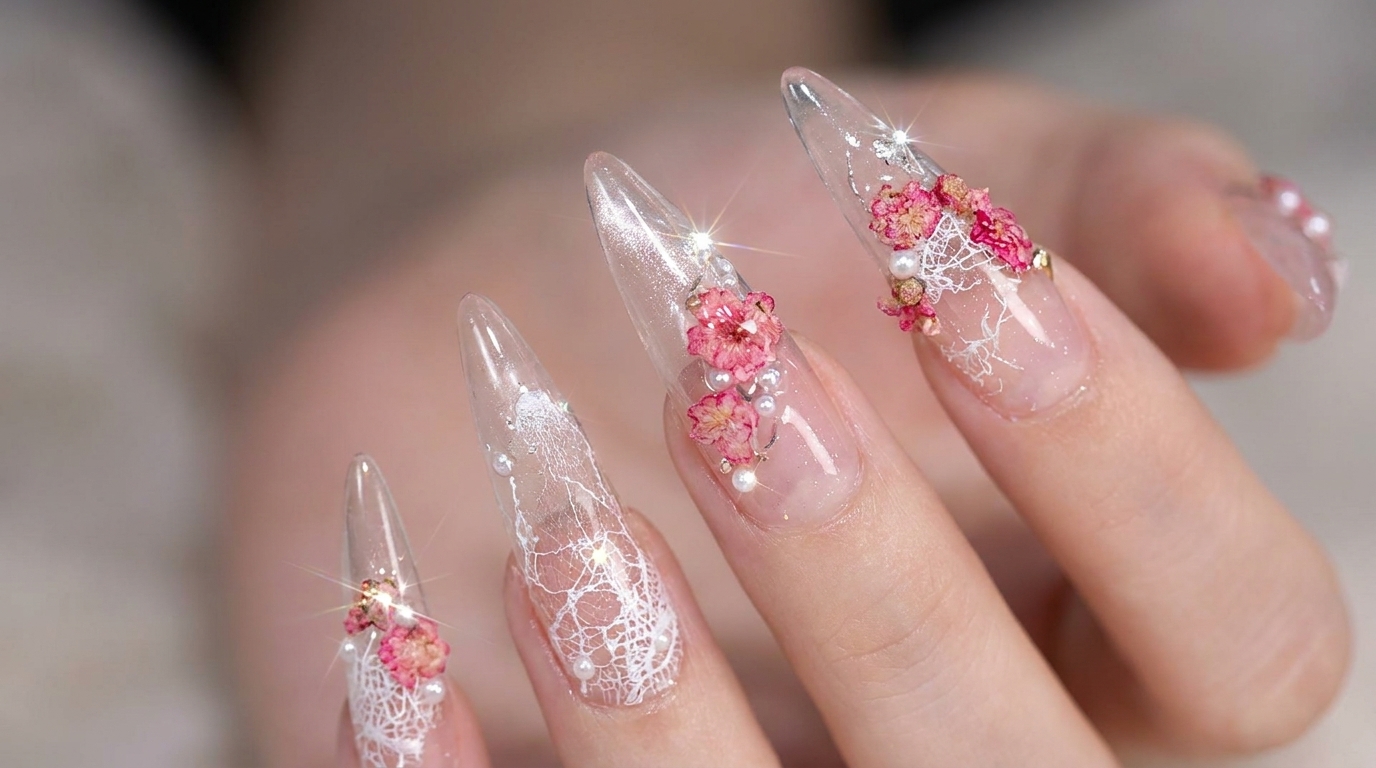
Create an ethereal, romantic manicure featuring delicate dried flowers, intricate white lace, and shimmering magnetic cat-eye accents.
This ethereal nail look combines the soft, romantic appeal of preserved flowers with the intricate detailing of lace patterns. The addition of a magnetic cat-eye effect adds a modern, multidimensional shimmer, creating a manicure that feels like wearable art. This design is perfect for weddings, special occasions, or whenever you want to add a touch of delicate sophistication to your look.
Steps
- 1File and prep nail tips
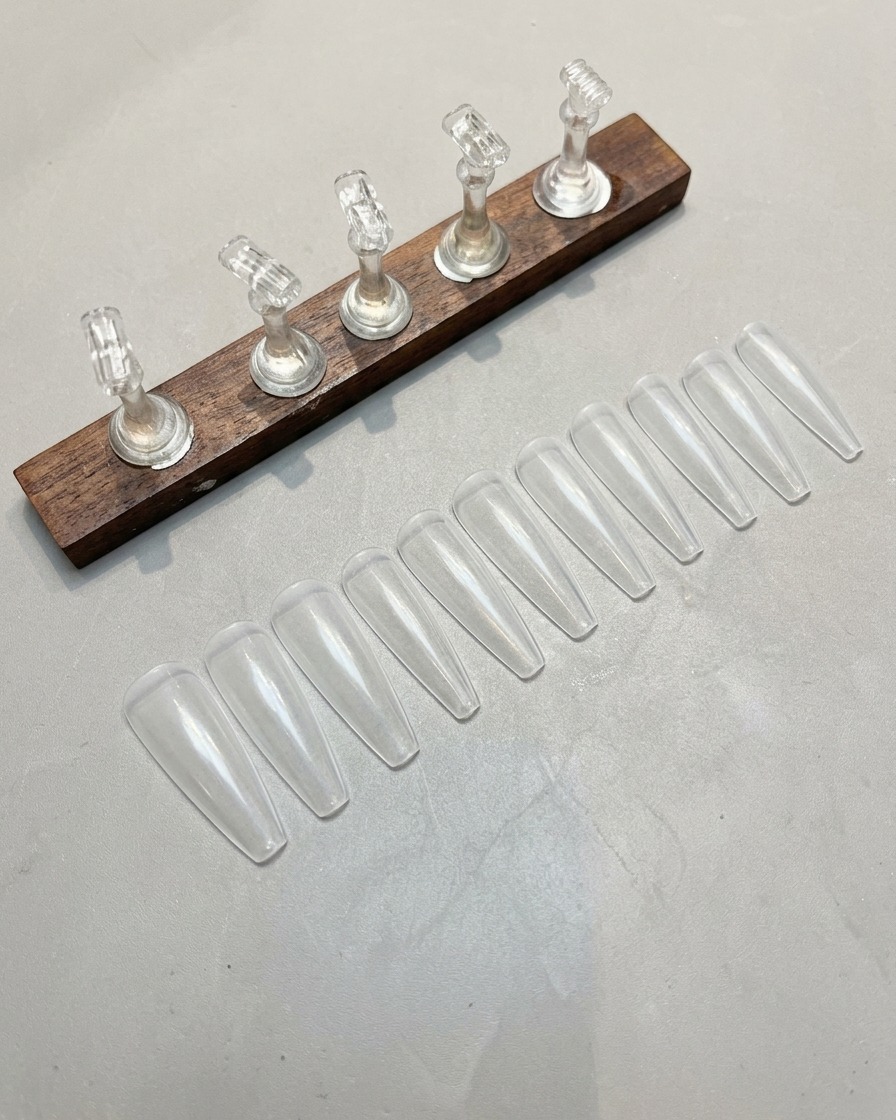
Take the clear nail tips and lightly file the surface to create a rough texture. This preparation step ensures the gel polish adheres properly to the plastic tip, preventing the polish from peeling or lifting later in the application process.
Tip: A light buffing is all that is needed; avoid over-filing, which could damage the structure of the nail tip. - 2Clean nail surface
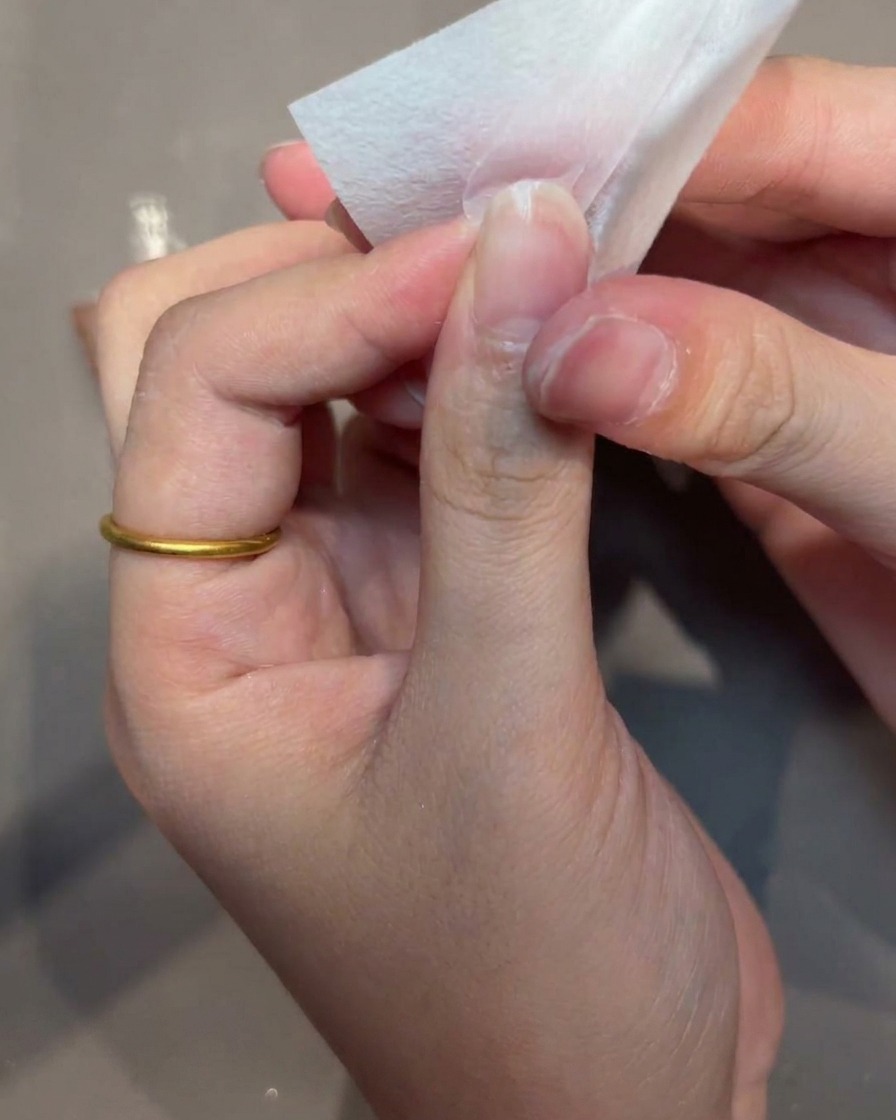
After filing, wipe the surface of the nail tip thoroughly using a lint-free wipe. This removes any dust particles created during the filing process, ensuring a clean and smooth foundation for your base layers.
Tip: Using a lint-free wipe is crucial to prevent tiny fibers from getting trapped in your gel application. - 3Create a Soft Blush Base
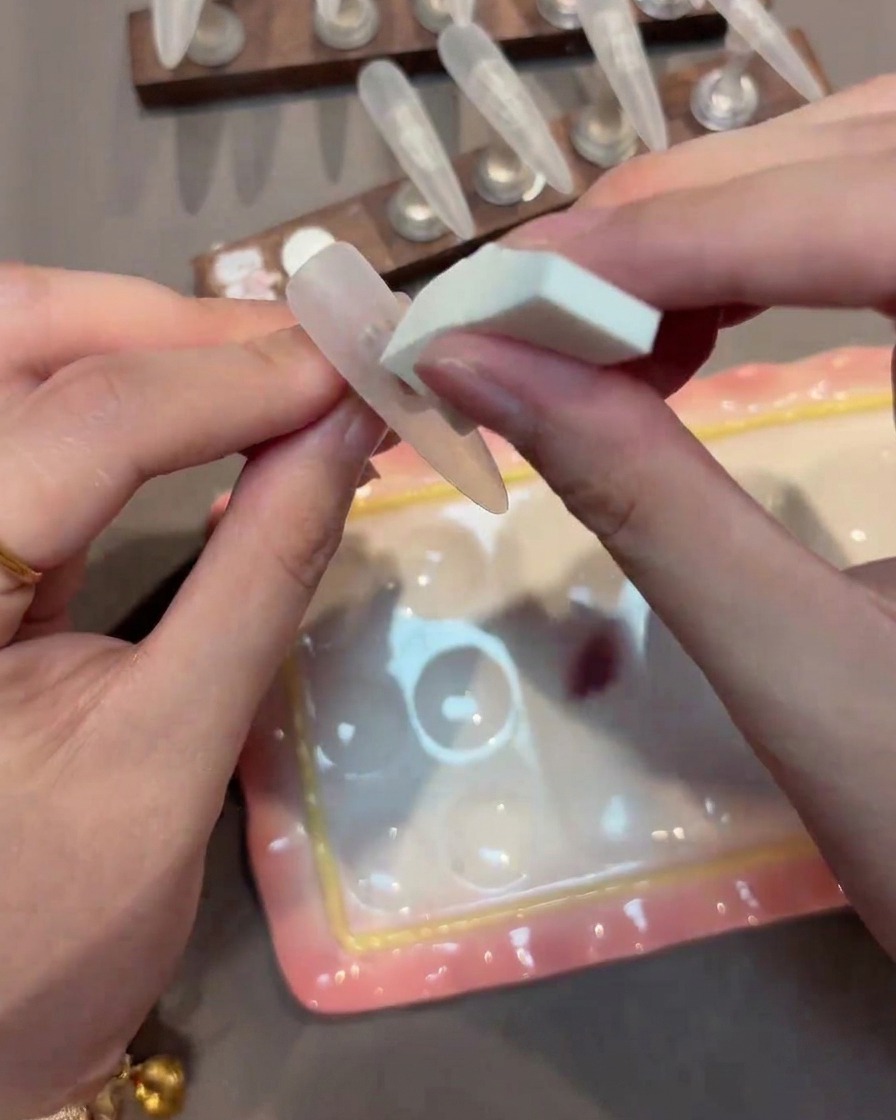
Apply a small amount of pink-toned clay gel to the center of the nail tip. Gently pat the gel to blend it outwards toward the edges, creating a soft, diffused blush effect that adds beautiful depth and a subtle, romantic hint of color.
Tip: Start with a tiny amount of product and build up the intensity gradually to achieve a natural-looking gradient. - 4Apply nude gel base
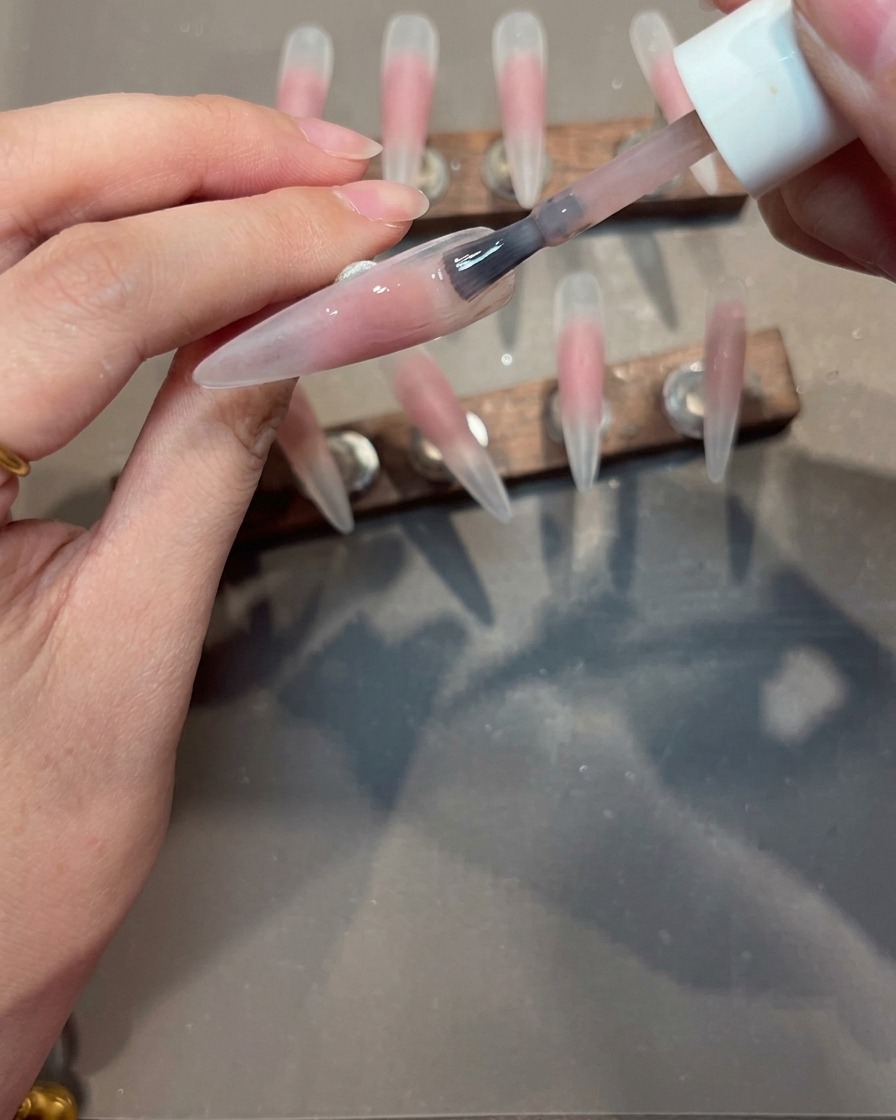
Apply a thin, even layer of nude gel polish over the entire surface of the nail tip. This layer acts as a base to unify the blush effect and provide a smooth, consistent canvas for the subsequent nail art steps. Cure as directed.
Tip: Keep the layer thin to prevent bulkiness and ensure it cures completely without wrinkling. - 5Apply magnetic cat-eye gel
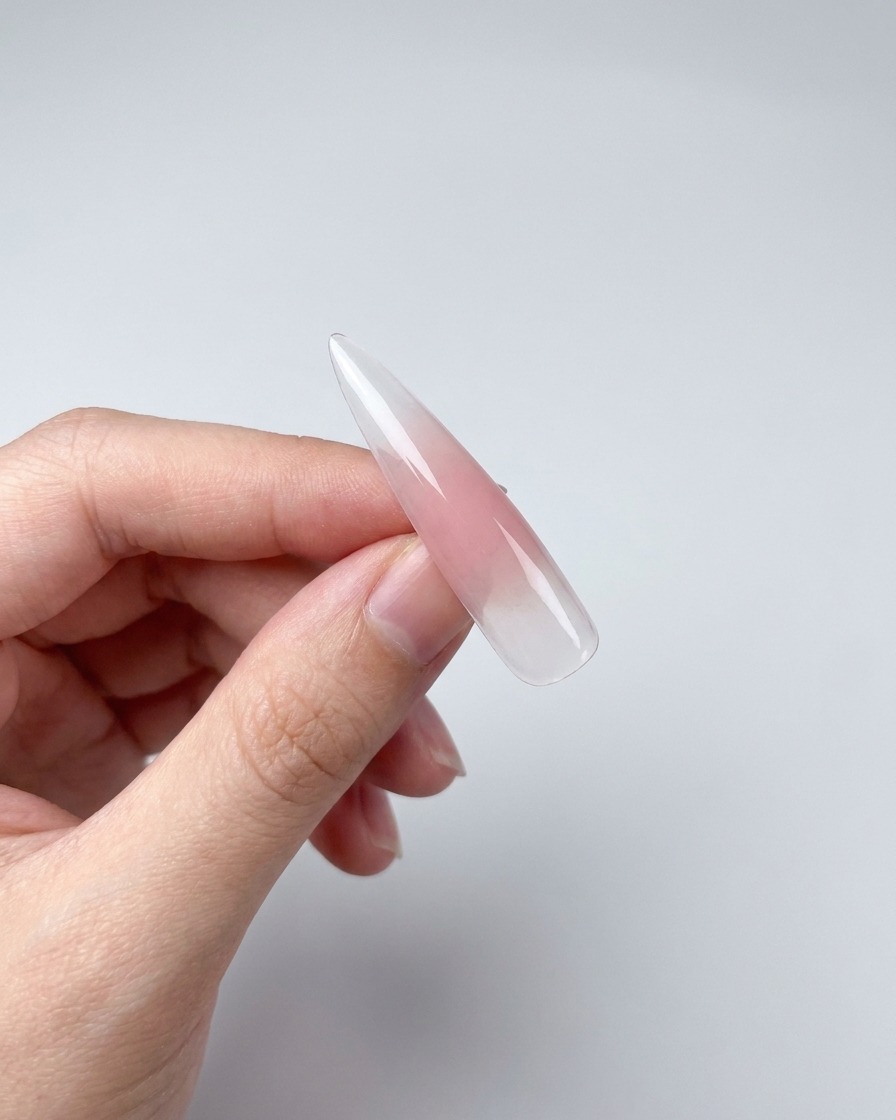
Apply a thin layer of light pink magnetic cat-eye gel over the nude base. While the gel is still wet, hold a magnet at a specific angle near the nail to pull the magnetic particles into a concentrated, shimmering glass-bead effect, then cure under a lamp.
Tip: Experiment with the position of your magnet to get the magnetic particles exactly where you want them before curing. - 6Apply Side-Light Cat-Eye Effect
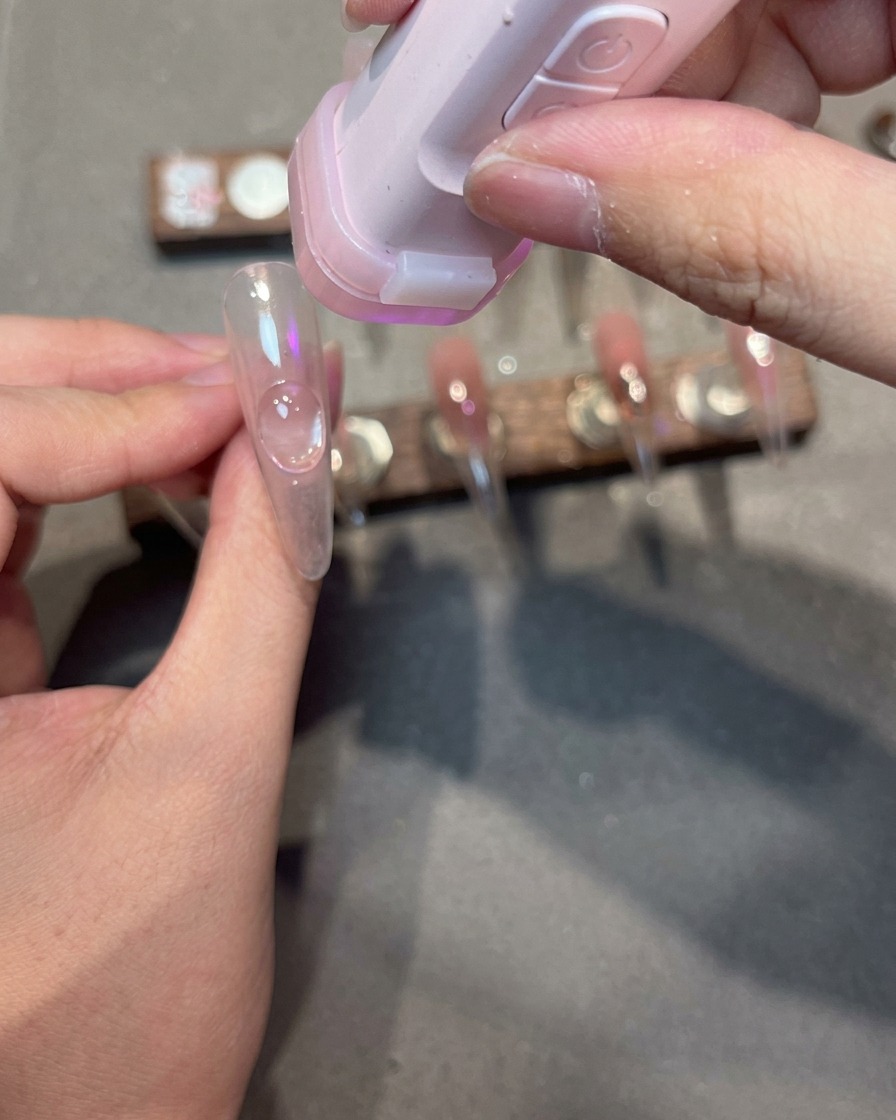
On the index and little fingers, apply a layer of light pink magnetic gel. Before curing, use a magnet to pull the magnetic particles toward one side of the nail, creating a sharp, elegant side-light shimmer effect.
Tip: Keep the magnet steady to ensure the side-light line remains sharp and defined. - 7Apply French cat-eye effect
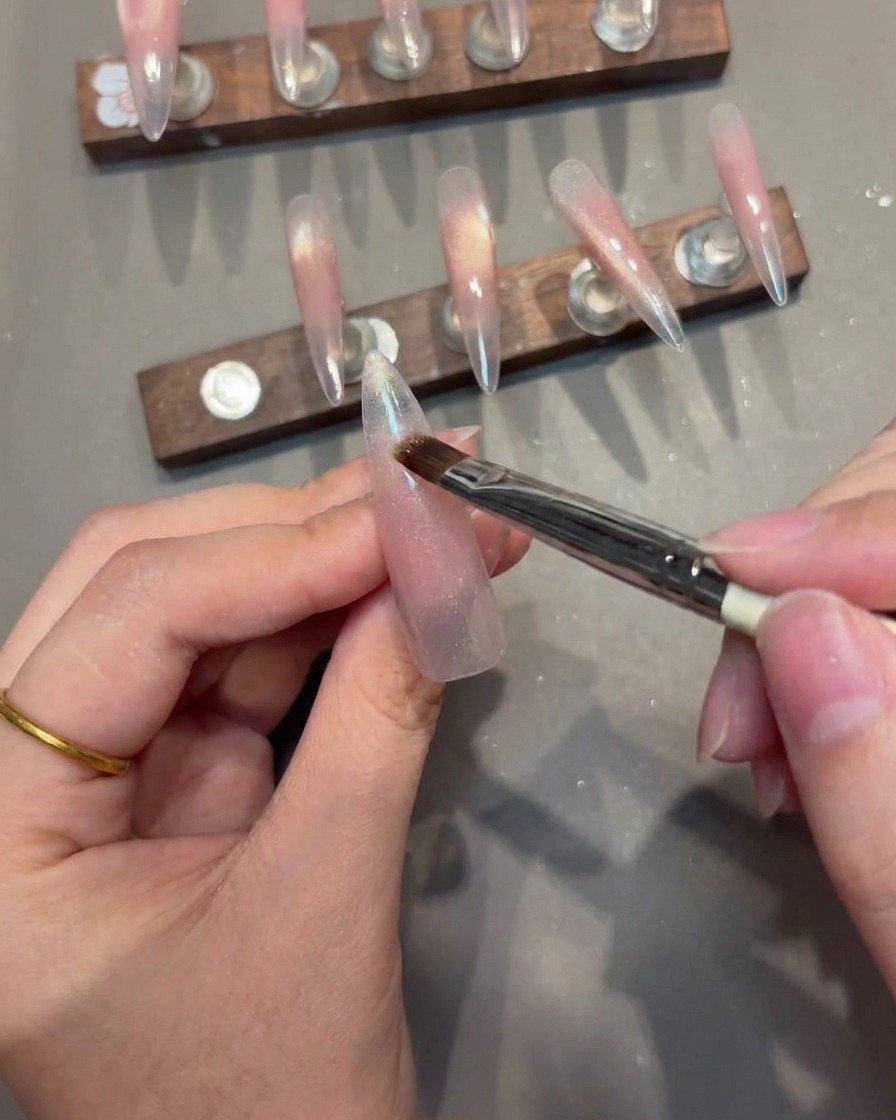
Apply the cat-eye gel to the remaining four fingers. Before curing, use a magnet at the nail tips to pull the magnetic particles into a V shape, creating a distinct French-style cat-eye effect. Once the pattern is set, cure under your lamp to lock in the design.
Tip: Keep the magnet steady to ensure crisp lines for the V-shape, and cure immediately after achieving the desired look to prevent the particles from shifting. - 8Transfer lace pattern
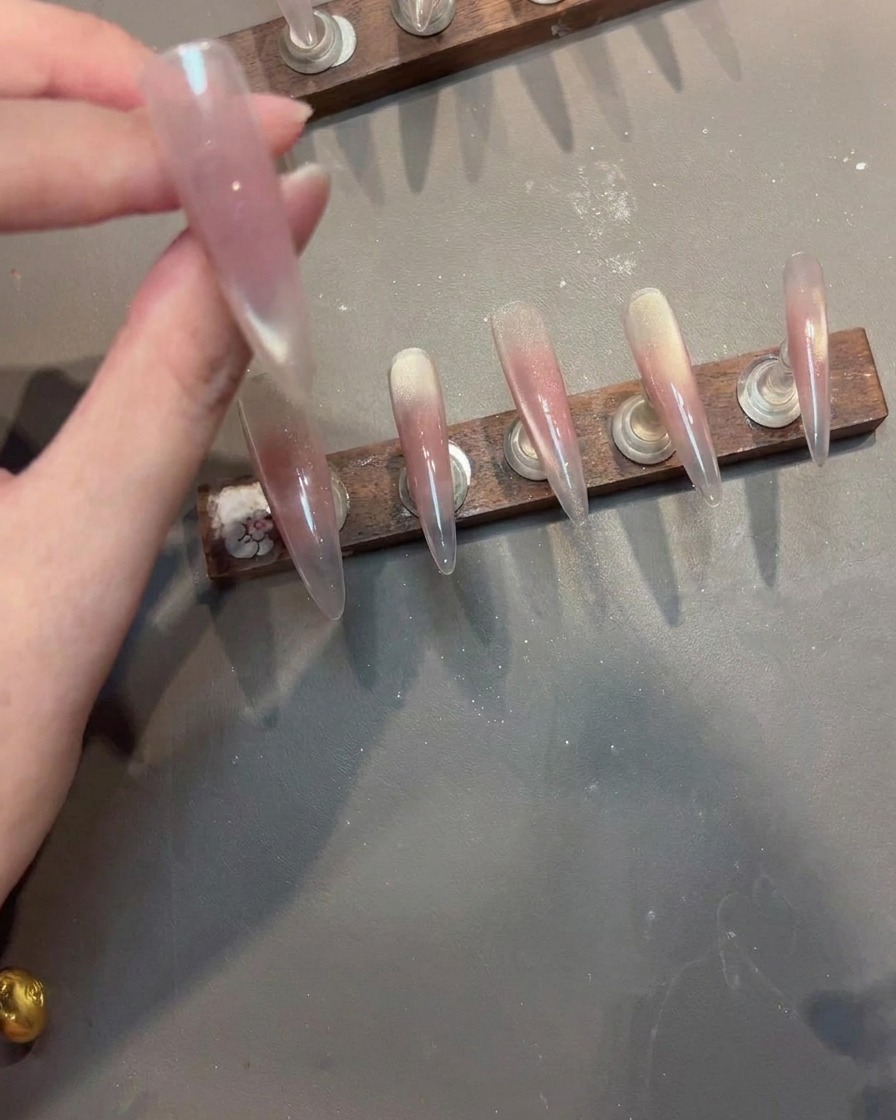
Using a fine lace stamping plate, pick up the irregular lace design with a stamper and gently press it onto the nail surface. Ensure the pattern aligns well with the existing magnetic base for a clean, intricate look.
Tip: Work quickly once the polish is on the stamping plate so it doesnt dry before you can transfer it to the nail. - 9Reinforce the design
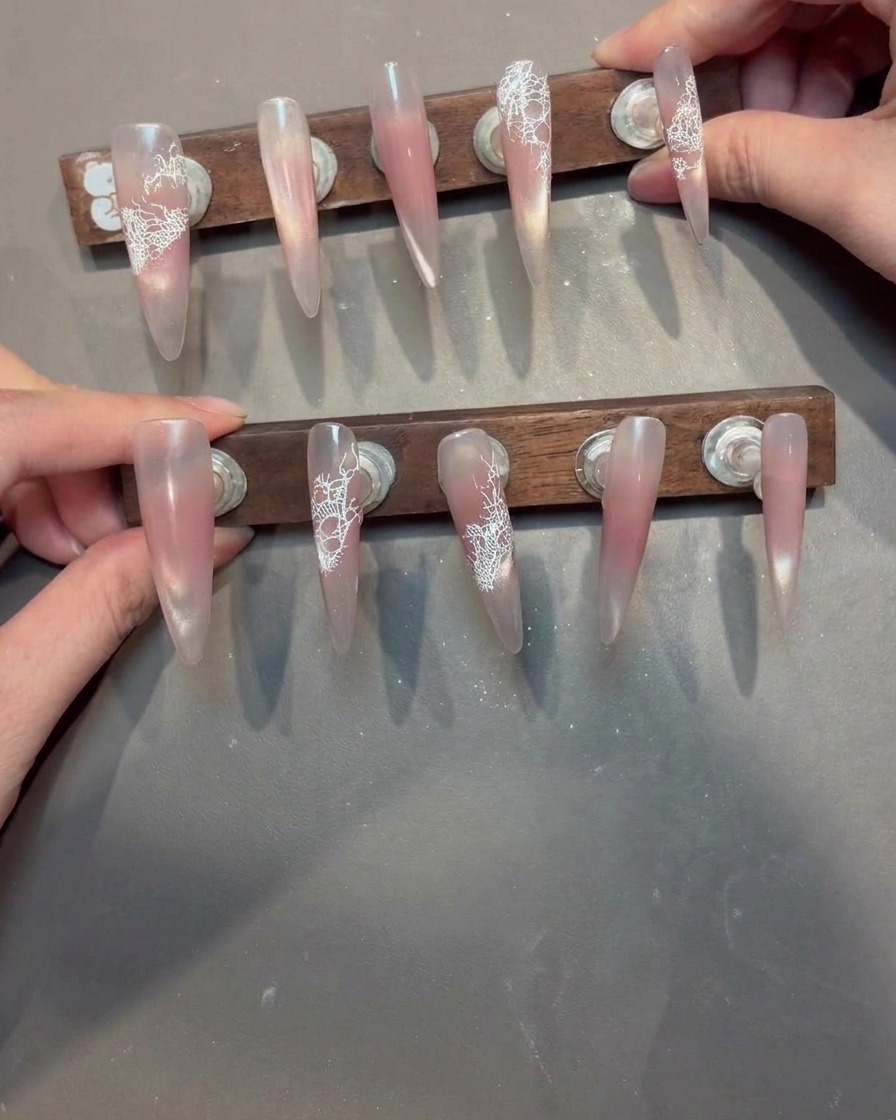
Apply a layer of reinforcement gel over the entire nail to protect the lace design and create a smooth, durable finish. Allow the gel to level properly for a few seconds before placing it into the lamp to cure.
Tip: A reinforcement gel helps encapsulate the nail art, preventing the stamped lace from chipping and providing a solid base for top coat. - 10Add Lace Details with Spider Gel
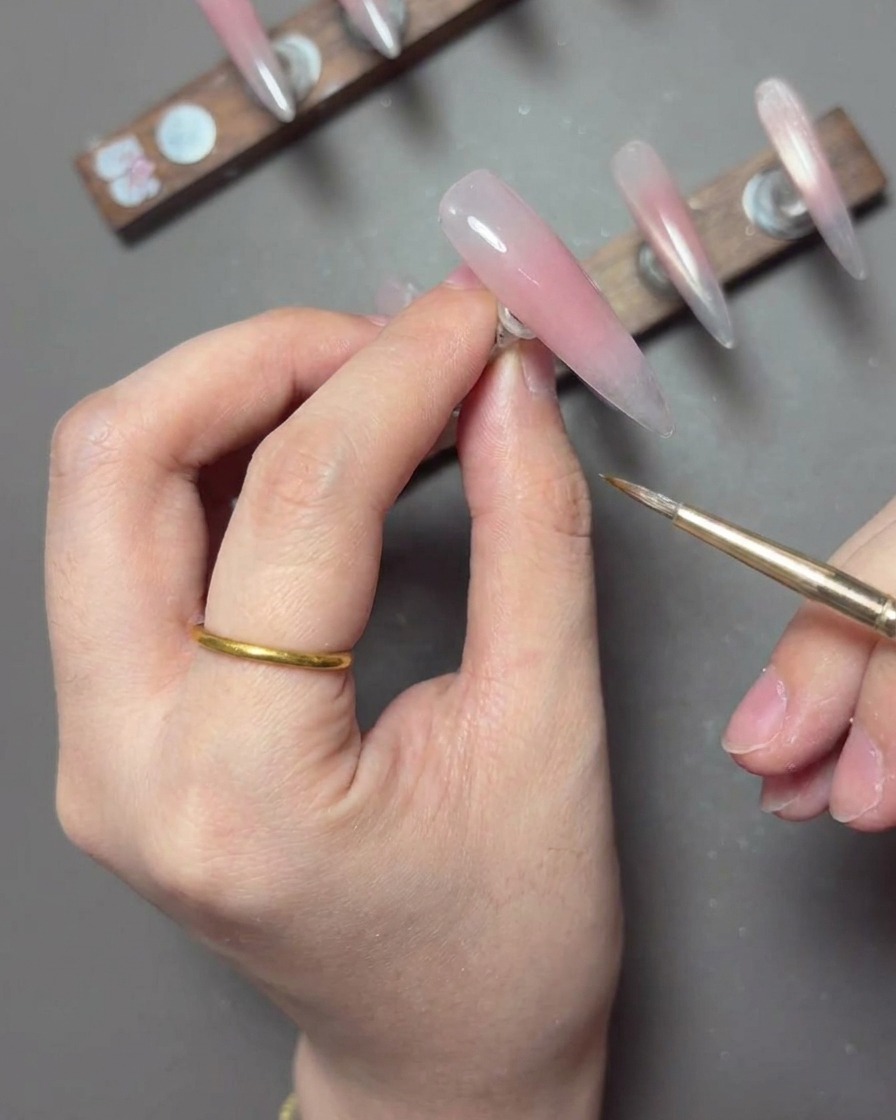
Using a fine liner brush and white spider gel, add intricate, thin lines to enhance the lace design on all fingers except those with the side-light effect. Use delicate, web-like strokes to build depth and elegance into the manicure.
Tip: Use a light touch to draw these lines; the elastic nature of spider gel will help create thin, crisp details that enhance the overall lace aesthetic.