Spring Dried Flower Cat-Eye Nail Art Tutorial
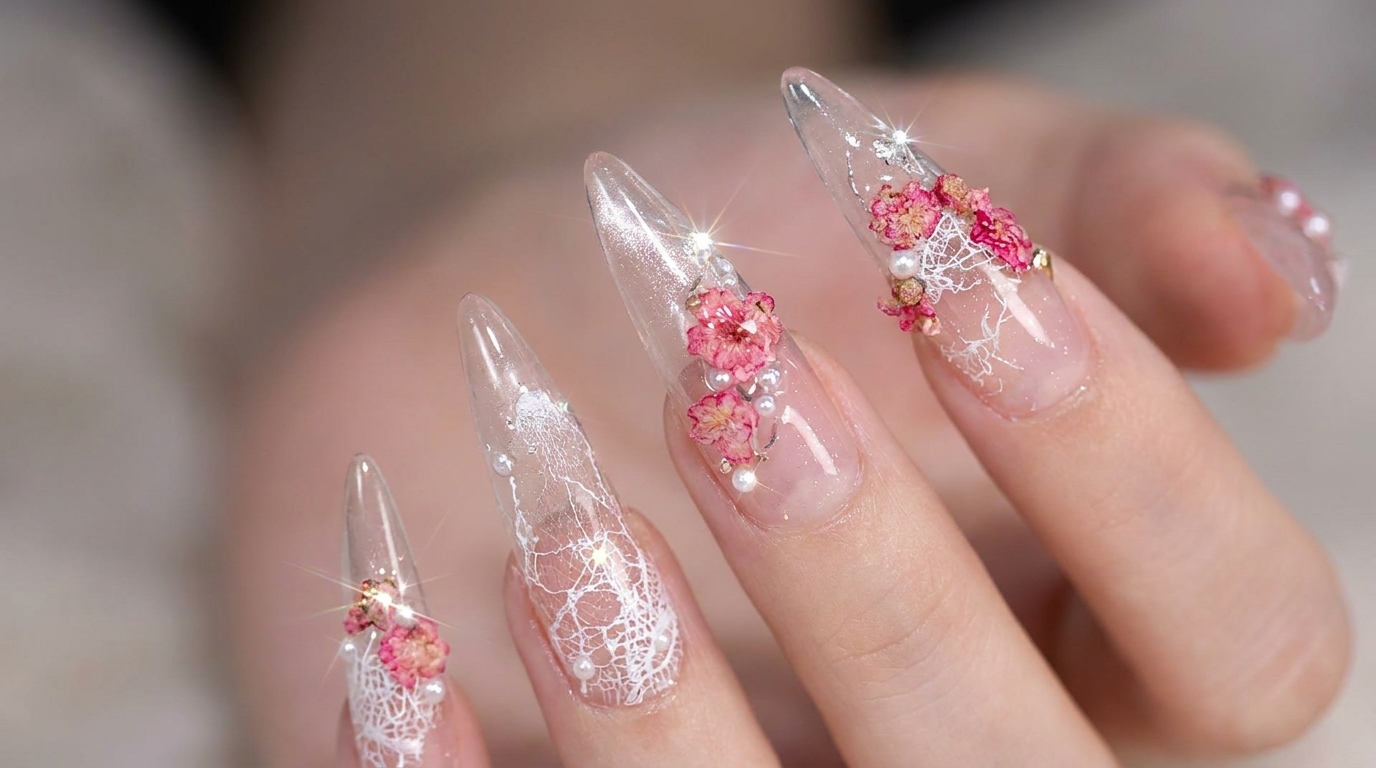
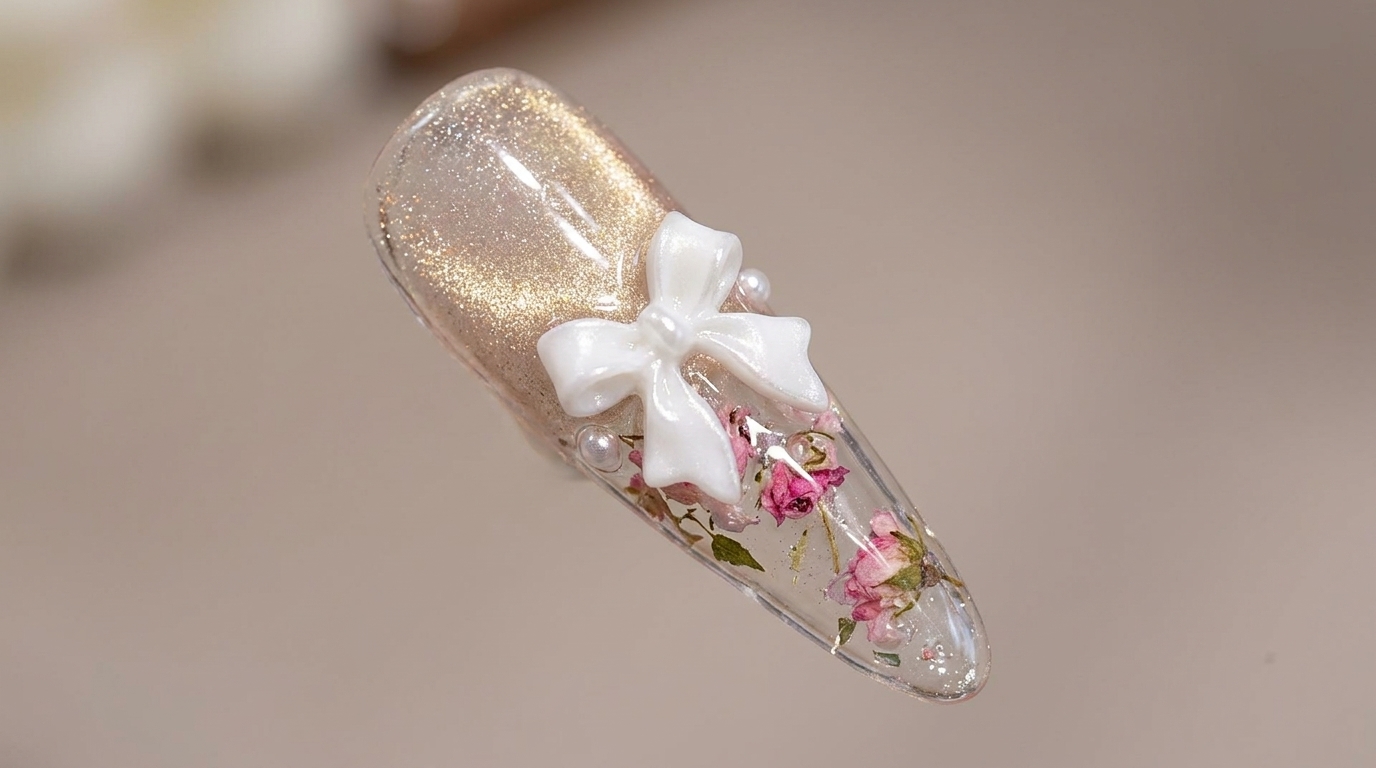
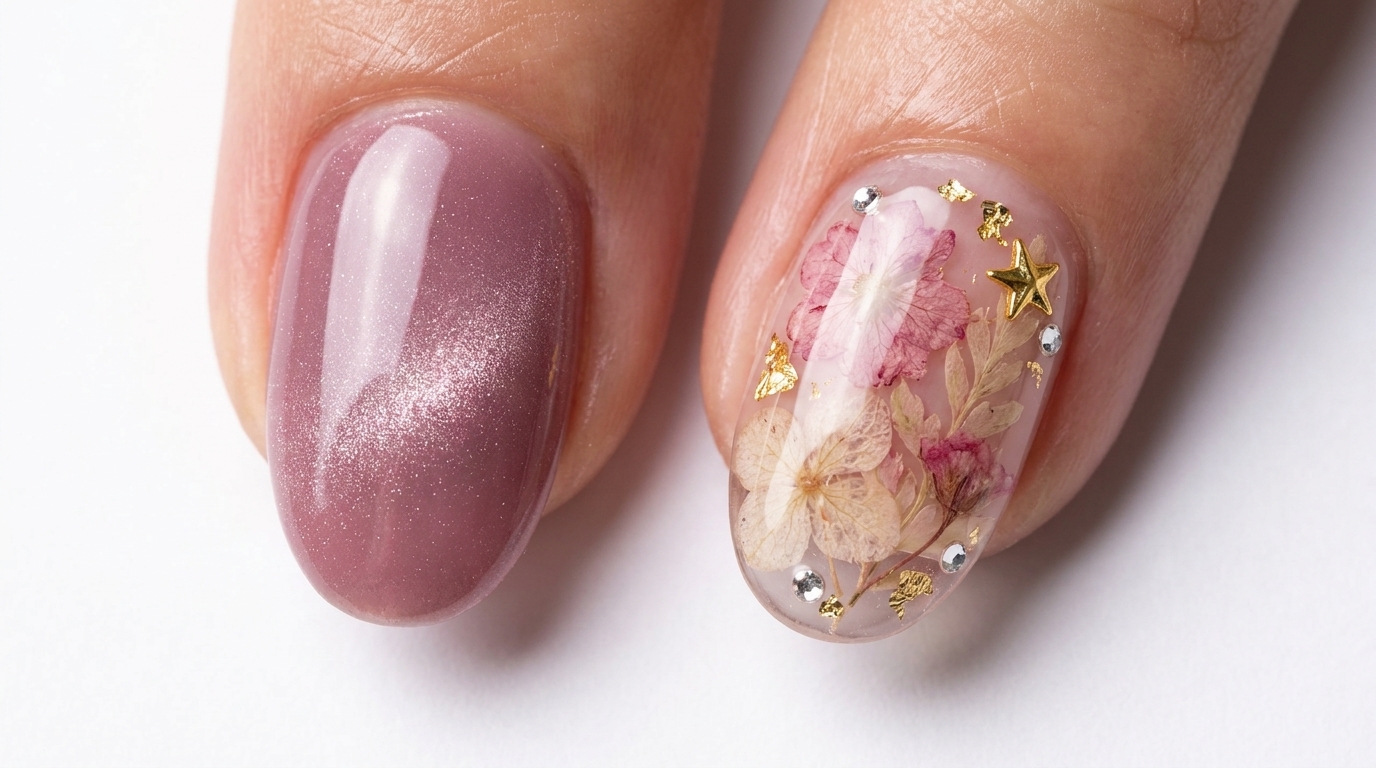
Elevate your spring manicure with this elegant blend of mauve cat-eye gel, delicate pressed flowers, and metallic accents for a sophisticated, layered look.
This spring-inspired nail design combines the depth of cat-eye magnetic gel with the timeless, romantic aesthetic of encapsulated dried flowers. By layering gold leaf, star charms, and tiny rhinestones, this look achieves a high-end, textured finish that is perfect for seasonal events. It is a stunning example of how mixing different nail art techniques can create a cohesive and professional-looking set.
Steps
- 1Apply mauve cat-eye gel
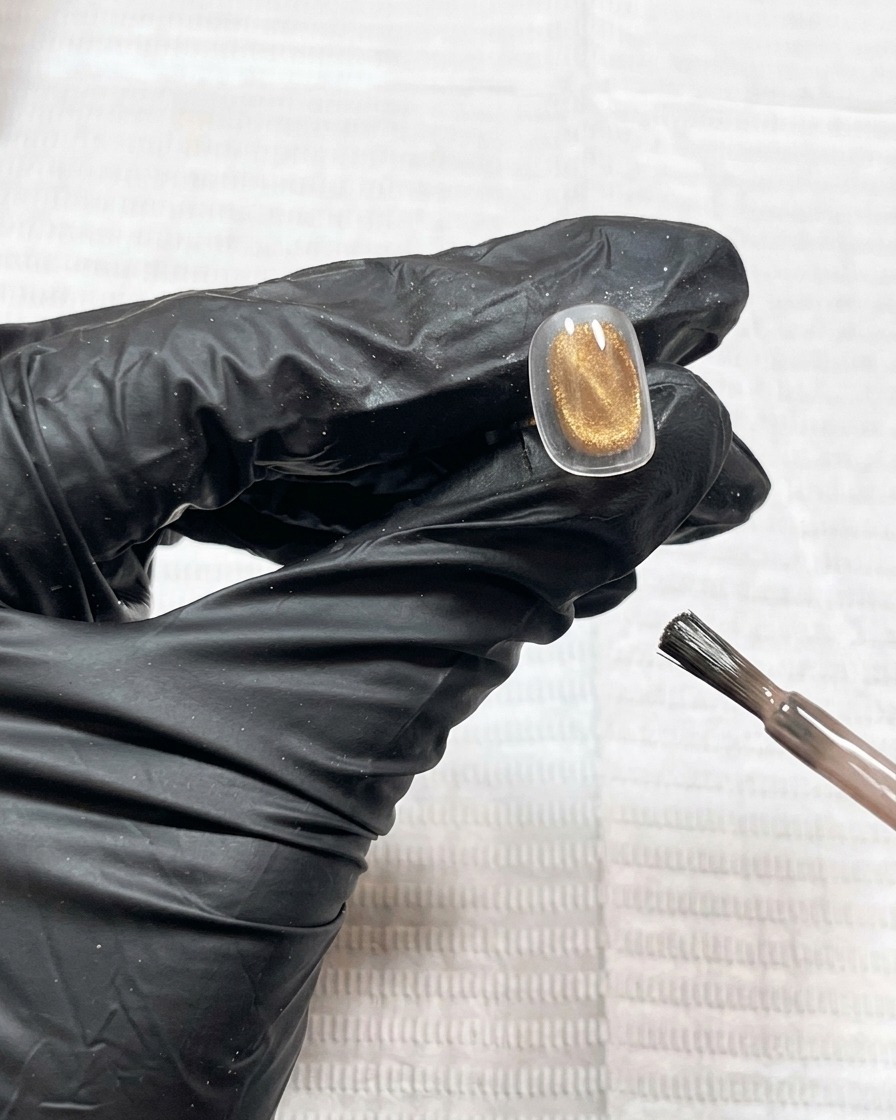
Apply a coat of mauve cat-eye gel to the nail tip. Ensure even coverage across the nail surface, preparing it for the magnetic effect. This base color provides the background for the glass bead effect you will create next.
Tip: Apply a thin, even layer to avoid pooling at the cuticles. - 2Create the glass bead effect
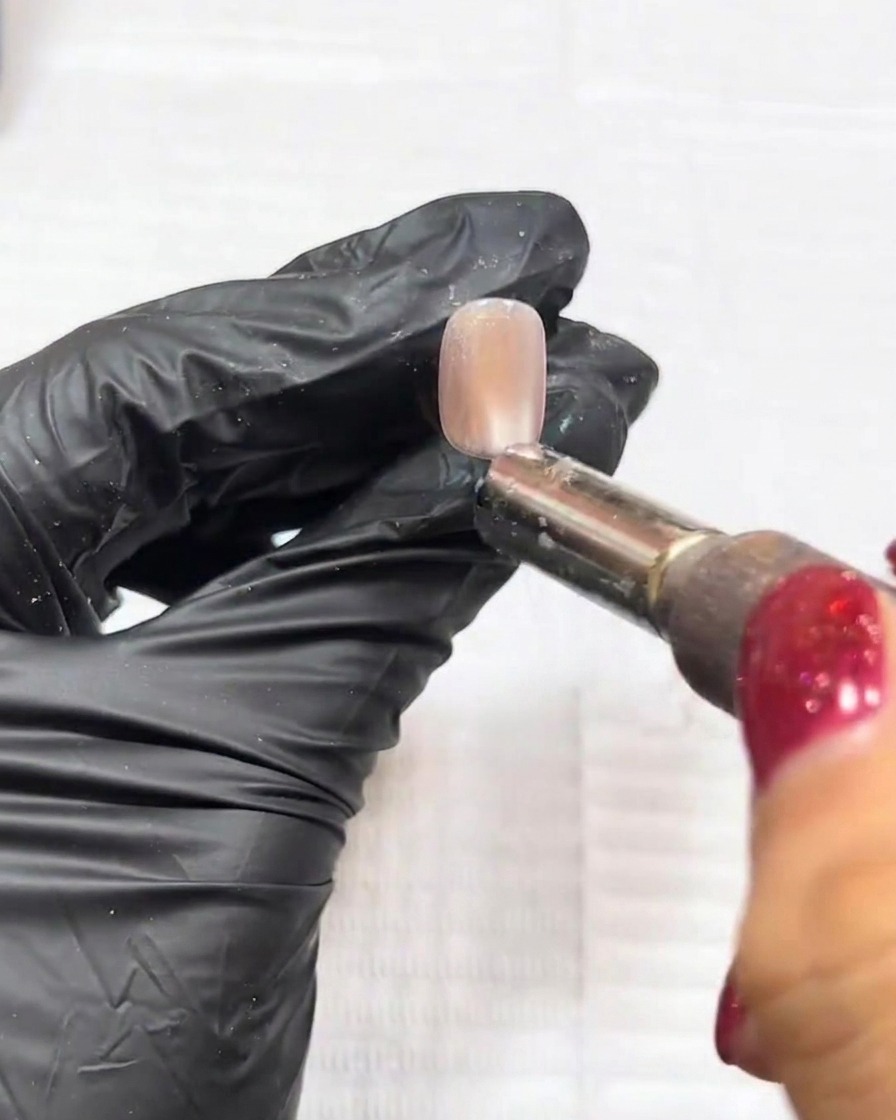
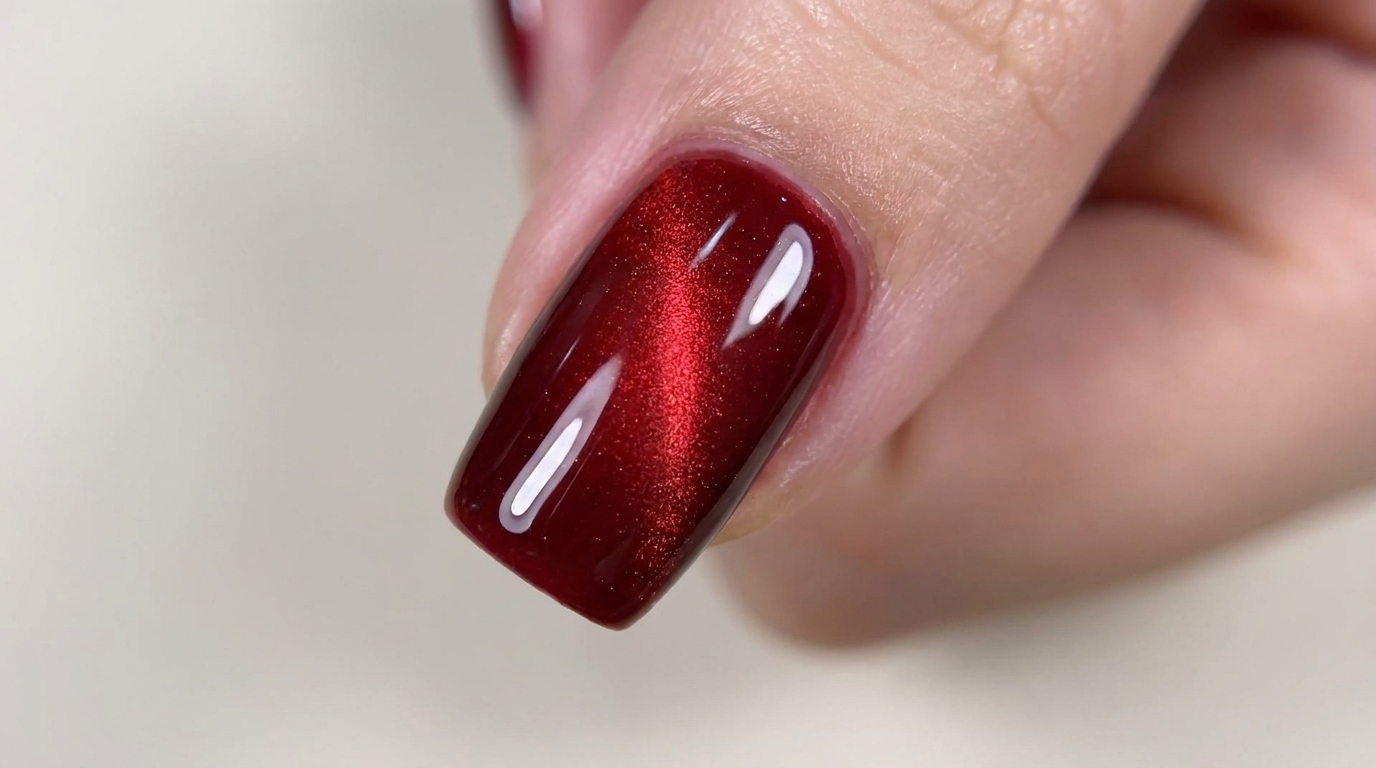
Hold your nail magnet over the wet cat-eye gel. Move the magnet to pull the magnetic particles into a concentrated central bead. Once you are satisfied with the glass bead look, keep your hand steady before curing.
Tip: Work slowly with the magnet to achieve a crisp, well-defined bead. - 3Cure the cat-eye nail
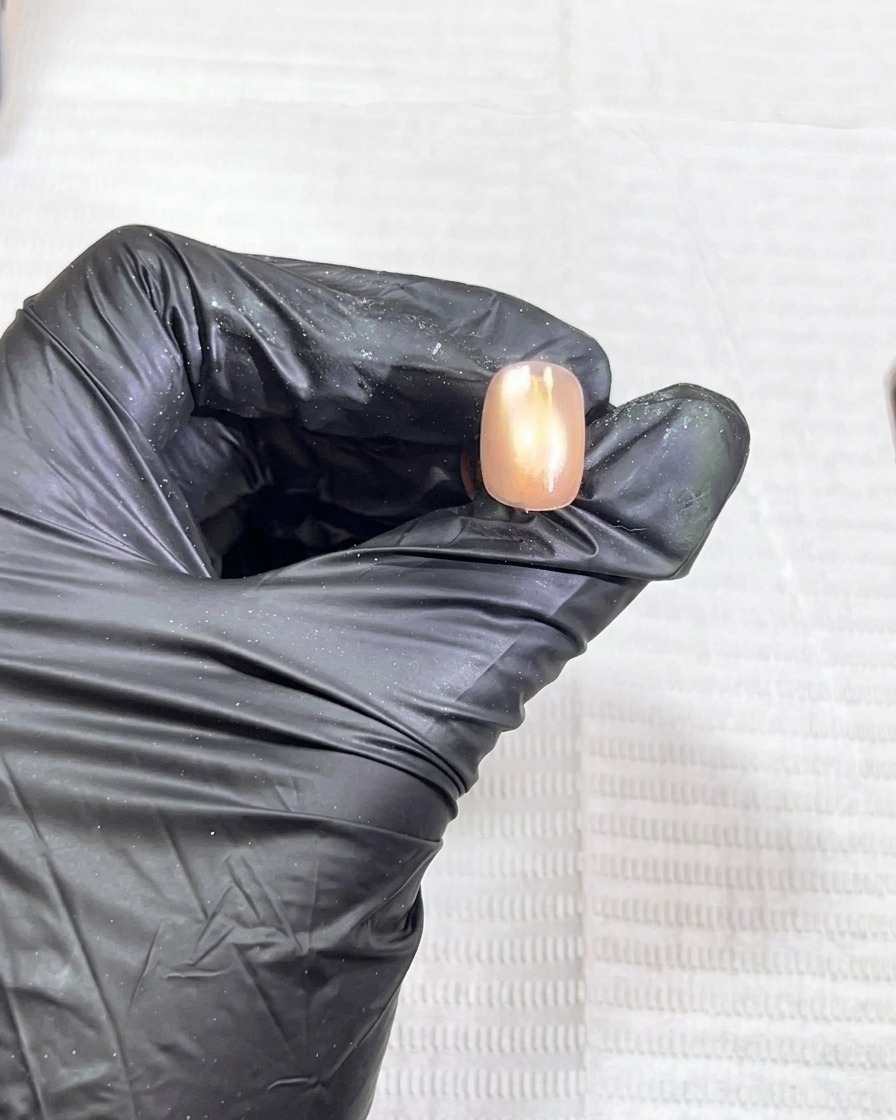
Carefully place the nail under the UV/LED lamp to cure. Follow the manufacturers recommended time to ensure the magnetic particles are locked in place and the gel is fully set.
Tip: Ensure the nail is positioned directly under the light for an even cure. - 4Apply matte top coat
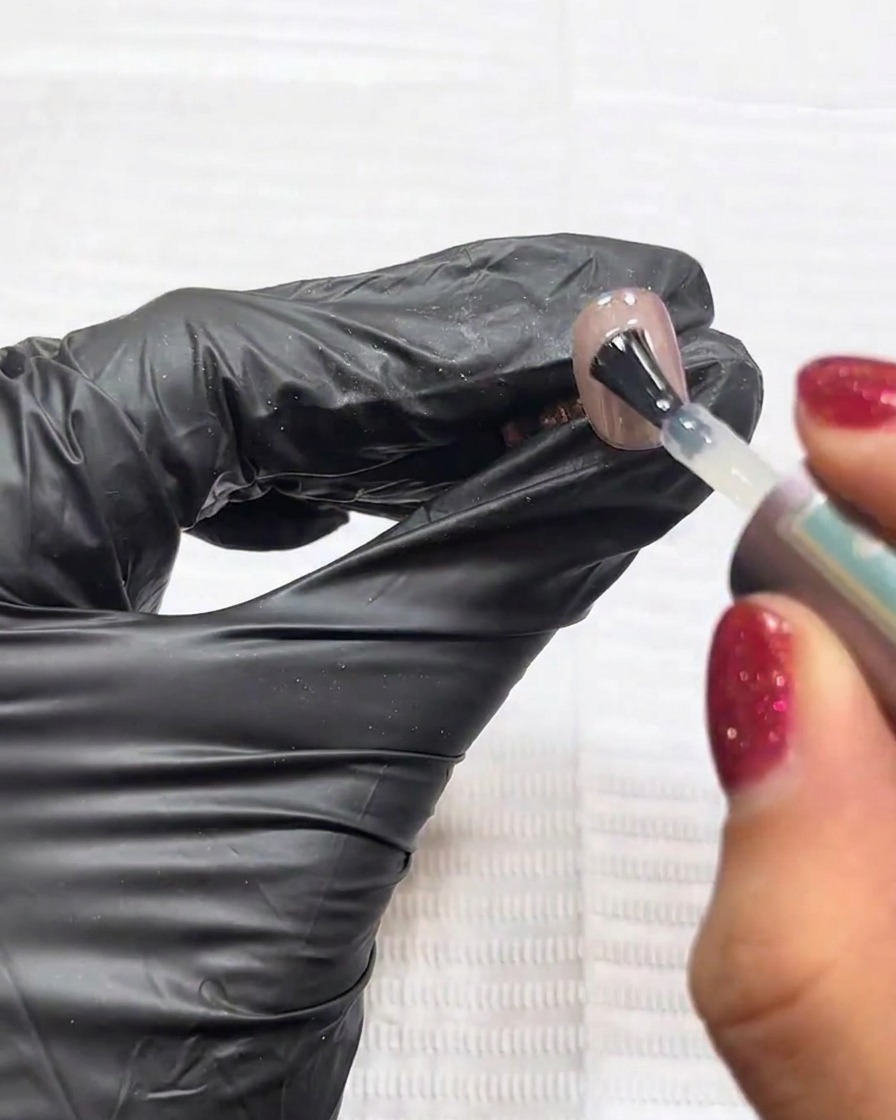
After curing the cat-eye effect, apply a layer of matte top coat over the entire nail. This matte finish is a crucial step to prevent the magic mirror powder from sticking to the entire surface in later steps.
Tip: Cap the free edge to ensure long-lasting wear. - 5Cure matte top coat
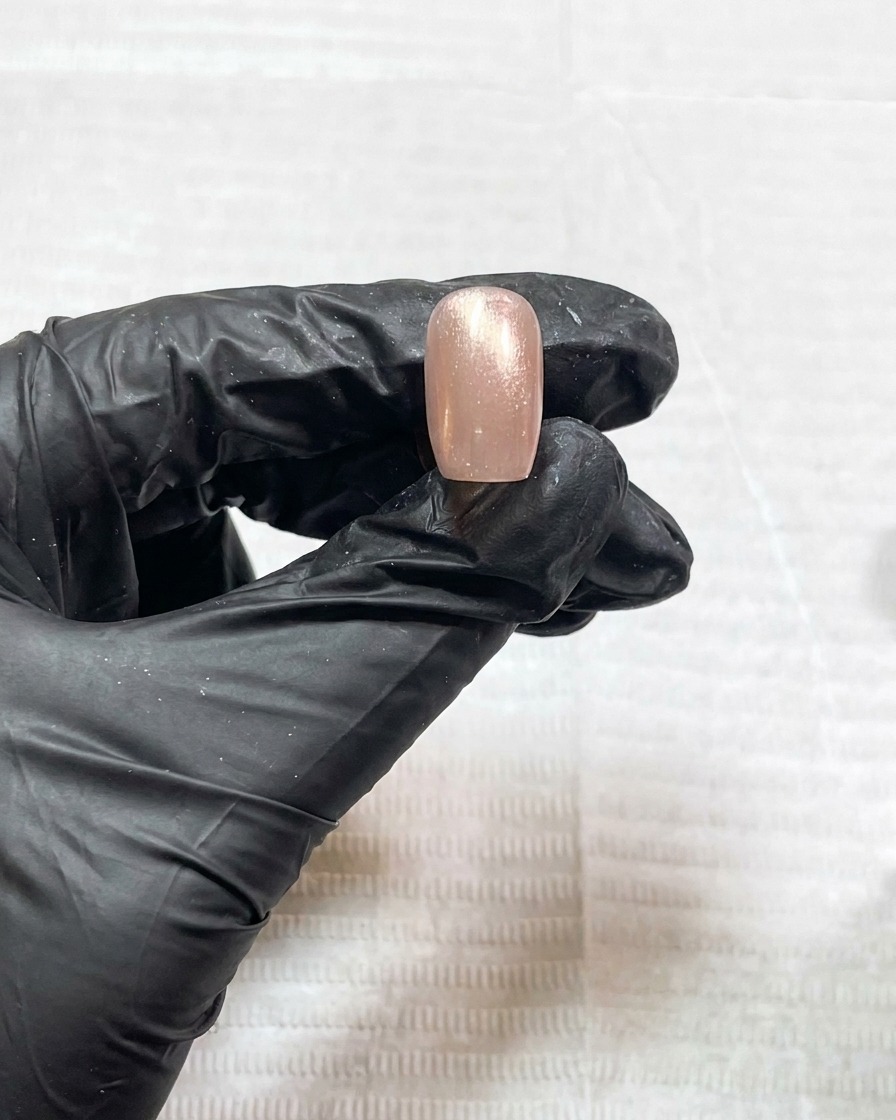
Place the nail back into the UV lamp and cure the matte top coat for a full 120 seconds. This thorough curing process prepares the surface for the next stage of the nail art.
Tip: Full curing ensures the matte layer is durable and non-stick. - 6Draw irregular lines
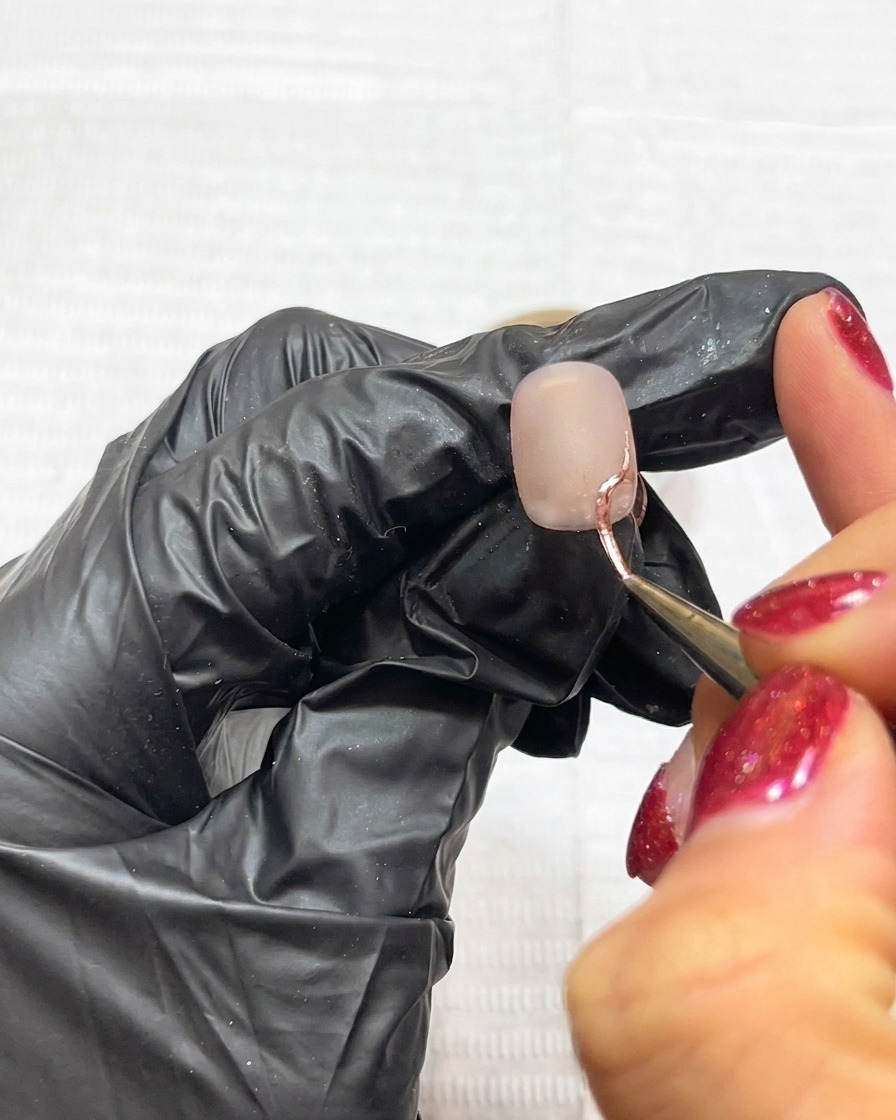
Using a thin liner brush, apply the magic mirror powder gel to create irregular, organic lines on the matte nail surface. These lines will be used to hold the mirror powder, creating the desired design.
Tip: Keep your lines thin and varied in shape for a more artistic look. - 7Cure the line art
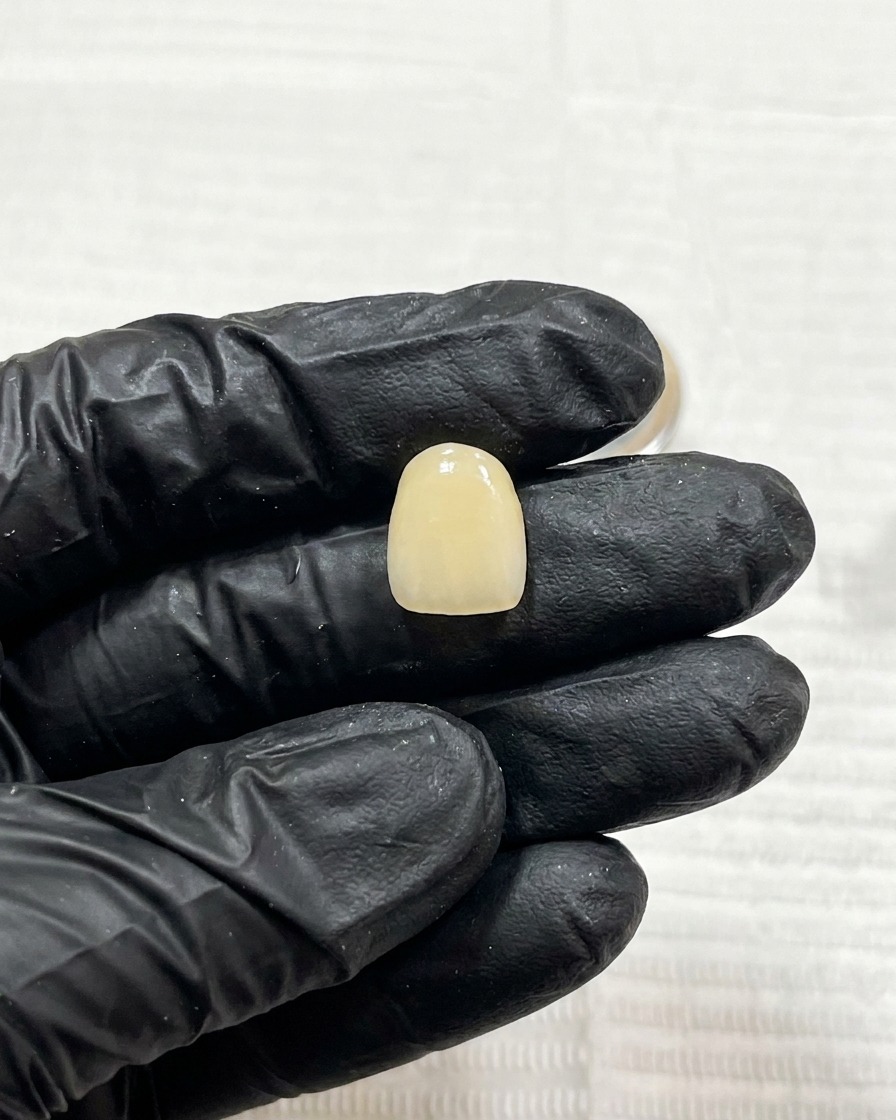
Place your hand under the UV or LED lamp to cure the irregular lines drawn with the magic mirror powder gel. Ensure the nail is positioned correctly under the light and cure for the full 60 seconds to fully set the gel before proceeding to the powder application.
Tip: Make sure your hand is flat under the lamp to ensure even curing across the entire nail surface. - 8Apply mirror powder
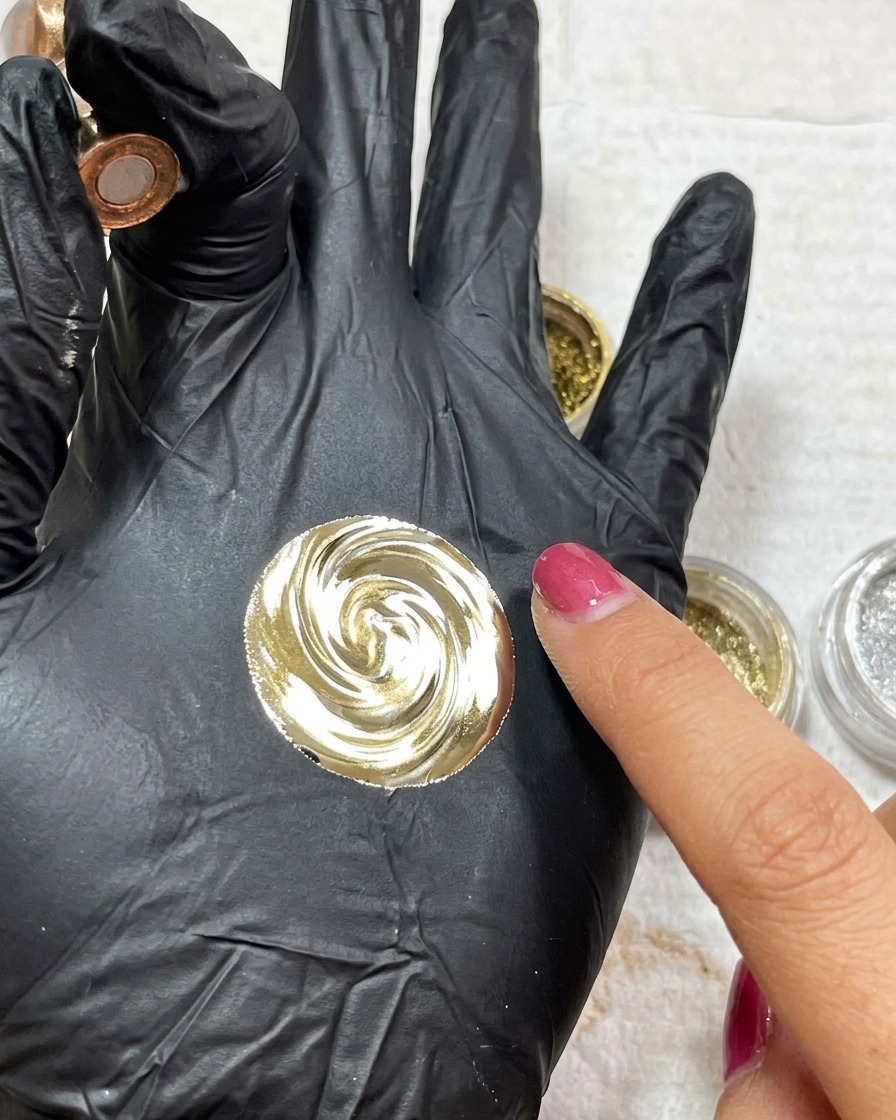
Using a soft applicator or your fingertip, gently rub the mix of gold and silver mirror powder over the cured irregular lines. The powder will adhere only to the tacky surface of the cured lines, creating a metallic, reflective effect against the matte base.
Tip: Use a soft brush to lightly dust off any excess powder from the surrounding matte area before applying the top coat. - 9Seal with top coat
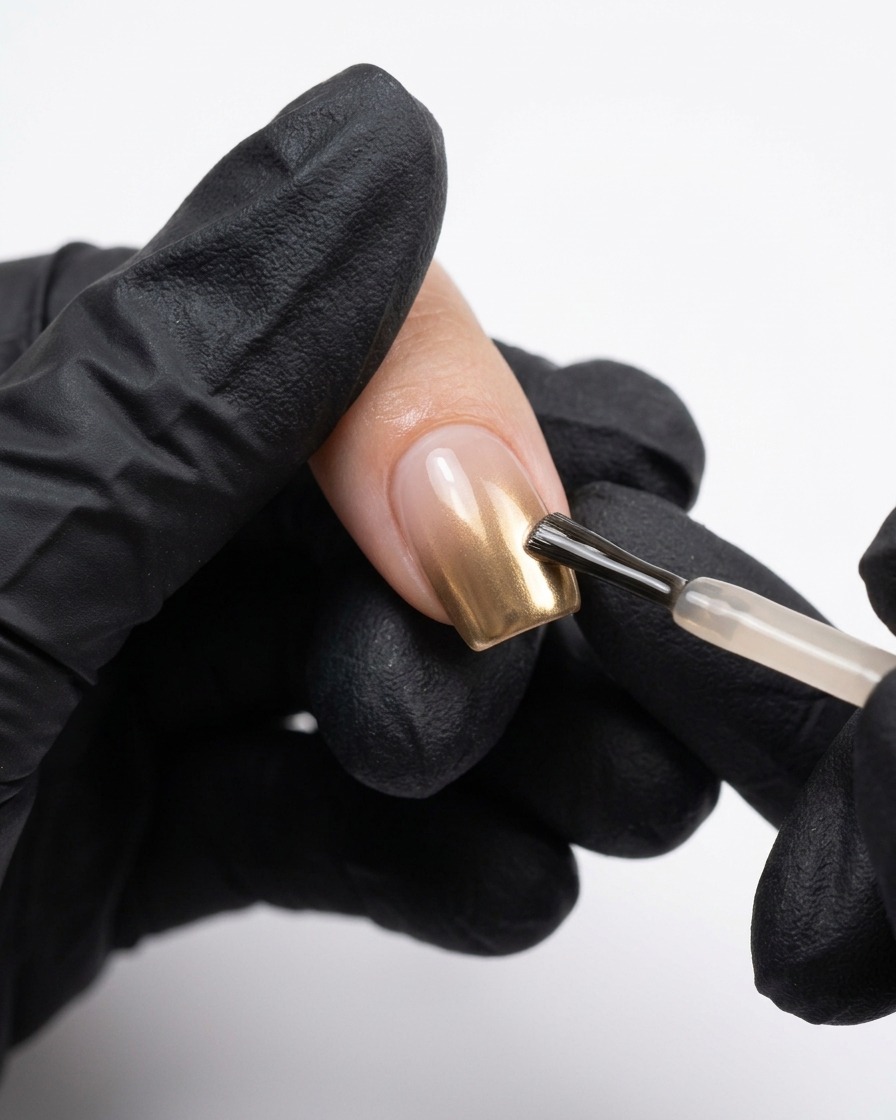
Apply a final layer of top coat over the entire nail to seal in the mirror powder design. Ensure you cap the free edge to prevent the powder from rubbing off or chipping prematurely. Cure according to your top coats specific curing time.
Tip: Use a light hand when applying the top coat to avoid smearing the delicate mirror powder effect. - 10Apply base color
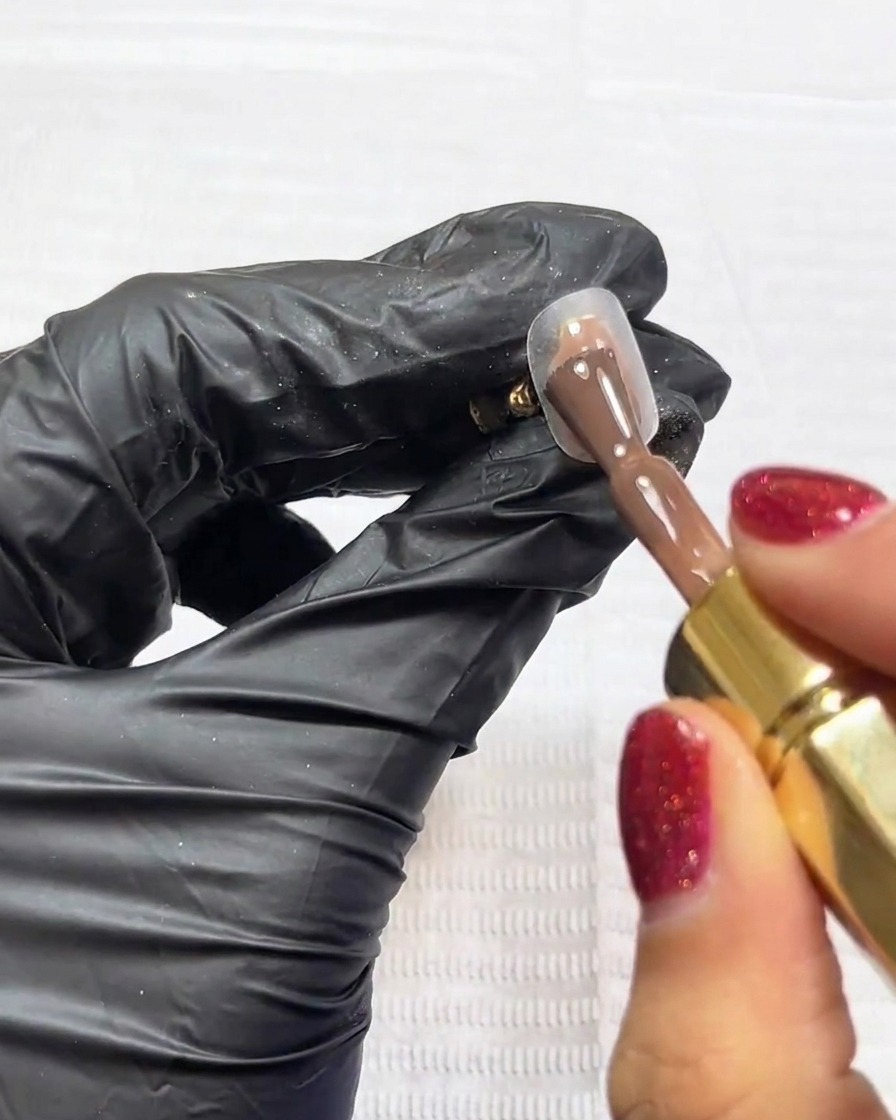
Apply a layer of your chosen base color to the second nail. This serves as the foundation for the cat-eye and floral design. Ensure the application is thin and even, covering the entire nail surface while keeping it away from the cuticle area.
Tip: Thin, even coats provide the best base for subsequent nail art layers and prevent thick edges. - 11Apply cat-eye gel
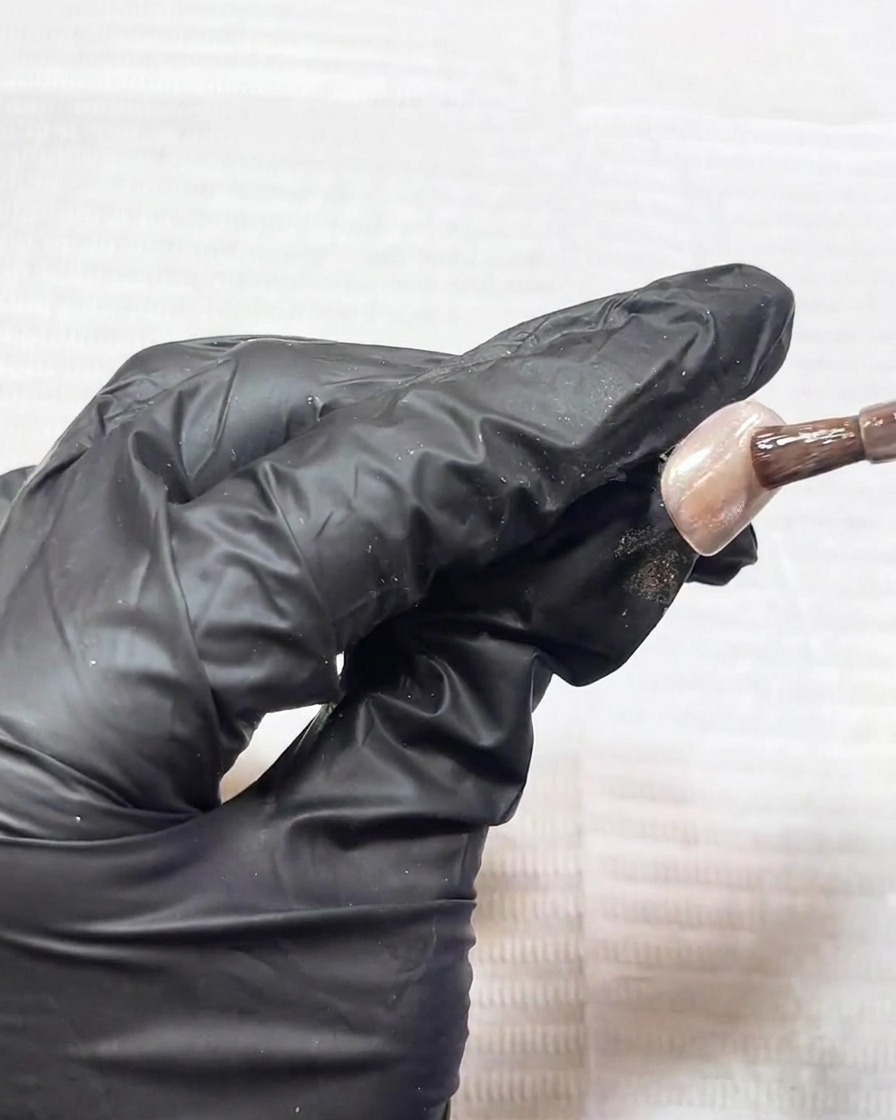
Apply a layer of cat-eye gel over the base color. Before curing, hold a magnet near the nail to manipulate the magnetic particles, creating a transparent, glowing effect. Once you achieve the desired depth and look, remove the magnet.
Tip: Experiment with the magnets angle and distance to create unique light-reflecting patterns within the gel. - 12Cure the second nail
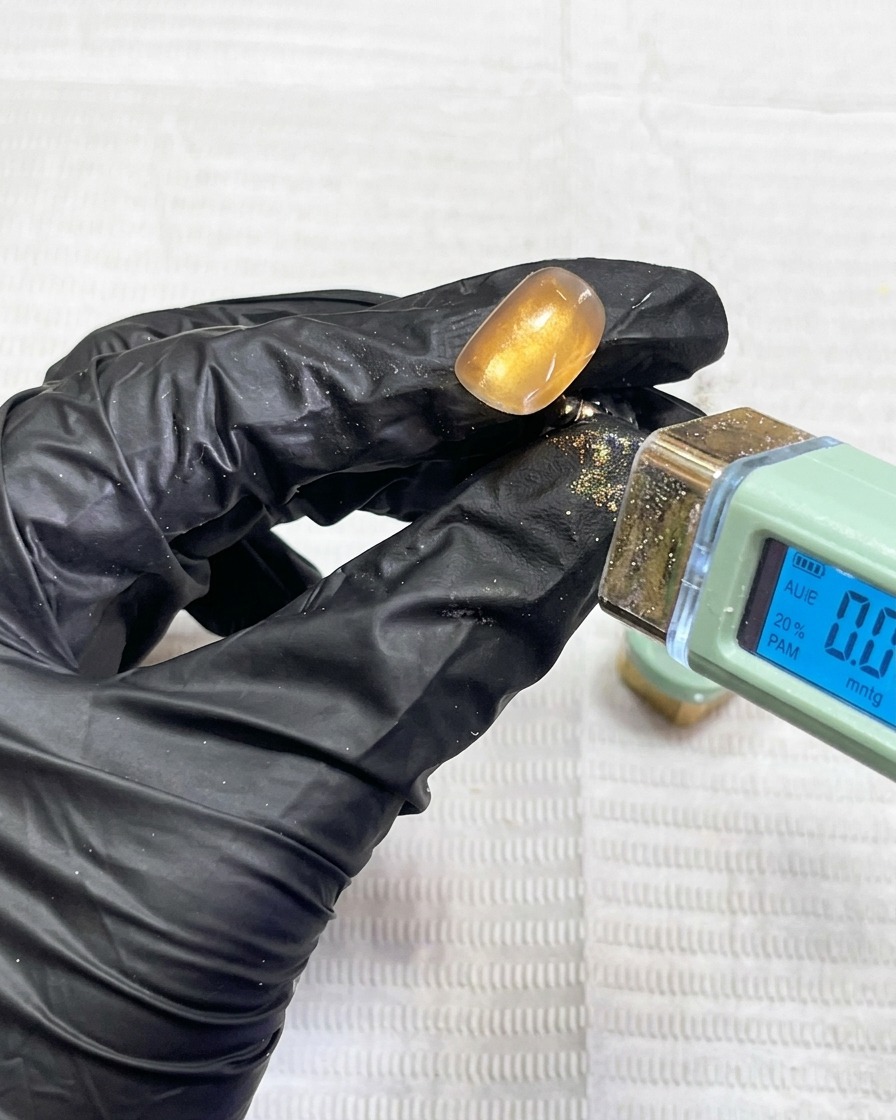
Place the second nail under the UV or LED lamp to cure the cat-eye gel. Ensure the nail is properly aligned to set the magnetic effect you created. Refer to your gel polish manufacturers instructions for the appropriate curing duration.
Tip: Avoid moving your hand while curing to ensure the magnetic effect remains in place until the gel is fully hardened. - 13Add metallic accents
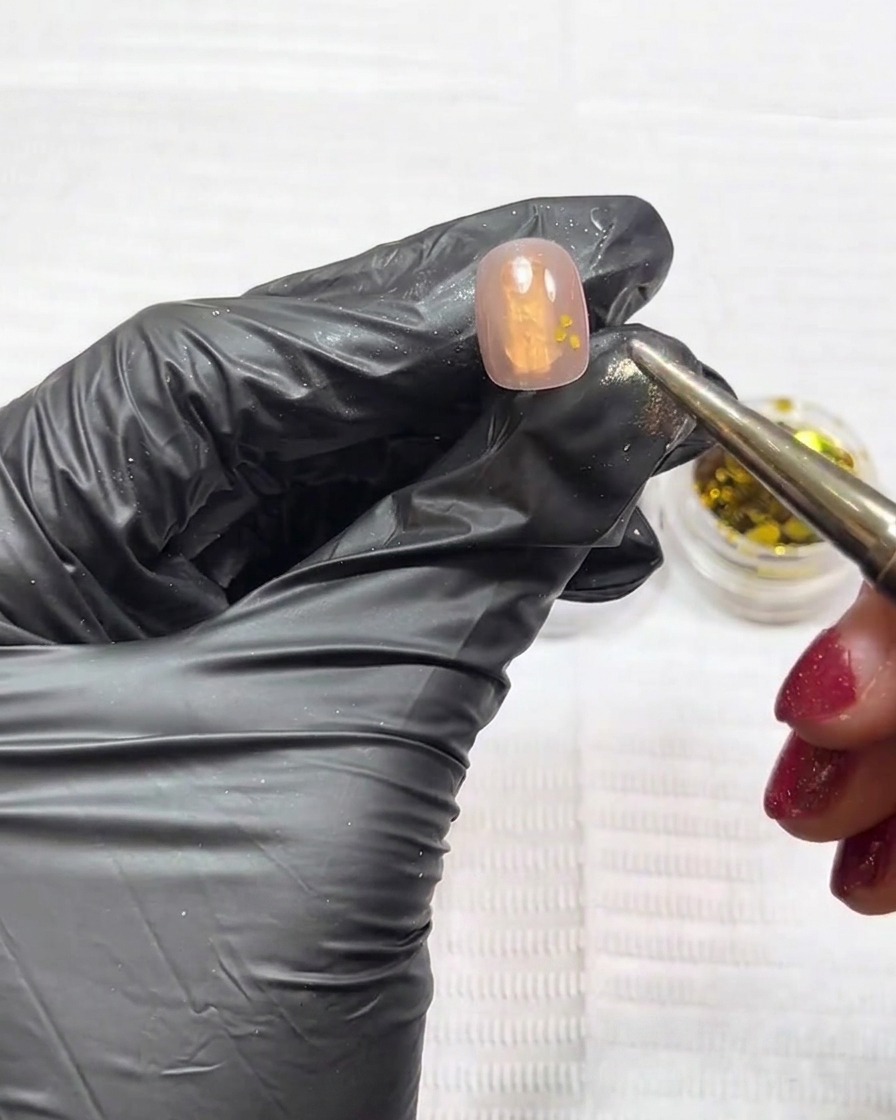
Using a fine detail brush or dotting tool, carefully place small amounts of gold and silver sequins or glitter onto the nail surface to create accent details. This adds dimension and sparkle to the design before moving on to the floral elements.
Tip: Place the glitter sparingly to ensure you have enough room for the dried flowers later. - 14Prepare surface for flowers
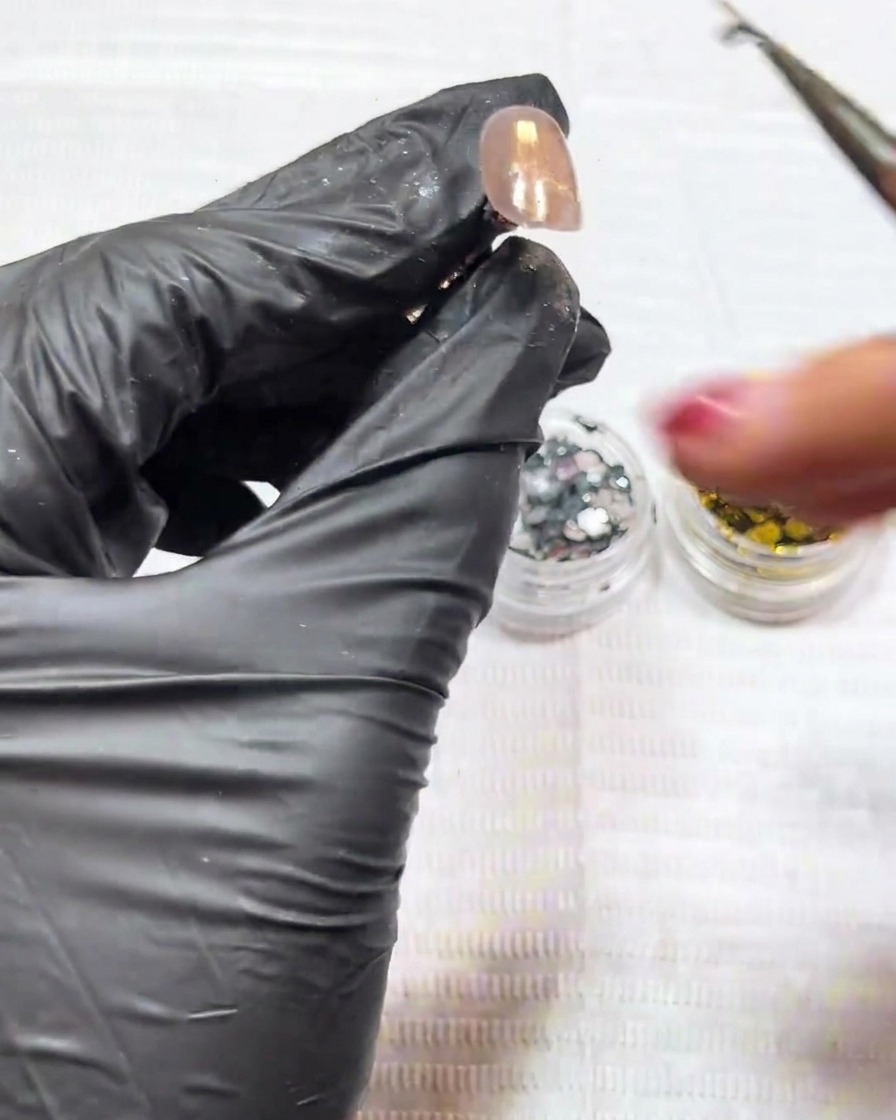
Apply a thin layer of base gel to the areas where you intend to place the dried flowers. This acts as an adhesive layer to hold the flowers in place before they are encapsulated with building gel.
Tip: Use a clear base gel so it doesnt interfere with the colors of the dried flowers. - 15Place dried flowers
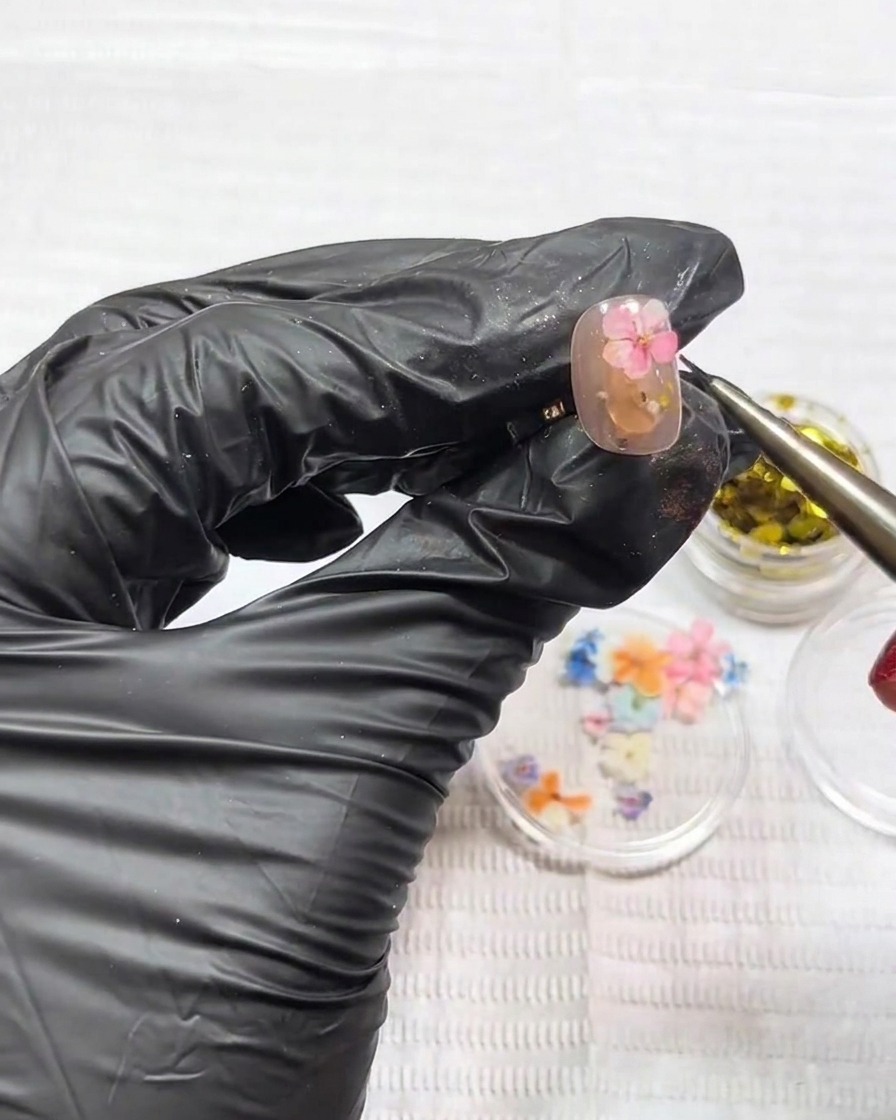
Using tweezers, gently pick up a dried flower and place it onto the wet base gel on the nail. Adjust its position as needed to create a balanced design, then gently press it down so it is fully embedded in the base gel.
Tip: If the flower petals are very delicate, be careful not to tear them while positioning with tweezers. - 16Flatten flowers with plastic wrap
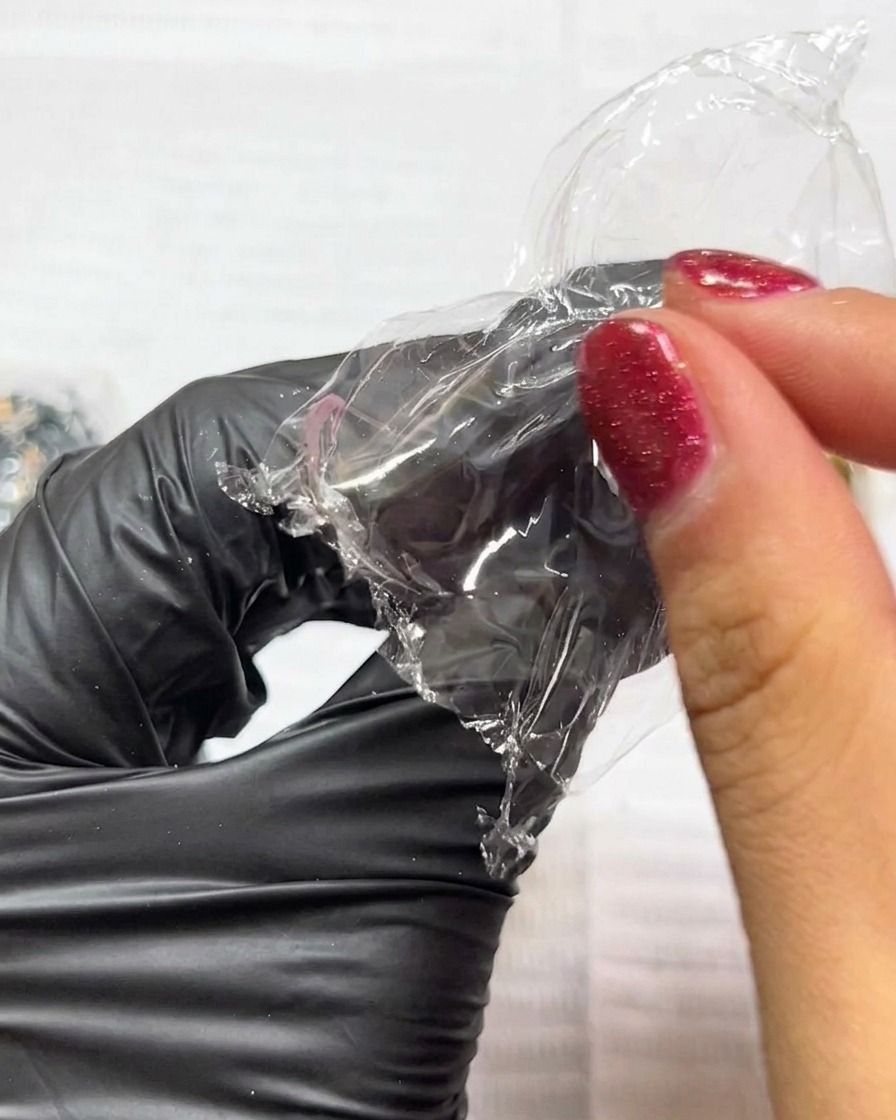
Place a small piece of plastic wrap over the nail and press down firmly over the flowers. This technique ensures the flowers lay perfectly flat against the nail surface, preventing edges from sticking up and making encapsulation much easier.
Tip: Use a smooth piece of cling film to avoid texture marks on the gel. - 17Cure with plastic wrap
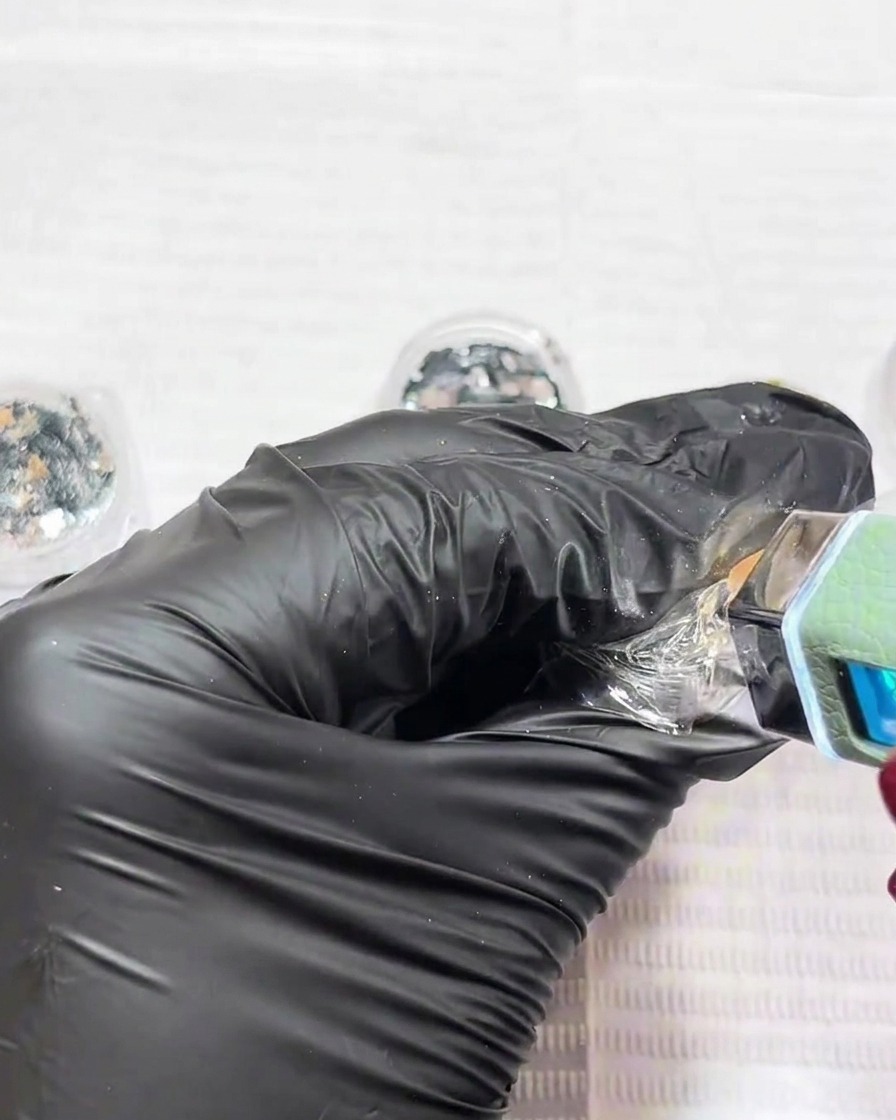
Place the nail under the UV or LED lamp with the plastic wrap still covering the flowers. Curing in this position locks the flowers into the flat position you created, ensuring they stay put before the final encapsulation step.
Tip: Ensure the lamp light can penetrate the plastic wrap evenly to fully cure the base gel underneath. - 18Add gold leaf accents
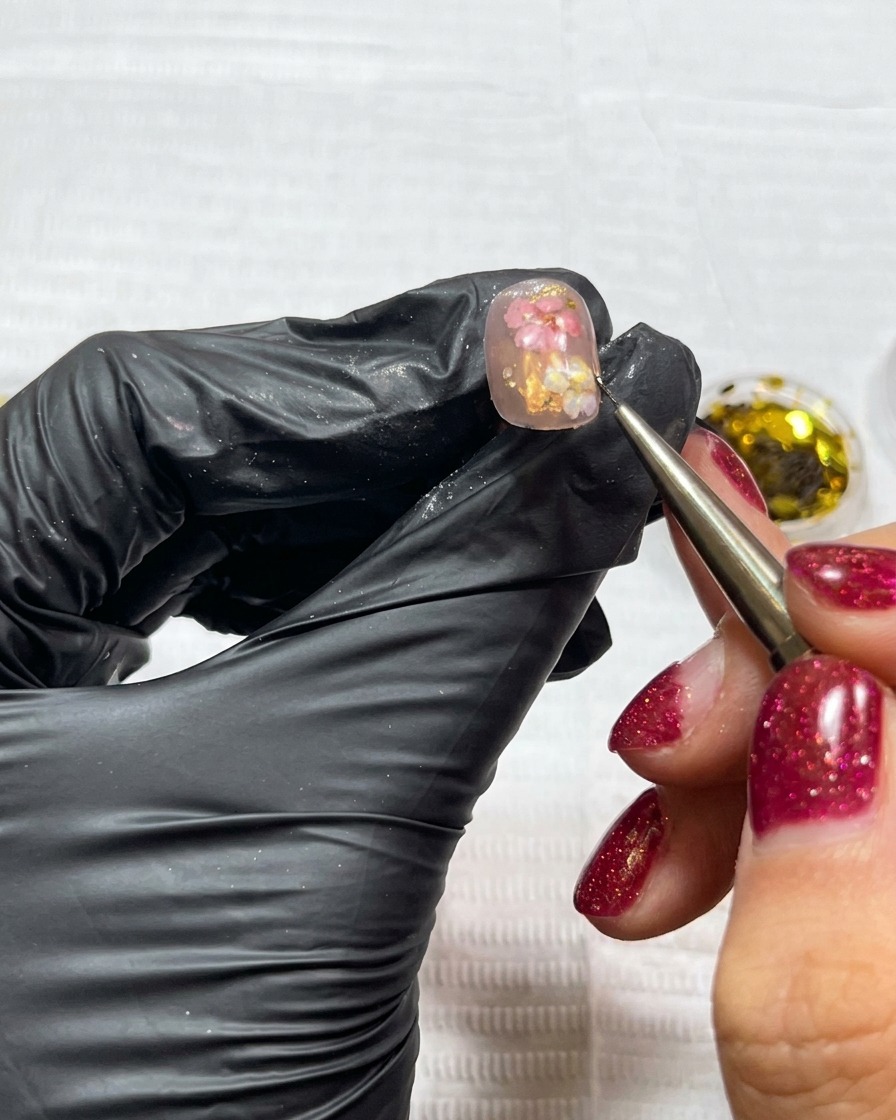
After removing the plastic wrap and ensuring the flowers are secure, use a tool to apply small pieces of gold leaf around the flowers. These flakes add a luxurious metallic highlight to the floral nail art.
Tip: Gold leaf is very lightweight; place it gently so it doesnt fly away or clump together. - 19Add decorative star charm
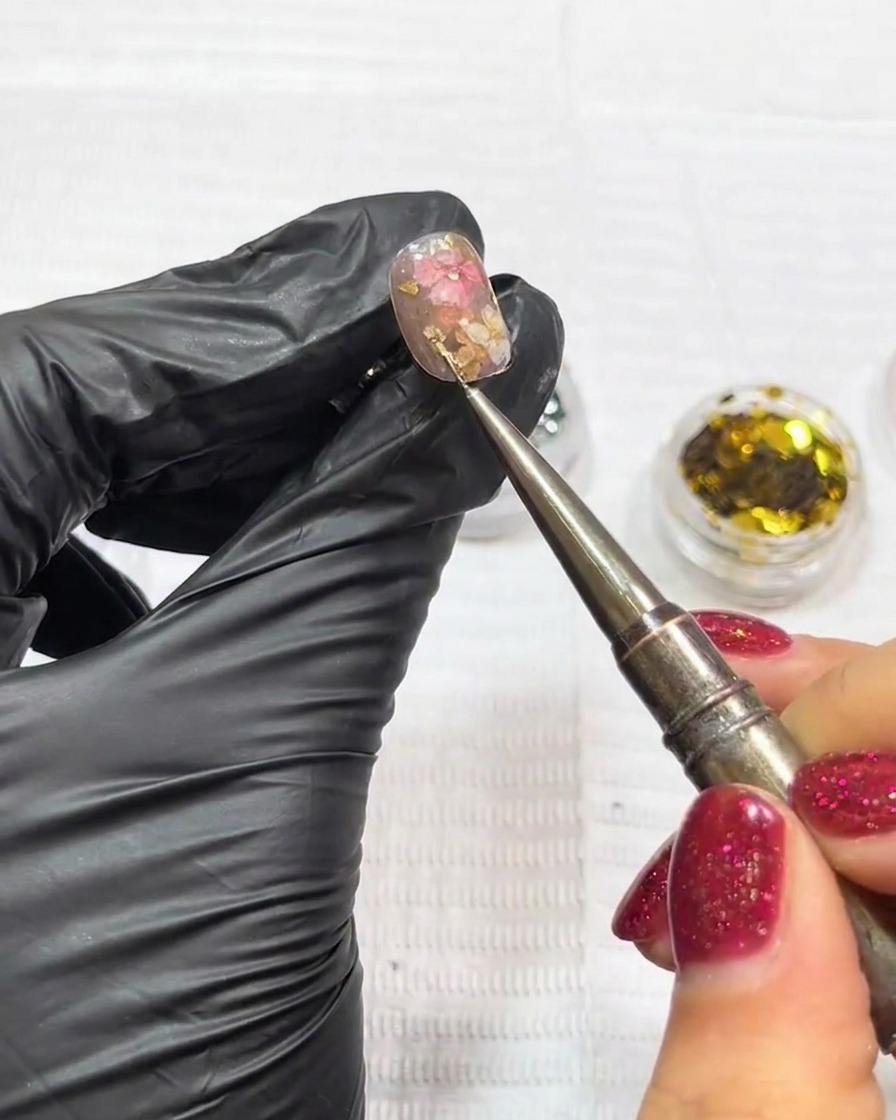
Using tweezers, carefully place a small gold star charm onto the nail surface where you have applied the base gel and dried flowers. Press it gently into the gel to ensure it is secure, then cure under your lamp to lock the charm in place before encapsulation.
Tip: If the star charm moves while placing, use a clean, dry brush to nudge it into the perfect position before curing. - 20Cure the floral nail art
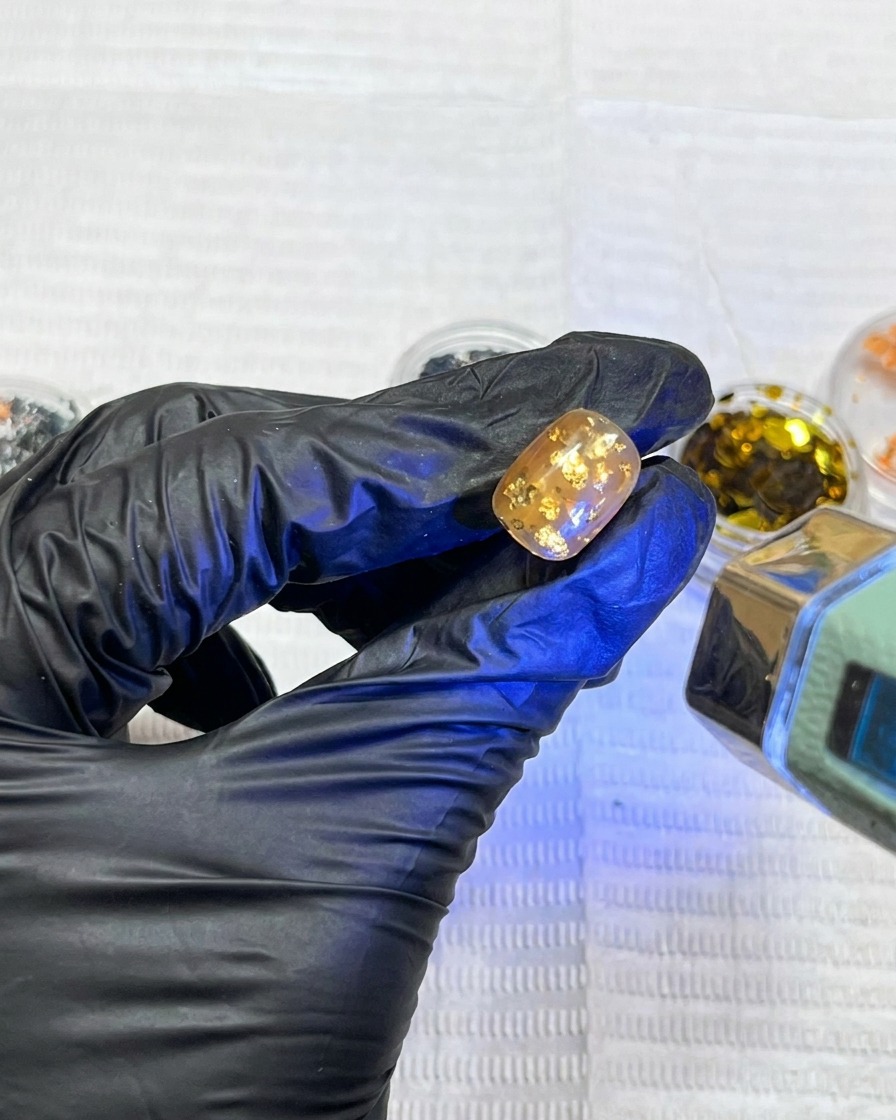
Place the nail under your UV or LED lamp for a full cure to ensure the dried flowers, gold leaf, and star charm are completely set. A proper cure at this stage is essential for the durability of the encapsulated design.
Tip: Ensure the nail is centered directly under the lamp bulbs for the most effective curing coverage. - 21Encapsulate with building gel
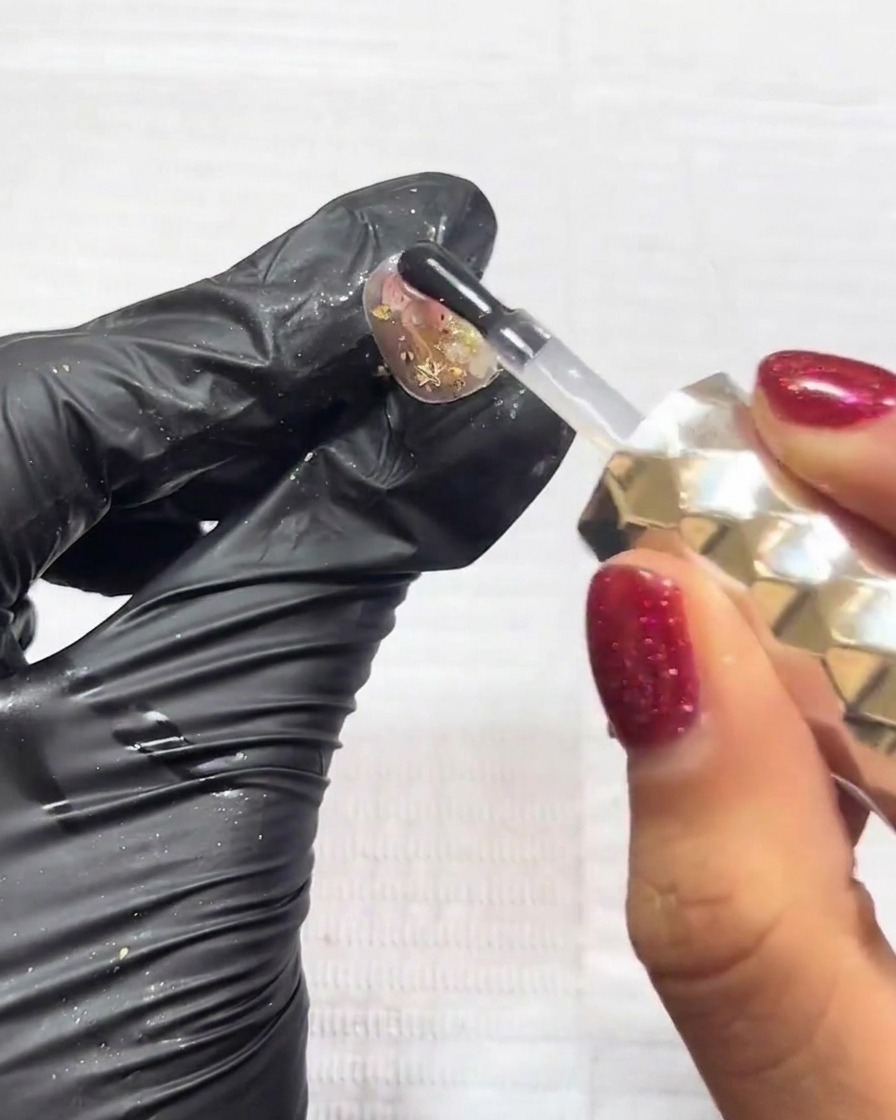
Apply a layer of clear building gel over the entire nail to encapsulate the flowers, sequins, and charms. This step adds structural strength to the nail and creates a smooth, leveled surface that protects the embedded decorations.
Tip: Use a thicker viscosity building gel to easily level out the surface over the 3D elements. - 22Cure the building gel
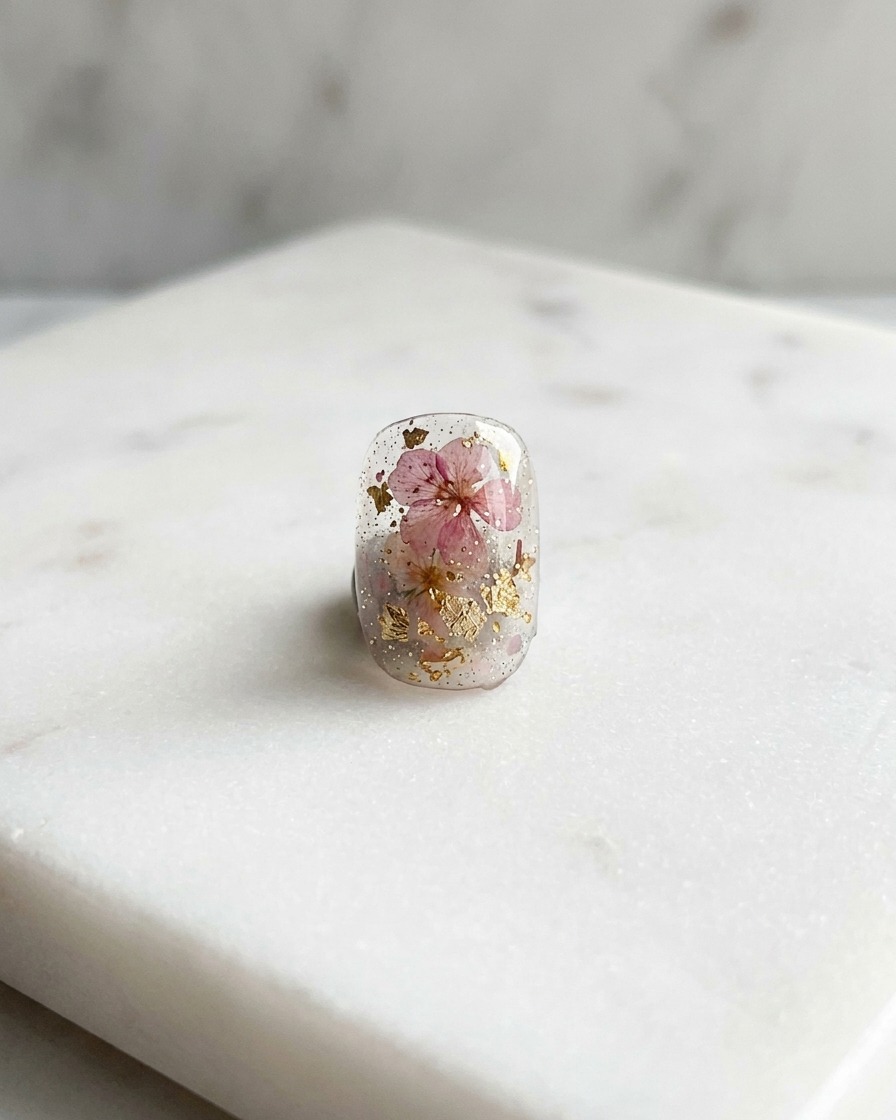
Cure the building gel layer under your UV or LED lamp. This locks in the structural layer, protecting the underlying nail art while providing a smooth base for your final top coat.
Tip: Check for any uneven spots before finalizing the cure; you can still smooth them out with the brush while the gel is uncured. - 23Add rhinestones for detail
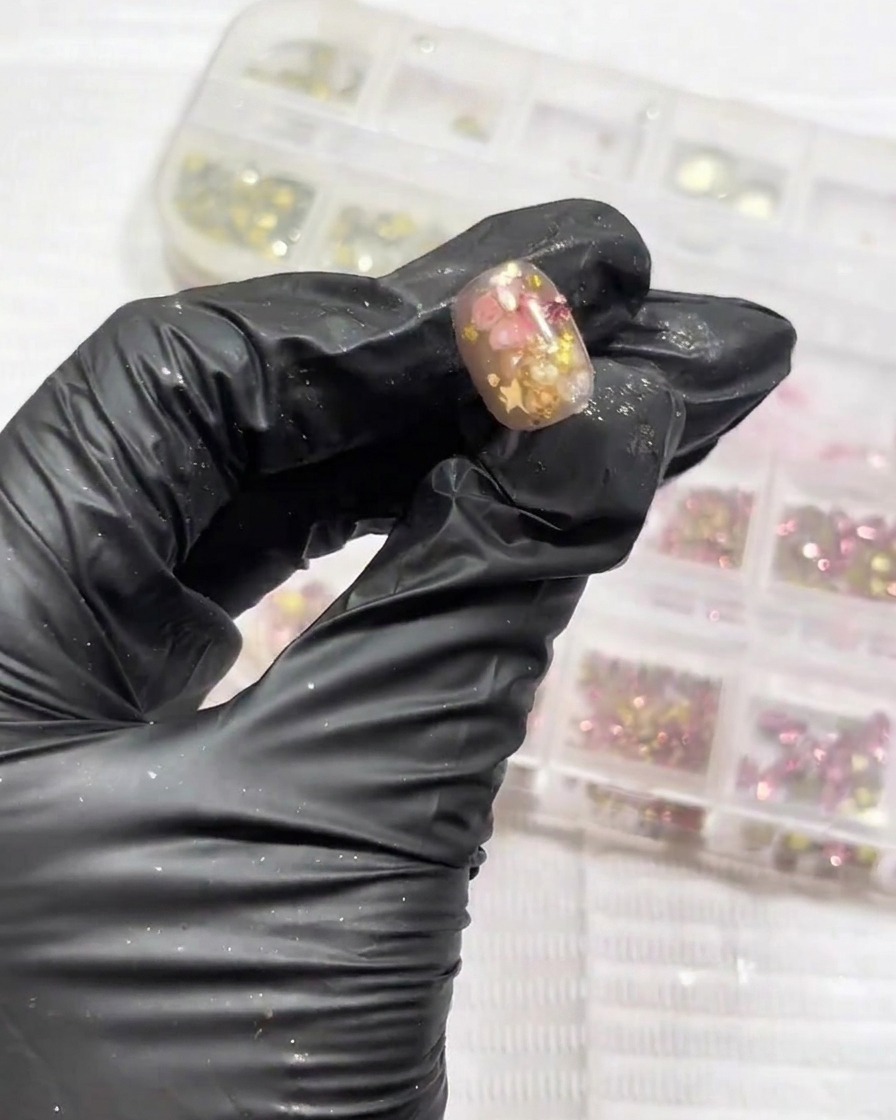
Using a dotting tool or tweezers, place small rhinestones in the corners of the nail. Use a small amount of rhinestone glue or base gel to adhere them securely. These final touches add sparkle and complete the sophisticated design.
Tip: Avoid covering the rhinestones with top coat, as it can dull their sparkle and faceted finish.