Encapsulated Dried Flower
Cat-Eye Gel Nail Tutorial
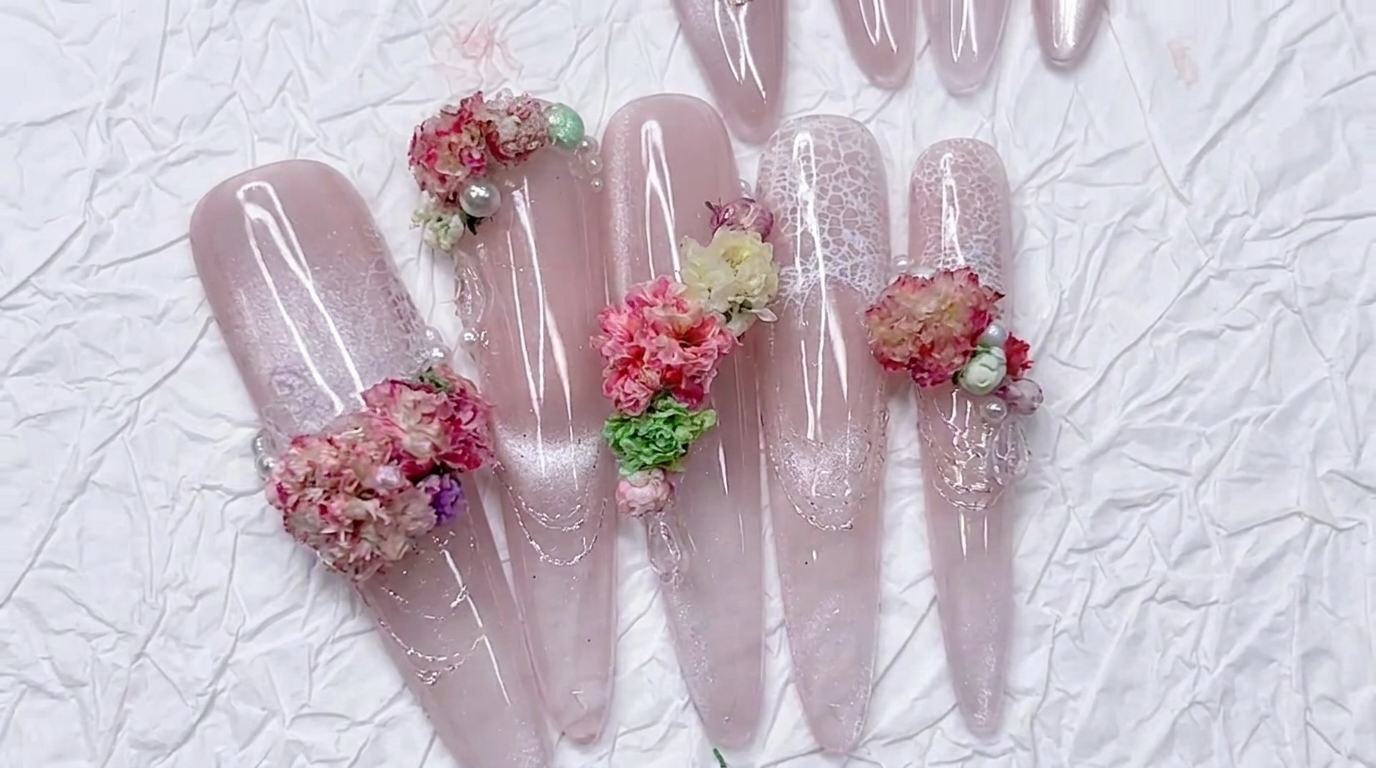
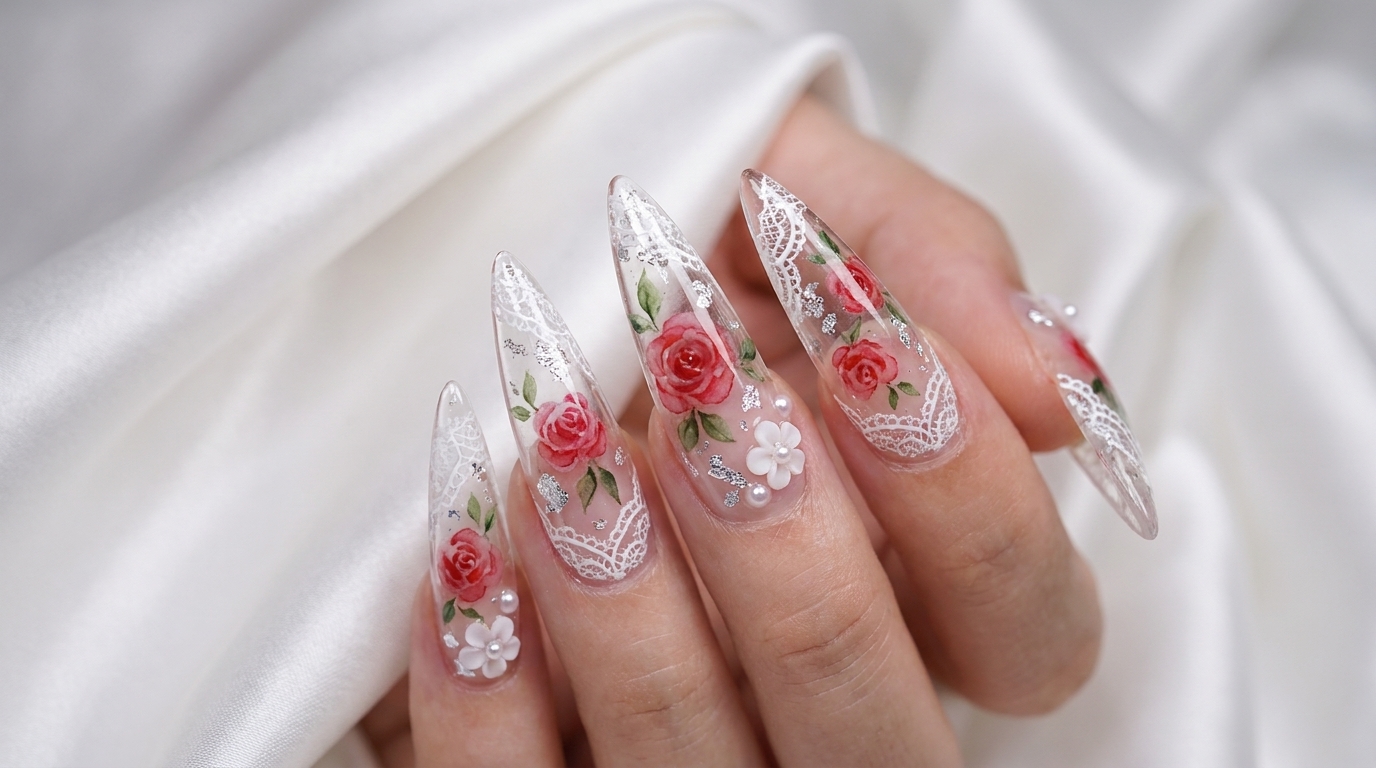
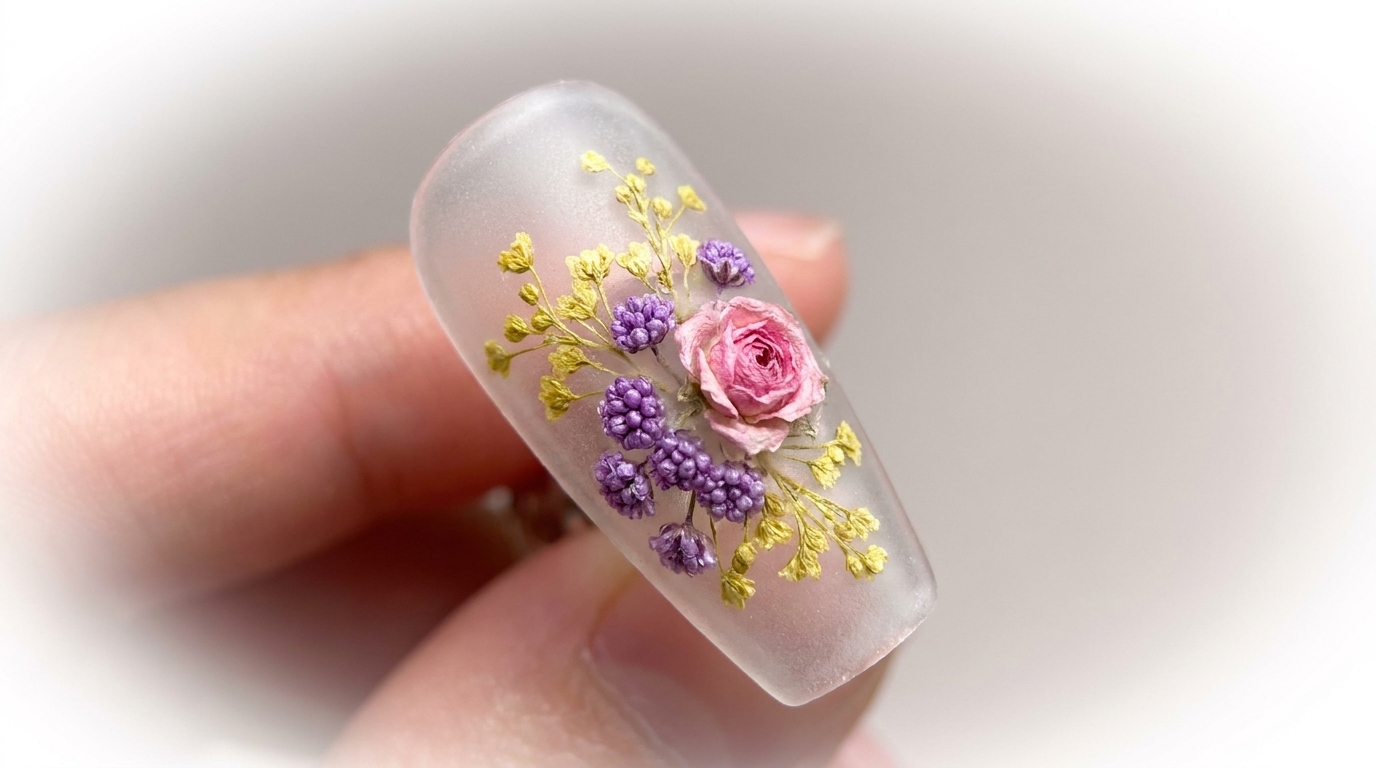
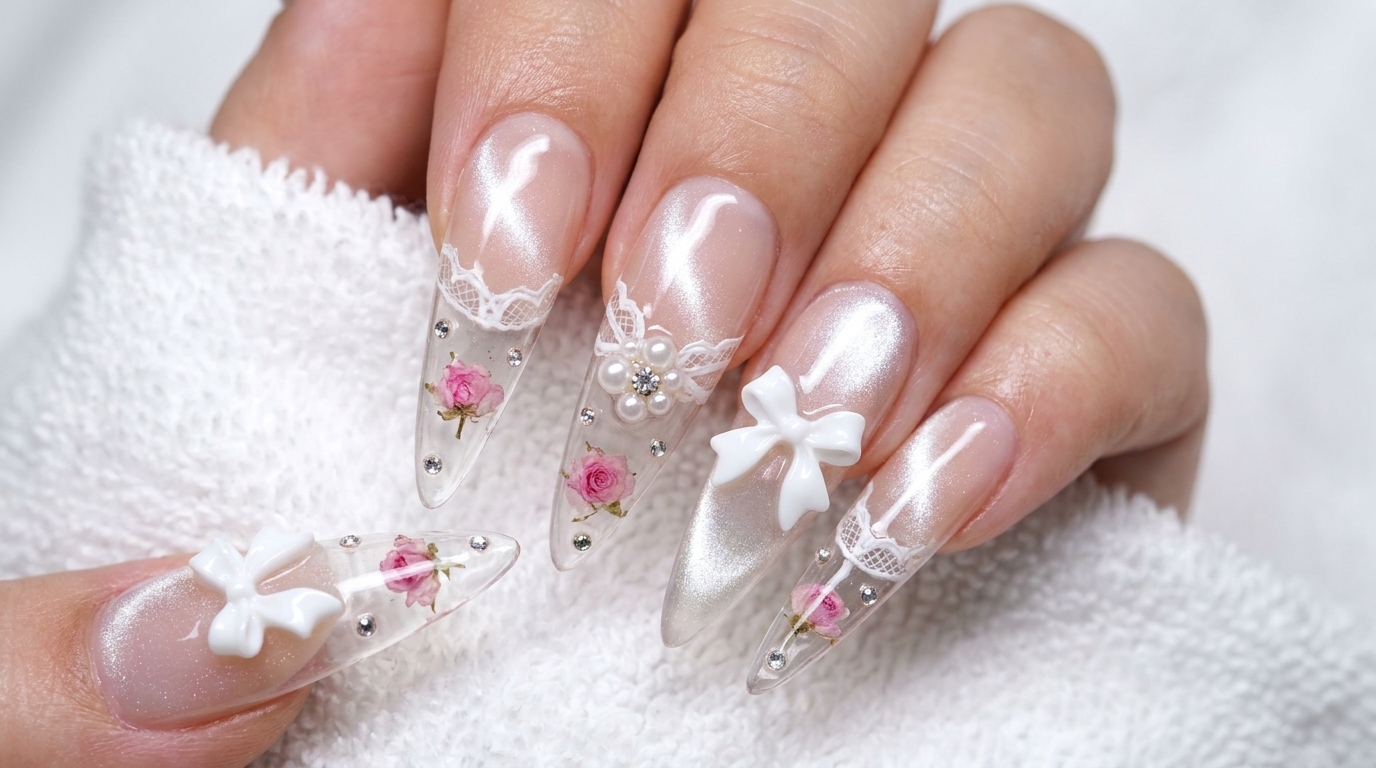
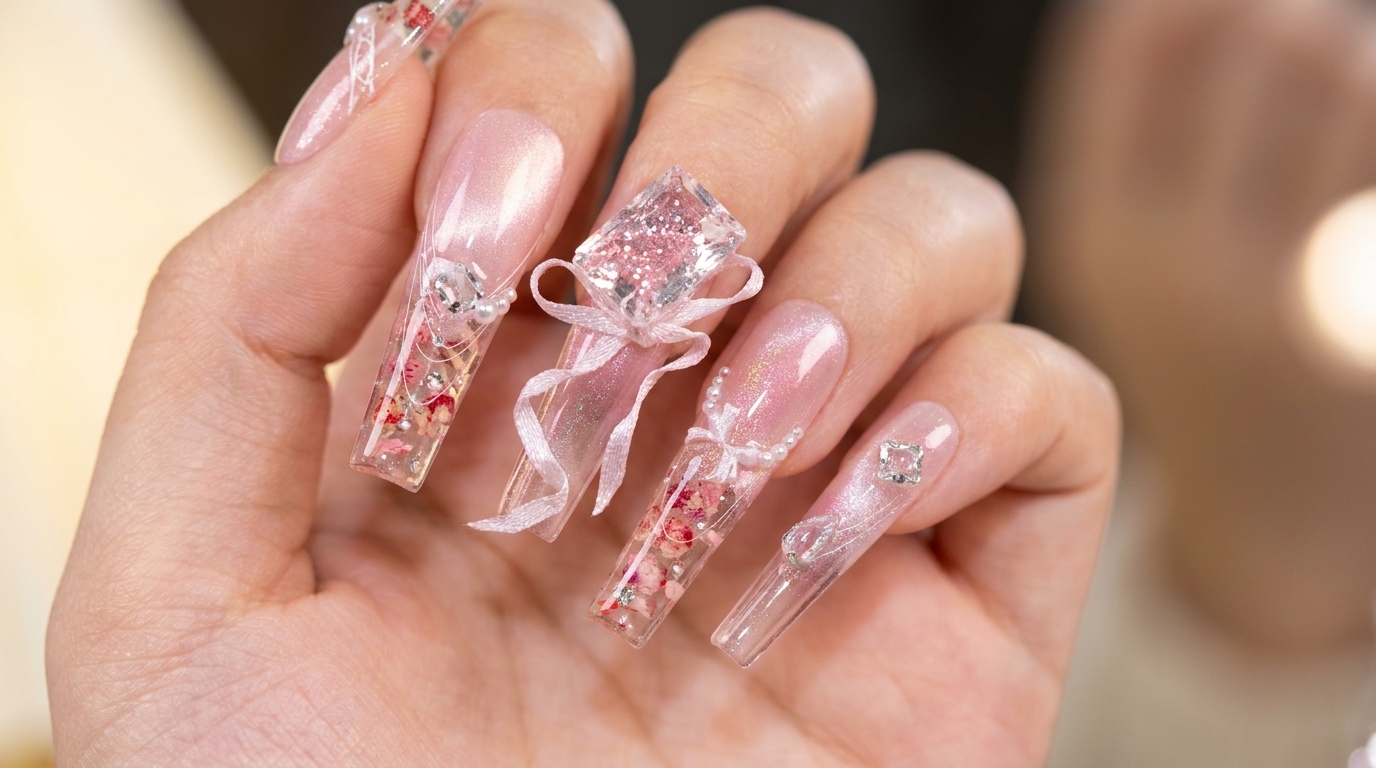
Create an enchanting look with encapsulated dried flowers, shimmering pink cat-eye gel, and delicate lace details in this step-by-step tutorial.
This ethereal nail design perfectly balances romantic elements with modern techniques. By encapsulating real dried flowers and using a magnetic cat-eye effect, you achieve a multidimensional look that feels both vintage and trendy. The addition of intricate lace line art and 3D embellishments elevates the manicure, making it a stunning choice for special occasions or whenever you want your nails to be the highlight of your outfit.
Steps
- 1Apply clear adhesive gel
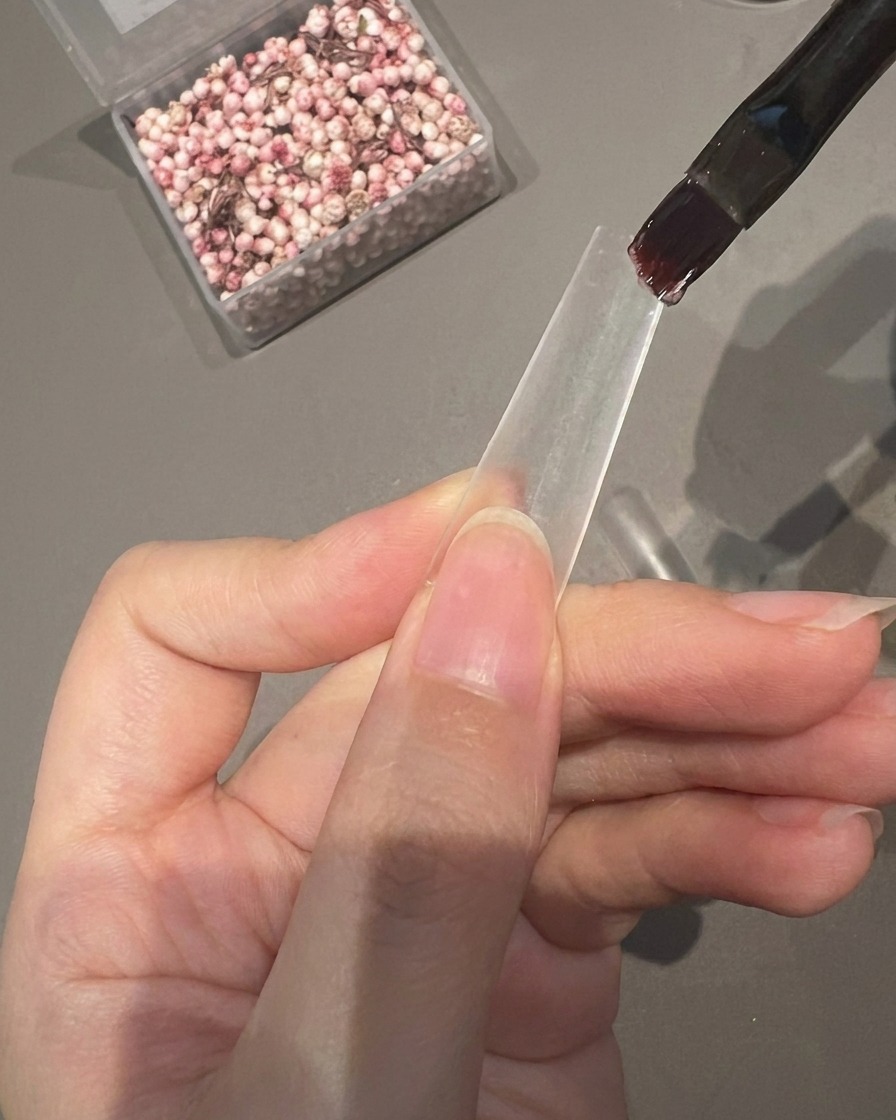
Apply a base layer of clear adhesive gel to the lower half of the nail tip. This provides a tacky surface to hold the dried flowers and embellishments in place before you cure the design.
Tip: Use just enough gel to cover the area where you intend to place the decorations to prevent excess product from flooding the nail sides. - 2Arrange dried flowers
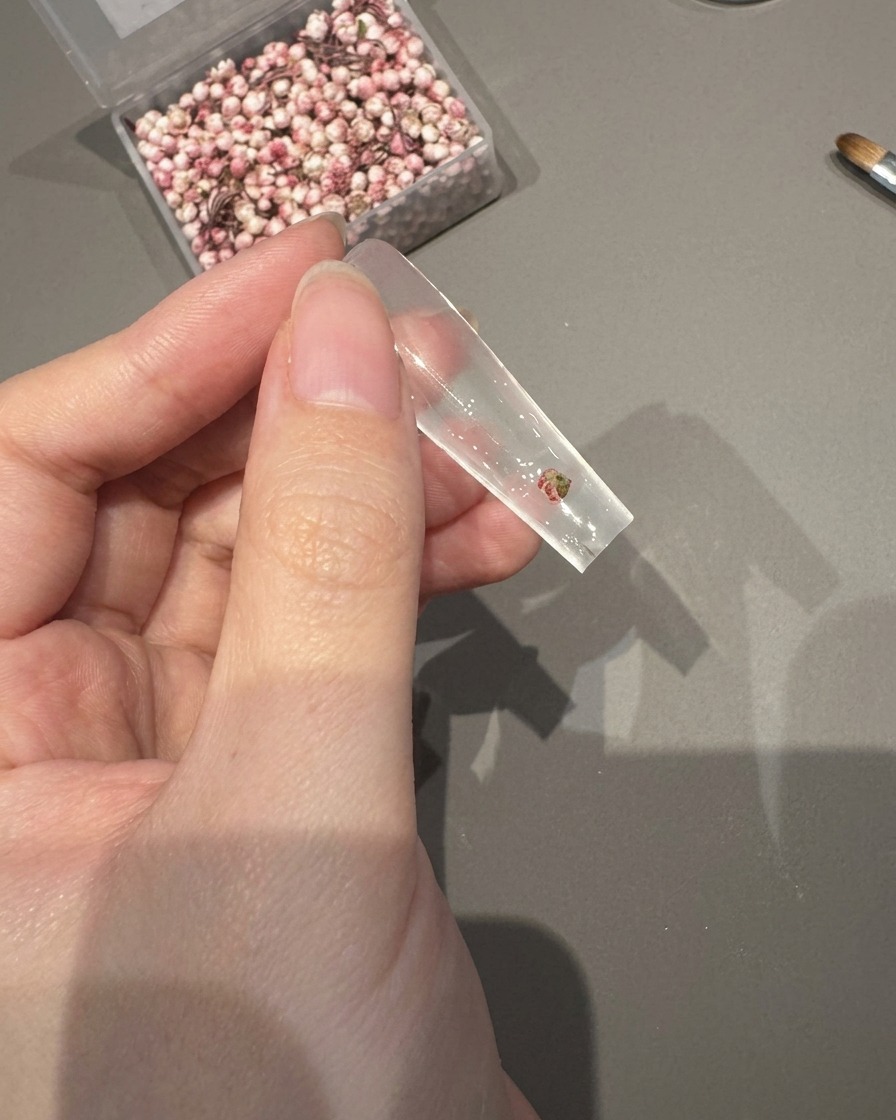
Using tweezers, carefully pick up the tiny dried flowers and place them into the wet adhesive gel on the nail tip. Arrange them in your desired aesthetic pattern.
Tip: Work with a light touch to avoid damaging the delicate dried flowers. - 3Add accents
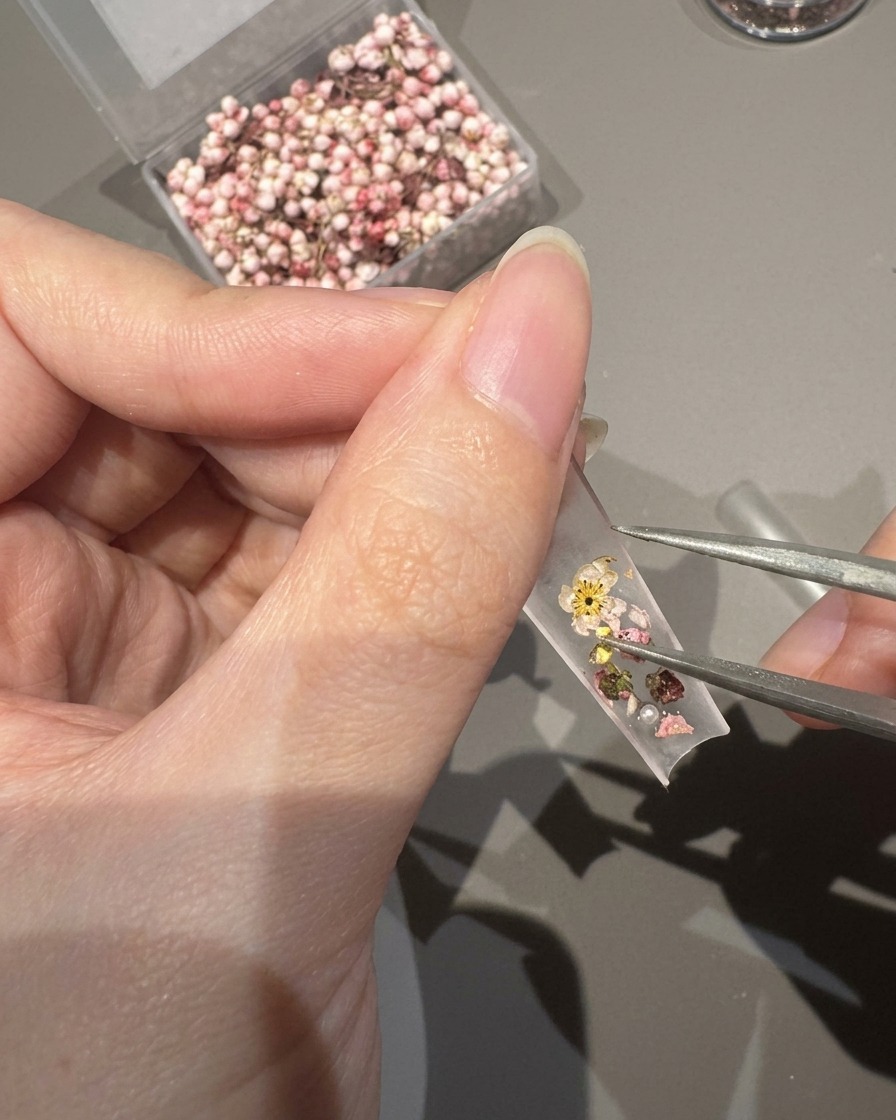
Place small pearls and crystals into the gaps between the dried flowers to add texture and detail to your nail art design.
Tip: Use a dotting tool or the tip of your tweezers to nudge the accents into the perfect position. - 4Encapsulate the design
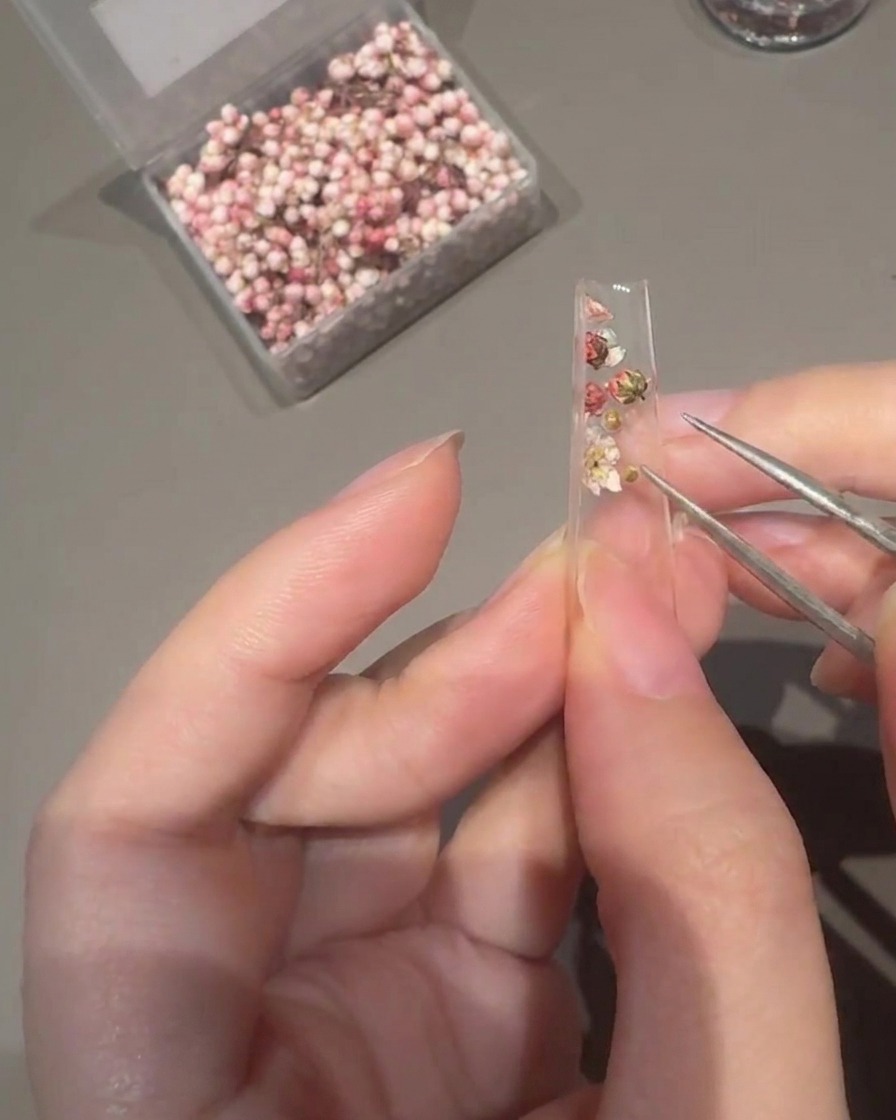
Apply a layer of extension builder gel over the dried flowers, pearls, and crystals. This seals the elements in place and levels the nail surface for a smooth finish.
Tip: Ensure you cover the edges of the embellishments completely so they do not catch on clothing or hair. - 5Apply base color
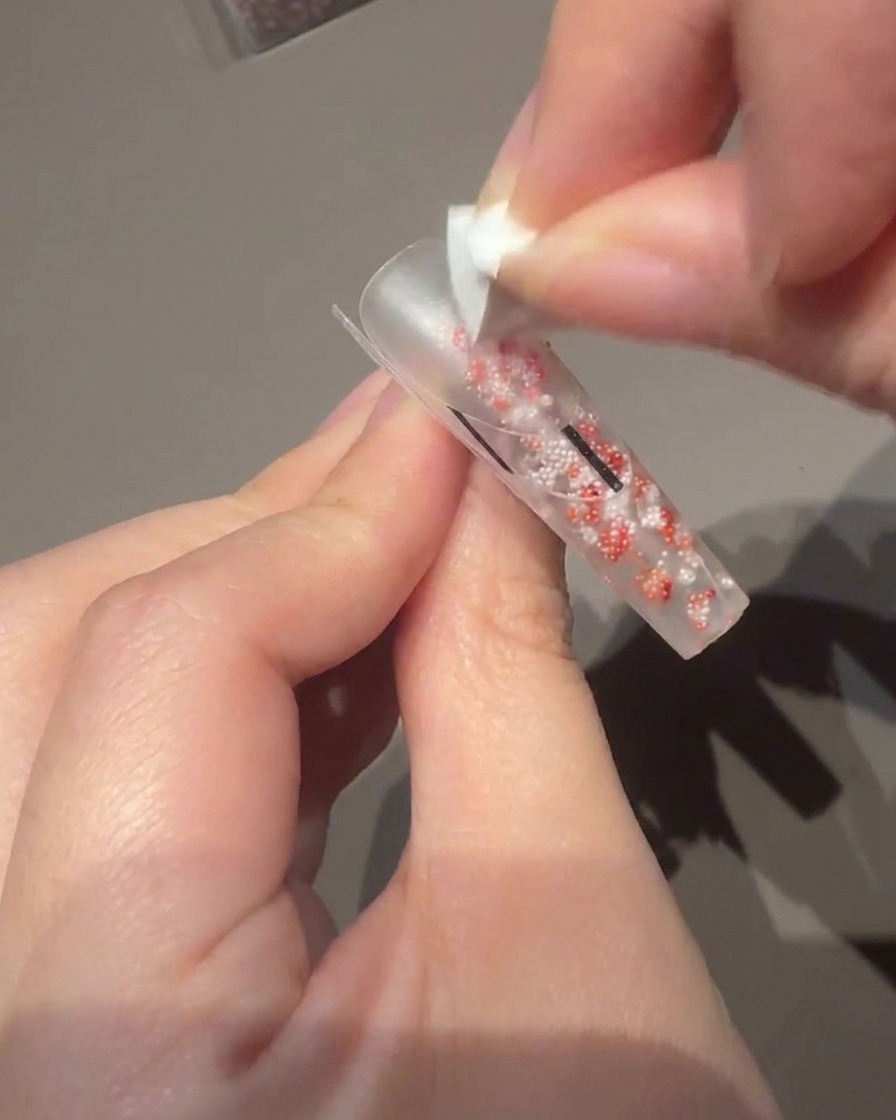
Apply a layer of milky pink gel over the nail bed area. This acts as the base color for your design, providing a soft background for the cat-eye effect.
Tip: Apply in thin, even strokes for a streak-free application. - 6Apply cat-eye gel
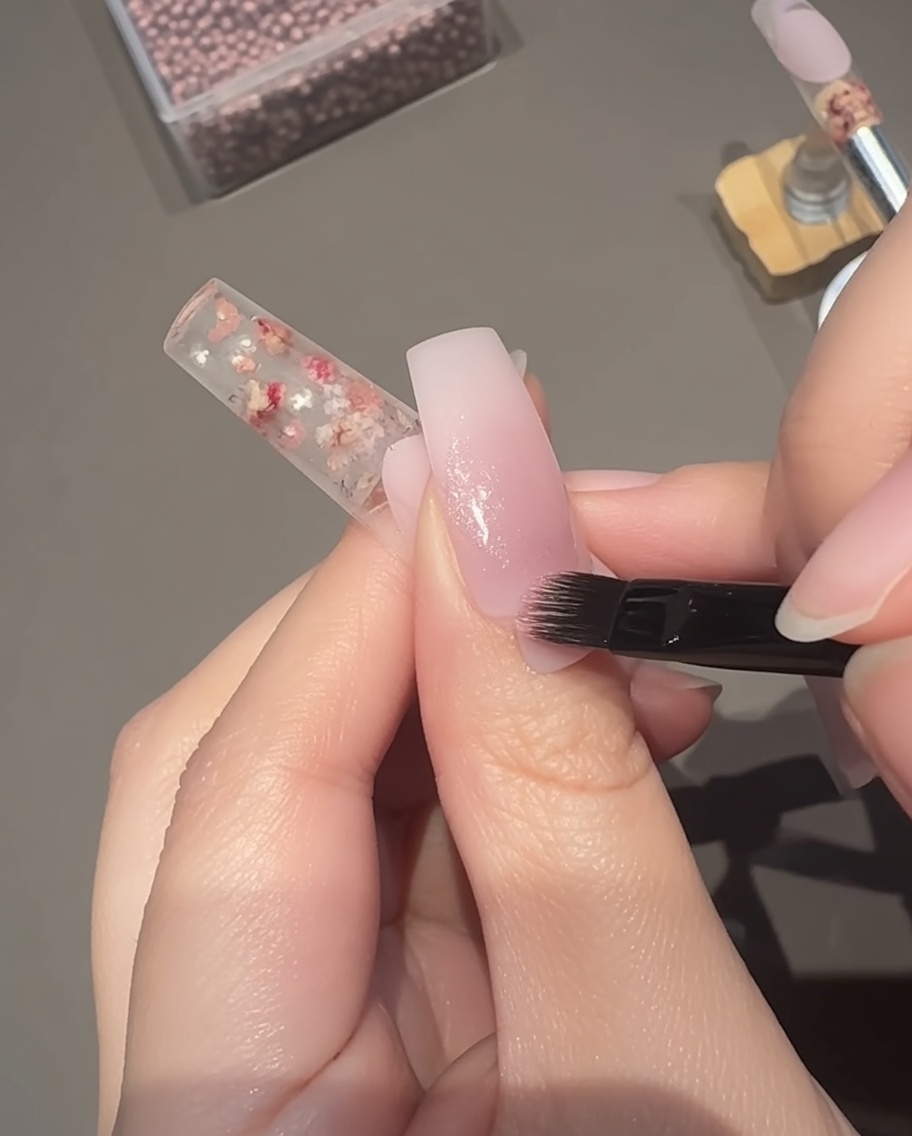
Apply a thin layer of pink magnetic cat-eye gel over the milky pink base. You will use a magnet next to manipulate the shimmer before curing.
Tip: Keep the layer thin to ensure the magnetic particles can move freely and create a sharp cat-eye line. - 7Create the cat-eye shimmer
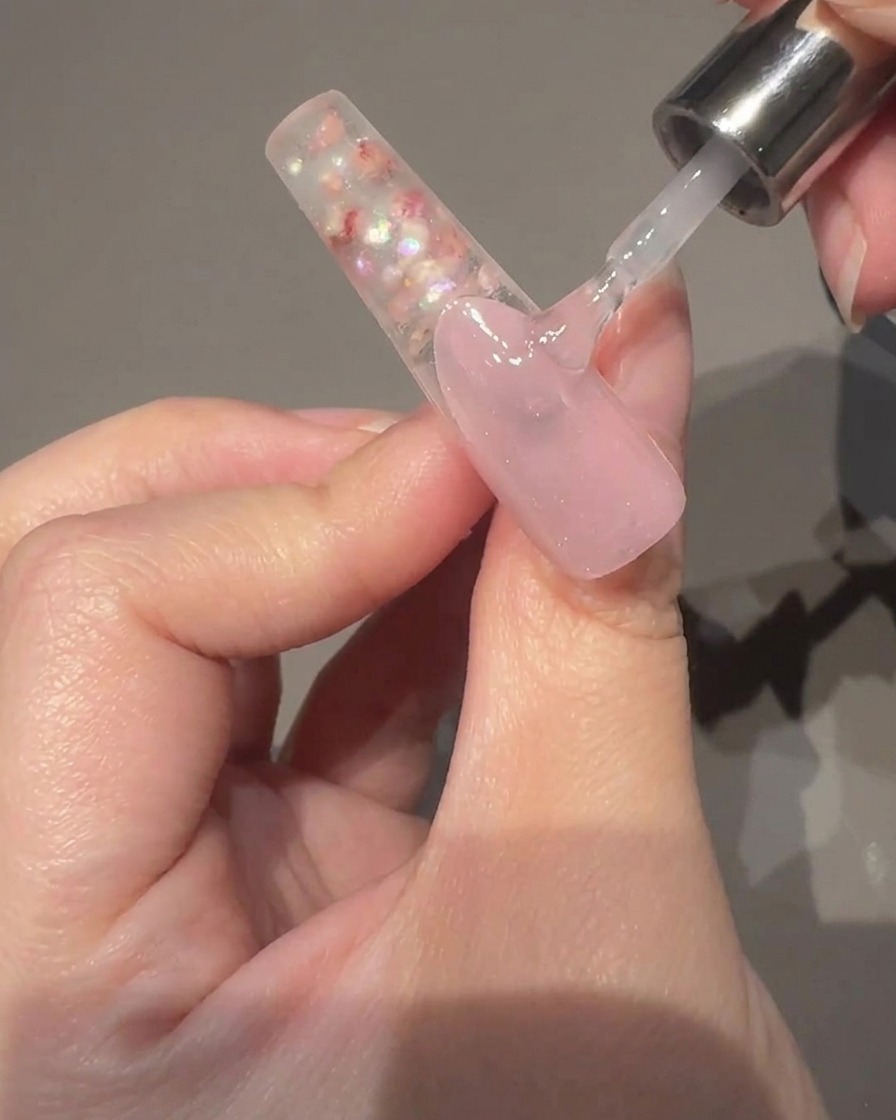
With the pink cat-eye gel freshly applied and wet, hold a cylindrical magnet on both sides of the nail to pull the metallic particles toward the center. This creates a focused, shimmering cat-eye effect. Once you are satisfied with the look, cure it under your UV lamp to set the pattern in place.
Tip: Keep the magnet close to the nail for a stronger cat-eye line, but be careful not to touch the wet gel surface. - 8Cure the cat-eye gel
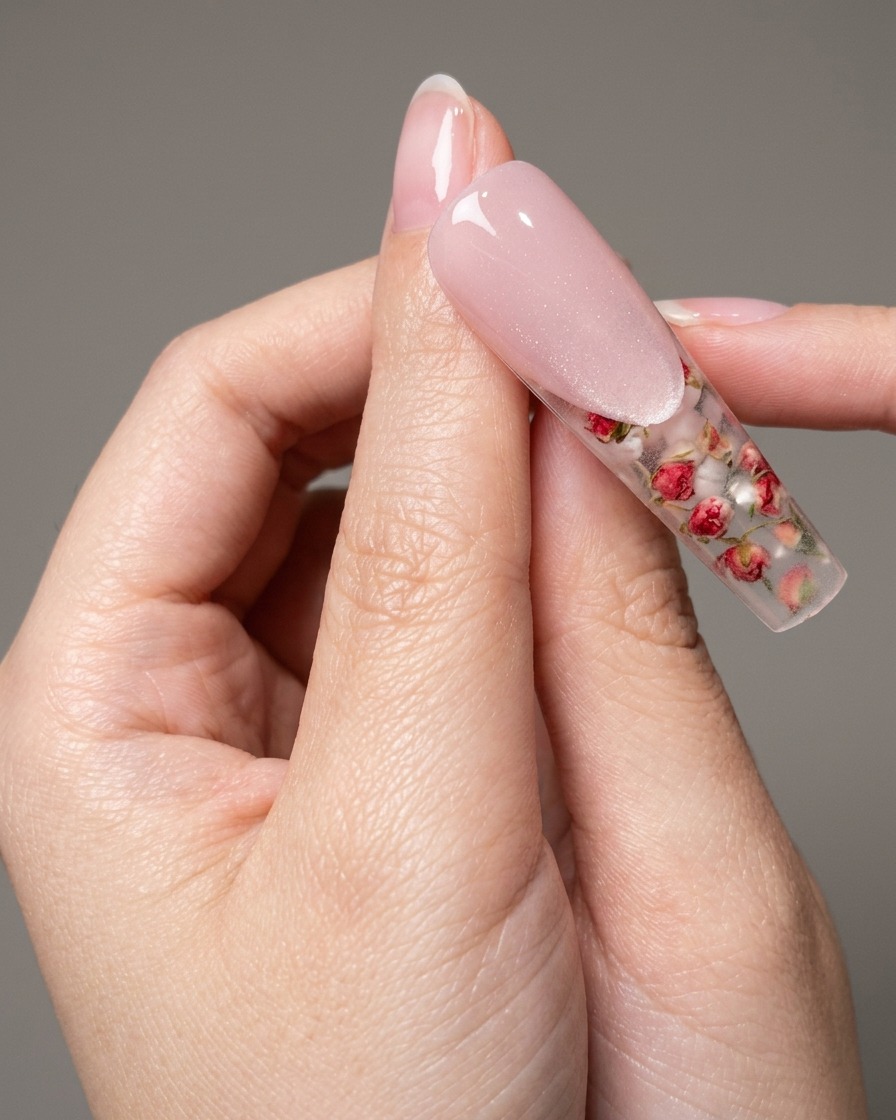
Place your hand inside the UV/LED lamp to fully cure the cat-eye gel. Ensure your fingers are positioned so that the light reaches all parts of the nail evenly, locking in the magnetic shimmer design you created.
Tip: Do not move your hand once the curing cycle has started to ensure the cat-eye effect remains sharp and clear. - 9Apply top coat
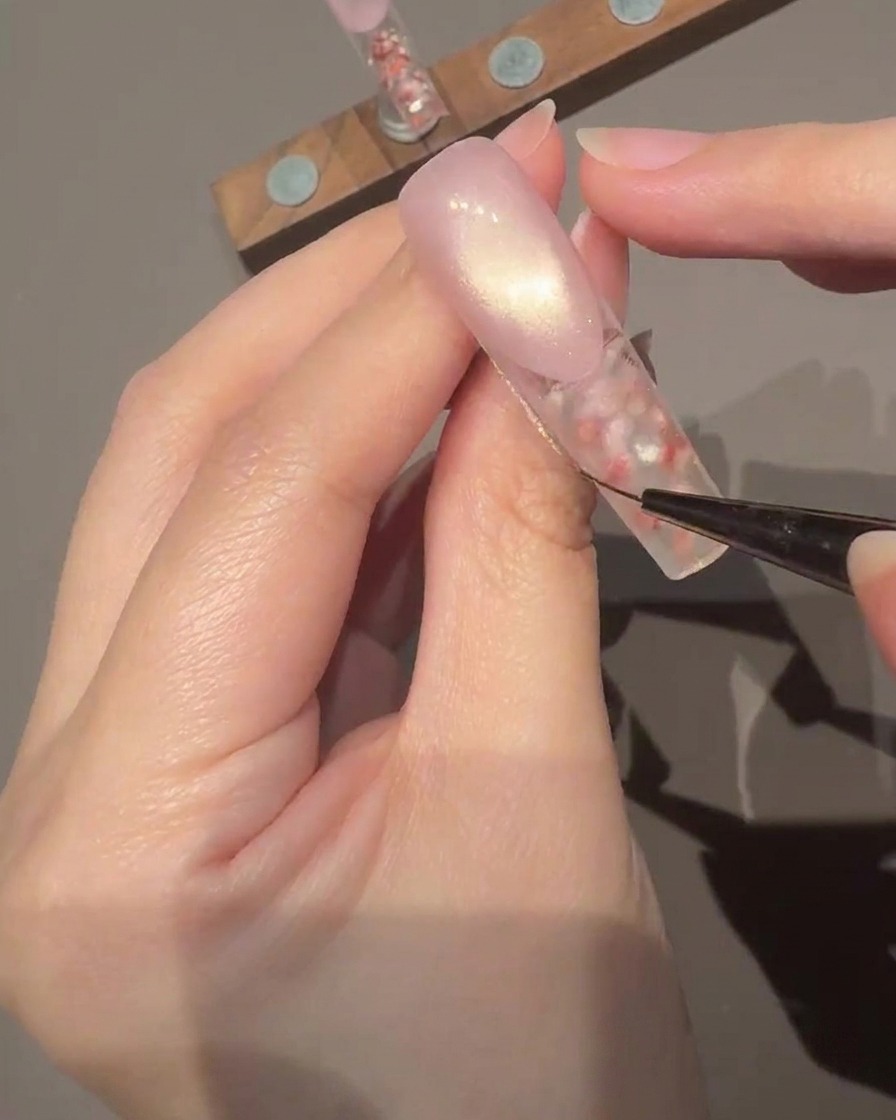
Apply a generous layer of top coat over the entire nail surface, ensuring you cover the edges and any 3D elements. This step protects the nail art, adds a high-gloss finish, and increases the longevity of the manicure. Cure under the UV/LED lamp to finalize.
Tip: Cap the free edge with the top coat to prevent the design from chipping at the tip. - 10Paint white lace details
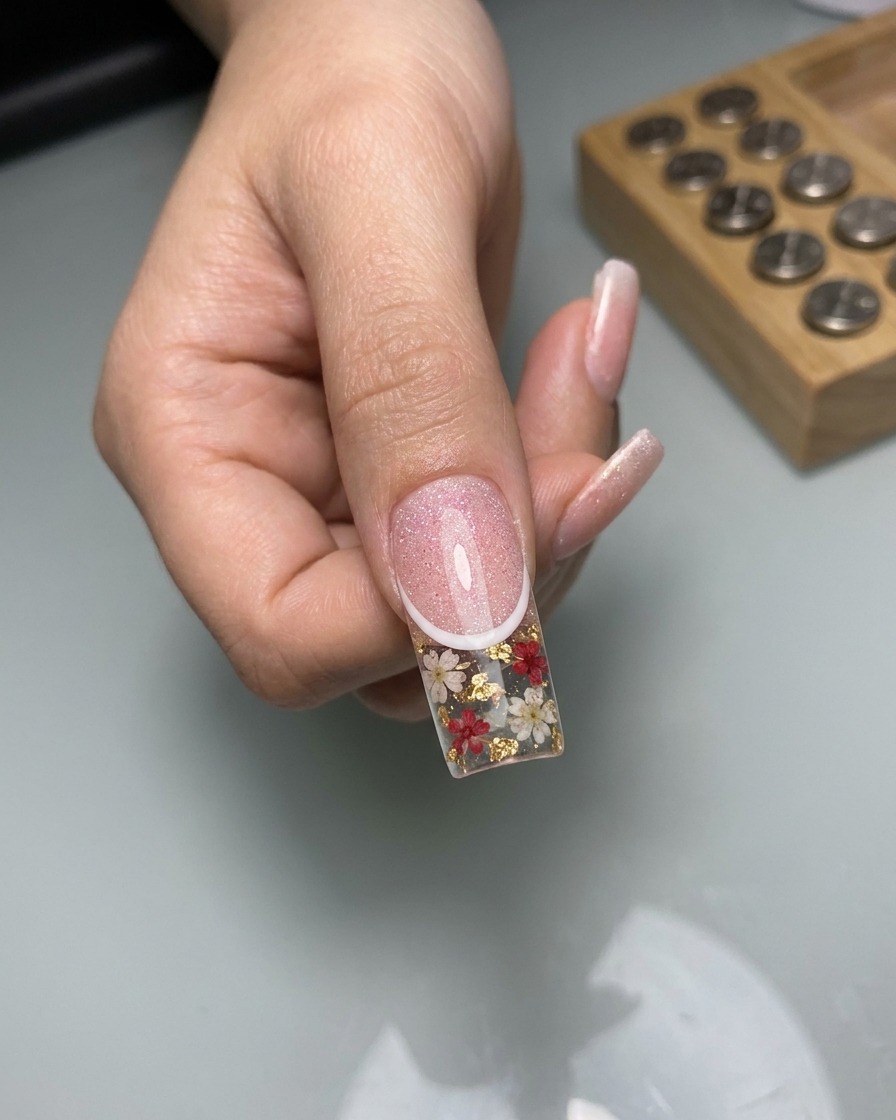
Using a fine liner brush and white lace gel, carefully draw irregular, delicate lace-like patterns across the nail surface. You can overlay these lines on top of the cat-eye area to add texture and intricate detail to the design. Cure briefly if needed to prevent smudging.
Tip: Use a very light touch with the liner brush to achieve thin, elegant lace lines. - 11Attach 3D charm
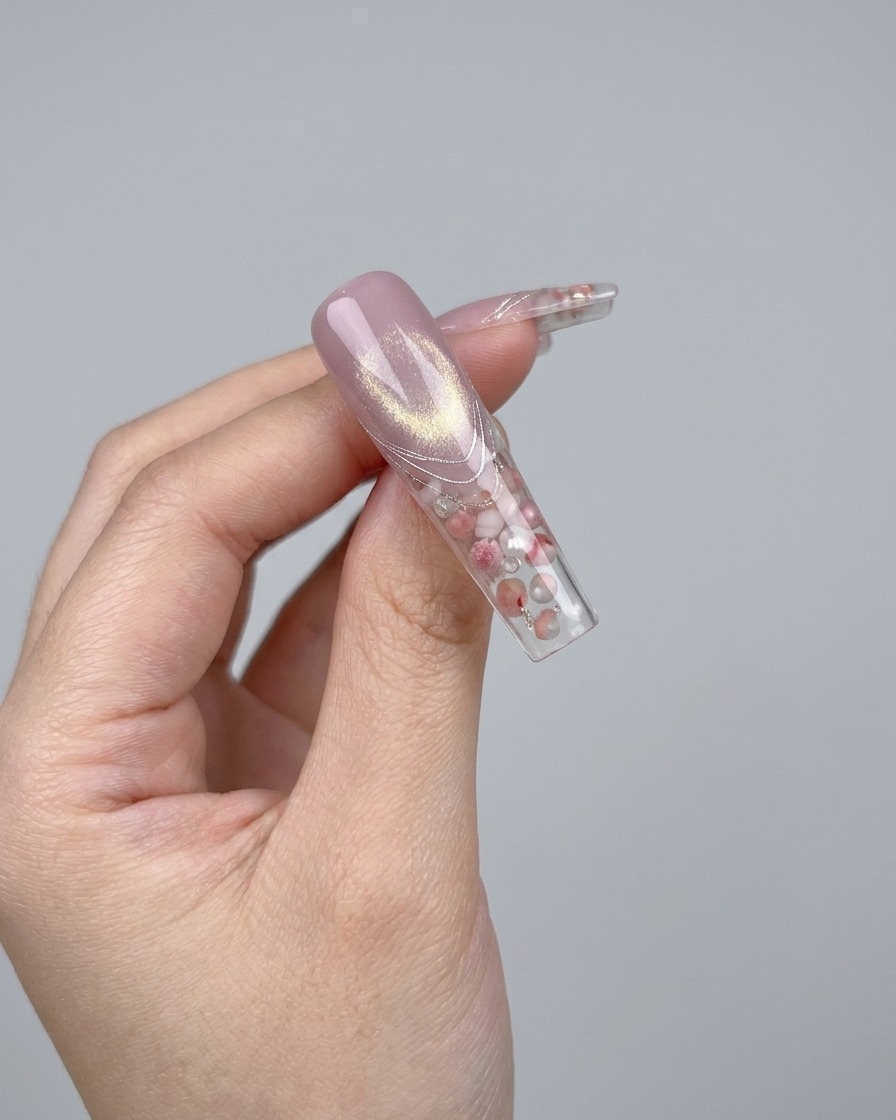
Apply a small amount of strong adhesive gel to the nail where you want the charm to sit. Carefully place the 3D crystal bow charm into the adhesive using tweezers, ensuring it is secure. Cure under the lamp to bond the charm permanently.
Tip: Ensure the adhesive gel is thick enough to hold the weight of the charm, especially on curved nail surfaces. - 12Final cure
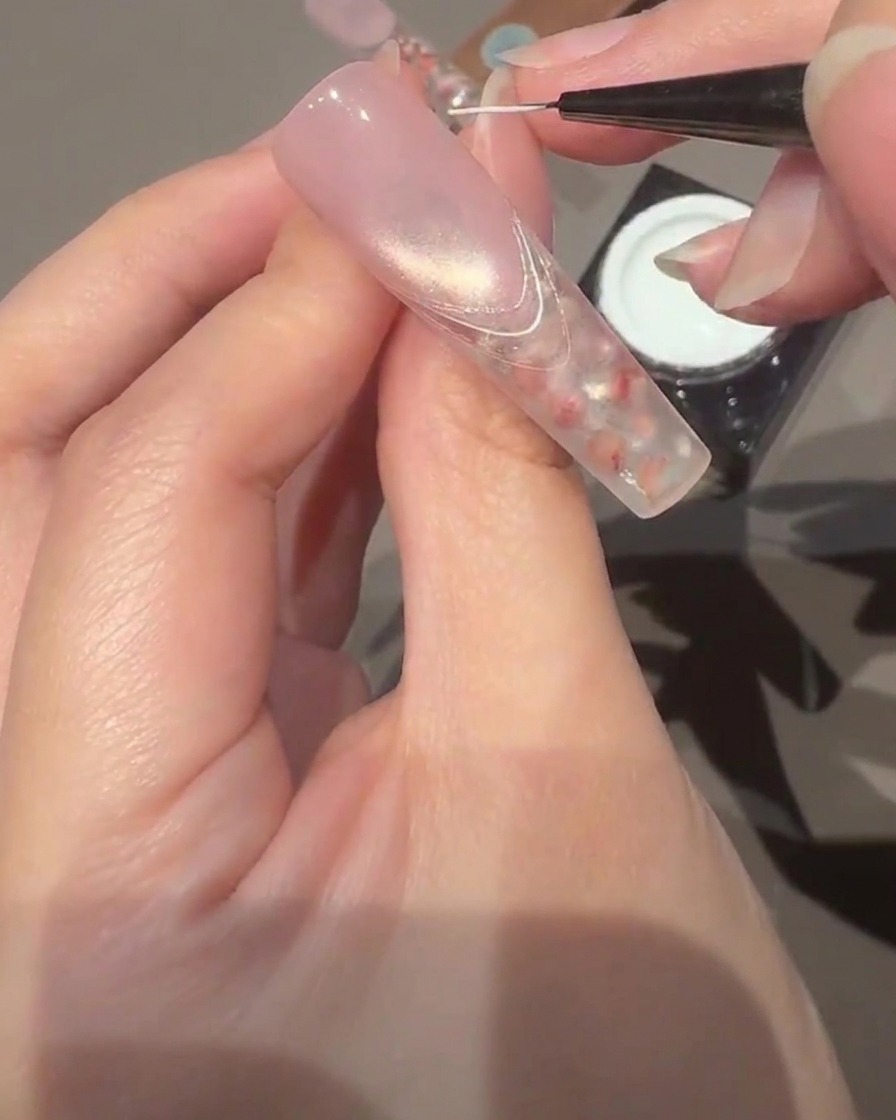
Give the entire nail a final, thorough cure under the UV/LED lamp. This ensures that the white lace gel and the adhesive for the 3D charms are completely set and hardened for a long-lasting, durable finish.
Tip: A longer final cure is recommended when using 3D charms to ensure everything is perfectly locked in place.