Lace and 3D Floral Cat-Eye Nails — Elegant DIY Tutorial
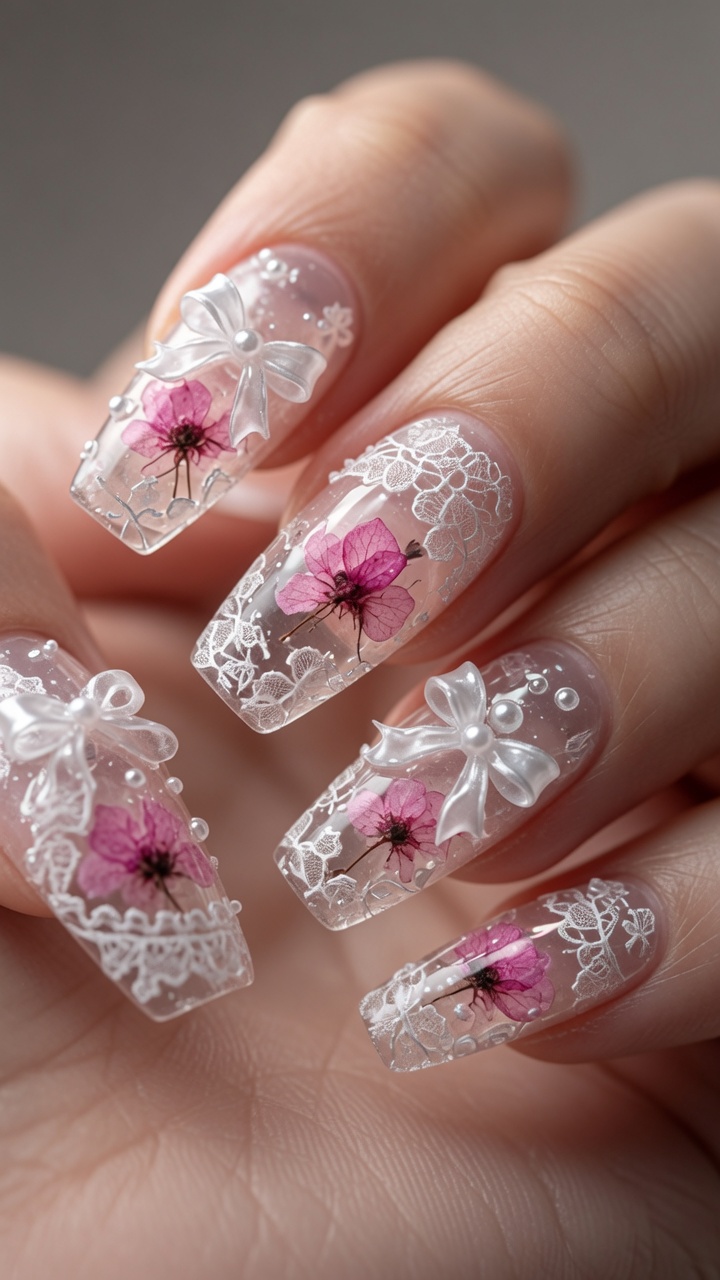
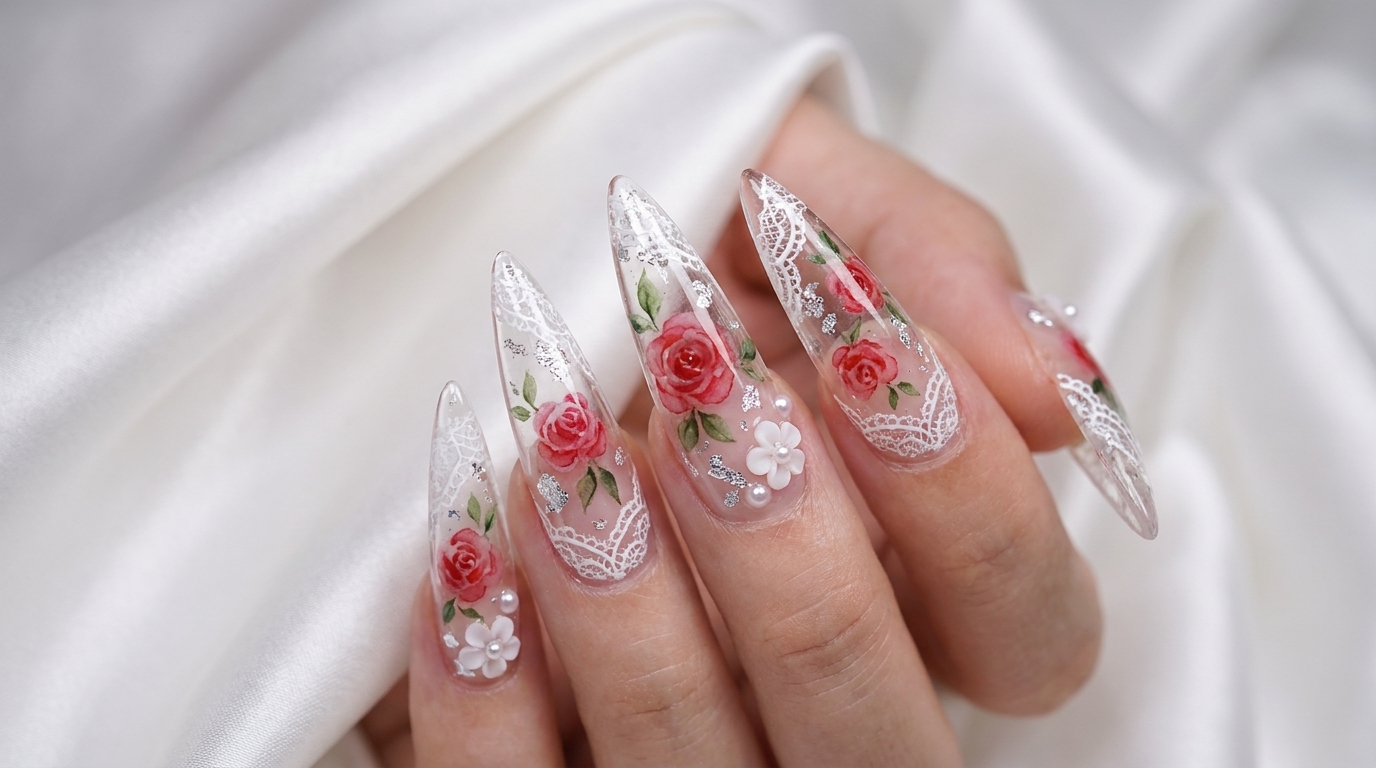
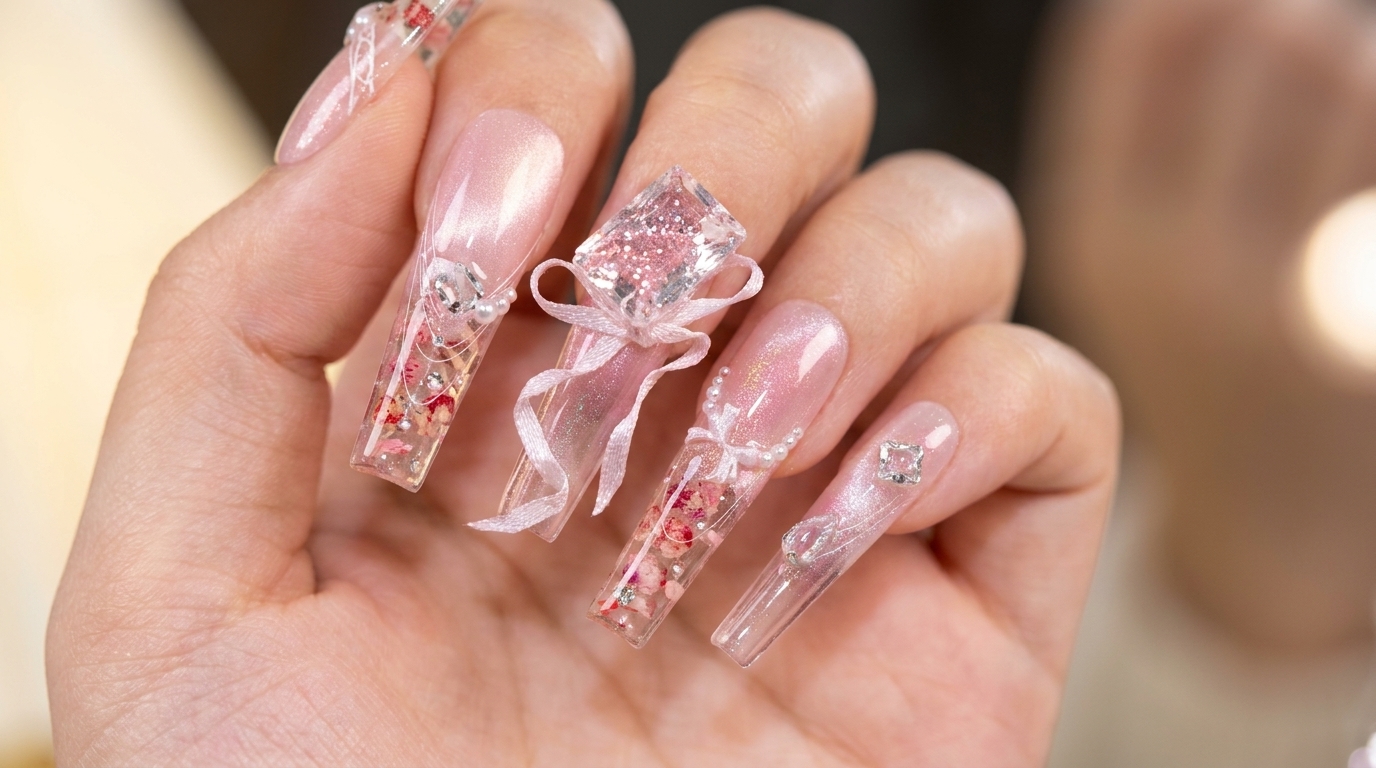
Create a sophisticated manicure featuring delicate white lace stamping, shimmering pink cat-eye gel, and charming 3D floral accents with pearls.
This look perfectly balances ethereal lace patterns with the modern depth of pink cat-eye shimmer. By combining stamping techniques with encapsulated 3D dried flowers, you can achieve a high-end, salon-quality result at home. It is a wonderful design for weddings, garden parties, or whenever you want to add a touch of intricate elegance to your fingertips.
Steps
- 1File and shape the nail tips
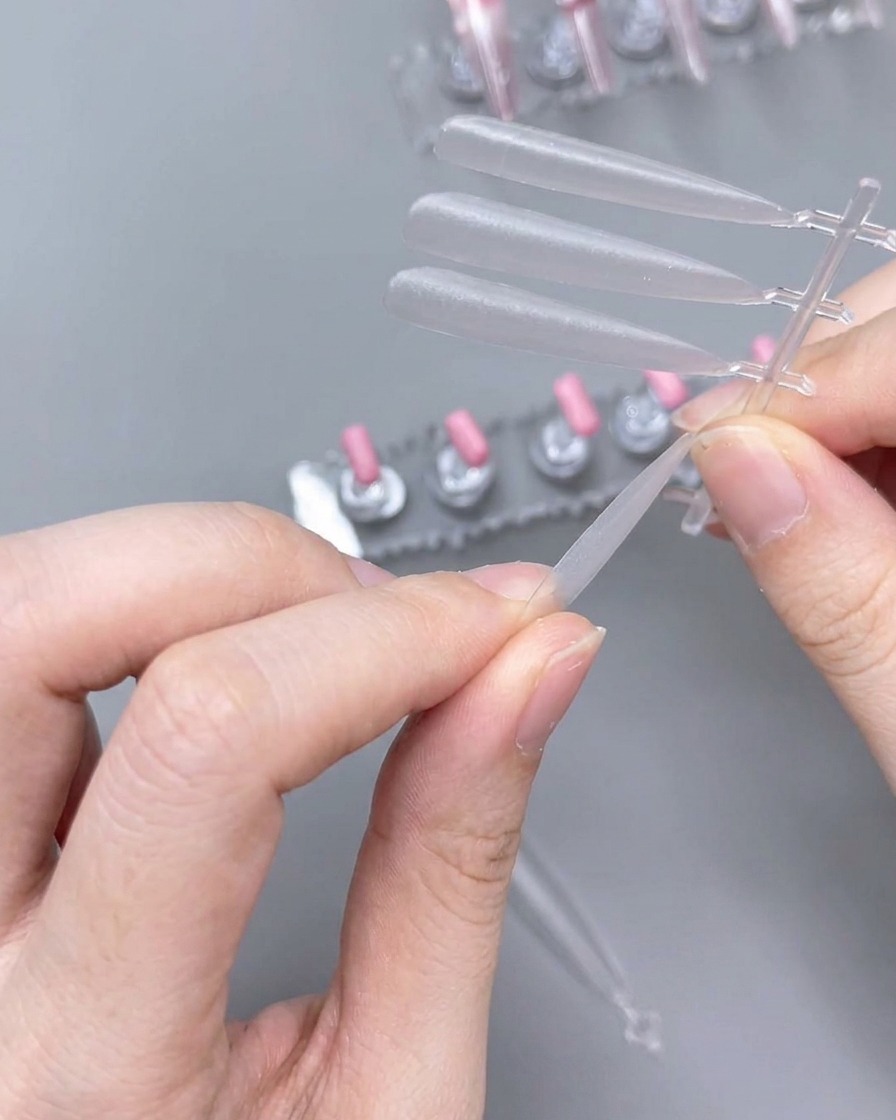
Using a hand file, gently shape the edges of the clear plastic nail tips to your desired look. This step ensures that the tips fit perfectly and have the correct profile before you begin the application process.
Tip: Keep a steady hand and file in a consistent motion to ensure a clean, smooth edge. - 2Clean the nail tips
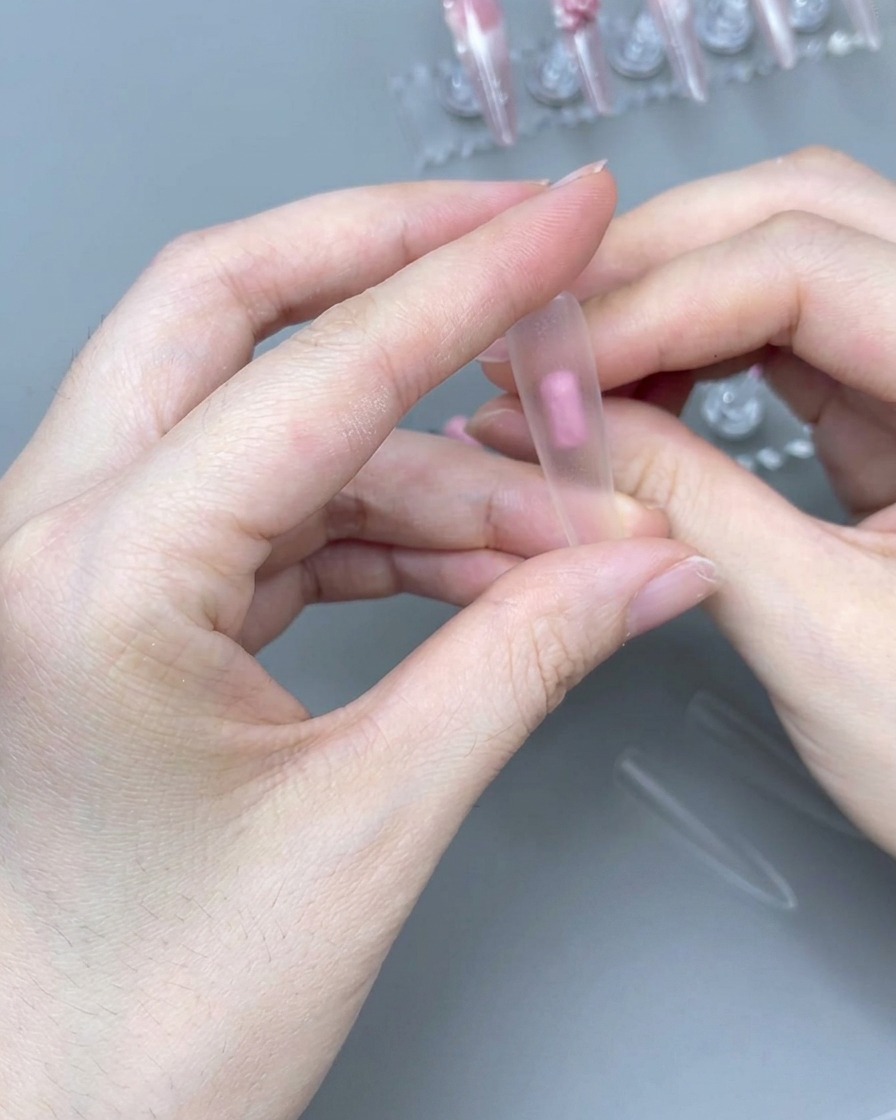
After filing, use a large fluffy brush to thoroughly remove any dust or debris from the nail tips. A clean surface is essential for proper gel adhesion and a flawless finish.
Tip: Be sure to brush both the top and underside of the tip to ensure all dust is removed. - 3Apply sheer pink base layer
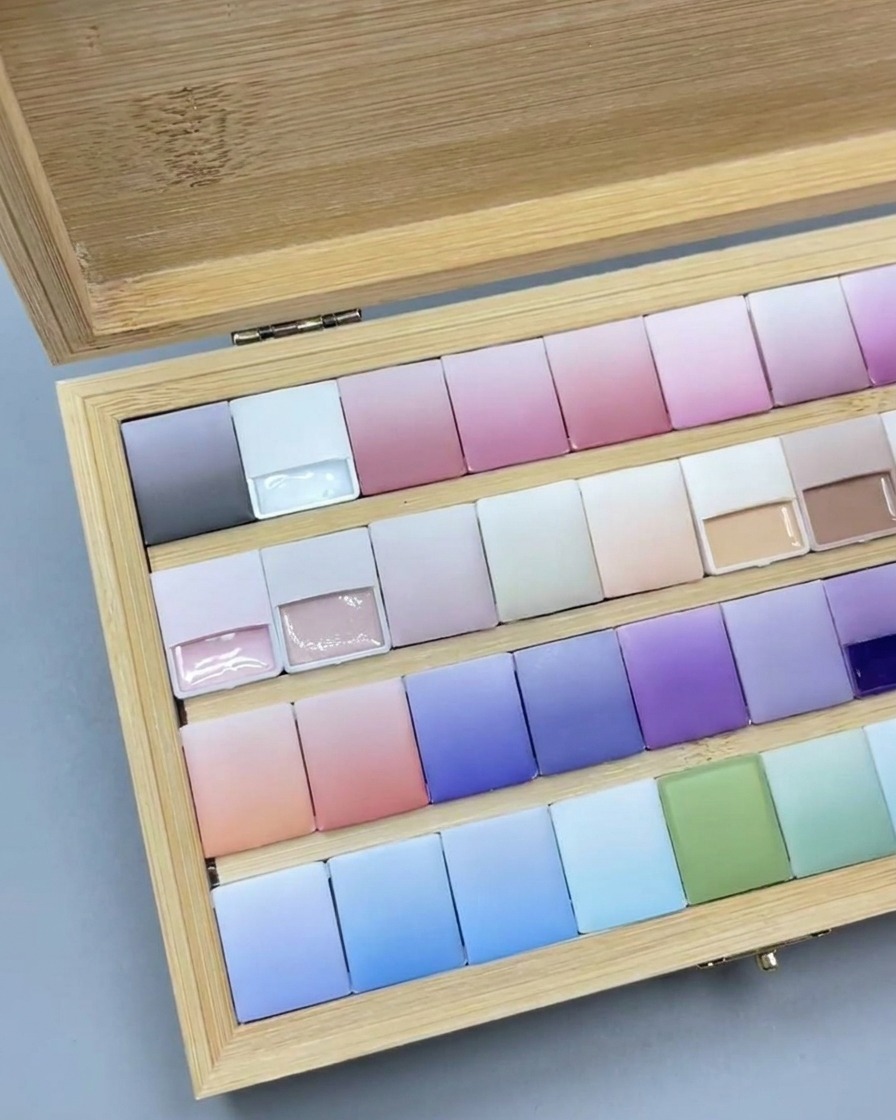
Apply a first thin layer of the sheer pink gel base to the nail tips. This layer provides the foundation for the ombre look, ensuring a smooth and even base for subsequent applications.
Tip: Apply in thin, controlled strokes to prevent pooling around the edges. - 4Apply second layer and blend
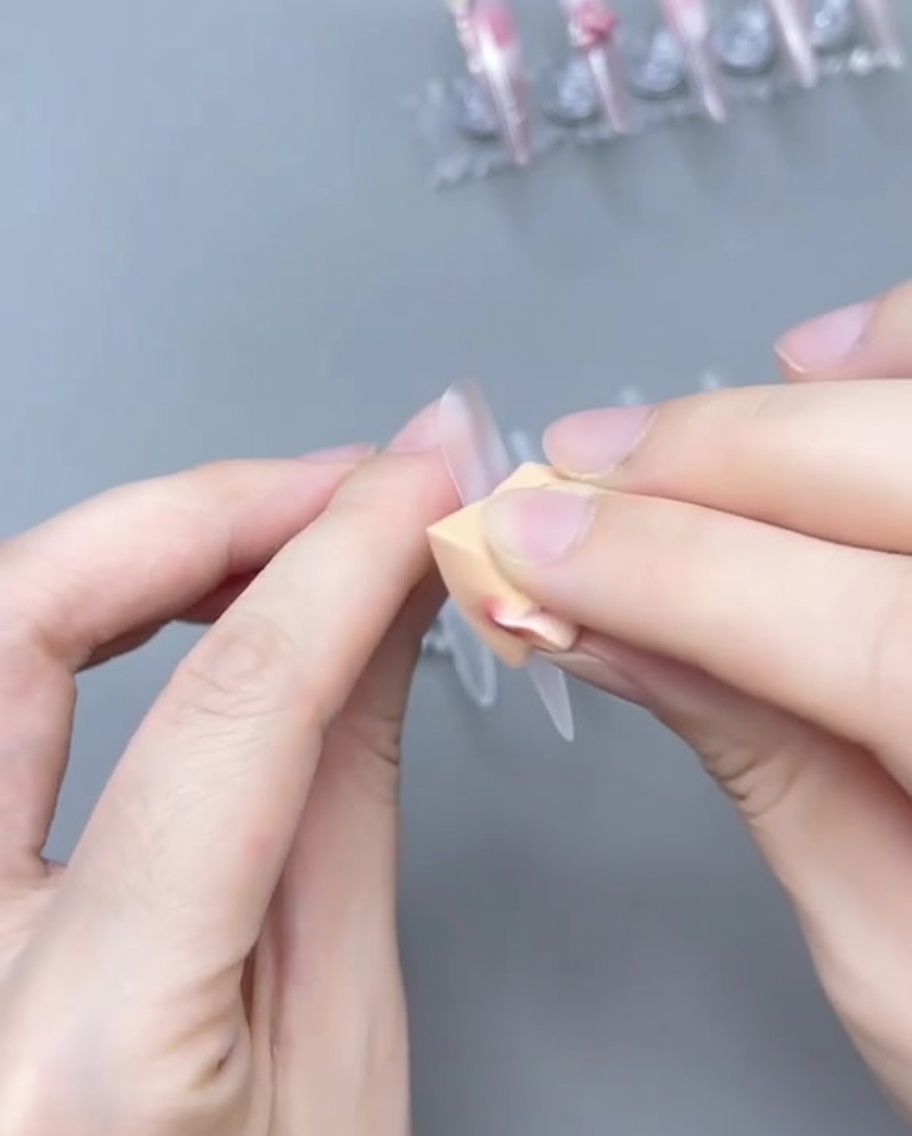
Apply a second layer of the sheer pink gel, focusing on blending the color to create the desired ombre transition. Ensure the color is evenly distributed for a seamless gradient effect.
Tip: Use light, sweeping motions to blend the gel for a smooth transition. - 5Apply pink cat-eye gel
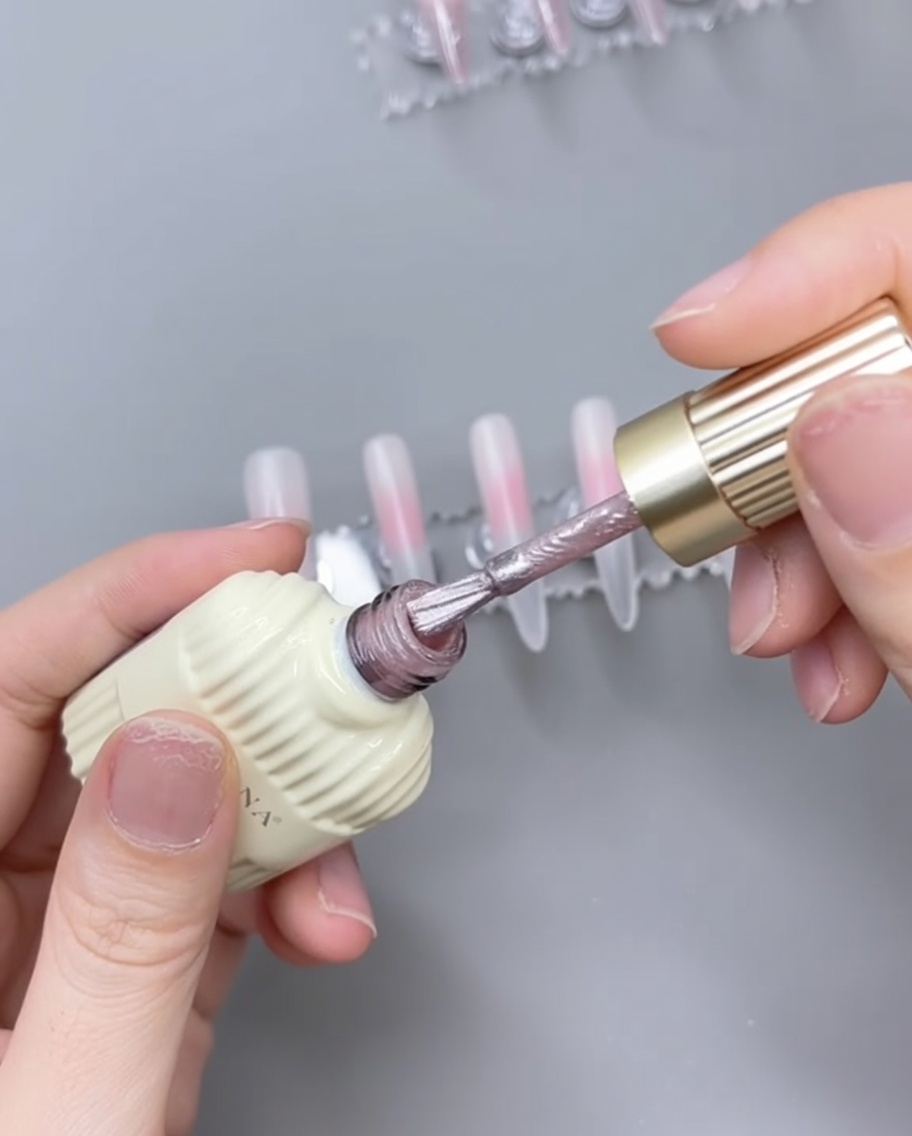
Once the base is cured, apply a layer of pink cat-eye gel over the entire nail. This special gel will provide the magnetic shimmer effect that defines the look.
Tip: Apply an even coat to ensure the magnetic effect is consistent across the entire nail. - 6Create cat-eye effect
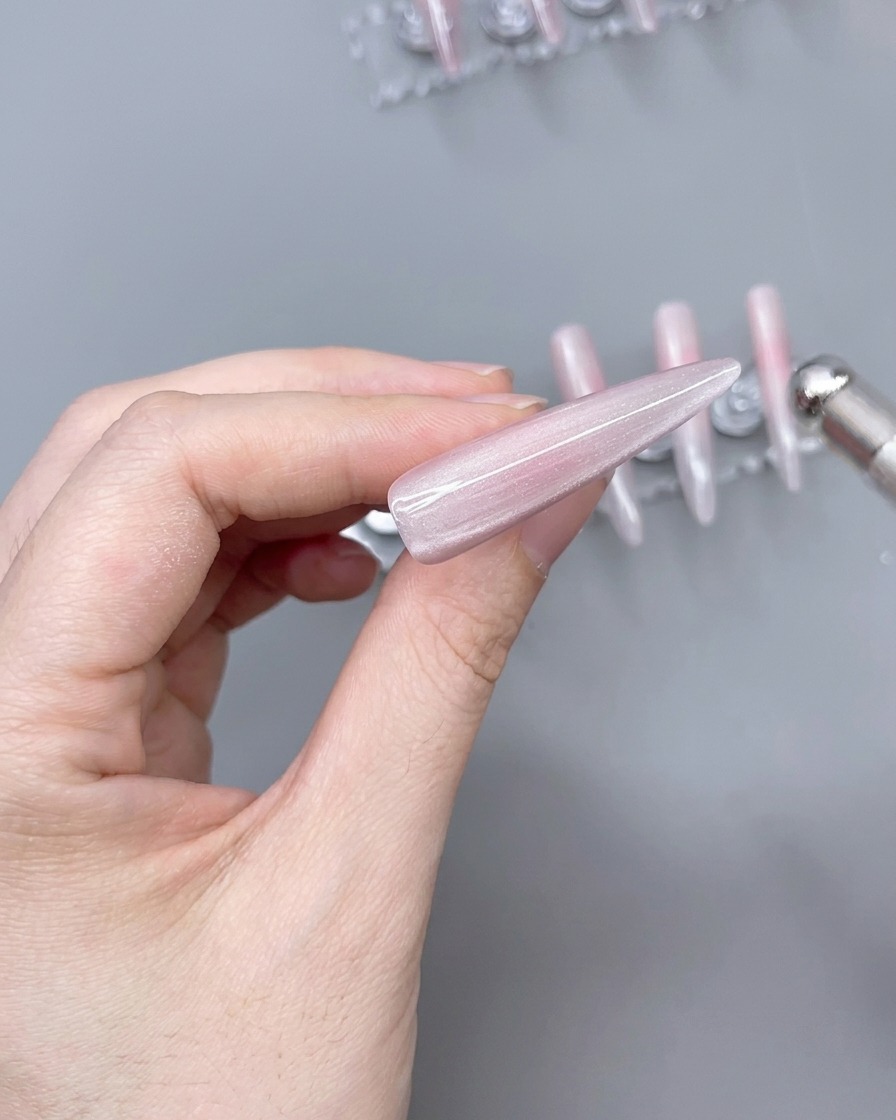
While the cat-eye gel is still wet, hold a magnet over the nail to manipulate the shimmer particles. Move the magnet to draw the light into your desired pattern before curing the nail.
Tip: Experiment with the position of the magnet to achieve different light effects; hold it steady for a sharp line. - 7Prepare the lace design
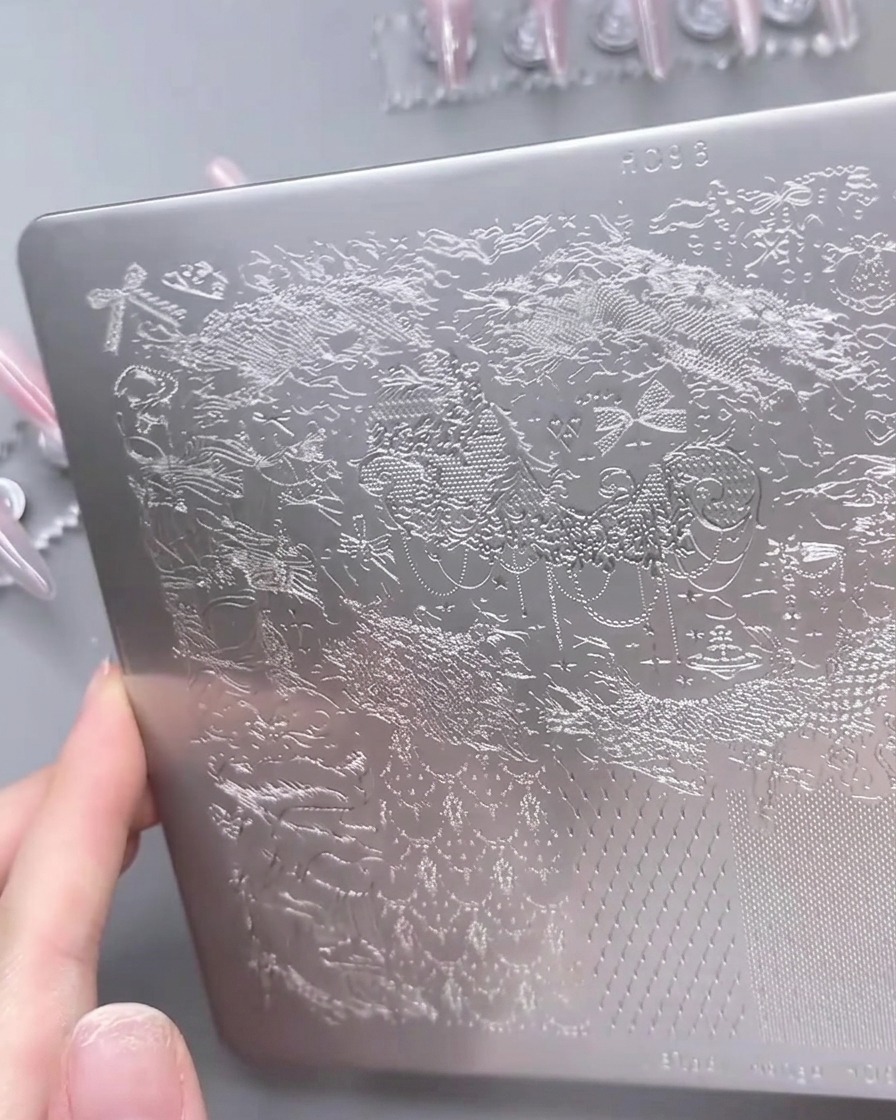
Apply a generous amount of white stamping gel over the desired lace pattern on the steel design plate. Ensure the gel fully coats the intricate details of the lace design to ensure a clean, crisp transfer when using the stamper.
Tip: Work quickly once the gel is applied to the plate to prevent the gel from drying or thickening before you can pick it up. - 8Pick up the lace pattern
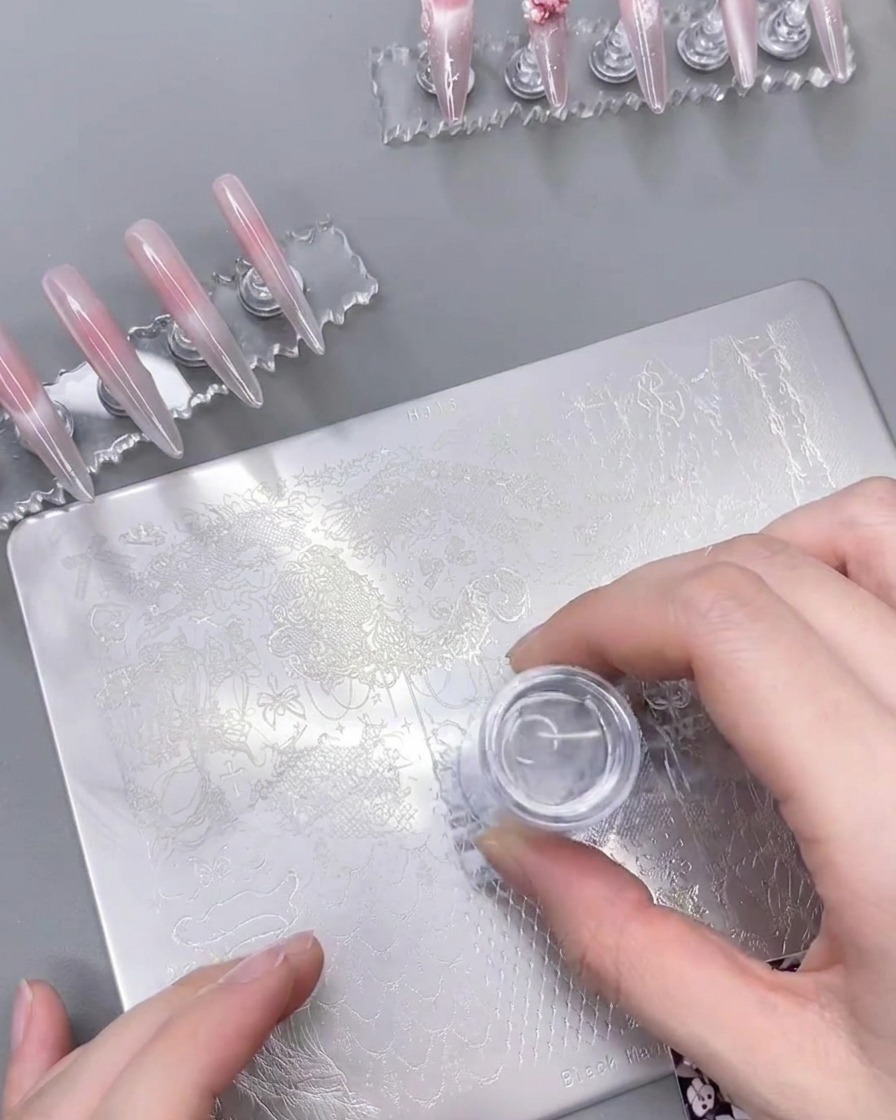
Press your clear silicone stamper firmly and evenly onto the gel-coated lace design on the steel plate. Lift the stamper in a steady, rolling motion to pick up the entire lace pattern onto the silicone surface.
Tip: Avoid pressing too hard or using a side-to-side motion, which can distort the delicate lace pattern. - 9Transfer lace to the nail
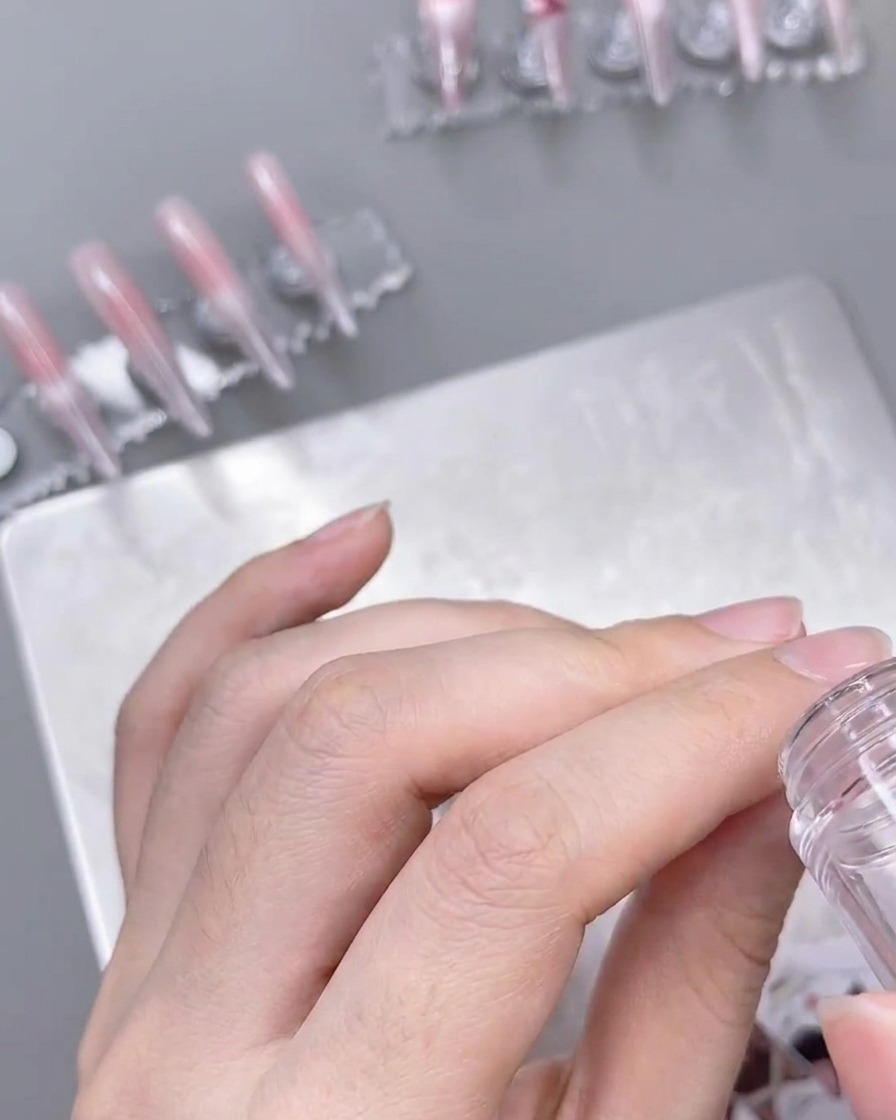
Carefully align the silicone stamper with your prepared nail and press down firmly to transfer the white lace pattern. Roll the stamper from one side of the nail to the other to ensure full coverage and a smooth application of the design.
Tip: Since the stamper is clear, use it to your advantage to precisely center the lace pattern on the nail before committing to the transfer. - 10Seal the design
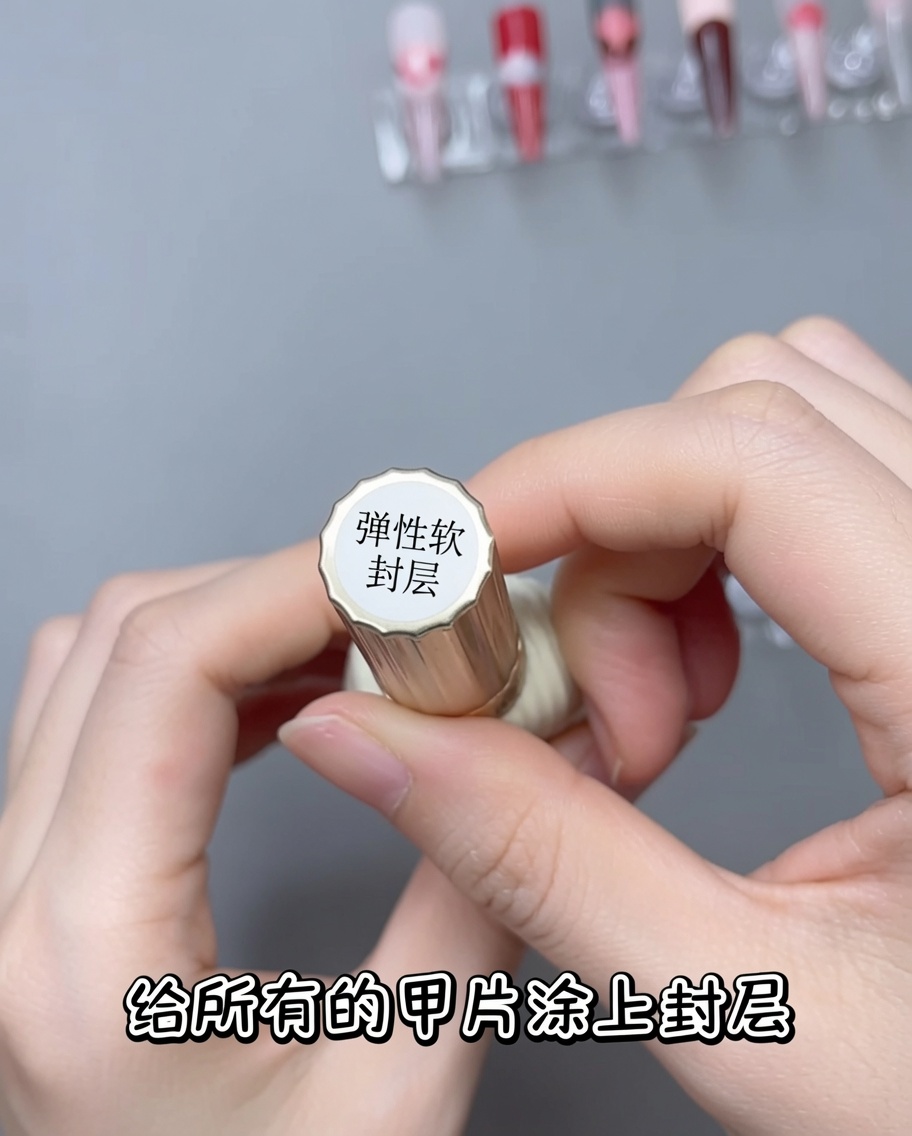
Apply a smooth layer of clear top coat over the entire nail, ensuring the lace design is fully encapsulated. Cap the free edge to prevent the design from chipping or peeling, then cure under your lamp to lock everything in.
Tip: Floating the top coat over the design helps avoid smearing the white gel lines before they are fully protected. - 11Add accent lines
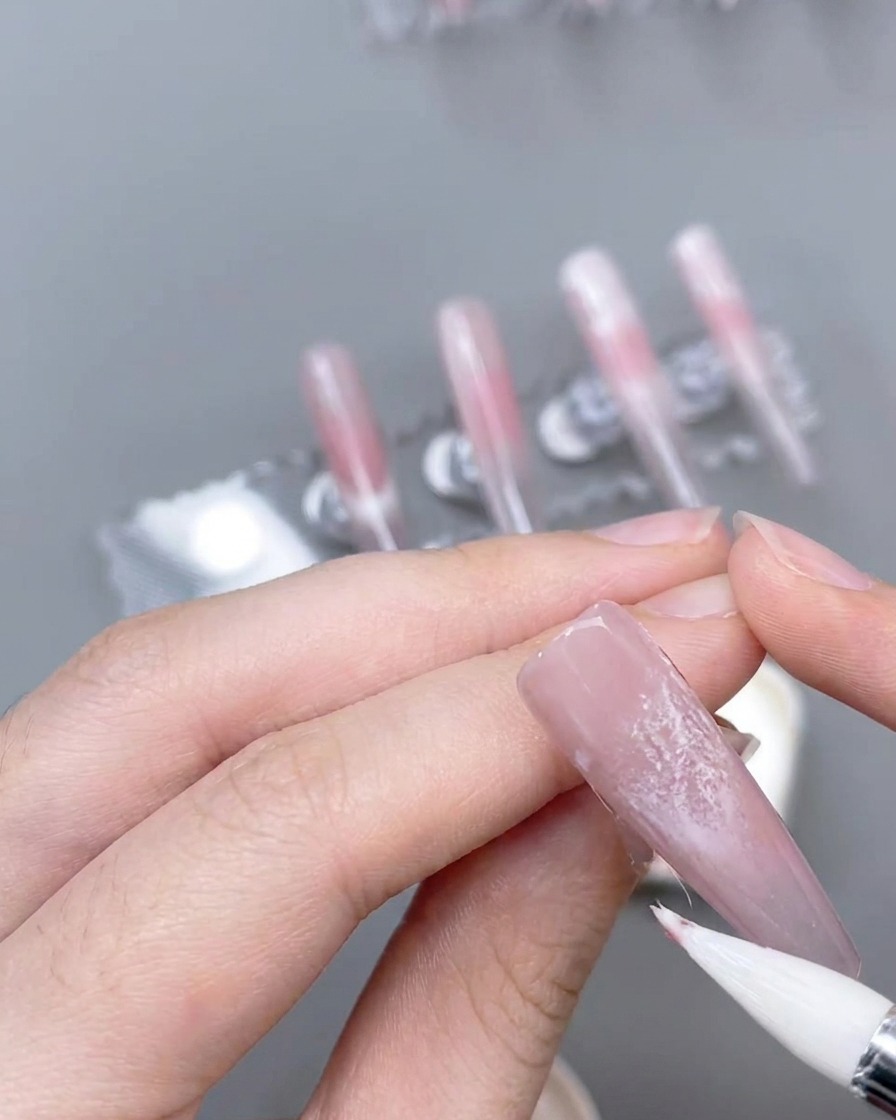
Using a fine liner brush and pink gel, carefully draw delicate accent lines across the nail. These lines add depth and highlight the lace detail. Once satisfied with the placement, cure the nail to set the accent art.
Tip: Keep a light hand to ensure the lines are thin and crisp, creating a professional finish. - 12Place dry flower embellishments
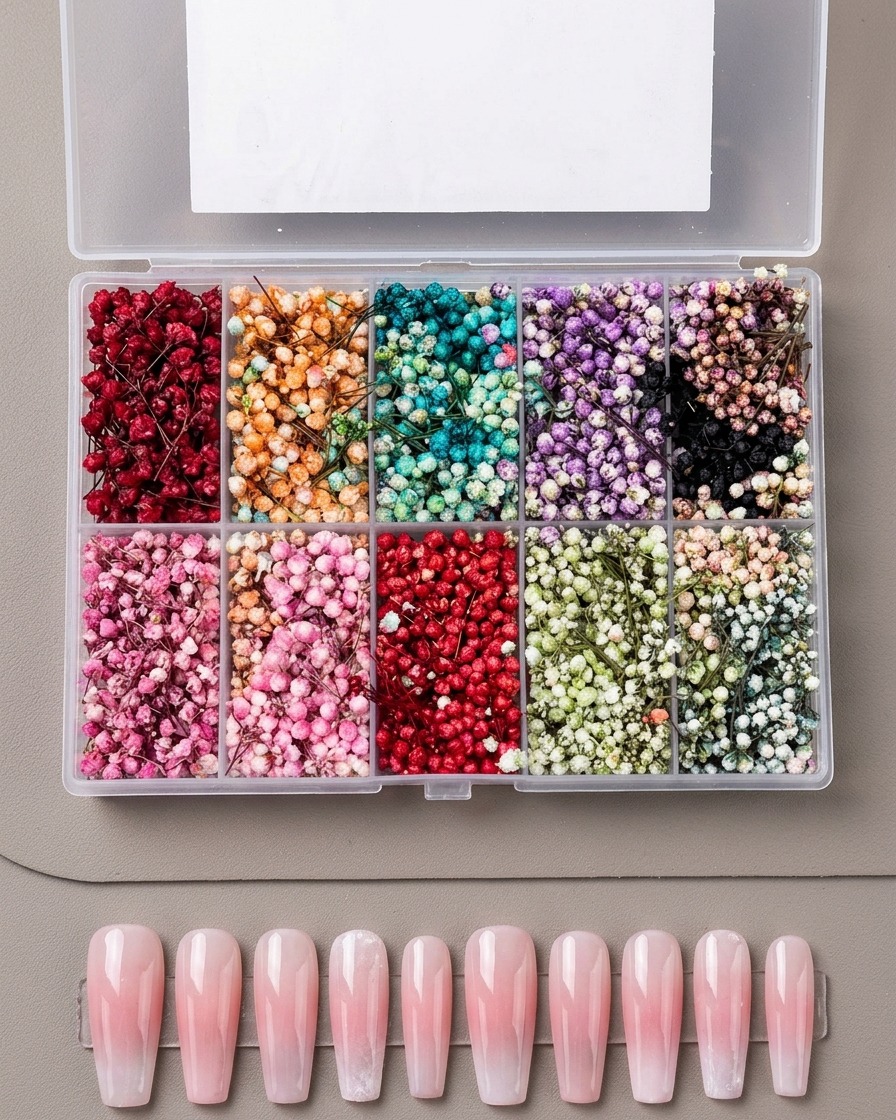
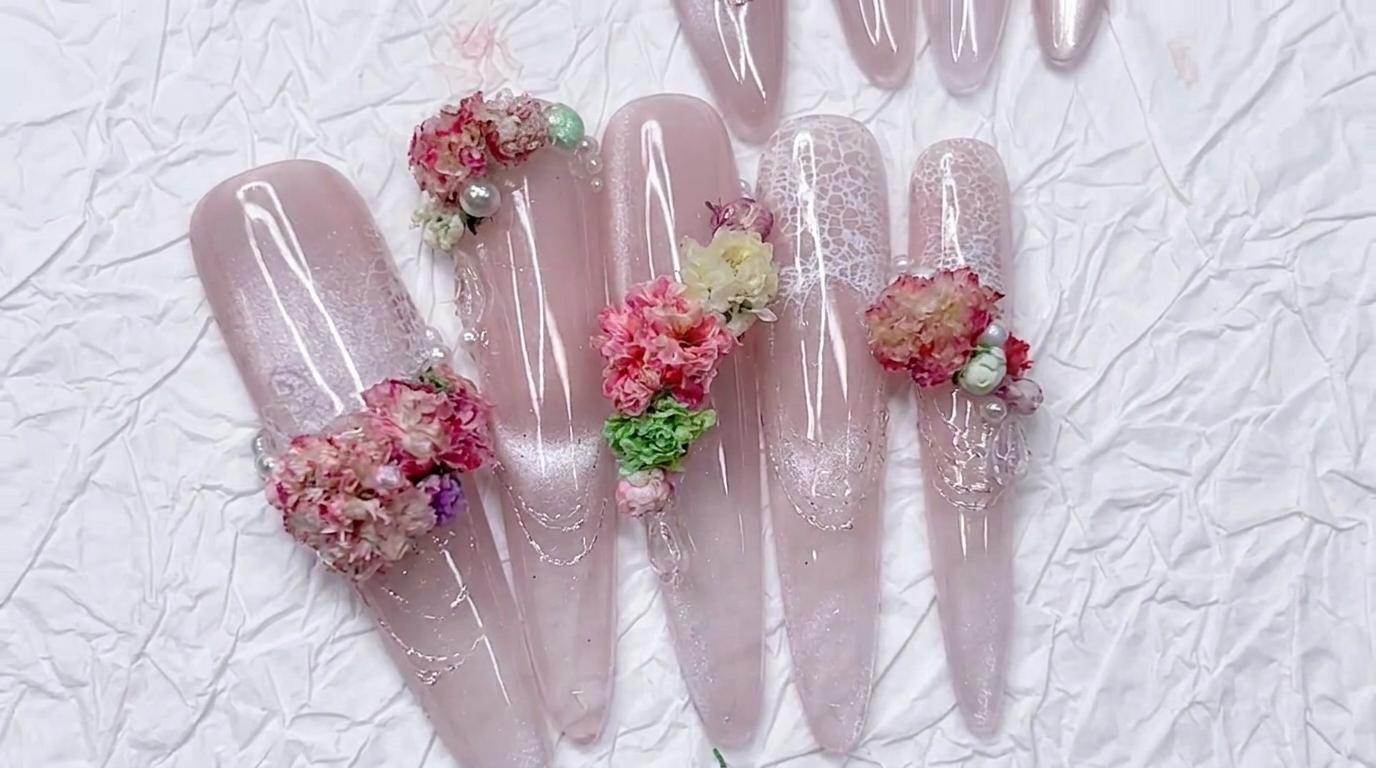
Using precision tweezers, carefully place small, dried flowers onto the tacky layer of the gel or a drop of clear gel. Arrange them in your desired pattern to add a textured, elegant touch to the manicure.
Tip: Use a dot of clear base gel as glue if the surface isnt tacky enough to hold the delicate flowers in place. - 13Add pearl embellishments
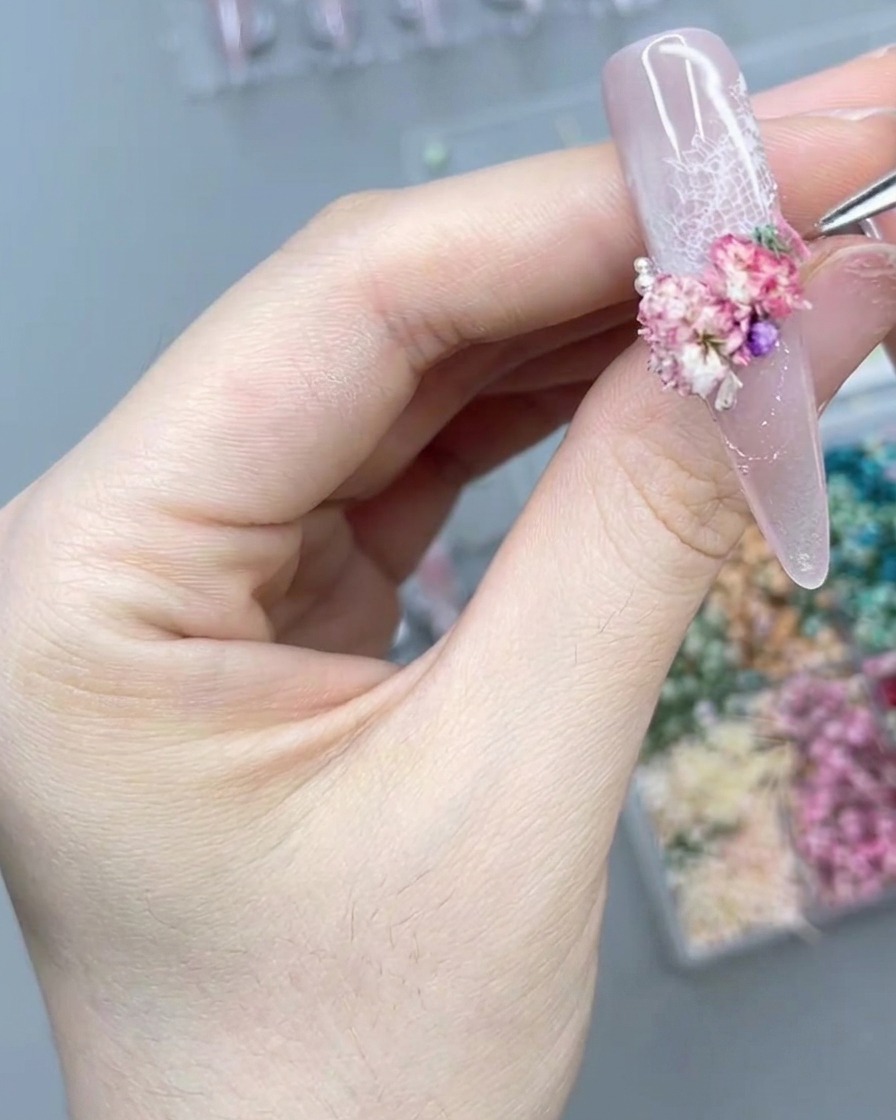
Using a precision tool or tweezers, carefully place small pearls into the floral arrangement. Nestle them near the base of the dried flowers to create a cohesive and delicate 3D design over the lace pattern.
Tip: Applying a tiny dot of thick builder gel or nail glue can help secure the pearls in place before they are cured. - 14Flash cure the arrangement
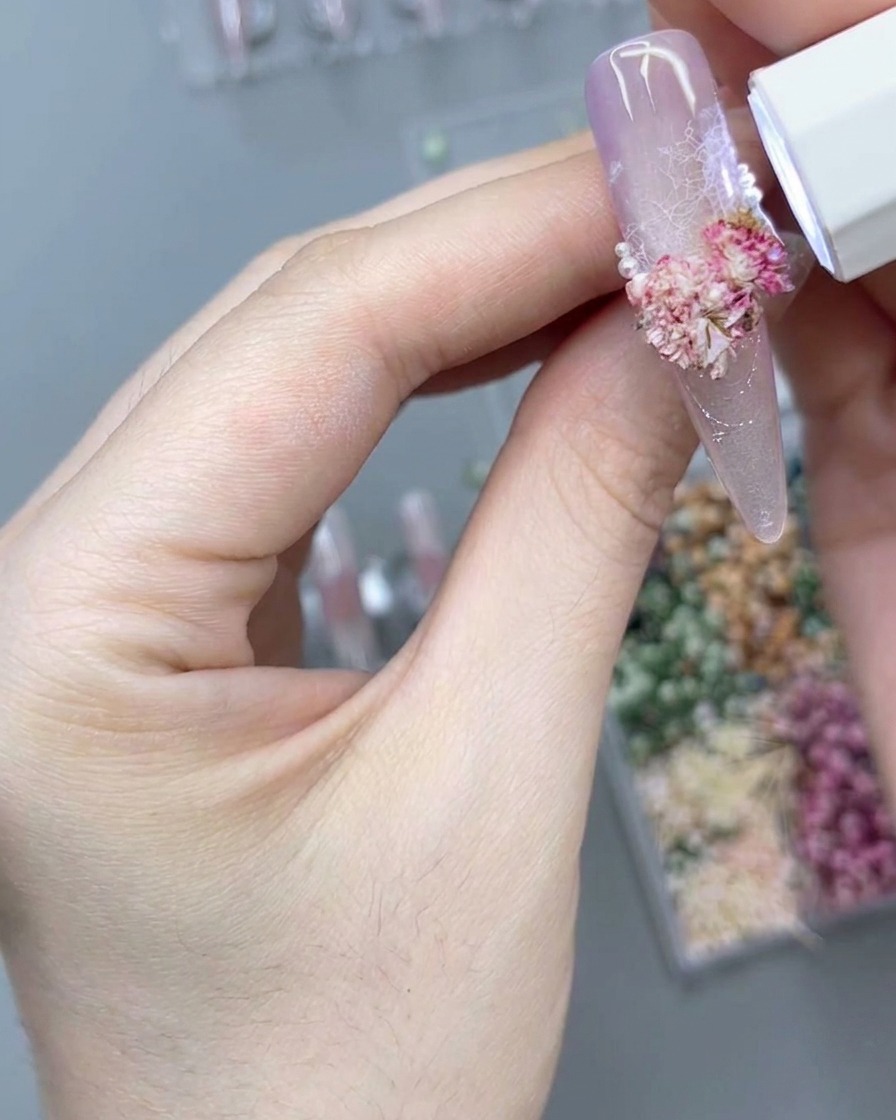
Hold a portable UV or LED lamp directly over the nail to flash cure the floral and pearl arrangement. This step locks the 3D elements securely in place so they wont shift during the final encapsulation process.
Tip: A quick 10 to 15-second flash cure is usually sufficient to freeze the elements in place before completing a full cure later. - 15Encapsulate the floral design
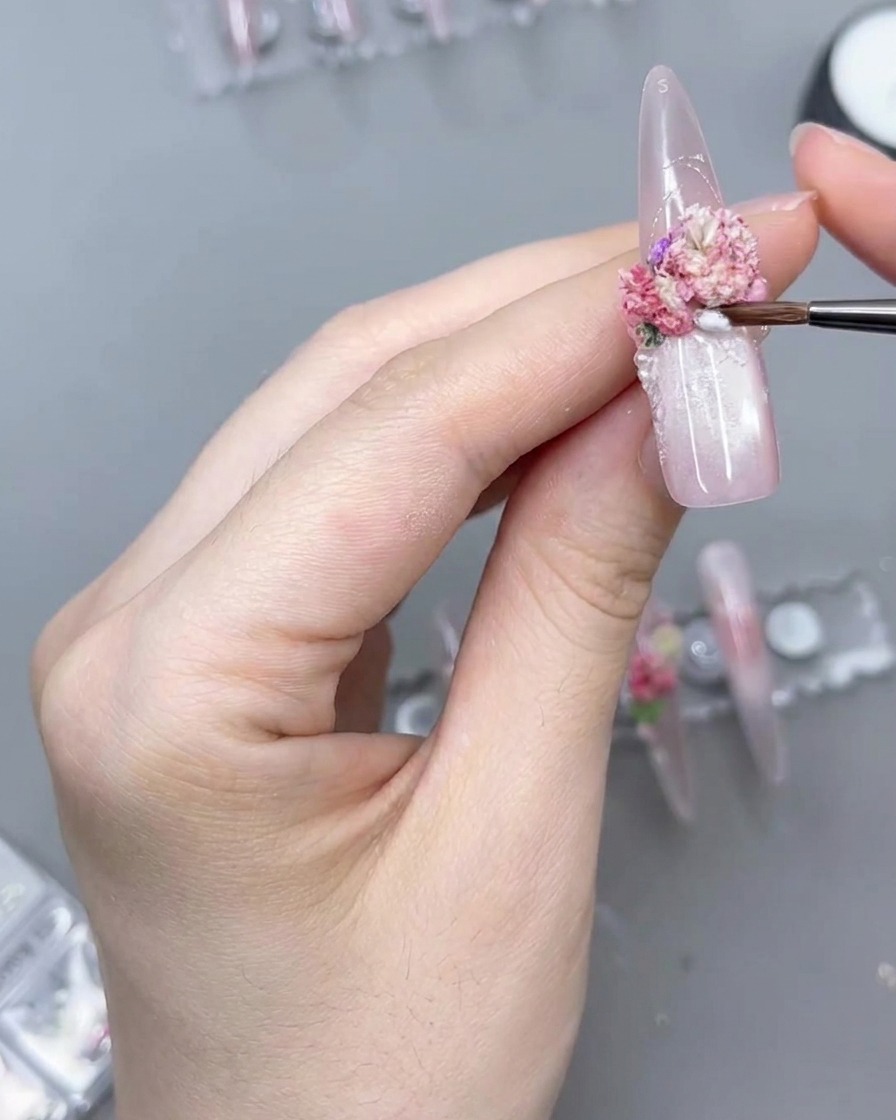
Use a fine detail brush to carefully apply clear acrylic powder around the base of the 3D flowers and pearls. This encapsulation step secures the dry flowers into the nail structure and smooths out any sharp or uneven edges for a comfortable wear.
Tip: Use a damp, precise brush to guide the clear encapsulator tightly into the crevices without completely covering the natural texture of the dried flowers.