Clear Stiletto Watercolor Rose
Lace Nail Art Tutorial
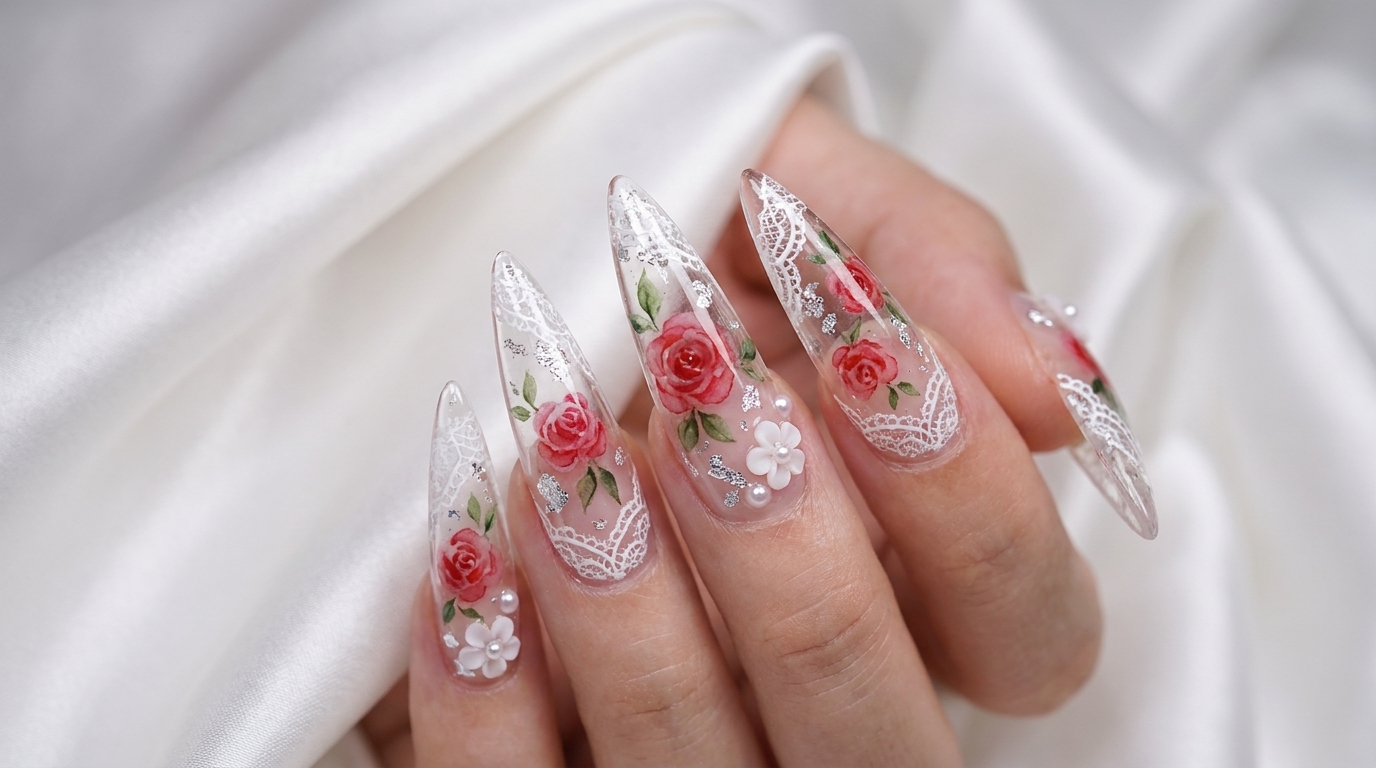
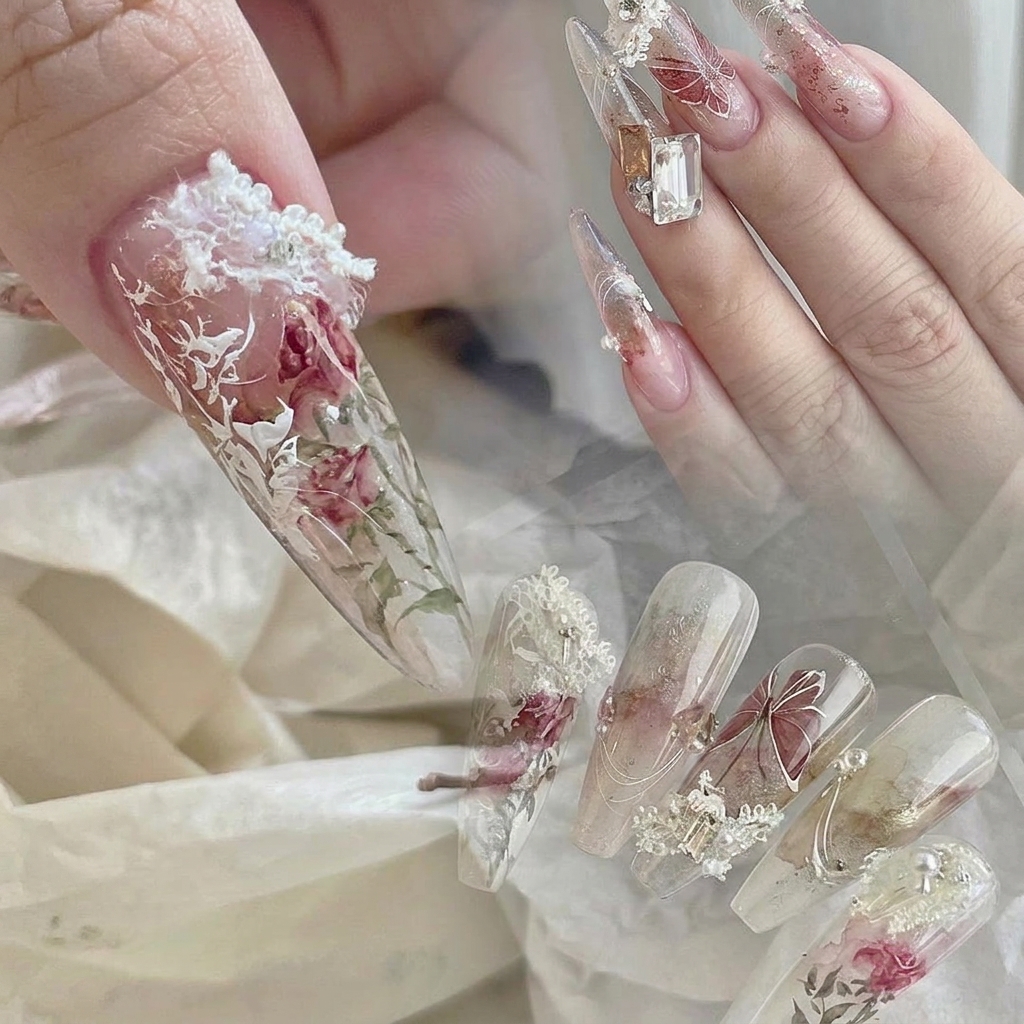
Create an ethereal, romantic look with this stiletto nail tutorial featuring delicate watercolor roses, intricate lace borders, and 3D floral accents.
This sophisticated stiletto nail design perfectly balances romantic artistry with a modern, clear aesthetic. By layering soft watercolor florals over delicate white lace details and adding 3D embellishments, you can achieve an atmospheric, glass-like manicure that looks both professional and incredibly intricate.
Steps
- 1Transfer silver foil
On your dried base coat, gently transfer scattered silver foil pieces onto the nail surface. Press them down firmly to ensure they adhere, then prepare to apply the top coat.
Tip: Keep the foil pieces scattered to create a textured, artistic base for your watercolor rose. - 2Apply matte top coat
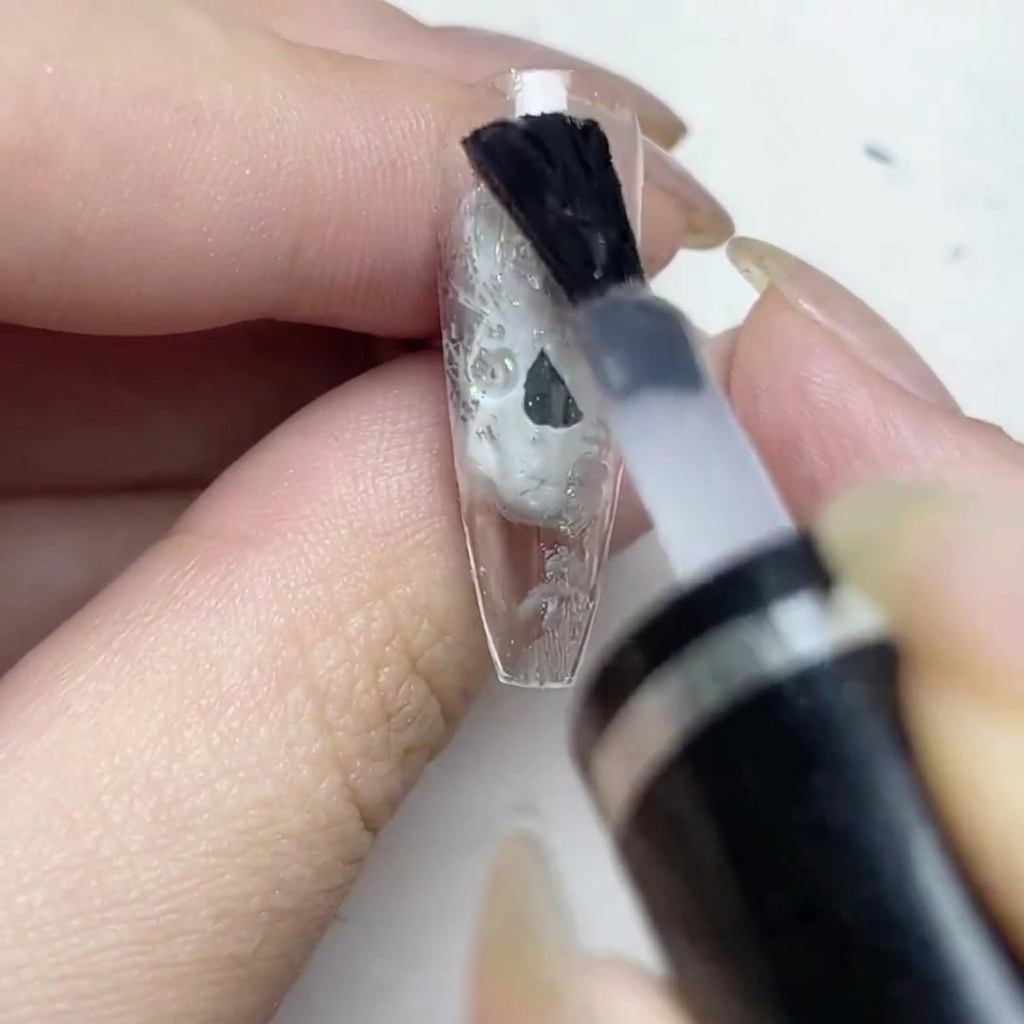
Apply a layer of matte top coat over the silver foil. This creates a smooth surface that is ideal for gripping the watercolor pigments ensuring the paint does not bead up.
Tip: A matte finish is essential for watercolor nail art as it provides the necessary texture for the pigment to adhere. - 3Paint rose petals
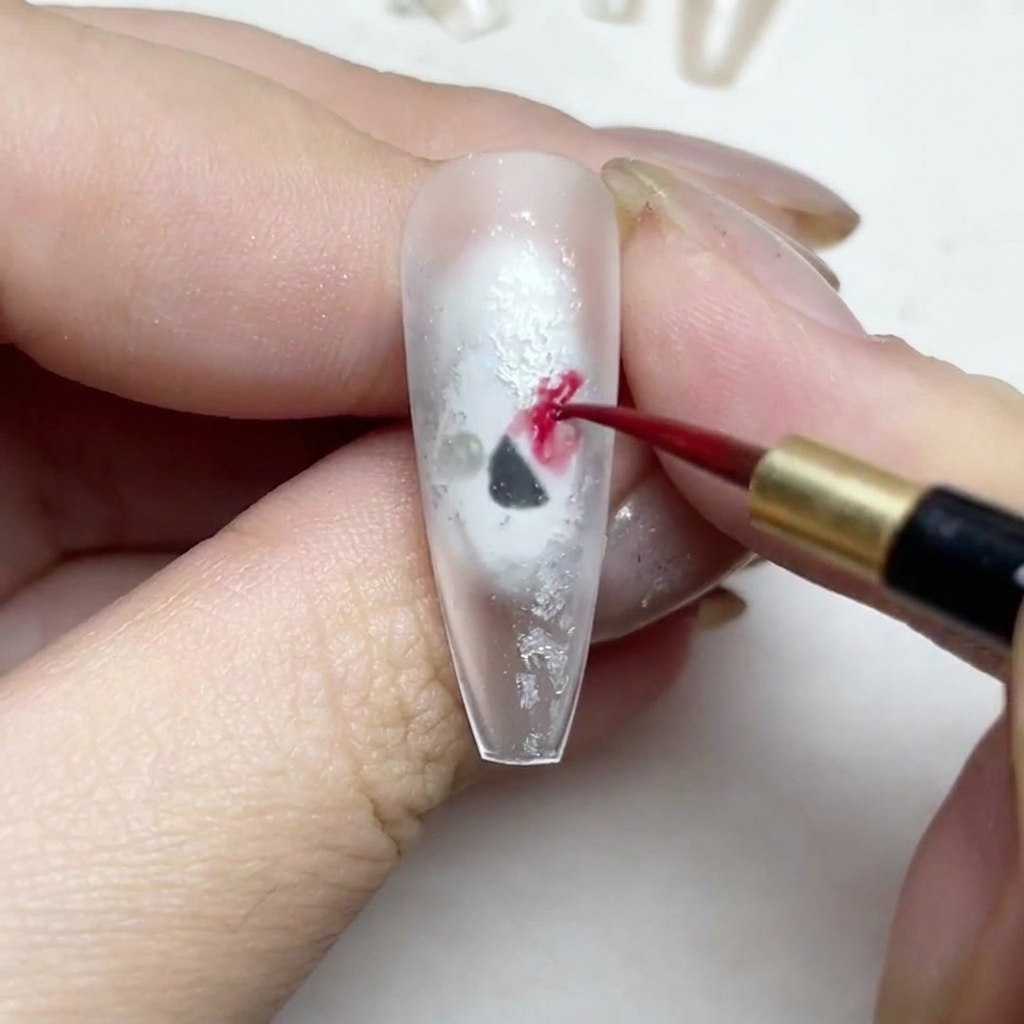
Using a fine liner brush and red watercolor, begin painting the rose petals directly onto the matte surface. Focus on creating the center shape of the flower first, keeping your strokes loose.
Tip: Use a light touch with the liner brush to build the shape of the petals gradually. - 4Add depth and shadows
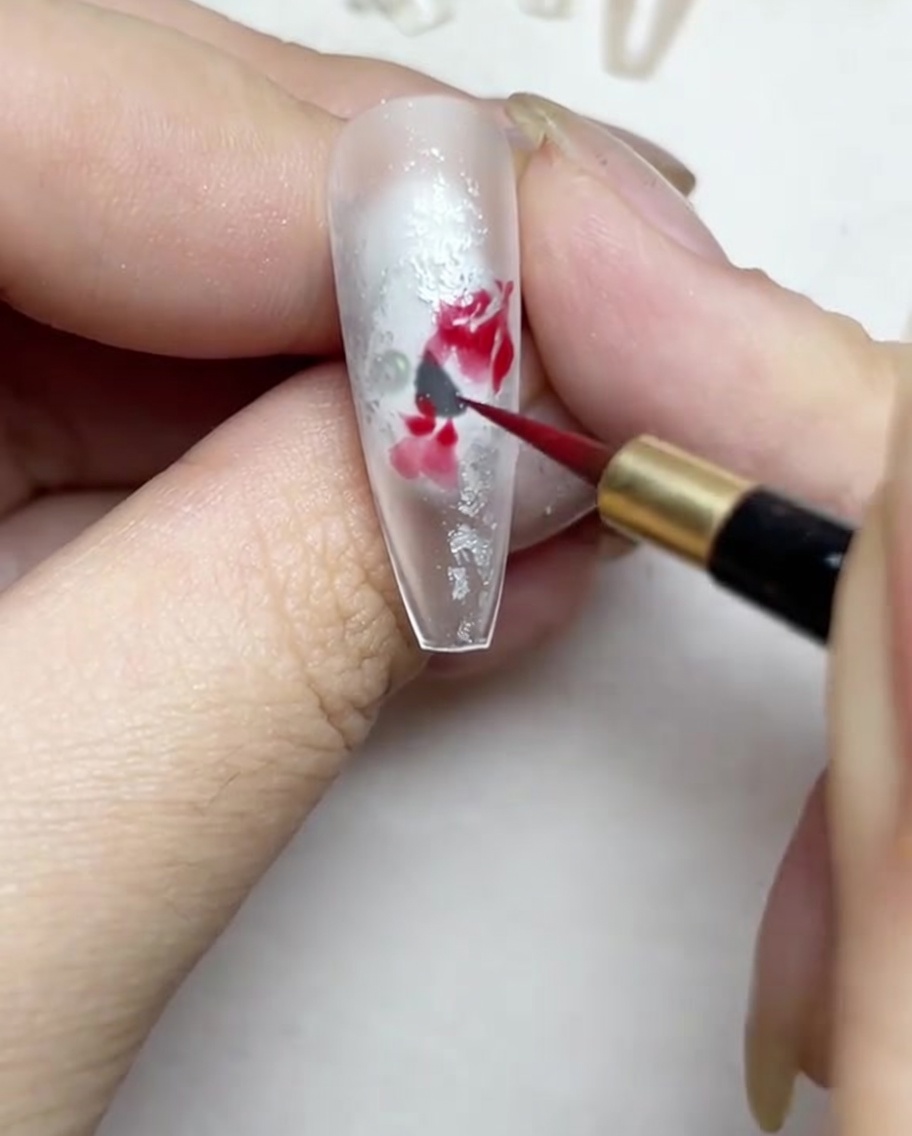
While the initial petals are still workable, add a slightly darker shade of red watercolor to the center of the rose. This creates depth and dimension, making the flower look layered and realistic.
Tip: Ensure the center is darker than the outer petals; this contrast is key for depth. - 5Add leaves and stems
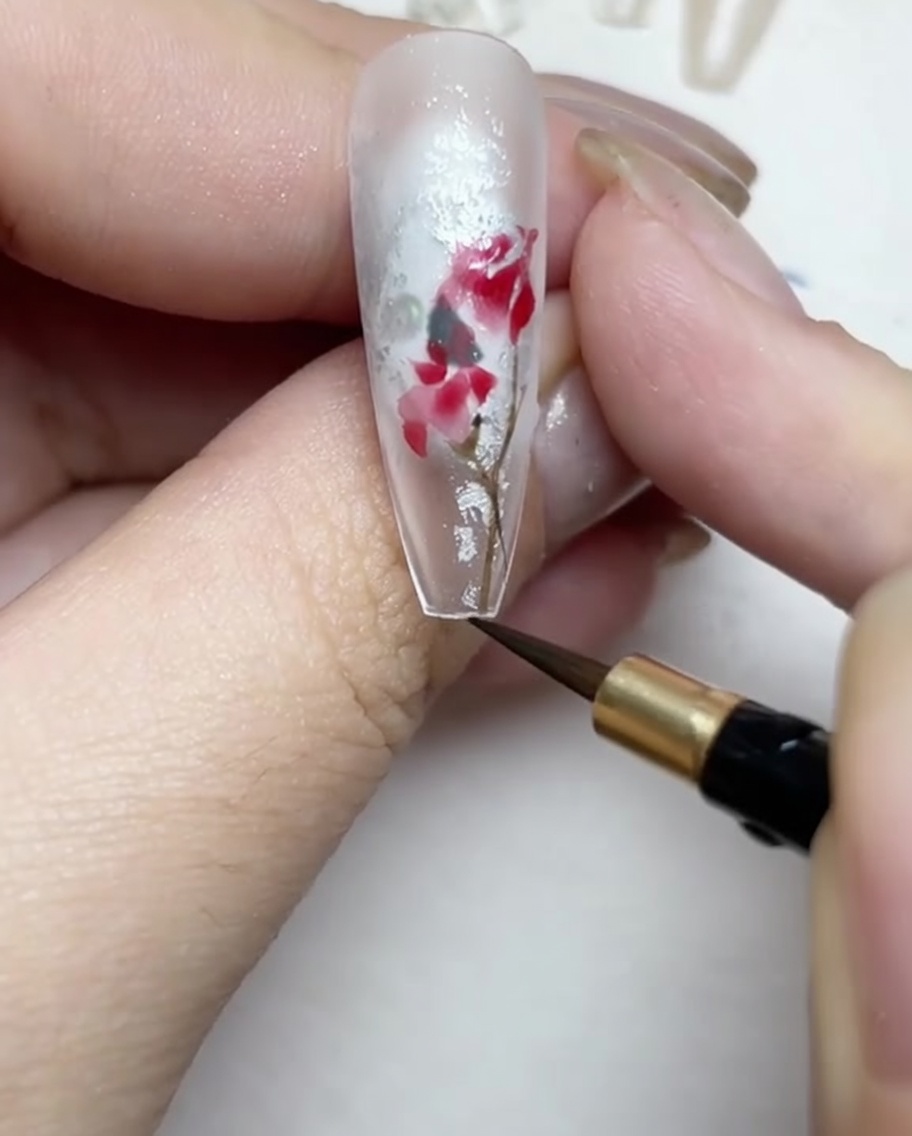
Using your fine detail brush, paint delicate stems and leaves extending from the red rose. Use brown and green watercolors to add organic, natural-looking details that frame the flower.
Tip: Keep stems thin and lines fluid to maintain an elegant, atmospheric look. - 6Outline with lace details
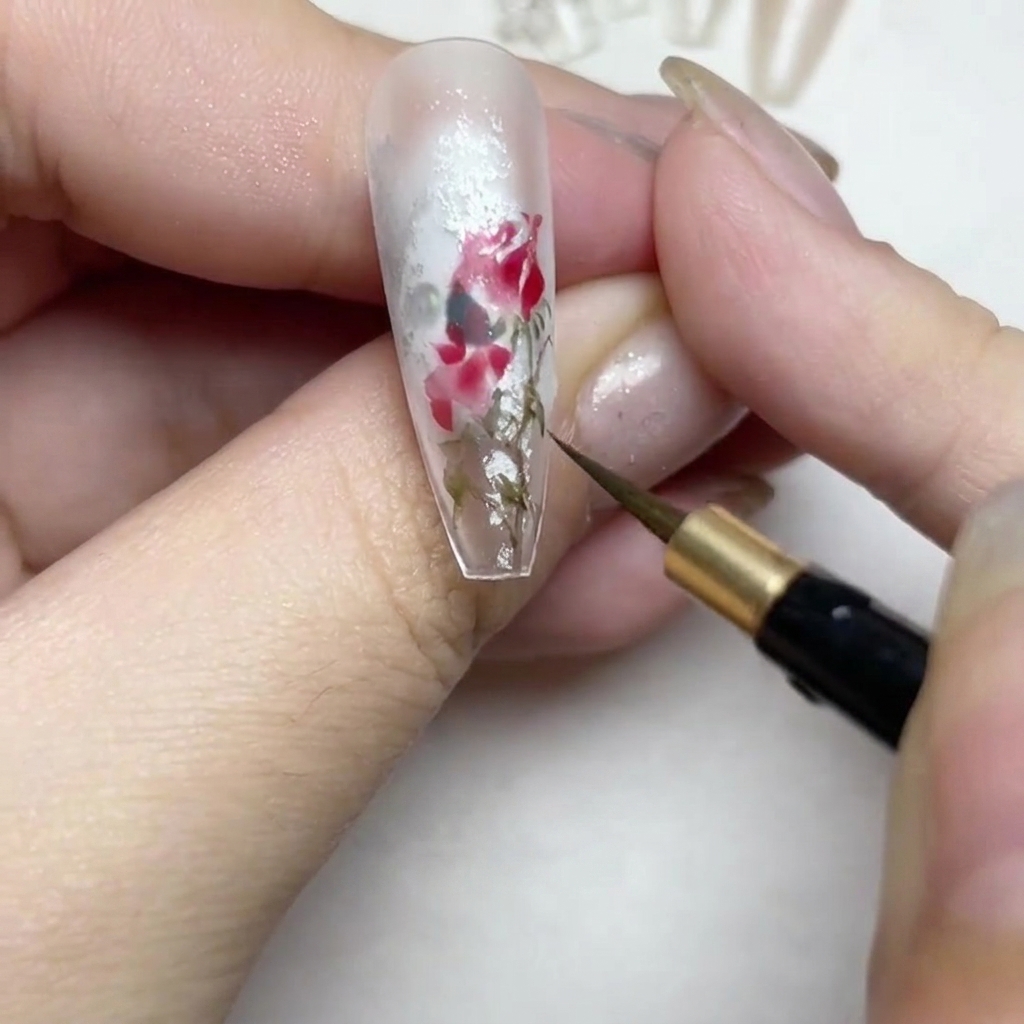
To finish the design, carefully paint thin, white, lace-like border lines around the edges of the petals. These delicate details add a romantic, ethereal feel to the overall composition.
Tip: Use a very thin liner brush for the lace work to keep the lines crisp and delicate. - 7Paint white watercolor roses
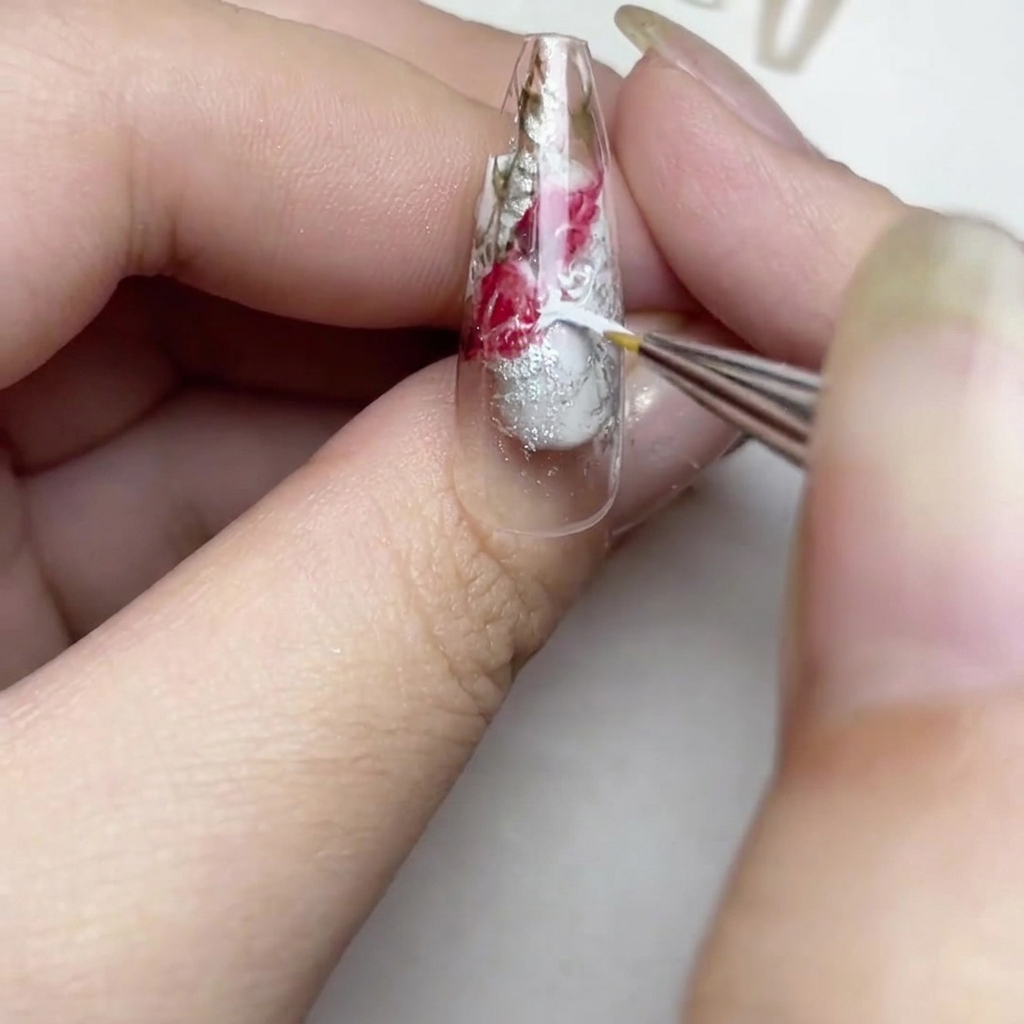
Using a fine liner brush and white watercolor paint begin adding delicate white roses in the empty clear areas surrounding the main red rose. Use a light and artistic touch to create a casual and atmospheric effect filling in the gaps while maintaining the overall shape of the flowers.
Tip: Keep the white watercolor strokes light and airy since intuitive painting is about achieving an organic atmospheric look without losing the floral structure. - 8Add white details and flower bud
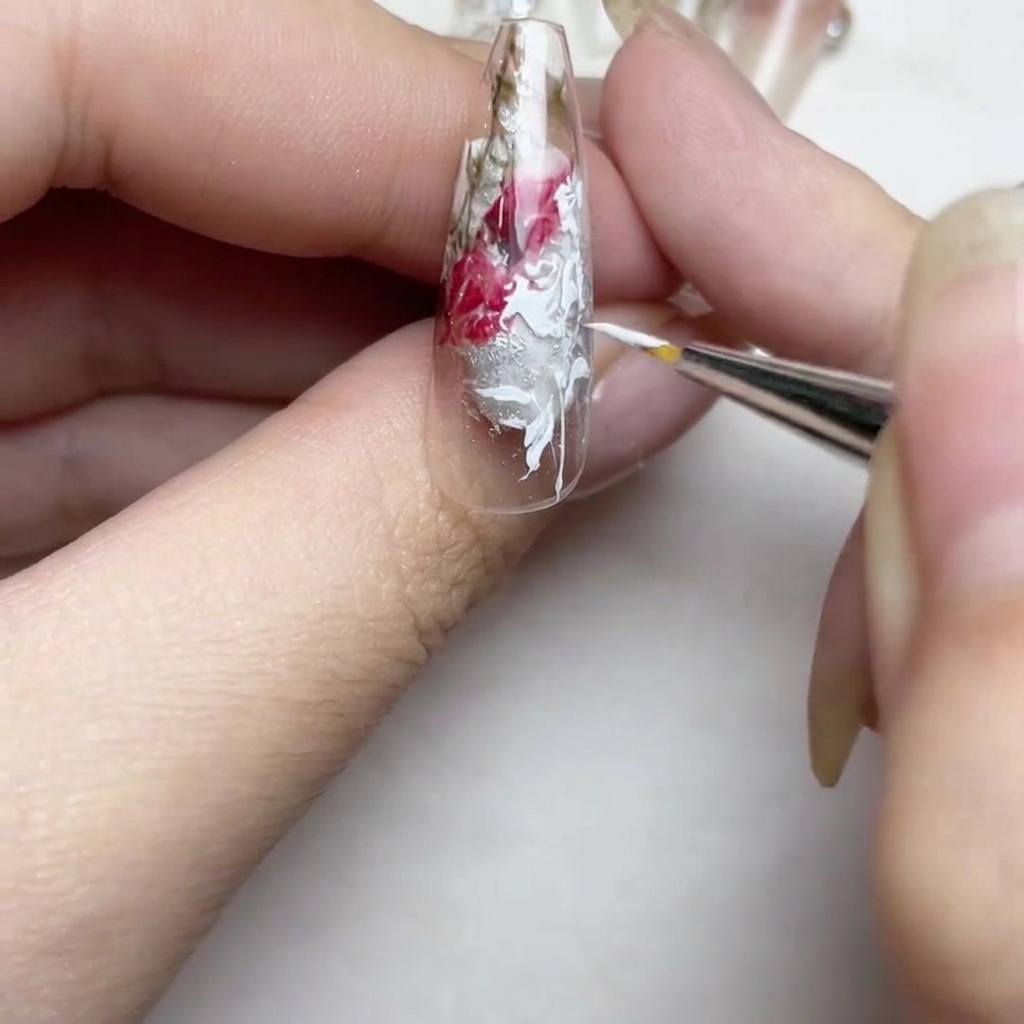
Continue refining the nail art by adding delicate white line details to define the petals further. Use the tip of your brush to paint a small, secondary white flower bud near the tip of the nail to balance the composition.
Tip: Focus on keeping the lines thin and precise to avoid overcrowding the design. - 9Apply gel glue for charms
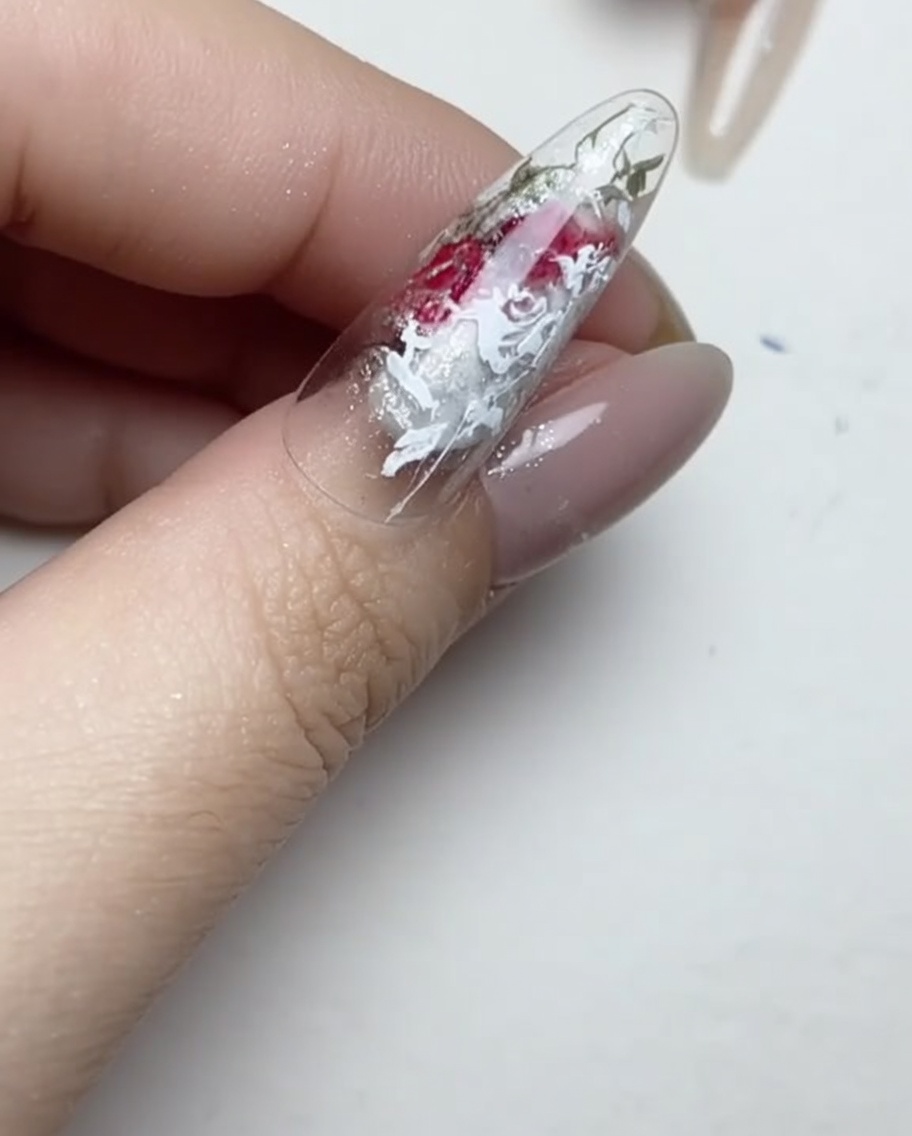
Once the watercolor paint is fully cured, use a liner brush to apply small, precise dabs of clear gel glue onto the specific areas where you intend to place your 3D embellishments. Ensure the glue is placed exactly where you want the charms to sit.
Tip: Use a small amount of high-tack gel glue to ensure your charms stay securely in place once cured. - 10Place 3D charms
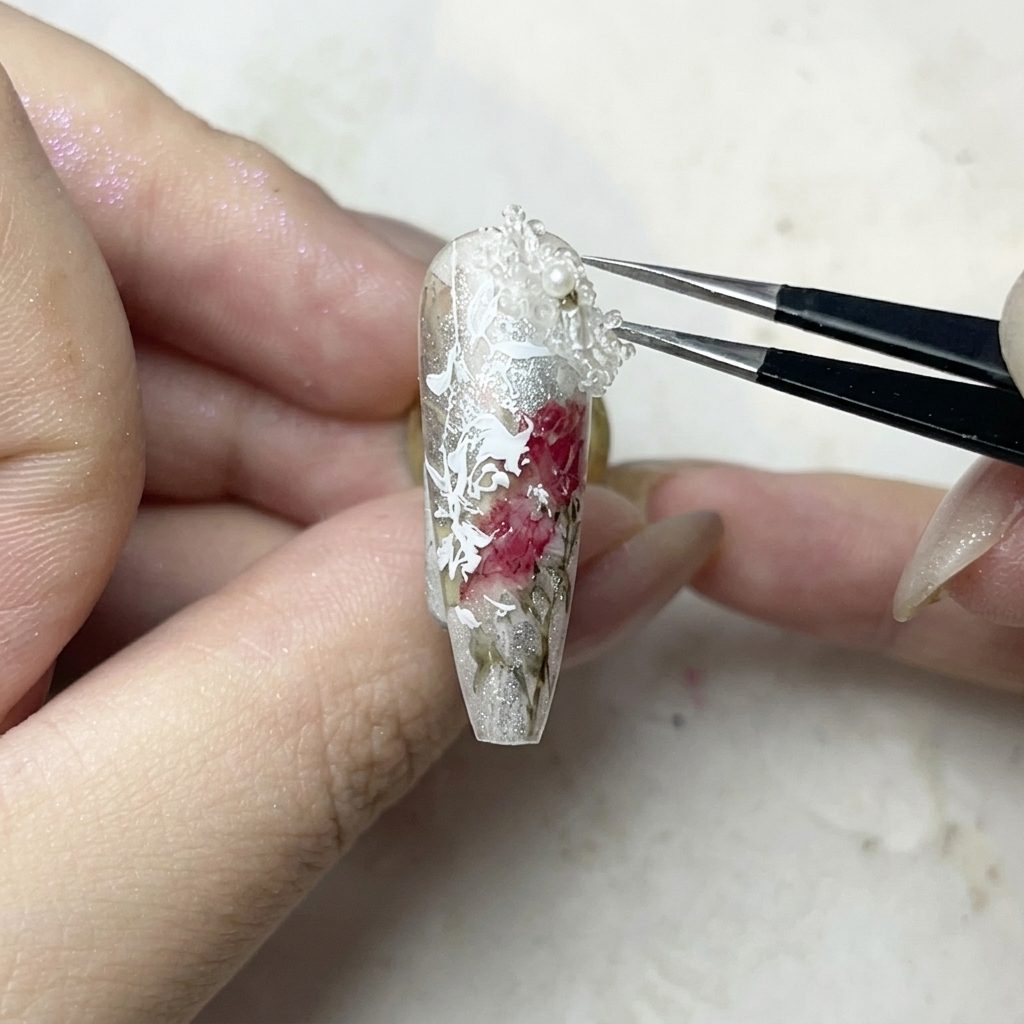
Using tweezers, carefully pick up your tiny 3D white flower embellishments and press them gently into the wet gel glue spots on the nail. Once arranged, cure under the UV lamp to lock the embellishments into place.
Tip: Work with one charm at a time to ensure they are positioned exactly as you desire before curing.