3D Relief Lace
Hand-Painted Blue Rose Nail Art Tutorial
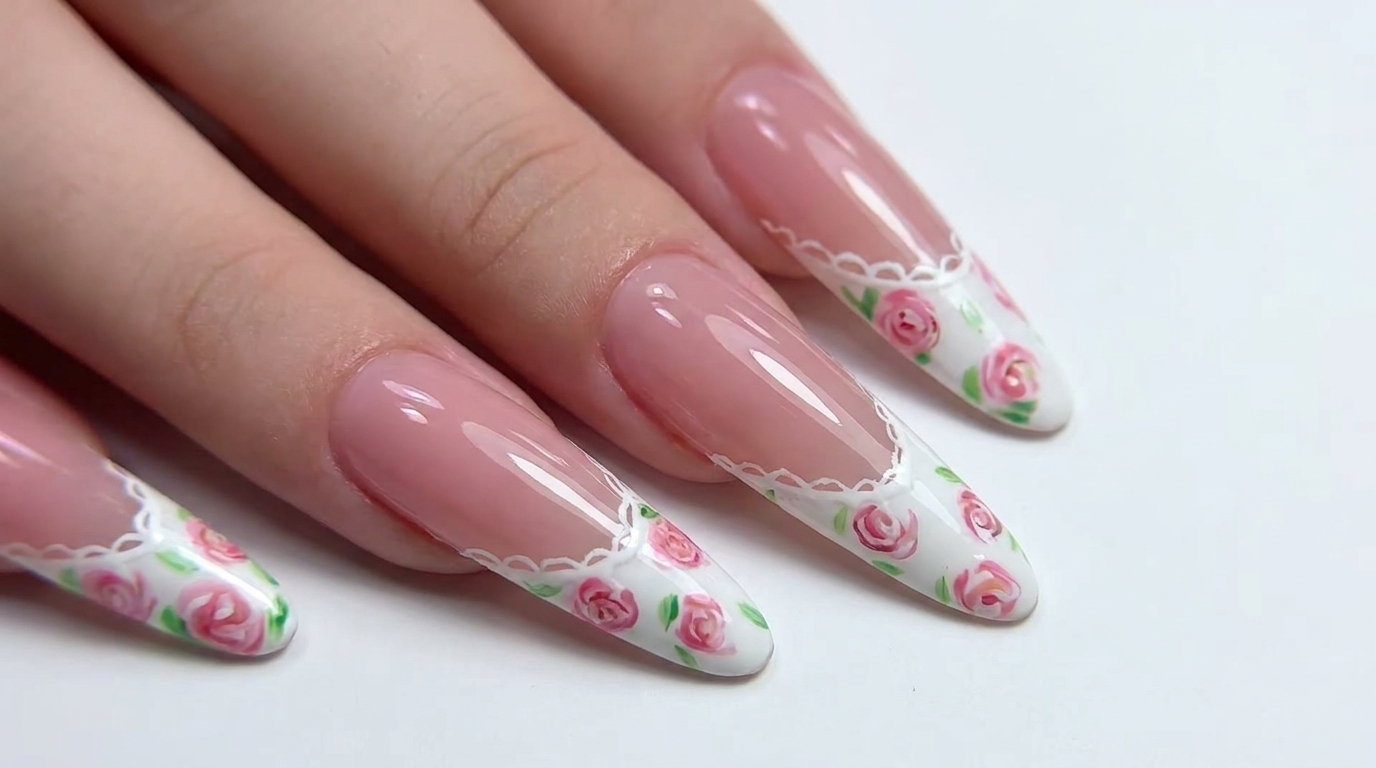
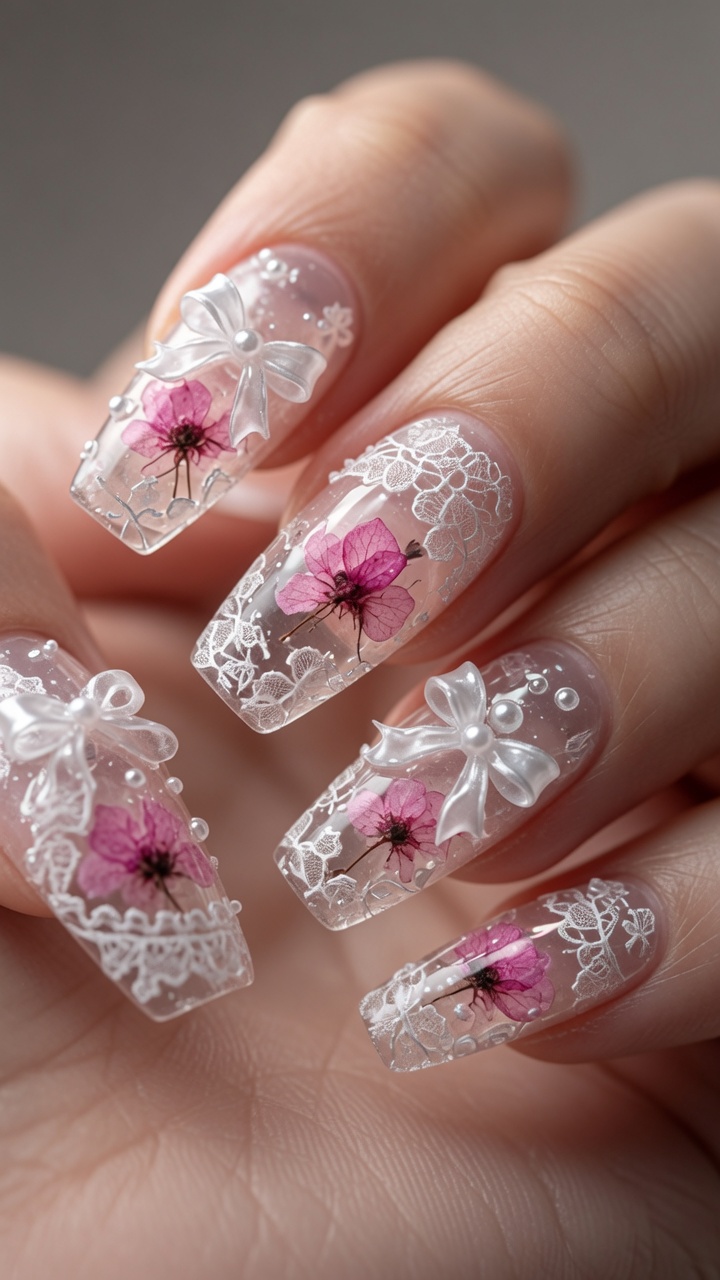
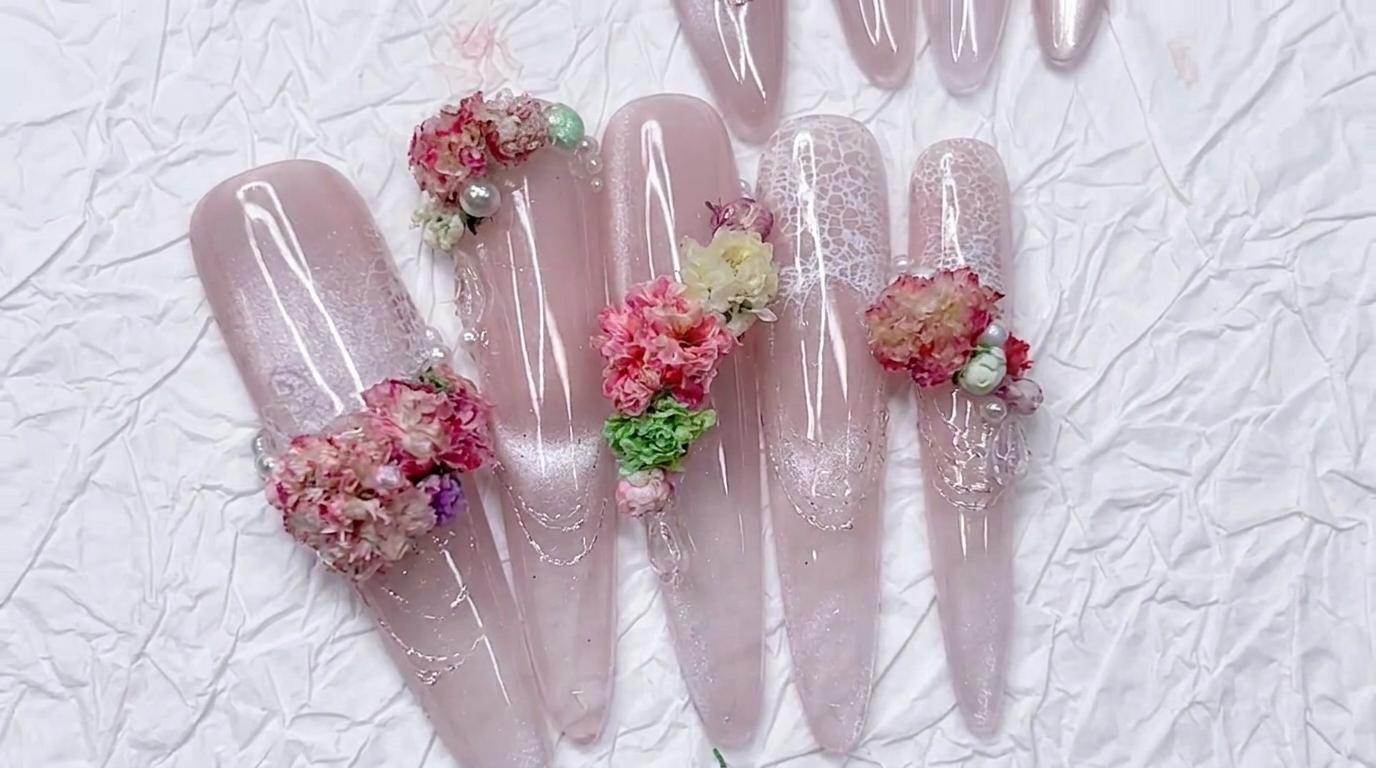
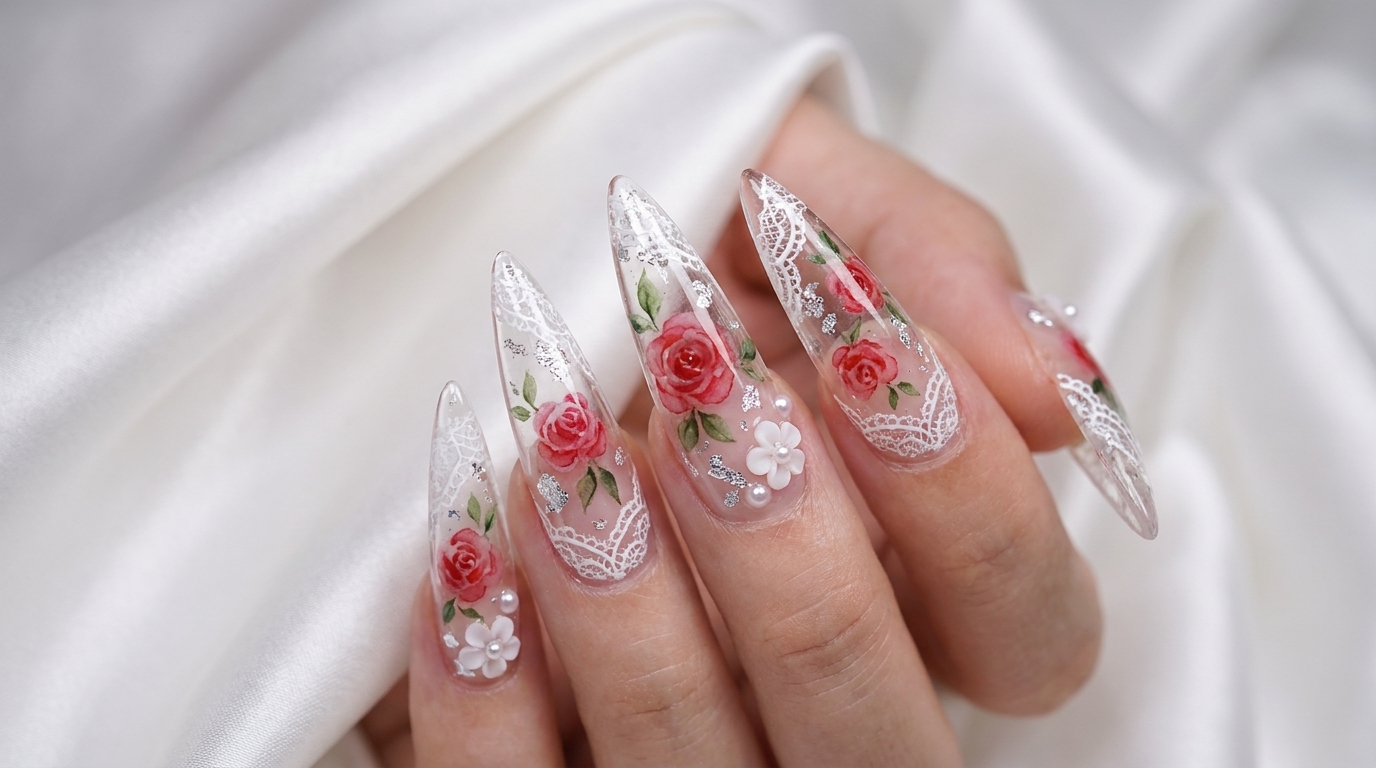
Create a stunning vintage-inspired press-on nail featuring a delicate hand-painted blue watercolor rose, intricate 3D white lace relief patterns, and elegant pearl accents.
Vintage-inspired 3D nail art is having a major moment, bringing elegant textures and classic motifs back to the forefront of nail design. This detailed tutorial guides you through creating a breathtaking porcelain-like finish using a unique plastic template technique. You will learn how to achieve a soft watercolor effect for the central blue rose and how to build intricate, raised lace patterns that look stunningly realistic.

Steps
- 1Position the plastic template
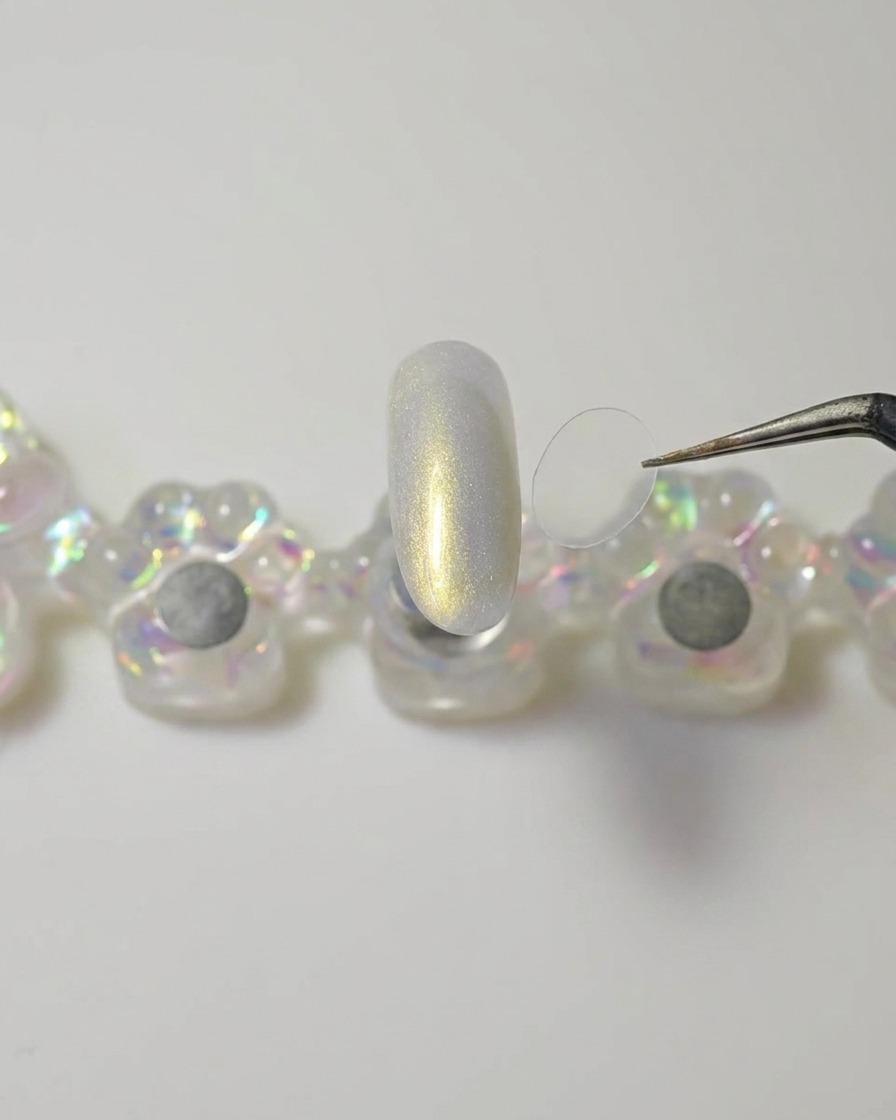
Using tweezers, carefully place your pre-cut piece of clear plastic file onto the center of the nail surface. This piece will act as a structural base for the nail art design.
Tip: Ensure the plastic piece is centered correctly before moving to the next step, as it will determine the placement of your final design. - 2Apply solid gel
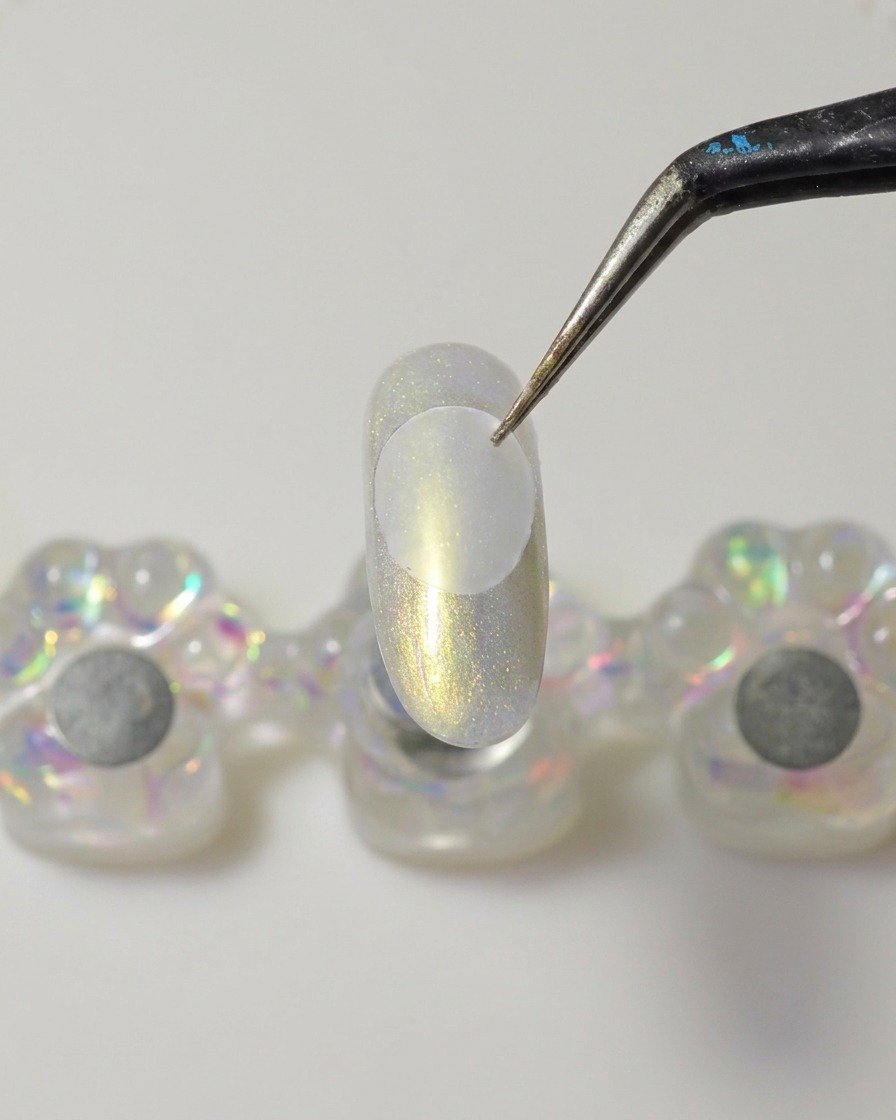
Use a metal spatula to apply a small amount of solid builder gel to the adhesive side of the pre-cut plastic piece. This will secure the plastic firmly to the nail.
Tip: Use a consistent amount of solid gel to ensure the plastic adheres evenly without overflowing onto the surrounding nail area. - 3Secure and smooth the plastic
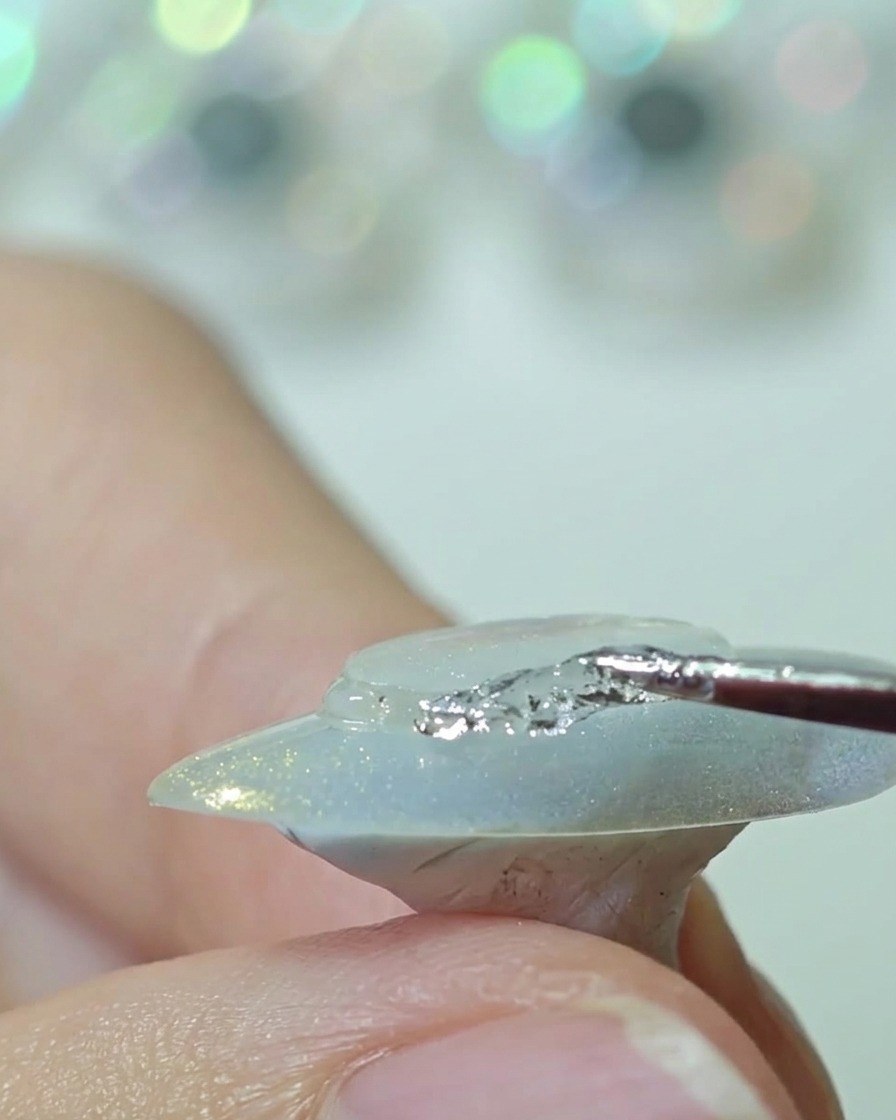
Press the plastic piece firmly onto the center of the nail. Use a silicone tool to smooth out the edges and ensure a seamless, bubble-free bond with the nail surface.
Tip: Applying gentle pressure with the silicone tool helps create a flat, even base for the subsequent gel layers. - 4Apply first coat of white gel
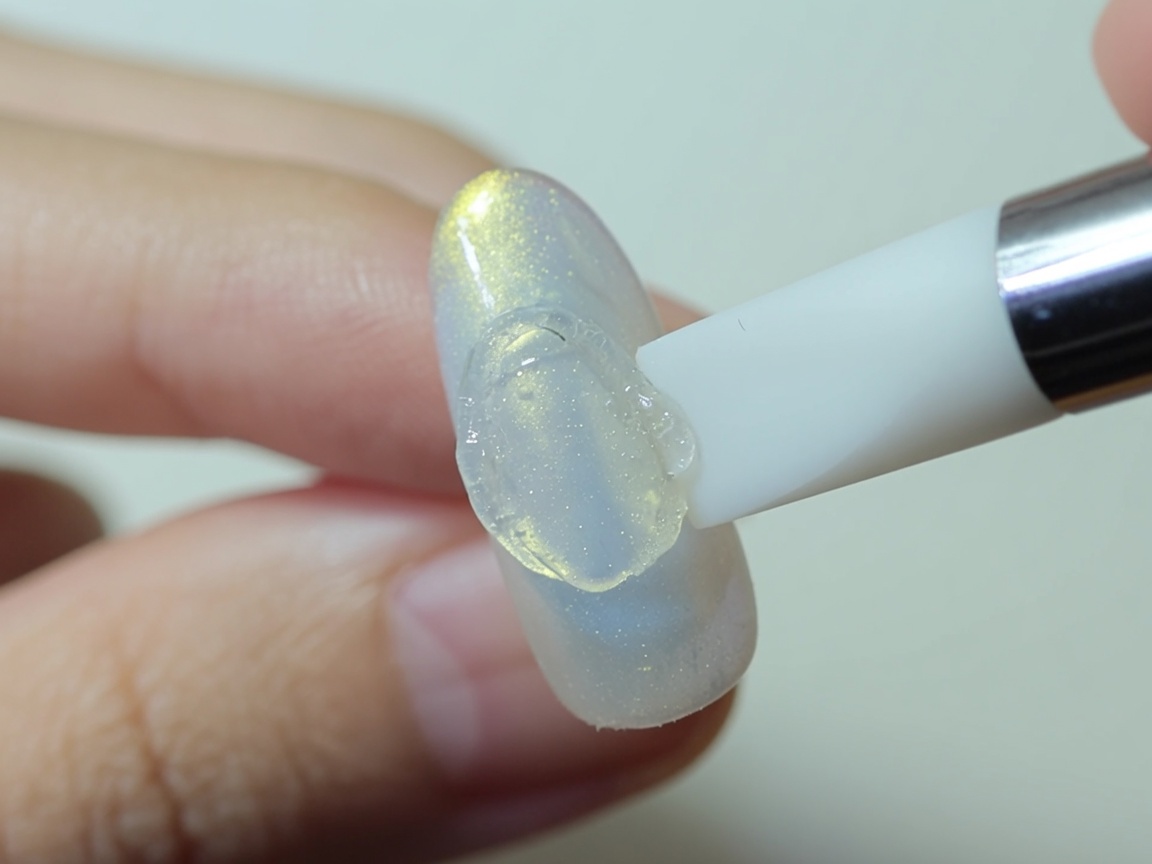
Apply a thin, even layer of white gel polish over the entire plastic base. This creates a bright, clean canvas that will help your nail art colors pop.
Tip: Keep the layer thin to prevent the gel from pooling around the edges of the plastic. - 5Apply second coat of white gel
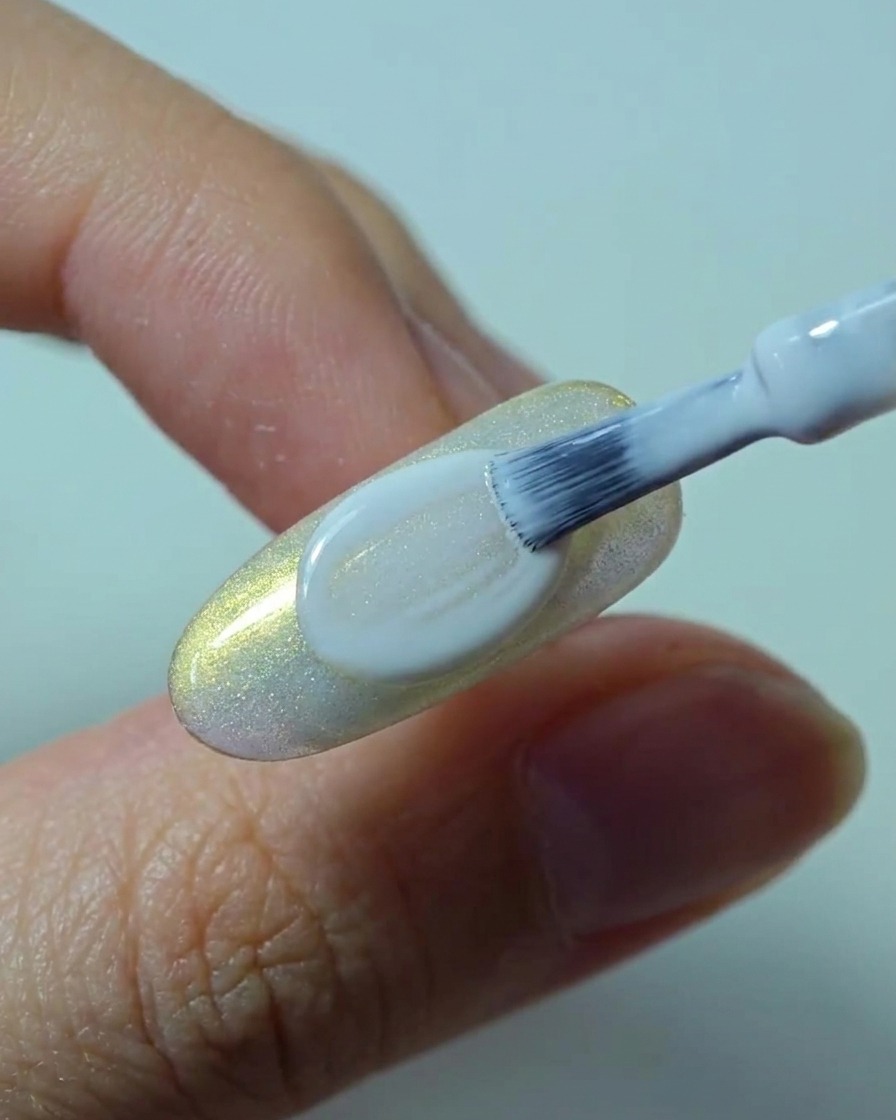
Apply a second coat of white gel polish to ensure complete opacity and a smooth, streak-free surface. Cure the nails according to the gel manufacturers instructions.
Tip: Allowing the first coat to cure properly before adding the second ensures a durable and professional finish. - 6Paint the blue rose
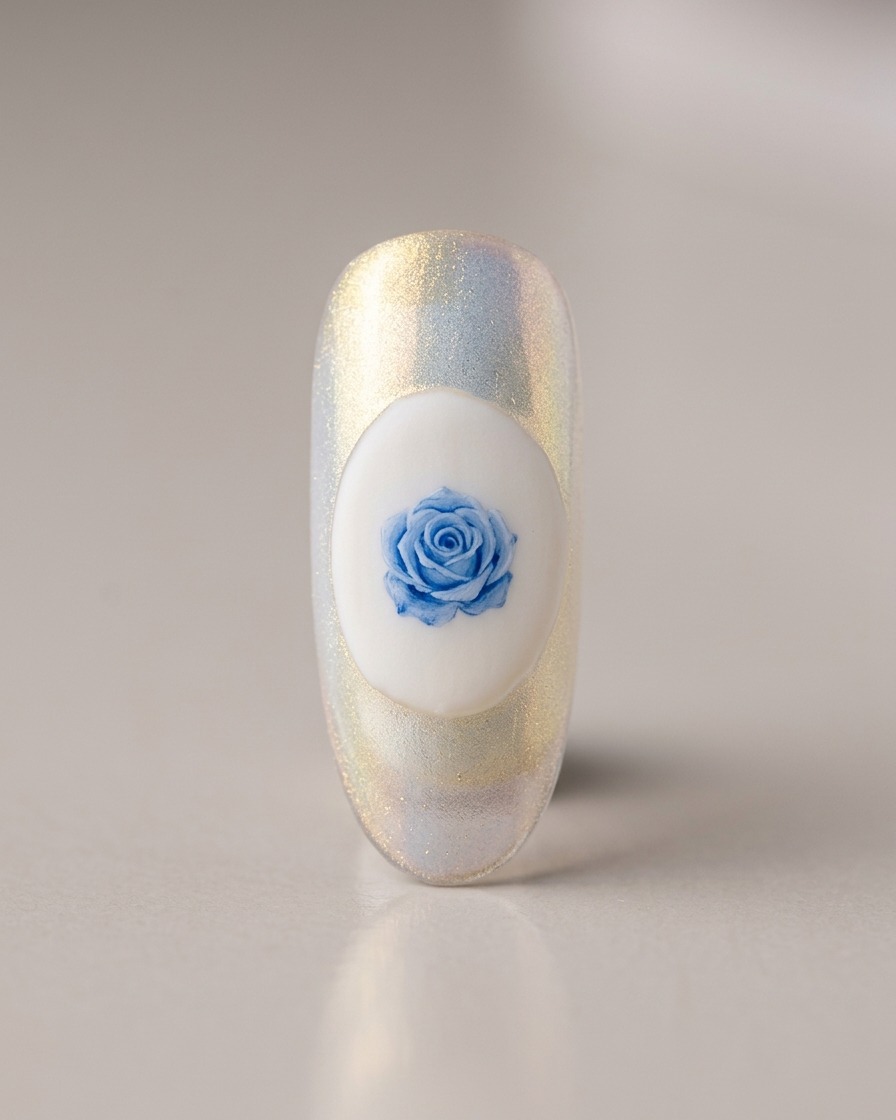
With a fine liner brush, begin painting the initial shape of a blue rose on the center of your prepared white base. Focus on creating the core structure of the petals.
Tip: Keep your brush strokes light and delicate to achieve the intricate appearance of rose petals. - 7Blur and refine the blue rose petals
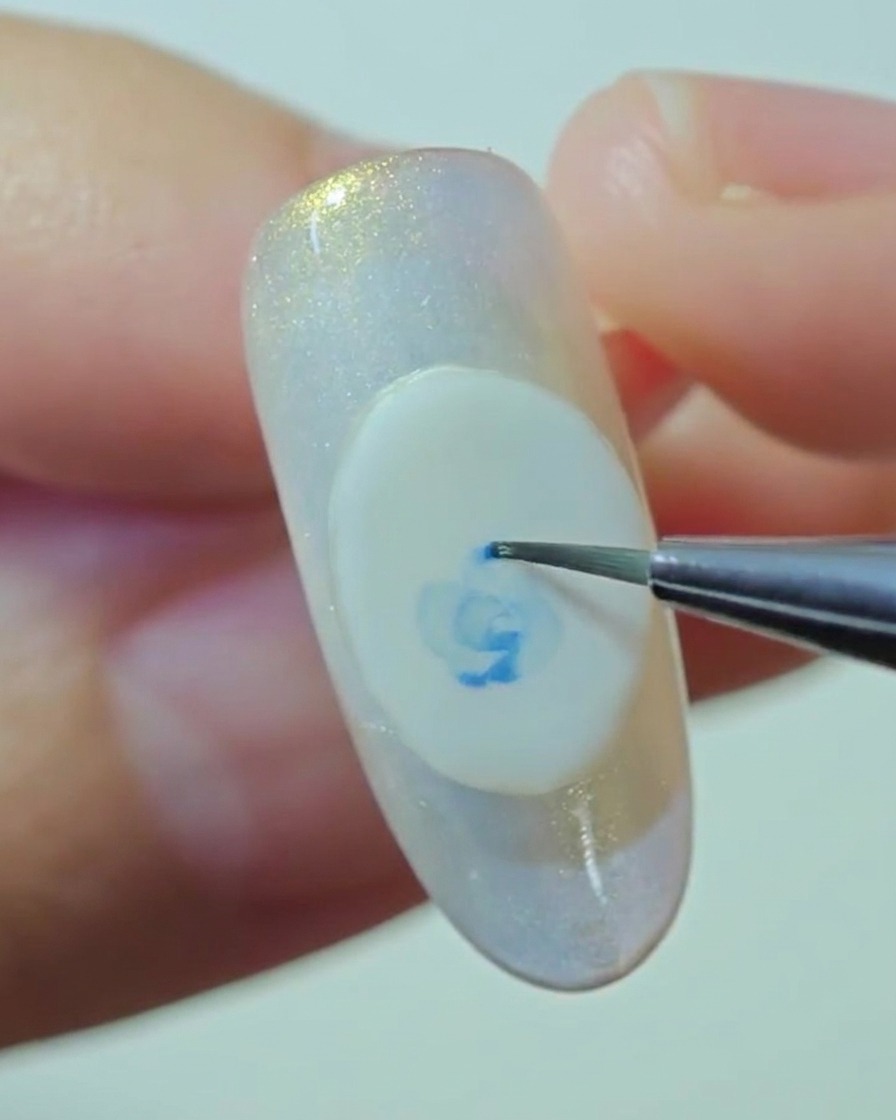
Take a clean detail brush dipped slightly in water and gently work over the edges of the blue gel petals. This technique diffuses the pigment, creating a soft, watercolor-like effect that gives the rose a more realistic, delicate appearance. Carefully blend only the edges to maintain the definition of the center.
Tip: Use very little water to prevent the gel from running; the brush should be barely damp. - 8Add delicate foliage and leaves
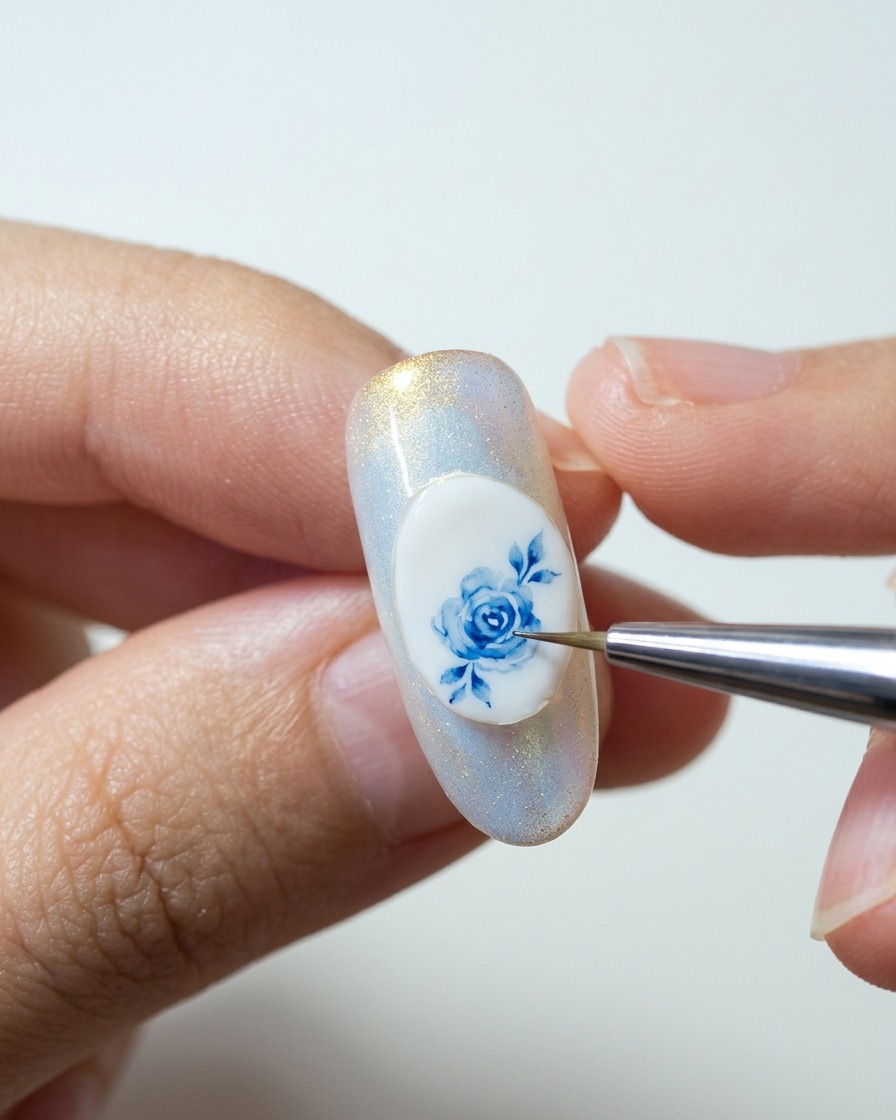
Using a fine liner brush and blue gel, paint small, curved leaves and delicate vines emerging from the base of the rose. Keep the strokes light and tapered to create a natural, flowing look around the central flower. This adds depth and completes the floral composition.
Tip: Vary the size and direction of the leaves to make the arrangement look more organic and less symmetrical. - 9Outline white roses
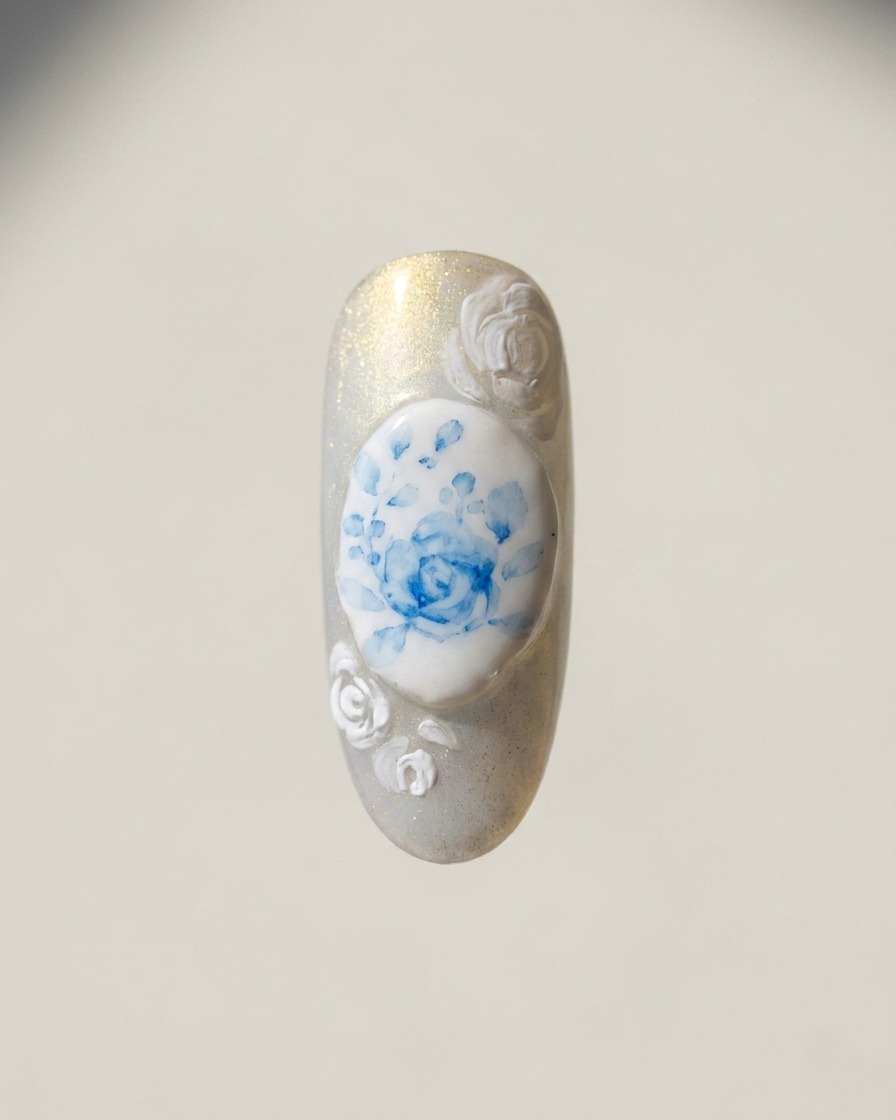
With a fine liner brush and white gel, paint the outlines of roses in the empty spaces at the edges of the nail. These white roses provide a subtle, elegant contrast to the central blue flower. Ensure the lines are thin and steady to capture the petal structures.
Tip: Place the white roses strategically at the top and bottom corners of the nail to balance the composition. - 10Apply 3D relief gel
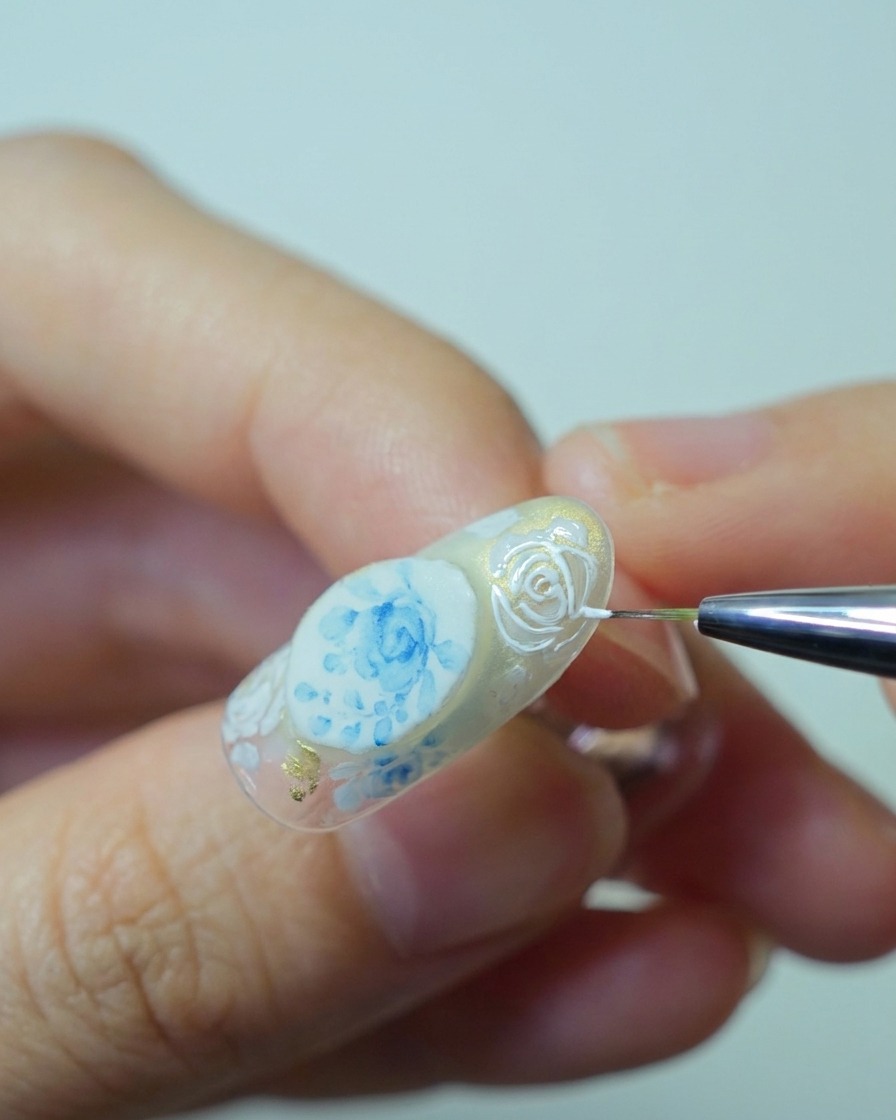
Using thick relief or 3D nail art gel, carefully trace over the white rose outlines you previously painted. This adds dimension and a tactile, raised texture to the floral design. Cure the nail after applying the relief gel to ensure the 3D details hold their shape.
Tip: Use a steady hand and apply pressure consistently to get a uniform, elevated line. - 11Paint intricate lace lines
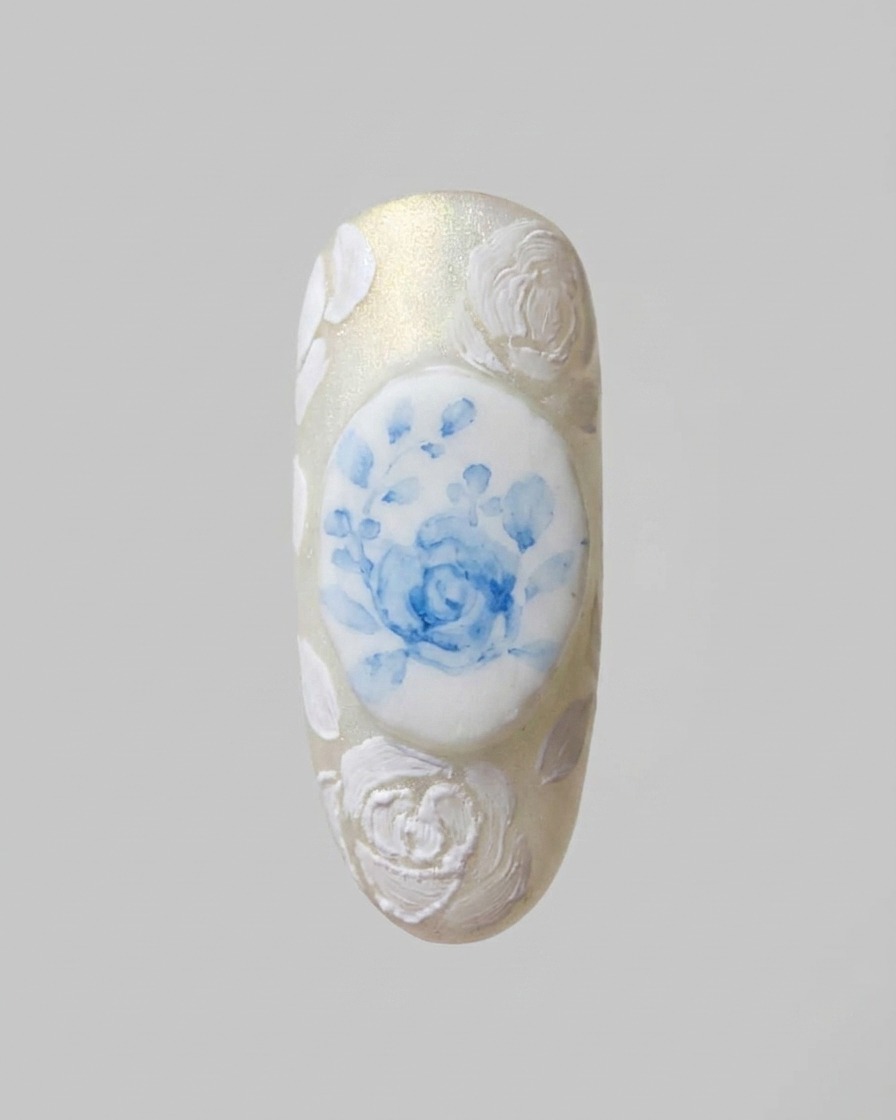
With a fine detail brush, connect the raised 3D roses by painting delicate lace-inspired lines and filigree patterns. These thin, intricate lines tie the floral elements together into a cohesive, vintage-style design. Work carefully to keep the lines clean and interconnected.
Tip: Practice the lace pattern on a practice tip first to ensure you have a fluid hand motion for the thin lines. - 12Final refinement of details
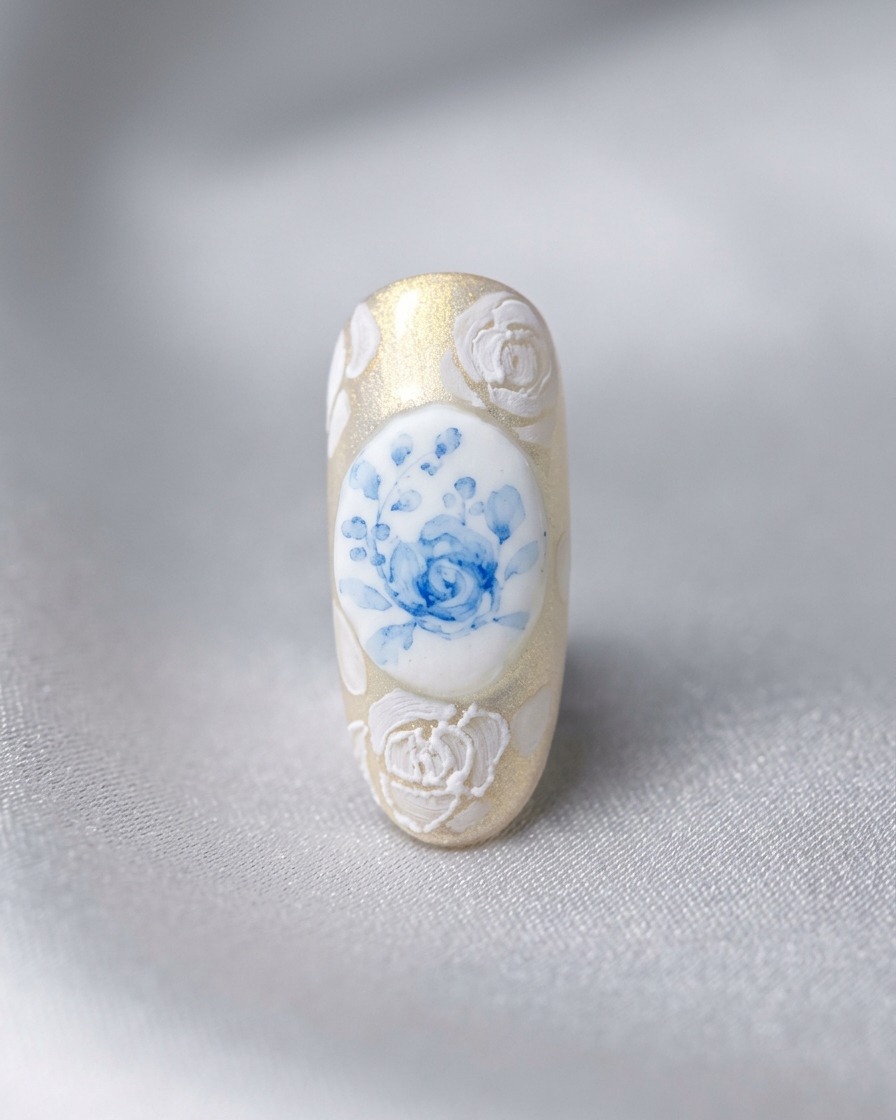
Carefully check the lace lines and relief gel patterns for any gaps or inconsistencies. Use a fine brush to touch up any lines that require more definition. Once you are satisfied with the detail work, perform a final cure to lock all elements in place.
Tip: A quick visual check from multiple angles ensures your 3D design looks balanced and professional. - 13Place pearl accent
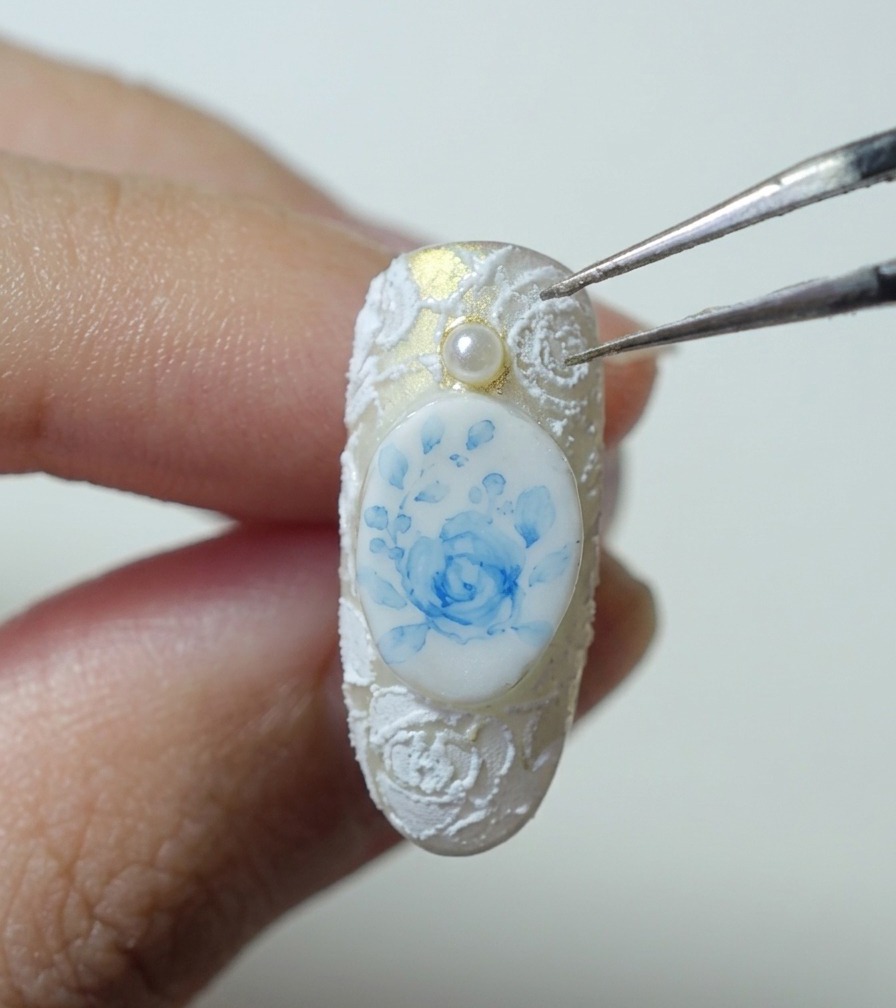
Using precision tweezers, carefully pick up a small pearl bead and place it at the top of the central blue rose design. Ensure it is positioned centrally on the relief lace pattern. Press down gently to set it into the uncured gel before moving on to the final curing process.
Tip: A tiny amount of clear builder gel or top coat can act as a glue if the pearl needs extra security. - 14Final cure
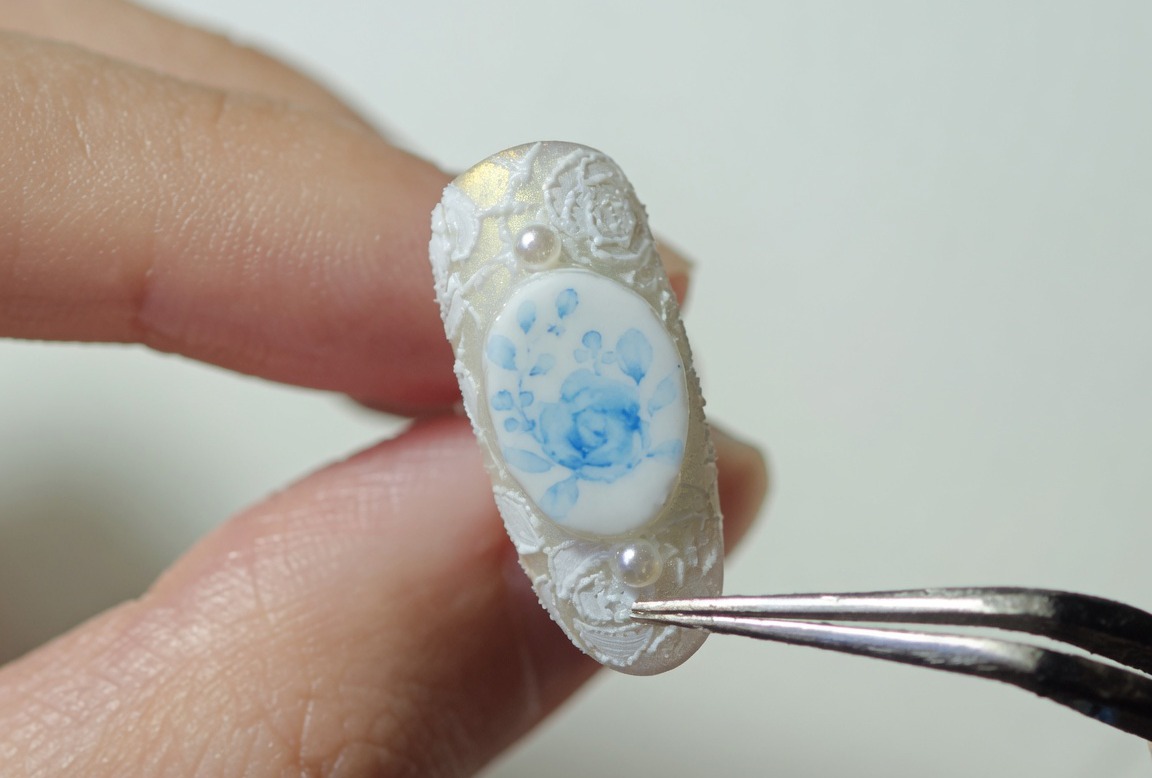
Place the nail into your UV or LED lamp to perform the final cure. This step is critical to set the relief gel, lace patterns, and the pearl accent securely in place. Ensure the nail is positioned directly under the light source for the full duration recommended for your specific gel products.
Tip: If using a high-intensity lamp, you may feel a slight heat spike as the thick relief gel cures; remove your hand briefly if it becomes uncomfortable.