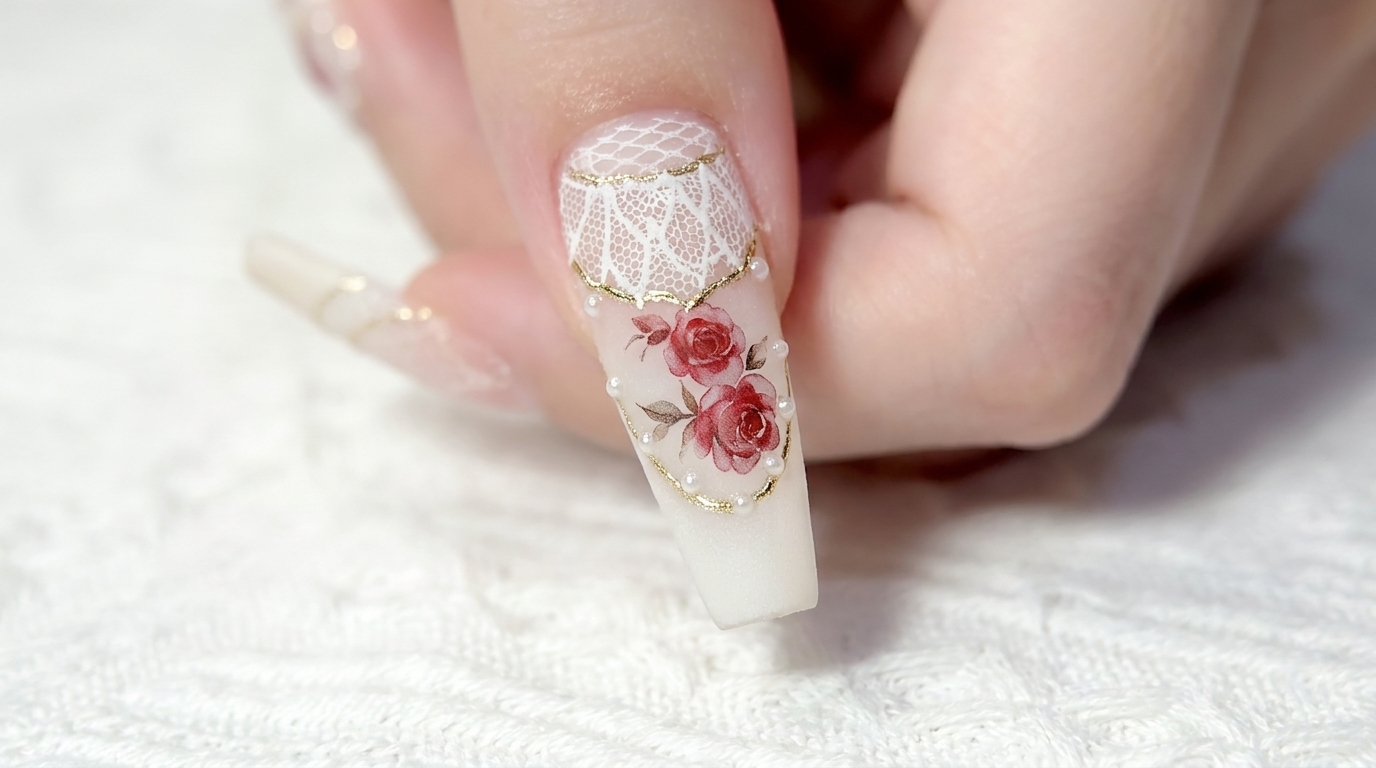
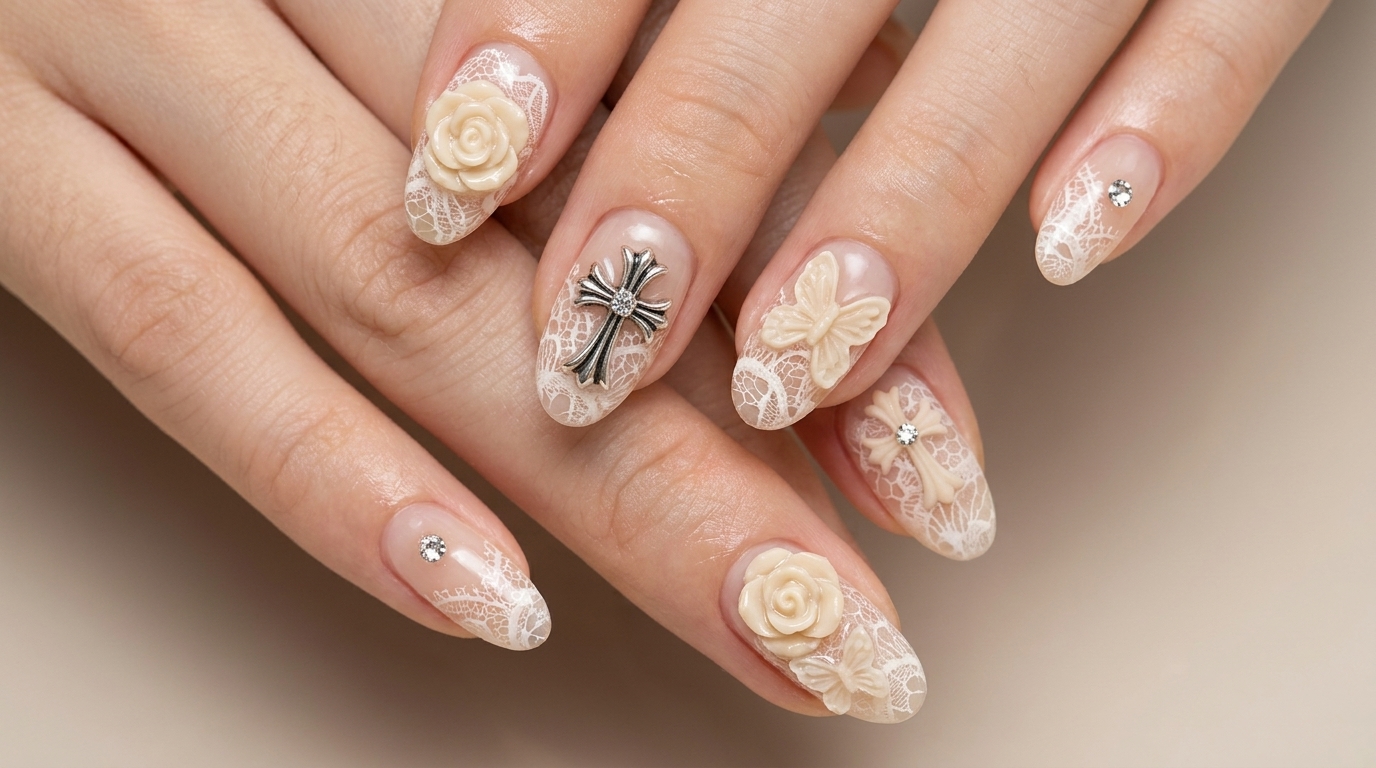
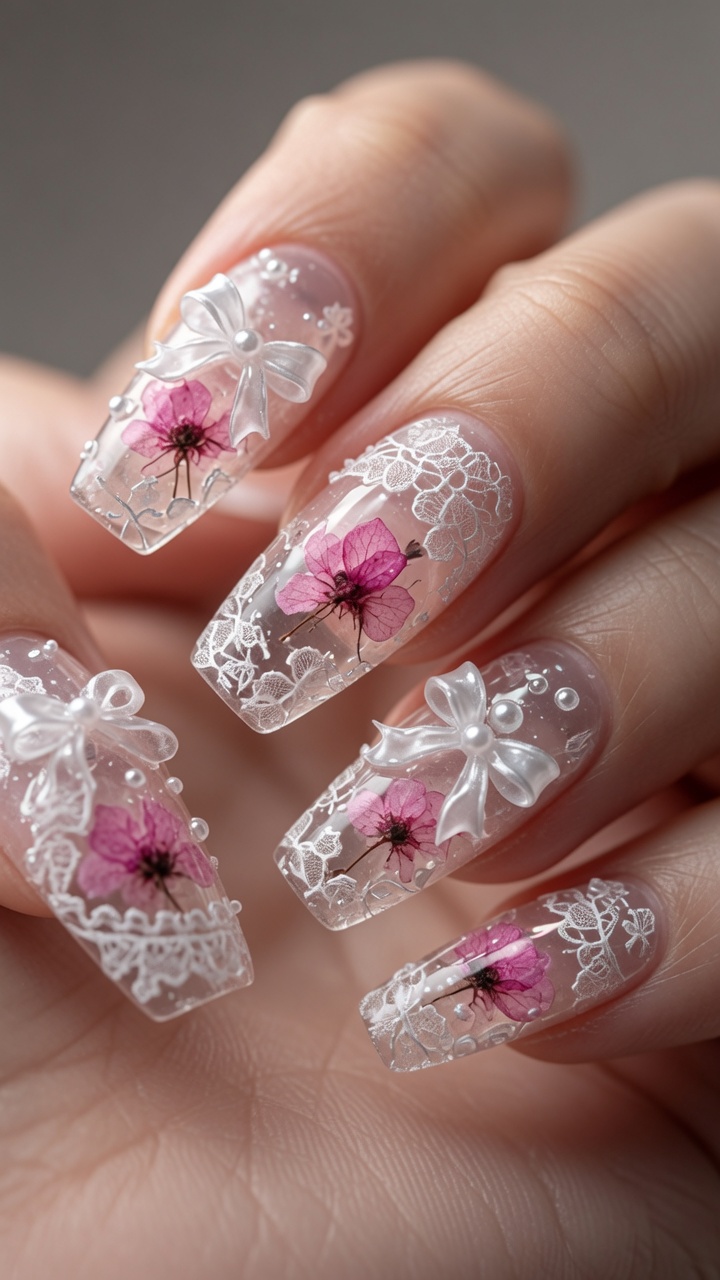
Lace Rose French Manicure — Elegant Step-by-Step Tutorial
Master the Lace Rose French Manicure with this tutorial.[cite: 1] Learn to create hand-painted roses and intricate lace borders for a beautiful finish.[cite: 1]
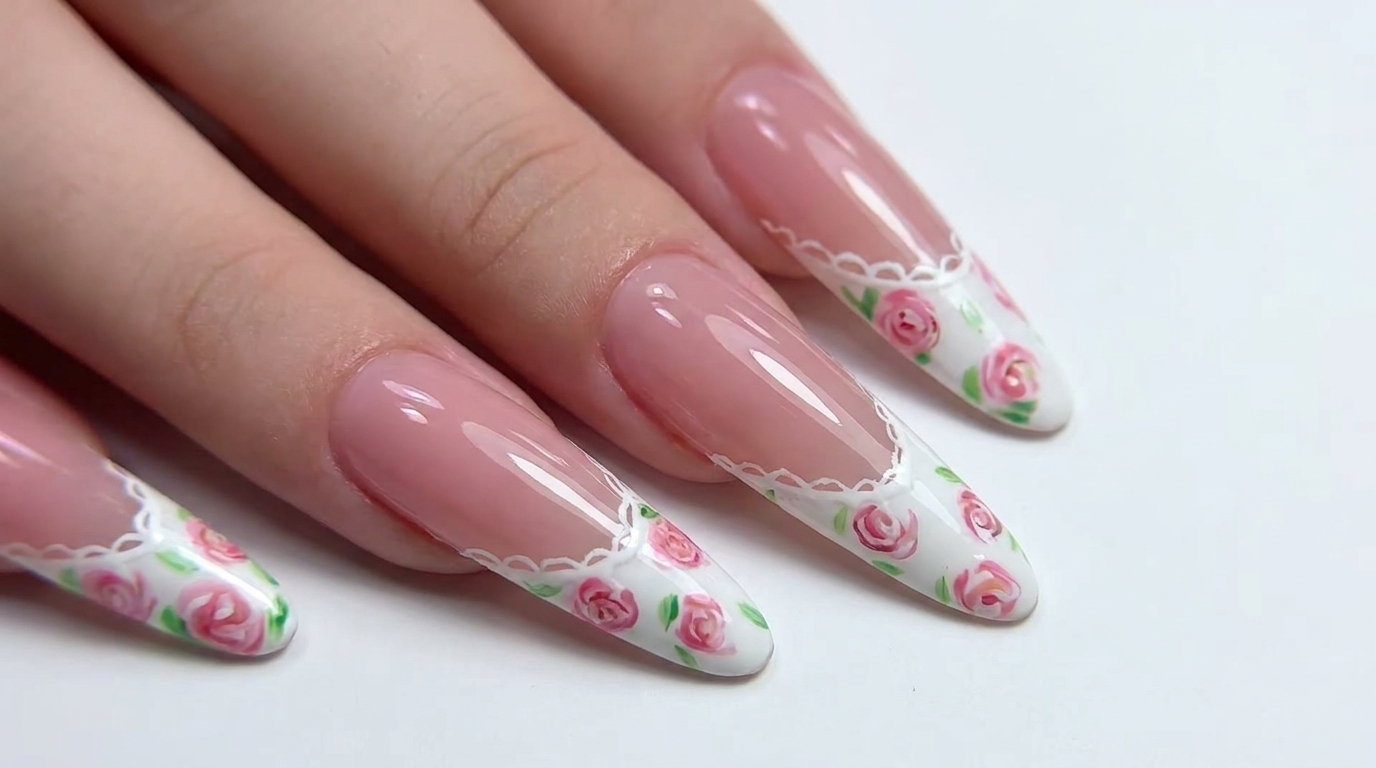
The Lace Rose French Manicure is a beautiful twist on a classic design, blending the timeless elegance of a French tip with soft, oil-painting inspired floral details.cite: 1 This look utilizes a wet-on-wet gel technique to create diffused, romantic rose petals that nestle perfectly against a crisp lace border.cite: 1 It is an ideal choice for those looking to build structure and a high-gloss finish with their nail art.cite: 1
Steps
- 1Apply nude base color
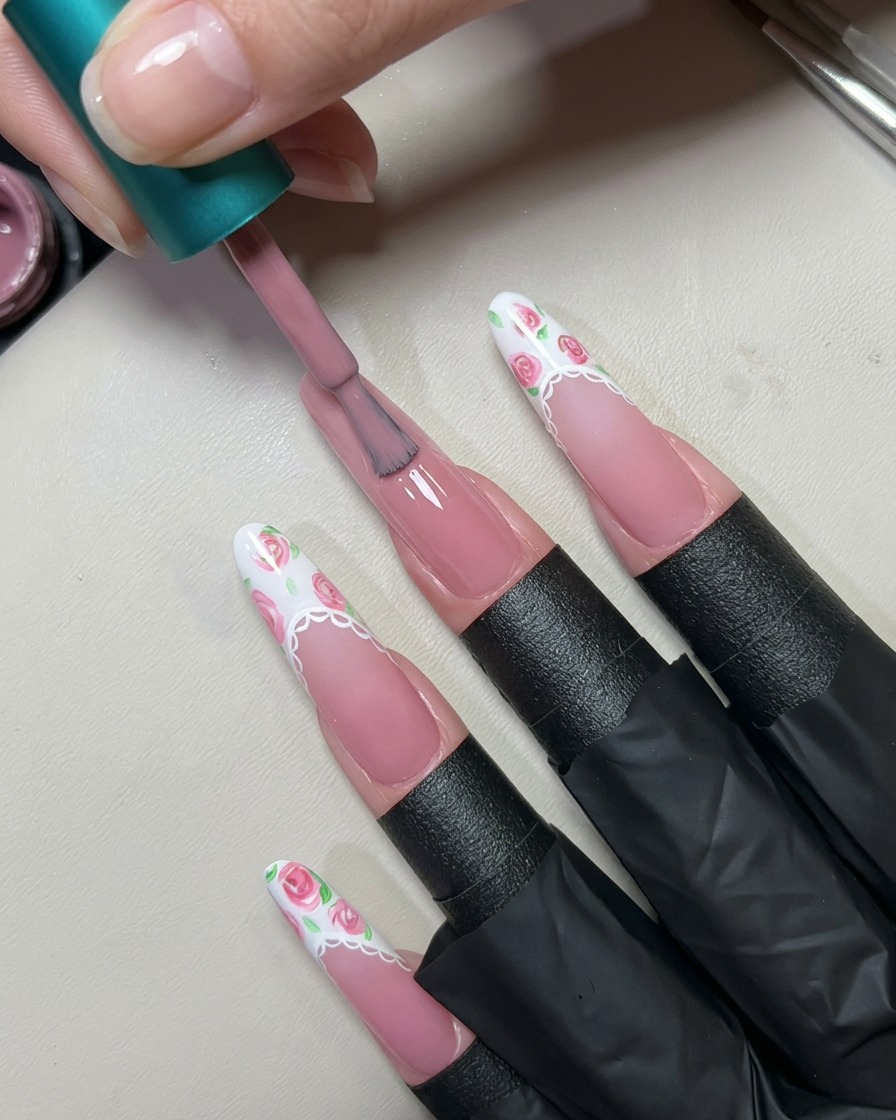
Using the brush from the bottle, apply an even layer of translucent nude pink gel polish over the entire nail plate. This creates a natural, smooth foundation for the French tip and intricate nail art to follow.cite: 1
Tip: Apply in thin layers to ensure a smooth, even cure and prevent the polish from pooling around the cuticles.cite: 1 - 2Paint the white French tip
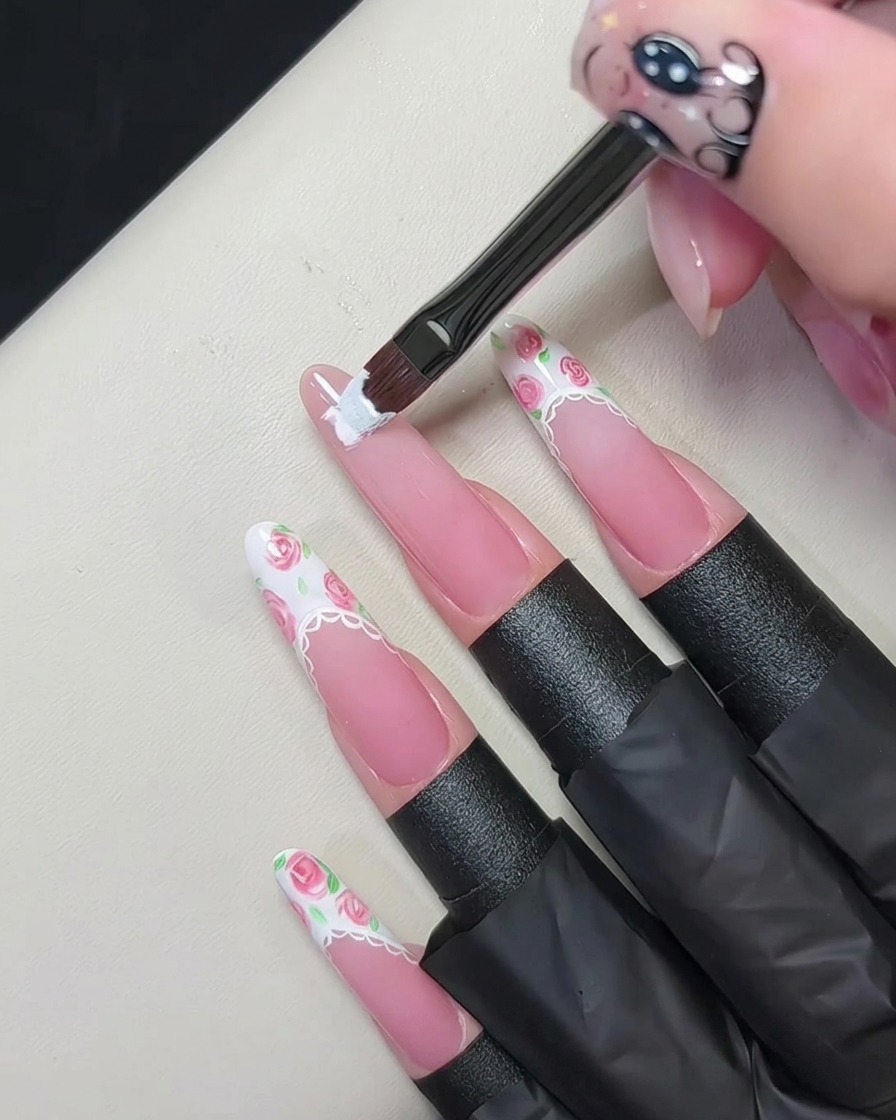
Take a flat gel brush and apply your first layer of textured white gel along the free edge of the nail. Carefully shape the smile line to create a crisp and clean French tip border.cite: 1
Tip: A flat brush provides excellent control for carving out a sharp and symmetrical smile line.cite: 1 - 3Cure the French tip
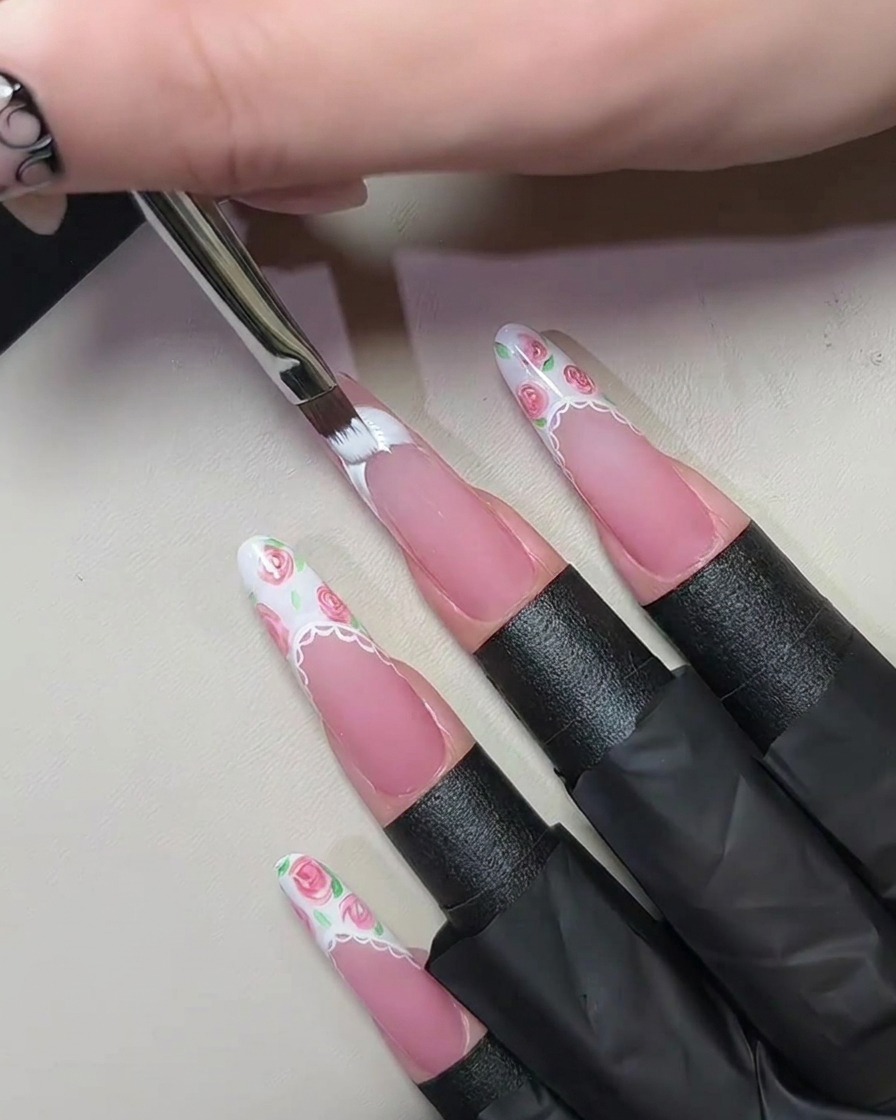
Place your hand under a UV/LED lamp and cure the white French tip for a full 60 seconds. This step ensures the first layer of gel is fully hardened, providing a stable foundation for the subsequent layers of art and the final lace detailing.
Tip: Ensure your fingers are positioned directly under the light source to guarantee an even cure across the entire smile line. - 4Apply second layer of textured gel
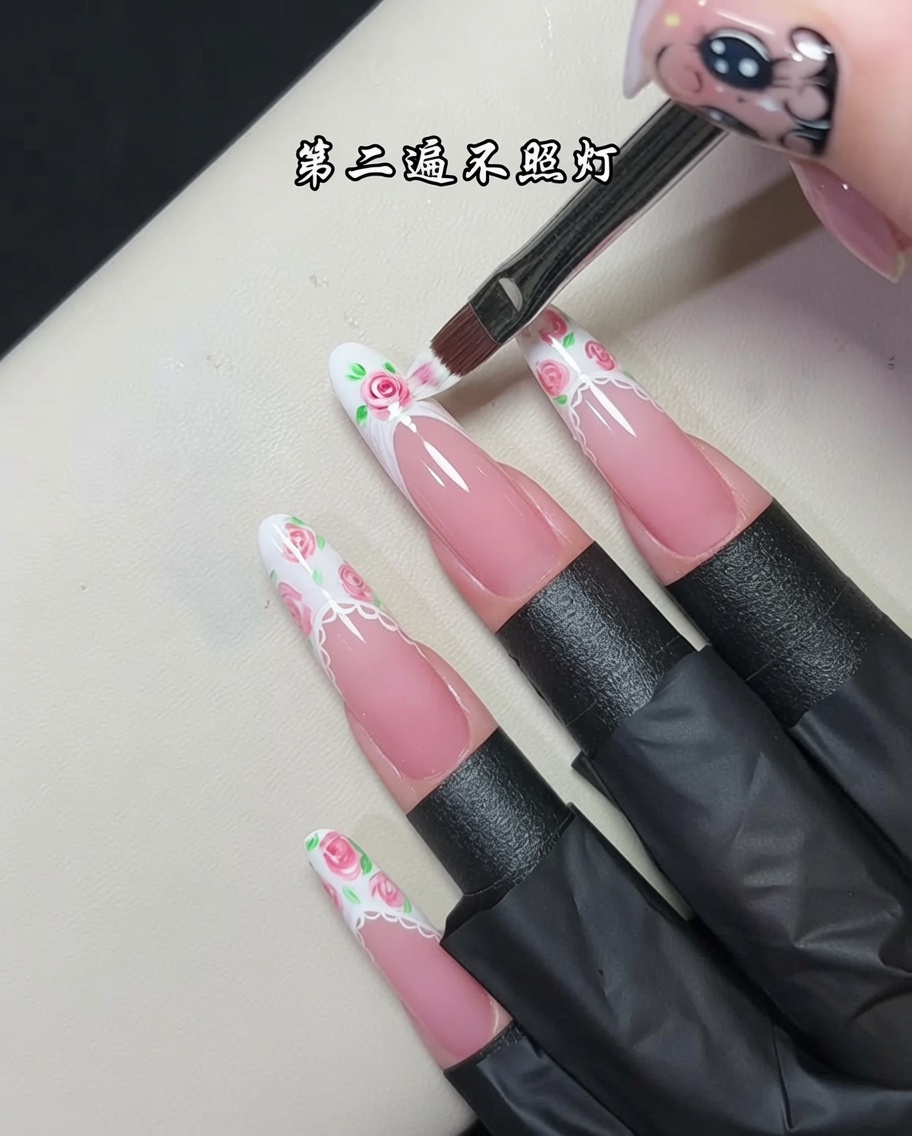
Apply a second, slightly thicker layer of the textured white gel over the French tip. Do not cure this layer; keep it wet so you can work the floral art into the surface immediately.
Tip: Keeping the gel wet is essential for the oil painting technique; it allows the pink and green colors to blend softly into the white base. - 5Paint miniature pink roses
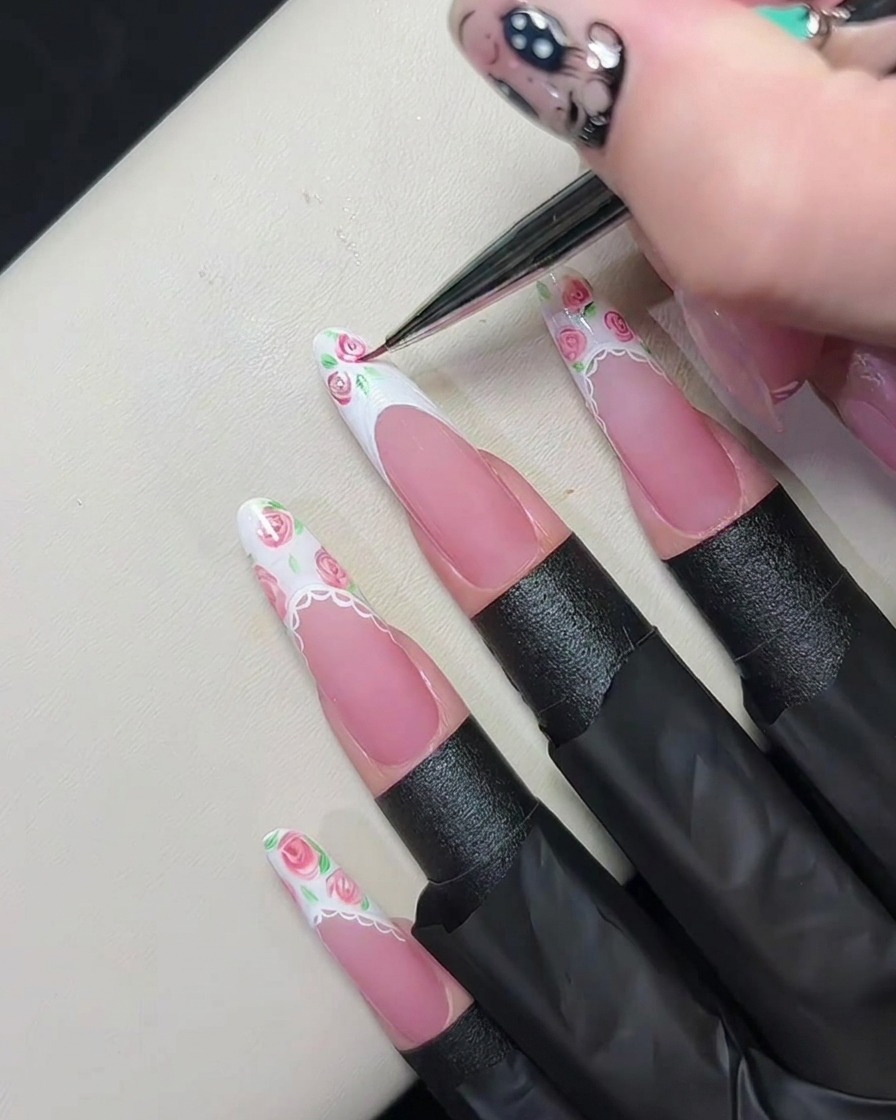
While the second layer of white gel is still wet and uncured, use a fine liner brush to apply small dots of pink gel directly onto the tip. Gently swirl the pink color into the wet white gel to create a beautiful, soft oil-painting effect for the miniature roses.cite: 1
Tip: Working wet-on-wet allows the gel colors to blend softly, giving the floral design a delicate, diffused texture.cite: 1 - 6Add delicate green leaves
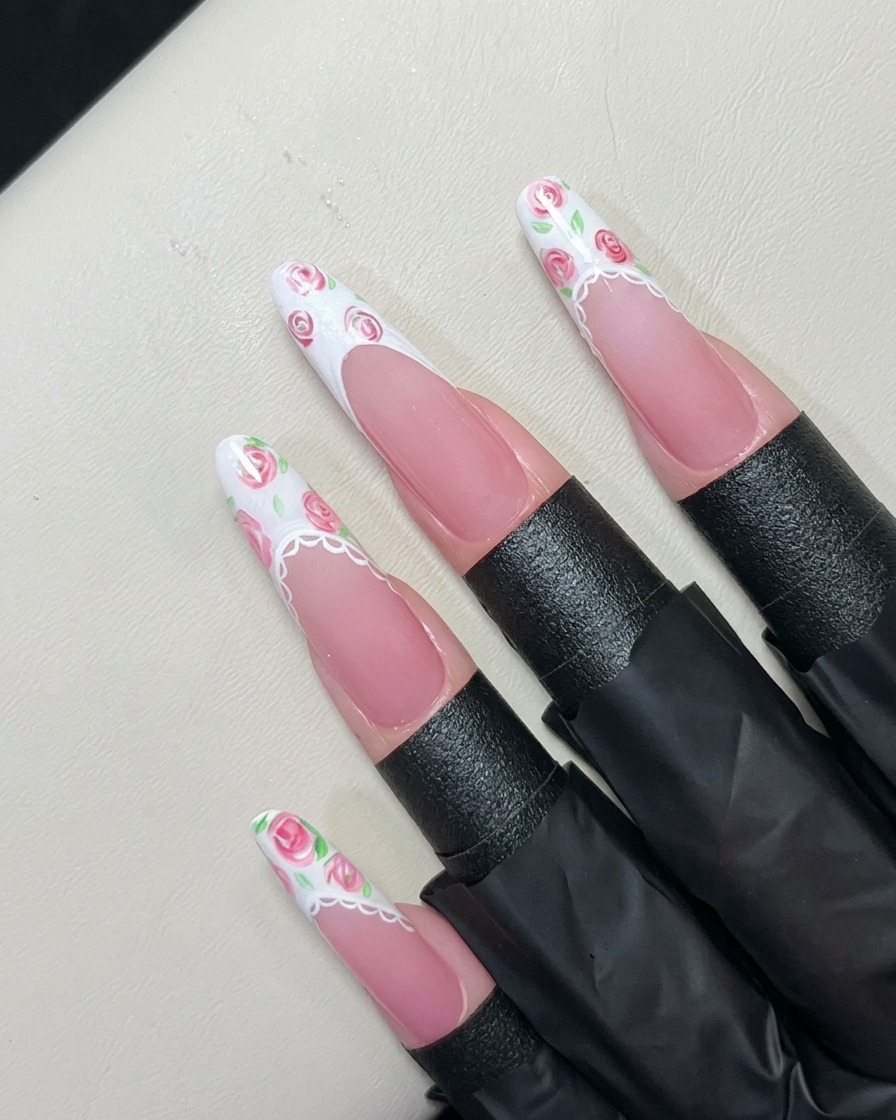
Using the same fine liner brush, pick up a small amount of green gel and carefully paint tiny leaves nestled around the pink roses. This subtle addition of color completes the floral pattern and brings the roses to life.cite: 1
Tip: Use a very light touch with only the very tip of your liner brush to keep the leaves proportionate to the small roses.cite: 1 - 7Outline the lace border
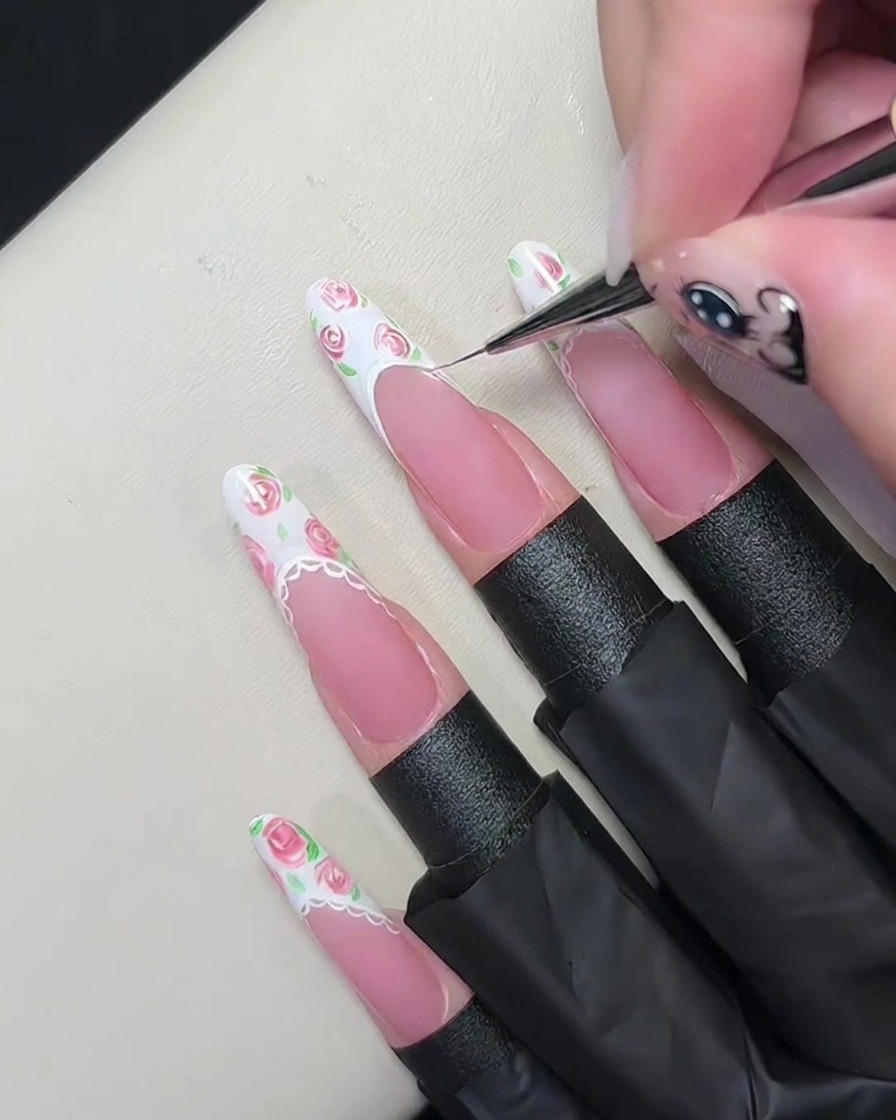
Using a fine liner brush and white gel, carefully draw a thin, curved outline along the inner smile line of your French tip. This creates the structural boundary for the intricate lace border.
Tip: Keep your hand steady and use a very light touch to ensure the line is thin and precise. - 8Add lace details
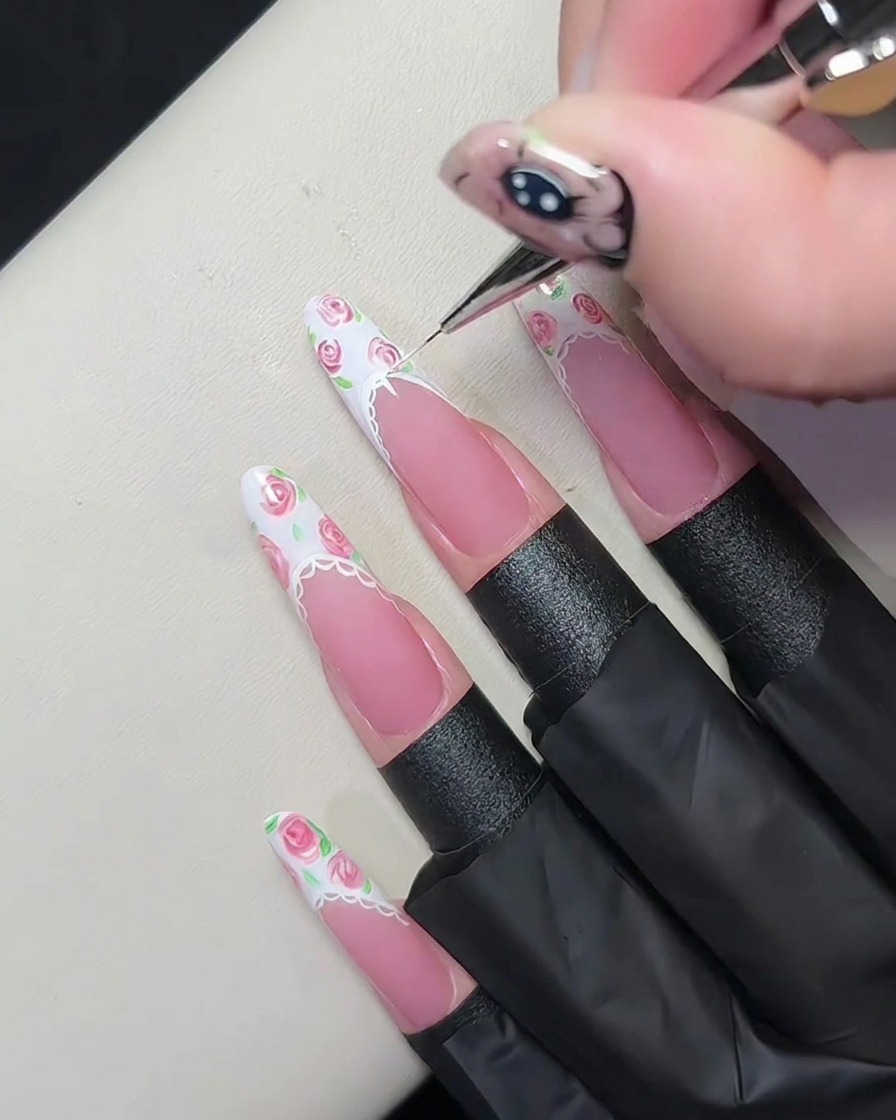
Add small, delicate semi-circles along the previously drawn white outline. Finish the design by placing tiny, precise dots at the peak of each semi-circle to create an authentic lace appearance.
Tip: Vary the pressure slightly to ensure all dots are uniform in size for a professional look.