Vintage Chrome Heart
Lace Nail Art Tutorial
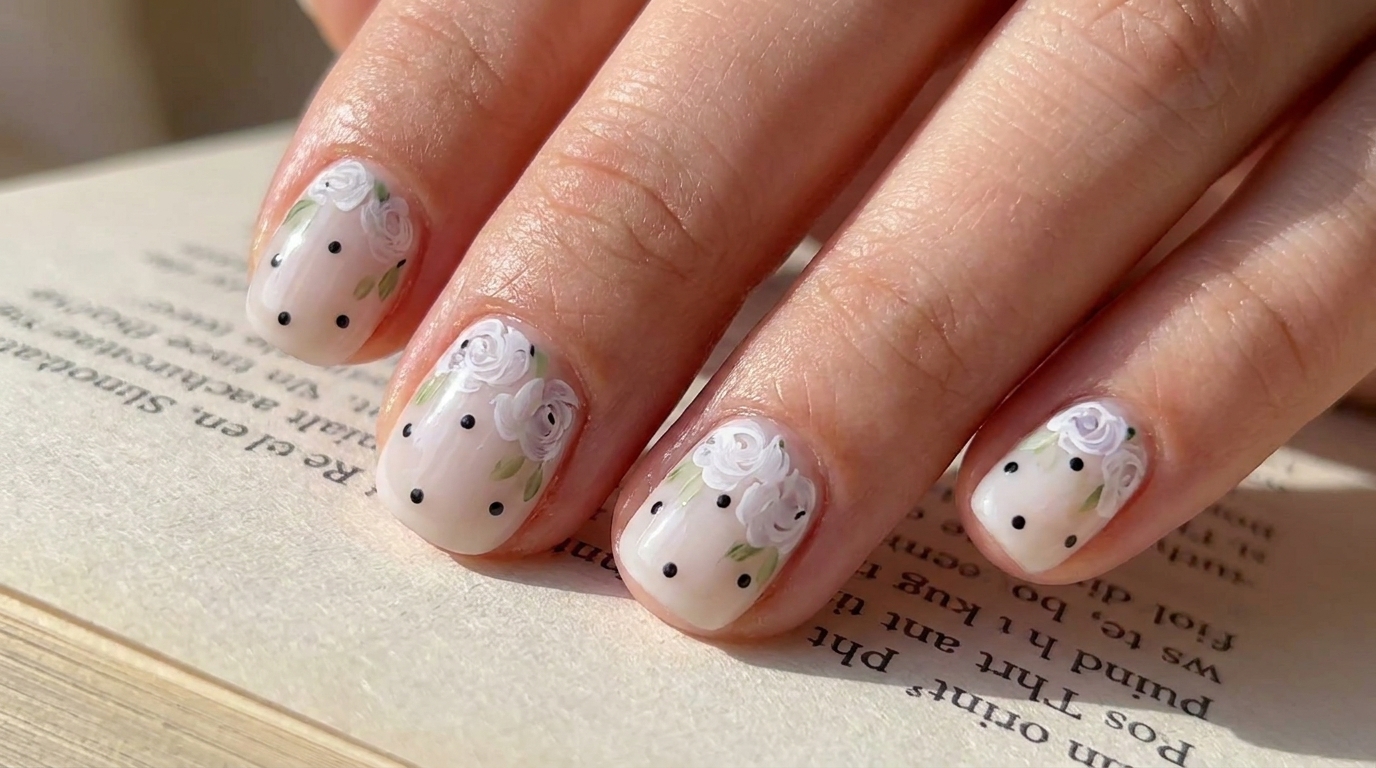
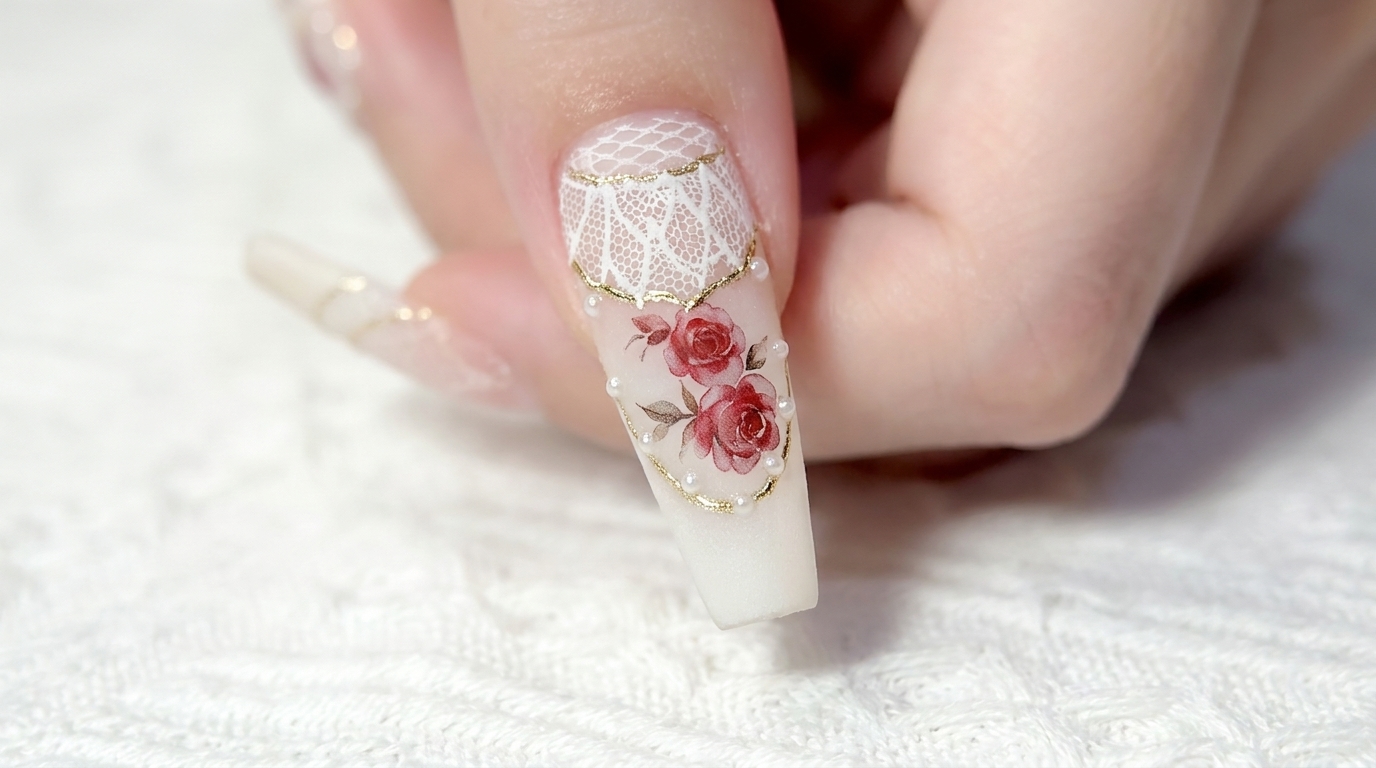
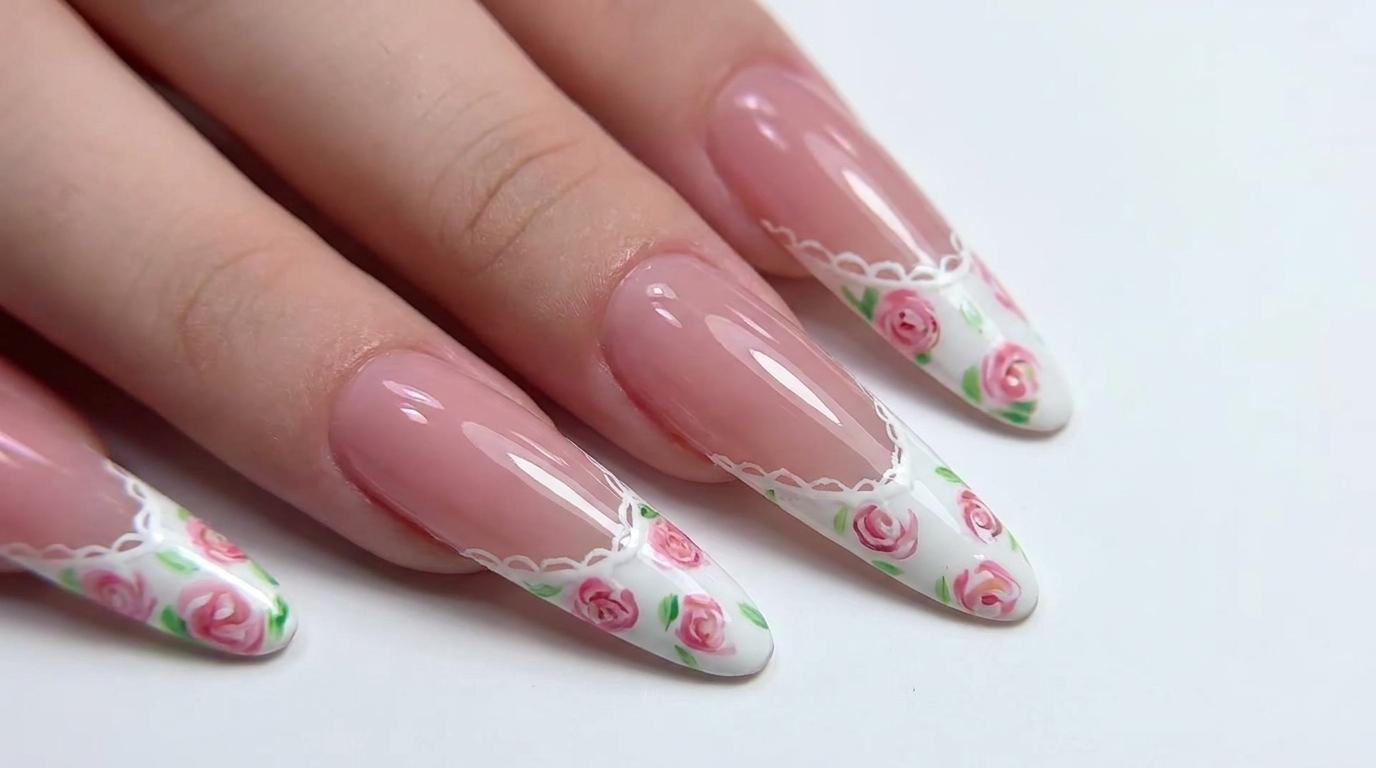
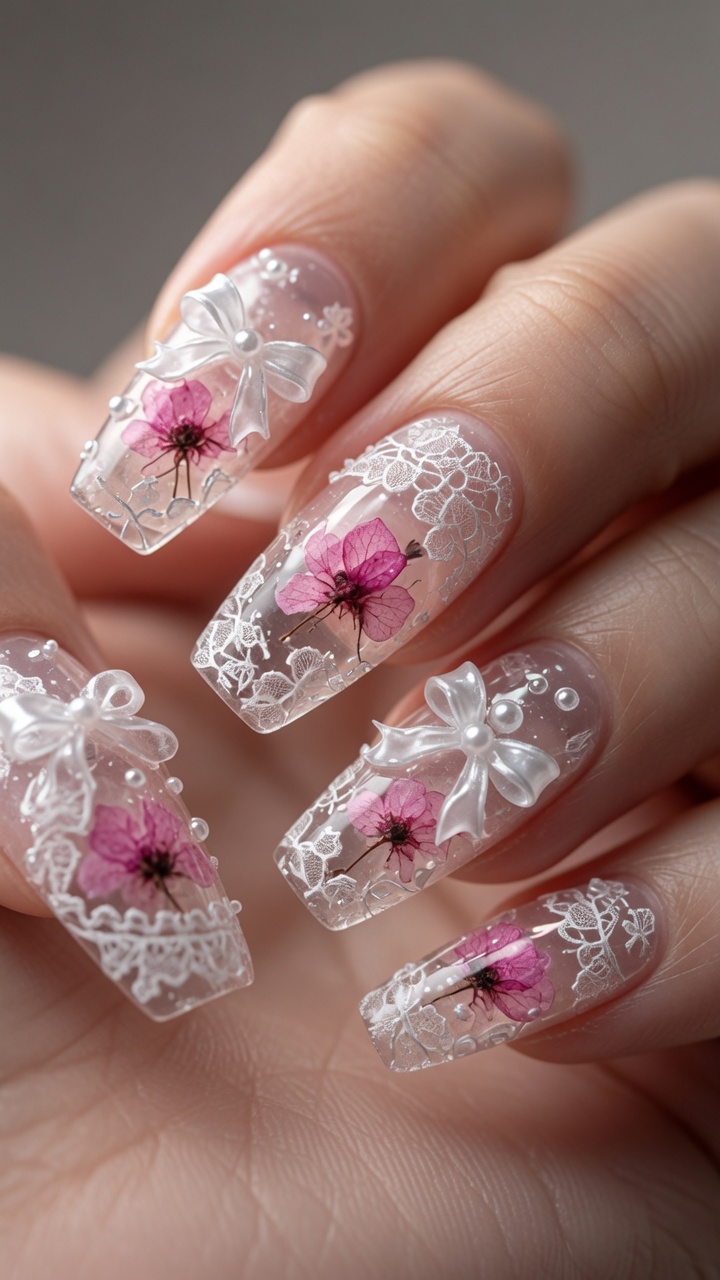
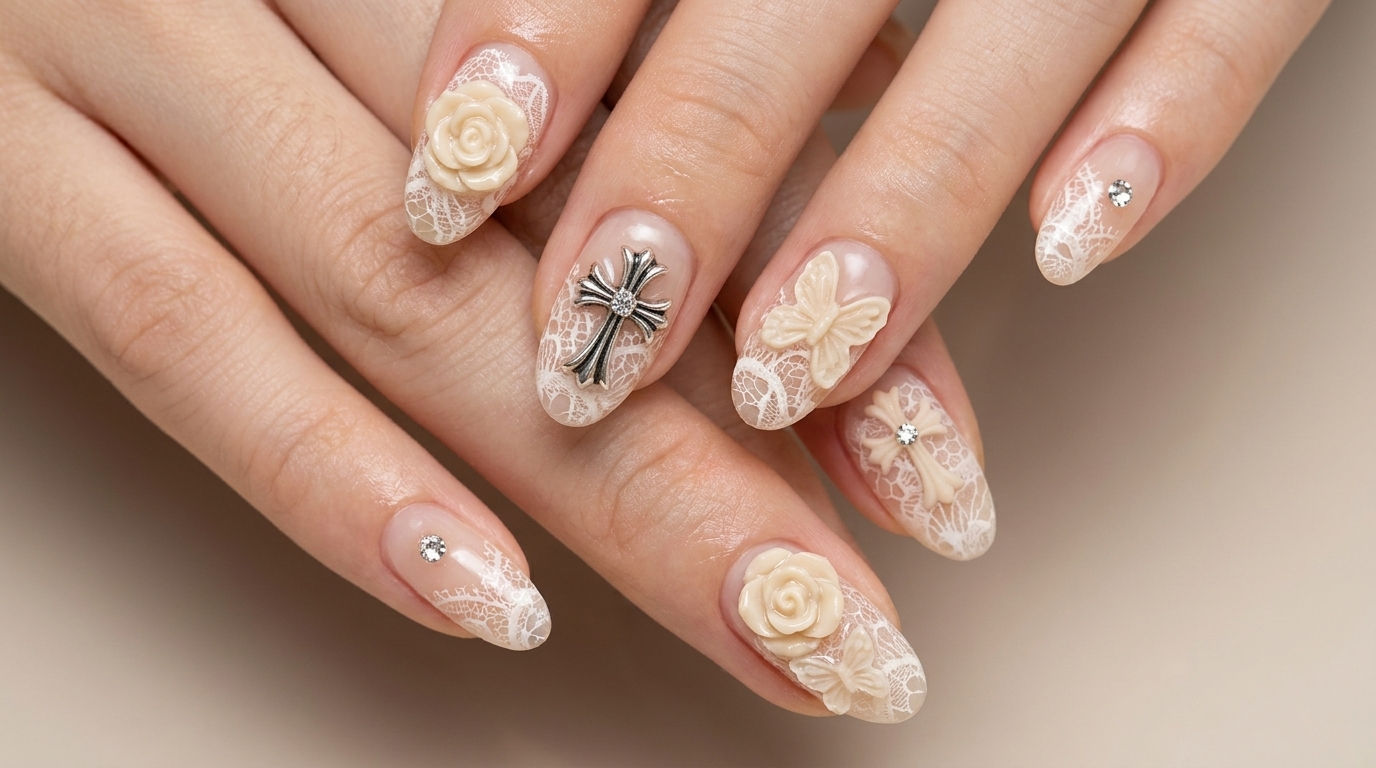
Master this elegant vintage-inspired nail look featuring delicate white lace patterns, 3D embossed roses, and iconic Chrome Heart silver charms.
This vintage Chrome Heart and lace design captures a sophisticated, atmospheric aesthetic that is perfect for anyone who loves intricate detailing. By combining classic lace foil transfers with 3D elements like sculpted roses and metal charms, this look creates a beautiful, moody elegance. It is a stunning choice for those who want to elevate their nail game with a touch of timeless, romantic charm.
Steps
- 1Scrape away dead skin
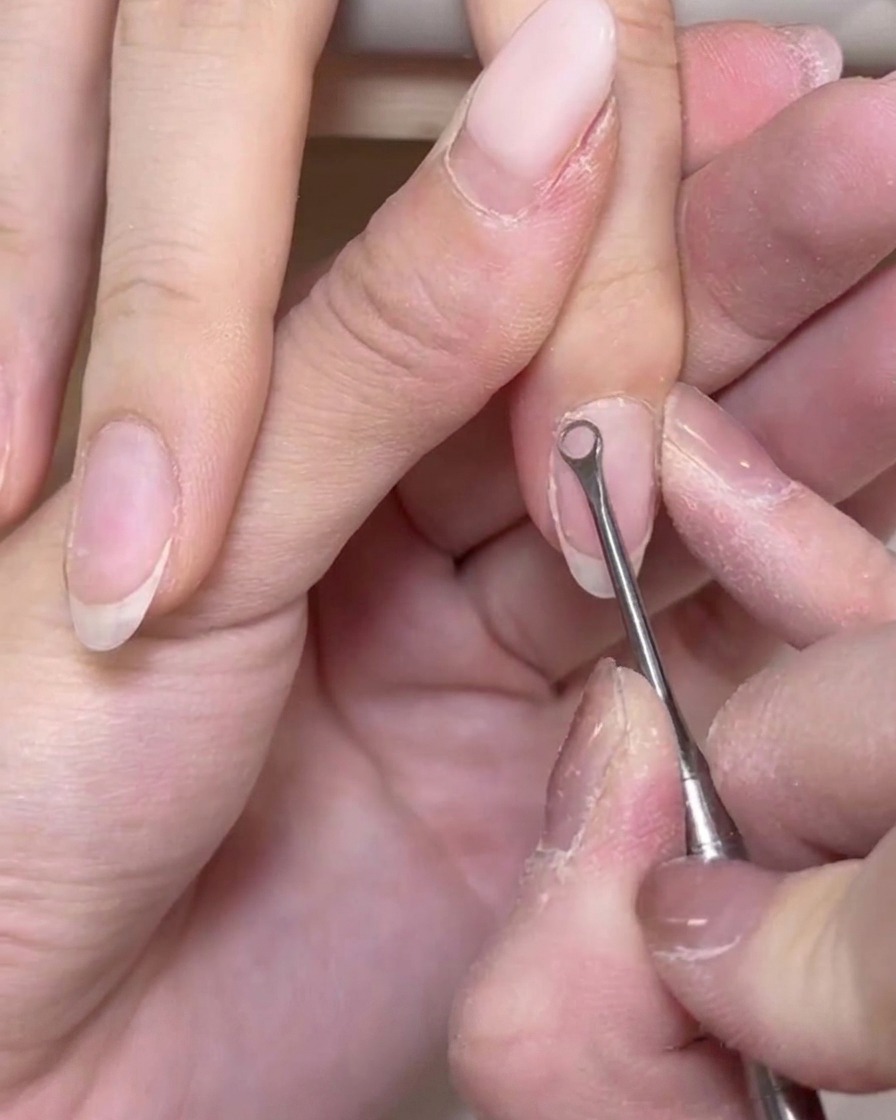
Using a round-shaped steel pusher, gently scrape the surface of the nail plate to remove the white, flaky dead skin. This step ensures the nail surface is clean and prepped for the subsequent application of products.
Tip: Be gentle with the pressure to avoid scratching or damaging the natural nail plate. - 2Open the cuticle area
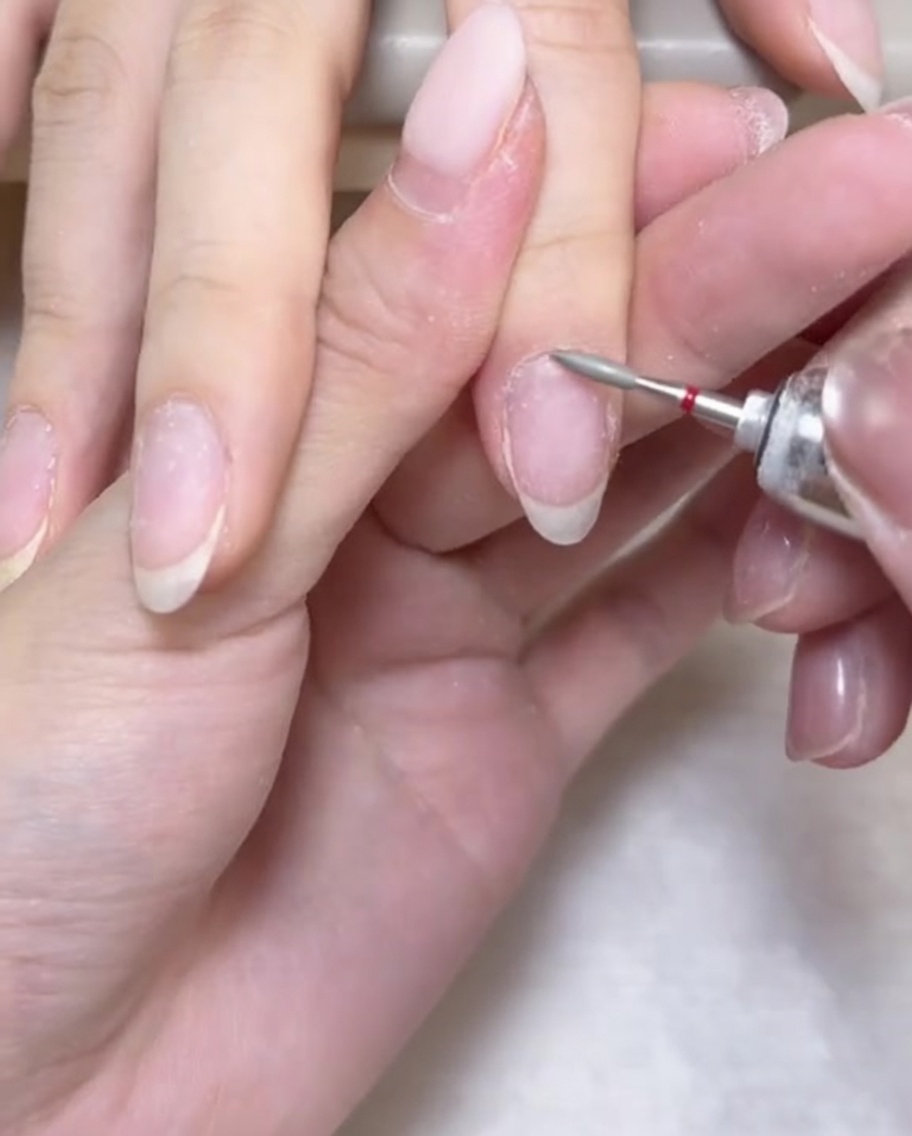
Use a fat flame-shaped drill bit with your e-file to carefully lift and open the cuticle pocket. This creates a clean space for later product application close to the cuticle line.
Tip: Keep the drill bit moving steadily and use a low speed to avoid injury to the delicate skin around the nail. - 3Refine the cuticle area
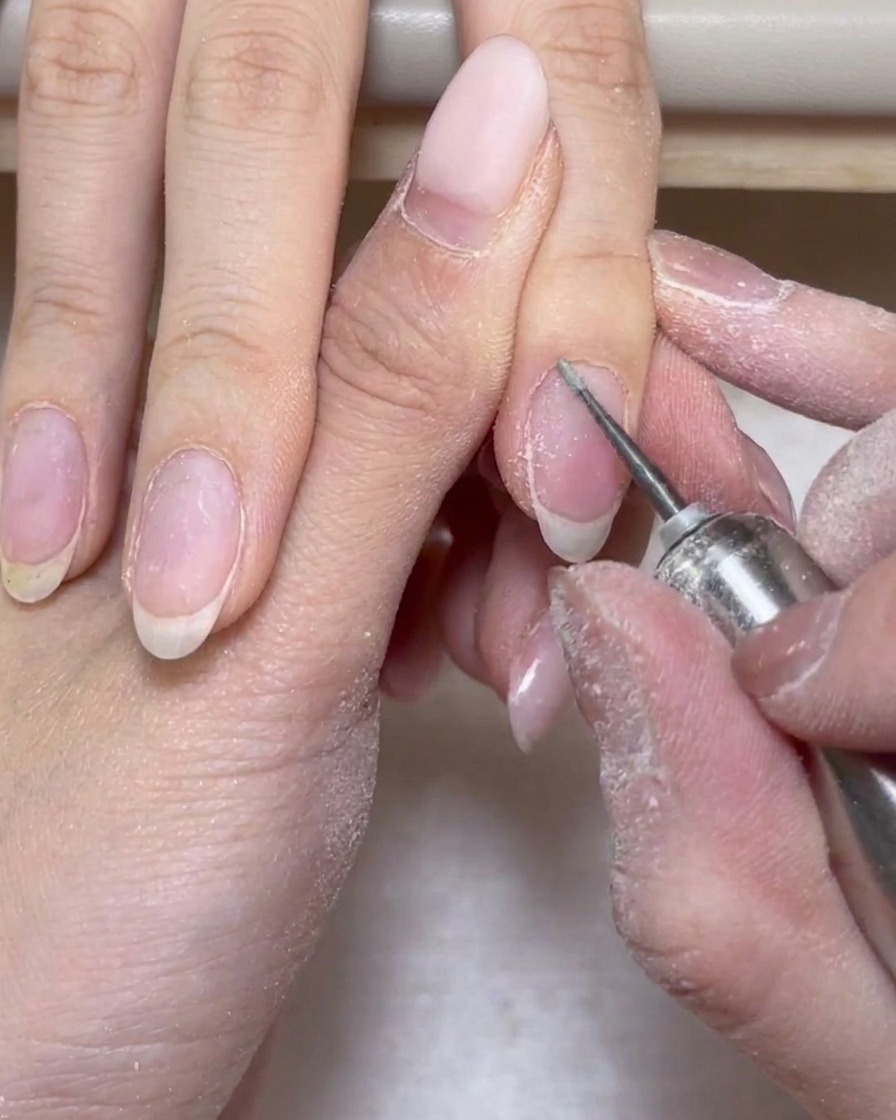
With a flat-head pusher, further clean and refine the cuticle area by gently pushing back any remaining skin and clearing debris. This step helps define the cuticle line for a polished, professional look.
Tip: Ensure the pusher is clean and held at a proper angle to effectively lift debris without pressing too hard into the nail bed. - 4Buff and prepare the nail
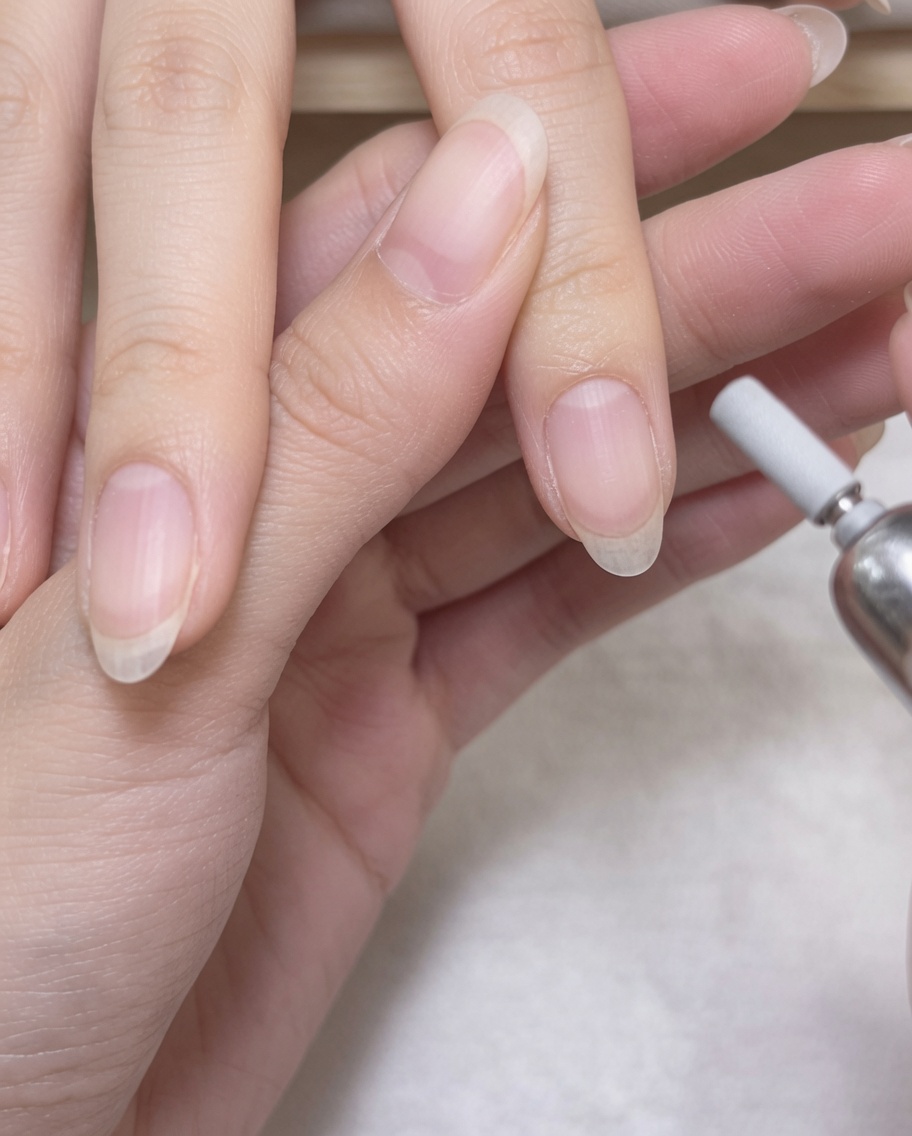
Using a sanding band attachment on your e-file, lightly engrave and buff the surface of the natural nail. This roughens the surface slightly to improve the adhesion of the base coat and subsequent layers.
Tip: Use a light touch to only remove the shine from the nail; avoid over-filing, which can thin the natural nail plate. - 5Trim dead skin
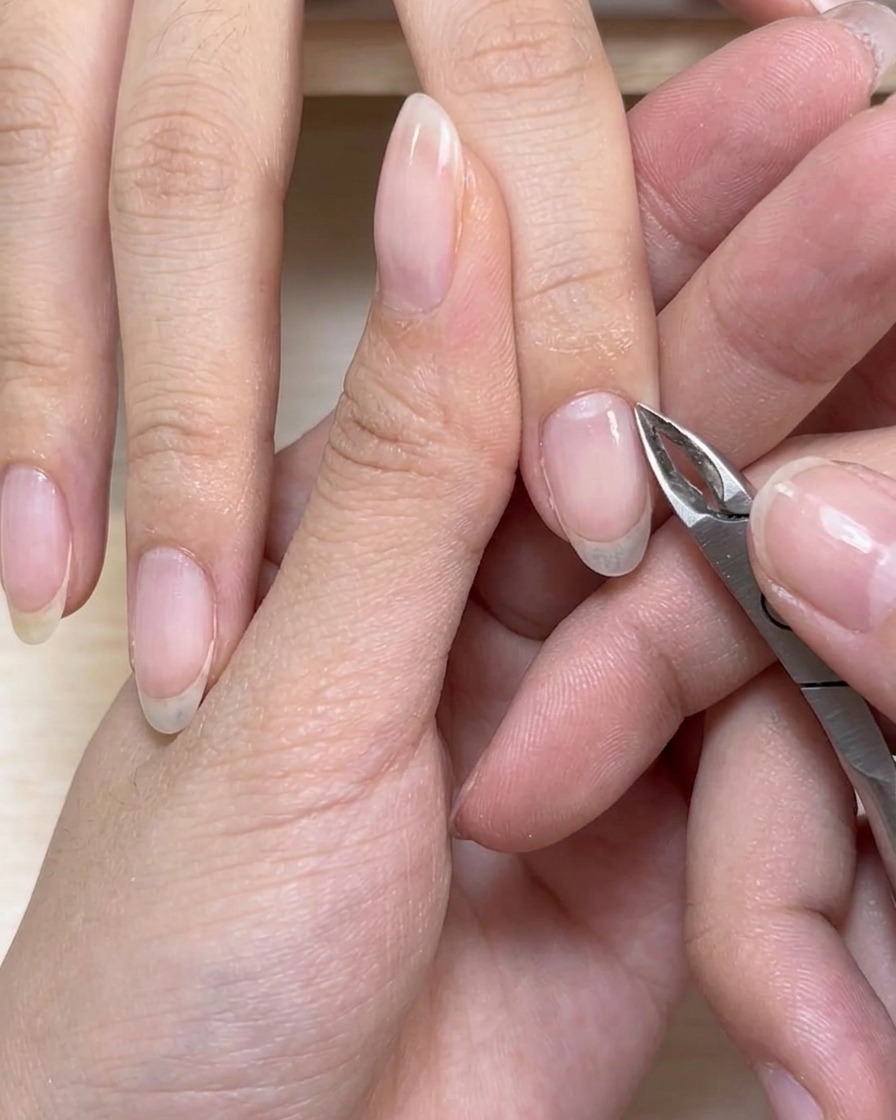
Using sharp cuticle nippers, carefully trim away the excess dead skin that was lifted during the previous steps. This ensures a clean, tidy appearance around the nail contour.
Tip: Only trim what is loose or dead; be extremely careful not to cut into live skin to prevent bleeding or infection. - 6Wet cleaning
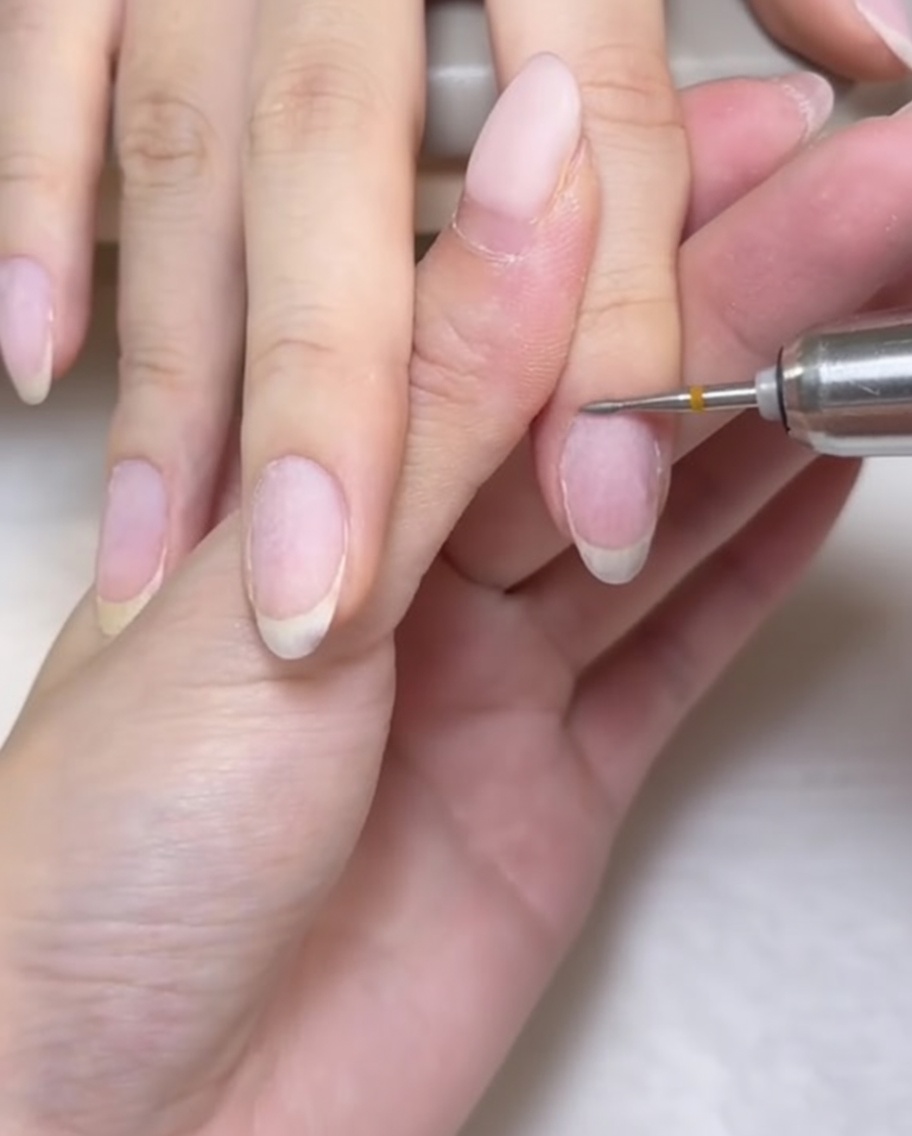
Use a small millet-shaped drill bit to perform a final wet cleaning process around the cuticle. This action removes any remaining fine particles and smooths the area perfectly.
Tip: Keep the drill bit speed controlled and ensure the area remains moist if using a professional wet-cleaning technique. - 7Apply base coat gel
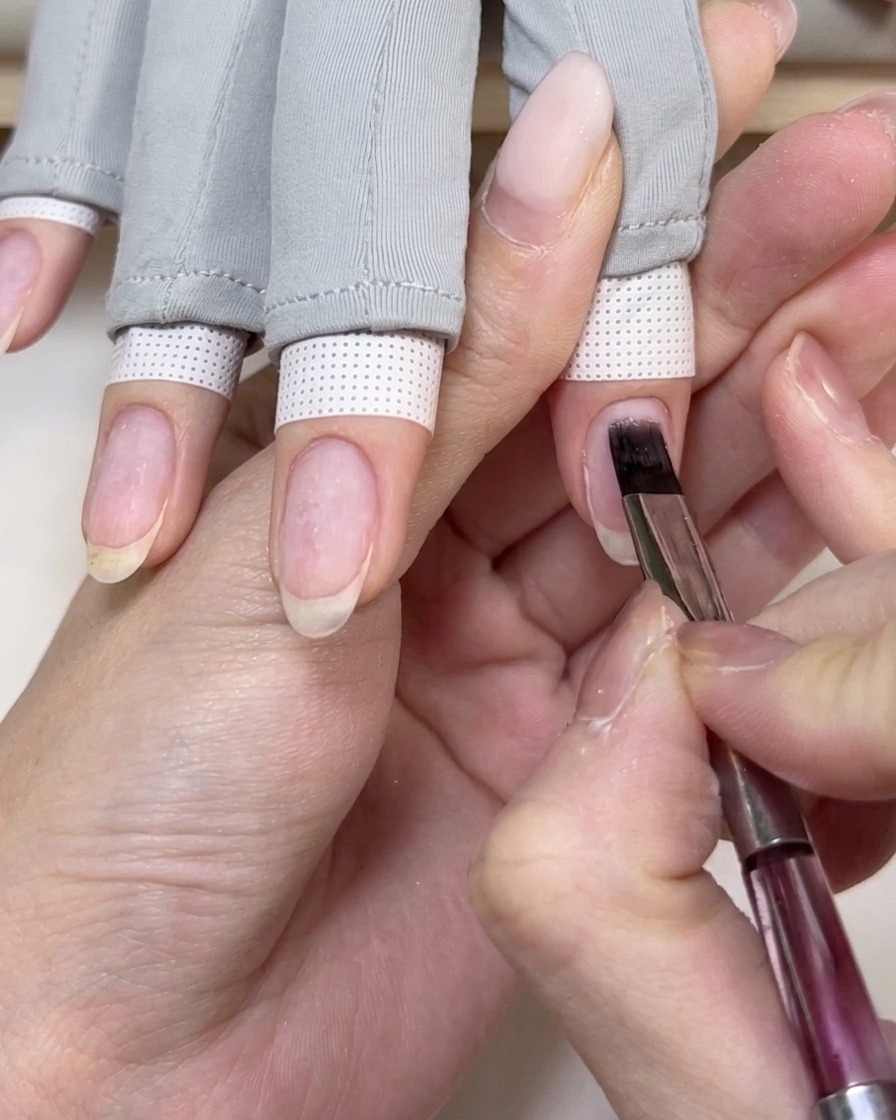
Using a flat gel brush, apply a thin and even layer of base coat to the prepped natural nail plate. Be careful not to flood the cuticles or sidewalls, leaving a tiny margin to prevent lifting, and gently cap the free edge.
Tip: Applying a very thin layer of base coat ensures the best adhesion for the builder gel that follows. - 8Cure the base coat
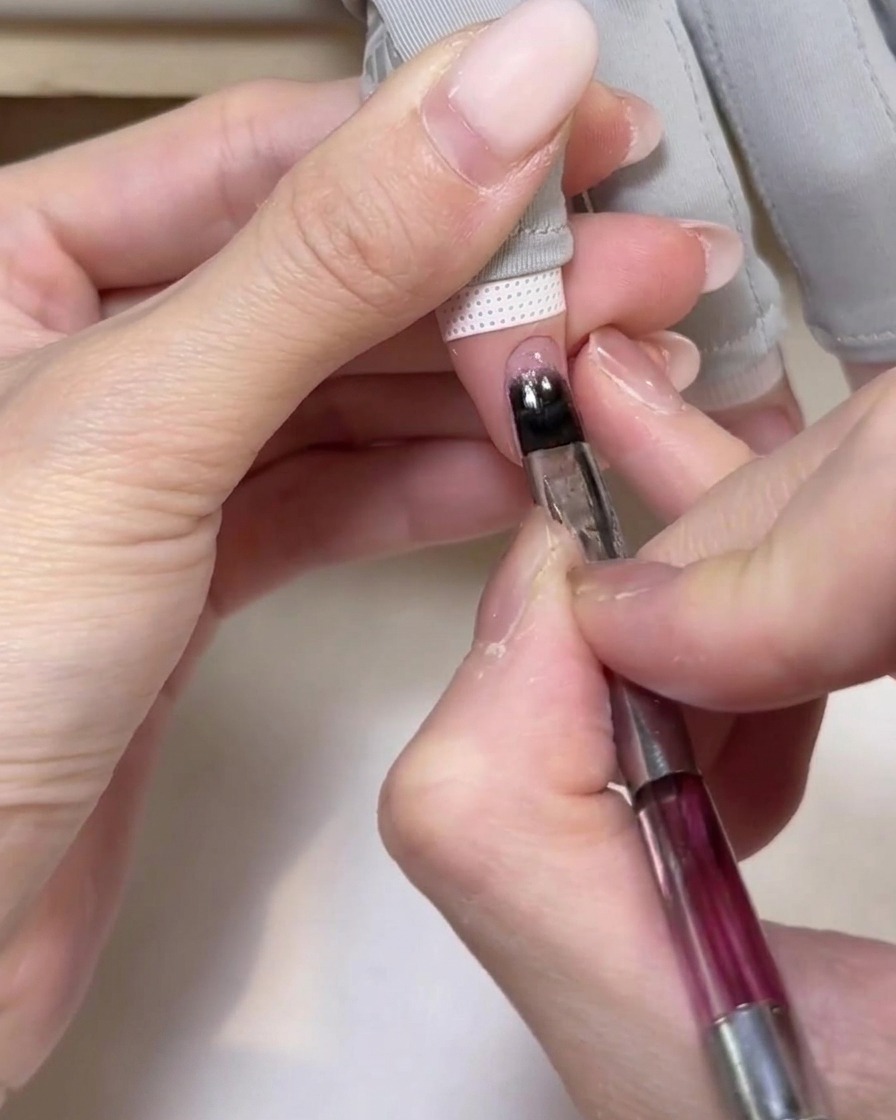
Place your hand under the UV lamp to cure the base coat. Ensure your fingers are positioned correctly to allow even light exposure across the entire nail surface, facilitating a complete cure.
Tip: Keep your hand still during the curing process to prevent the gel from shifting or creating uneven surfaces. - 9Apply colored builder gel
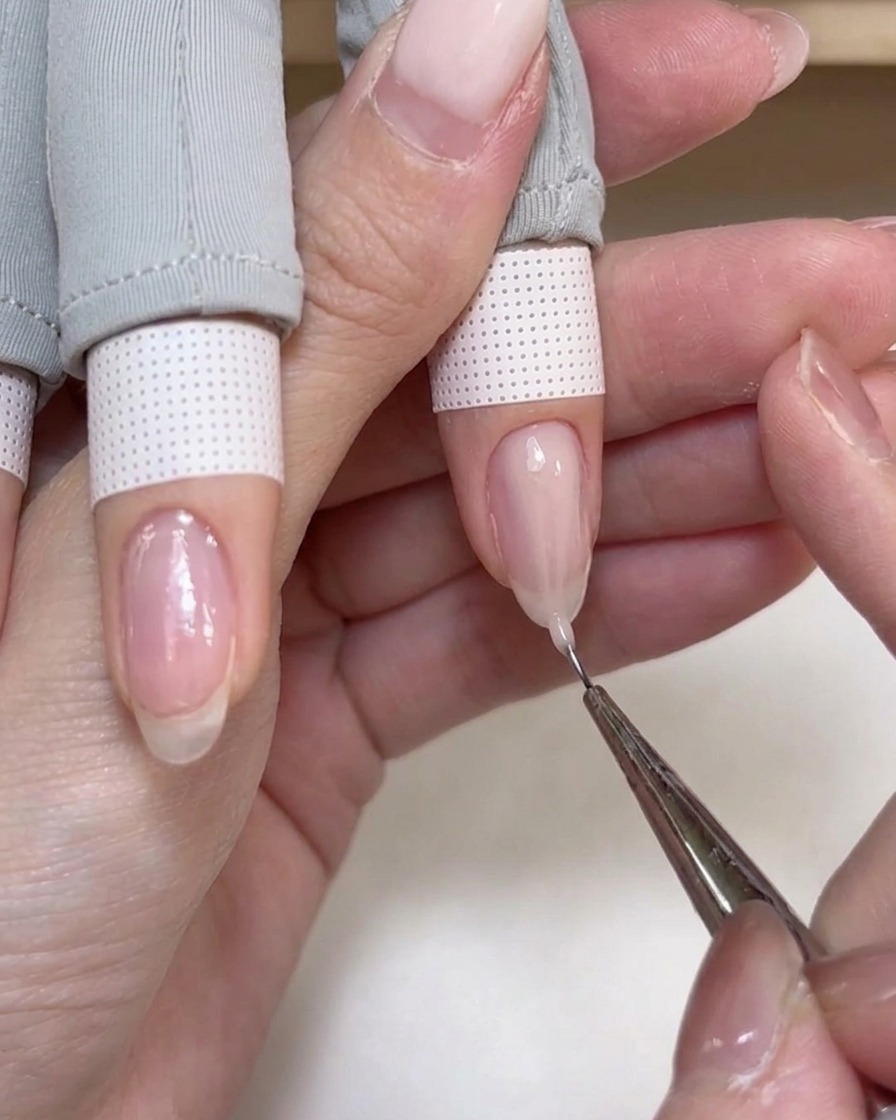
Apply the colored builder gel to the nail to start creating the structure. You can use a fine detail brush to gently pull and guide the gel down toward the free edge, ensuring smooth, even coverage across the entire nail.
Tip: A thin liner brush is excellent for floating the gel over the nail surface without applying too much pressure. - 10Apply second layer of builder gel
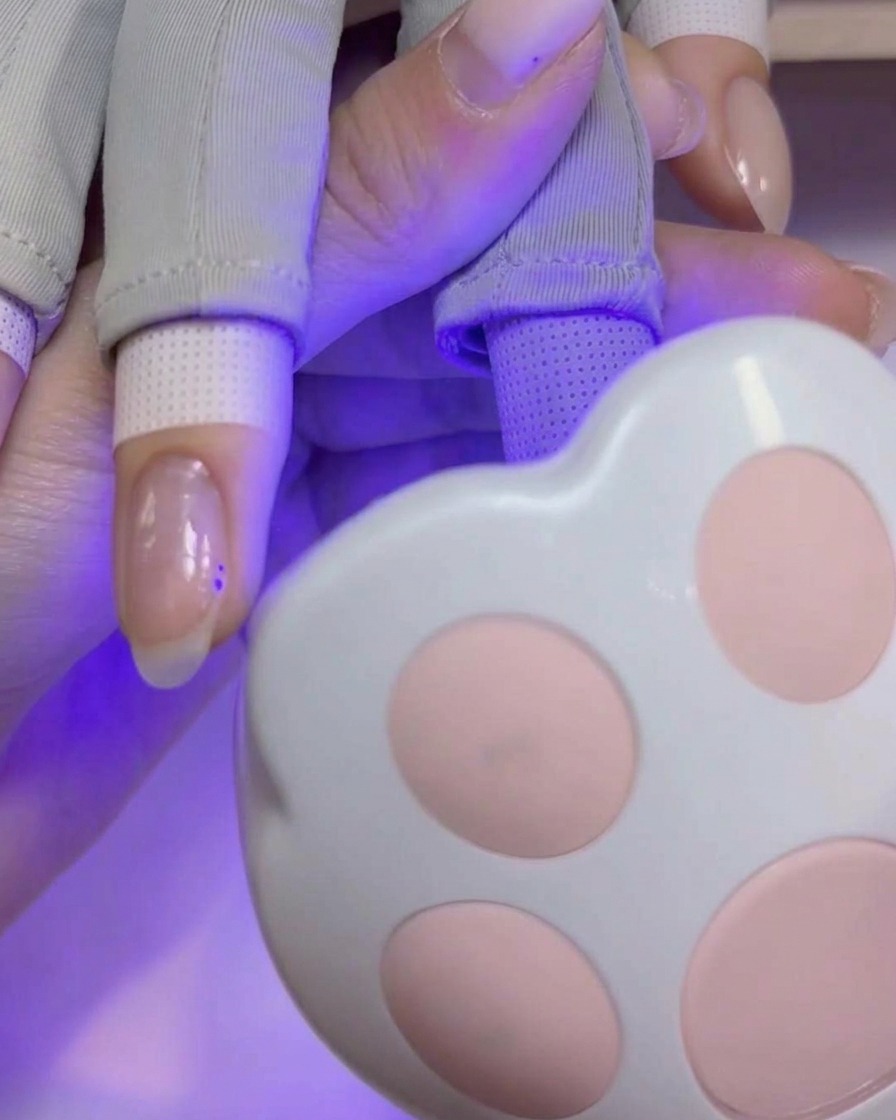
Apply a second, slightly thicker layer of the colored builder gel to build the nail structure and ensure full opacity. Carefully float the gel over the nail to create a smooth, leveled finish without streaks.
Tip: Using a building gel helps add durability and strength to the natural nail while providing a beautiful color. - 11Cure the builder gel
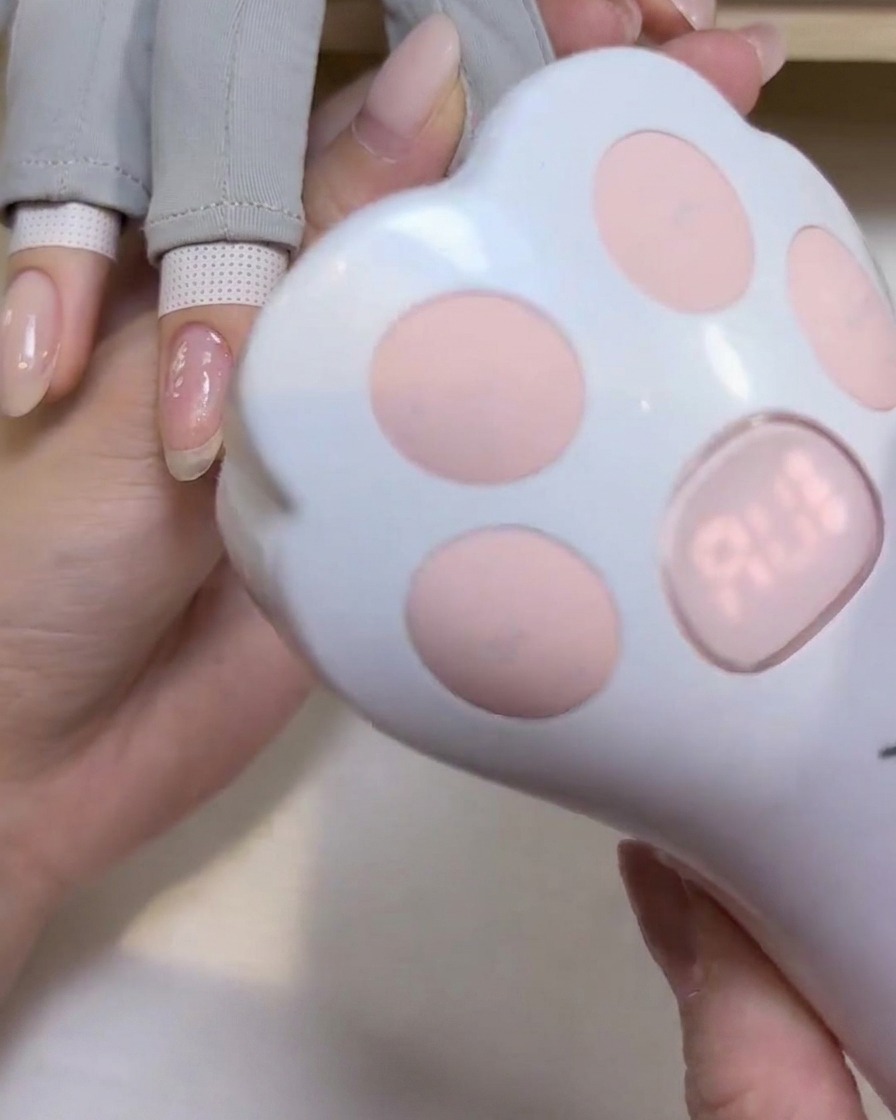
Hold the handheld lamp directly over the nail to cure the colored builder gel structure. Keep the hand steady and allow the light to fully penetrate the gel for the required time until it is completely set.
Tip: A handheld lamp is highly convenient for flash-curing individual nails to freeze the gel in place before it shifts. - 12Apply transfer gel
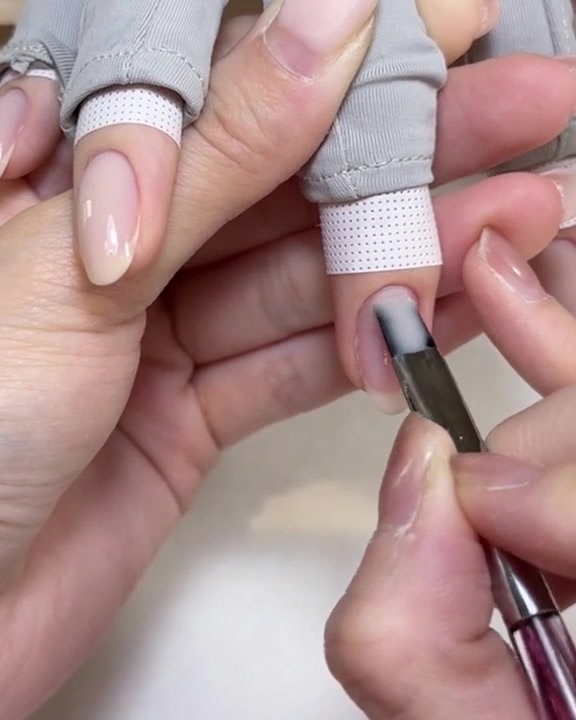
Brush an even layer of transfer gel over the cured builder gel surface. This layer acts as an adhesive base that will grab onto your chosen nail art patterns, like the vintage lace and rose designs, in the next step.
Tip: Make sure the transfer gel is applied evenly without any dry spots, as missed areas will result in an incomplete foil transfer. - 13Apply rose pattern foil
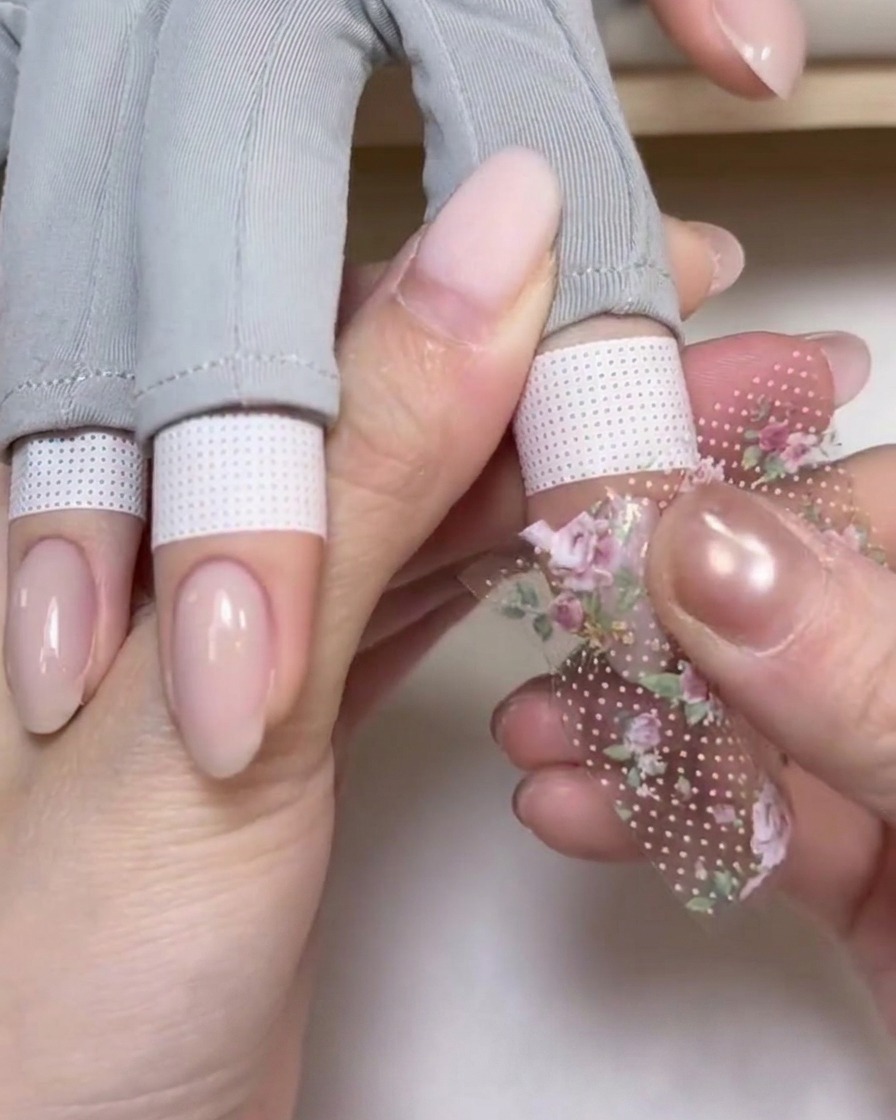
Take the rose pattern foil and apply it over the transfer gel on the nail. Press down firmly across the entire design, ensuring complete contact with the nail surface, then peel back the backing to reveal the transferred pattern.
Tip: Firm, even pressure is key to getting a clean, crisp transfer of the pattern from the foil to the nail. - 14Apply lace pattern foil
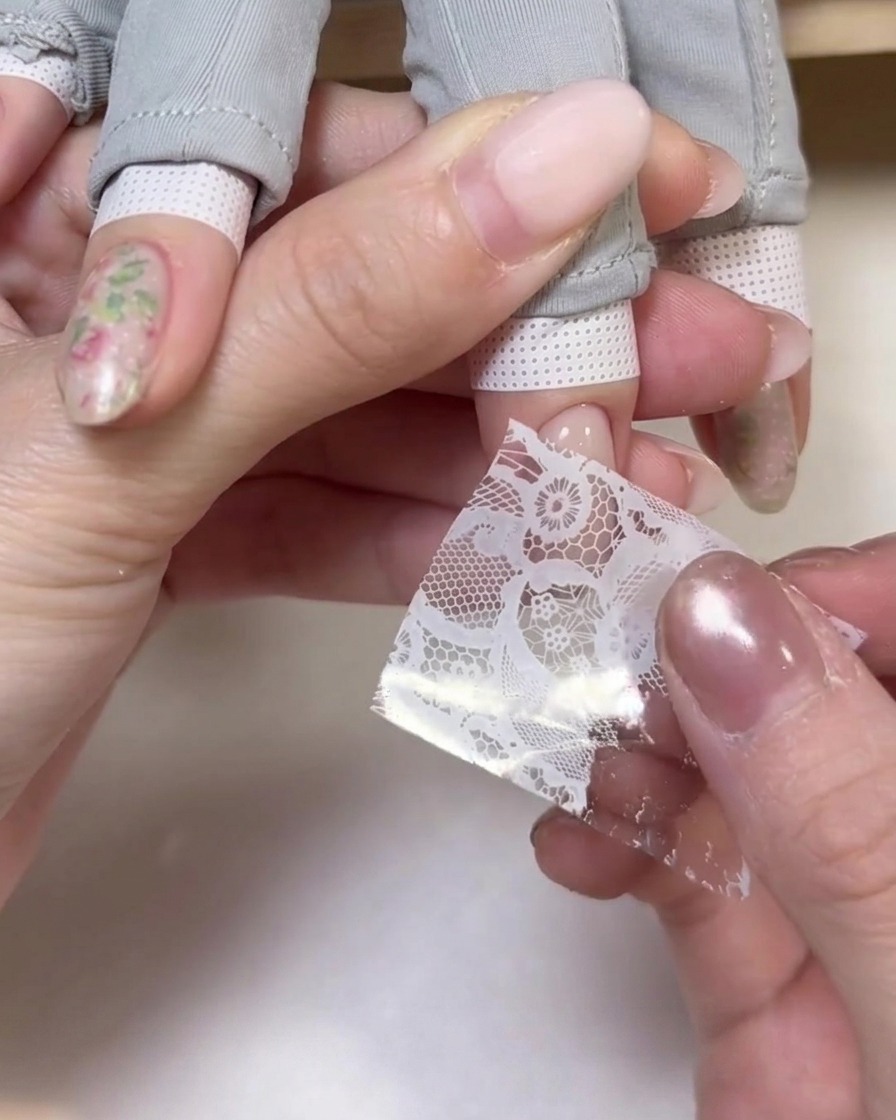
Place the delicate lace pattern foil onto the nail and press it down firmly to ensure the intricate design adheres well. Smooth out any air bubbles while pressing to achieve a perfect transfer of the lace detail.
Tip: Layering patterns like lace over a base color creates a sophisticated, vintage-inspired look. - 15Apply top coat
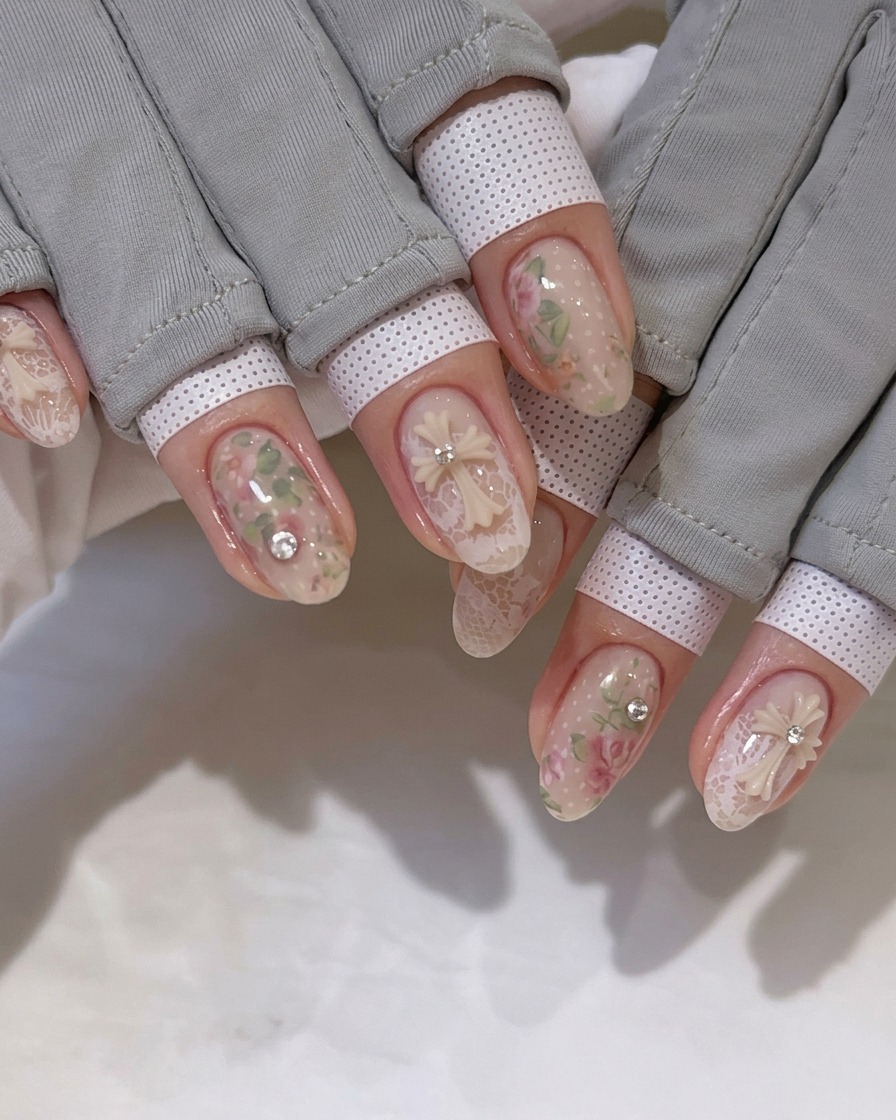
Apply a generous layer of top coat over the entire nail to seal in the transferred lace and rose patterns. This step protects the nail art, prevents chipping, and adds a beautiful, glossy, or matte finish to your design.
Tip: Be sure to cap the free edge of the nail with your top coat to ensure the design remains secure and prevents edge wear.