Spring Pastoral Oil Painting Rose Nail Art — Step-by-Step Tutorial
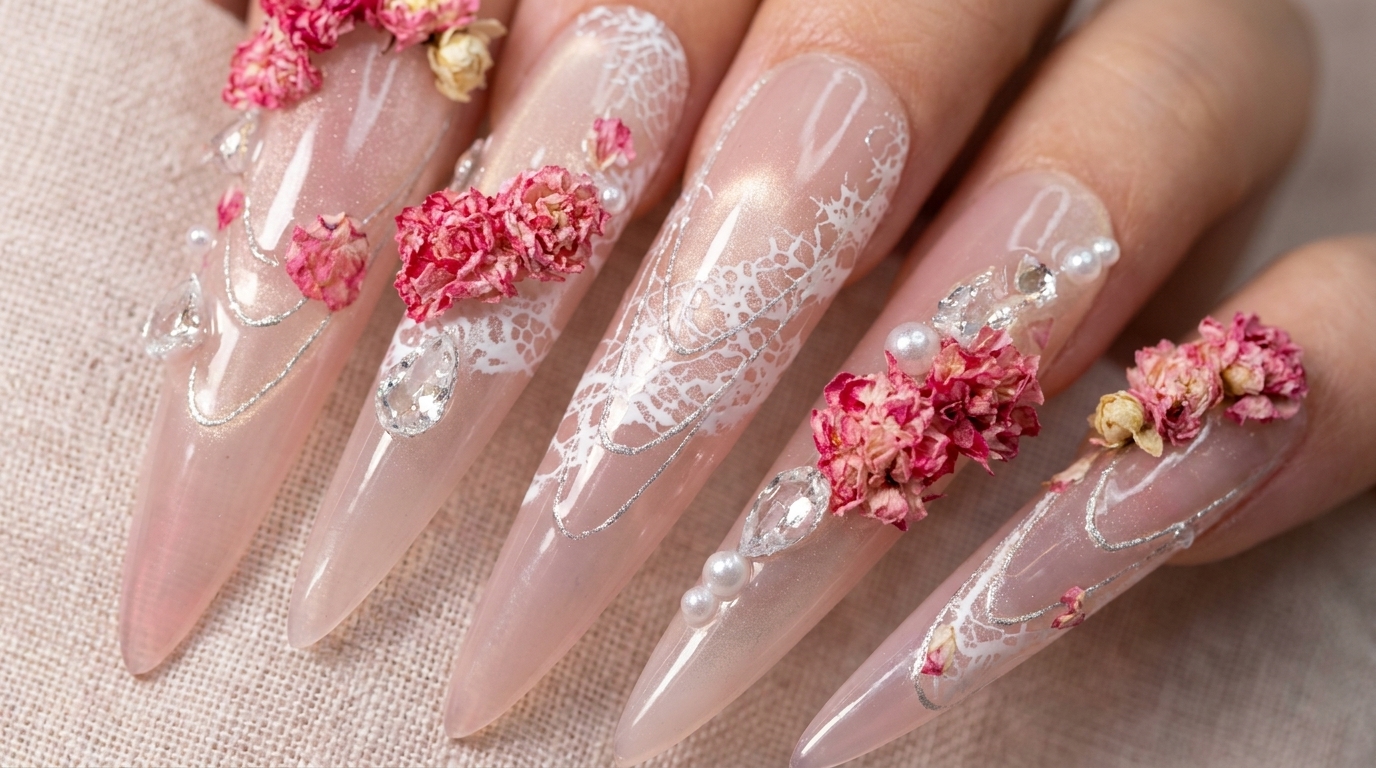
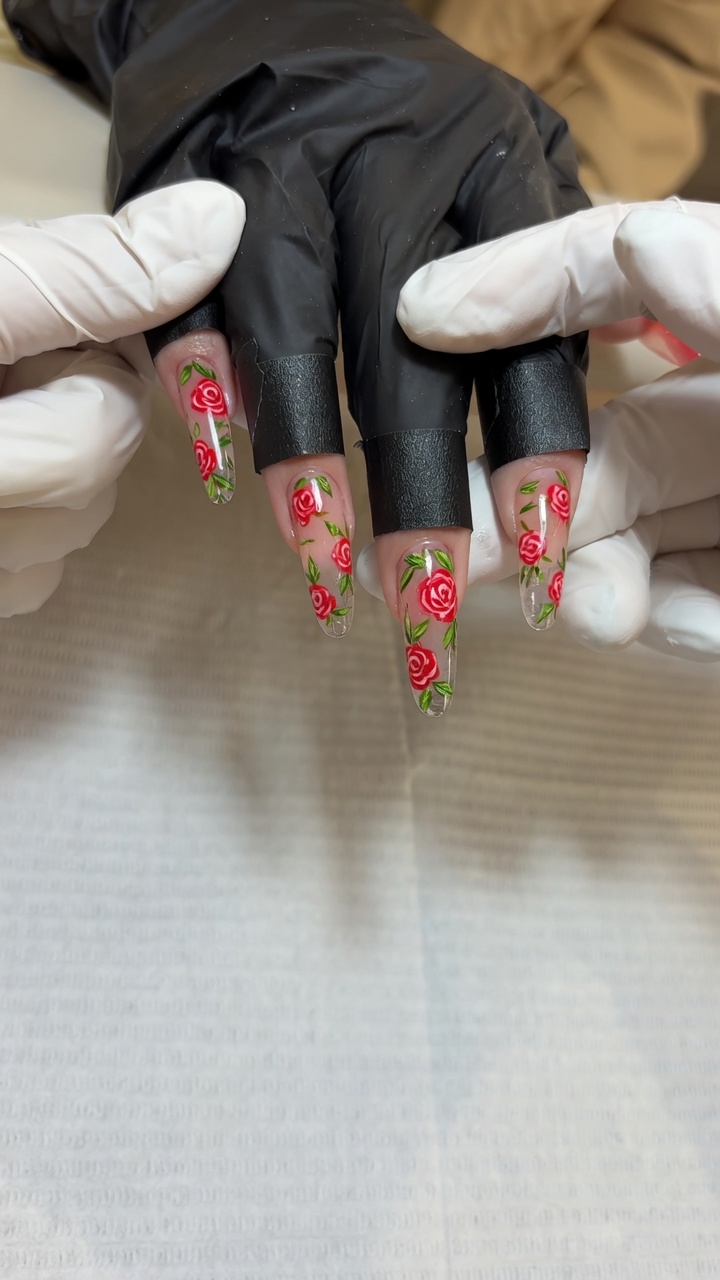
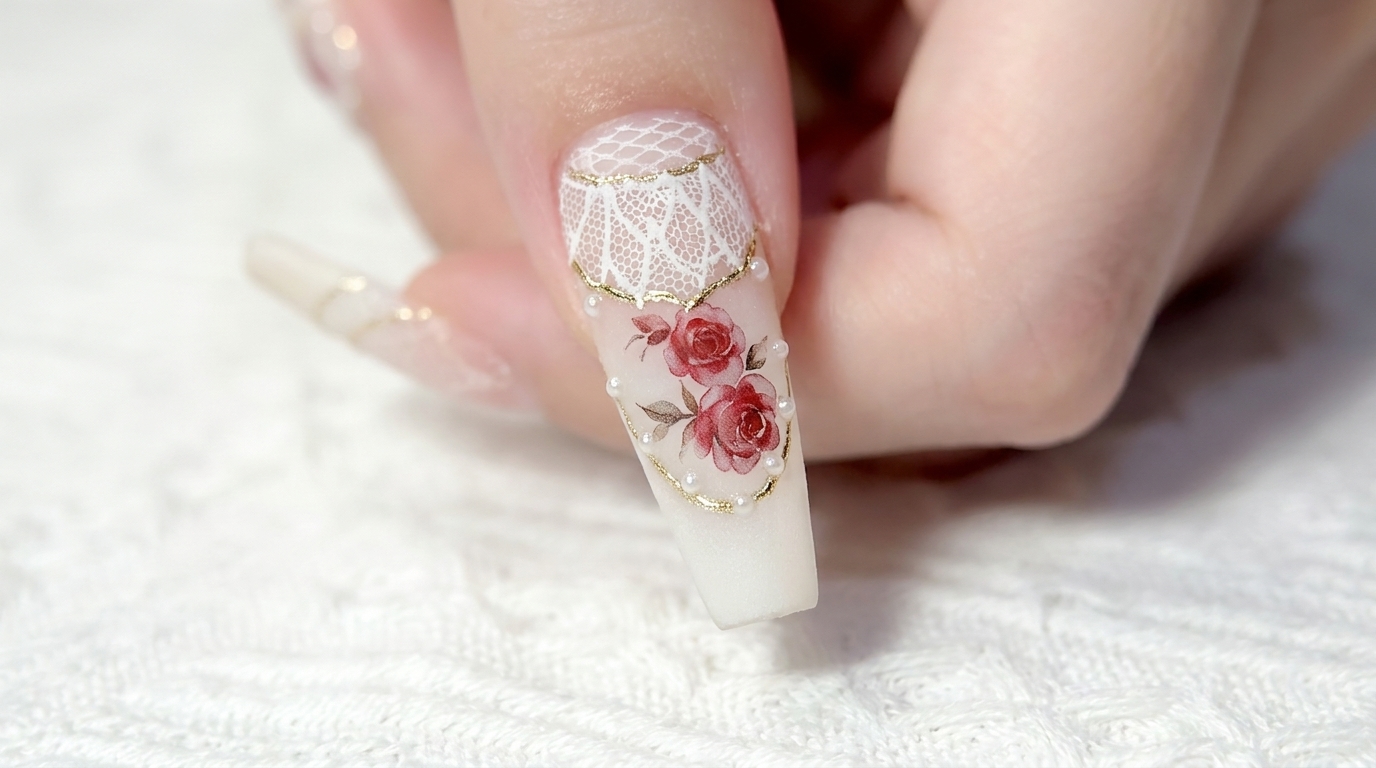
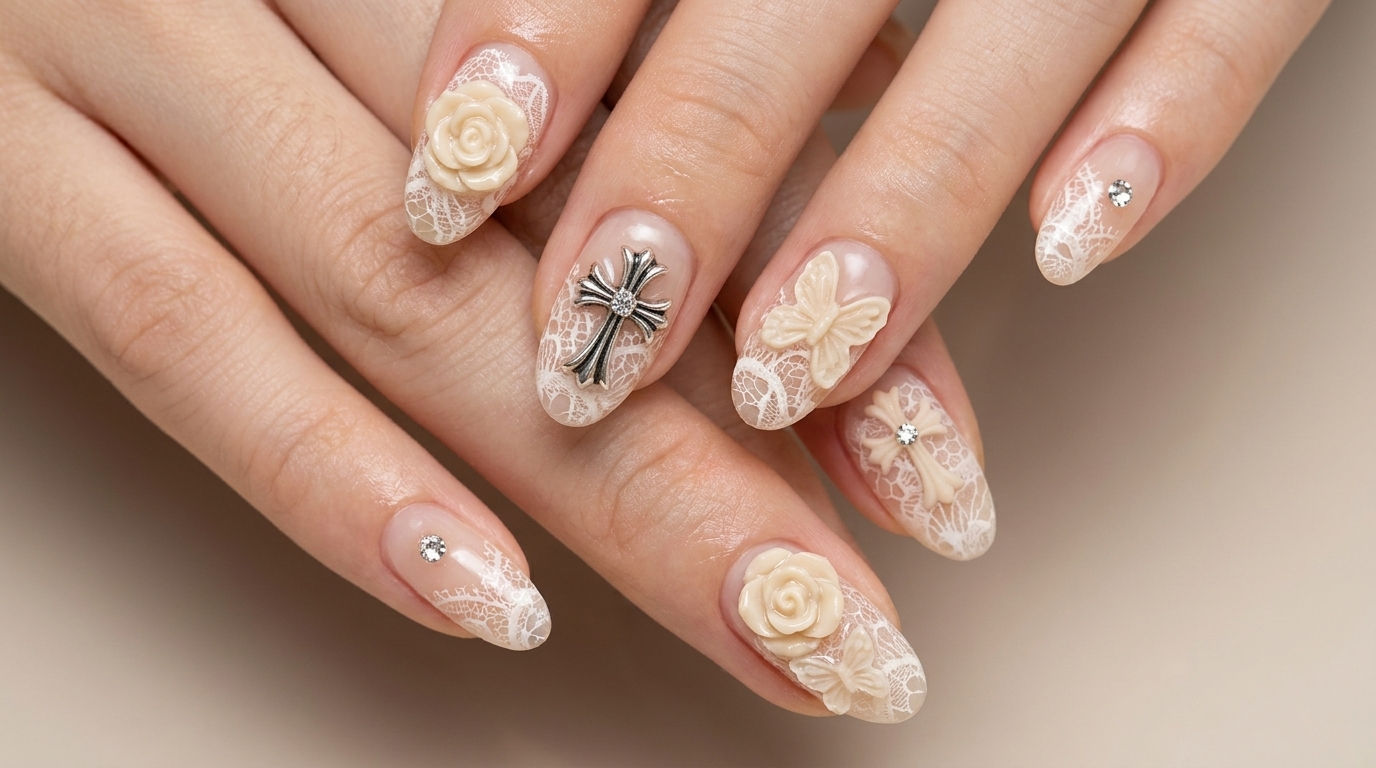
Create dreamy, garden-inspired nails with this pastoral rose design. Featuring a milky base, playful polka dots, and delicate hand-painted floral accents.
Embrace the essence of spring with this charming pastoral rose nail look. By layering white, purple, and green oil-painting gels over a classic polka dot base, you can achieve a soft, artistic aesthetic. The technique uses negative space to ensure the intricate rose petals remain light, airy, and beautifully defined.
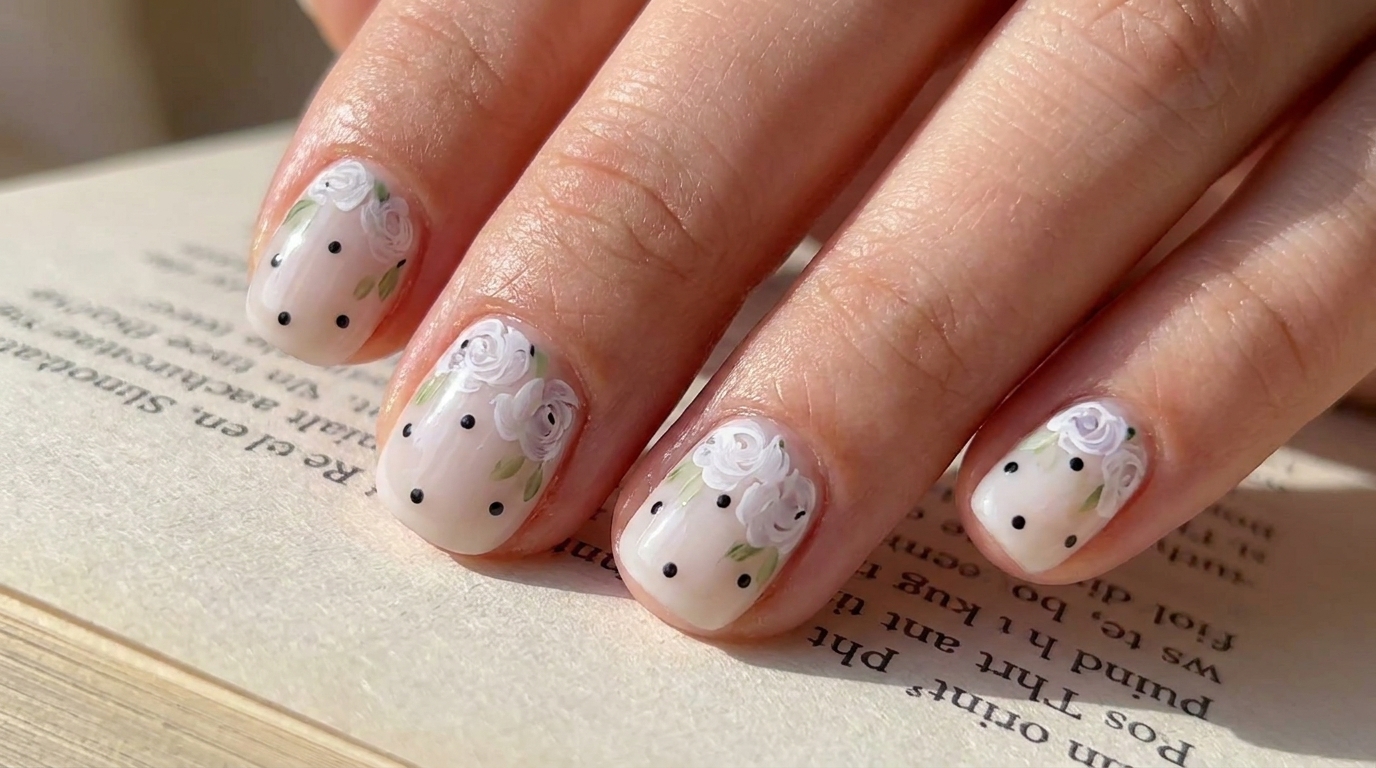
Steps
- 1Apply black polka dots
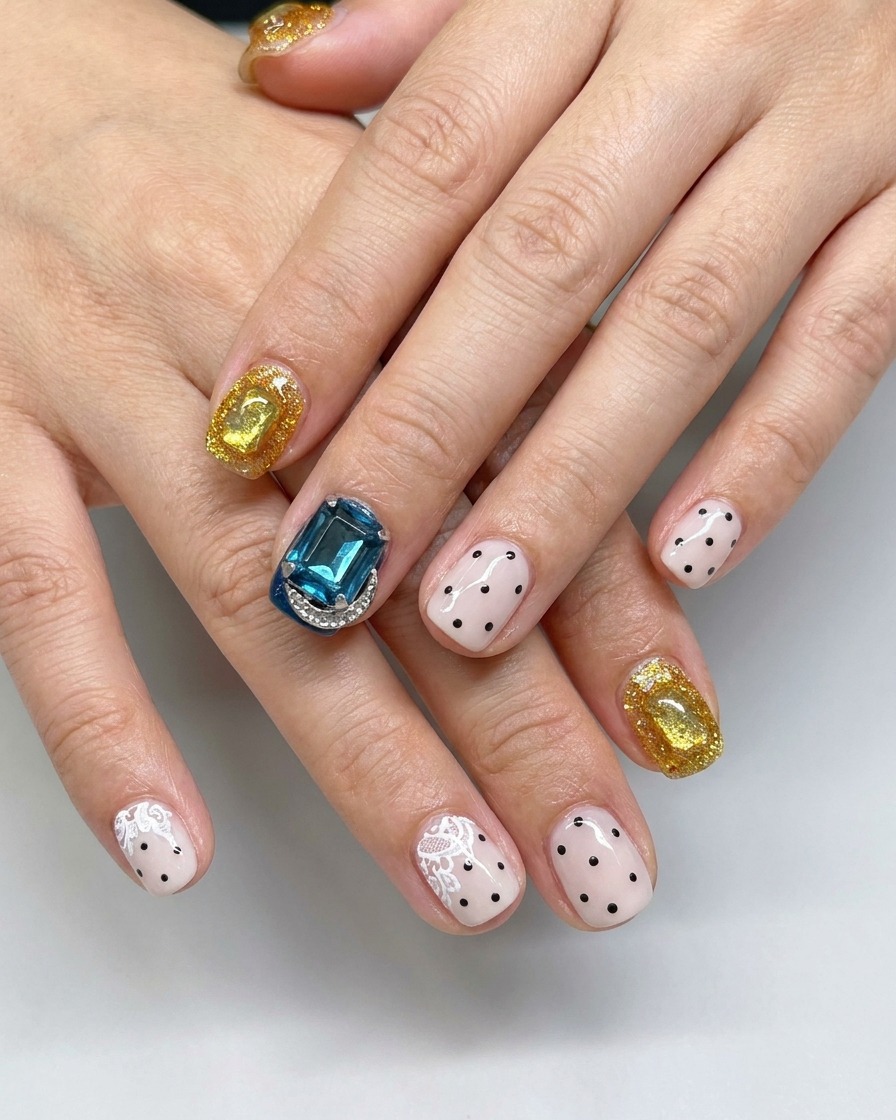
Using a fine detail liner brush, carefully apply small, evenly spaced black dots onto the cured milky white base gel. Ensure the dots are distributed naturally across the nail surface to create the desired pattern.
Tip: Keep a light touch to ensure the dots are uniform in size and shape. - 2Apply top coat
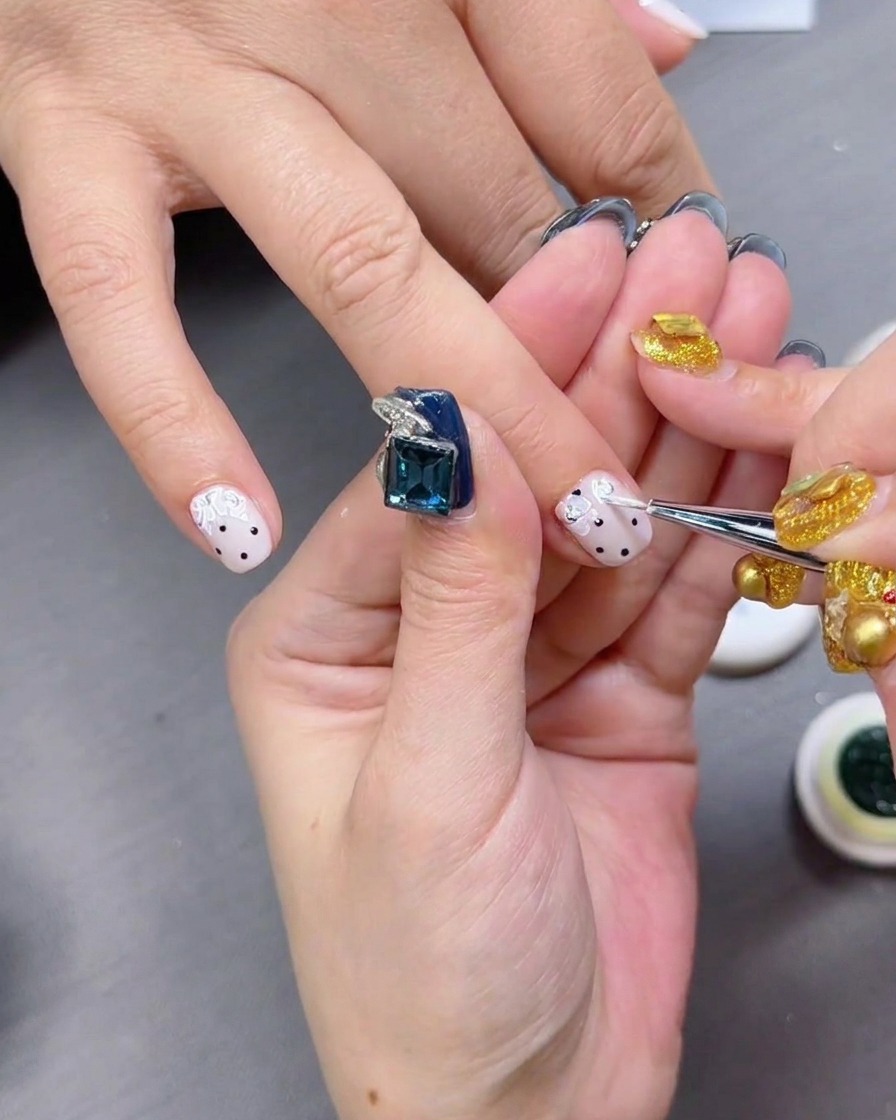
Apply a layer of glossy top coat over the base color and polka dots. This creates a smooth, leveled surface, making it easier to paint the floral nail art on top without catching on the texture of the dots.
Tip: Apply in thin strokes to keep the surface perfectly level for the subsequent art. - 3Paint rose base petals
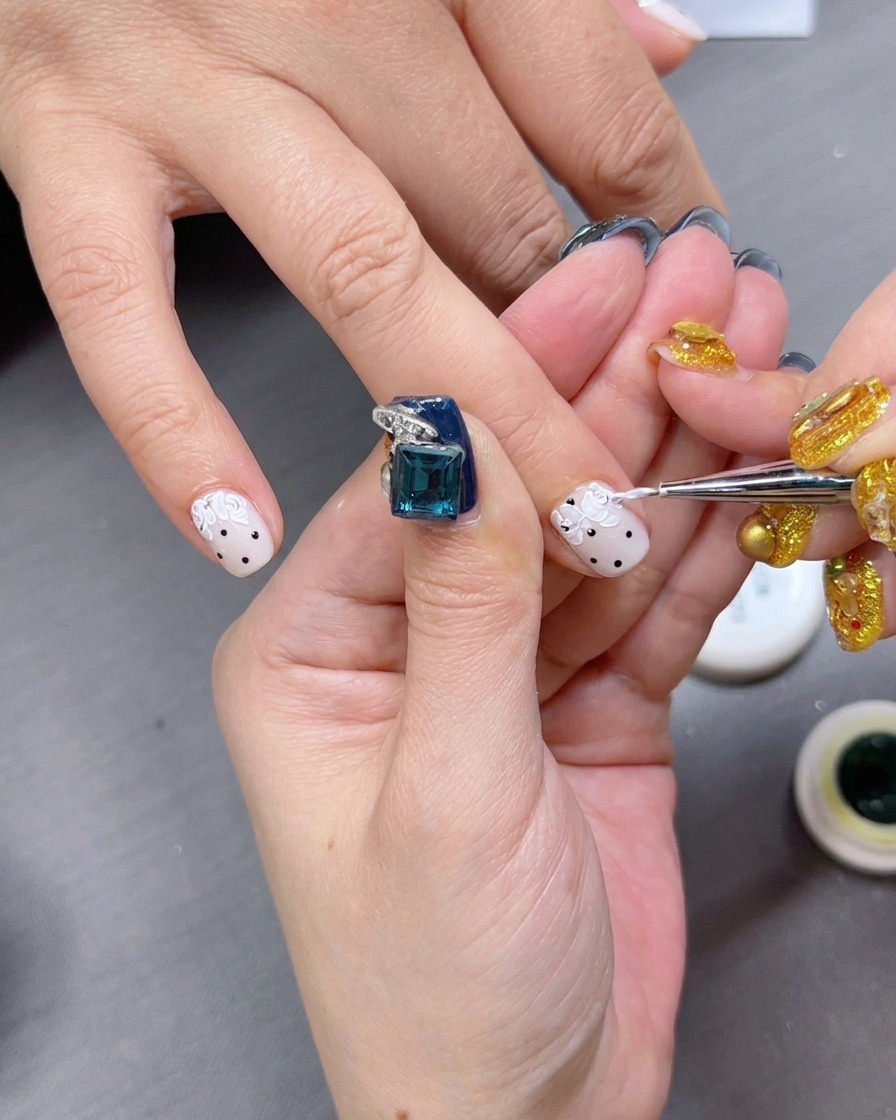
Using a fine brush, pick up a small amount of creamy white oil-painting gel. Begin painting irregular parenthesis-like shapes to form the structural base of the rose petals on the nail.
Tip: Use a light, sweeping motion to mimic the delicate structure of rose petals. - 4Add depth with purple gel
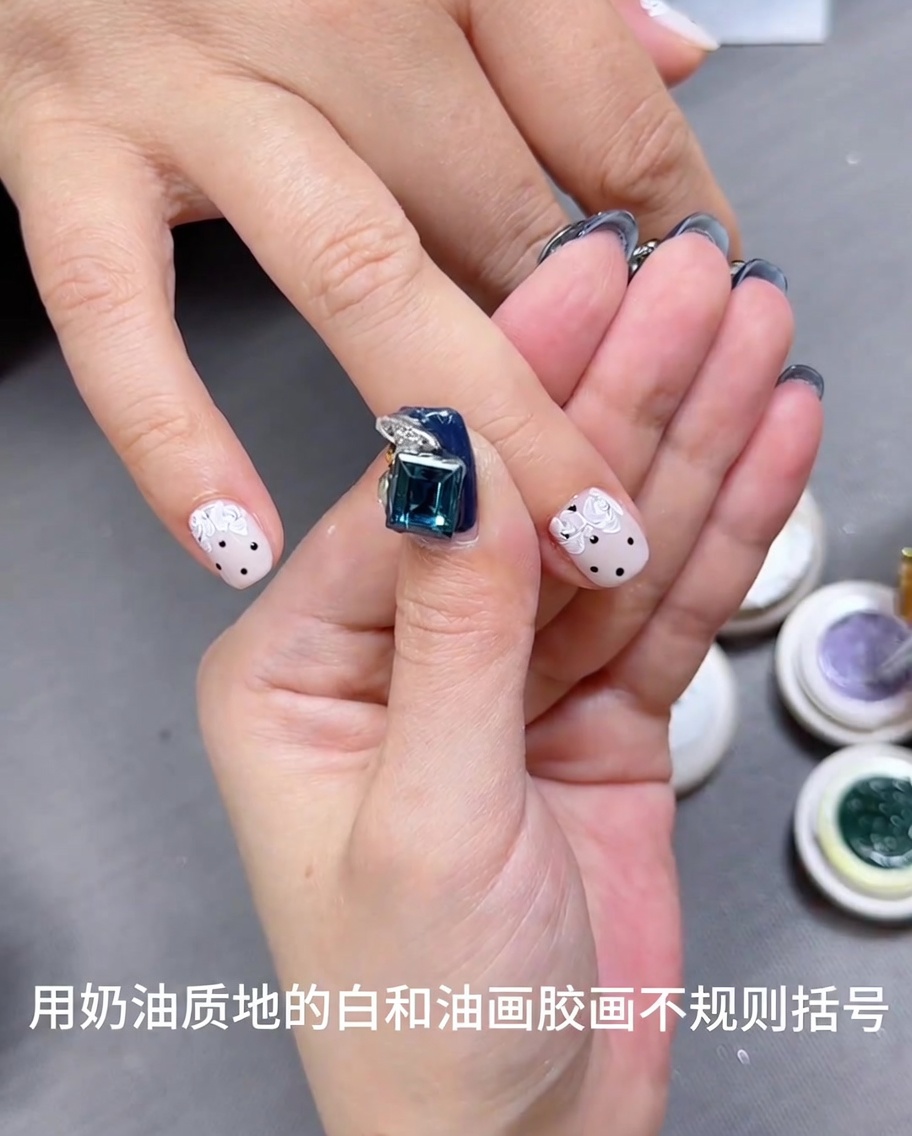
Apply delicate accents of purple gel onto the previously painted white petal shapes. This layering technique adds visual depth and dimension to the roses, making the floral design look more realistic.
Tip: Apply sparingly to the centers or edges of the petals to enhance the 3D effect. - 5Add green leaves
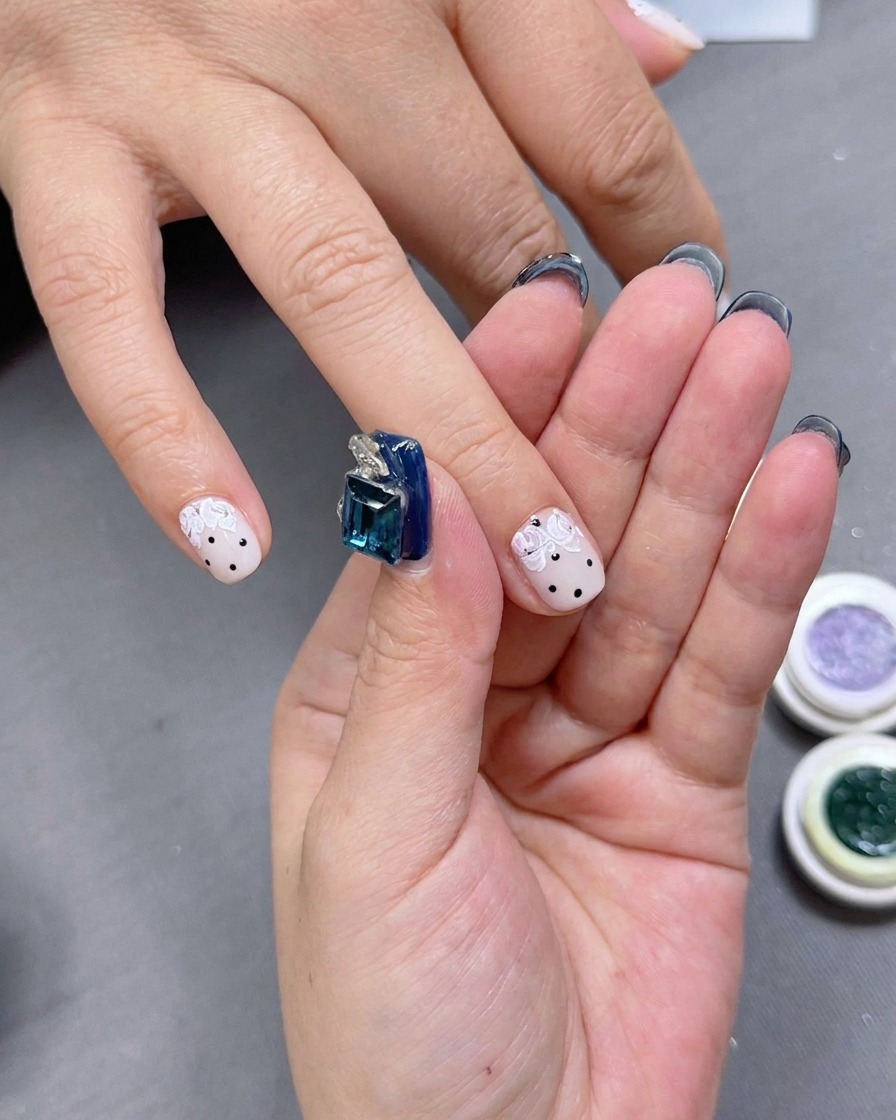
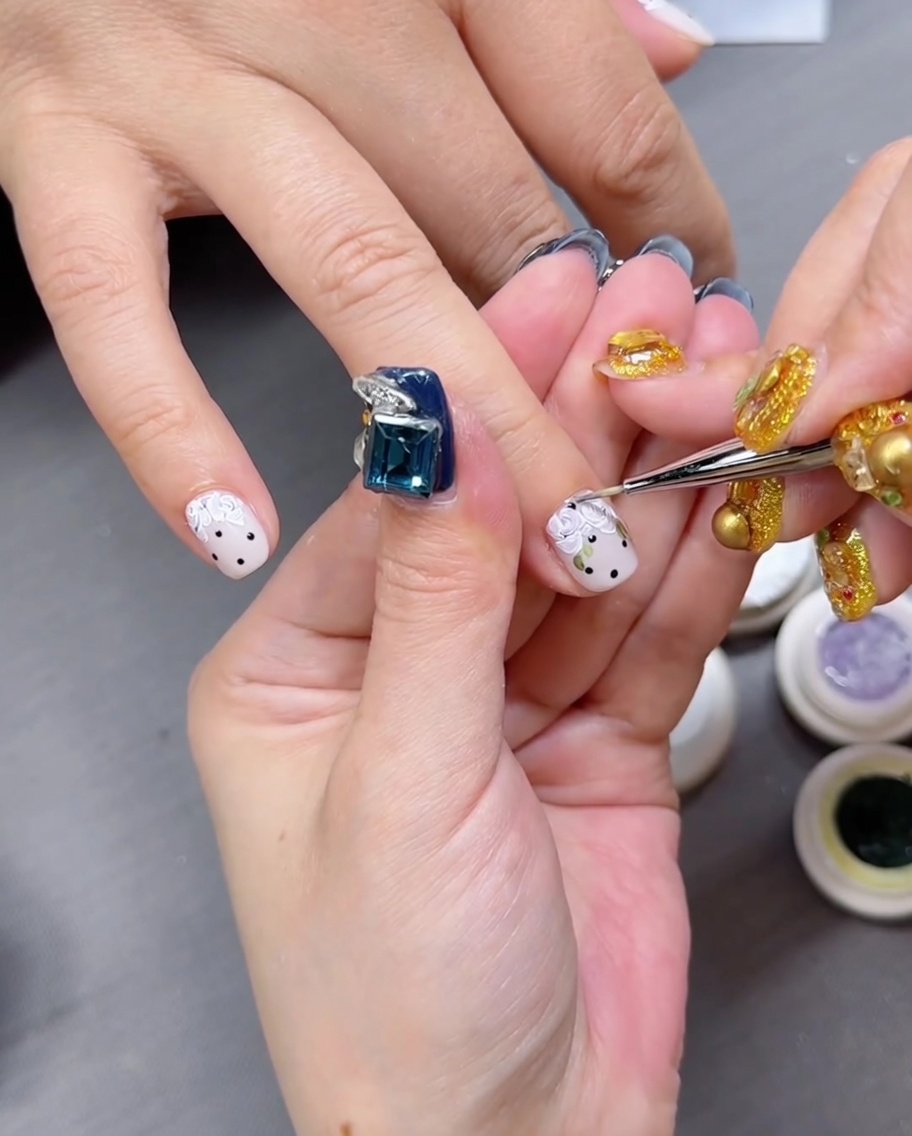
Using a small brush, apply tiny touches of green gel around the edges of the rose petals. These accents represent leaves, framing the floral design and adding a natural, spring-like aesthetic.
Tip: Keep the leaf strokes small and subtle to avoid overcrowding the design. - 6Refine rose design
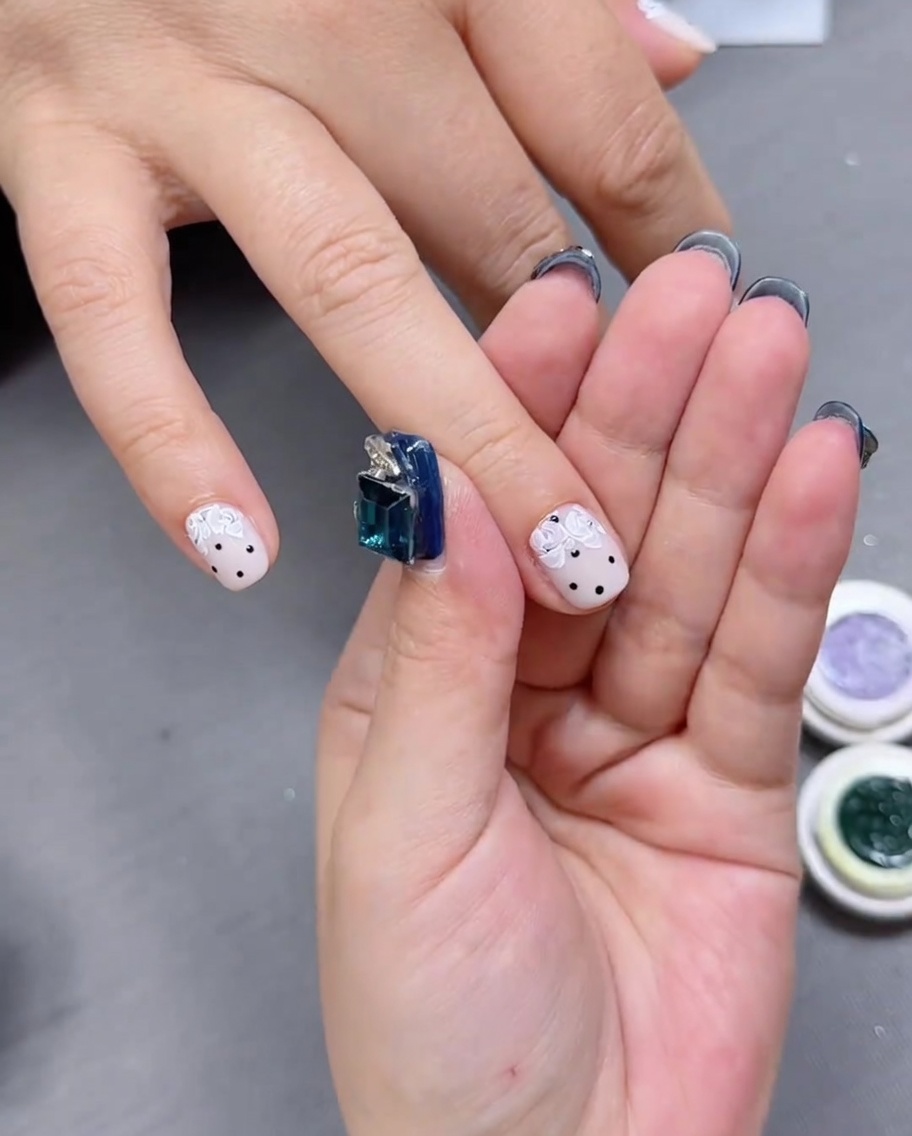
Gently refine the shapes of the roses with your brush, carefully maintaining some negative space between the petals and leaves. This prevents the design from looking too heavy or crowded on the nail.
Tip: Use a clean, dry brush if needed to soften or blend the edges of the petals. - 7Cure the rose design
Once the rose art is applied to your satisfaction, place your hand inside the UV or LED lamp to cure the design. Curing ensures that the oil-painting gels set completely, preventing smudging and providing a durable, long-lasting finish to your detailed artwork.
Tip: Ensure your hand is placed flat and steady inside the lamp to get even light exposure across all fingers, especially the ones with detailed art. - 8Apply final glossy top coat
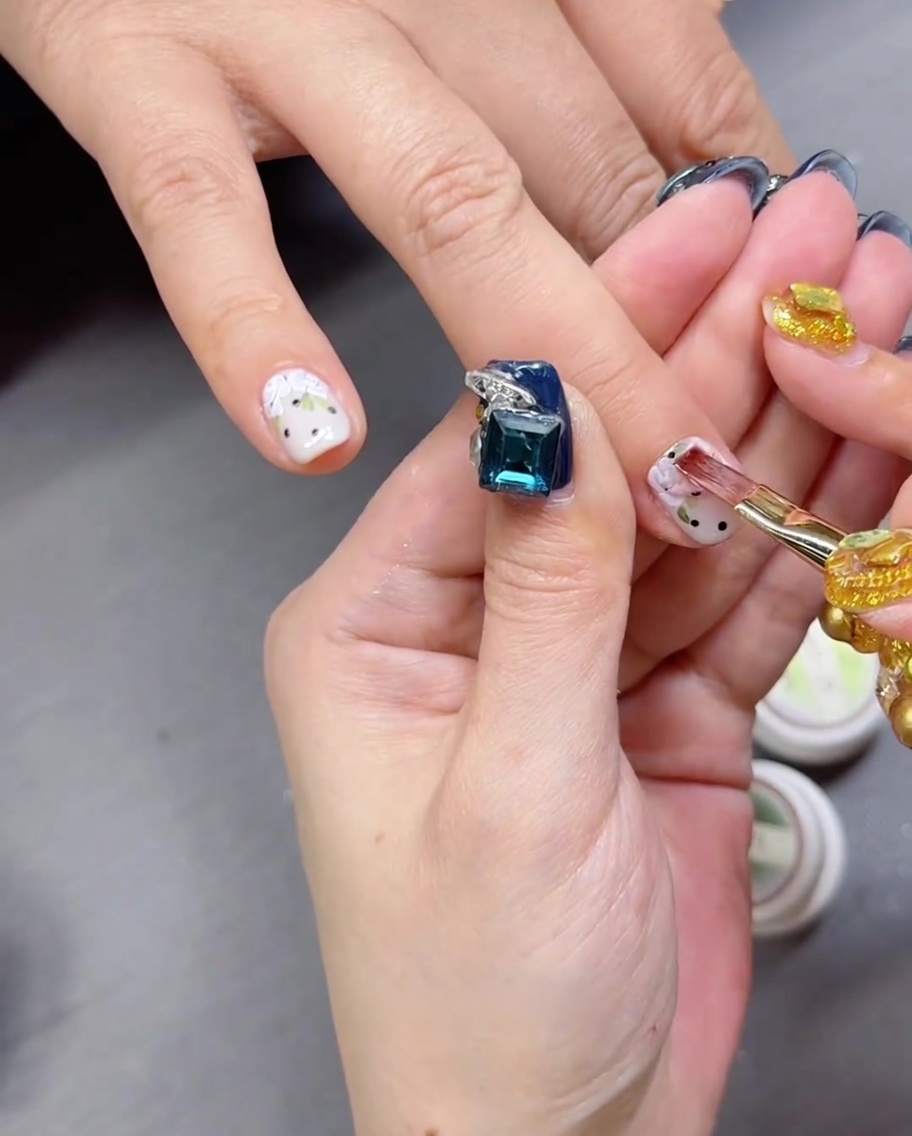
Apply a final, smooth layer of glossy top coat over your completed nail art. Ensure full coverage over the painted design to seal it in and create a protective, mirror-like finish. Cure the top coat in your UV or LED lamp for the duration recommended by the product manufacturer to ensure durability.
Tip: Apply the top coat gently to avoid dragging the brush through the fresh art, which could smudge your design.