Hand-Painted Rose Gel Nail Art — Elegant Floral Tutorial
Master the art of delicate hand-painted roses with this step-by-step gel nail tutorial. Create stunning, professional-looking floral designs with ease.
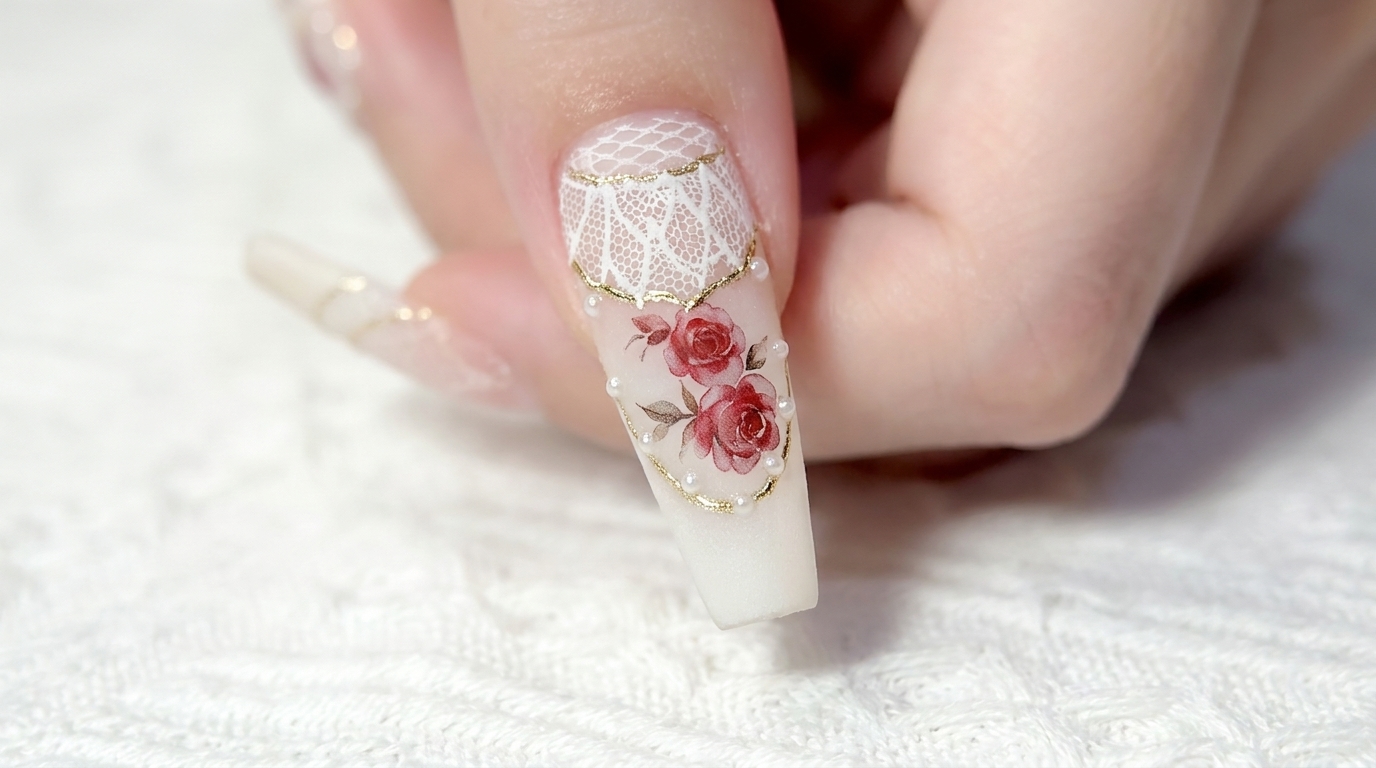
Floral nail art is a timeless trend that brings a touch of romance and sophistication to any manicure. This tutorial guides you through the delicate process of painting realistic red roses on clear gel nails, using light-to-dark layering techniques to build beautiful depth and dimension.
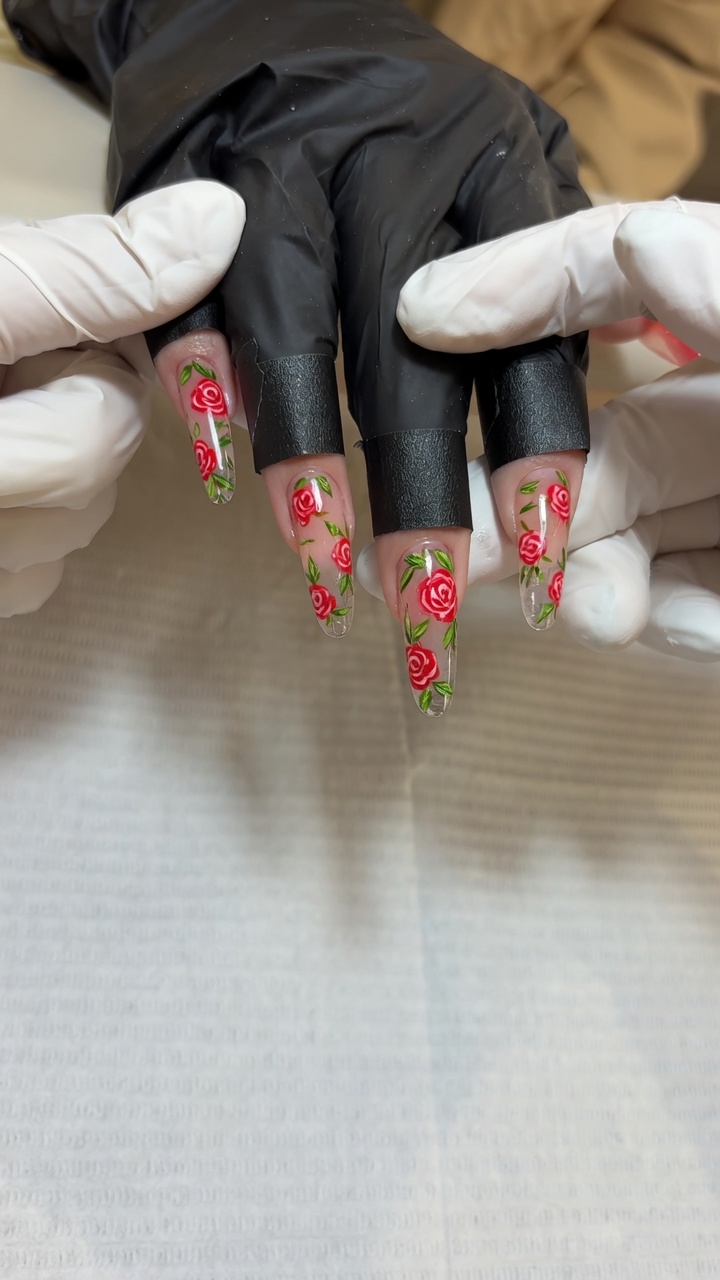
Steps
- 1Paint the first rose
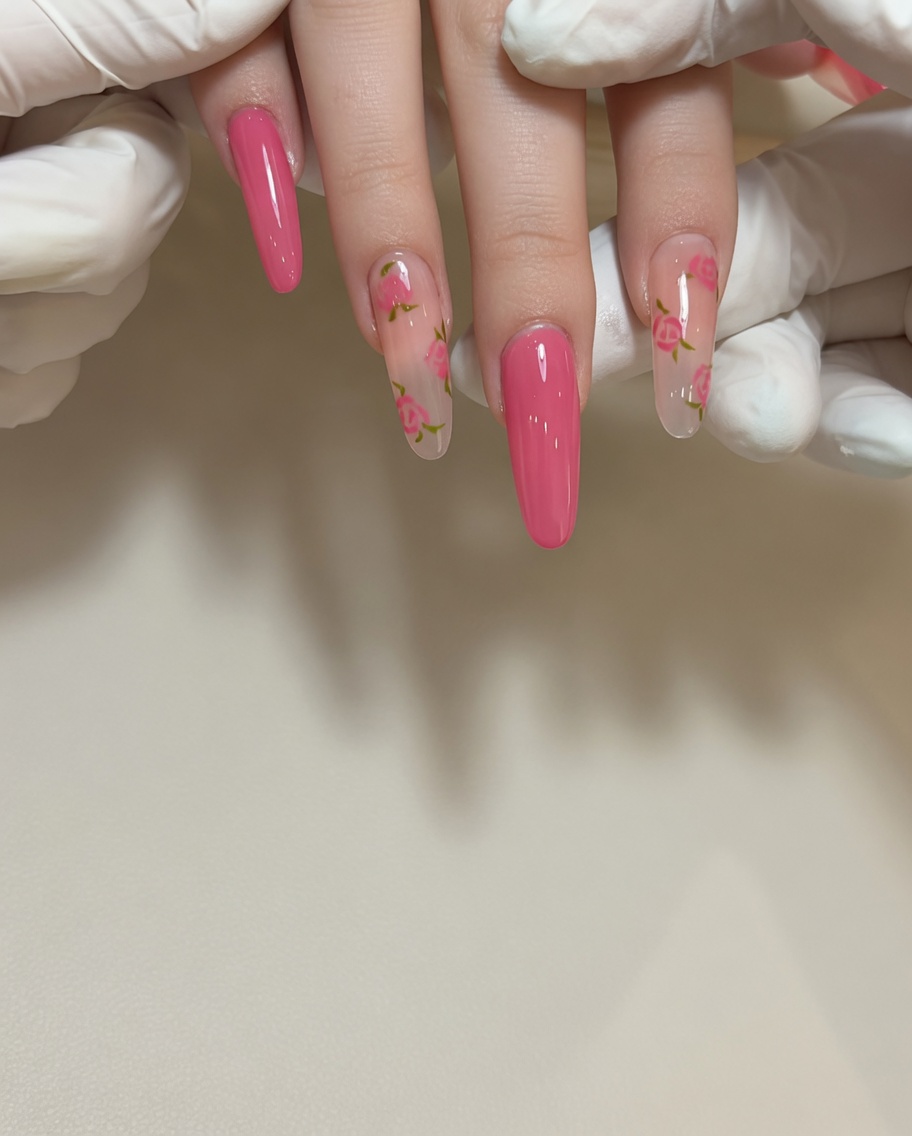
Using a fine-detail brush and red gel polish, create the initial petal strokes on the clear nail surface. Focus on forming a soft, curved petal shape for the base of the first rose.
Tip: Keep your brush strokes light and delicate to achieve a realistic, organic rose petal appearance. - 2Add depth to the rose
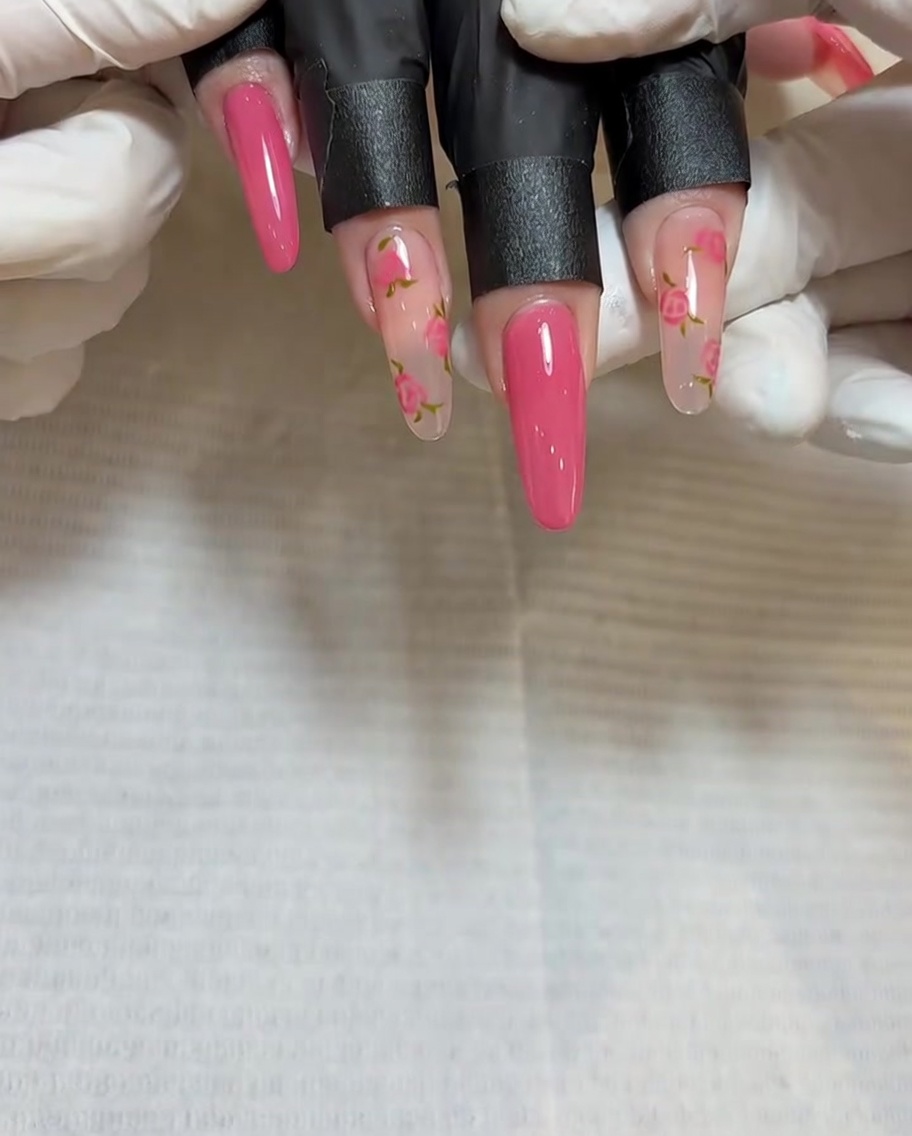
Using a slightly darker shade of red gel, apply small strokes to the center of the previously painted petals. This shading technique adds dimension and makes the rose look more lifelike.
Tip: A little bit of darker color goes a long way; dab it gently to avoid overwhelming the lighter base petals. - 3Paint the second rose
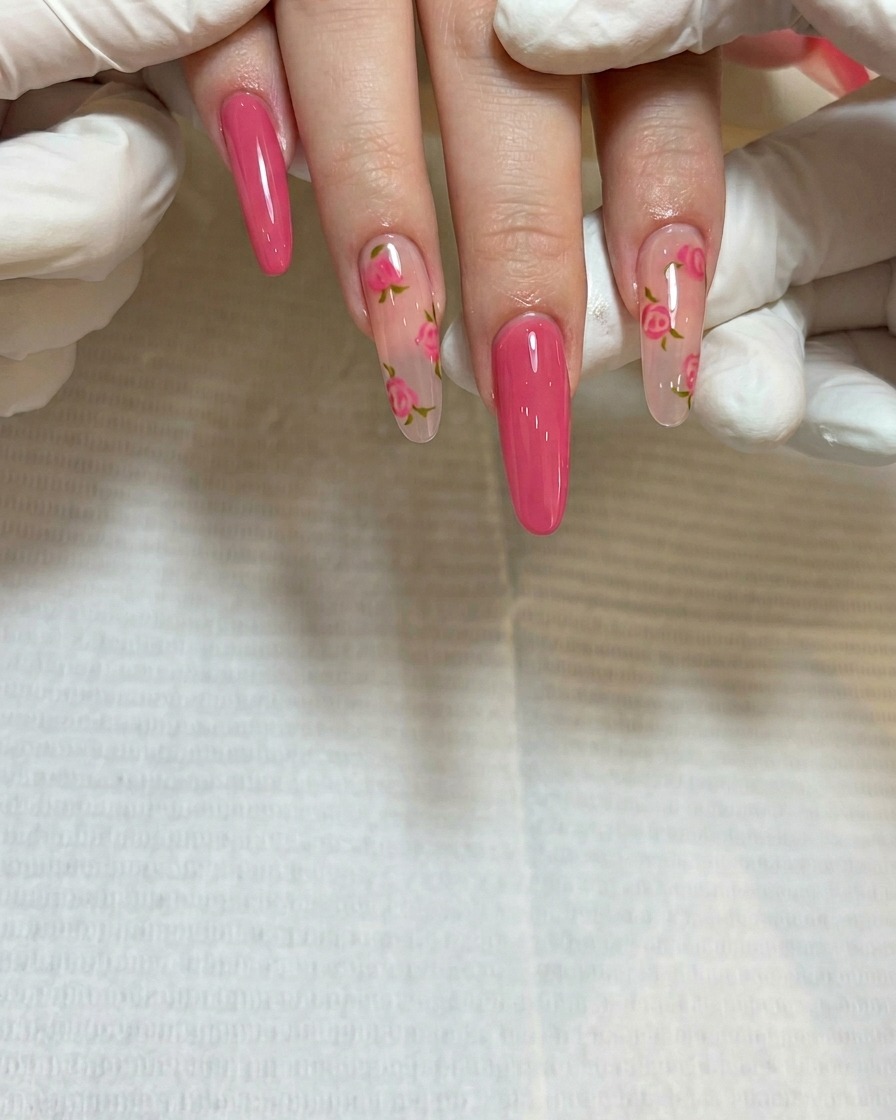
Select a new zone on the nail, ensuring it is well-placed for an artistic layout. Repeat the process of painting delicate red petal strokes to form your second rose.
Tip: Varying the size and placement of the roses creates a more balanced and professional-looking design. - 4Add depth to the second rose
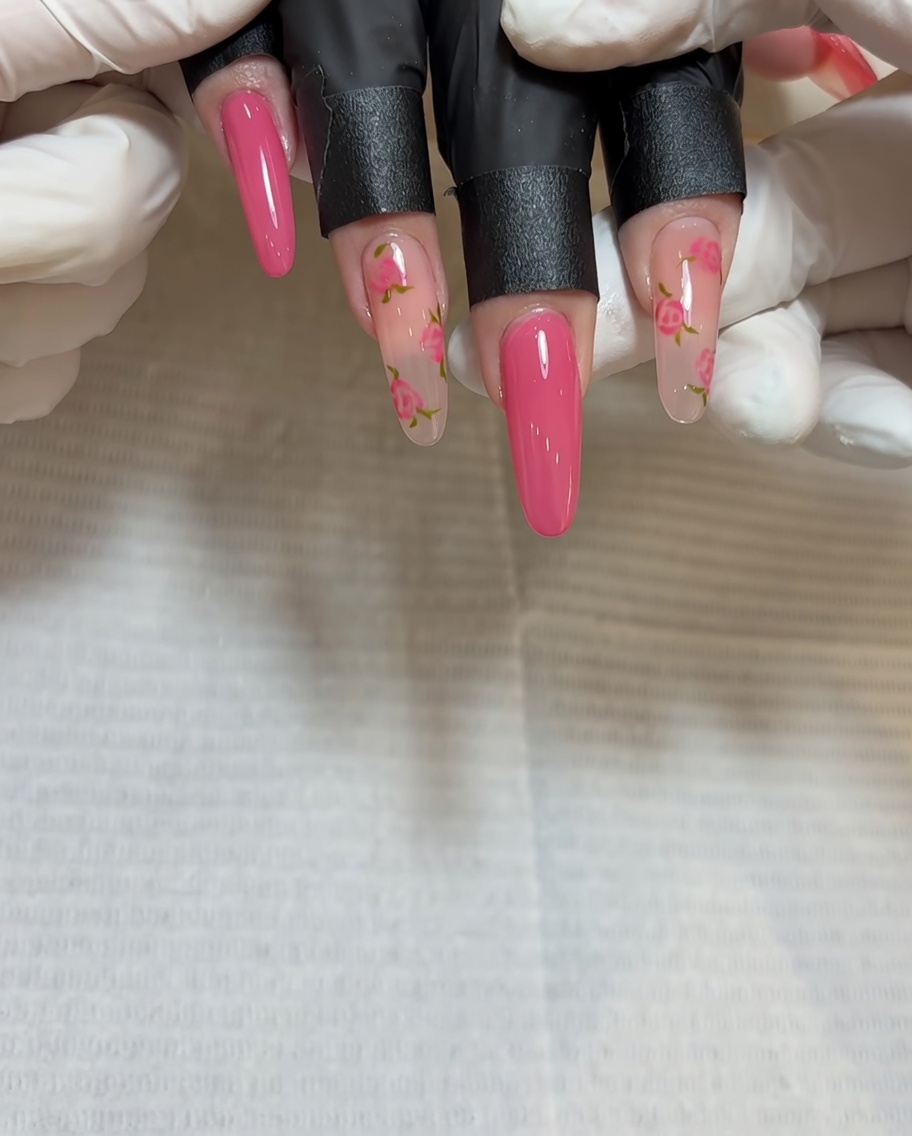
Once the base for the second rose is painted, use the deeper red gel to add detail to its center. Focus on building depth within the cluster to match the style of the first rose.
Tip: Ensure the center is concentrated enough to create a clear focal point within the petal design. - 5Paint the third rose
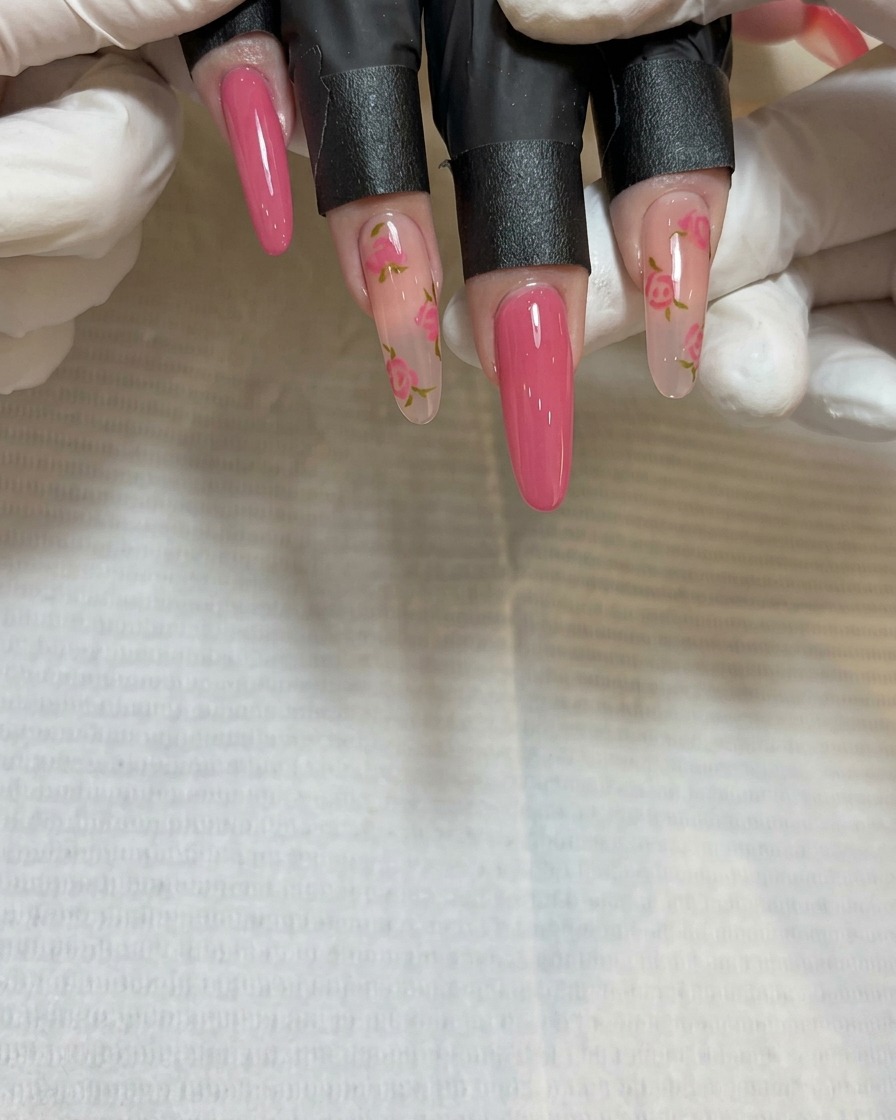
Position the third rose towards the tip of the nail. Use your fine-detail brush to paint another set of delicate petal strokes, maintaining consistency with the previous two roses.
Tip: Working near the tip requires a steady hand; support your pinky finger on the table for better stability. - 6Add depth to the third rose
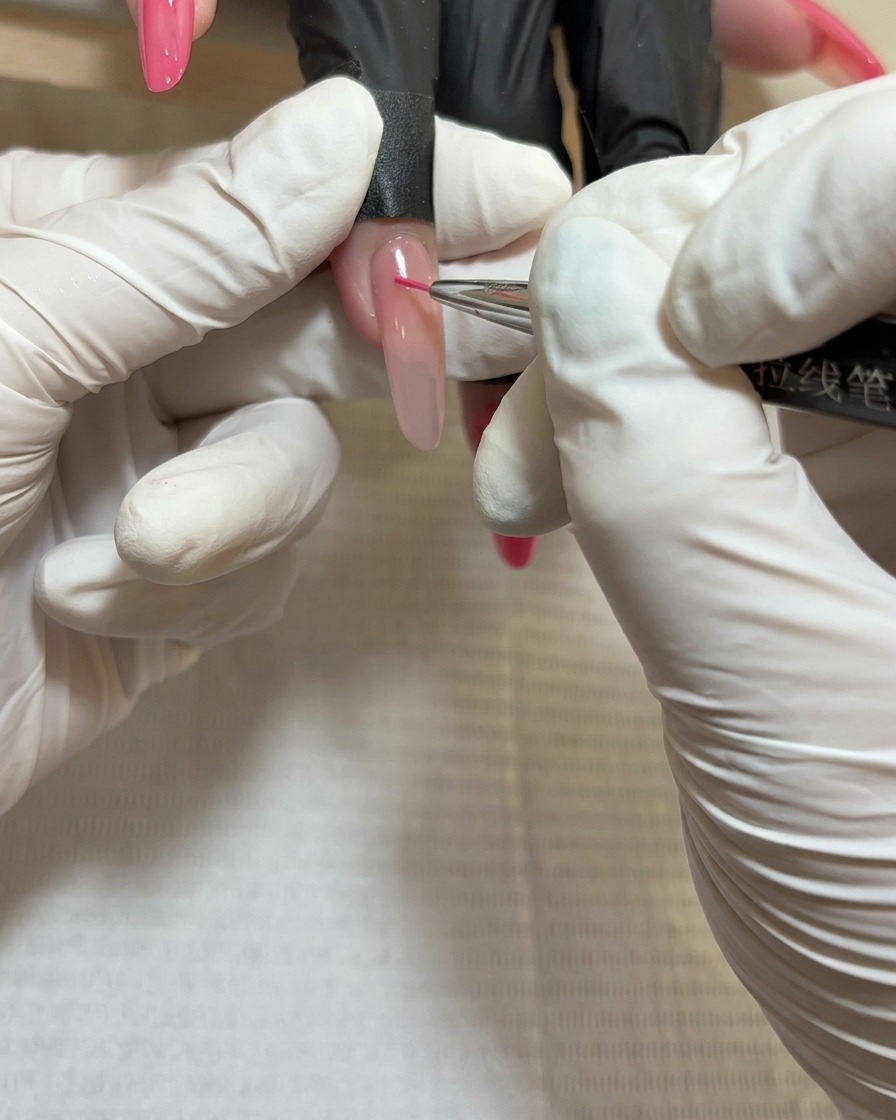
Complete the detailing by applying the darker red gel to the center of the third rose. This consistency in shading helps unify the overall nail art design.
Tip: Check that all three roses have a similar depth of color before proceeding to the leaf-painting stage. - 7Paint green leaves
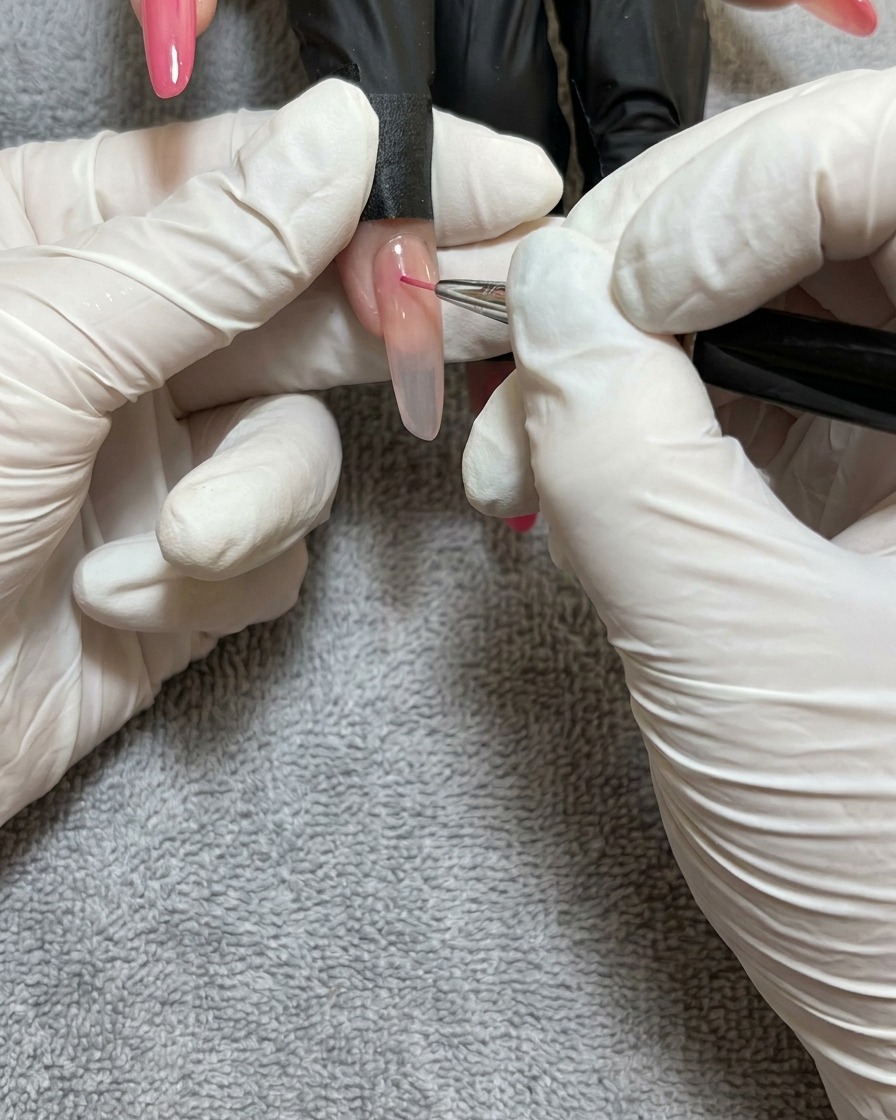
Using a fine liner brush and green gel paint, carefully draw small, delicate leaves around the rose petals. Keep the strokes light and precise to ensure the design remains elegant and doesnt overwhelm the flowers.
Tip: Wipe your brush frequently to keep the tip clean, which helps in drawing sharper, more defined leaf shapes. - 8Apply top coat
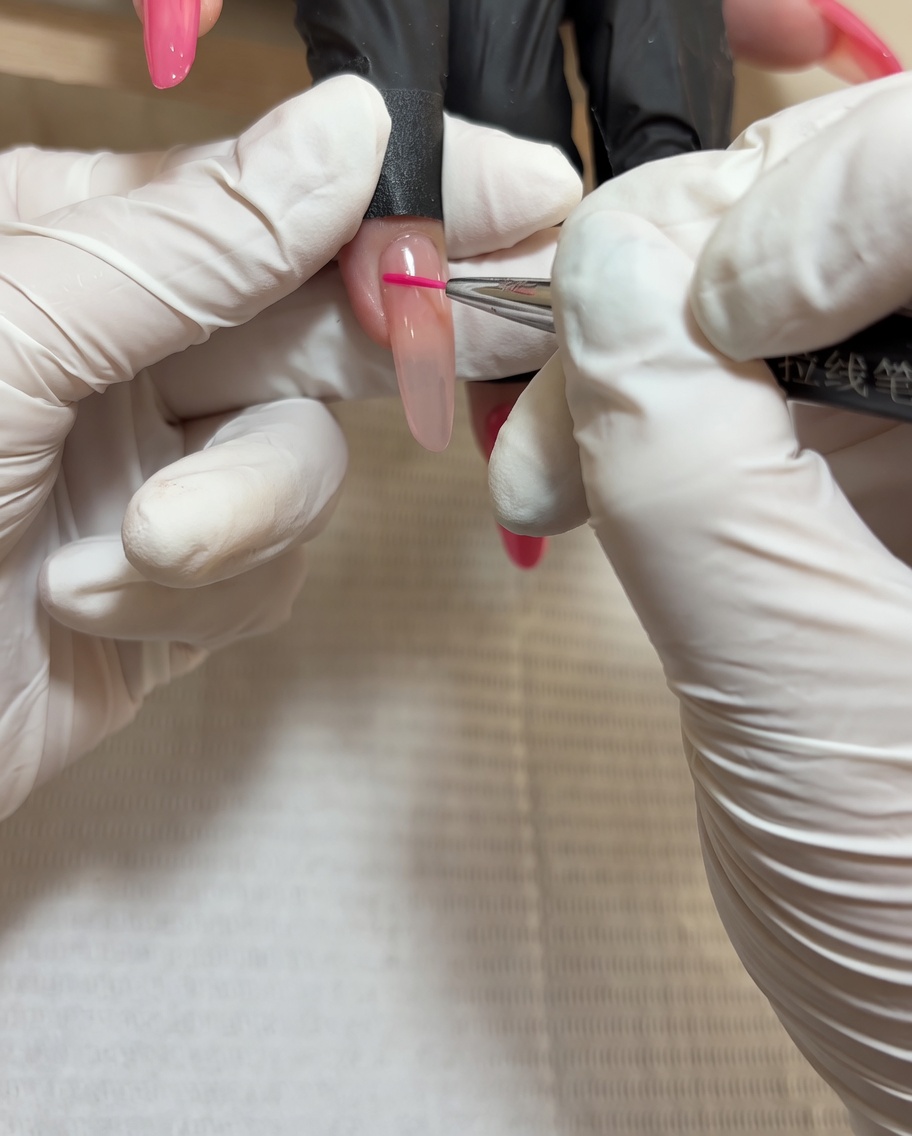
Apply a smooth, even layer of clear gel top coat over the entire nail to protect the hand-painted rose artwork. Ensure you cap the free edge to prevent chipping and ensure a long-lasting, high-gloss finish.
Tip: Apply the top coat gently to avoid dragging the brush through the fresh art, which could cause smearing. - 9Final cure and check
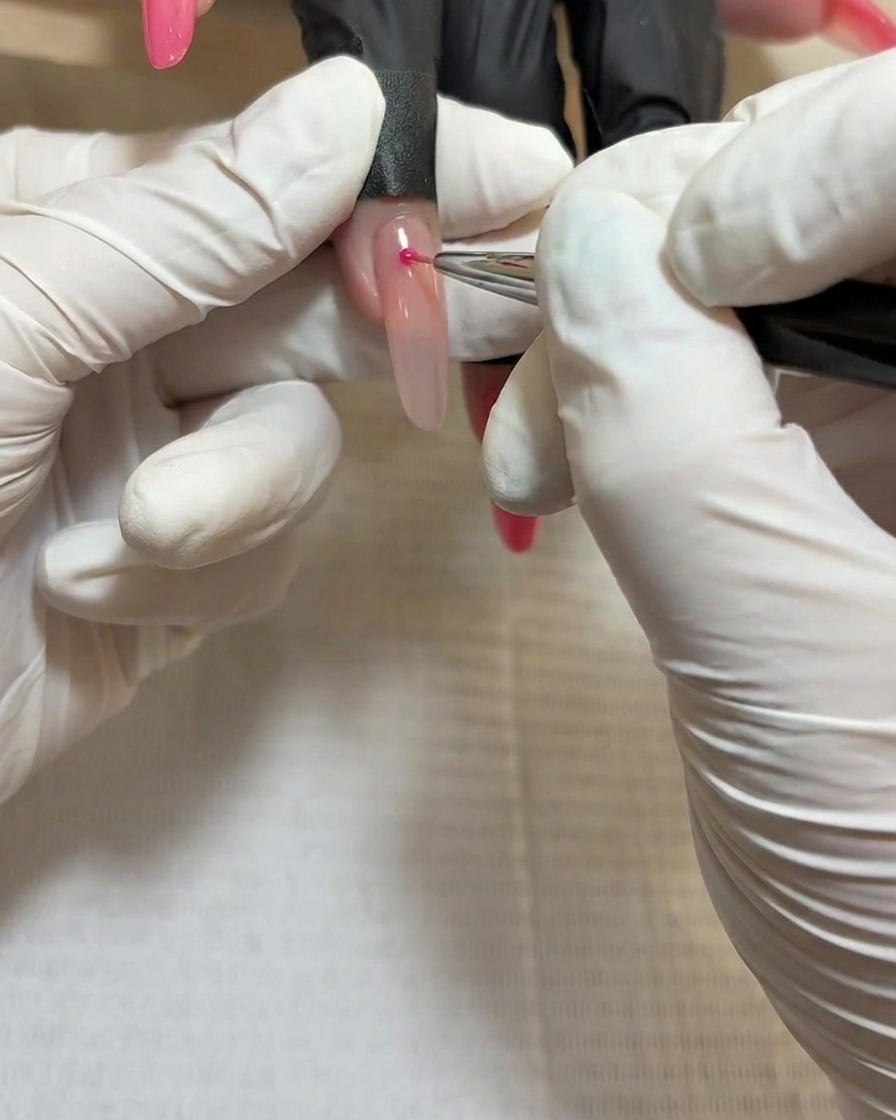
Place the finished nail under your UV/LED lamp for a full cure to set the top coat. Once cured, inspect the nail to ensure the surface is smooth and the rose design is perfectly sealed.
Tip: After curing, let the nail cool for a few seconds before applying cuticle oil to ensure the finish stays perfectly glossy.