Vintage Earl Rose Garden Cat-Eye Nails — Step-by-Step Tutorial
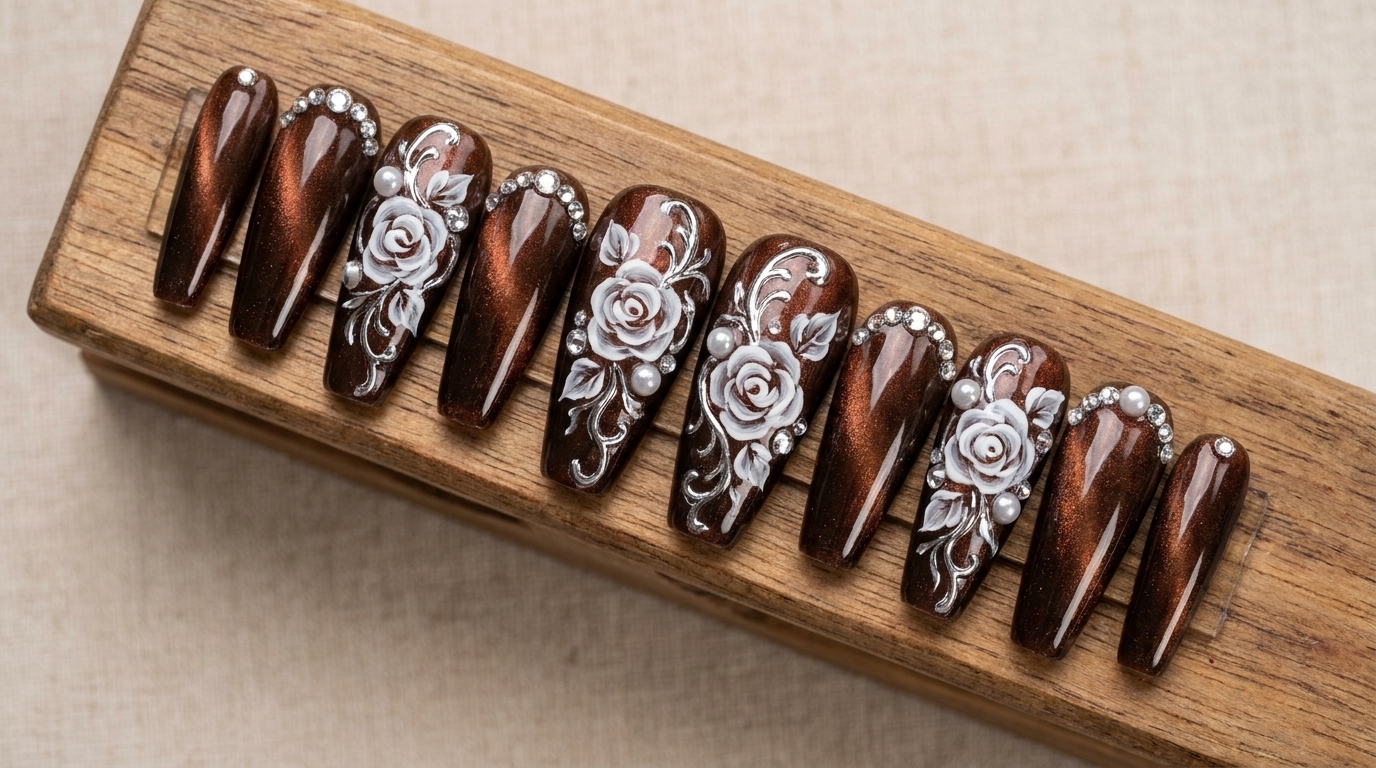
Elevate your manicure with this vintage-inspired rose garden look. Featuring rich toffee cat-eye gel, hand-painted white florals, and delicate chrome accents.
Step into a world of sophisticated elegance with these vintage-inspired rose garden nails. Combining the depth of warm toffee cat-eye gel with delicate, hand-painted white floral art and refined embellishments, this look offers a timeless aesthetic. Perfect for those who appreciate artistic detail, this design balances dramatic magnetic light effects with the soft, intricate beauty of hand-drawn roses.
Steps
- 1Clean the nail surface
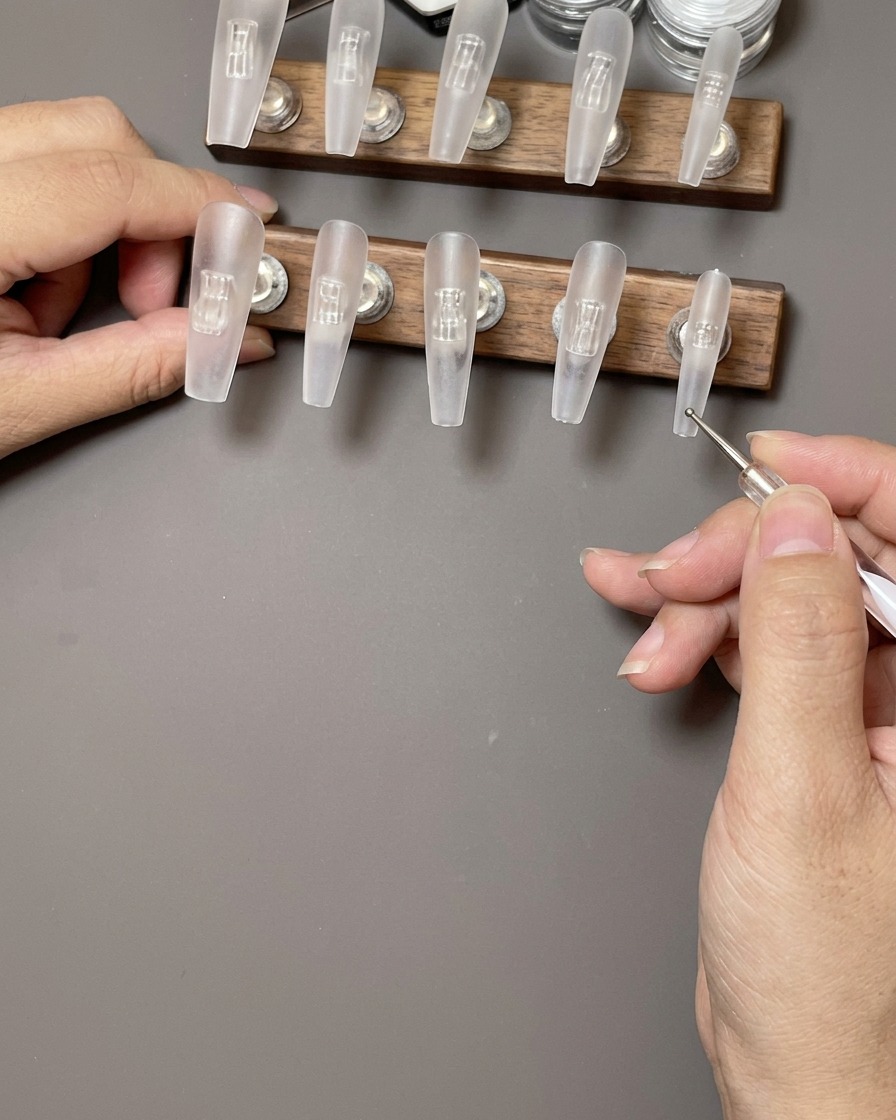
Before starting the application, ensure the press-on nail surface is completely clean. Use a prep wipe to remove any dust, oils, or residue from the surface. This ensures proper adhesion for the subsequent gel layers and a professional-looking finish.
Tip: Do not skip this step, as oily surfaces can cause the polish to lift prematurely. - 2Apply nude base coat
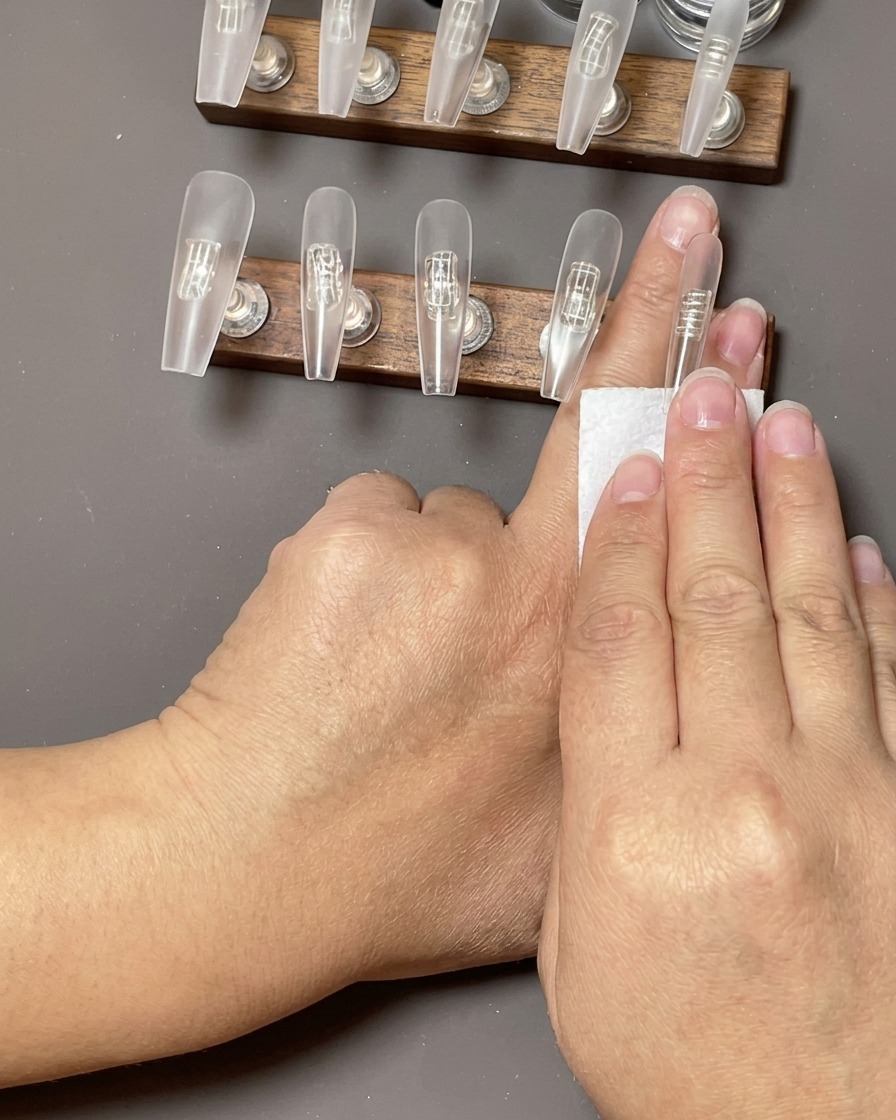
Apply a thin, even coat of nude-colored gel base to the nail surface. Ensure the color is applied smoothly and evenly across the entire nail for a consistent foundation.
Tip: Keep the coat thin to prevent pooling at the edges of the press-on nail. - 3Apply cat-eye gel
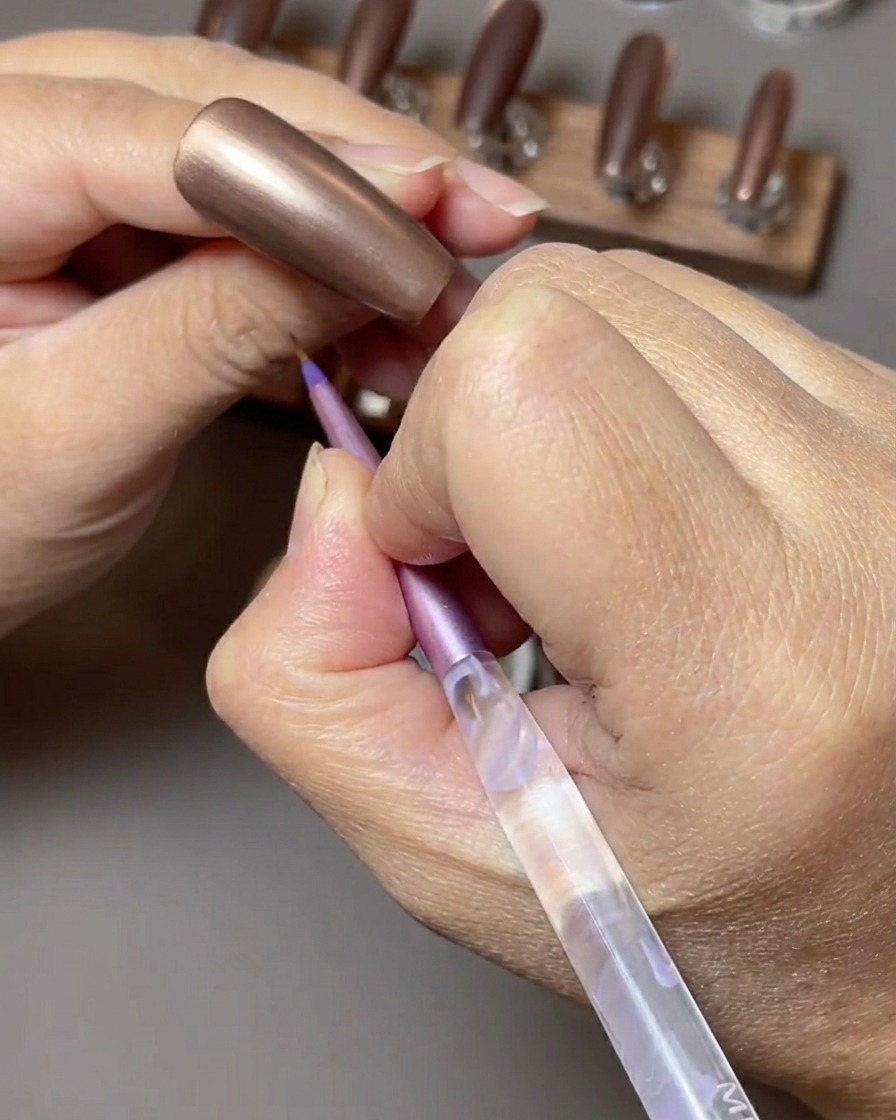
Apply a coat of toffee warm brown cat-eye gel over the base. This specific shade will provide the rich, warm base for the cat-eye effect.
Tip: Work carefully to ensure even coverage before moving to the magnet step. - 4Create cat-eye side-light effect
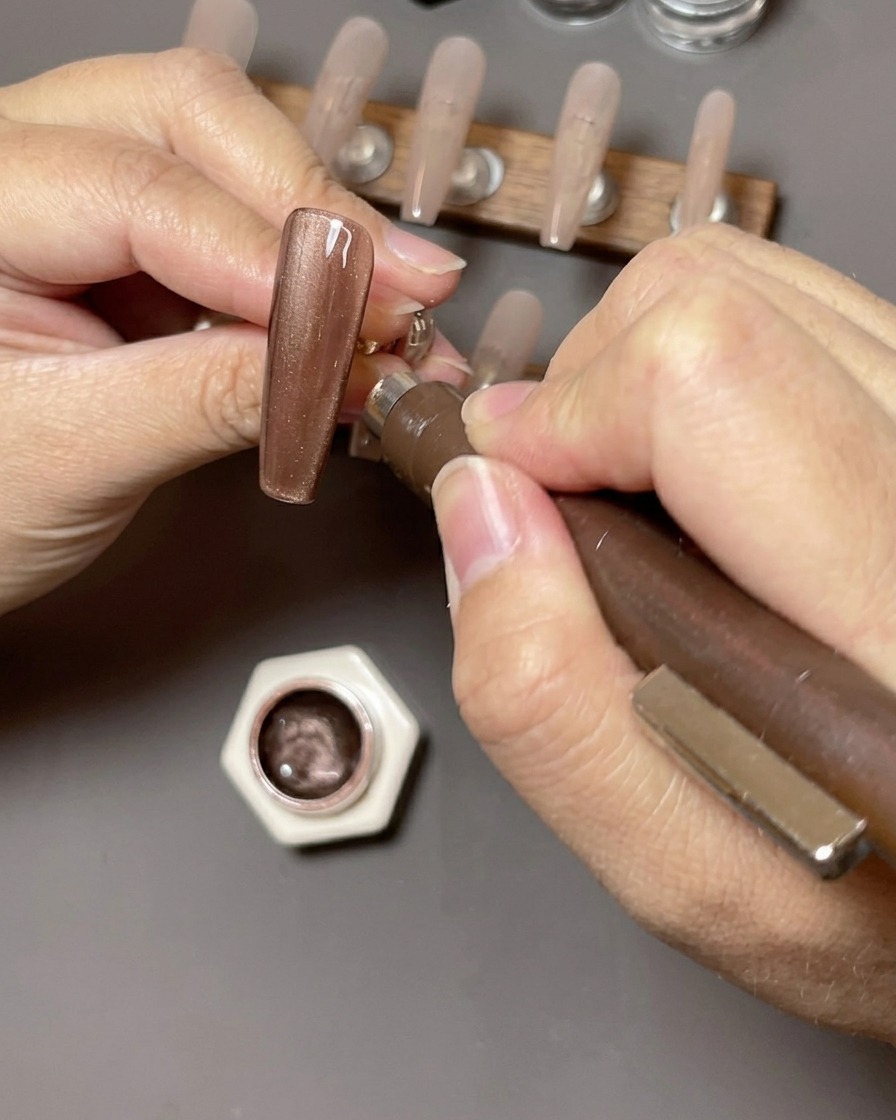
While the cat-eye gel is still wet, hold a magnet at the side of the nail. The magnetic particles in the gel will move toward the magnet, creating a distinct side-light reflection. Once you achieve the desired effect, cure the nail to lock the particles in place.
Tip: Hold the magnet steady to ensure the light effect is sharp and consistent. - 5Apply matte top coat
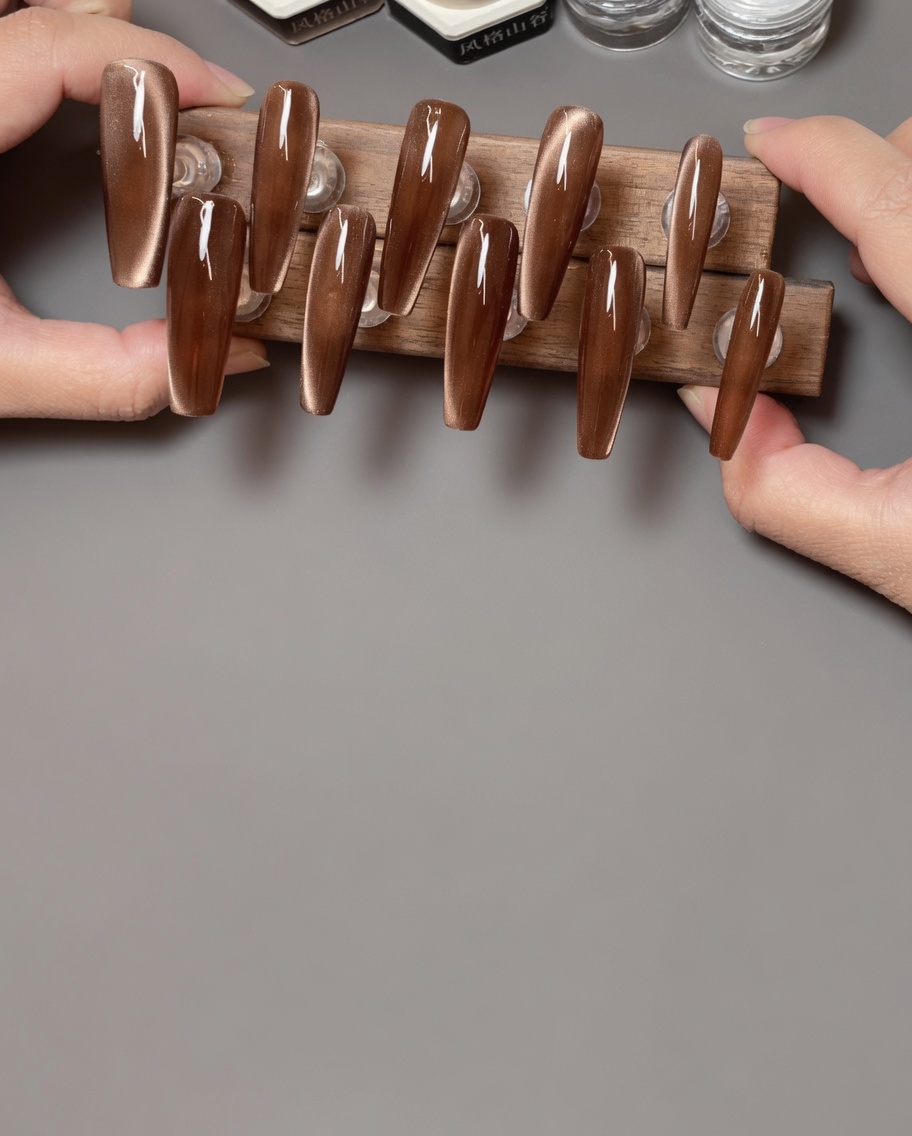
Once the cat-eye effect is cured, apply a layer of matte top coat over the entire set. This transforms the finish from glossy to a soft, sophisticated matte texture that complements the cat-eye design.
Tip: Ensure the matte top coat is applied evenly to maintain a consistent finish across all nails. - 6Paint white rose petals
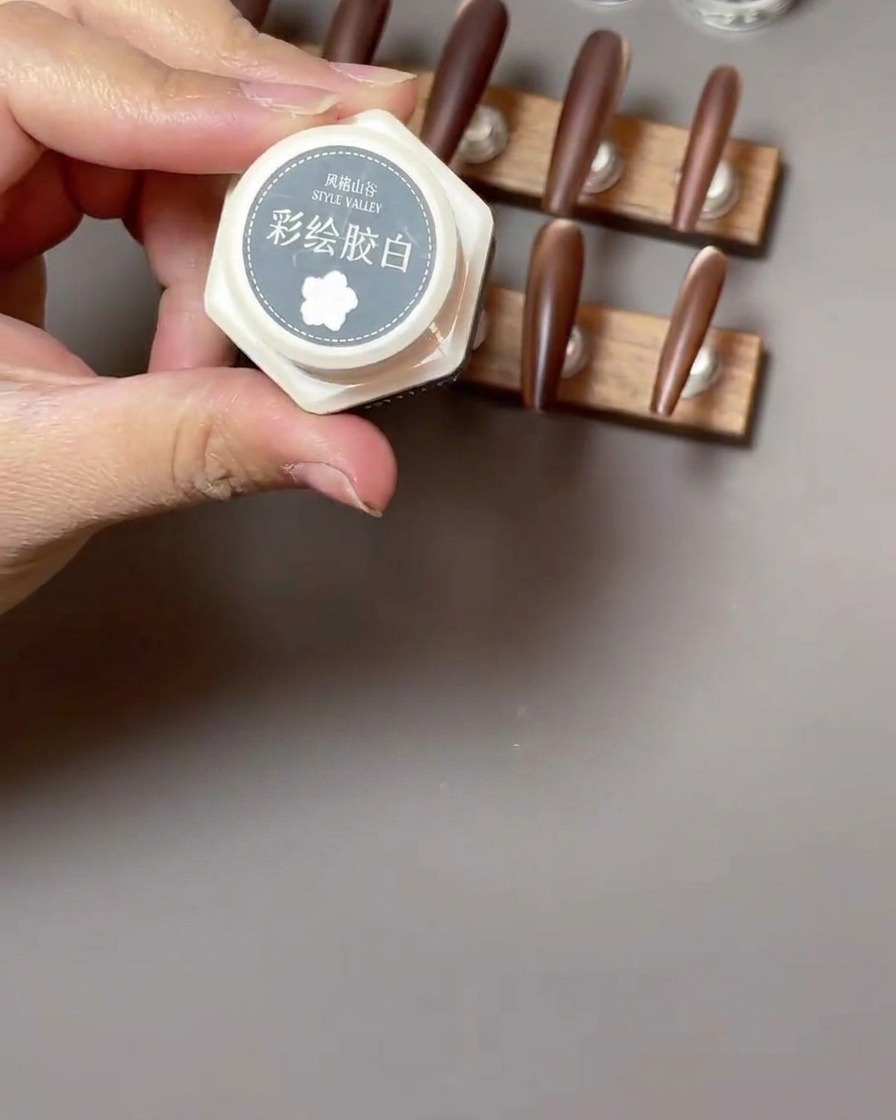
Using a fine liner brush and white nail art gel, begin painting the rose design. Start by creating small, parentheses-like strokes to form the center petals of the roses. Gradually build up the petal layers to create depth and dimension.
Tip: Use light pressure on the brush to keep the strokes delicate and precise. - 7Detail the rose petals
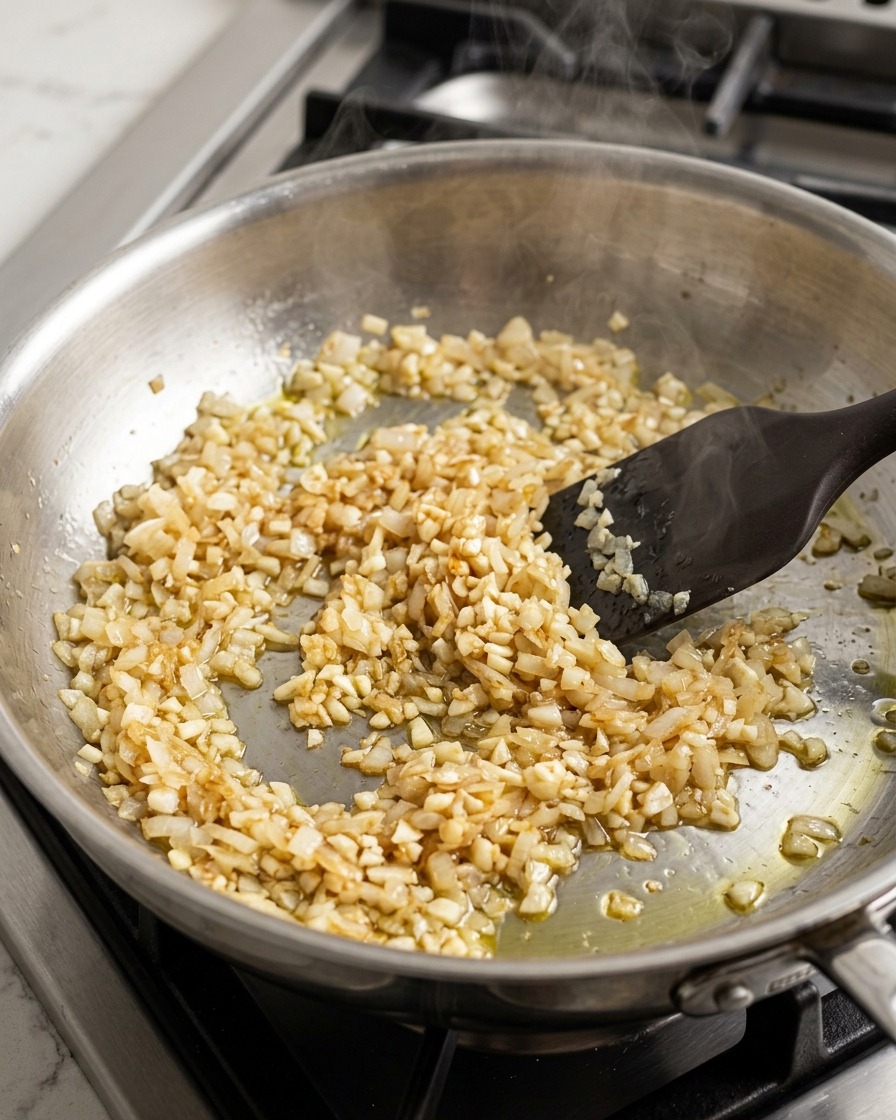
Continue building the rose design by adding intricate white petal strokes. Use a fine-liner brush to create delicate, curved lines that mimic the overlapping petals of a rose. Focus on creating varying lengths and thicknesses to add depth and dimension to the floral art.
Tip: Keep your brush strokes light and precise to maintain the delicate appearance of the petals. - 8Add foliage to the design
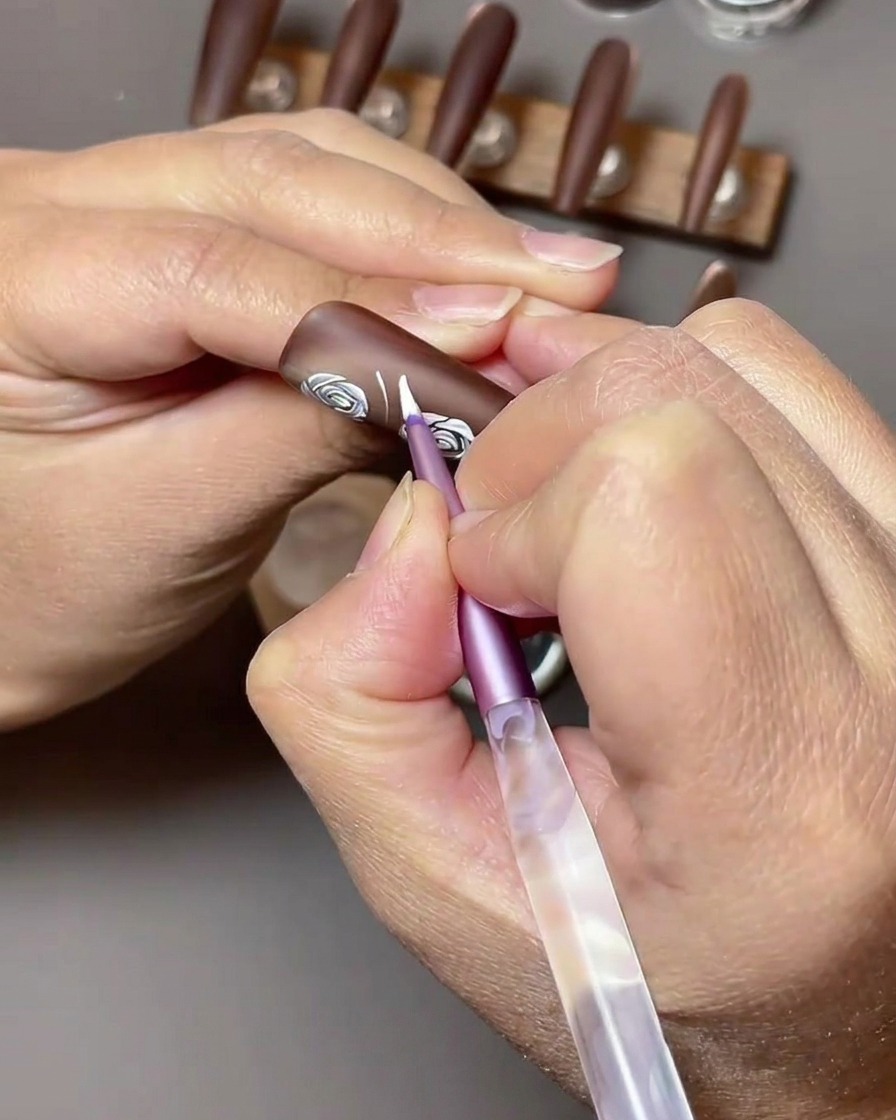
Using the same white nail art gel, carefully paint leaves around the base and sides of your rose shapes. Use soft, tapered strokes to create a natural, organic leaf shape that complements the floral pattern.
Tip: Vary the size and placement of the leaves to create a more natural and balanced composition around the roses. - 9Highlight the rose petals
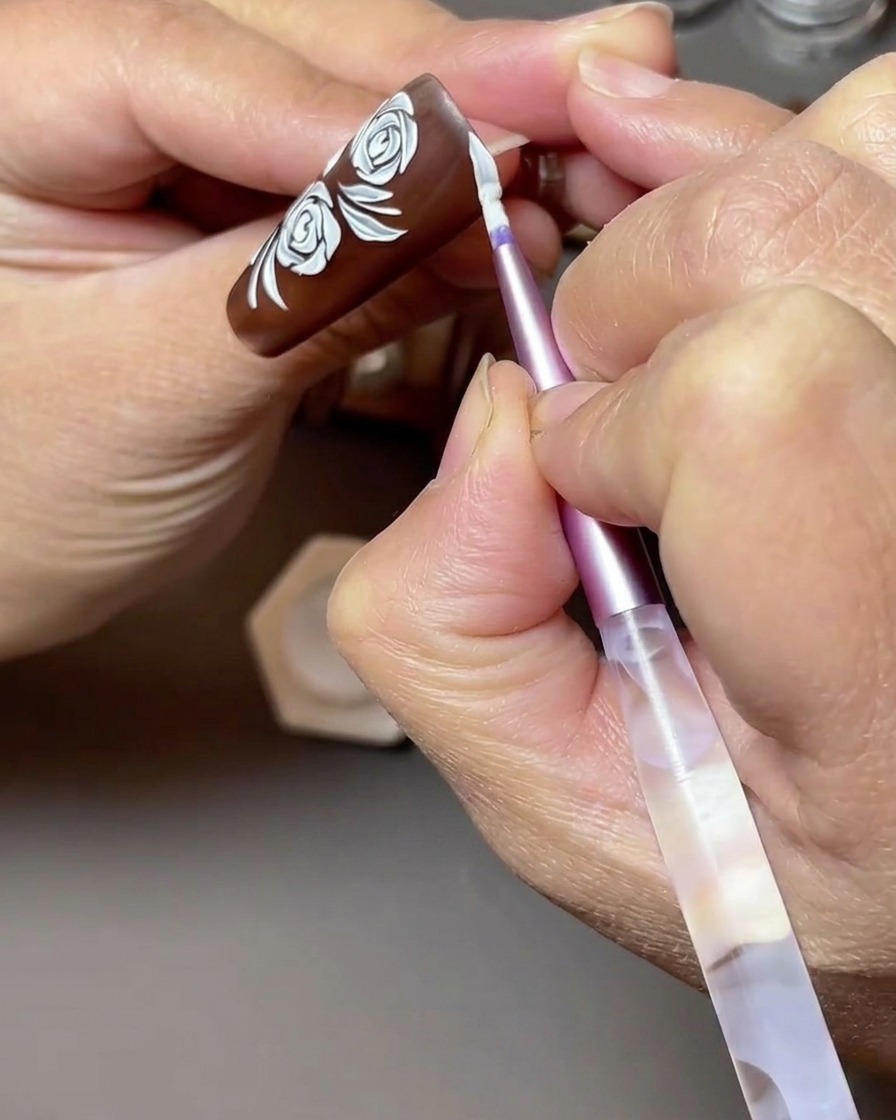
Enhance the roses by adding fine white highlight lines along the edges of the petals. These subtle additions help define the shape of the flower and make the design pop against the dark cat-eye base.
Tip: Use a minimal amount of gel on the tip of your brush to ensure your highlight lines remain thin and clean. - 10Paint side ribbons
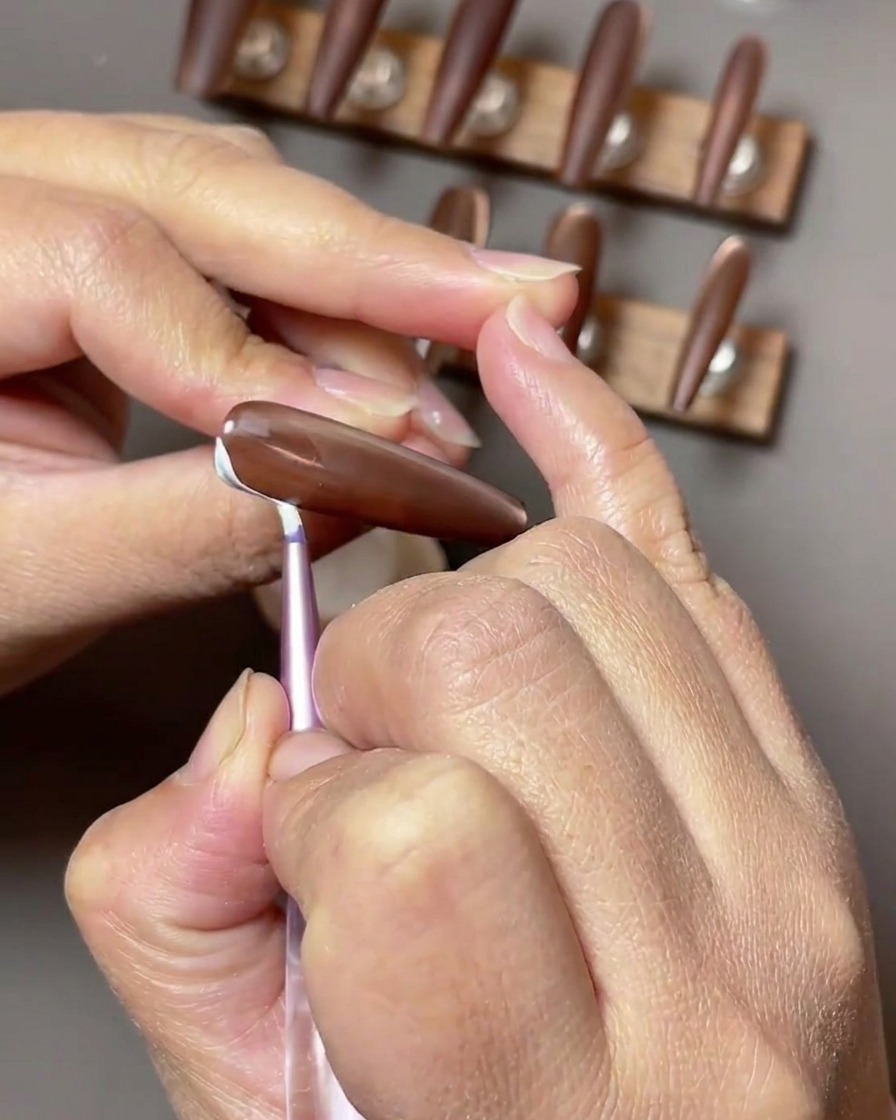
On the index and pinky fingers, paint elegant side ribbon designs using the white nail art gel. Create fluid, sweeping lines that trail across the side of the nail to add a sophisticated, decorative element.
Tip: Ensure your ribbons are consistent in style on both fingers to keep the overall set cohesive. - 11Create a French tip
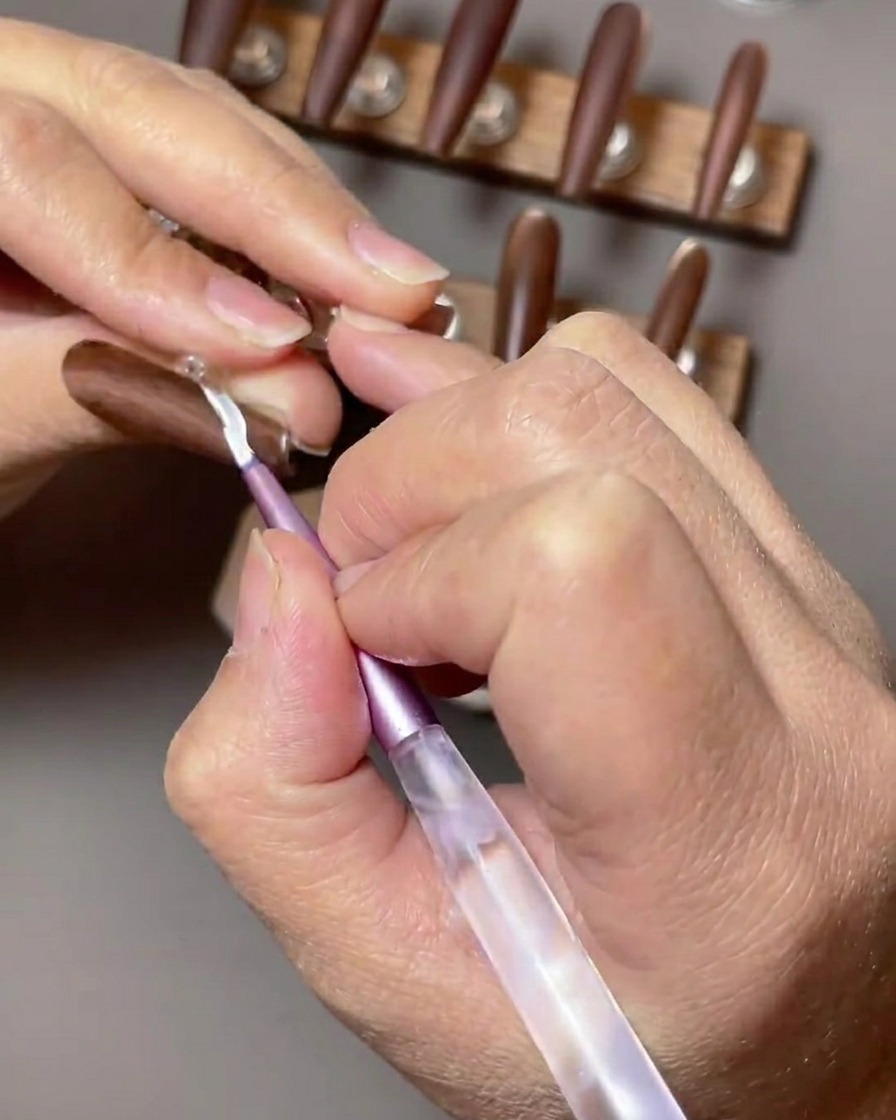
Using the white nail art gel, paint a clean, crisp French tip style on the middle finger. Carefully follow the natural curvature of your nail tip to achieve a smooth, rounded finish.
Tip: For a perfect French tip, anchor your pinky finger for stability while painting the line. - 12Apply reverse French tip
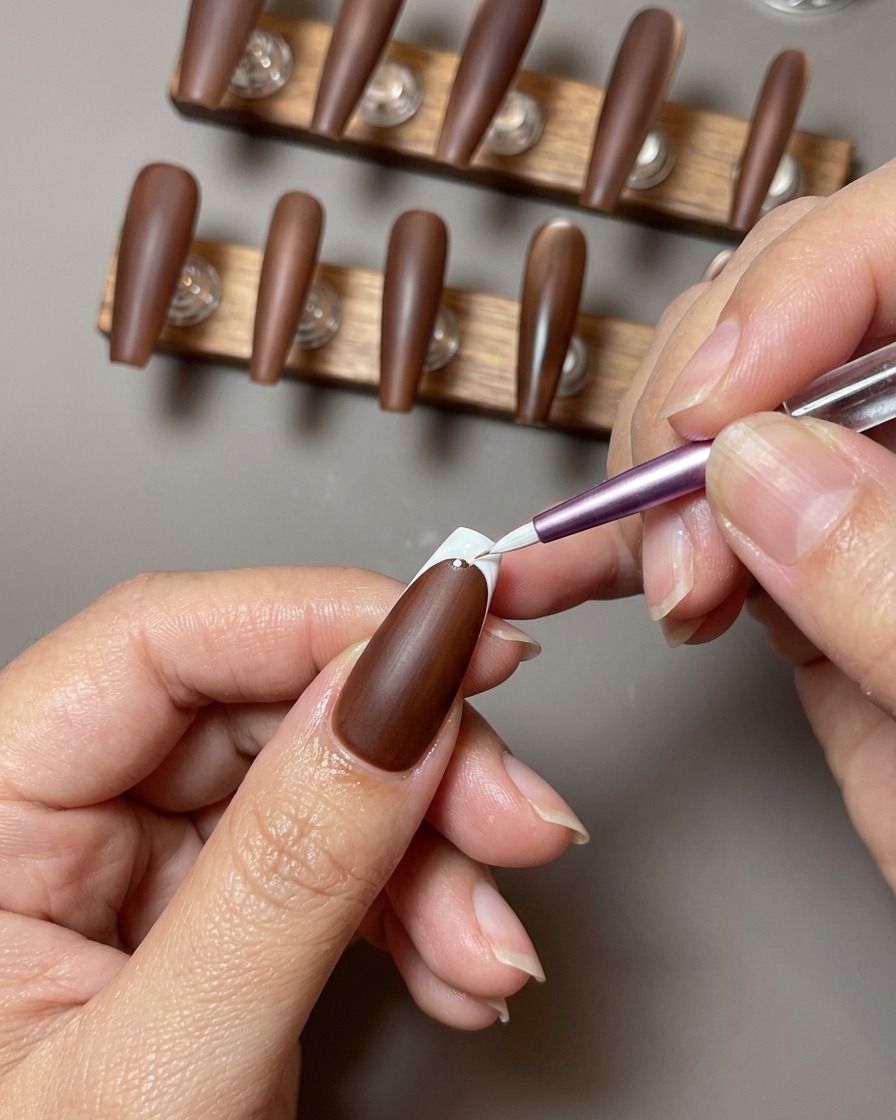
On the ring finger, create a reverse French tip design. Paint a clean white arc near the cuticle area, leaving the rest of the nail dark. Keep the line smooth and precise for a professional look.
Tip: The reverse French tip is a trendy twist on the classic design; ensure your cuticle gap is minimal for a polished appearance. - 13Paint four-pointed star detail
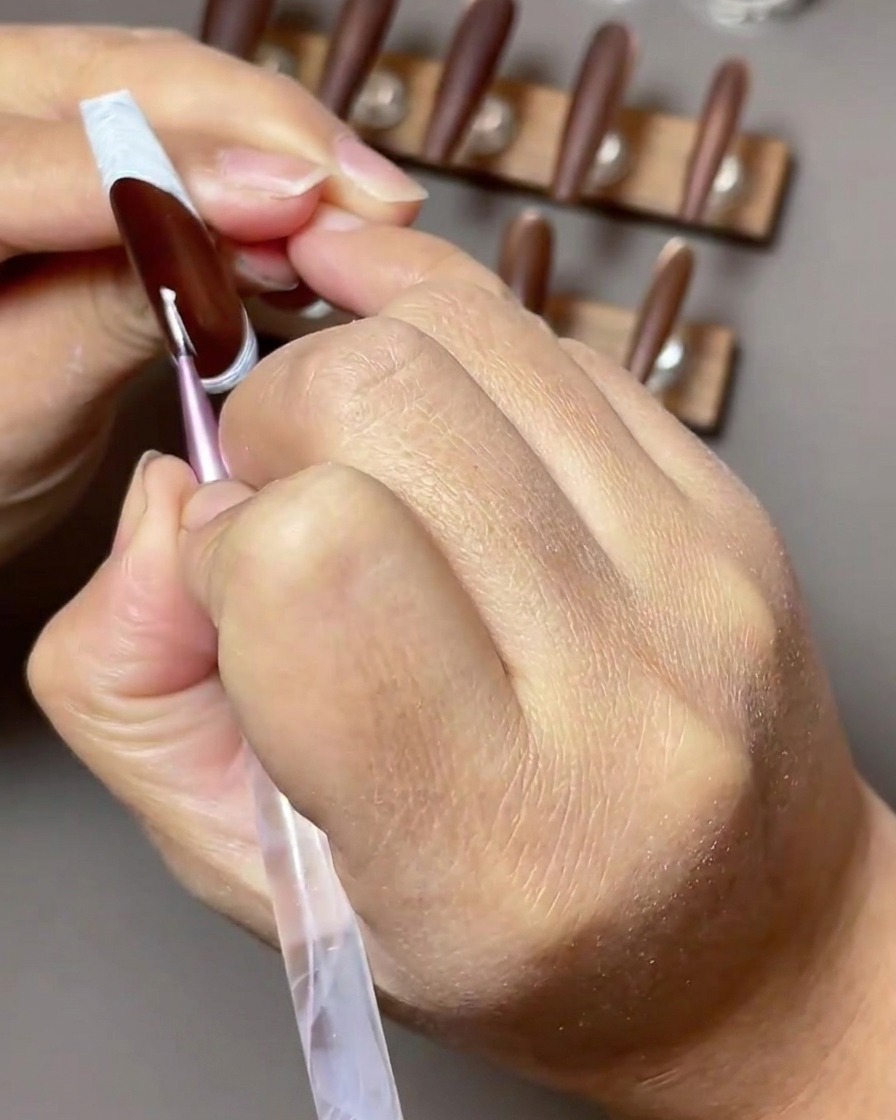
Using a thin detail brush and white nail art gel, carefully paint a small four-pointed star in the center of the ring finger nail. Ensure the lines of the star are crisp and centered over the reverse French tip design.
Tip: If your hand shakes, rest your pinky finger on your other hand for stability while painting the fine star lines.