Elegant Watercolor Rose Nail Art — Step-by-Step Tutorial
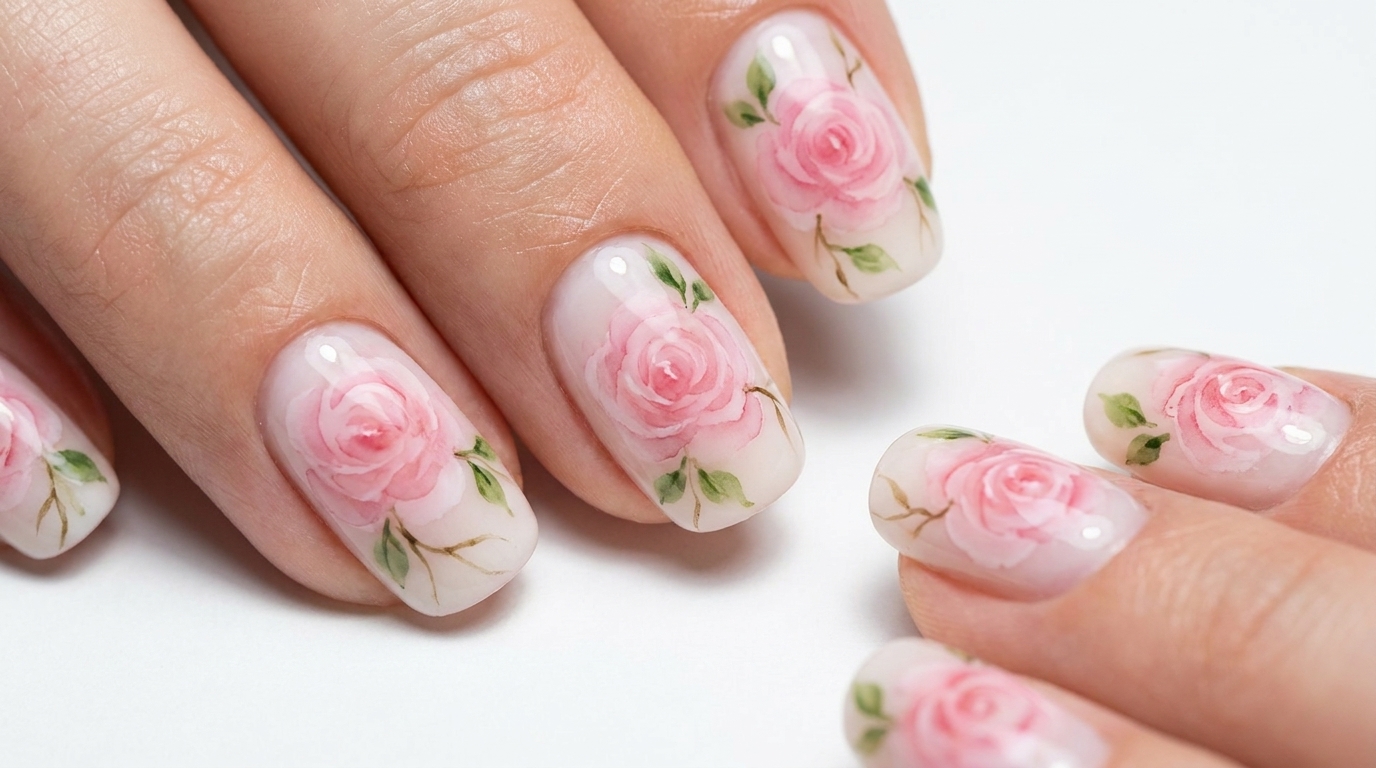
Master the ethereal look of watercolor roses on your nails. This delicate, artistic design uses soft pinks and greens for a sophisticated, painterly finish.
Watercolor nail art brings a soft, romantic, and artistic touch to any manicure. By layering translucent pigments and softening the edges of your brushstrokes, you can achieve a beautiful, ethereal rose design that looks like a miniature hand-painted masterpiece right on your nails.
Steps
- 1Paint the rose center
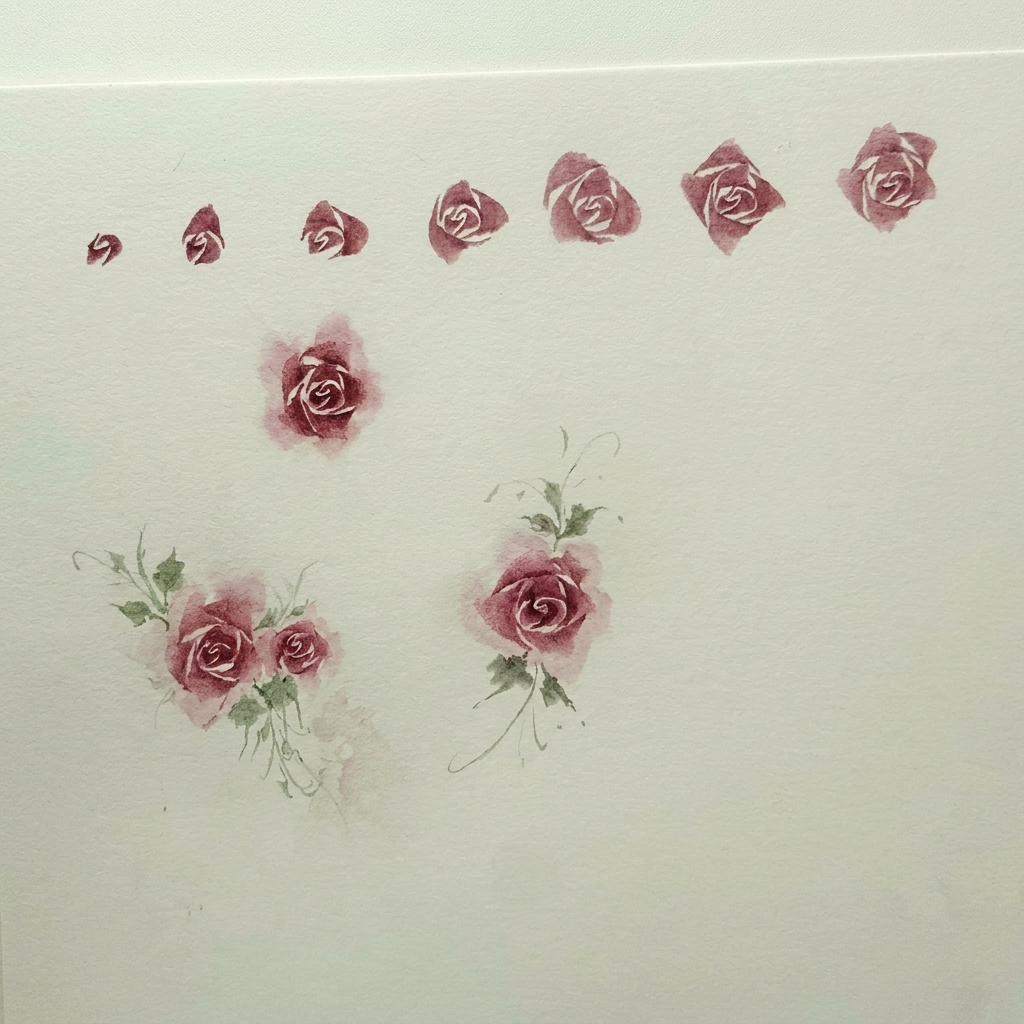
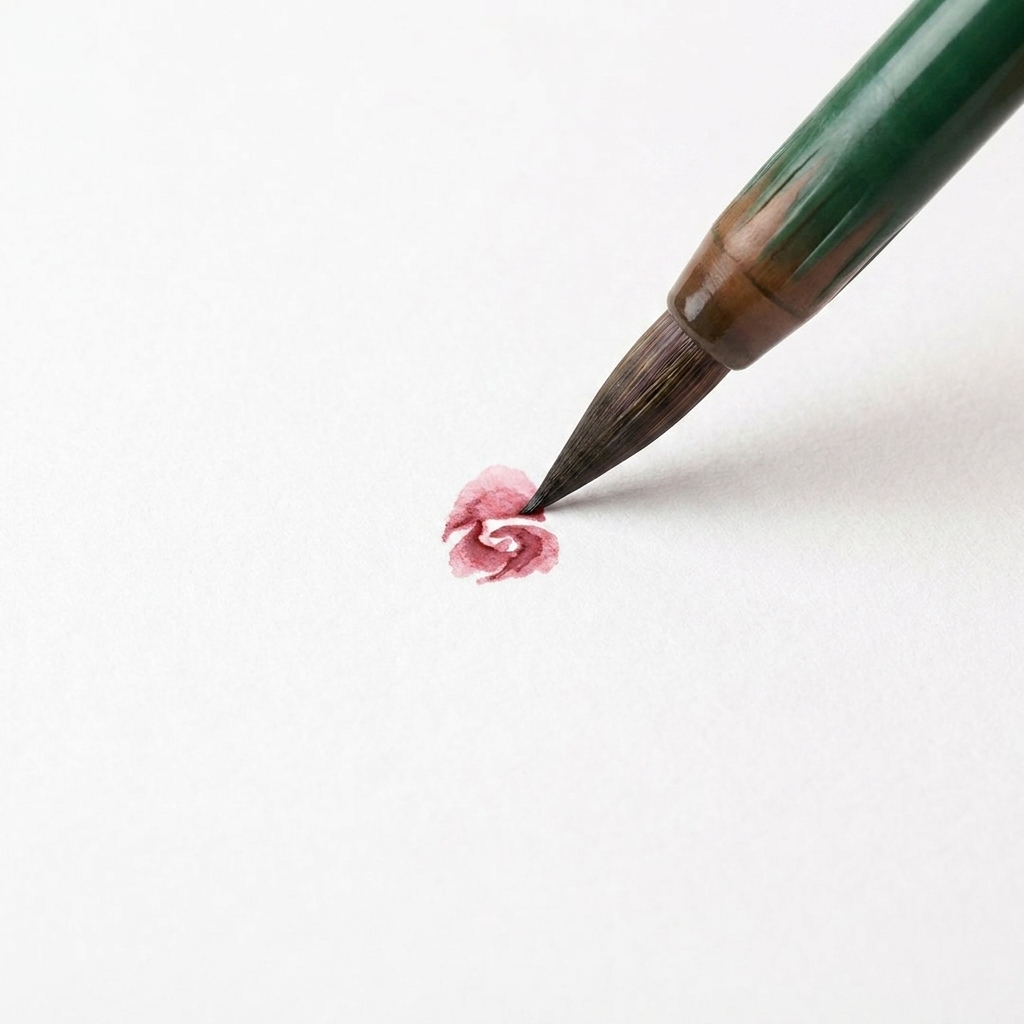
Using a small, pointed watercolor brush, load it with deep pink pigment. Begin the rose by painting the small, central core with precise, delicate strokes to establish the focal point of the flower.
Tip: Keep your hand steady and use only the tip of the brush to ensure the core is compact and detailed. - 2Form the inner petals
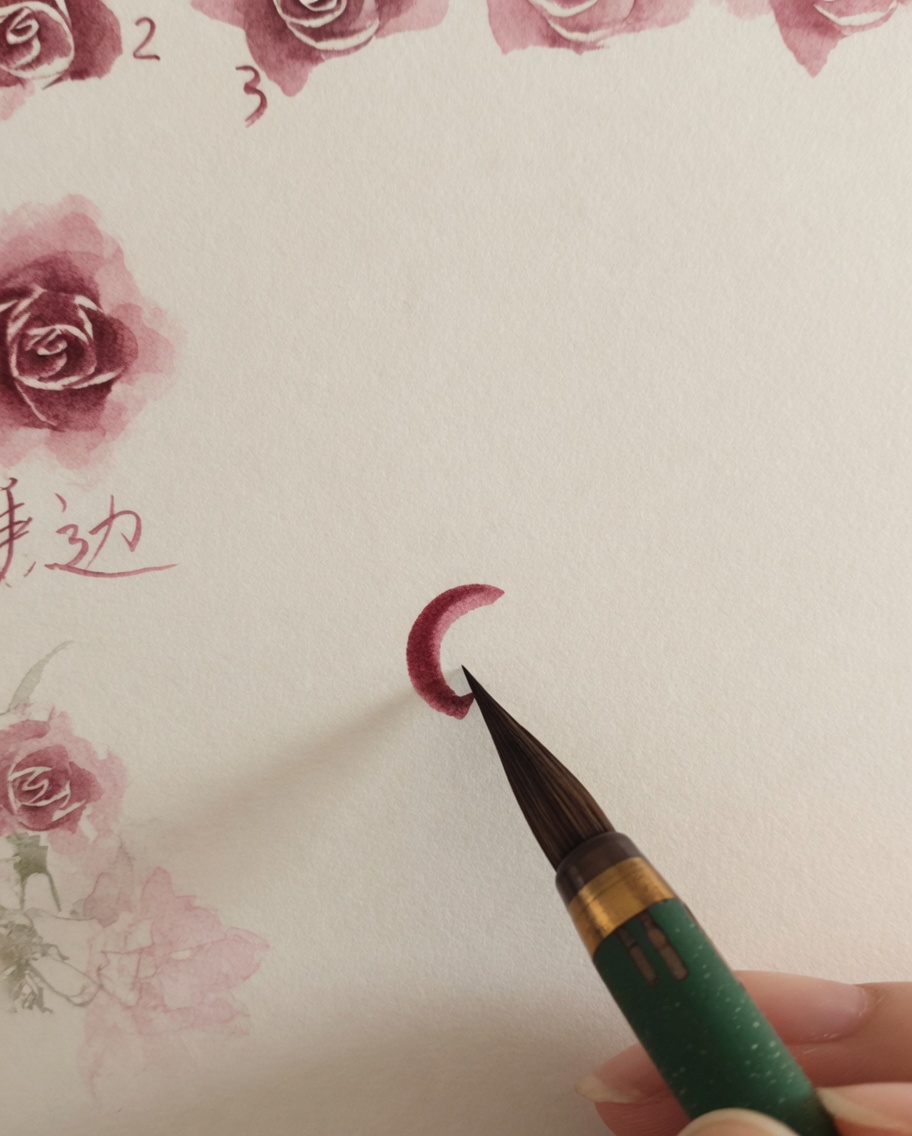
Continue with the same brush to paint the delicate inner petals immediately surrounding the center core. Use light, curved strokes to create the appearance of layers unfolding from the middle.
Tip: Vary the pressure of your brush to make the edges of the petals look soft and natural. - 3Add upper right petal
Expand the rose by painting a larger petal layer on the upper right side. Use a slightly lighter wash of pink to create depth and shadow, keeping the edges of the petal soft.
Tip: Clean your brush and use clear water to gently soften the outer edges of the petal into the paper. - 4Add left side petal
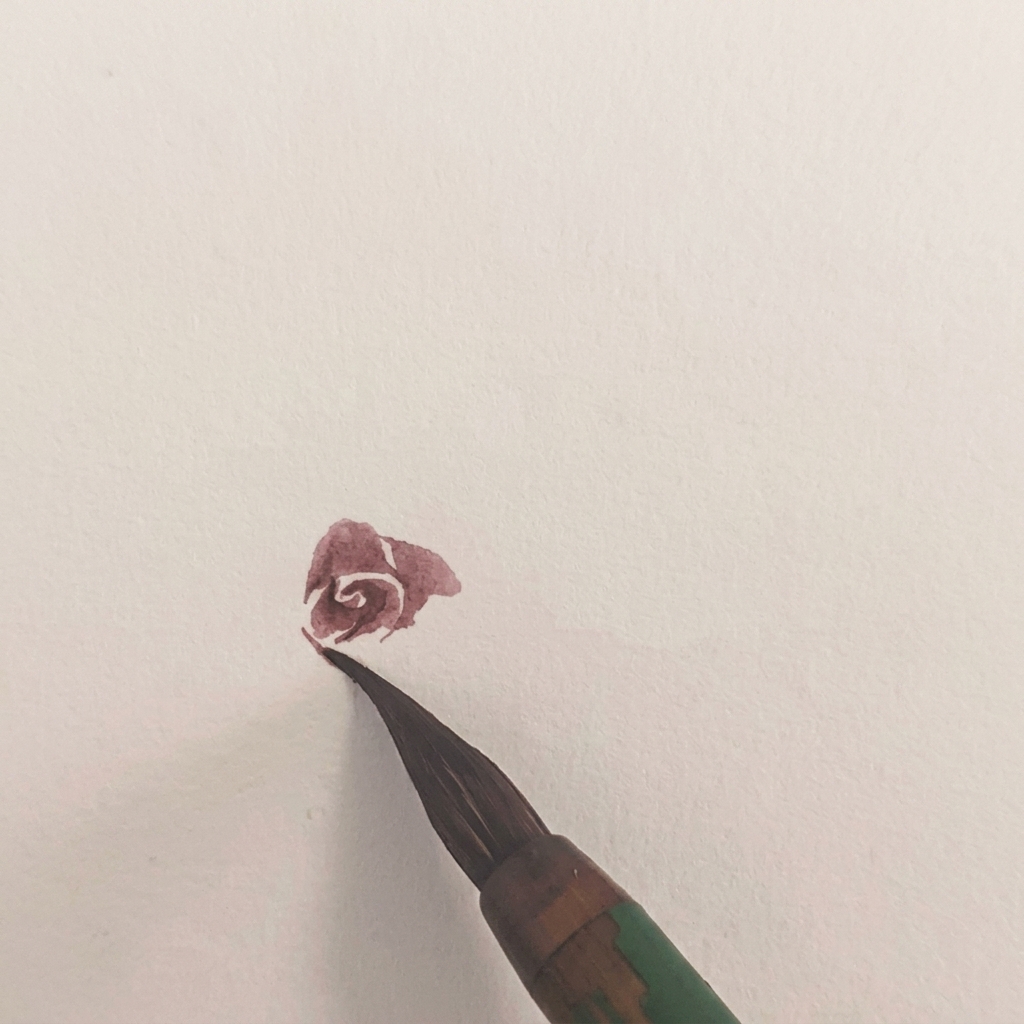
Continue building the flower shape by applying a second petal layer to the left side. Match the color intensity of the previous layer to maintain a cohesive look across the bloom.
Tip: Ensure the connection points between petals remain subtle to keep the rose looking organic. - 5Layer the third petal
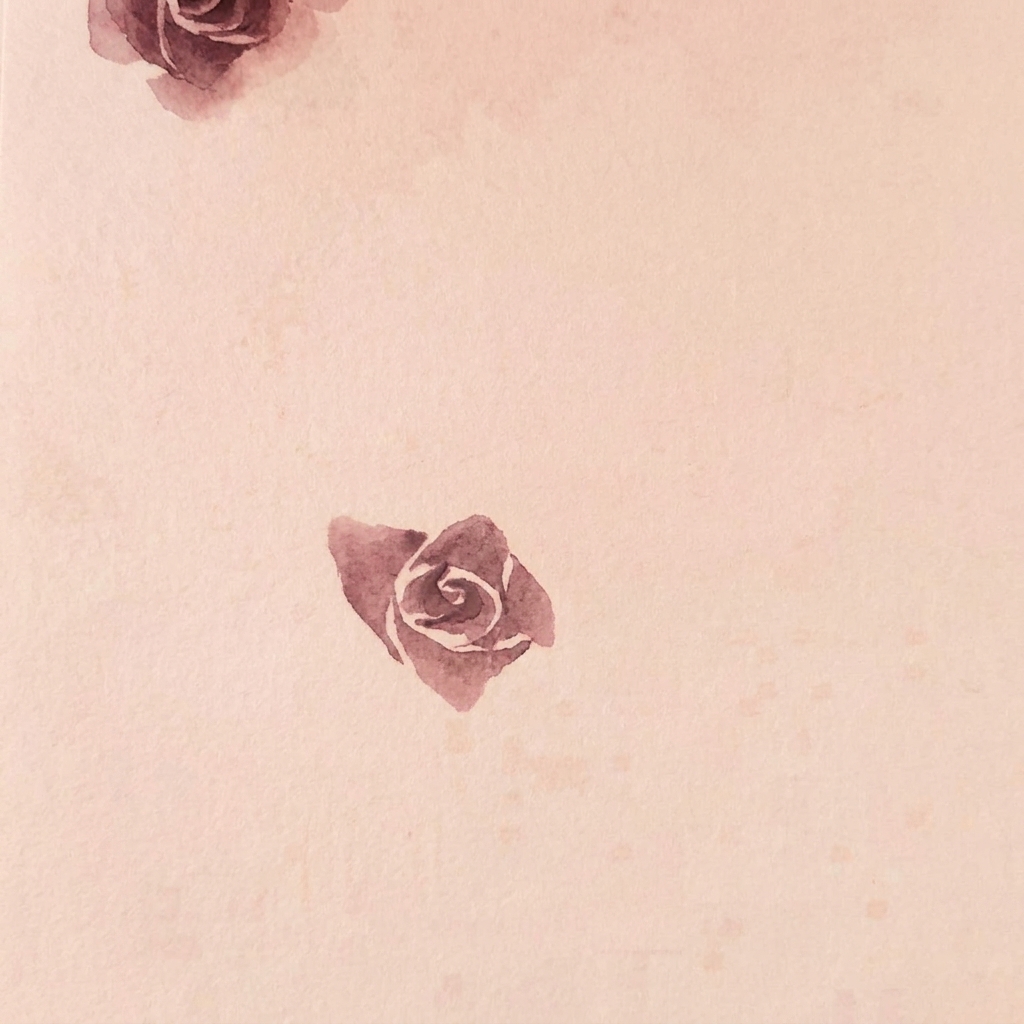
Add a third petal layer to further develop the volume and shape of the rose. Place this layer to bridge the gaps between existing petals, continuing the circular growth pattern of the flower.
Tip: Work quickly while the previous layers are still slightly damp to allow for a soft color blend if desired. - 6Expand rose volume
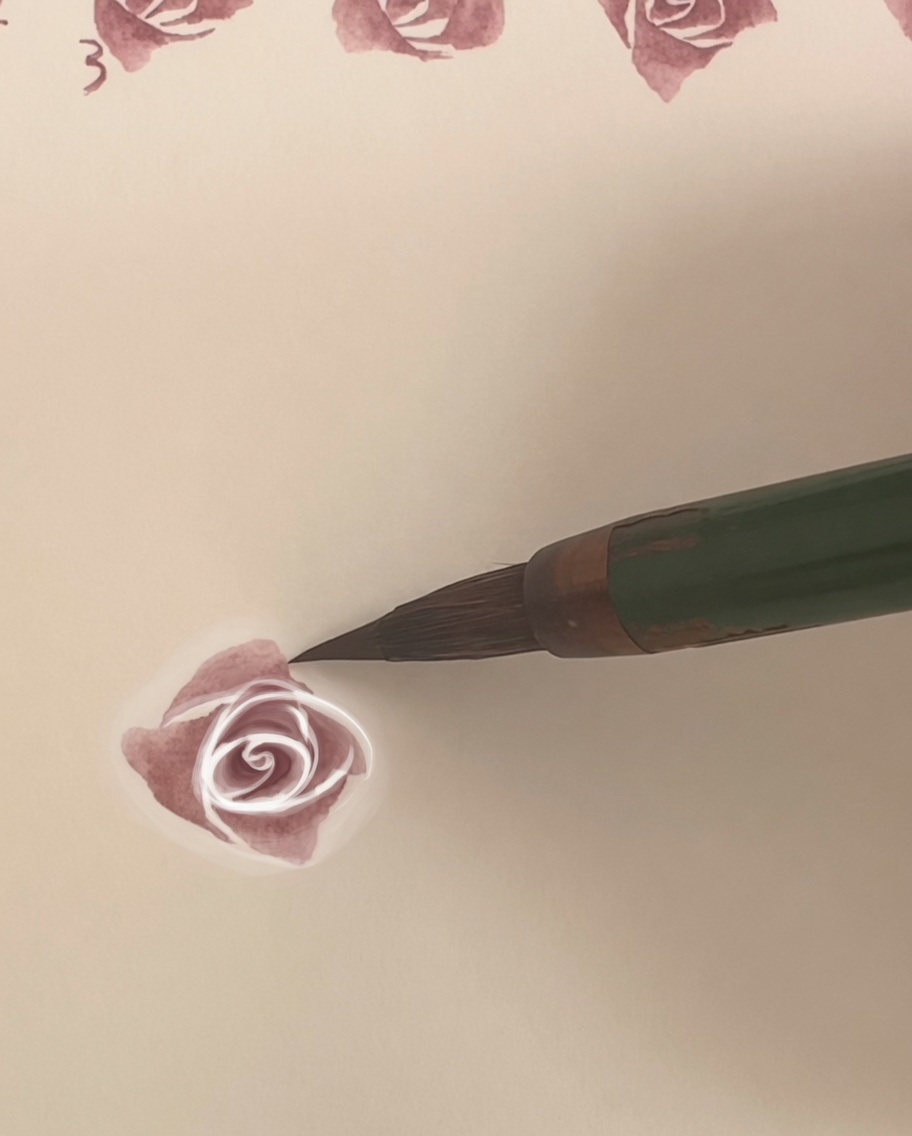
Apply the fourth petal layer to significantly expand the volume of the rose. Focus on creating wider, more expressive curves that frame the inner layers and give the flower a full, realistic appearance.
Tip: Use a light touch to ensure these outer petals dont overpower the delicate detail of the center core. - 7Complete the rose bloom
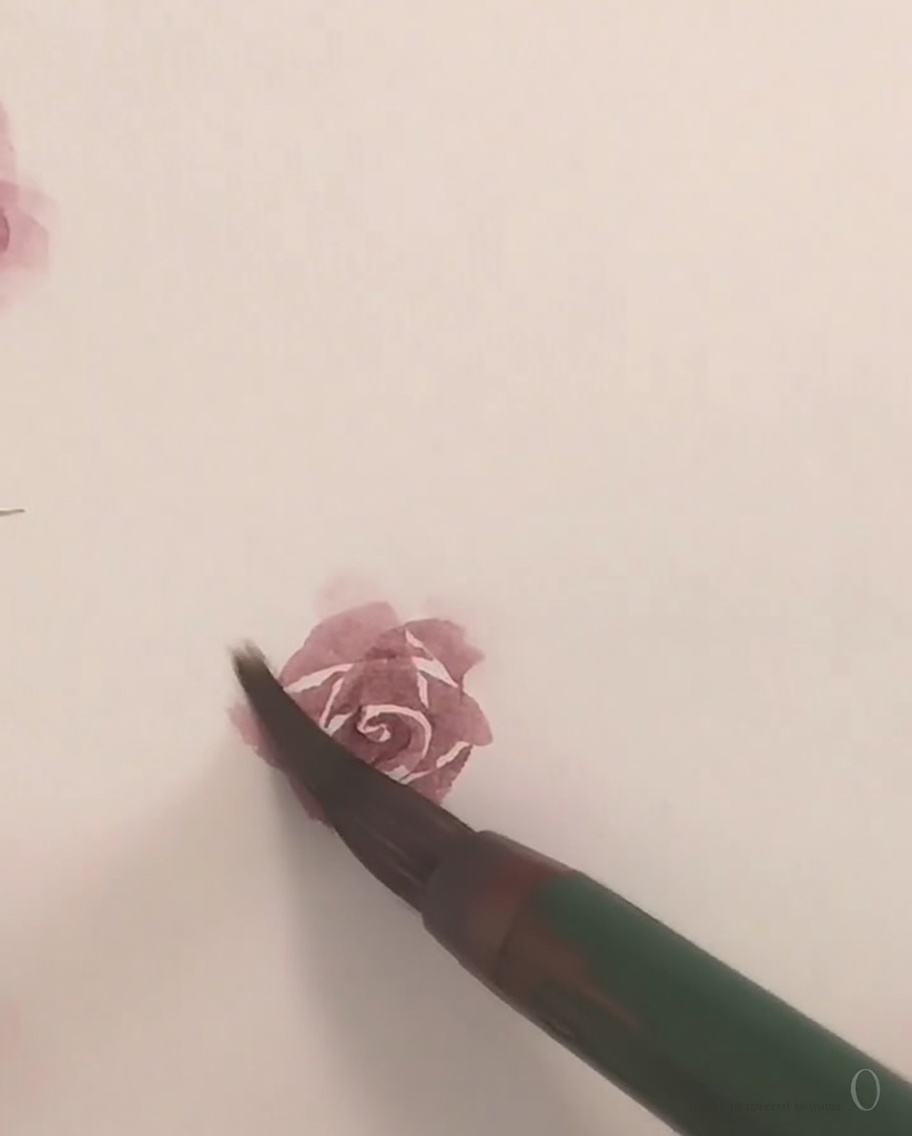
Apply the final petal layer to round out the rose bloom. Ensure the paint is slightly diluted to maintain the soft watercolor effect of the previous layers, creating depth and dimension.
Tip: Keep the paint consistency light to prevent it from becoming too dark compared to the inner petals. - 8Soften petal edges
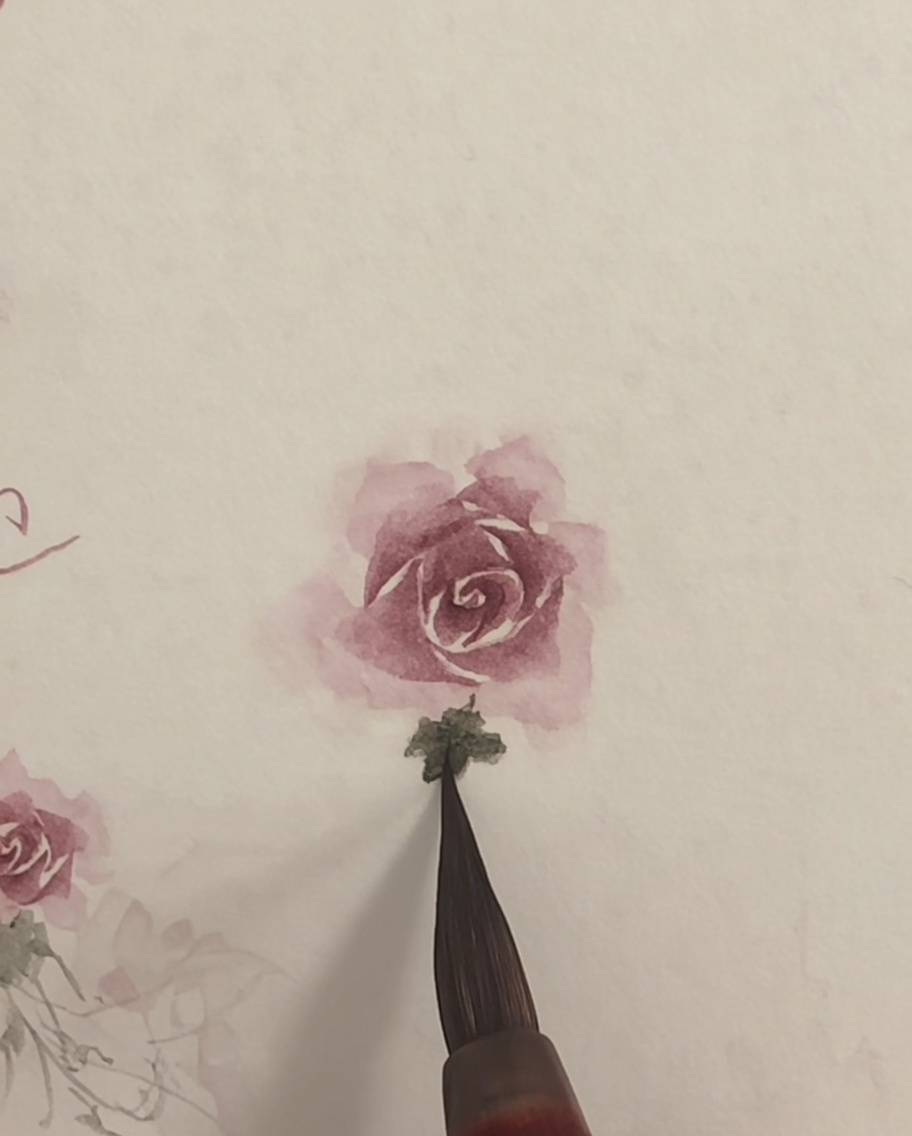
Using a clean, damp brush, gently stroke along the outer edges of the painted petals. This technique softens the paint, blurring the lines to achieve a characteristic watercolor gradient.
Tip: Ensure your brush is only damp, not soaking wet, to avoid creating water blooms or puddles on the paper. - 9Add leaves
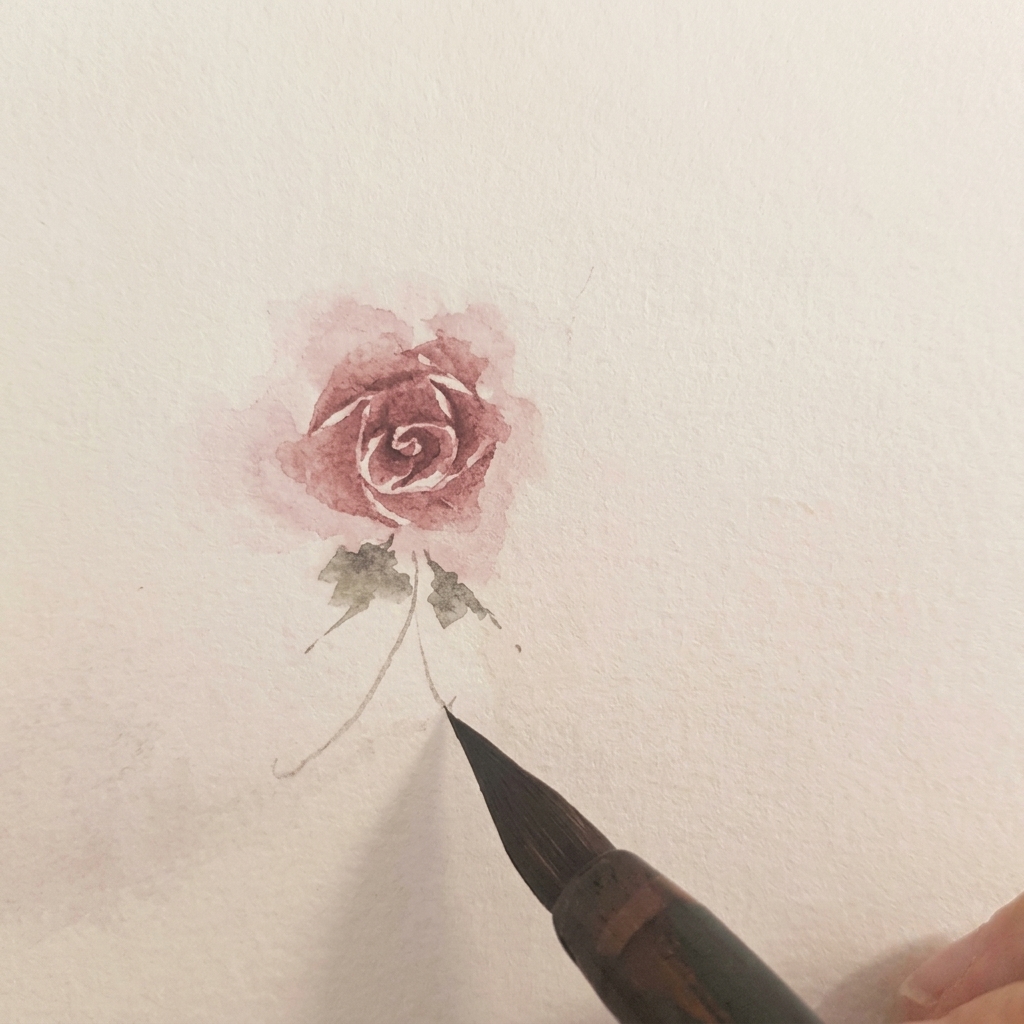
Using a small brush, apply two green leaves at the base of the rose. Use a light touch to vary the pressure, creating a natural leaf shape that tapers at the ends.
Tip: Varying the green shade slightly can add realism to the leaves.