Tiptoe Rose Stiletto Nails — Intricate Lace
Floral Tutorial
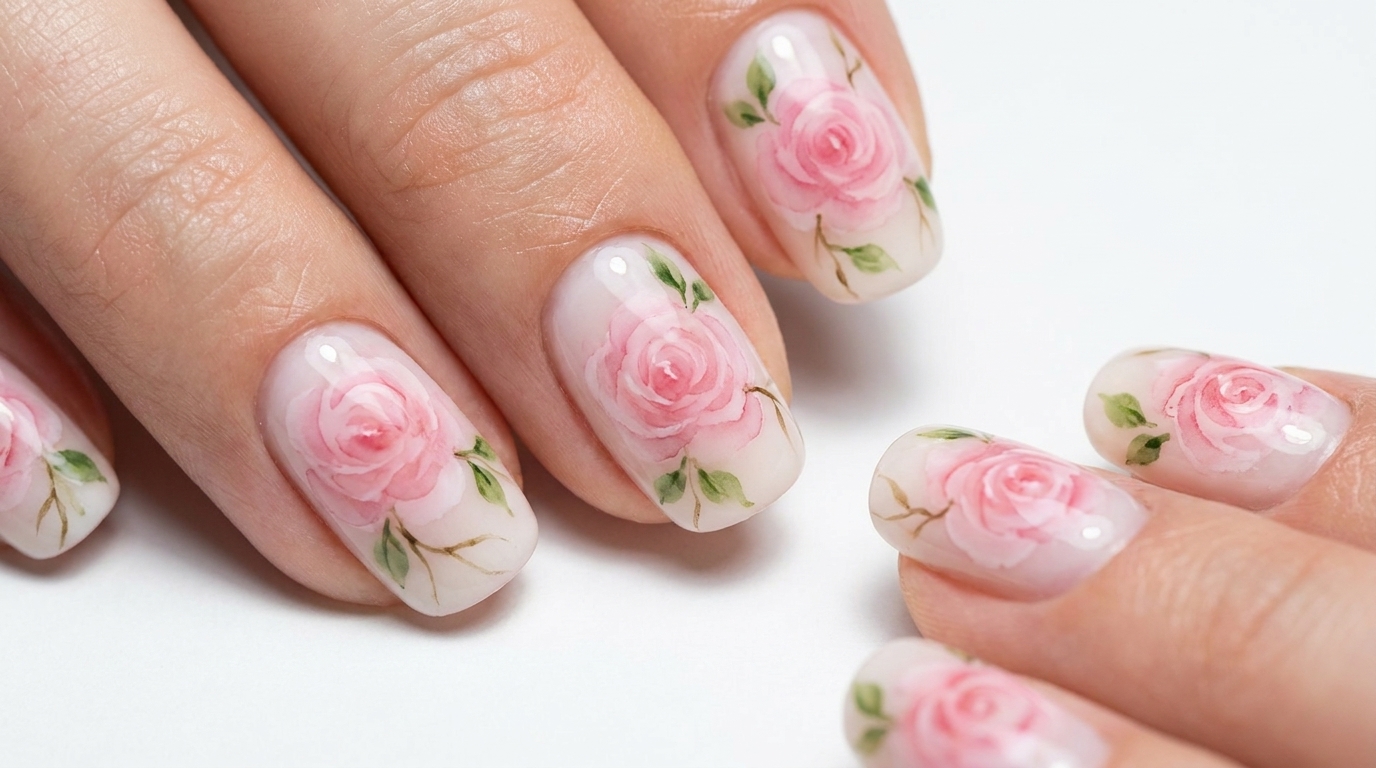
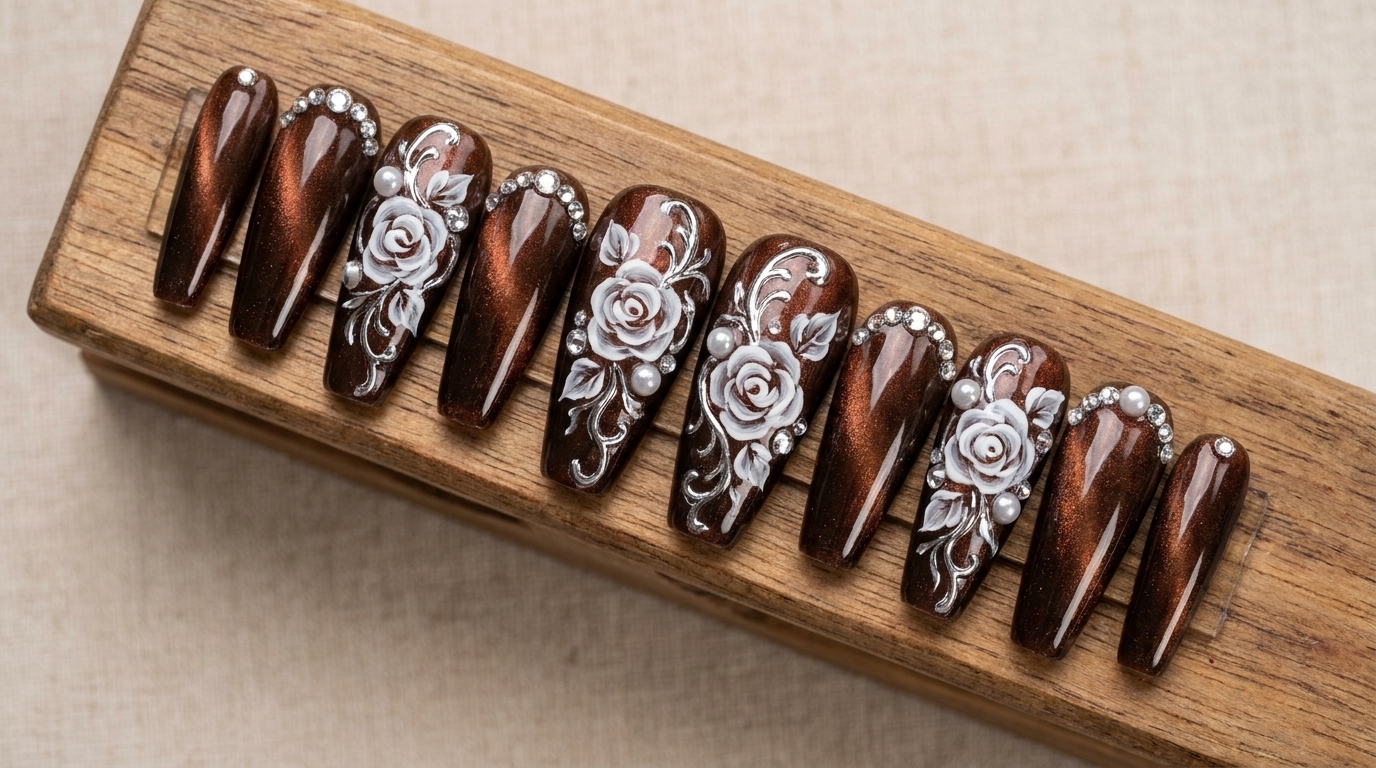
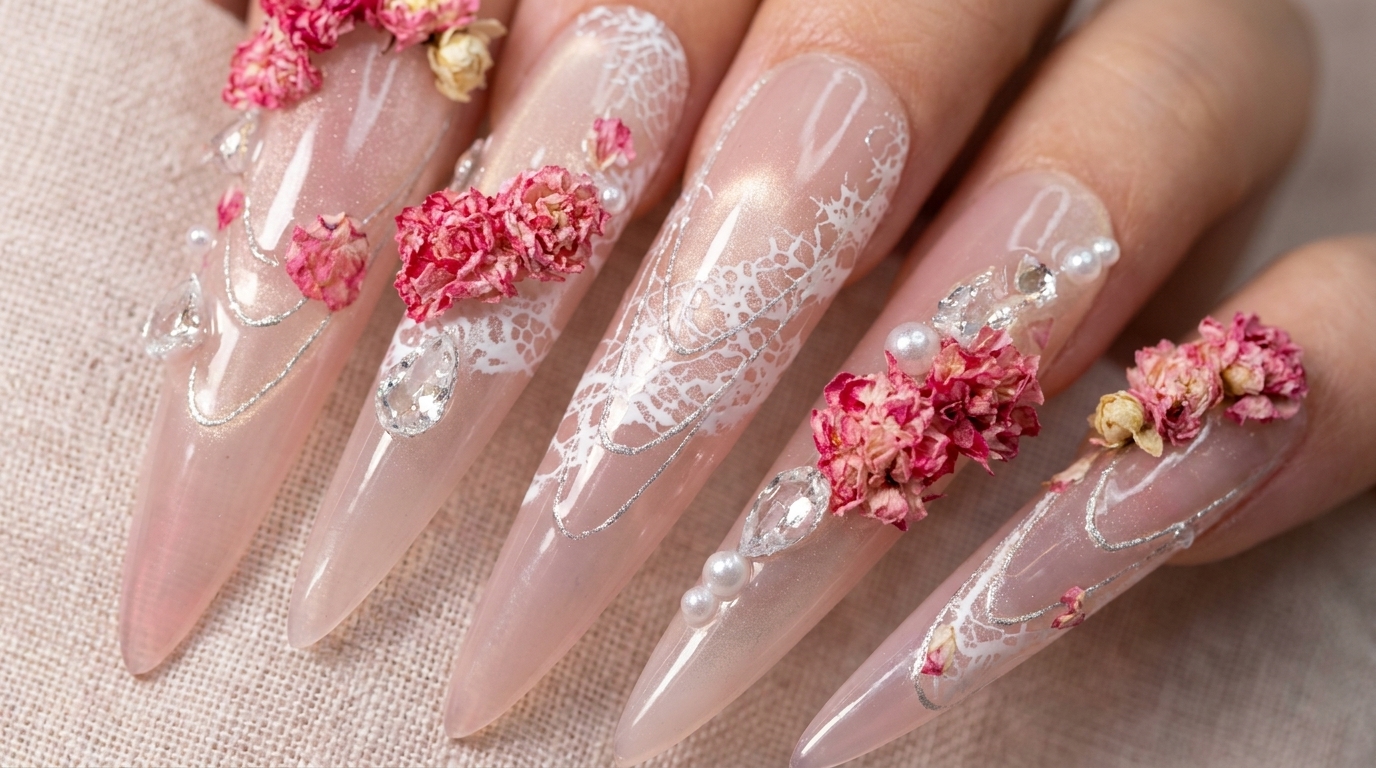
Elevate your nail art with the Tiptoe Rose design, featuring soft pink gradients, delicate lace stamping, and elegant dried flower embellishments.
The Tiptoe Rose look perfectly captures a sophisticated, feminine aesthetic by blending soft pink hues with intricate textures. This design combines the depth of cat-eye effects with the delicacy of lace stamping and natural dried flower accents, creating a dimensional, high-fashion look. It is an ideal choice for those who love detailed, elegant nail art that stands out.
Steps
- 1Apply pink gradient blush
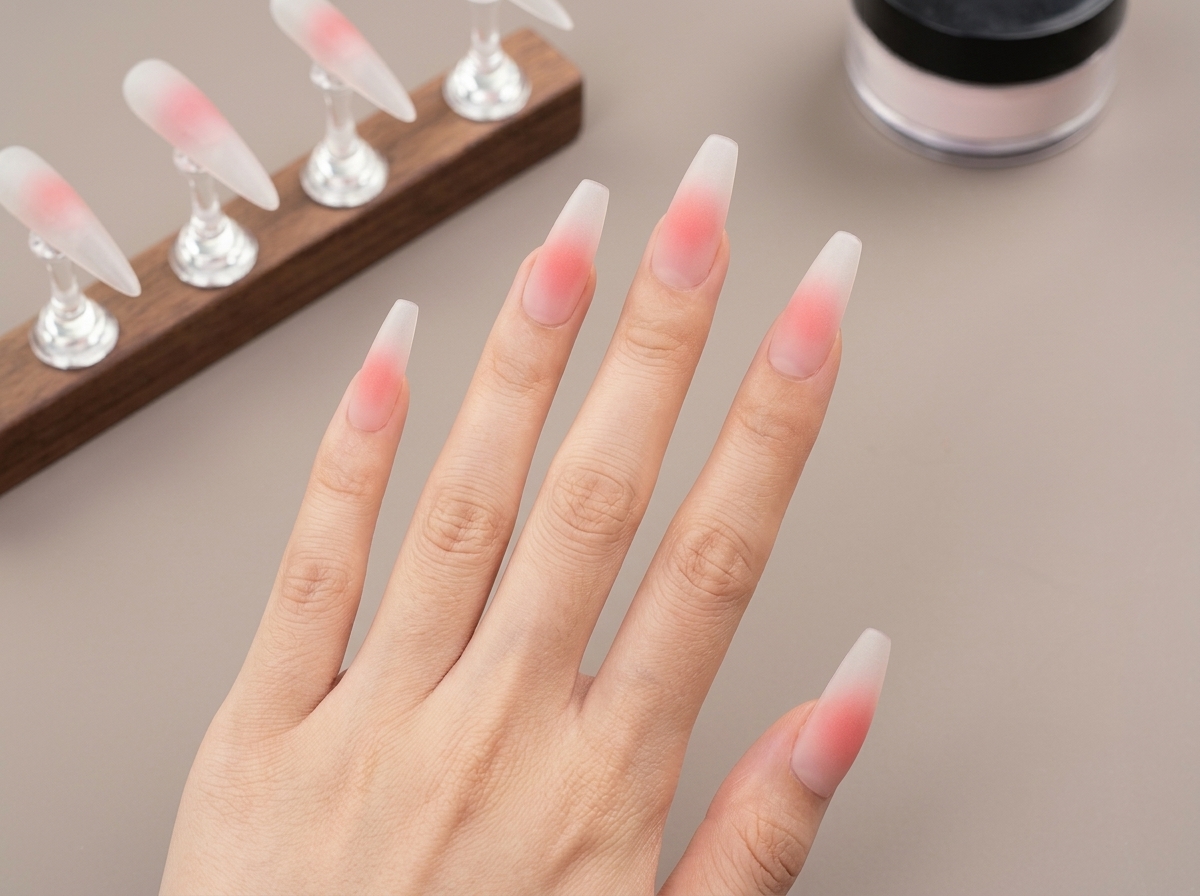
Using your chosen blush color, gently dab the pigment onto the tips of your nails to create a soft, gradient effect. Focus the color intensity at the very tip, fading it out toward the middle of the nail for a smooth transition.
Tip: Use a light hand and build the color gradually to ensure a seamless, diffused gradient. - 2Apply base coat
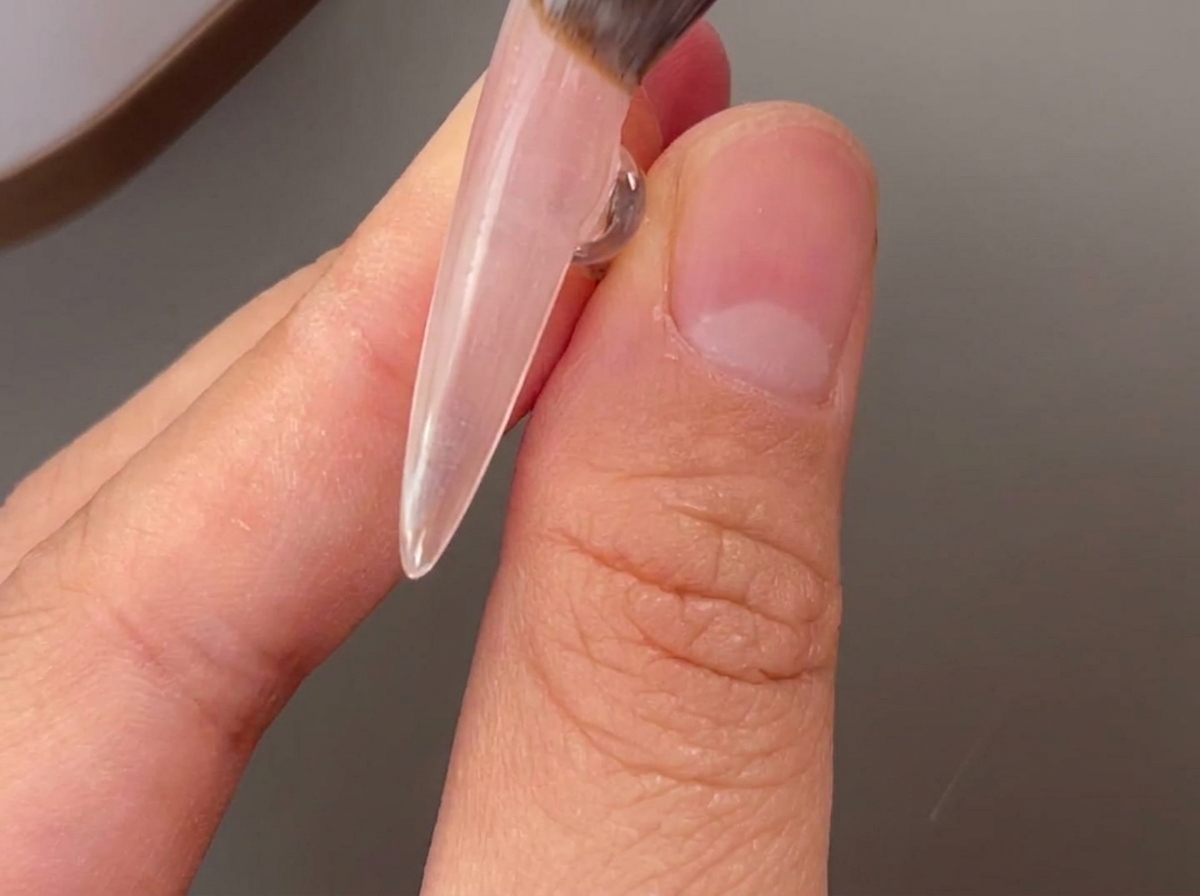
Apply a thin, even layer of gel base coat to each nail, ensuring you cap the free edge to prevent lifting. Avoid getting product on the skin or cuticles, and cure under your UV or LED lamp as per the manufacturers instructions.
Tip: Capping the free edge is essential for long-lasting gel manicures and helps prevent the gel from peeling at the tips. - 3Apply cat-eye gel to specific nails
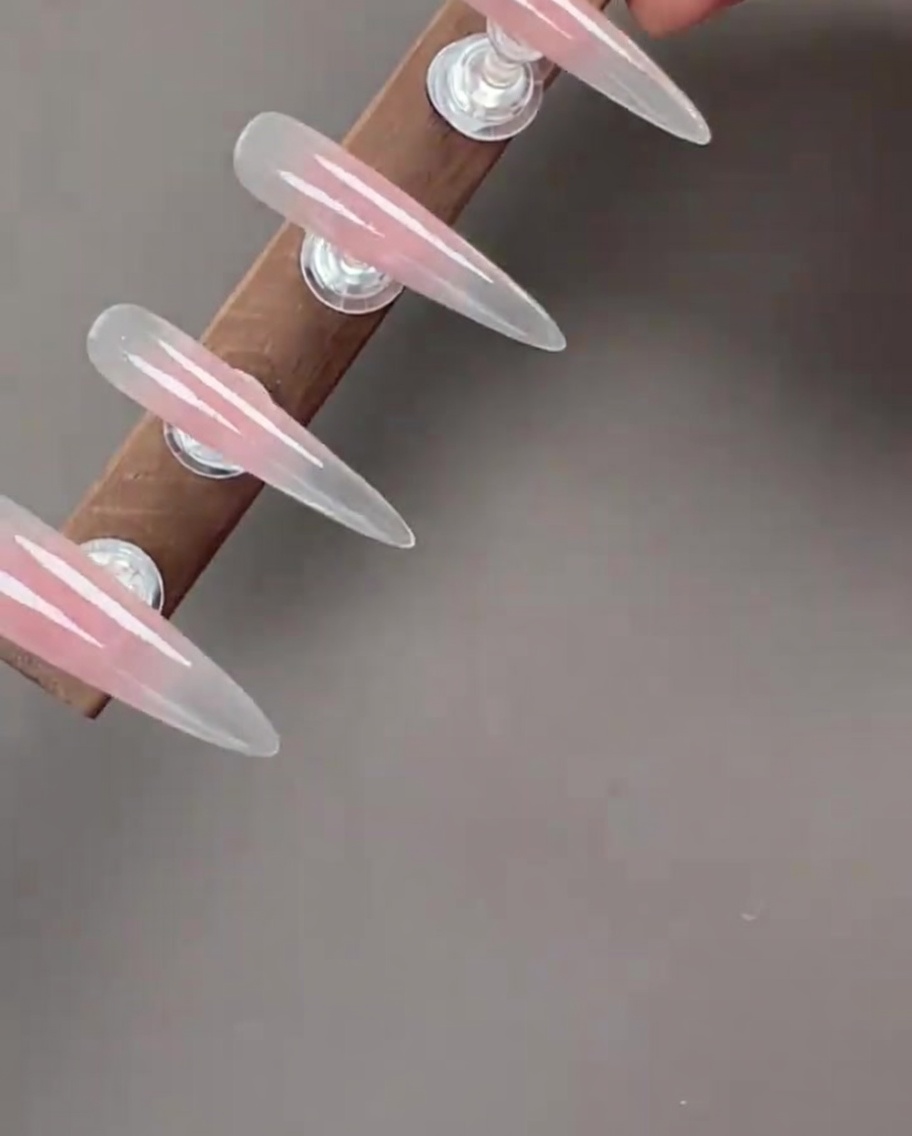
Apply your cat-eye gel to the first and fifth nails. Before curing, use a magnet to manipulate the magnetic particles within the gel to create your desired cat-eye pattern, then cure immediately.
Tip: Hold the magnet close to the nail for a few seconds to let the particles react fully before curing. - 4Apply glass cat-eye gel
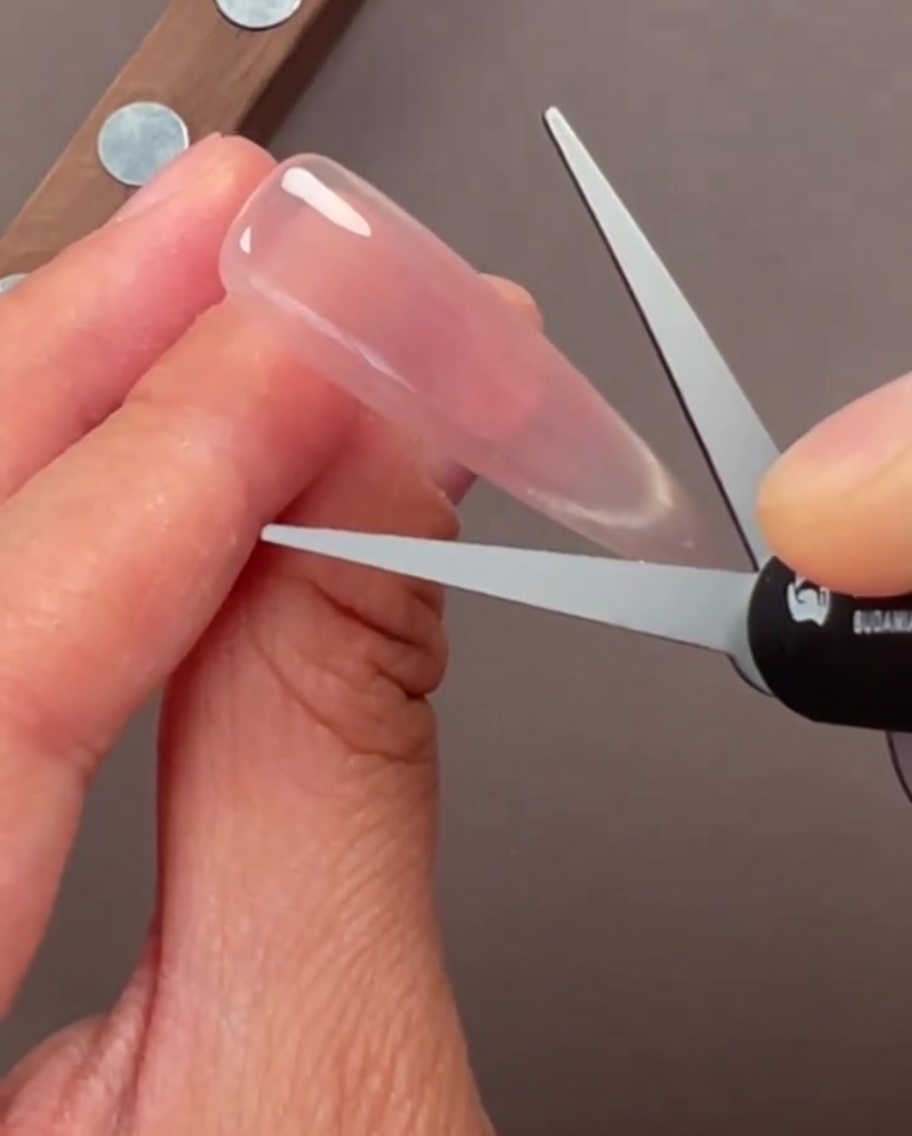
Apply a layer of glass cat-eye gel to the second and third nails. Like standard cat-eye gel, you can use a magnet to move the particles and create depth within the translucent glass-like finish, then cure.
Tip: The glass cat-eye finish looks beautiful layered over other colors for added dimension. - 5Create side-light cat-eye effect
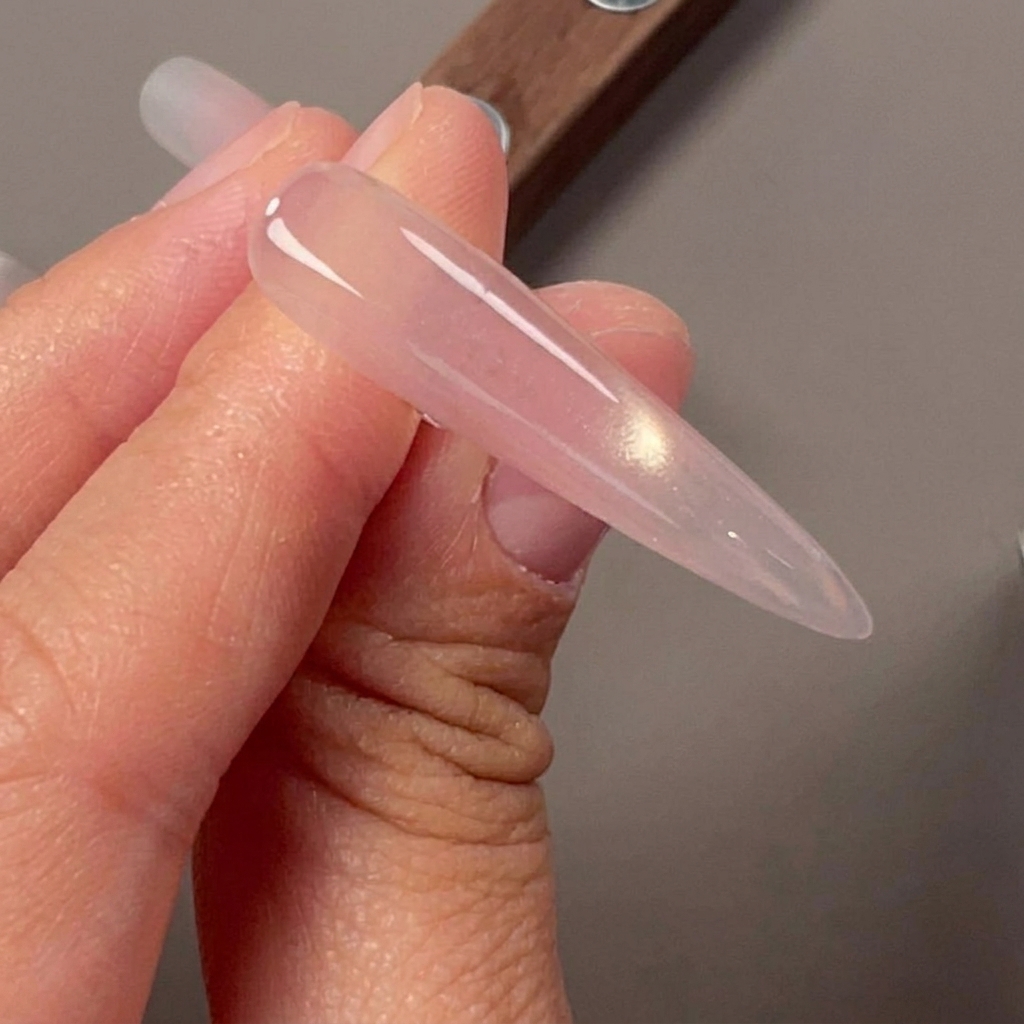
Apply cat-eye gel to the fourth nail. Use a magnet held at a specific angle to pull the magnetic particles toward one side of the nail, creating a sharp, glowing side-light effect, then cure.
Tip: Consistency in the angle of the magnet will help achieve a clean, defined side-light line. - 6Stamp white lace patterns
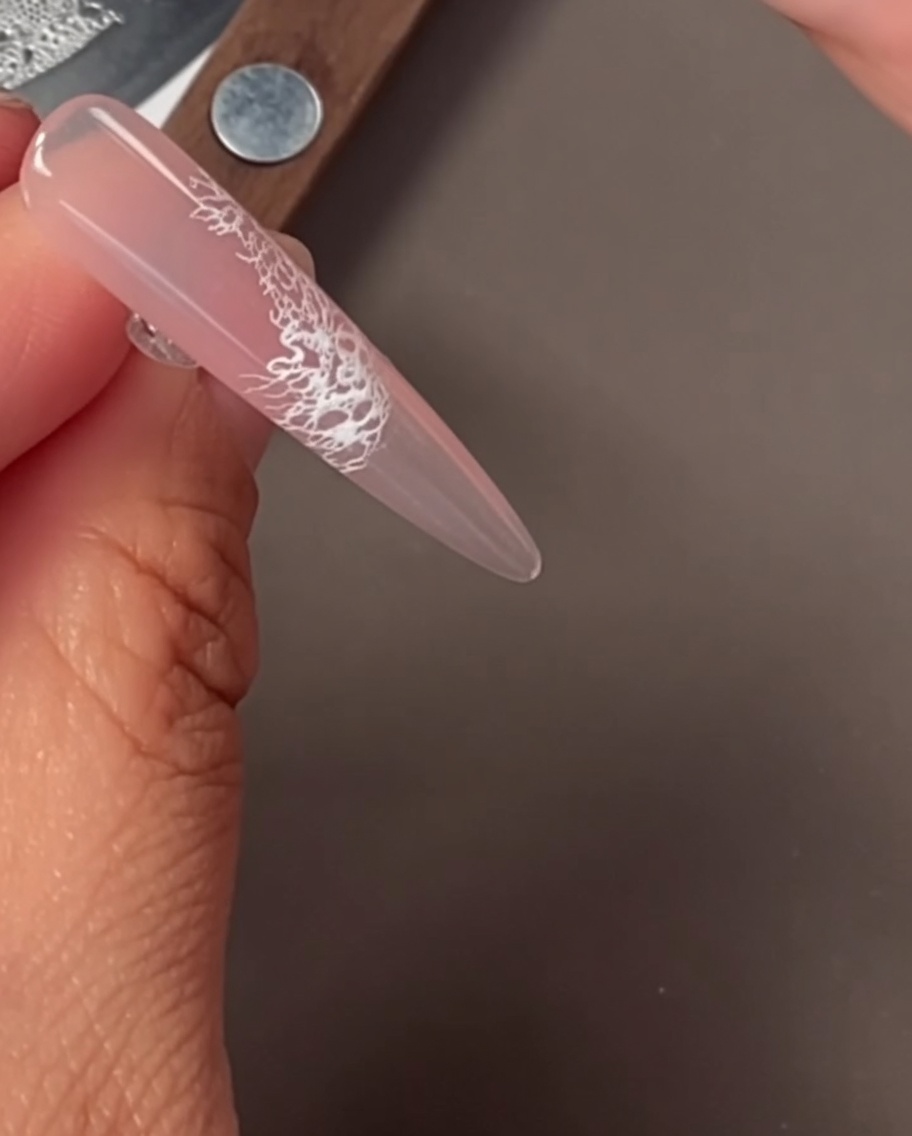
Using a nail stamper and white stamping polish, transfer intricate lace designs onto the second and third nails. Carefully align the design and press the stamper firmly onto the cured nail surface.
Tip: Ensure your stamping plate is clean and you move quickly when transferring the design to prevent the polish from drying too fast. - 7Apply top coat
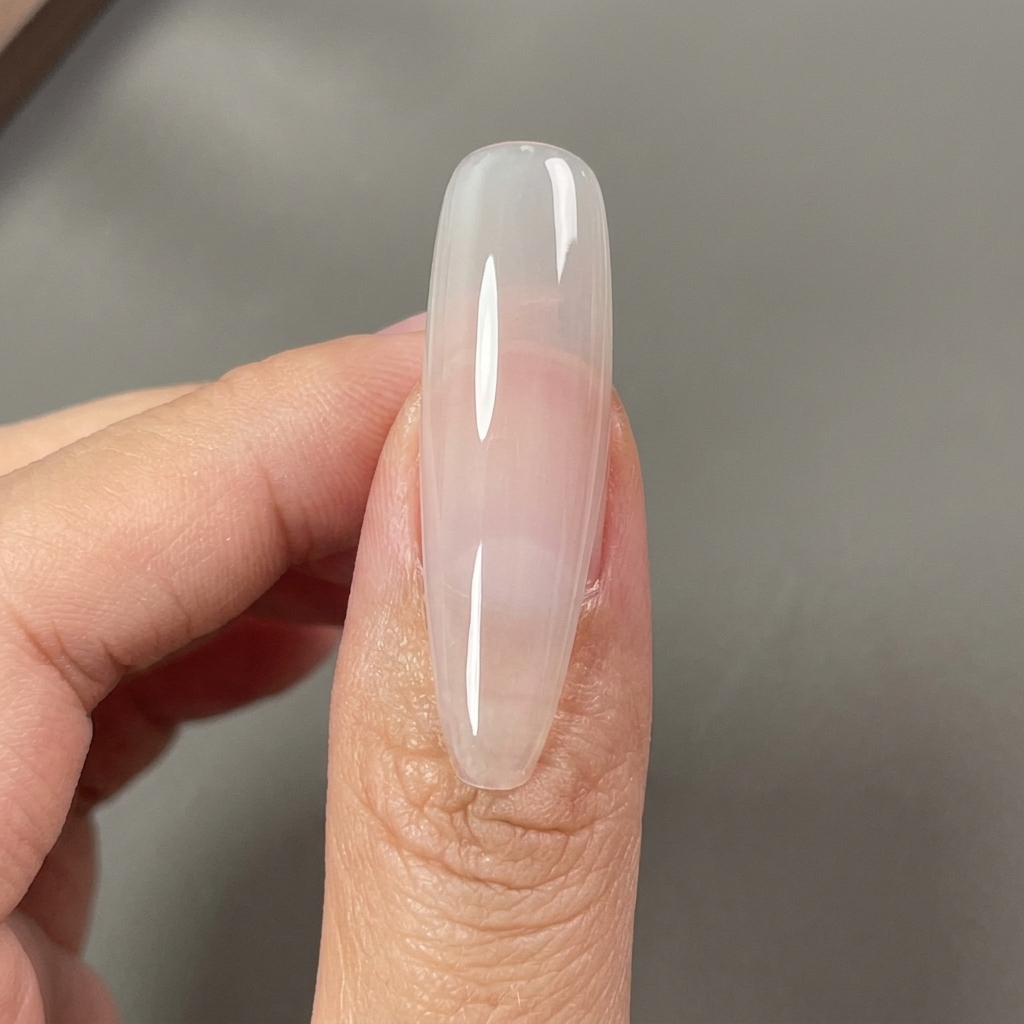
Apply a smooth, even layer of top coat over the entire nail surface to seal in your design and add a high-gloss finish. Be sure to cap the free edge to prevent chipping and ensure longevity. Cure under your UV or LED lamp as directed by the product instructions.
Tip: For a flawless finish, ensure the top coat is applied evenly without pooling at the cuticles. - 8Draw delicate silver lines
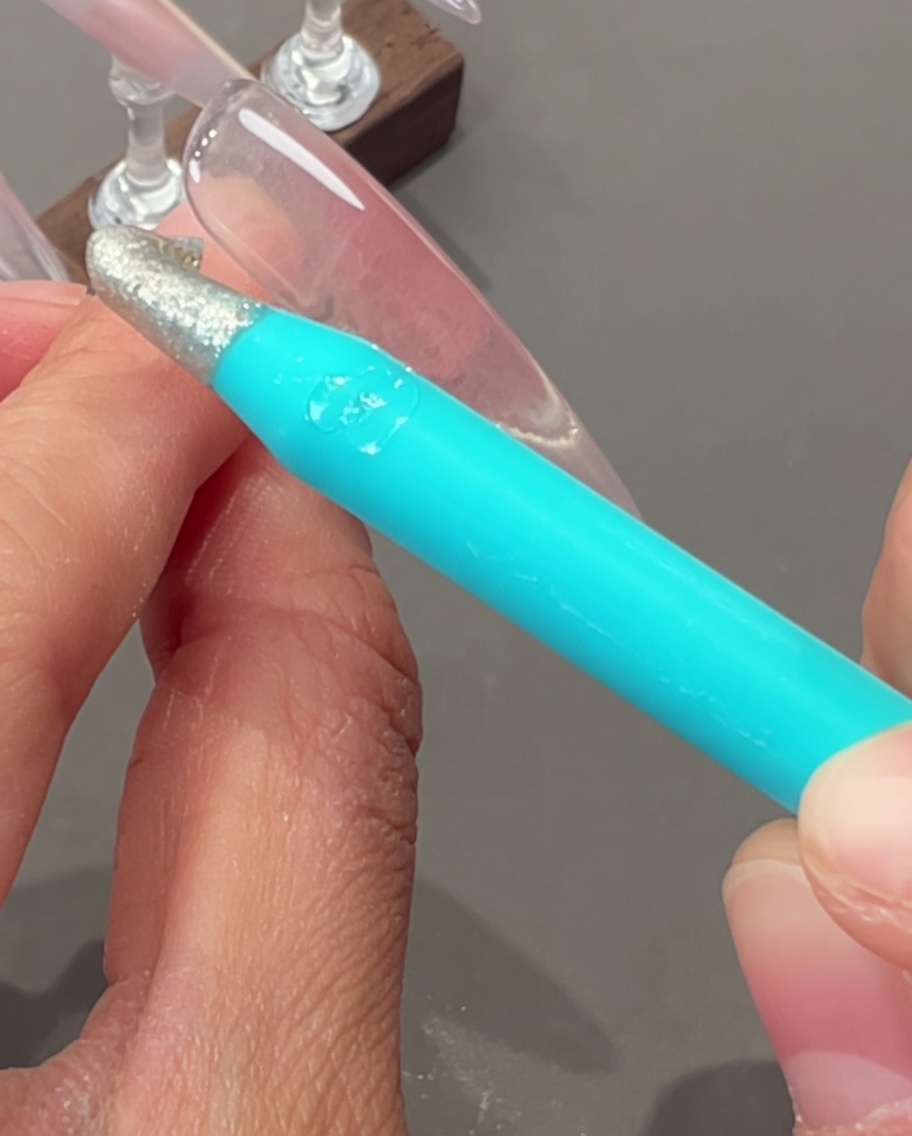
Using a thin liner brush and silver gel or art paint, carefully draw delicate lines across the first, third, and fifth nails. Follow the desired pattern, maintaining a light touch for precise, refined details. Cure the nails briefly if needed to set the art.
Tip: Keep your hand steady by resting your pinky finger on the table while drawing for better control. - 9Apply dried flowers and charms
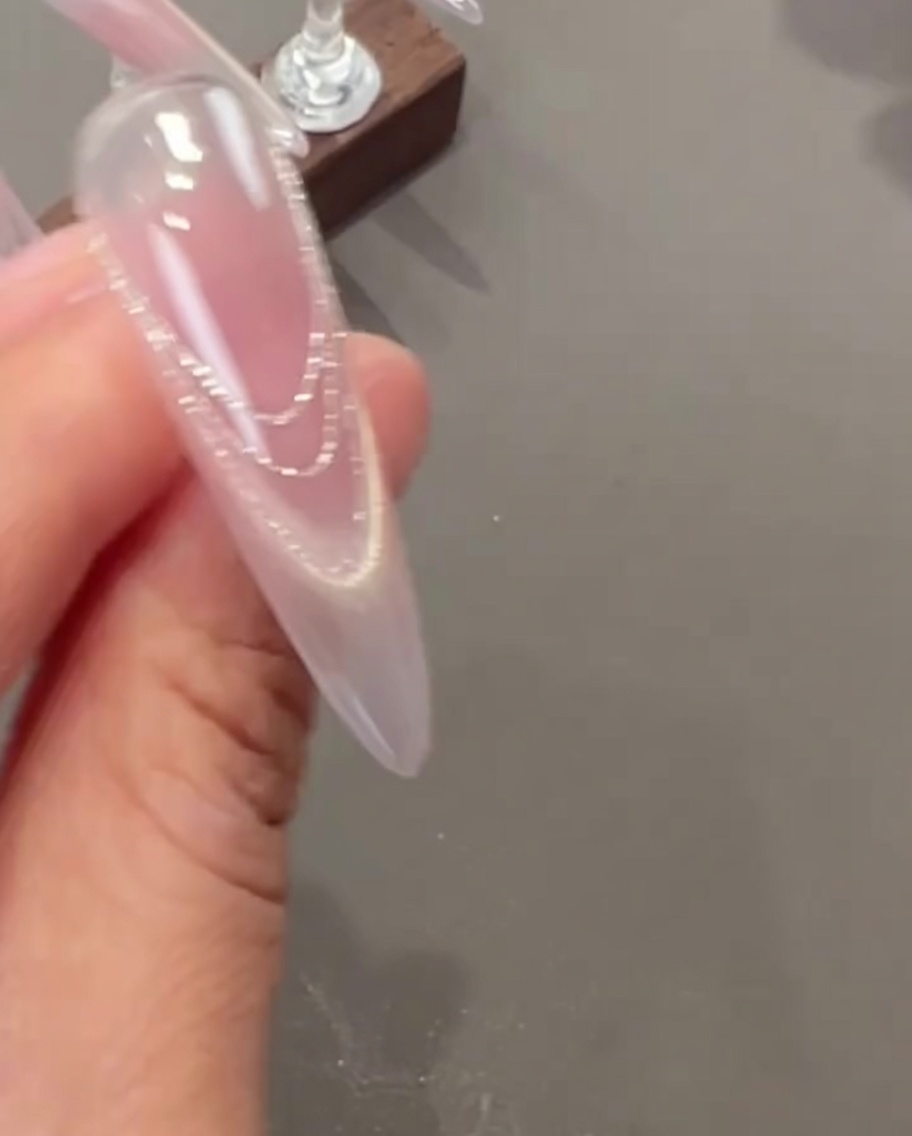
Using tweezers, carefully place dried flowers and small pearl charms onto the nail surface while the base or top coat is still slightly tacky. Once arranged to your liking, press them down gently to ensure they are flush with the nail. Apply an additional layer of top coat to secure the decorations and provide a smooth, durable finish.
Tip: Use a dot of clear builder gel under heavier charms to ensure they stay firmly attached to the nail.