Elegant White Rose Liner Brush Nail Art — Step-by-Step Tutorial
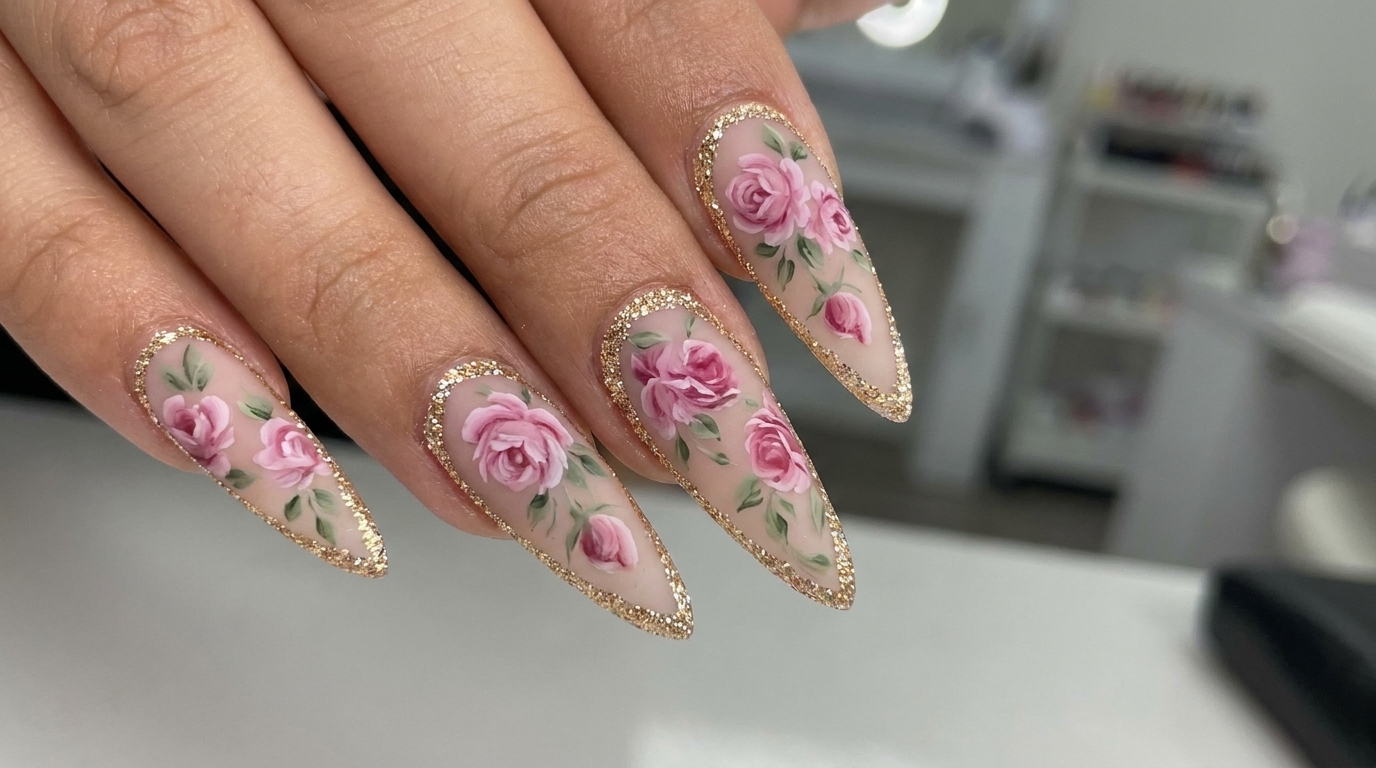
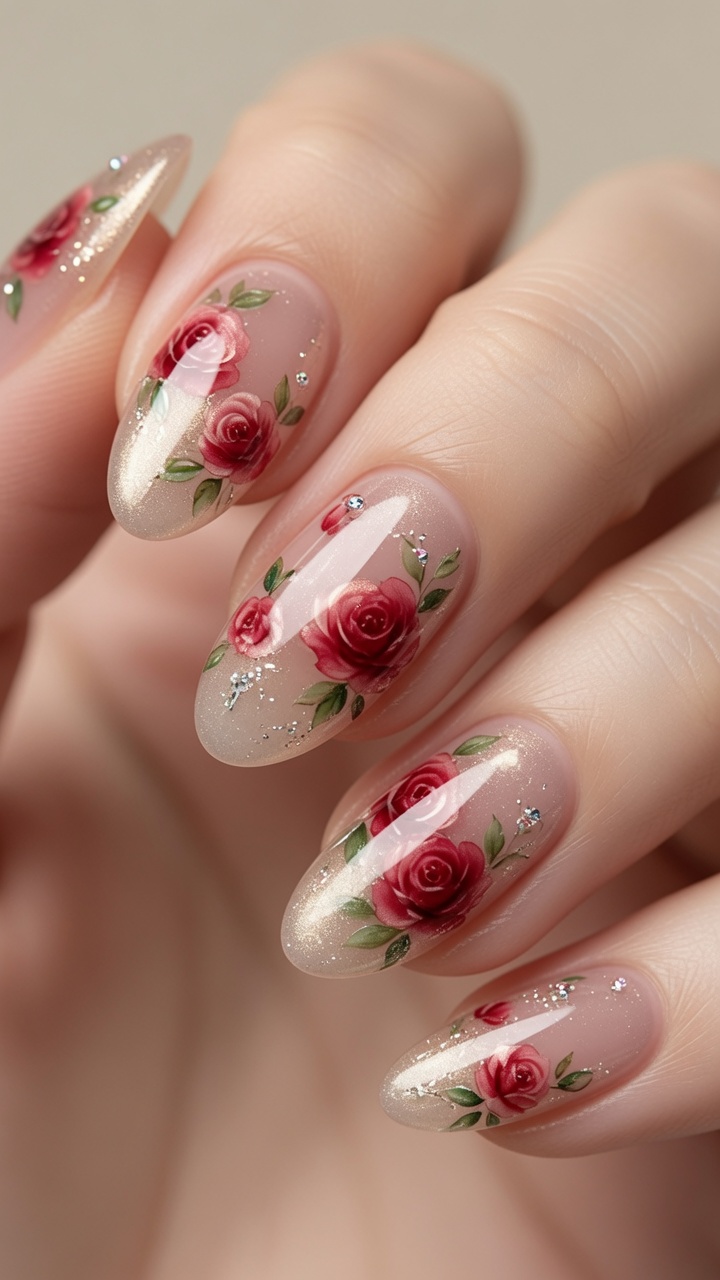
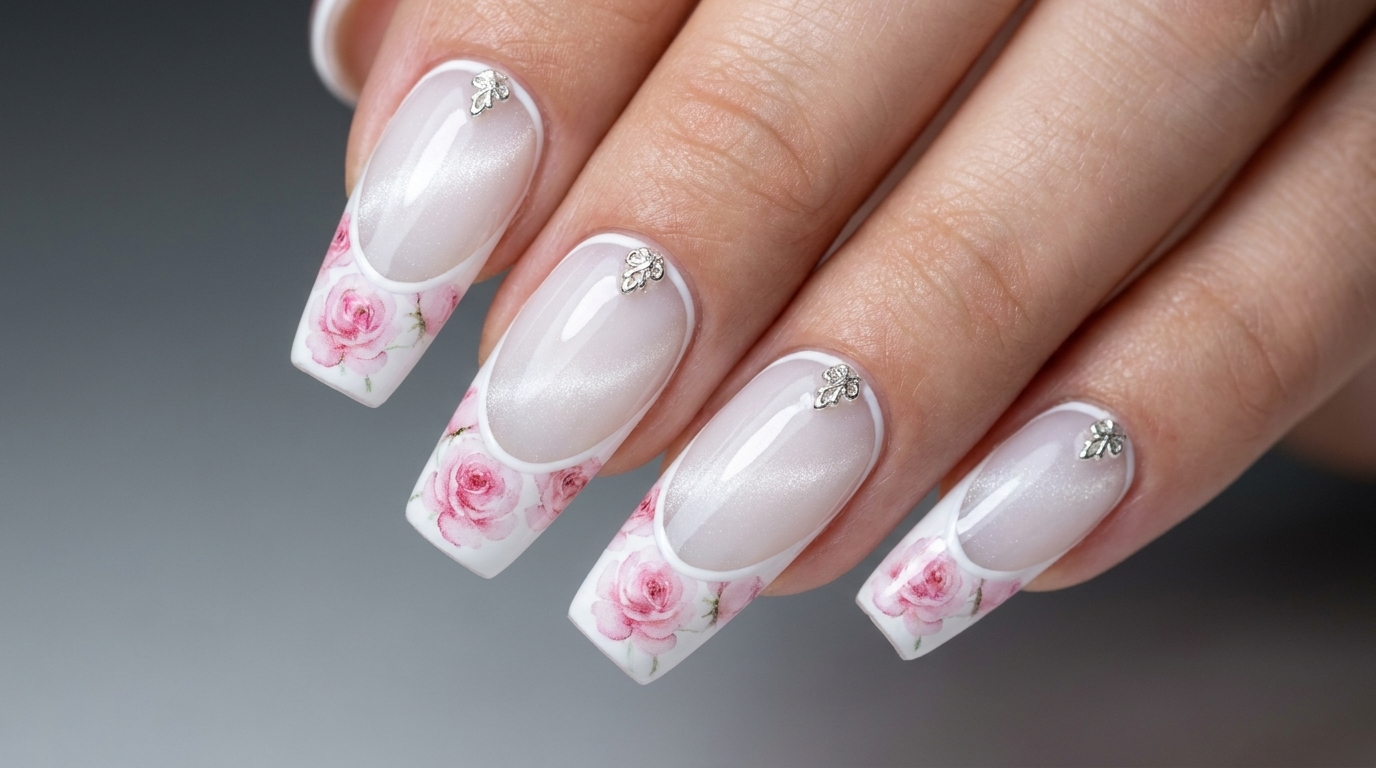
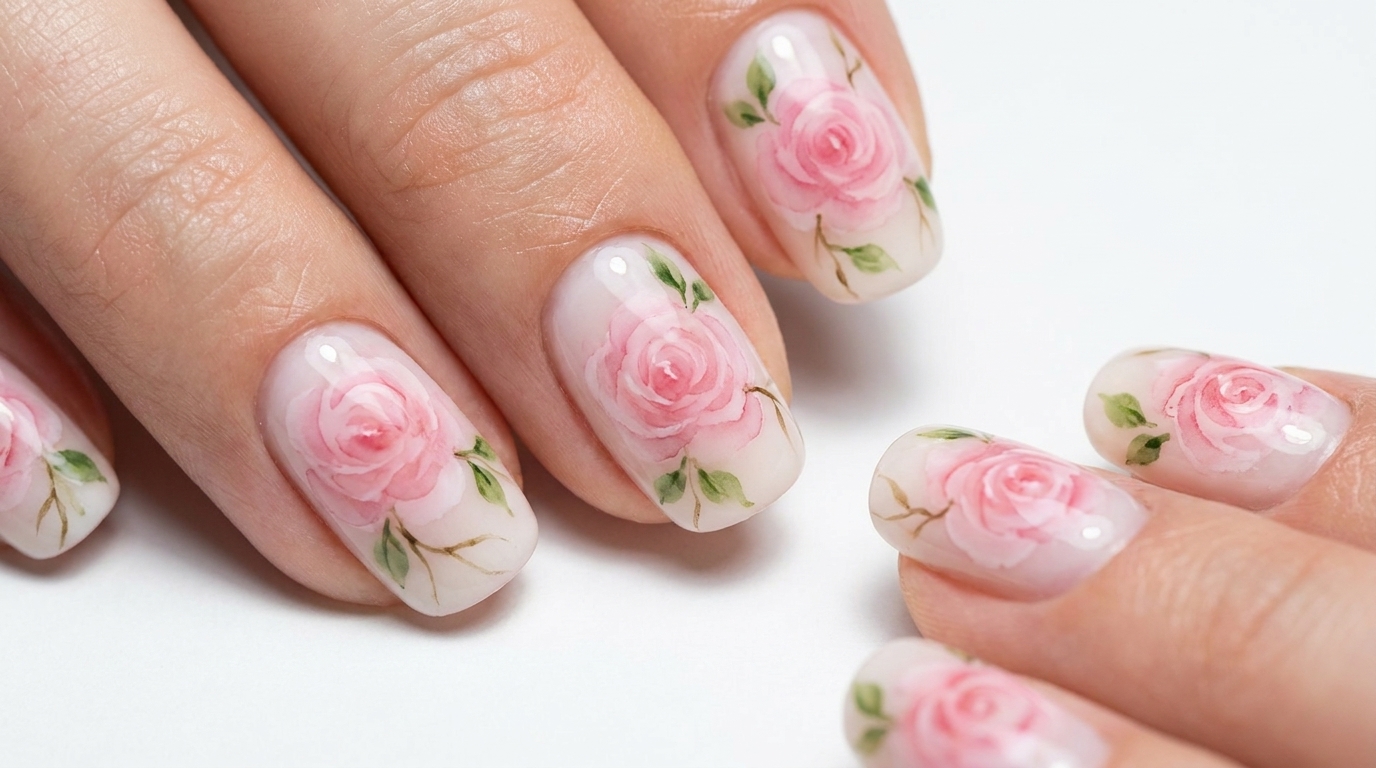
Create delicate, hand-painted white rose nail art with this easy liner brush technique. Perfect for adding a sophisticated, minimalist floral touch to any manicure.
Elevate your nail art collection with this timeless white rose design. Using a precise liner brush, you can master the art of layered petals and sweeping vines to create a sophisticated floral look that works beautifully on any base color.
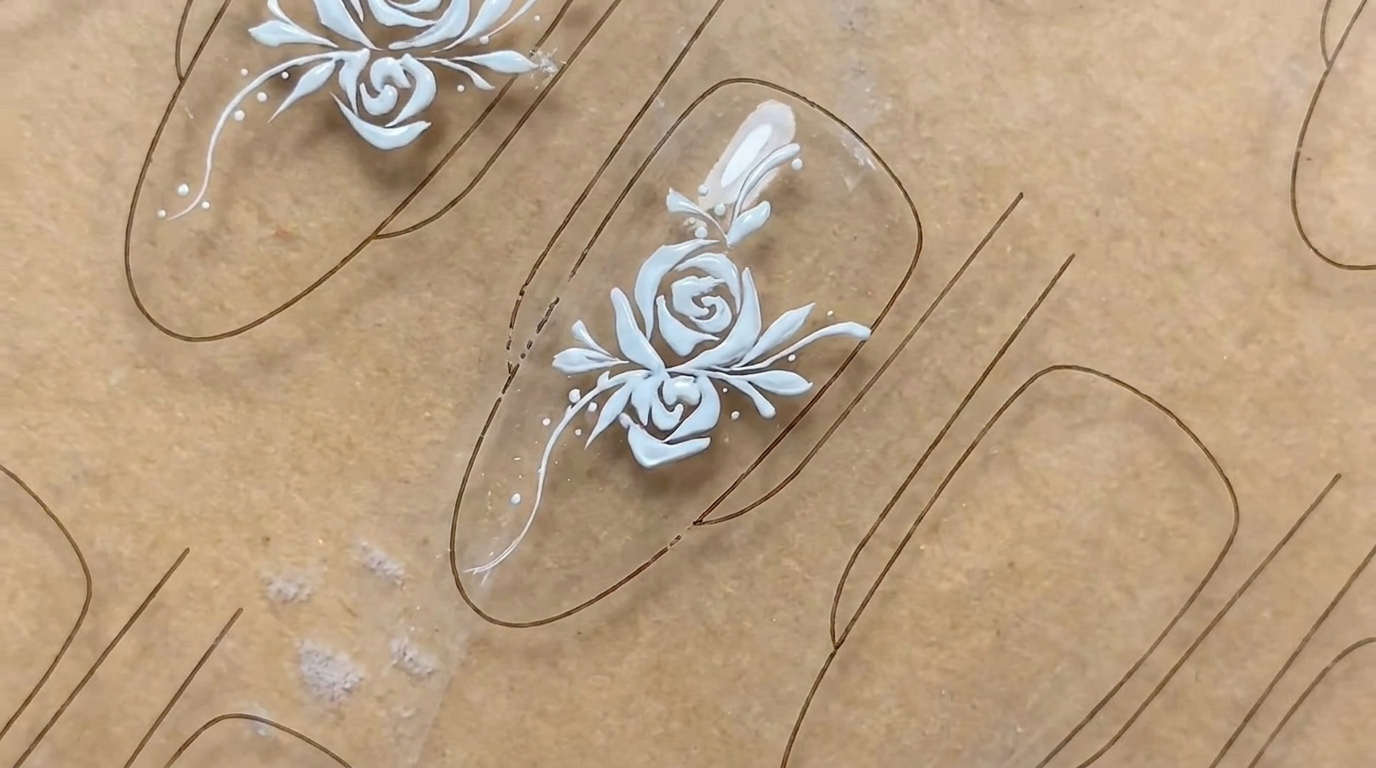
Steps
- 1Define the rose center
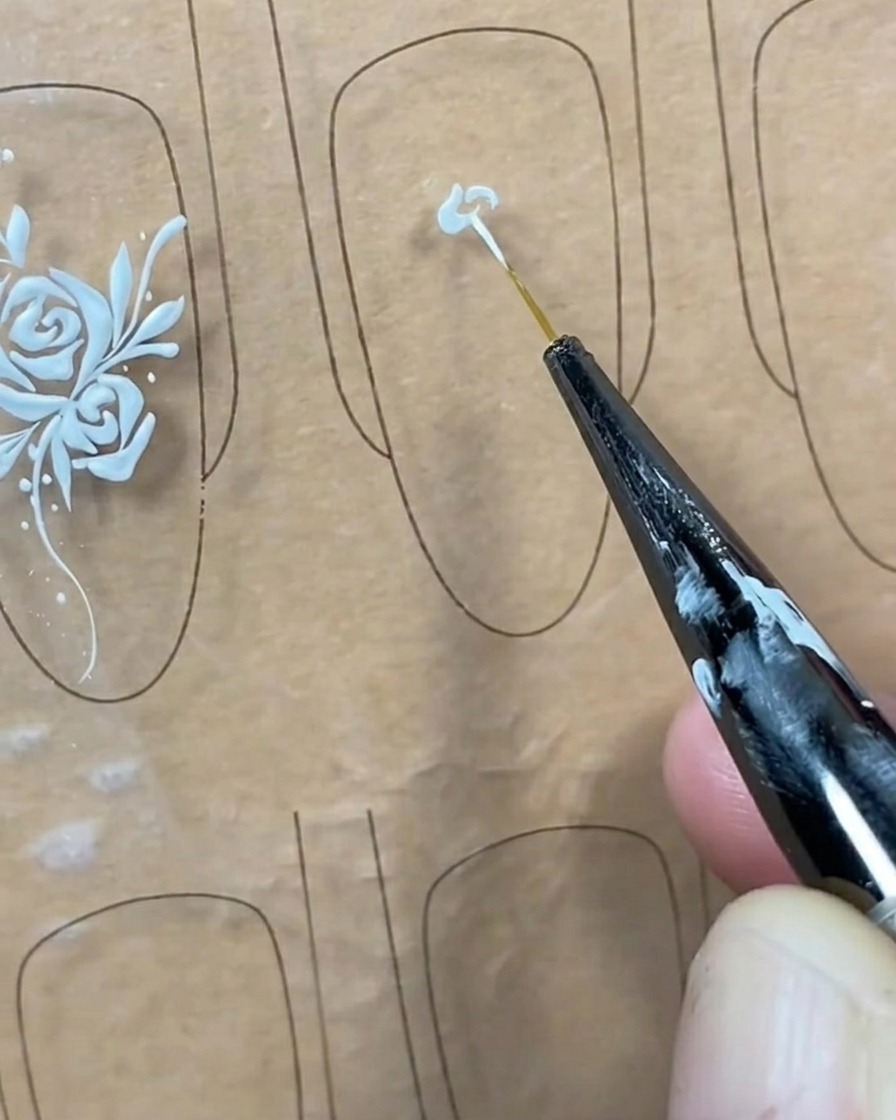
Using a thin liner brush loaded with white gel, carefully place a small mark in the center of the nail to establish the positioning of the rose bud. This center point serves as the anchor for the rest of your petal structure, ensuring the final rose is centered and well-proportioned.
Tip: Keep your brush strokes light and precise to ensure the center bud is not too thick. - 2Draw the left petal curve
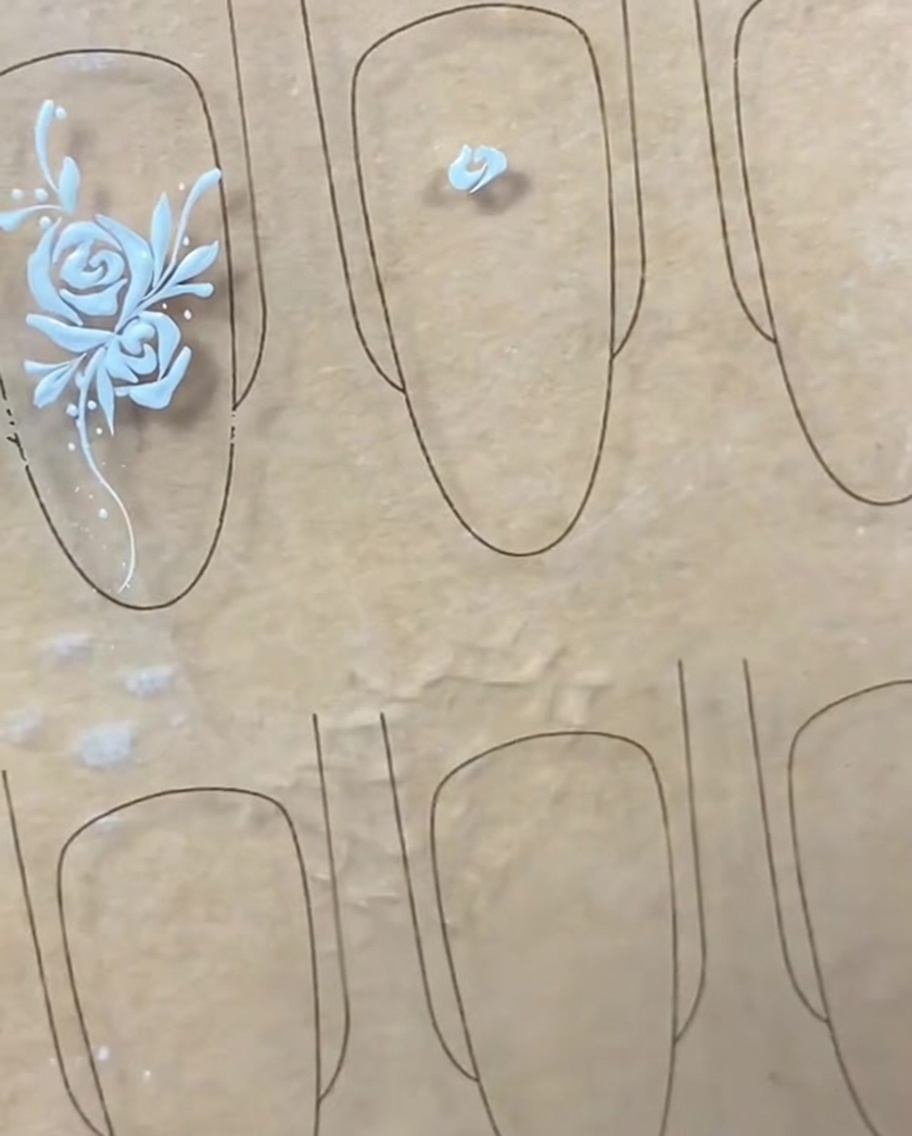
Using the center point as a guide, use your liner brush to draw a small, gentle curve resembling a left parenthesis on the left side of the center mark. This forms the first petal of the roses center bud, creating the inner structure of the flower.
Tip: Maintain a consistent pressure on your brush to keep the line thickness even. - 3Draw the right petal curve
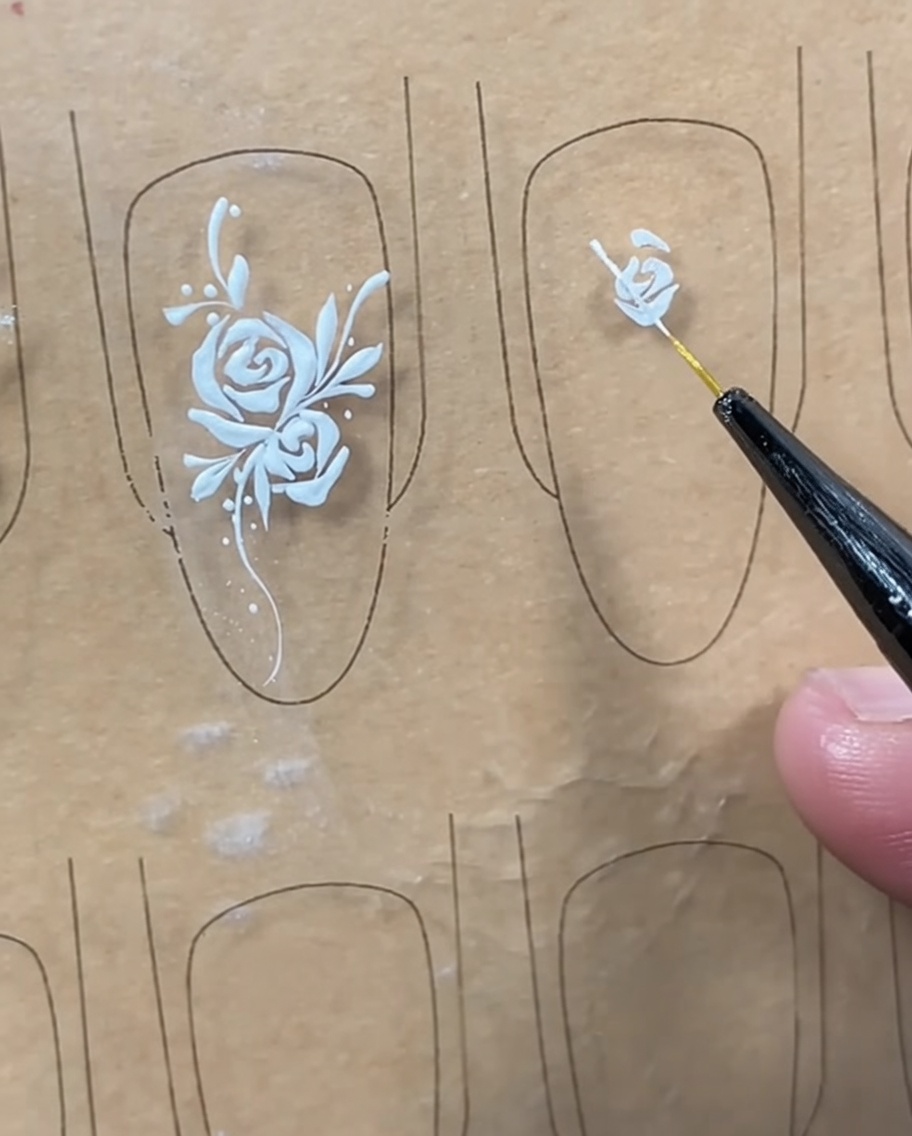
Complement the previous stroke by drawing a similar curve on the right side of the center mark, mirroring the left parenthesis to complete the center bud of the rose. The two curves should slightly overlap or meet at the ends to enclose the center area.
Tip: Focus on symmetry to ensure the bud looks balanced before adding outer petals. - 4Add the upper petal
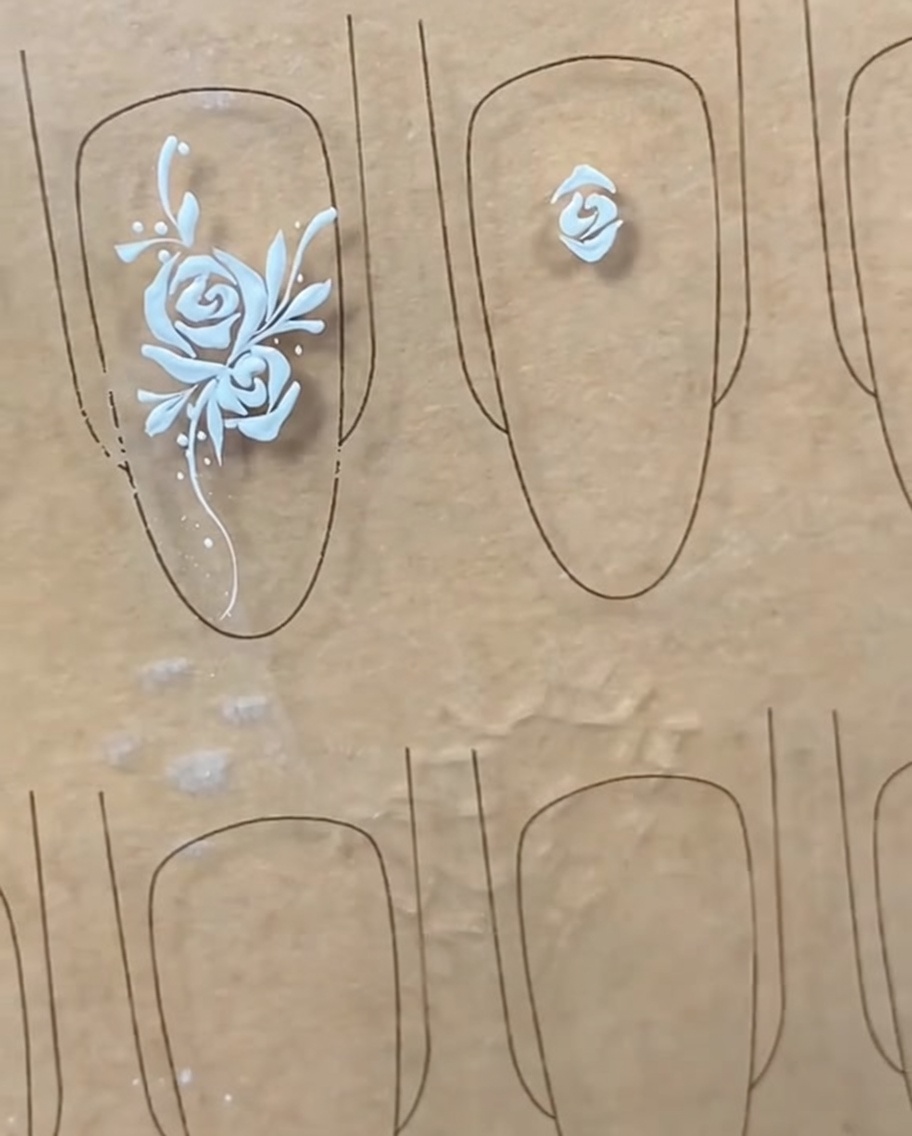
Starting from the top of the center bud, draw an elegant, sweeping curved line that arches over the top of the center structure. This begins the process of expanding the rose outwards and giving it a more realistic floral shape.
Tip: Use light, sweeping motions to keep the lines fluid and graceful. - 5Add the lower petal
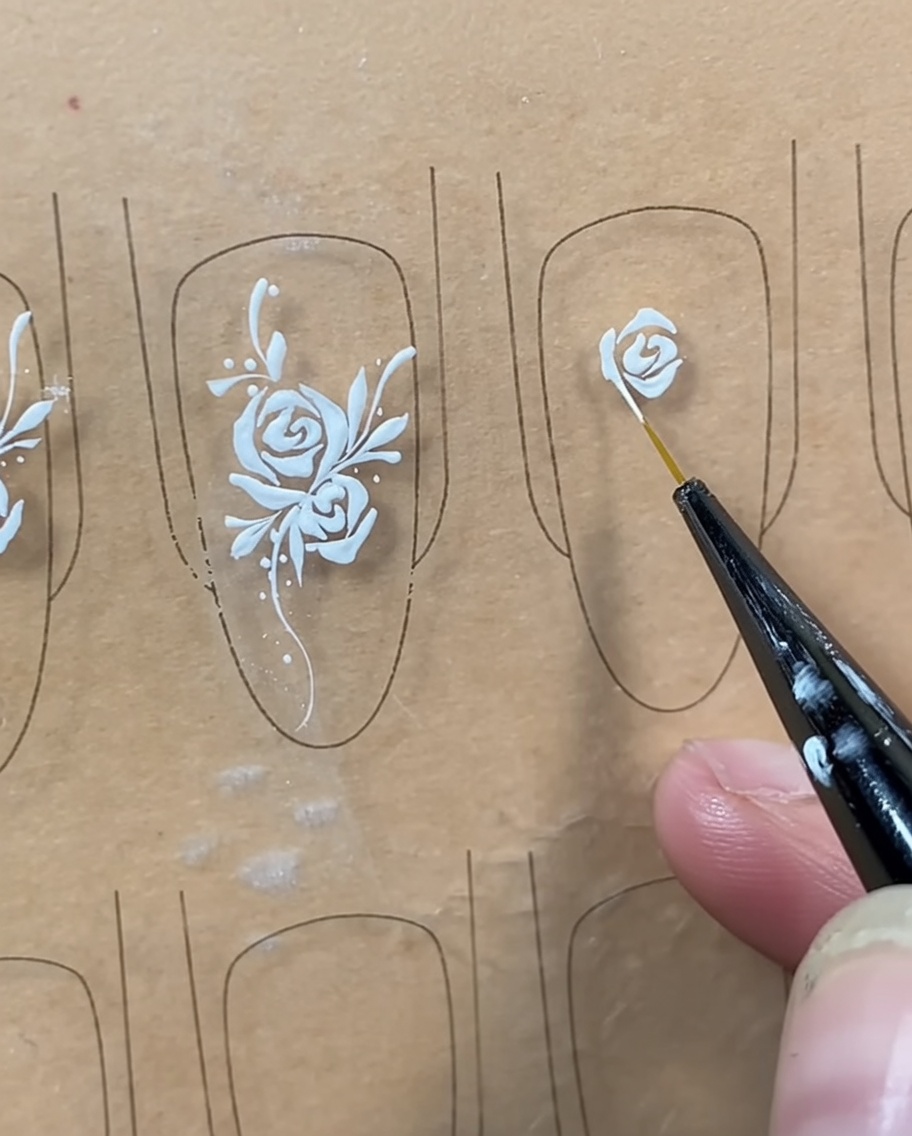
Complete the inner rose shape by drawing a corresponding curved line underneath the center bud. This stroke should mimic the curve of the upper petal, effectively closing the main structure of the rose flower.
Tip: Ensure the bottom petal connects smoothly to the upper sections for a cohesive look. - 6Add volume with side petals
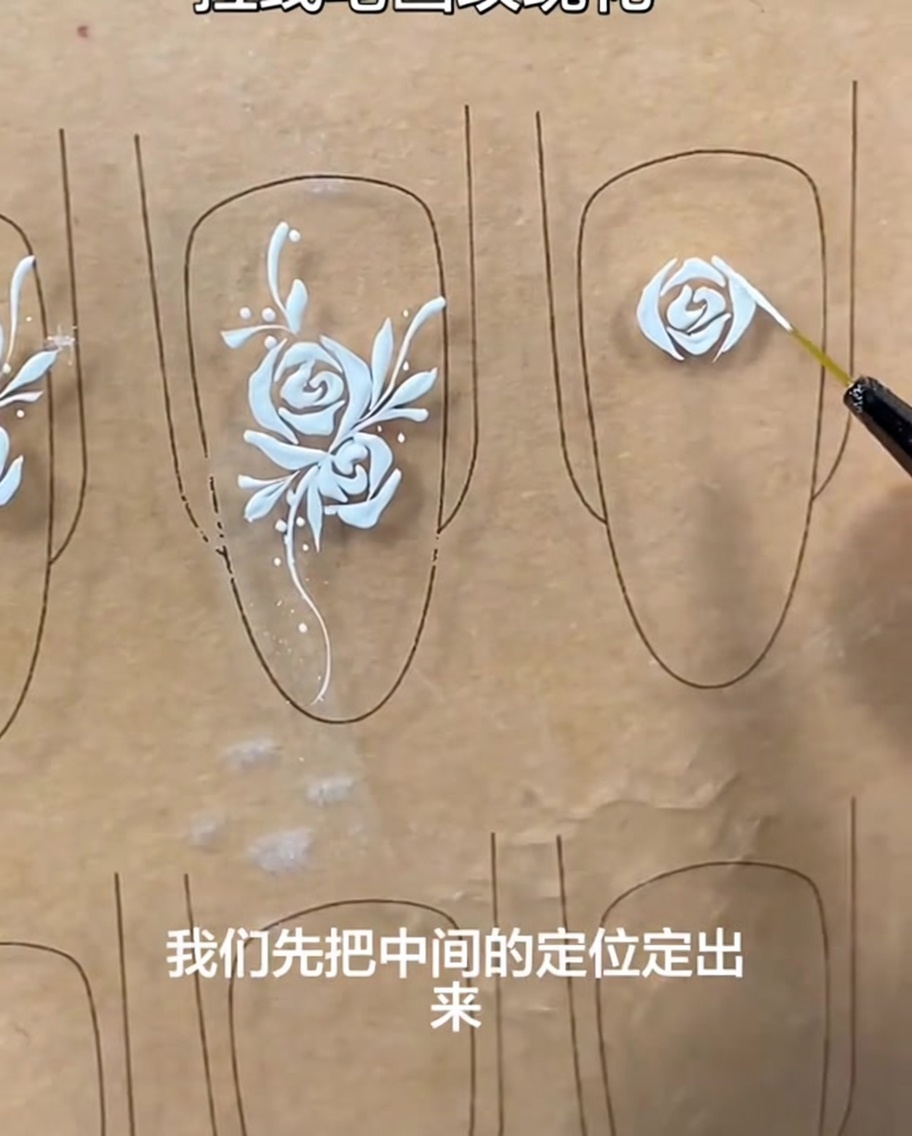
Build out the rose by adding additional curved strokes along the sides of the central structure. These side petals add depth and volume to the rose, transforming the simple center bud into a more detailed, layered flower design.
Tip: Vary the length and curve of these side petals to create a more organic, realistic rose appearance. - 7Refine rose edges
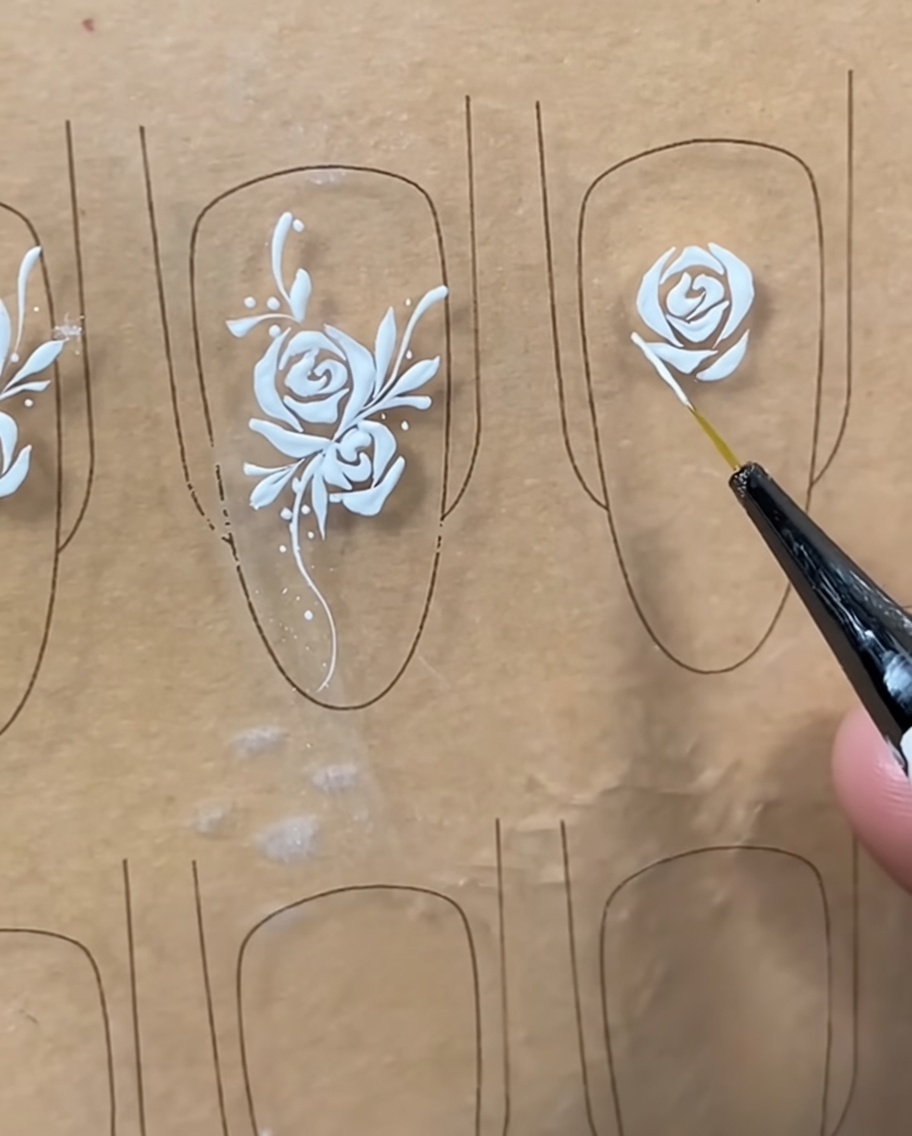
Using a fine liner brush, add delicate strokes to the outer edges of the rose petals. These additional lines help define the shape and give the rose a more complete, polished look.
Tip: Keep your pressure light; the lines should be thin and graceful to avoid overwhelming the design. - 8Draw the vine
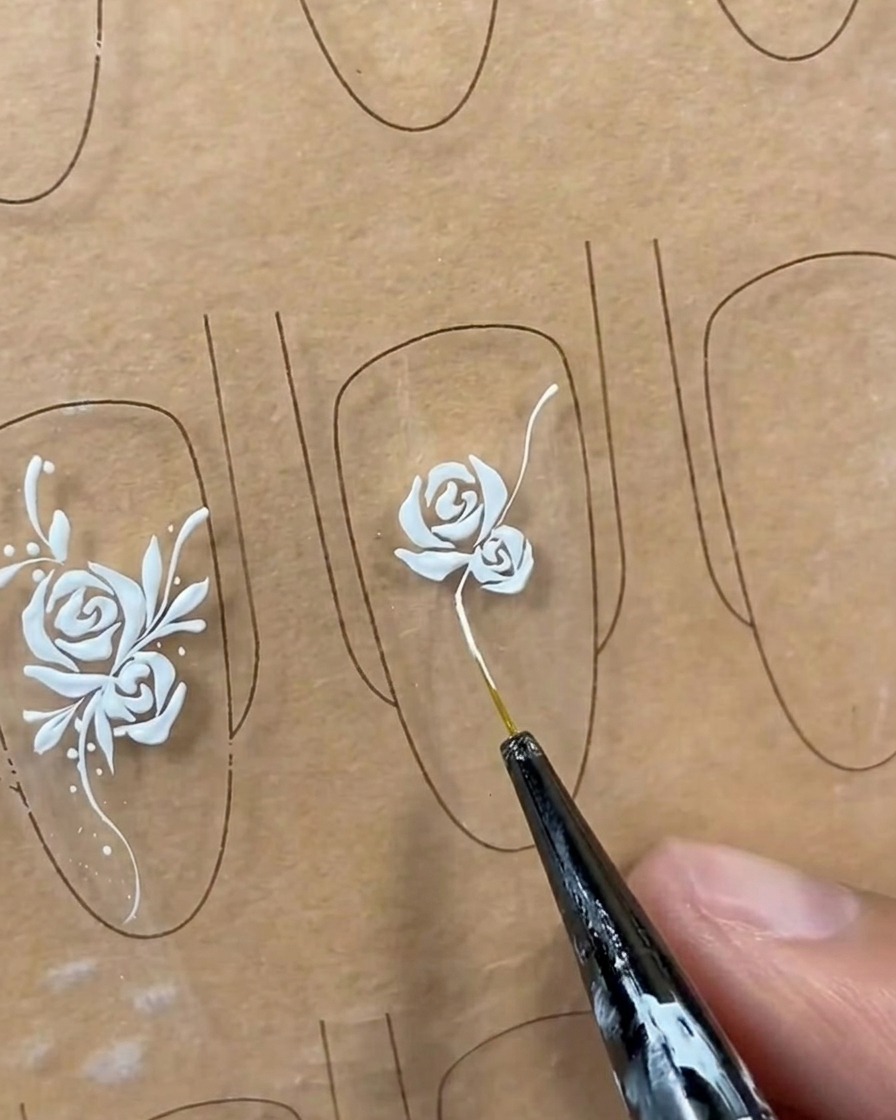
Extend a long, flowing vine line starting from the base of your rose. Use a fluid, continuous motion with your liner brush to create a natural curve that follows the shape of the nail.
Tip: Vary the pressure on your brush to make the vine line thinner at the tips and slightly thicker toward the base for a more organic feel. - 9Add structural leaves
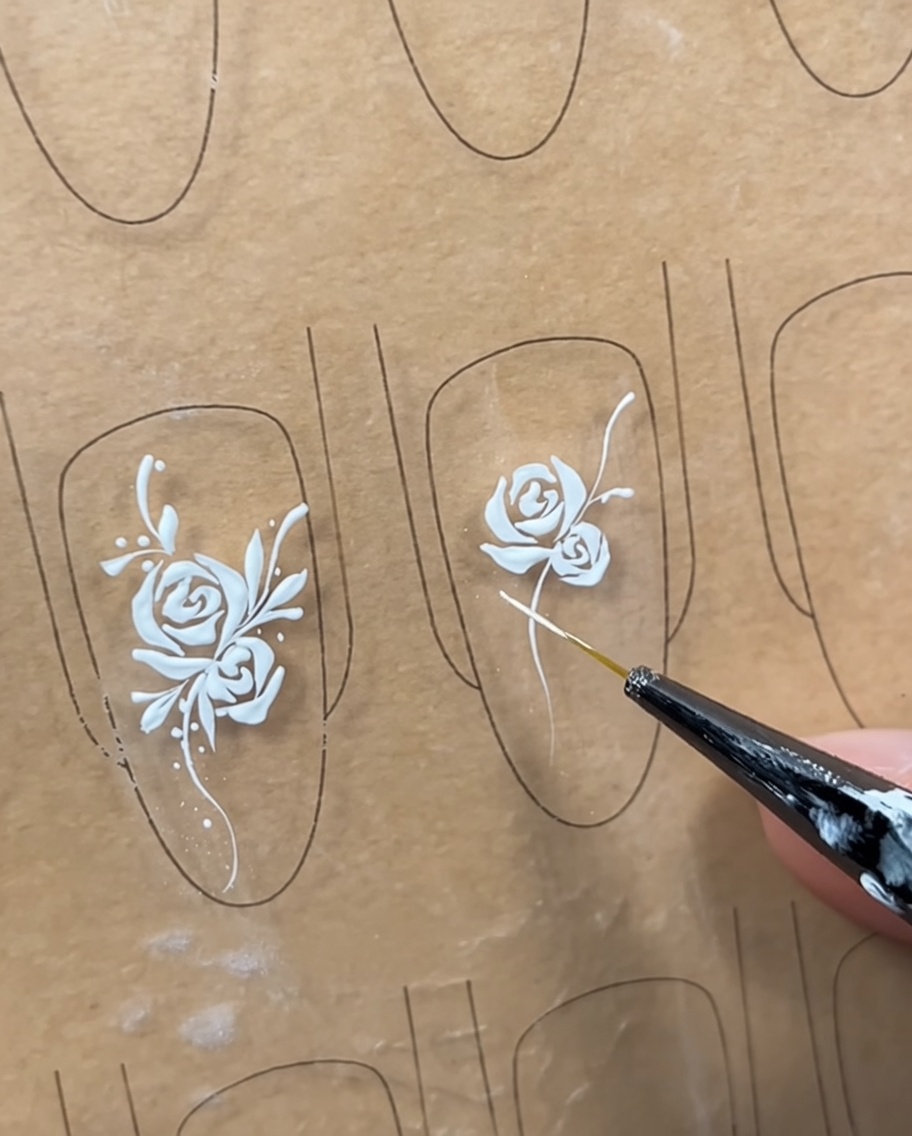
Along the vine you just drew, add the primary lines for your leaves. Place them strategically at intervals to create a balanced composition.
Tip: Think of the leaf lines as part of a skeleton; placing them first makes it much easier to fill in the leaf shapes later. - 10Detail the leaves
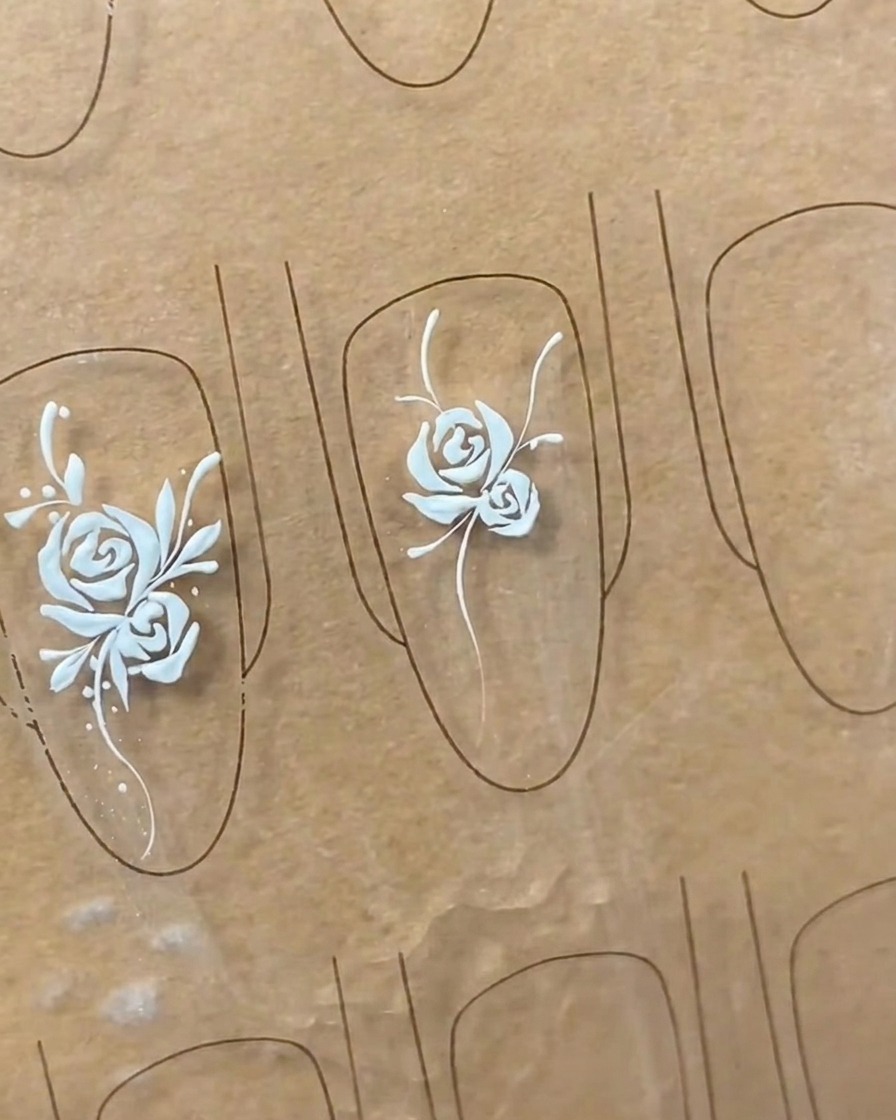
Using your liner brush, fill in and refine the leaf shapes by tracing along your structural lines. Add slight curves to the edges to give them a lifelike appearance.
Tip: A small flick motion at the end of the stroke can help create a sharp, pointed leaf tip. - 11Add rose center highlights
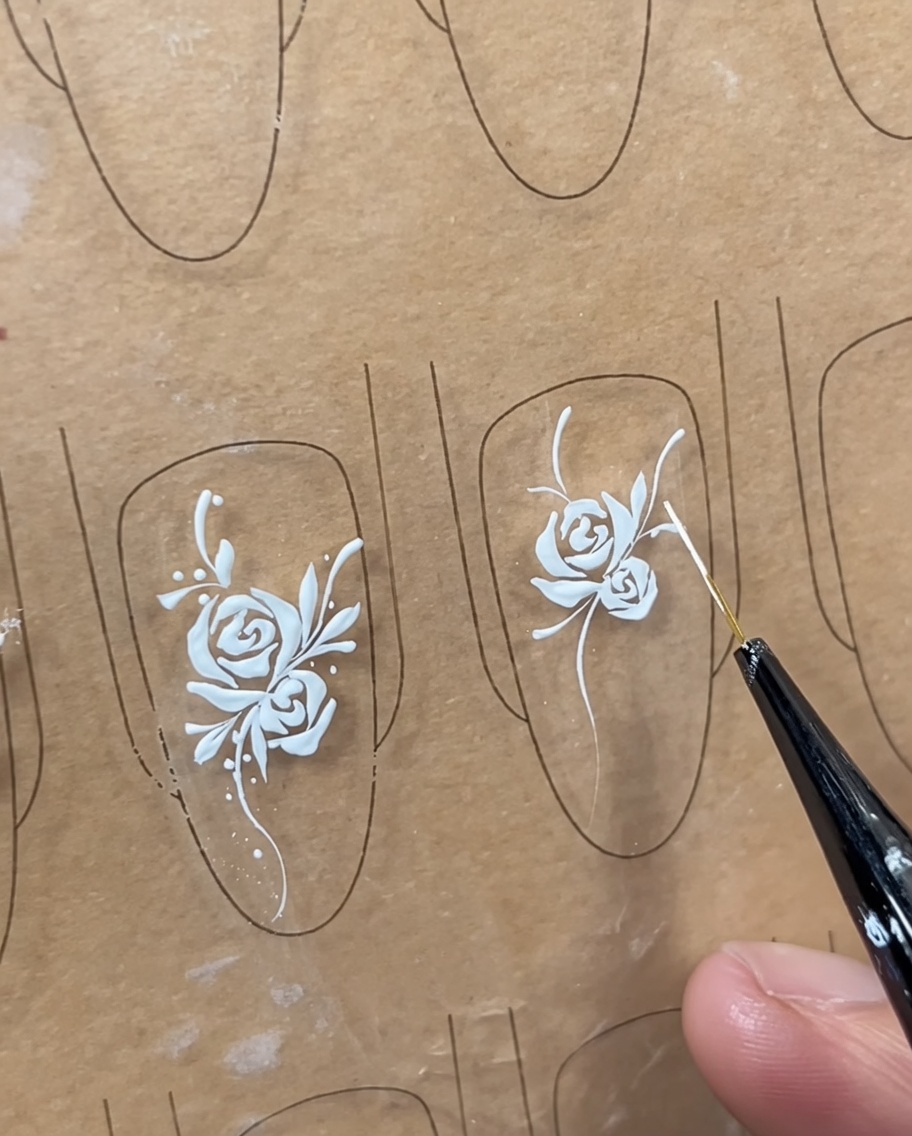
Add tiny, precise accents and highlights near the center of the rose. These small marks enhance the depth and bring focus to the heart of the flower.
Tip: Work with a very small amount of product to ensure the highlights remain fine and do not blur the existing structure. - 12Final touches
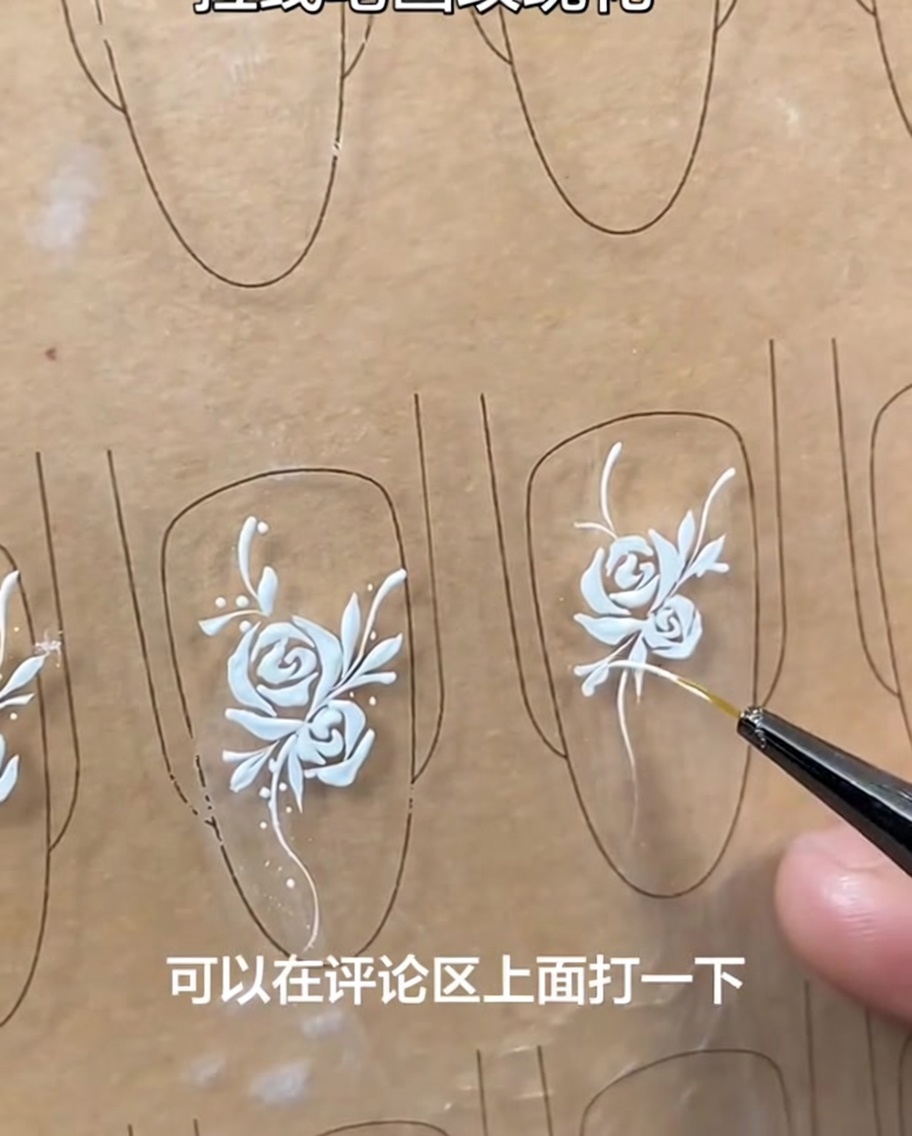
Complete the design by finalizing the leaf details and adding small, decorative dots along the vine. These finishing touches add texture and visual interest to the overall nail art.
Tip: Use the very tip of your liner brush to ensure the dots are uniform in size for a clean look.