Floral Champagne Cat-Eye Nail Art Tutorial
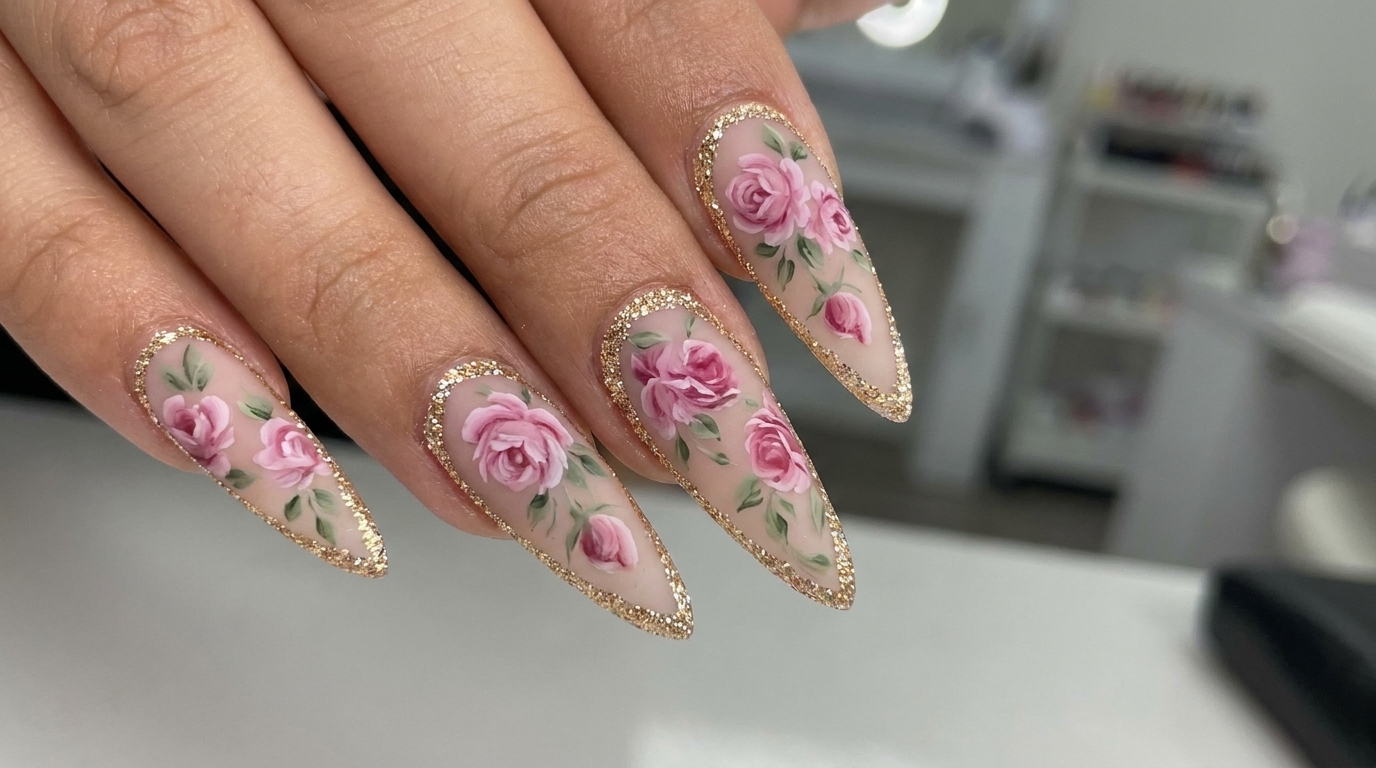
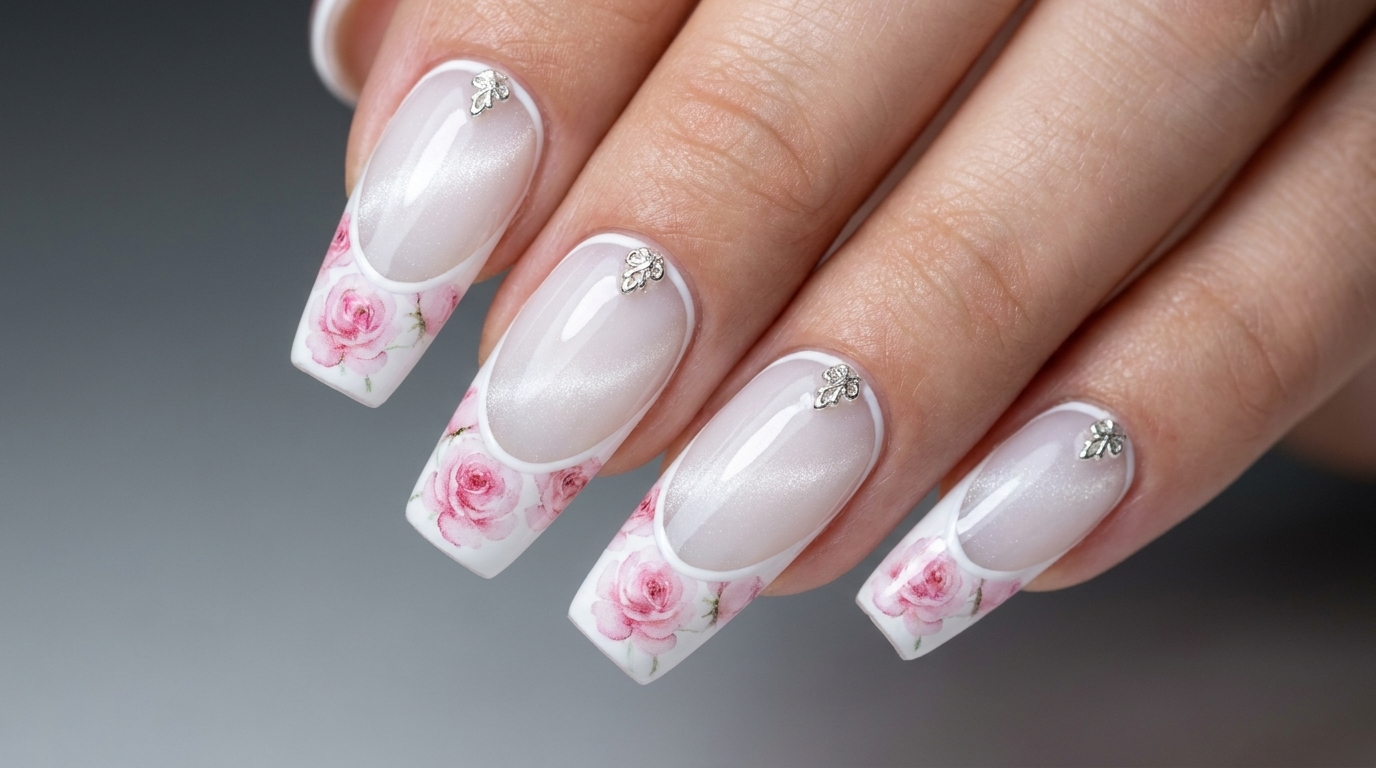
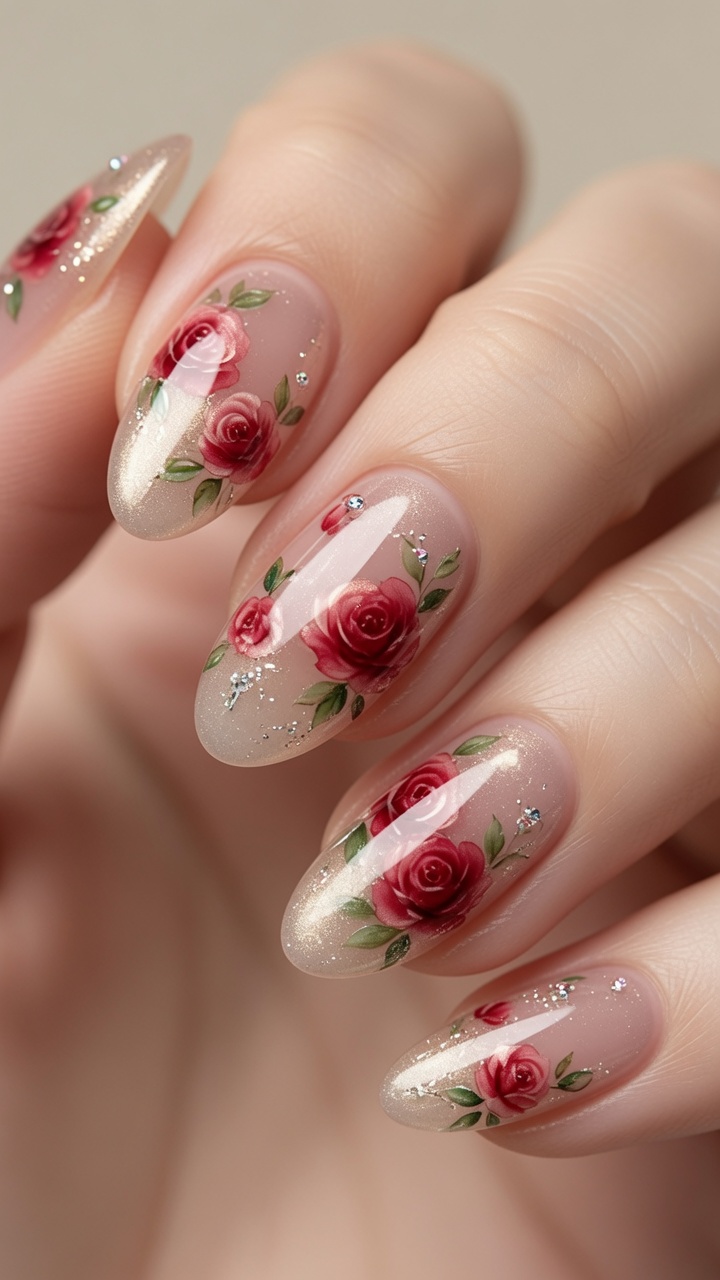
Elevate your manicure with this elegant floral design. Learn how to combine a shimmering champagne cat-eye base with delicate, hand-painted blooming roses.
This sophisticated nail look masterfully blends the modern trend of reflective cat-eye polish with the timeless beauty of botanical art. The interplay between the soft, marble-like shimmer and the intricate magenta roses creates a stunning, dimensional effect that feels both artistic and wearable. Perfect for special occasions or whenever you want to add a touch of romance to your fingertips.
Steps
- 1Mask the nail free edge
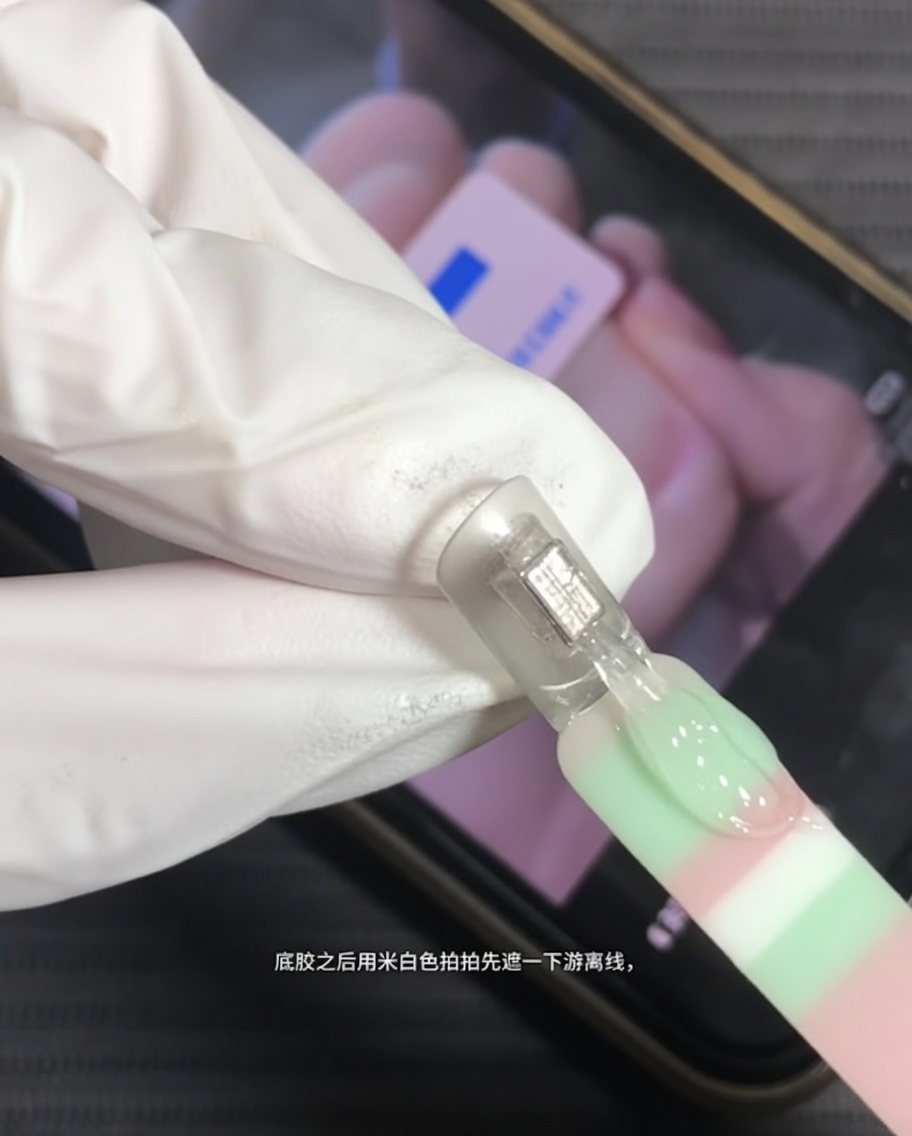
Apply a thin layer of milky white gel to the free edge of the nail to create a smooth, clean base for the subsequent color application. This helps mask any discoloration or natural tips, ensuring a uniform look.
Tip: Use a light touch to avoid building too much thickness at the tip. - 2Apply nude pink base
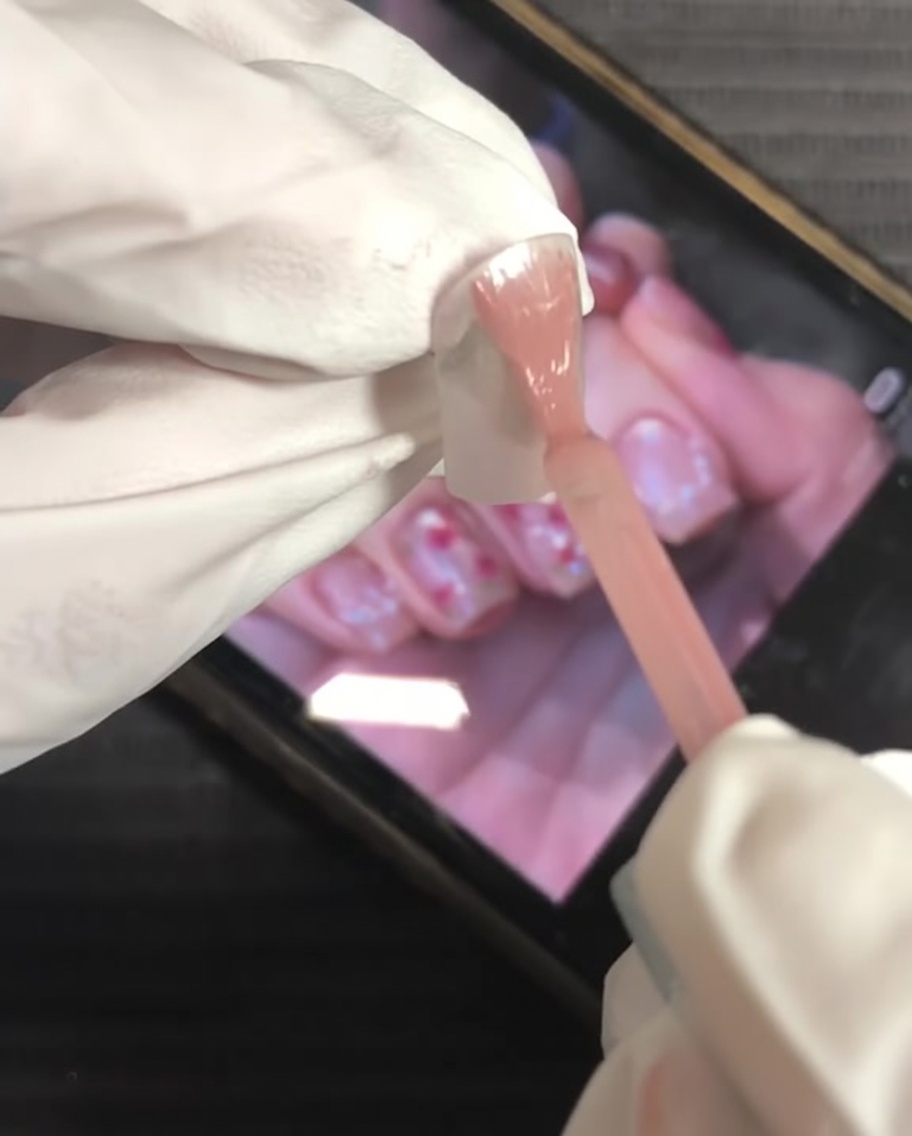
Apply an even coat of nude pink gel polish over the entire surface of the nail. This serves as the foundation color for the design, providing a soft, natural base.
Tip: Ensure the gel is applied smoothly, avoiding the cuticle area for a clean finish. - 3Apply champagne cat-eye gel
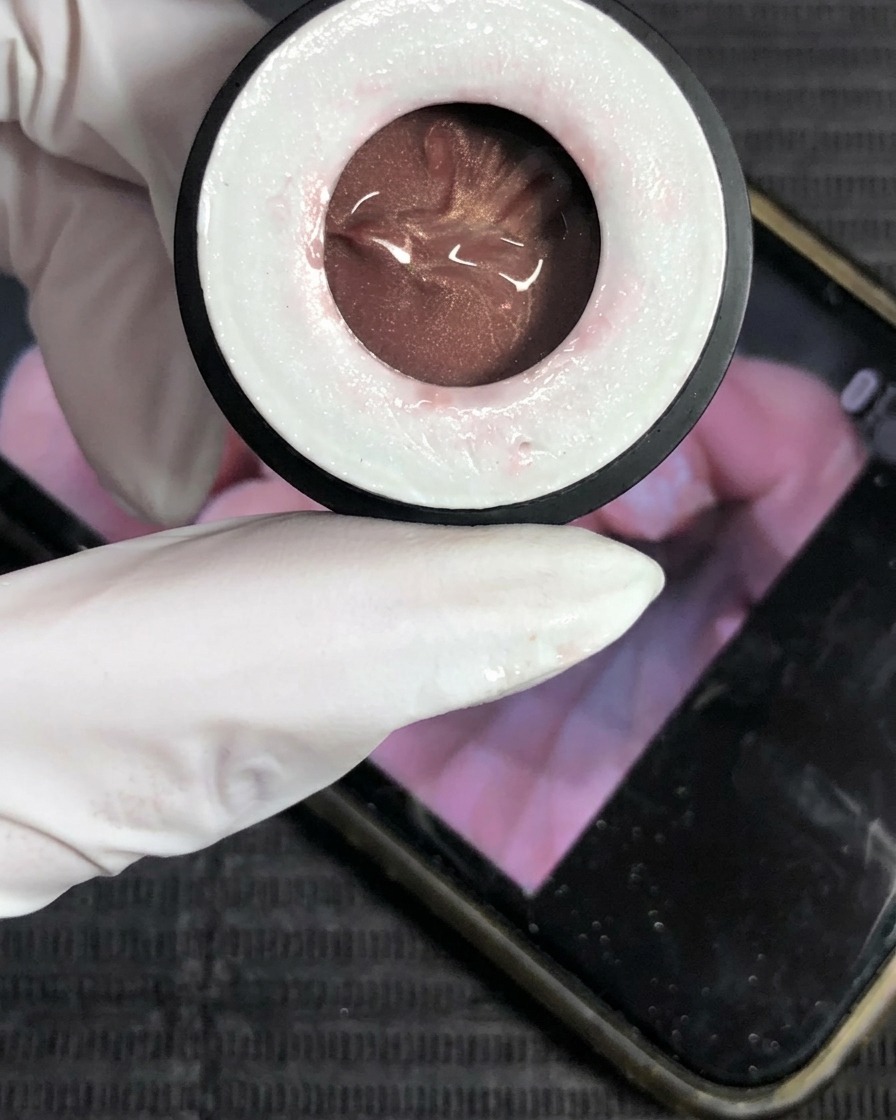
Apply a layer of champagne-colored cat-eye gel polish over the base. This reflective gel is the key to creating the glass marble effect.
Tip: Work in thin layers to ensure the magnetic particles can move freely. - 4Create cat-eye highlight
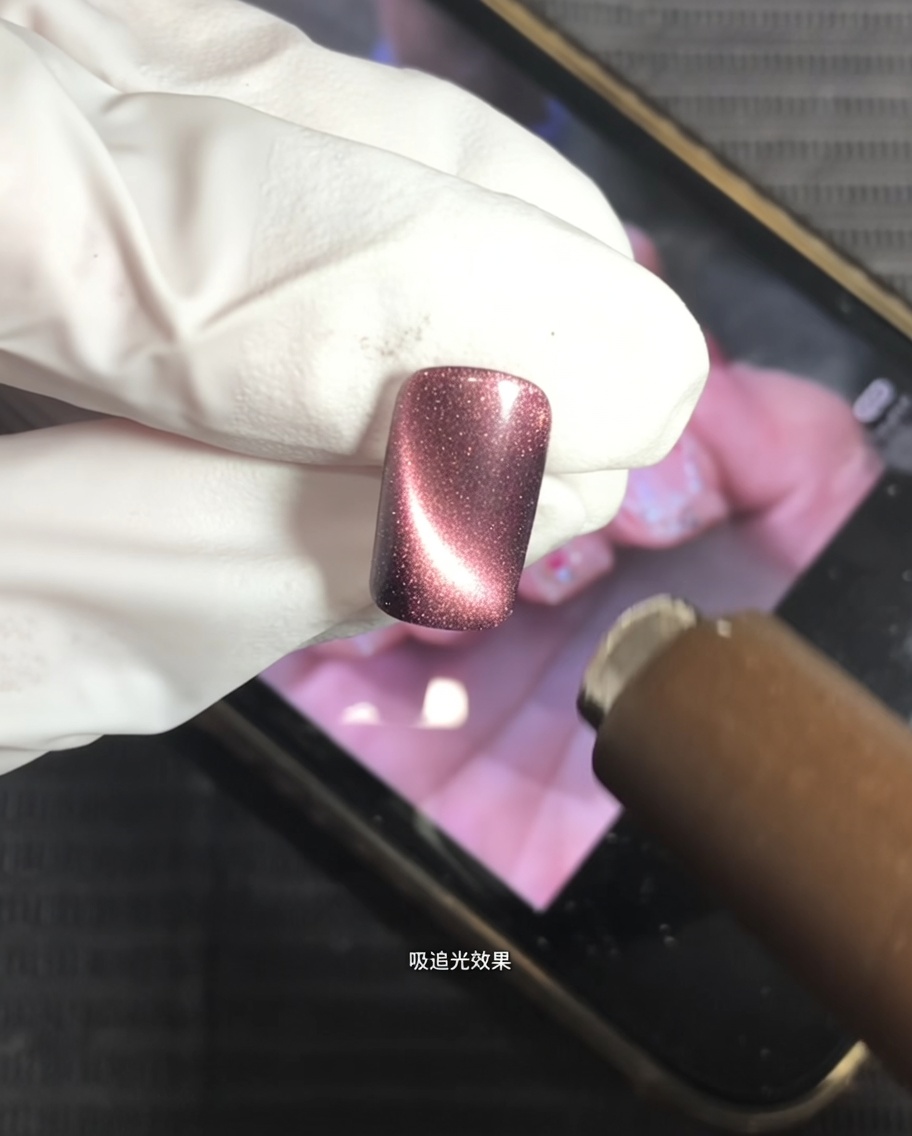
While the cat-eye gel is still wet, hold a magnet tool over the nail to draw the magnetic particles into a centered, shimmering highlight. This creates the signature depth and reflective effect.
Tip: Hold the magnet steady for a few seconds to let the particles fully align. - 5Paint the rose core
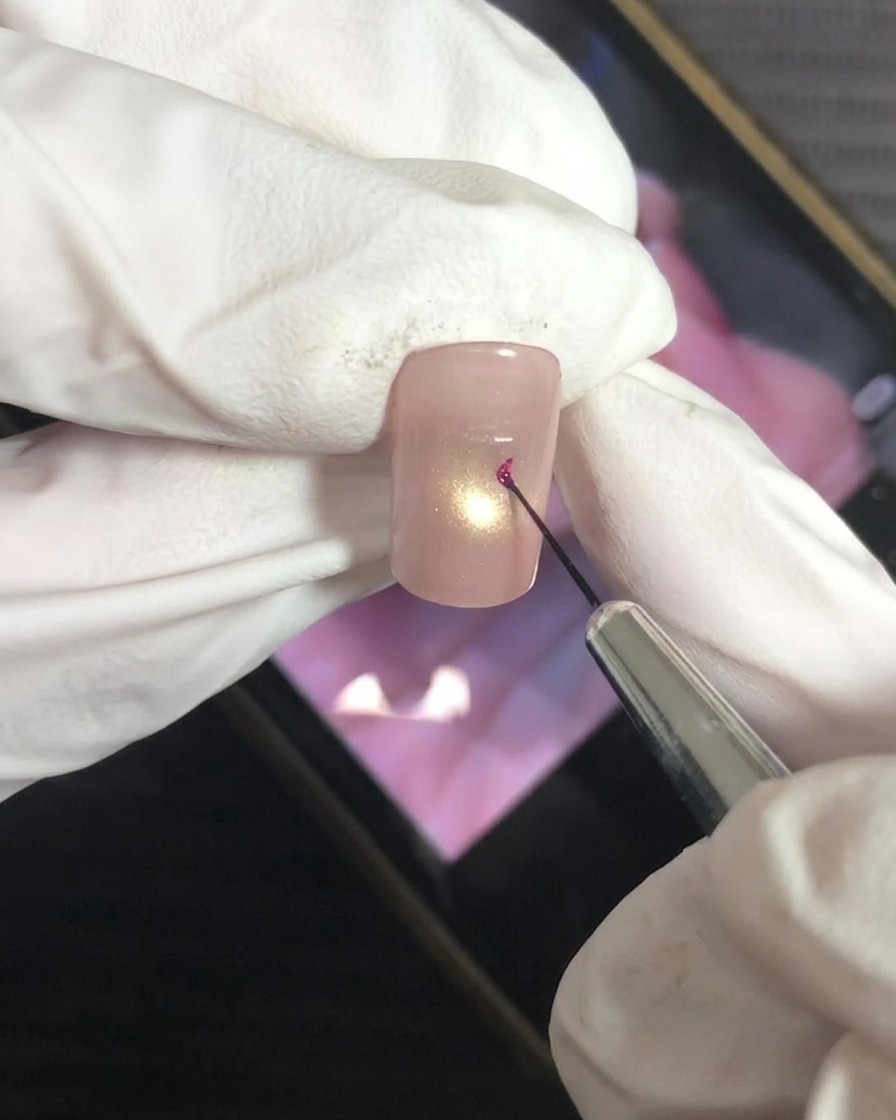
Using a fine liner brush and magenta gel, carefully paint the center or core of the rose design on the nail surface. Keep the strokes delicate to represent the tightly packed inner petals.
Tip: Wipe excess gel off your brush frequently to maintain fine lines. - 6Paint outer rose petals
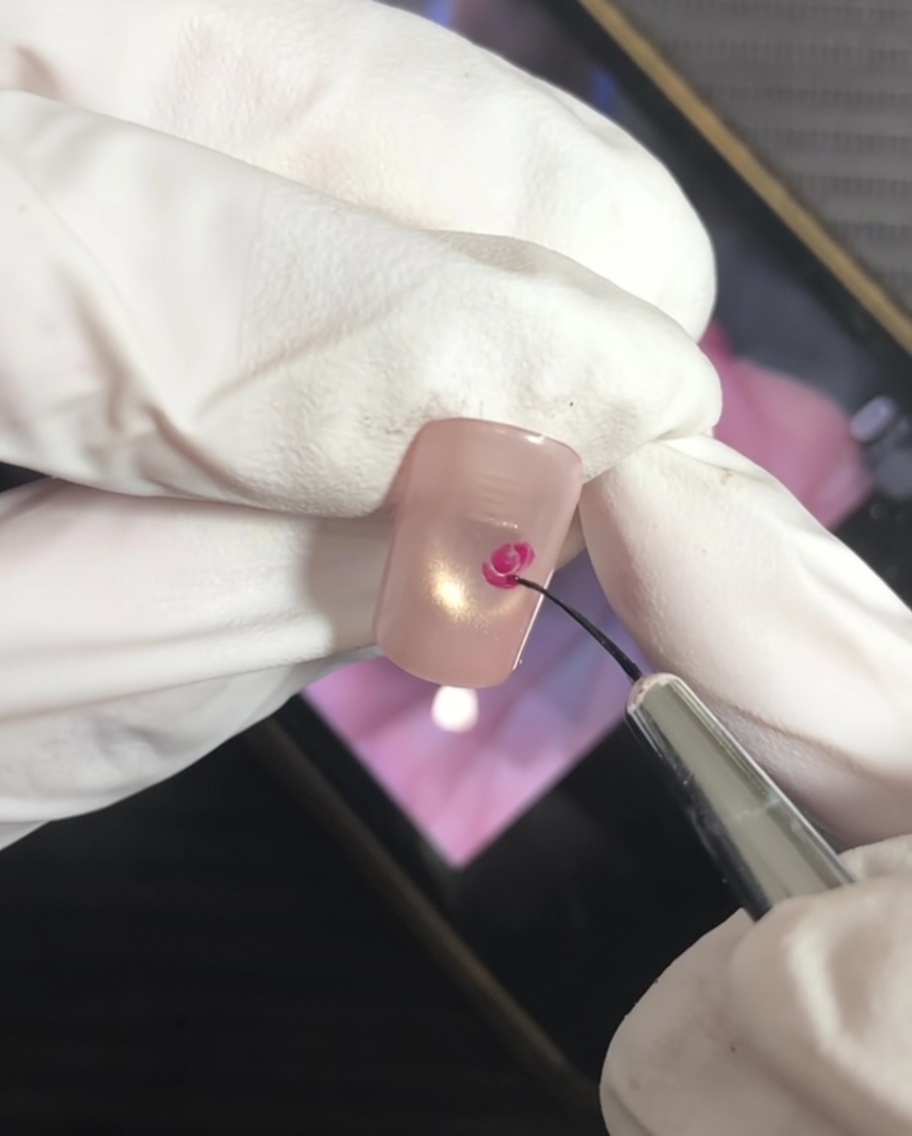
Continuing with the fine liner brush, add bracket-shaped strokes around the core to form the outer petals of the rose. These strokes add volume and dimension to the flower design.
Tip: Vary the size and spacing of the bracket strokes to create a more realistic, organic look. - 7Blend and bloom the outer rose petals
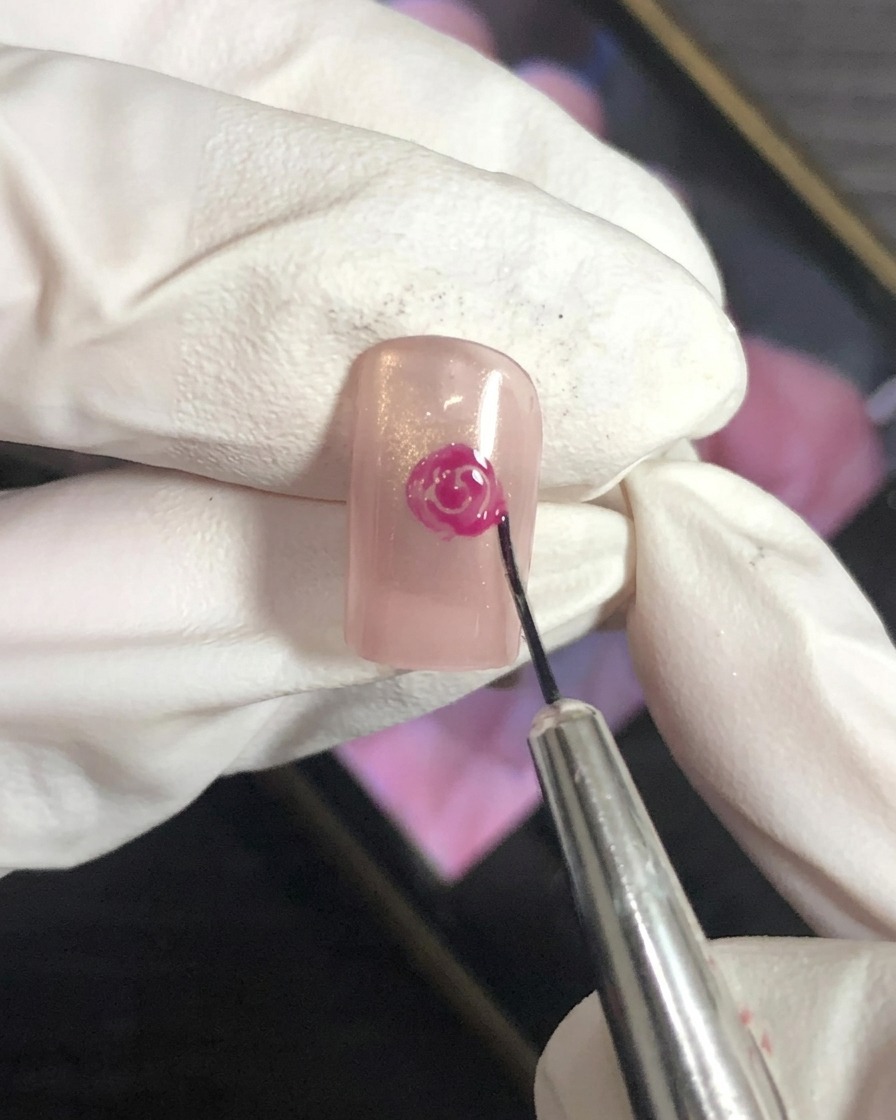
Using a clean, fine-tipped nail art brush, gently touch the edges of the magenta polish to soften them into the base color. Use small, circular motions to encourage a blooming effect, making the petal edges look delicate and diffused. Work carefully to maintain the structure of the rose while ensuring the color transitions smoothly.
Tip: Keep your brush clean by wiping it on a lint-free wipe frequently to prevent muddying the colors. - 8Soften the inner rose petals
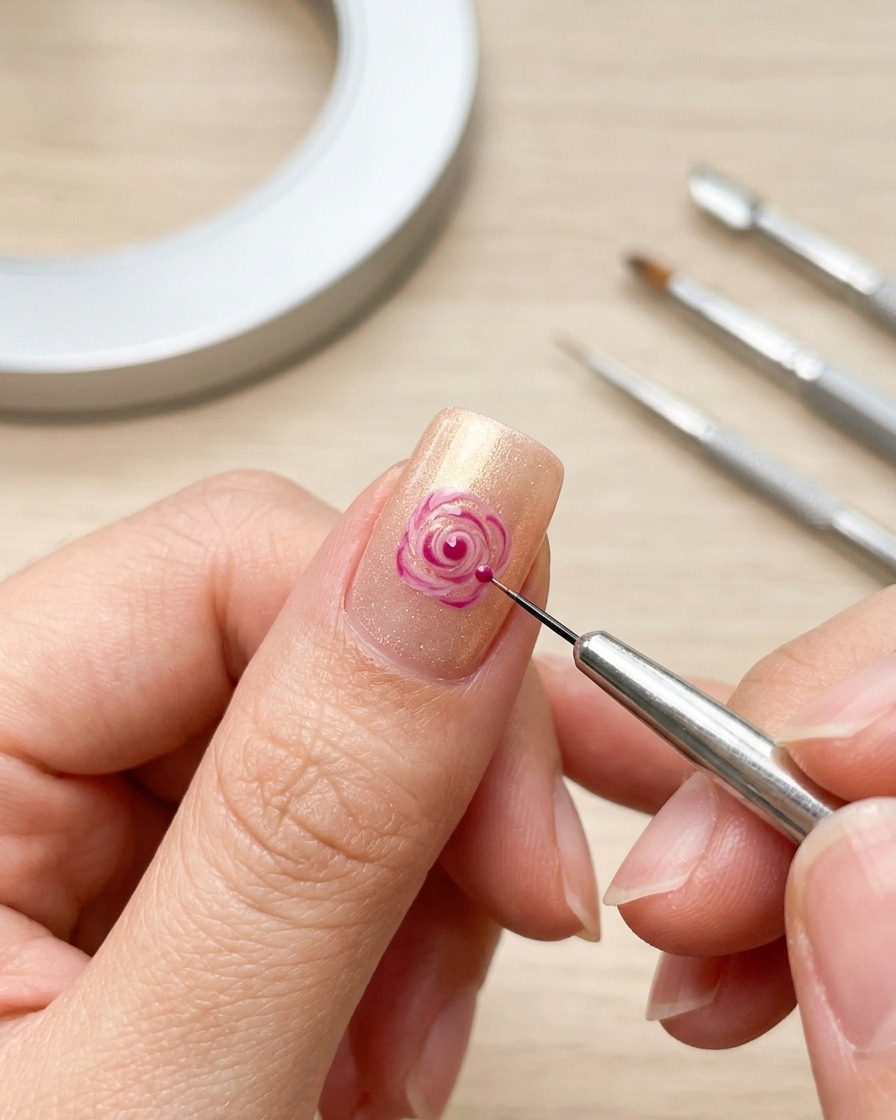
With a slightly damp brush, gently tap or swirl over the inner, darker magenta details of the rose. This blending technique creates depth by softening the concentrated color, mimicking the natural shading of a blooming flower. Focus on blurring the sharp lines to achieve a seamless, organic petal appearance.
Tip: Use a very light touch; you want to diffuse the color without removing it completely. - 9Define rose petal layers
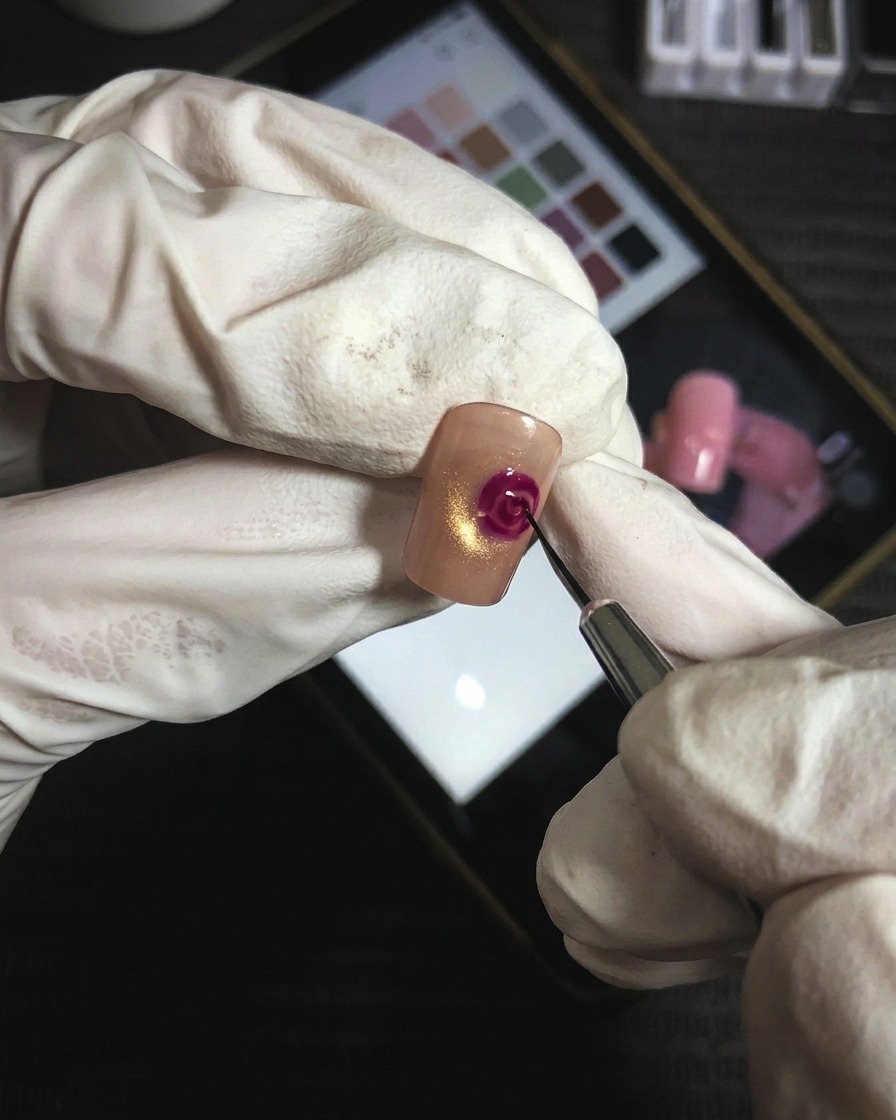
Using a fine liner brush and concentrated magenta gel, carefully paint thin, curved lines to define the depth of the rose petals. By adding these darker accents, you create distinct layers and shadows, making the rose appear more three-dimensional. Follow the natural curves of the previous steps to build up the flowers complexity.
Tip: Apply the gel in thin, precise strokes to maintain control and avoid creating bulky areas.