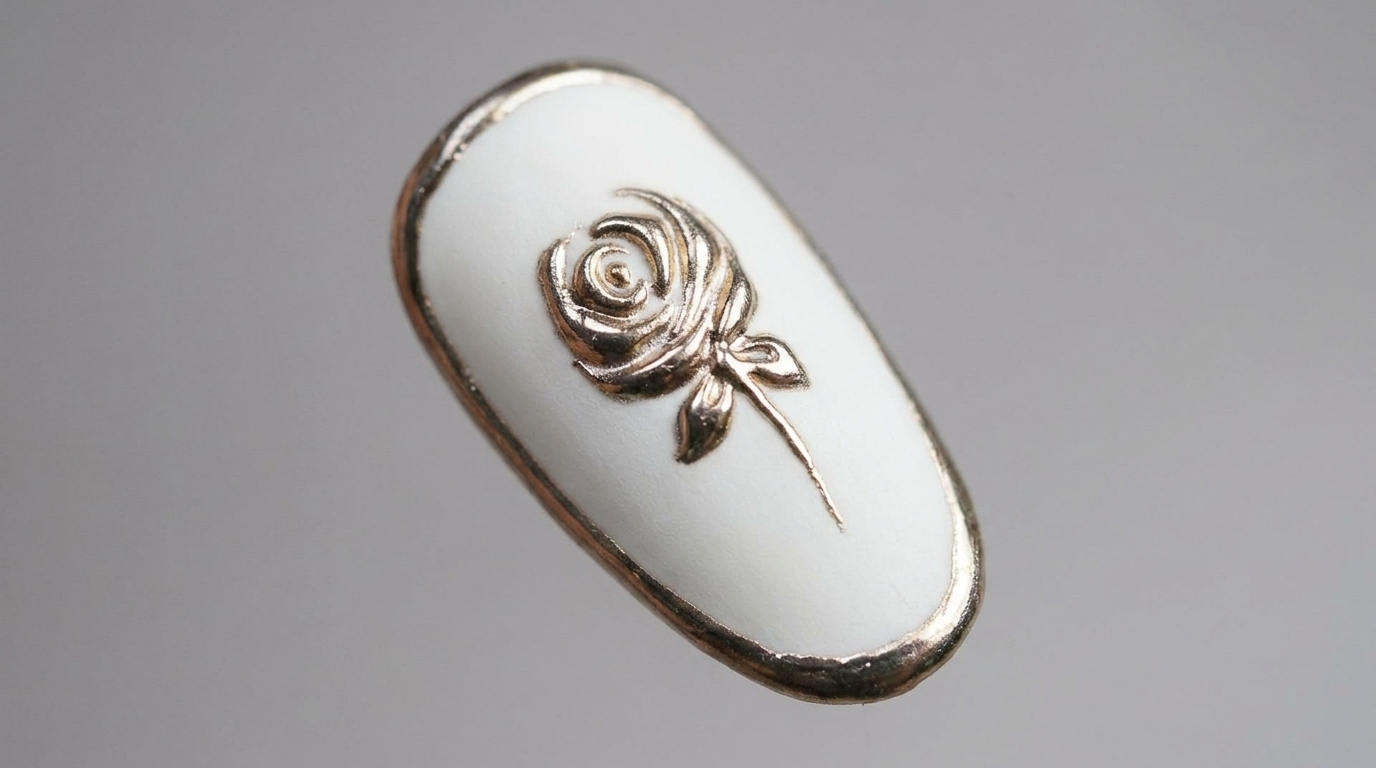
3D Gold Chrome Rose Matte Nails — Sophisticated Nail Art Tutorial
Elevate your manicure with this elegant 3D gold chrome rose design on a matte white base. Learn how to create intricate, metallic floral nail art.
The combination of a clean matte white base and raised metallic gold accents creates a luxurious, high-fashion aesthetic that is surprisingly achievable. This tutorial walks you through creating delicate 3D gel florals and perfecting that high-shine chrome finish. It is the perfect look for those who want a sophisticated, textured nail design that stands out.
Steps
- 1Apply white gel polish
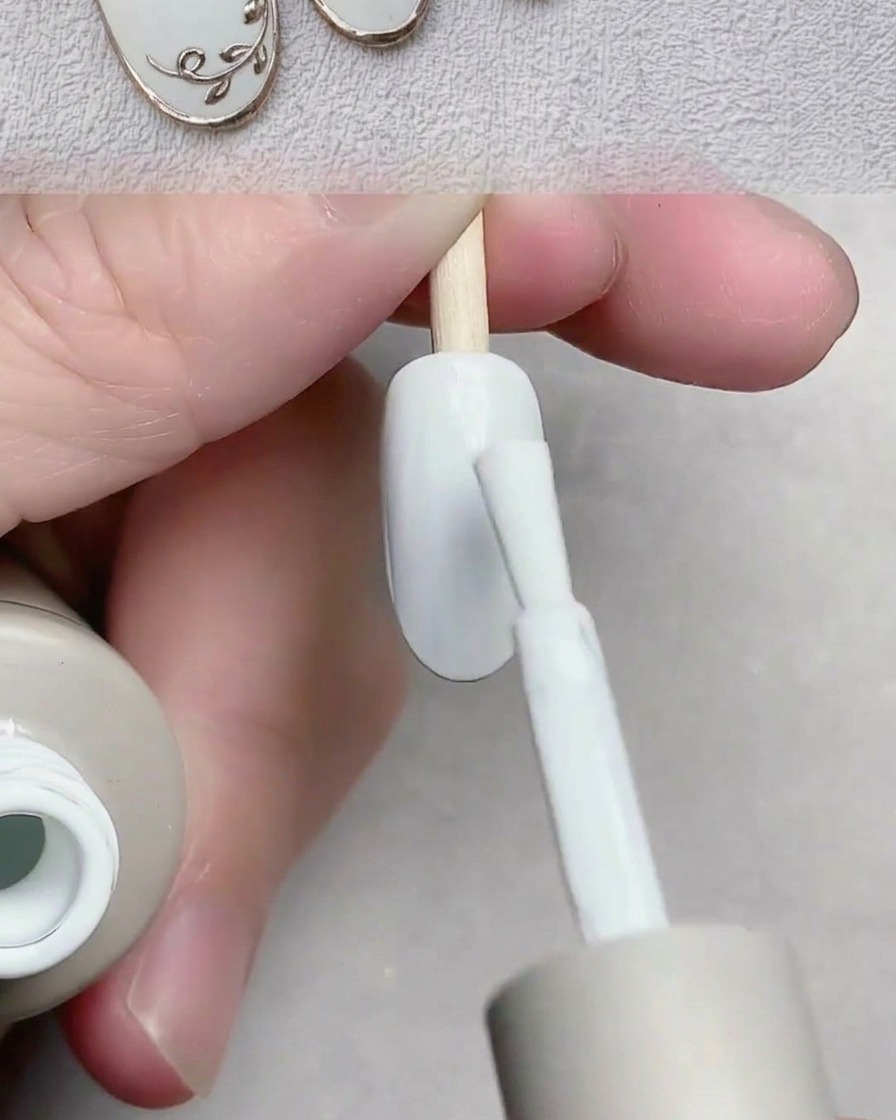
Apply a thin, even coat of white gel polish over the entire nail plate, ensuring you cover the surface thoroughly while maintaining a smooth finish. Work from the base toward the free edge, using light strokes to avoid streaks. Cure under a UV/LED lamp as per the polish manufacturers instructions.
Tip: Apply in thin layers to ensure proper curing and to prevent the polish from wrinkling or bubbling. - 2Draw the rose center
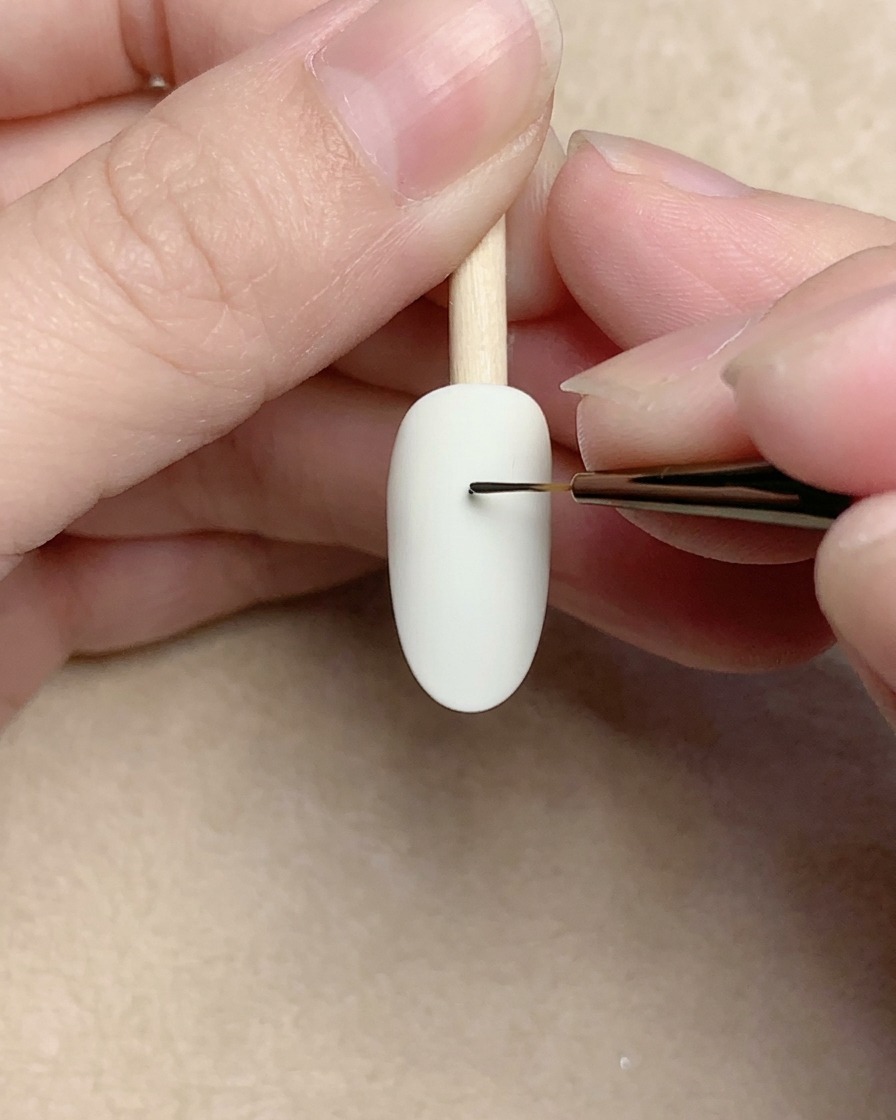
Using a fine liner brush and black 3D gel, draw a small, tight swirl in the center of the nail to create the inner core of the rose. Keep your strokes delicate to maintain the intricate look of the flower center.
Tip: Use very little pressure with the liner brush to keep the lines crisp and fine. - 3Add inner petals
Continue using the black 3D gel and liner brush to draw small, curved petal shapes around the central swirl. These inner petals should tightly hug the center to begin building the structure of the rose bloom.
Tip: Vary the length and curve of the strokes slightly to give the petals a natural, layered appearance. - 4Paint outer petals
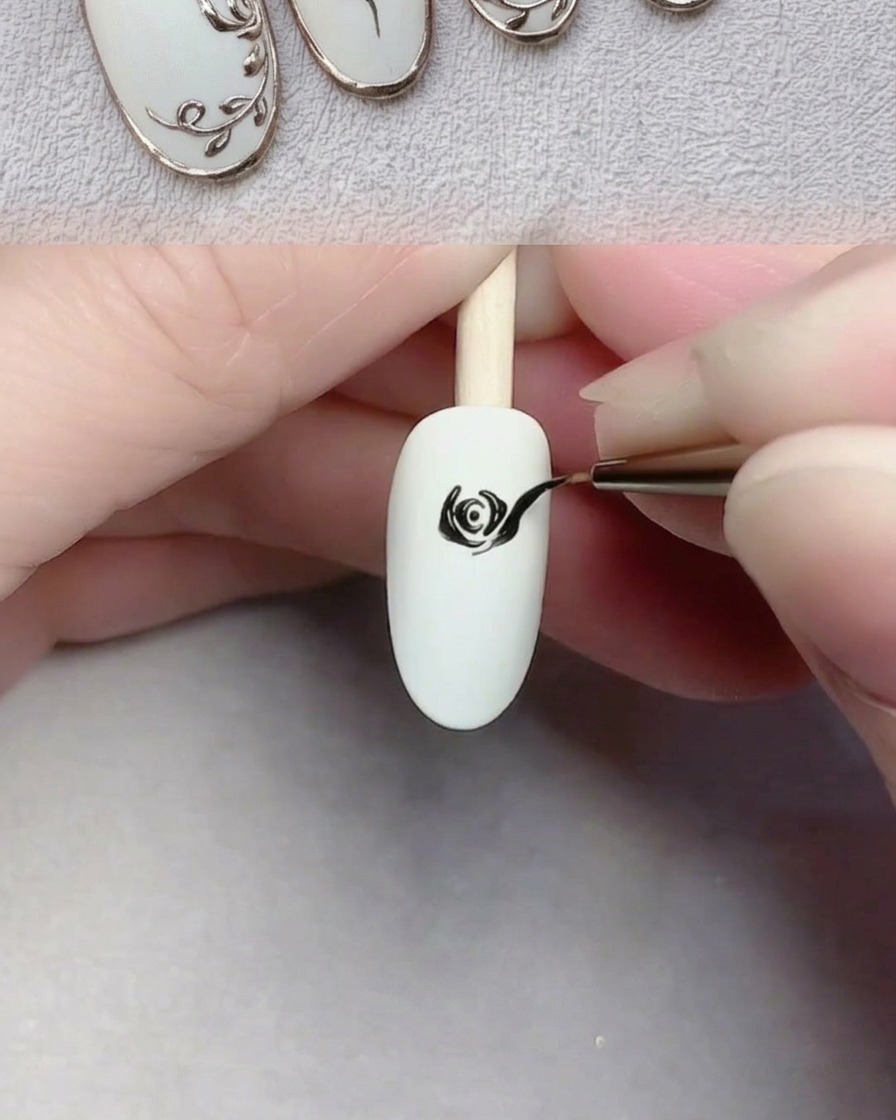
Extend the design by painting larger, more open petal strokes around the inner layers. These outer petals complete the shape of the full rose bloom, making it look fuller and more defined.
Tip: Draw the outer petals slightly wider to create a sense of depth and dimension. - 5Draw the rose stem
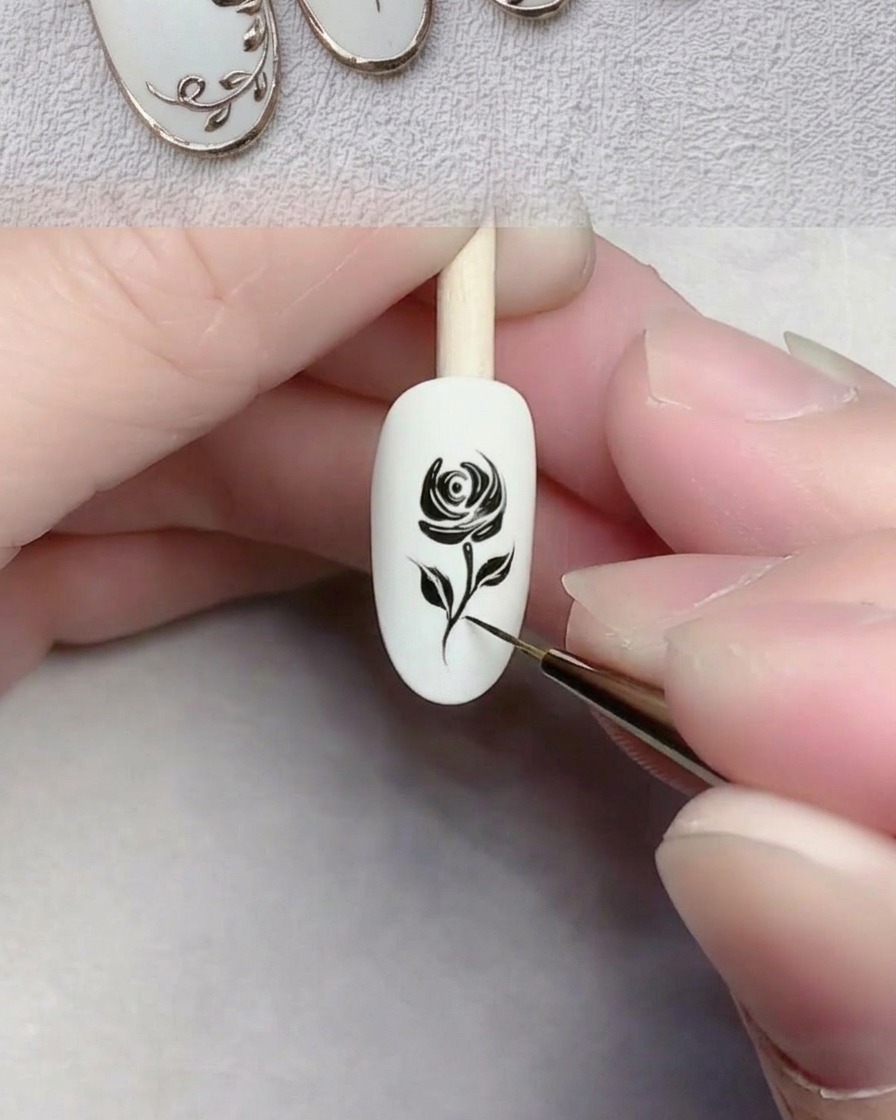
Using a fine liner brush and black gel, carefully draw a thin, vertical line downwards from the base of the rose to create the stem. Keep your hand steady to ensure the line is precise and connects naturally to the flower design. You can add a small leaf detail at the base of the rose for extra realism.
Tip: Use a light touch with the liner brush to keep the stem thin and delicate. - 6Add leaves to the stem
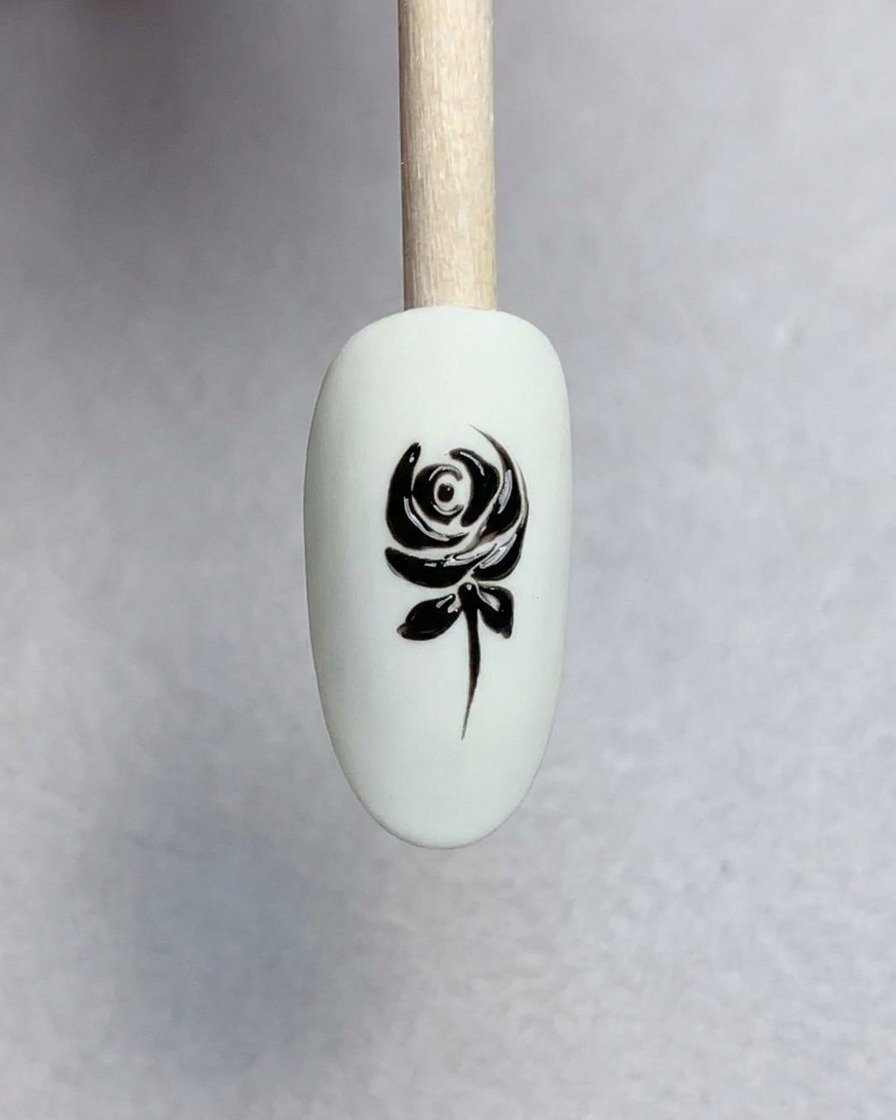
Extend the stem design by adding small, pointed leaf shapes branching out from the sides. Use the tip of your liner brush to flick the gel outward, creating sharp, clean points for the leaves.
Tip: Keep the leaves small to ensure they do not overwhelm the rose flower itself. - 7Apply gold chrome powder
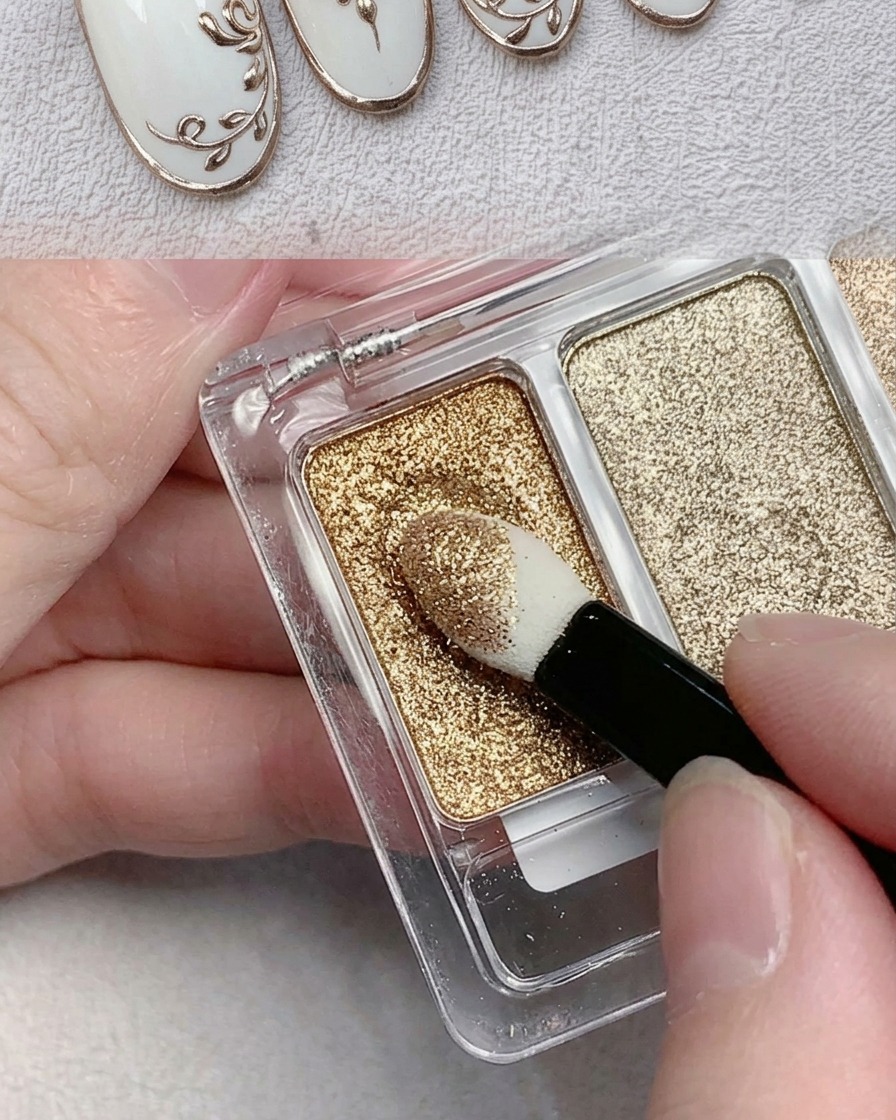
Using an eyeshadow sponge applicator, pick up a small amount of gold chrome powder. Gently rub and press the powder over the cured black gel design. Ensure the powder covers all raised areas of the design to achieve an even, metallic effect.
Tip: Use a soft brush to dust away any excess powder around the design before applying the final top coat. - 8Buff to a mirror finish
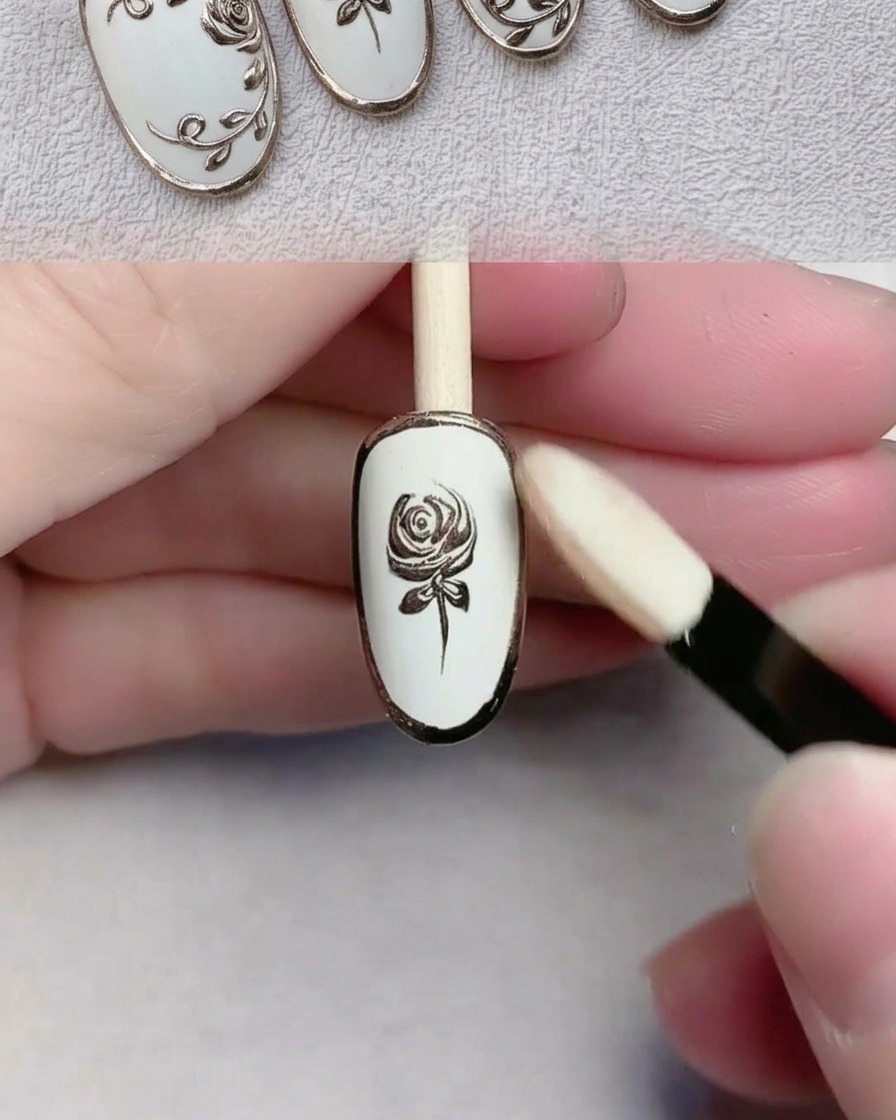
Continue buffing the gold chrome powder into the black 3D gel design using the applicator. Apply steady pressure until the powder transforms into a smooth, reflective, metallic mirror finish. Ensure every part of the raised design is thoroughly covered and reflective.
Tip: Ensure the underlying gel is fully cured before applying chrome, as any tackiness can cause the finish to appear cloudy rather than mirrored.