Floral Metallic Outline Gel Nails — Elegant Step-by-Step Tutorial
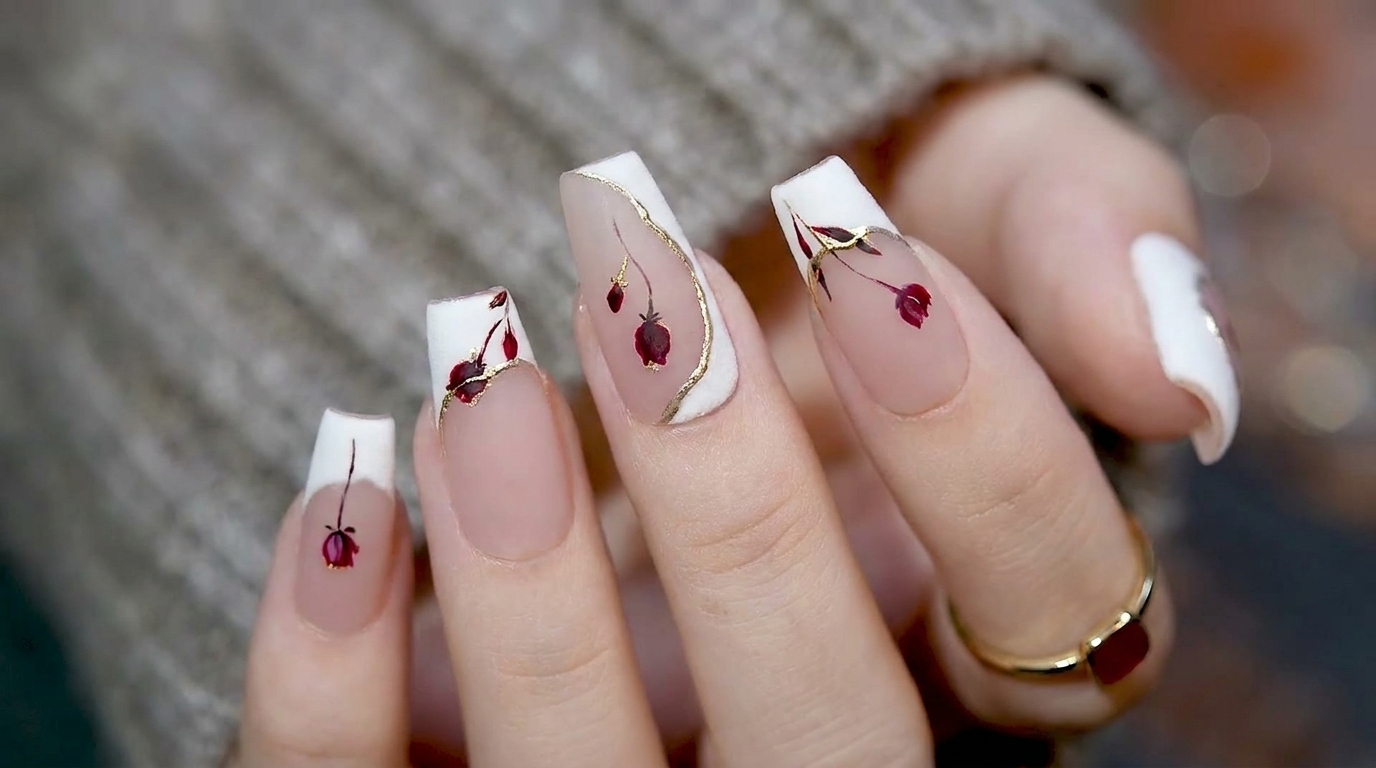
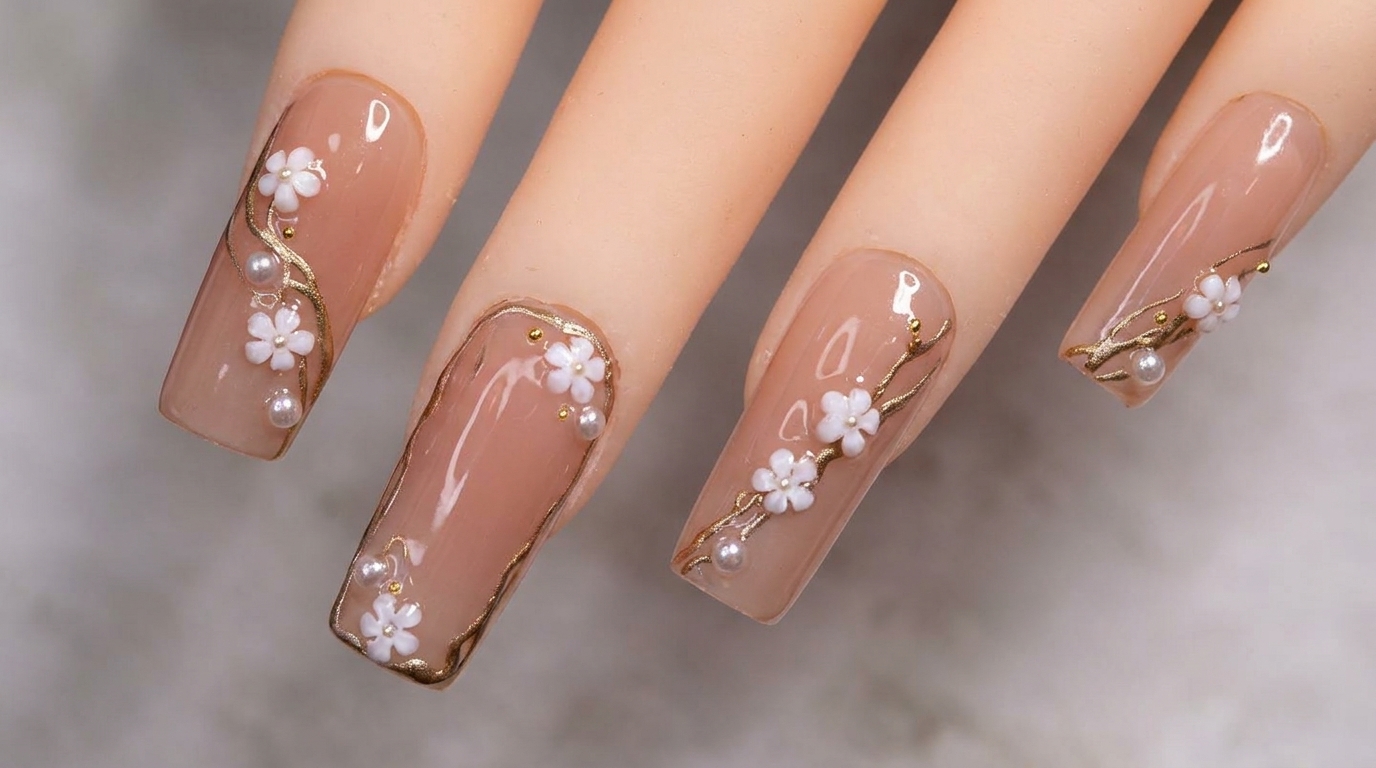
Elevate your manicure with delicate white floral art and refined metallic gold detailing on a chic, nude gel base.
This sophisticated nail look perfectly balances minimalist nude tones with intricate, hand-painted floral elements and shimmering gold accents. It is an ideal choice for those who appreciate understated elegance and artistic detail. By following this precise layering technique, you can achieve a salon-quality floral design that works beautifully for both everyday wear and special occasions.
Steps
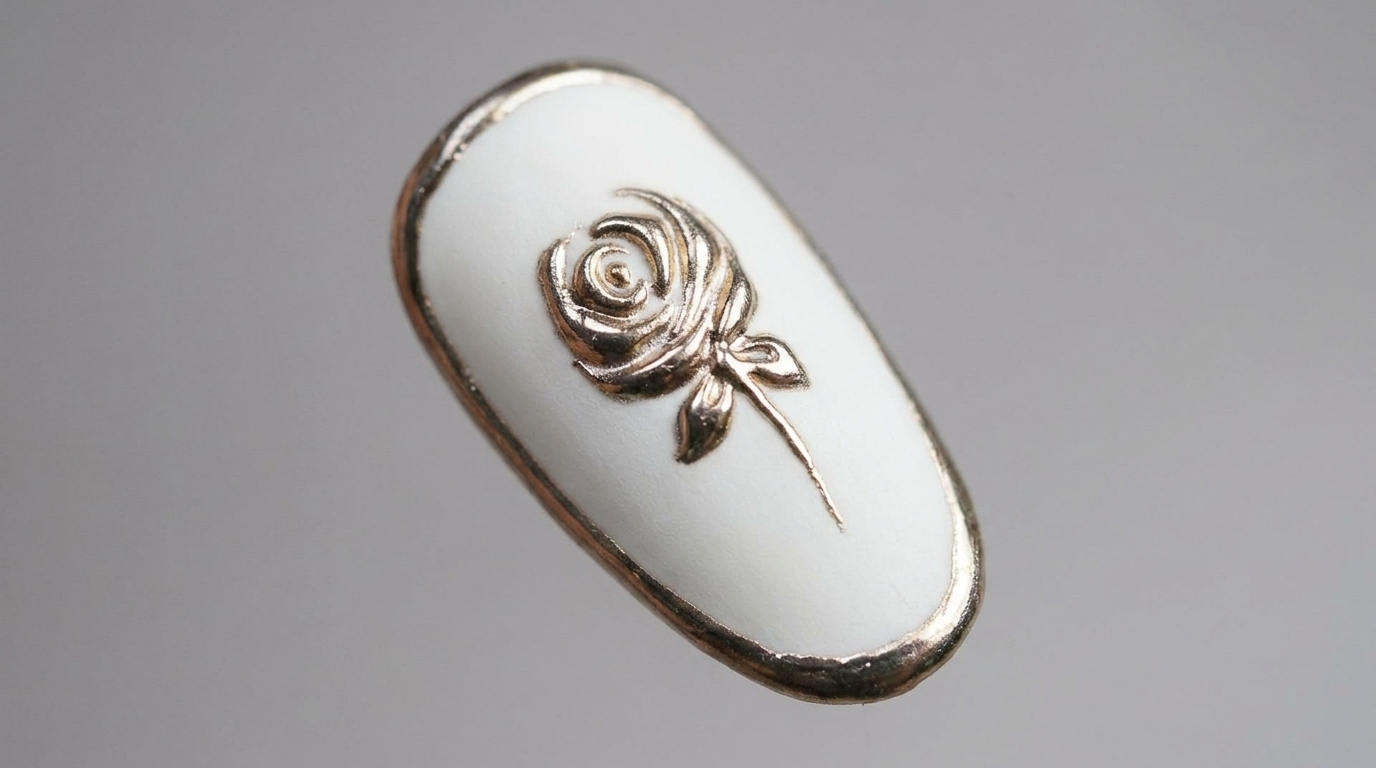
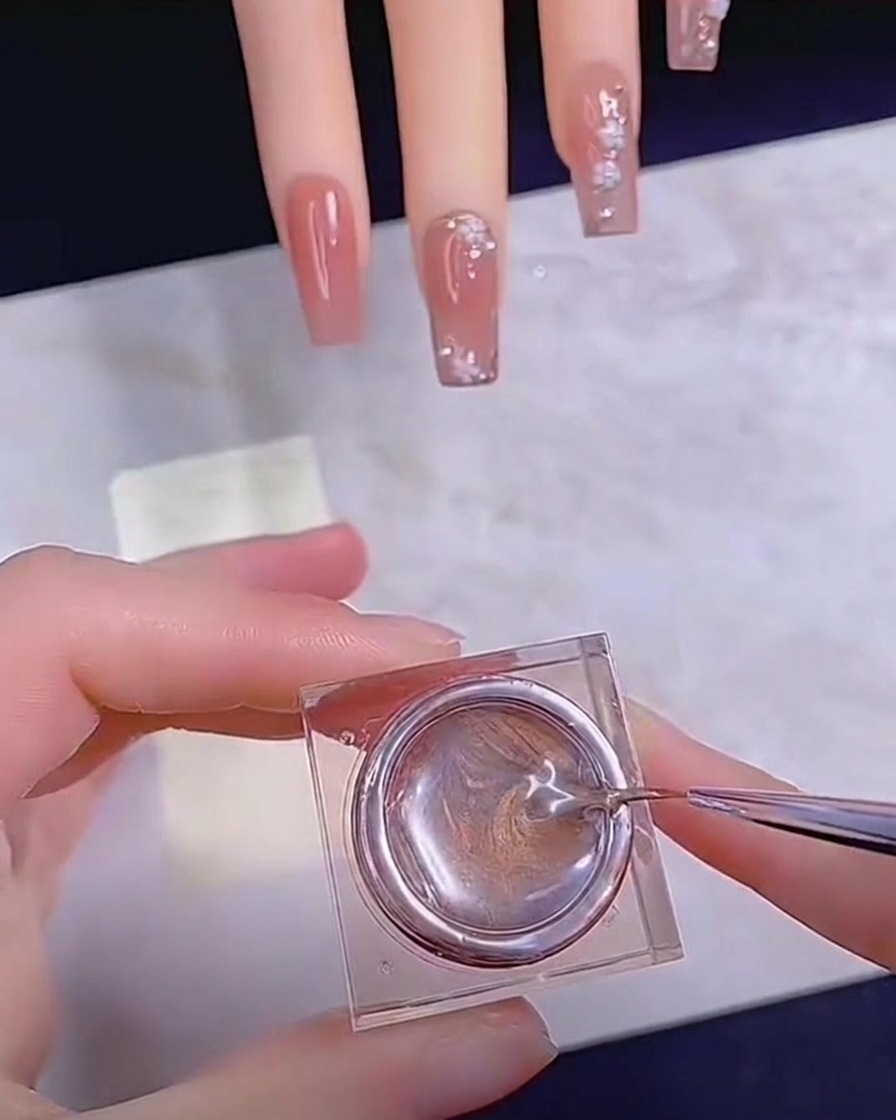
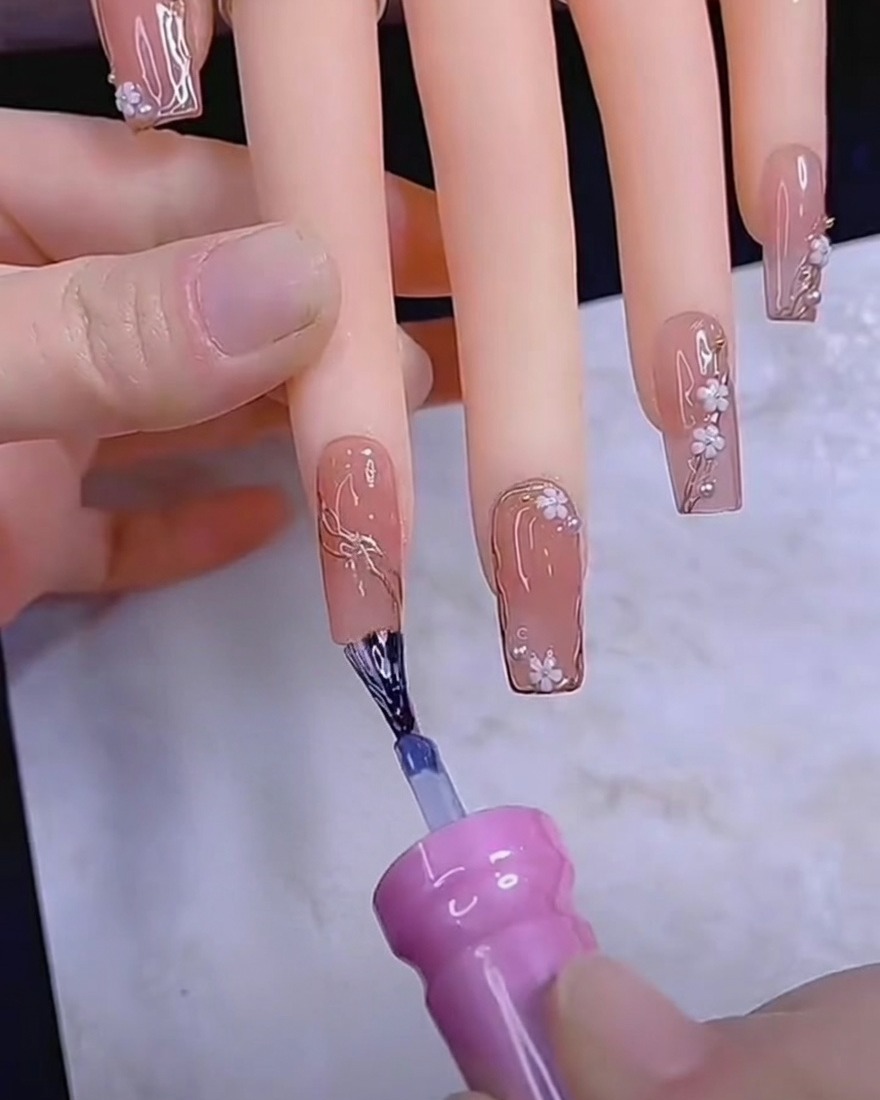
- 1Outline nail with metallic gel
Using a fine detail brush, carefully apply the metallic gel to create delicate, swirling accent lines over the nude base. Follow the natural curves of the nail to create a sophisticated, elegant pattern. Take your time to ensure the lines are smooth and consistent before curing.
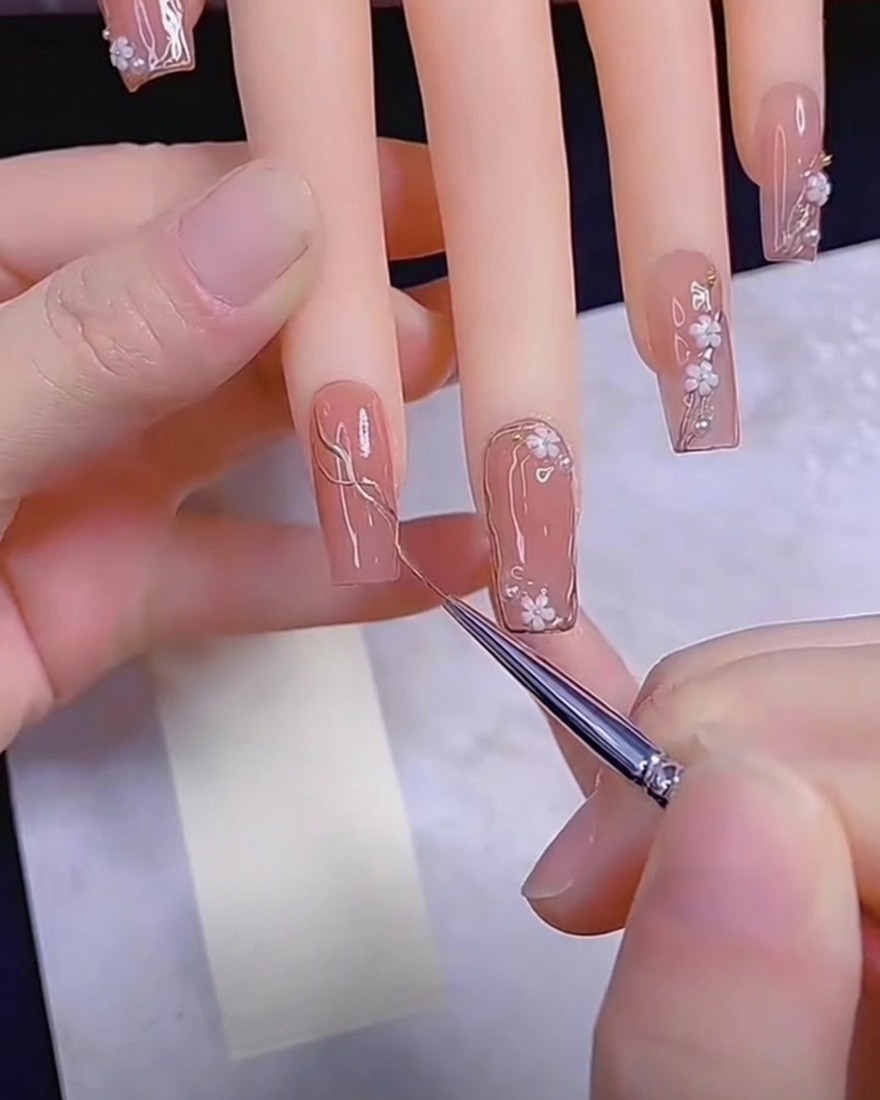
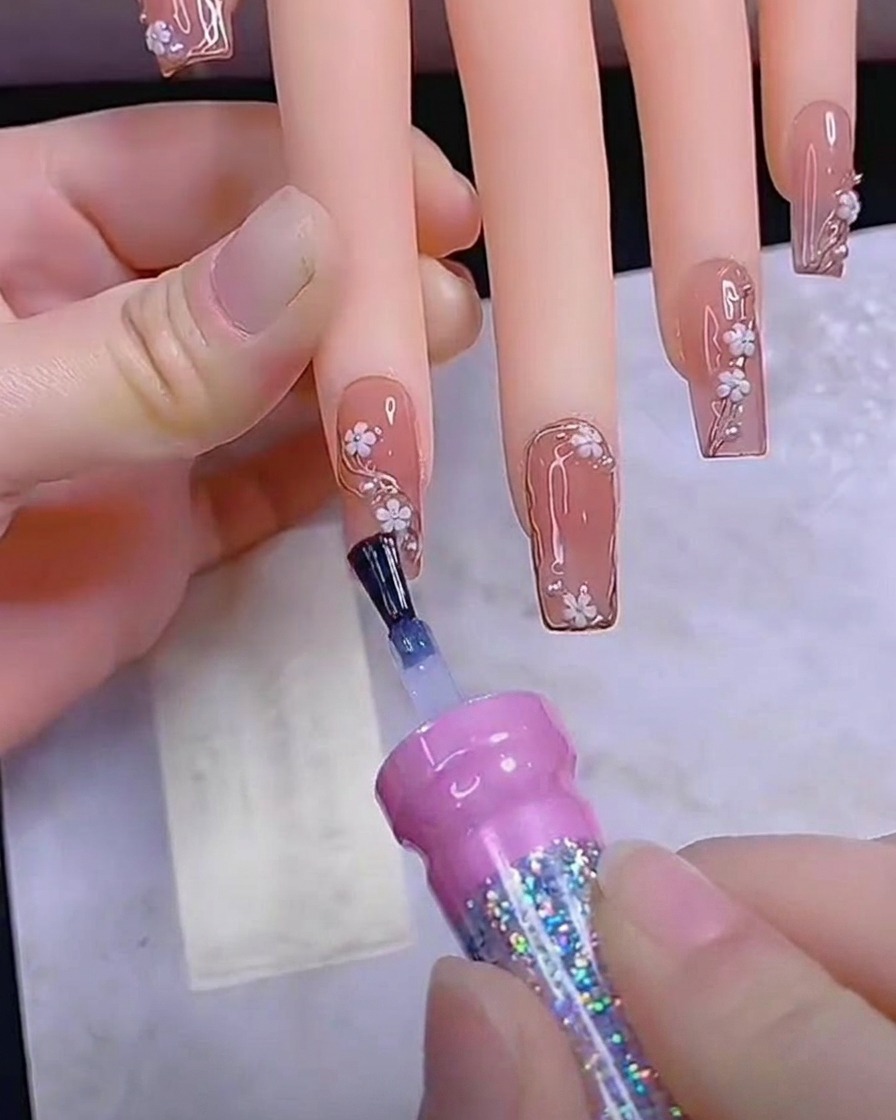
Tip: Keep a light touch with the detail brush to maintain thin, precise lines for a refined metallic finish. - 2Draw metallic details
Using a thin liner brush and metallic gel, carefully draw fine, delicate lines extending from the existing accent. Keep a light hand to ensure the lines are thin and precise, creating a flowing, organic look on the nail surface.
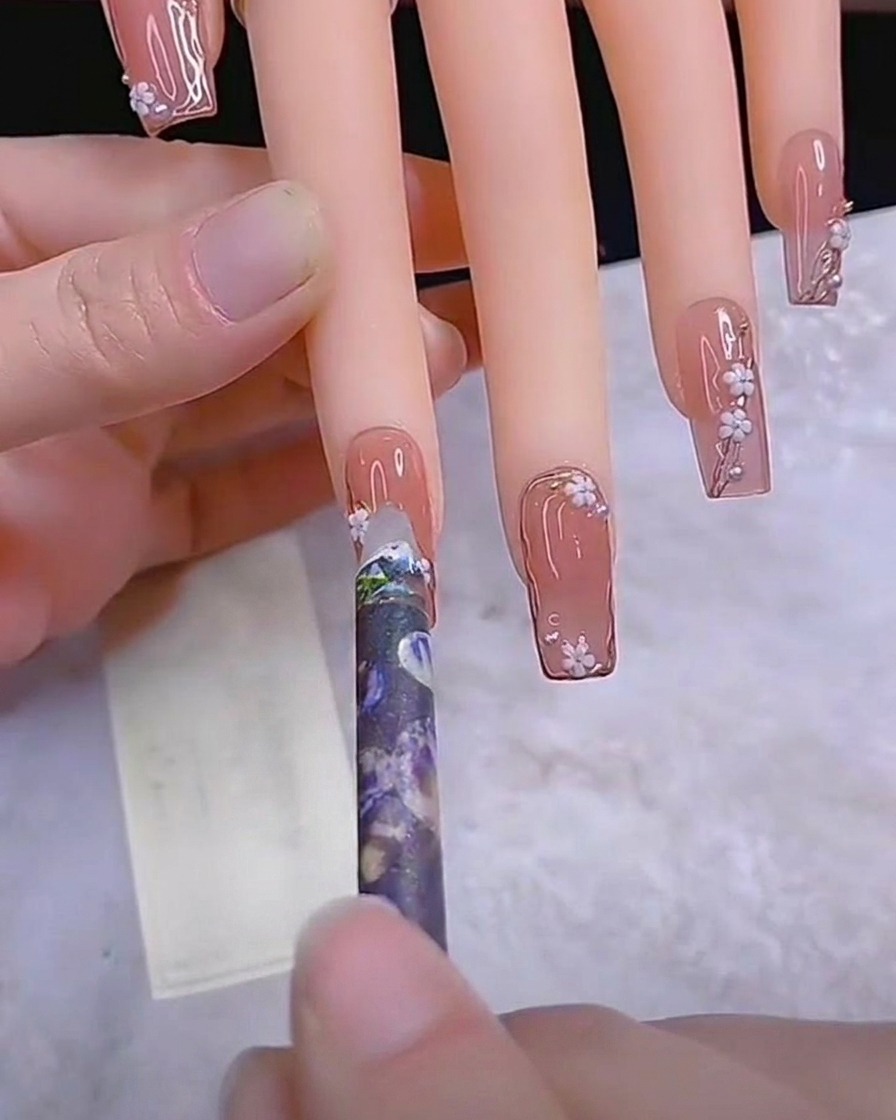
Tip: If the gel is too thick, wipe excess off on a lint-free pad to keep your lines crisp. - 3Seal metallic base lines
Before proceeding to the floral elements, apply a thin layer of top coat over the metallic lines to seal them. This prevents the metallic gel from blurring or mixing when you add the white floral petals on top.
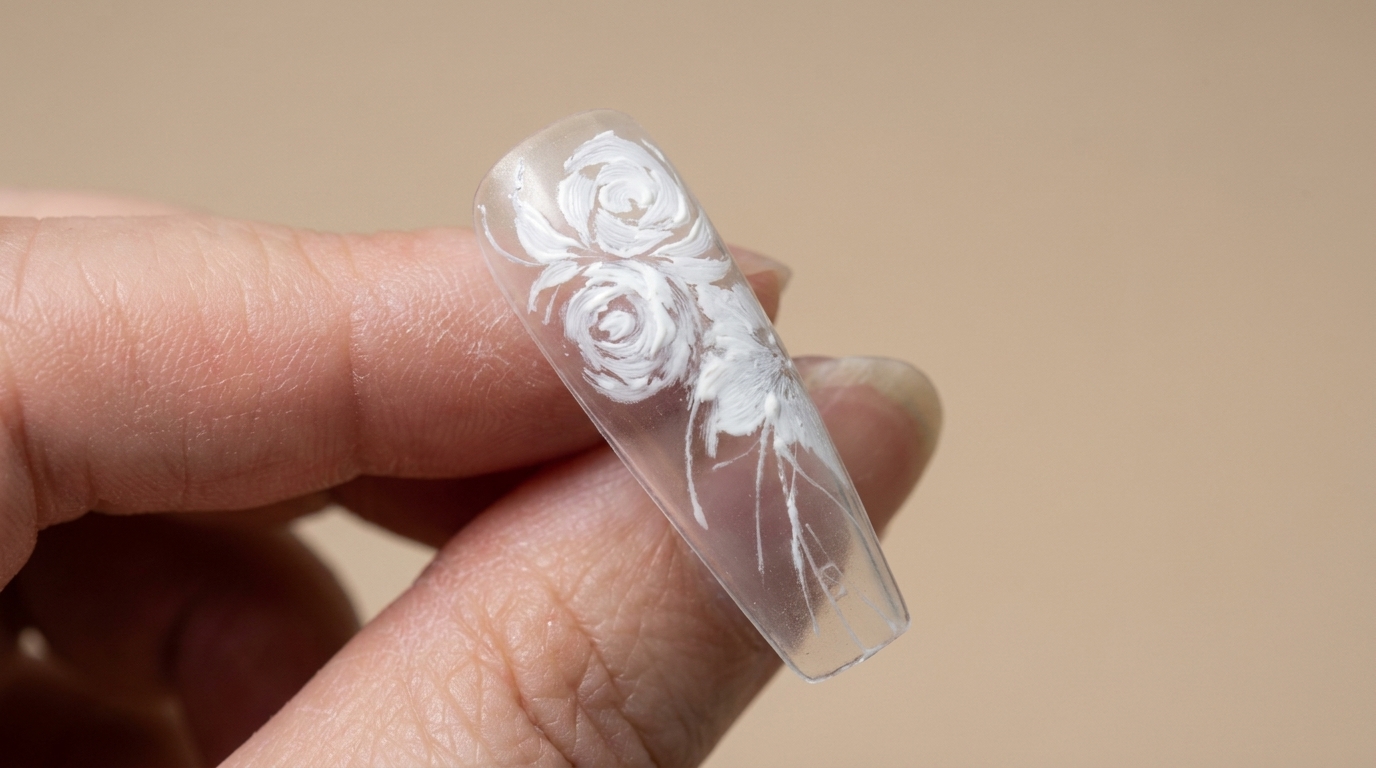
Tip: Work in small sections to prevent the gel from spreading before you can cure it. - 4Apply floral petals
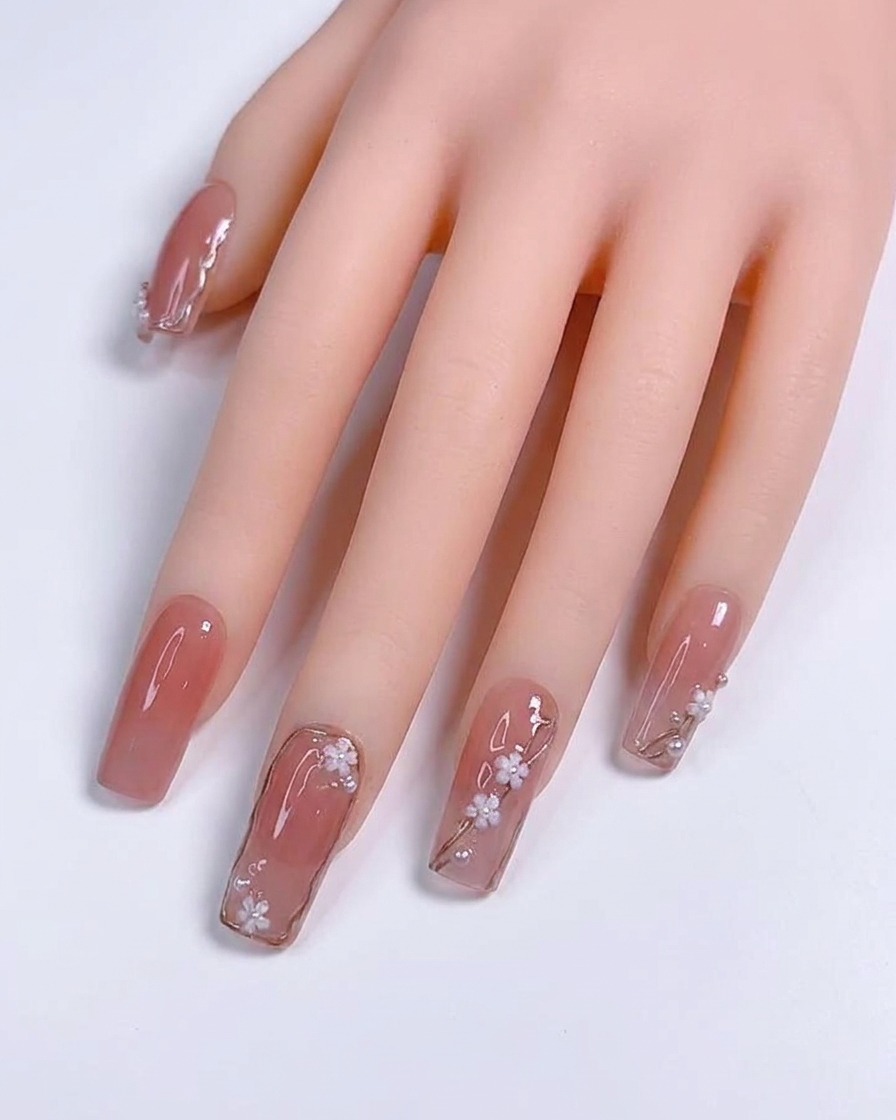
Using a dotting tool, carefully pick up and place small white floral petals onto the nail. Arrange them in a flower pattern over the previously drawn metallic stems to complete the floral design.
Tip: Gently press down on each petal to ensure it adheres flat to the nail surface. - 5Paint floral stems
Use a fine liner brush to paint thin, delicate stems connecting the floral petals. This step brings the floral design together, adding structure and detail to the overall art.
Tip: Ensure the gel is not too runny so the stems remain sharp and thin. - 6Apply top coat

Apply a final layer of top coat over the entire nail, ensuring the floral and metallic designs are fully sealed. Cap the free edge carefully to extend the longevity of the manicure and prevent chipping. Cure thoroughly under the UV/LED lamp as directed.
Tip: Applying the top coat in thin, even strokes prevents pooling around the cuticles and ensures a smooth, glossy finish. - 7Apply final smoothing top coat
Apply one last thin, even layer of high-shine top coat to ensure a perfectly smooth and uniform surface. This step enhances the gloss and levels out any texture from the nail art, giving a professional finish. Cure in your UV or LED lamp until completely set.
Tip: Ensure the nail surface is free of dust before this final coat to maintain a crystal-clear, glass-like shine.