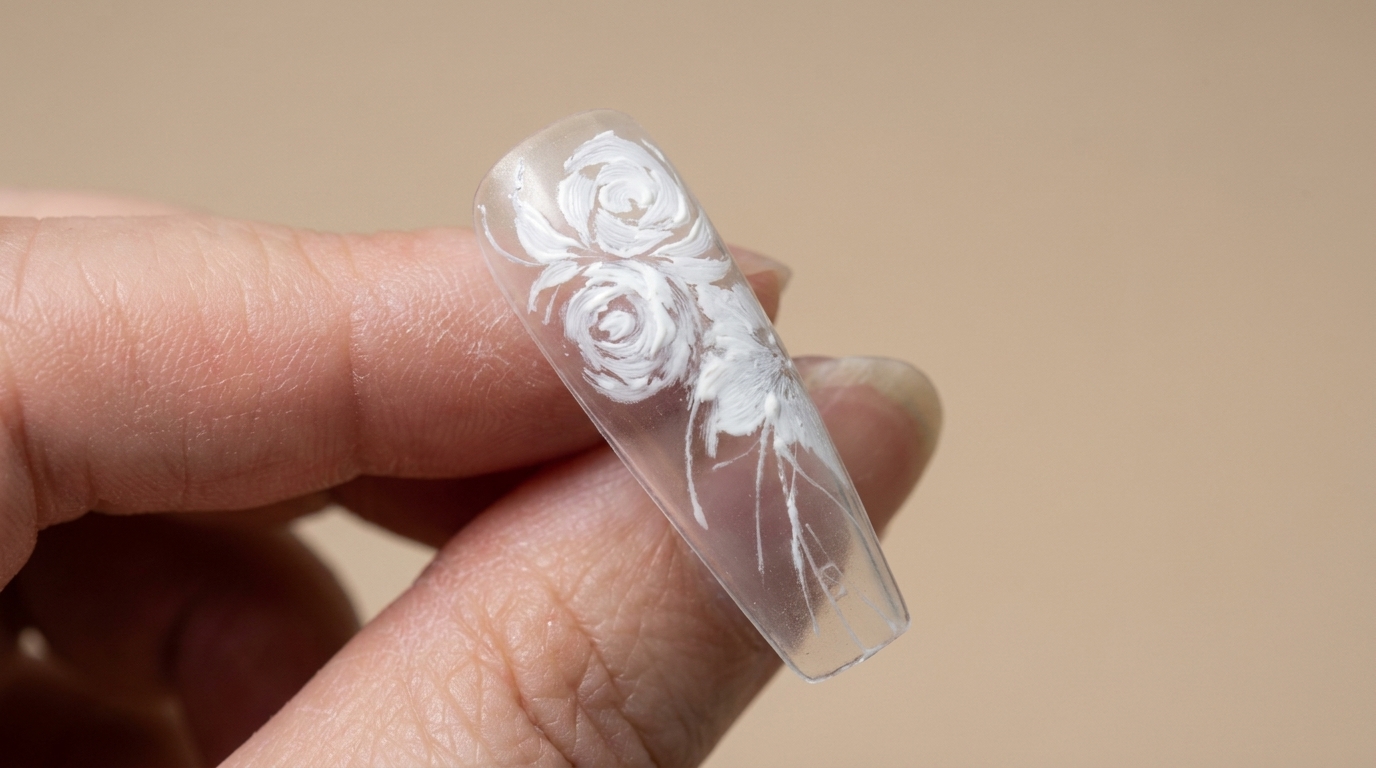
Easy Watercolor Bloom Nail Art — Beginner Marble Tutorial
Create stunning, cloud-like watercolor marble nails at home using blooming gel. This simple, beginner-friendly technique delivers a seamless, high-gloss finish.
The watercolor bloom effect is a fantastic way to achieve a sophisticated, artistic nail look without needing advanced painting skills. By leveraging the natural spread of blooming gel, you can create soft, diffused roses and marble patterns that look intricate but are incredibly easy to execute. This method is perfect for anyone looking to add a touch of elegant, cloud-like texture to their manicure with minimal effort and fast, natural results.
Steps
- 1Prepare with blooming gel
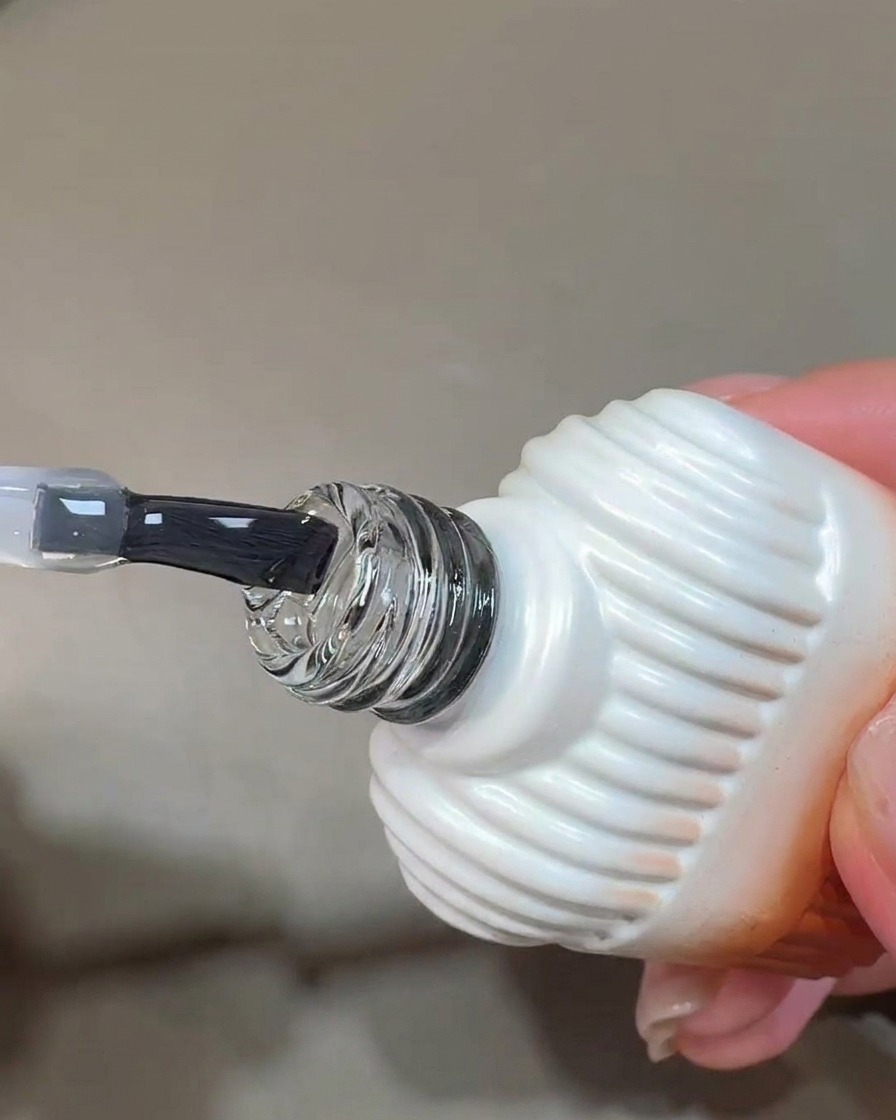
Apply a thin, even layer of clear blooming gel over the nail surface. It is essential that you do not cure the nail after this application, as you need the wet layer to allow your subsequent colors to spread and bloom effectively.
Tip: Ensure the layer is thin and smooth; too much product can cause the gel to pool excessively. - 2Apply rose bloom patterns
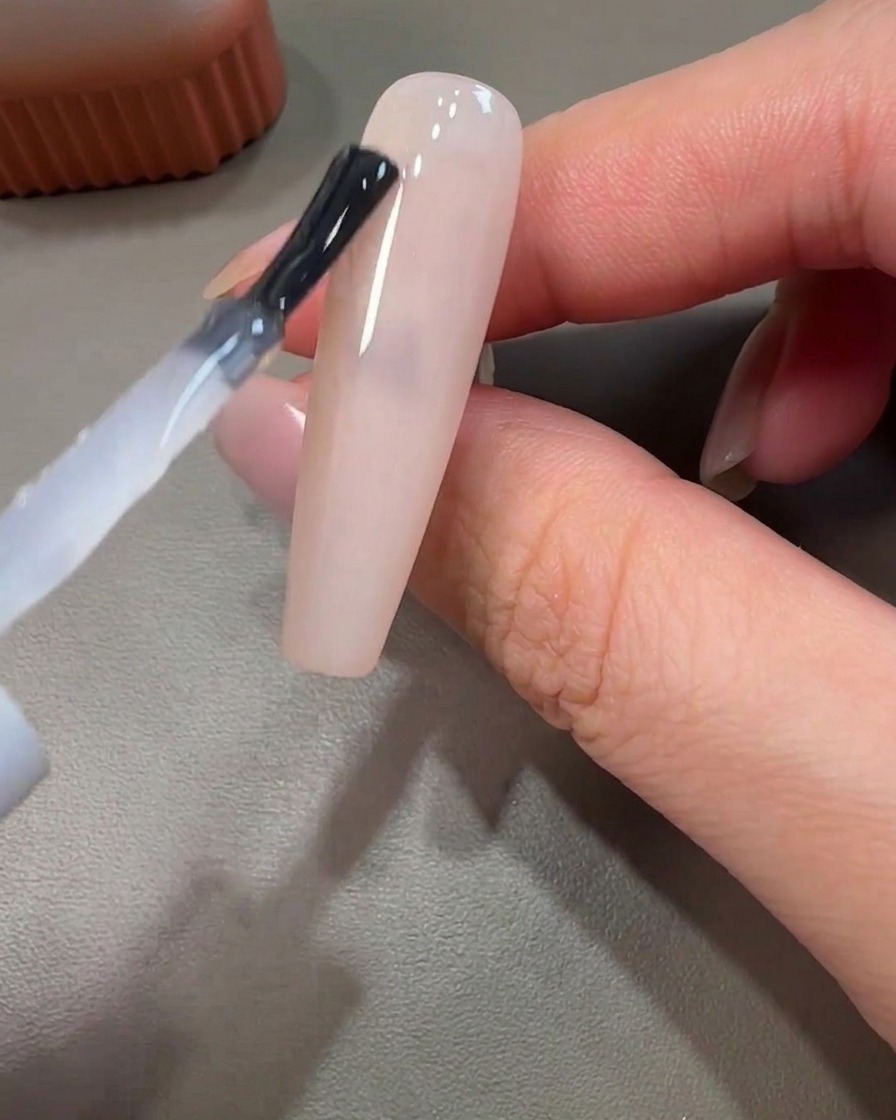
Using a fine liner brush, pick up a small amount of pink gel and apply it in soft, circular motions directly onto the uncured blooming gel. The gel will immediately begin to spread, creating a soft, watercolor rose effect.
Tip: Keep your hand light; you dont need to be precise, as the blooming gel will do the work of softening the edges for you. - 3Expand the design
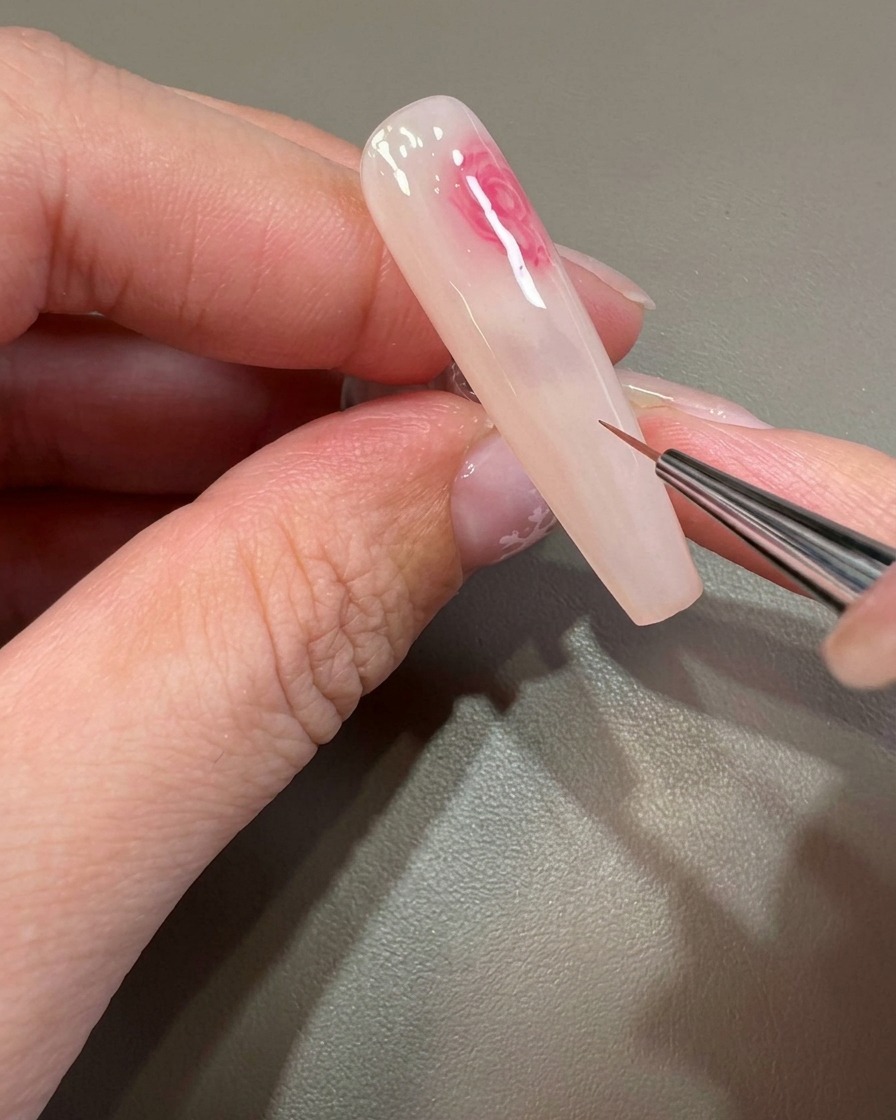
Continue to add more pink gel circles across the nail surface, varying the placement to expand your design. Gently use the tip of your liner brush to further blend or soften the edges if needed to achieve a more diffused look.
Tip: Work quickly while the blooming gel is active to ensure the colors spread smoothly. - 4Apply second layer of blooming gel

Once your initial design is placed, apply another thin layer of blooming gel over the existing design. Do not cure this layer either, as it will serve as the base for the next phase of the marble-inspired design.
Tip: Apply this layer gently to avoid smearing the existing rose bloom pattern. - 5Apply brown color blocks
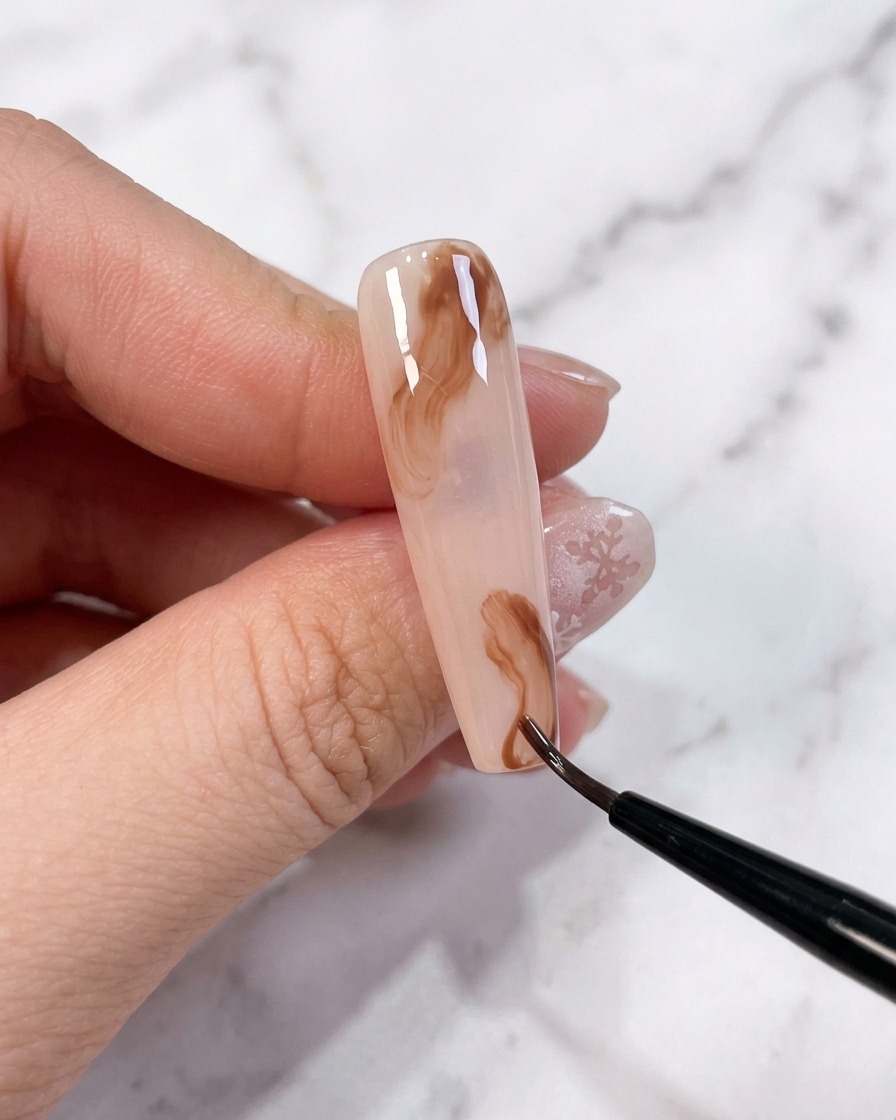
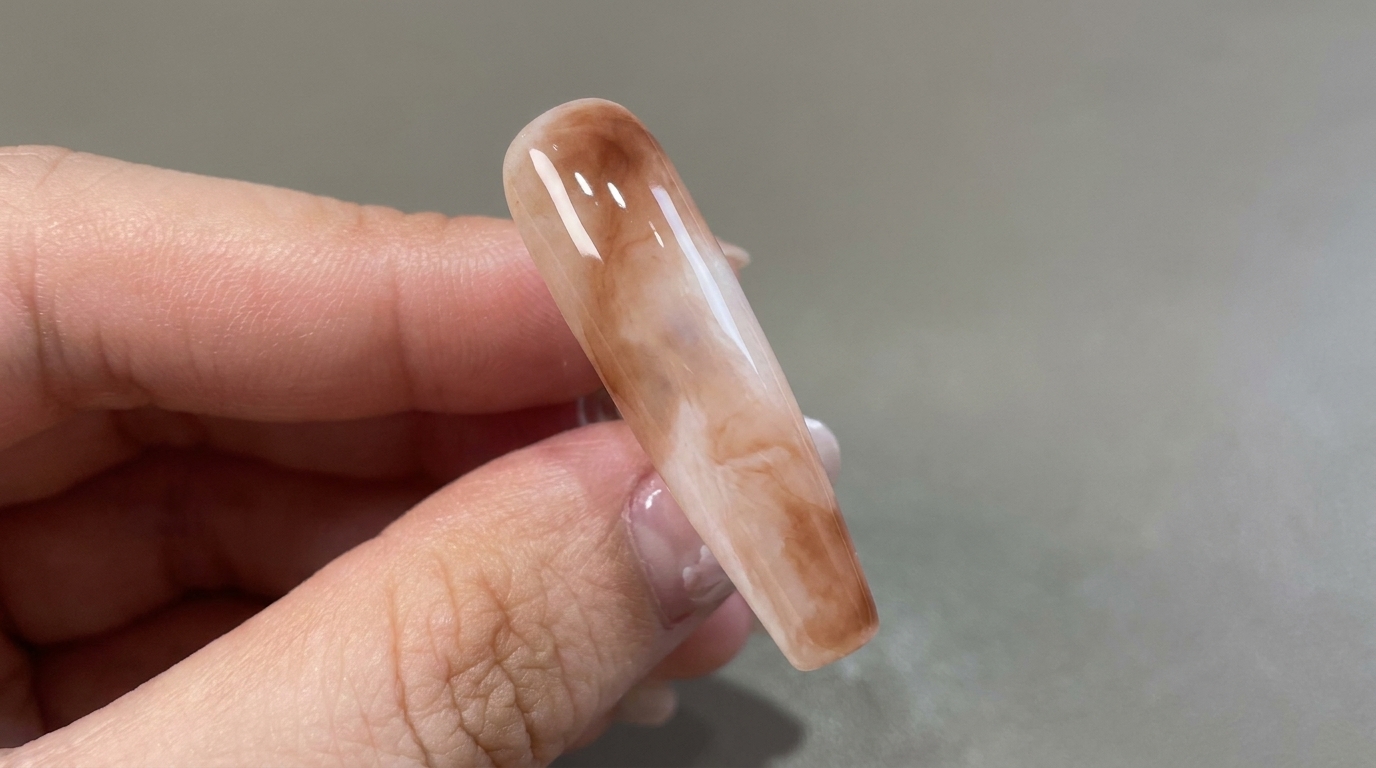
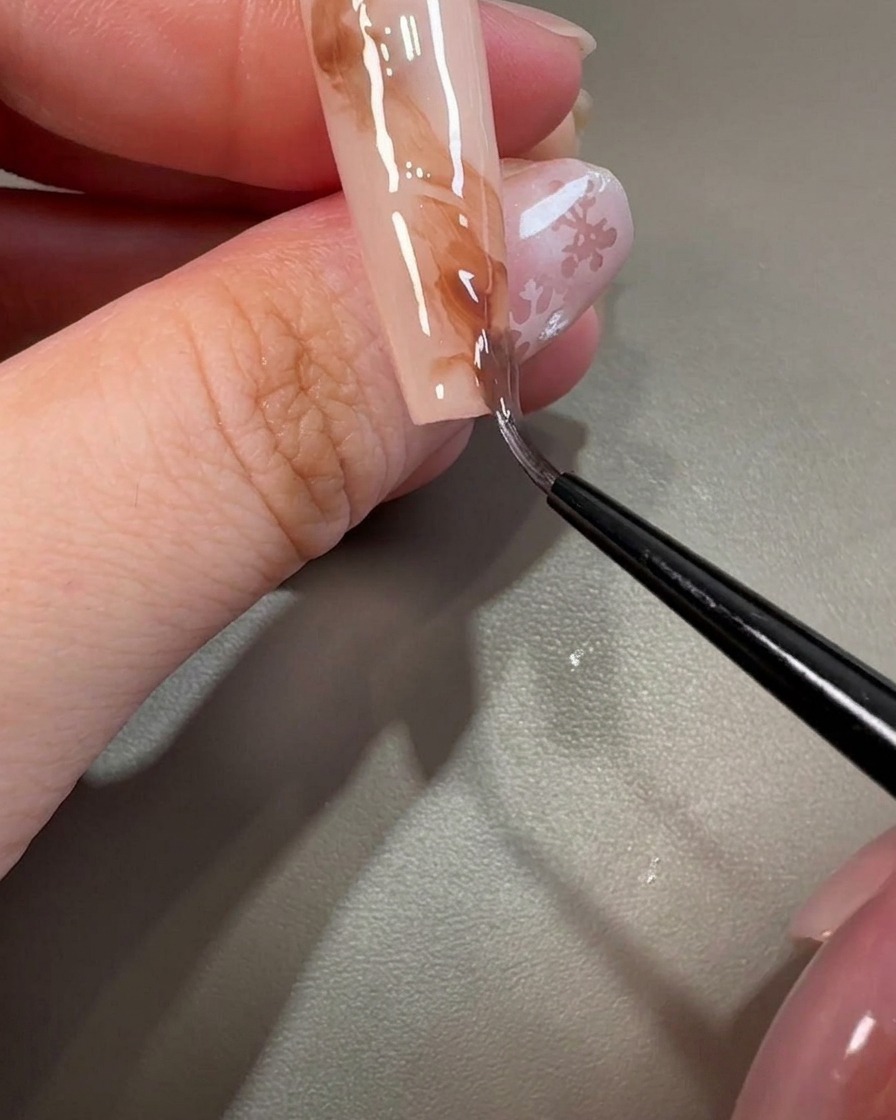
Place two distinct dots or blocks of brown gel on the upper and lower sections of the nail. These will act as the focal points for the marble effect you are about to create.
Tip: Dont worry about shape; simple dots or small blobs work perfectly for this technique. - 6Refine the marble texture
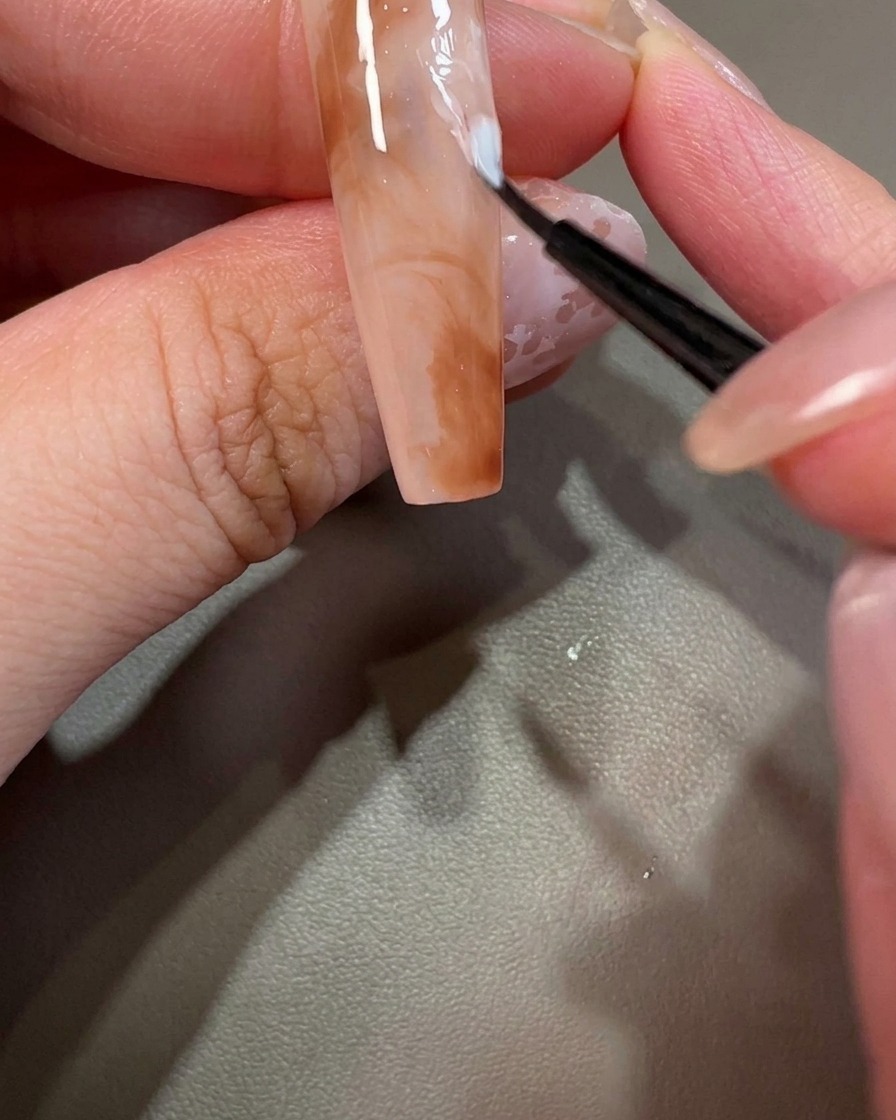
Use your liner brush to gently pull and stroke through the brown gel, moving it back and forth to blend it into the surrounding area. This motion creates a natural, flowing marble texture that beautifully complements your base bloom design.
Tip: Use a light touch and varied strokes to create a more organic, stone-like marble pattern. - 7Add white gel accents
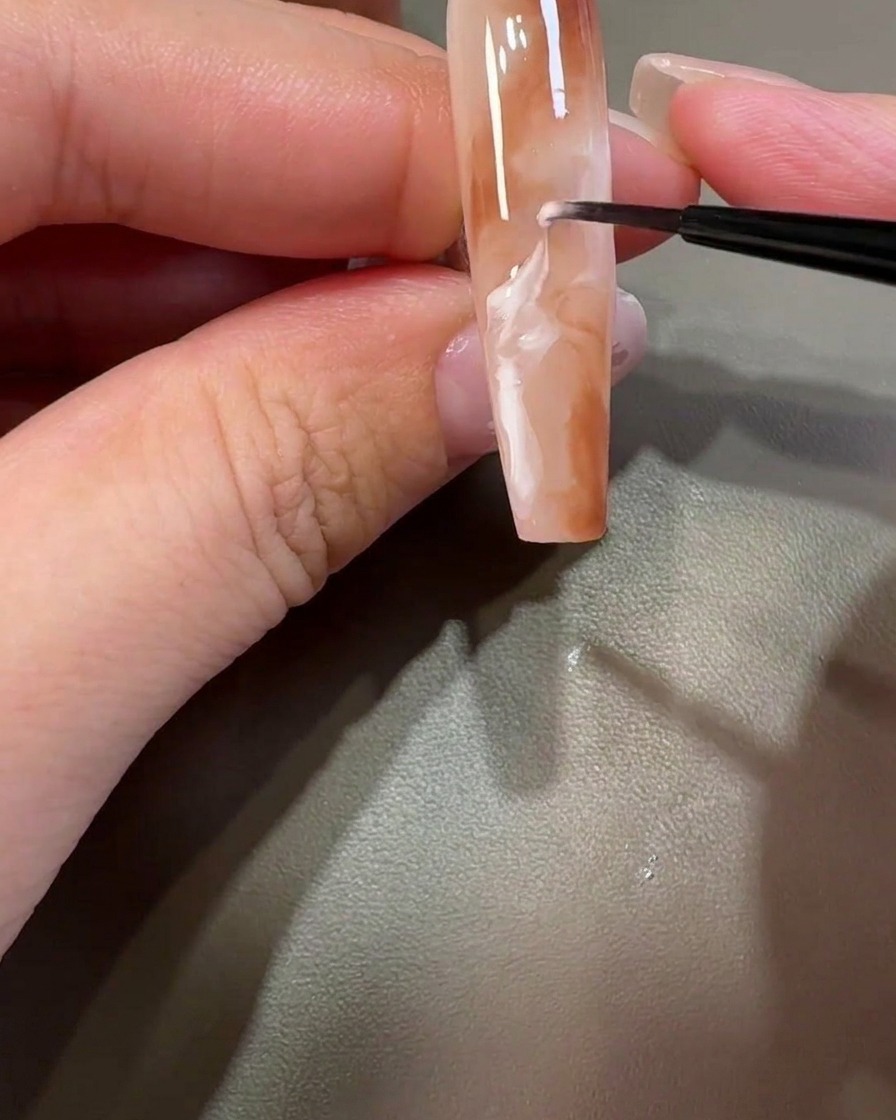
Apply a small dot or stroke of white color gel into the remaining empty, unblended space on the nail. This will serve as the highlight for your marble effect, adding depth and contrast to the design.
Tip: Use a small amount of product to keep the blending clean and prevent the nail from looking bulky. - 8Complete the marble effect
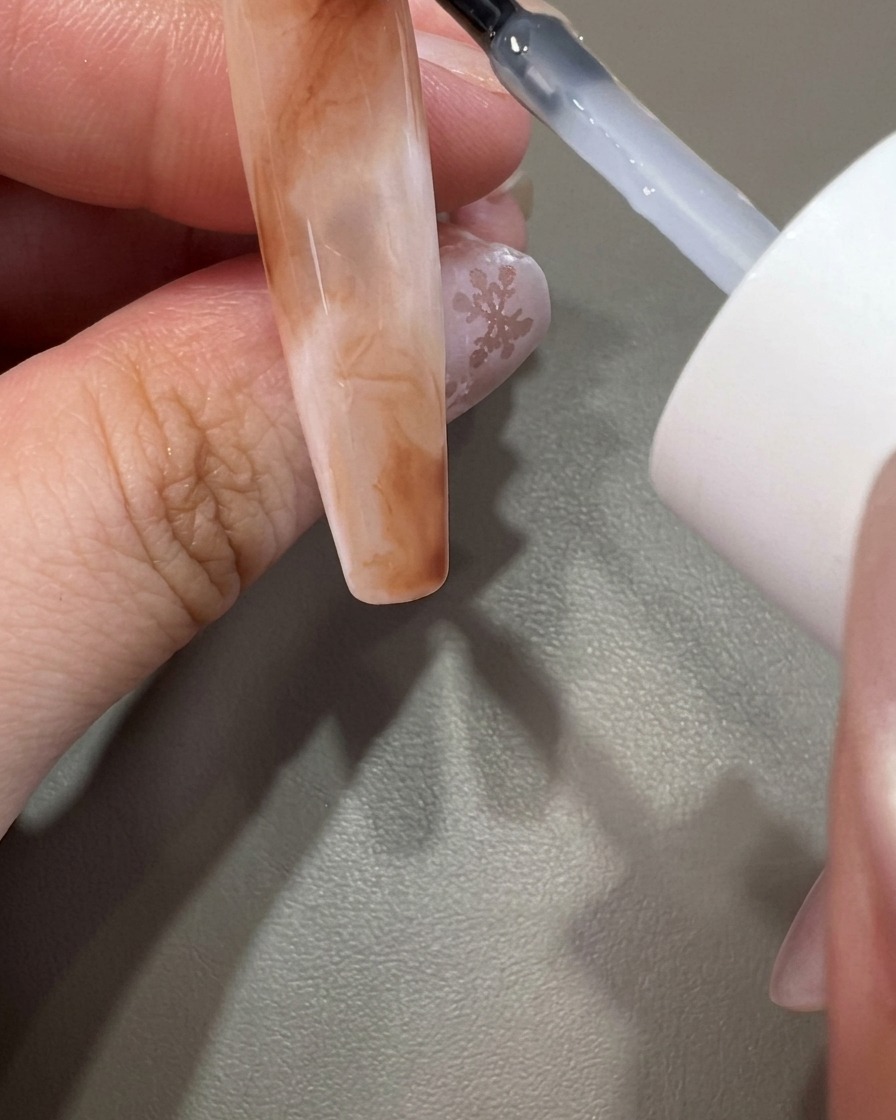
Using a liner brush, gently stroke and blend the white gel into the surrounding colors. Move the brush back and forth to create a seamless, cloud-like marble effect. Work quickly while the gel is still wet to achieve a natural, diffused look without over-working the design.
Tip: Keep your touch light to avoid over-blending and muddying the colors. - 9Apply top coat
Apply a final layer of top coat over the entire nail to seal your marble art. This layer provides a protective finish and adds a glossy shine that completes the look.
Tip: Ensure you cap the free edge of the nail with the top coat for long-lasting wear.