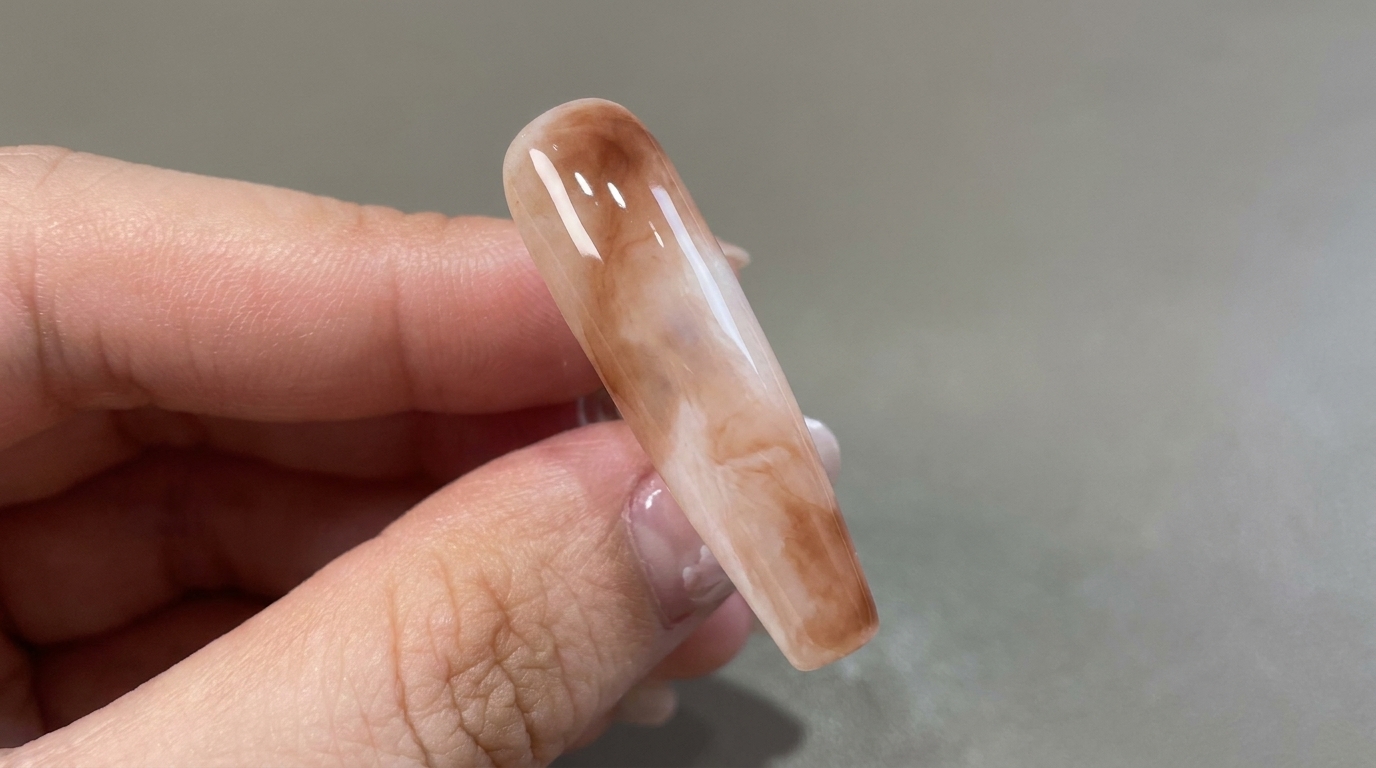
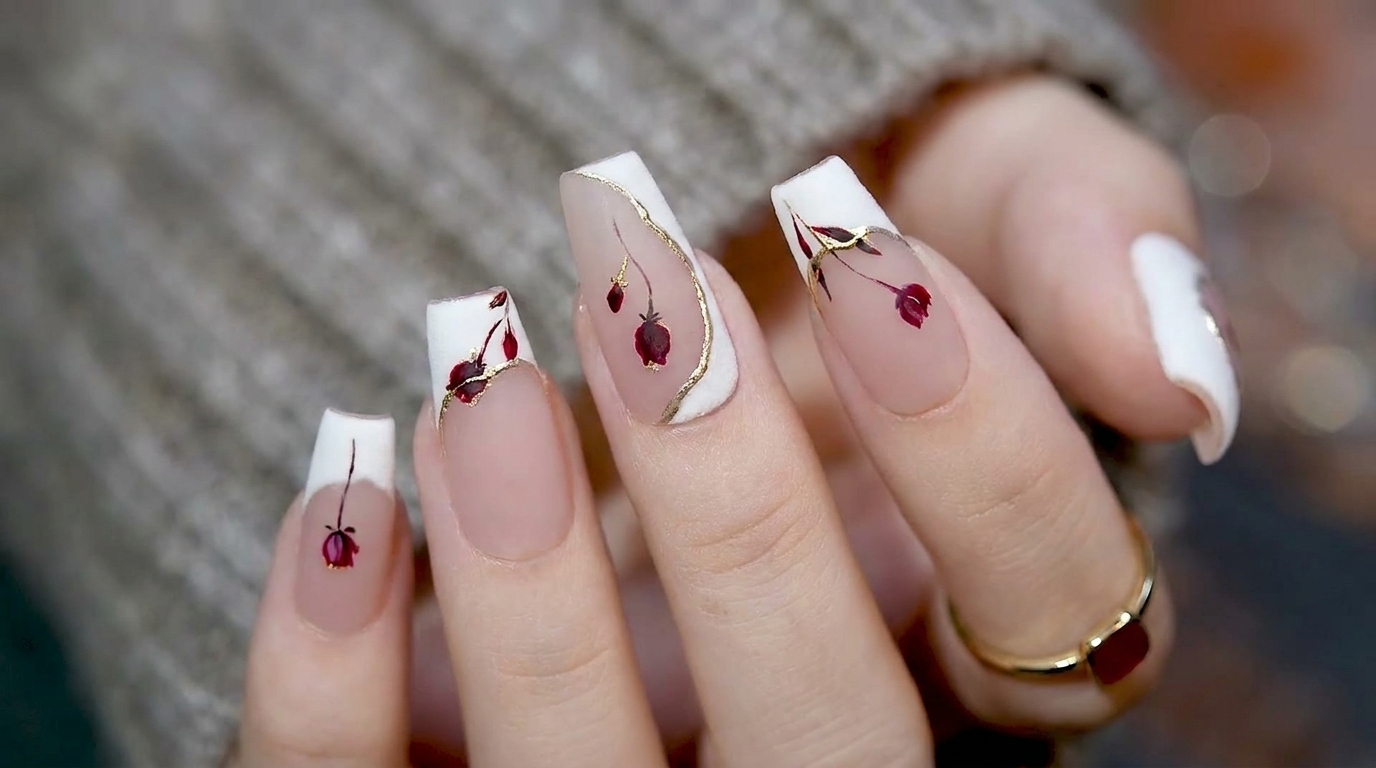
Velvet Matte Gold Edge Rose French Nails — Elegant Step-by-Step Tutorial
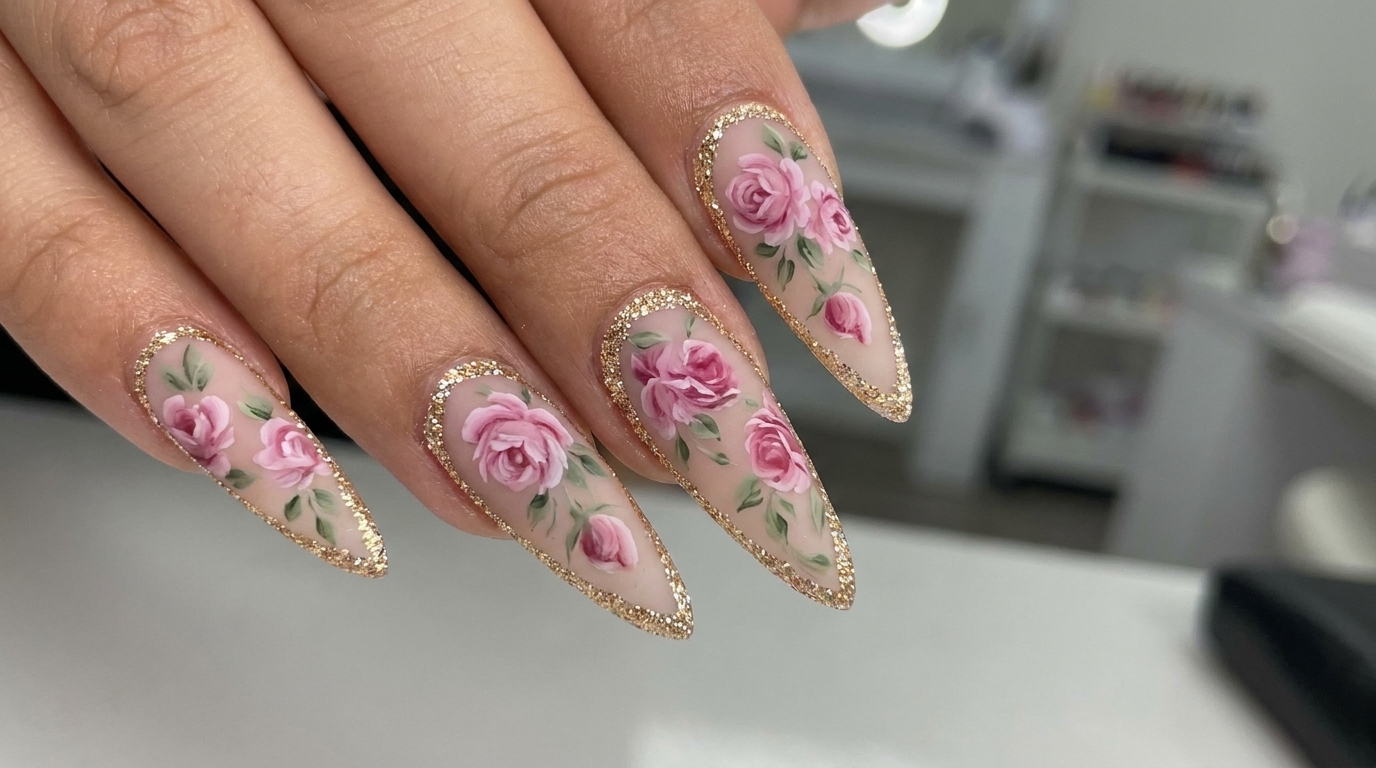
Elevate your manicure with this sophisticated velvet matte look featuring hand-painted red roses and a stunning, raised champagne gold chrome border.
This unique design blends the classic elegance of a French tip with modern, romantic artistry. By combining soft matte textures, intricate floral motifs, and raised metallic accents, you can achieve a high-end salon look right at home. It is the perfect choice for those who love detailed, artistic nail designs that stand out with refined glamour.
Steps
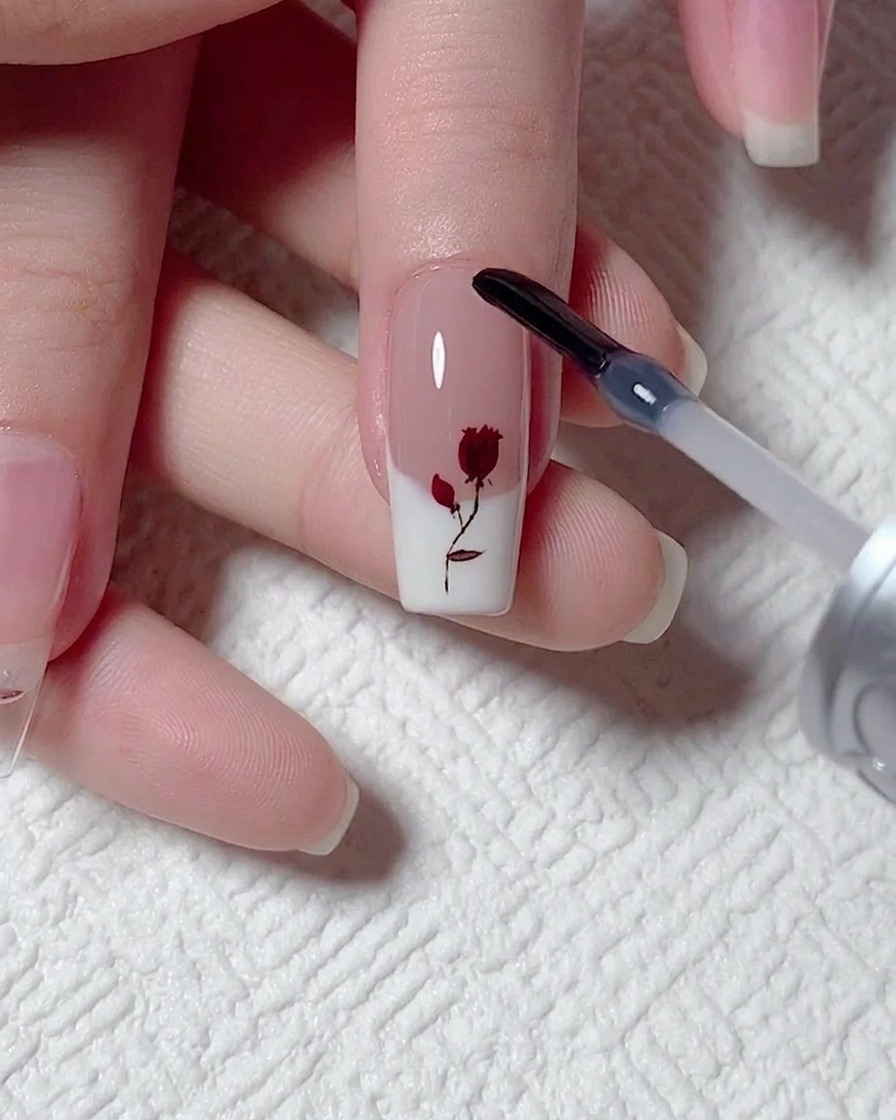
- 1Apply nude base color

Apply a smooth, even layer of your chosen nude gel polish to the entire nail plate. Ensure the product is leveled correctly before curing under your UV/LED lamp to create a solid, clean canvas for the nail art design.
Tip: Apply the base color in thin layers to avoid pooling around the cuticles and ensure a professional, long-lasting finish. - 2Outline the irregular French tip
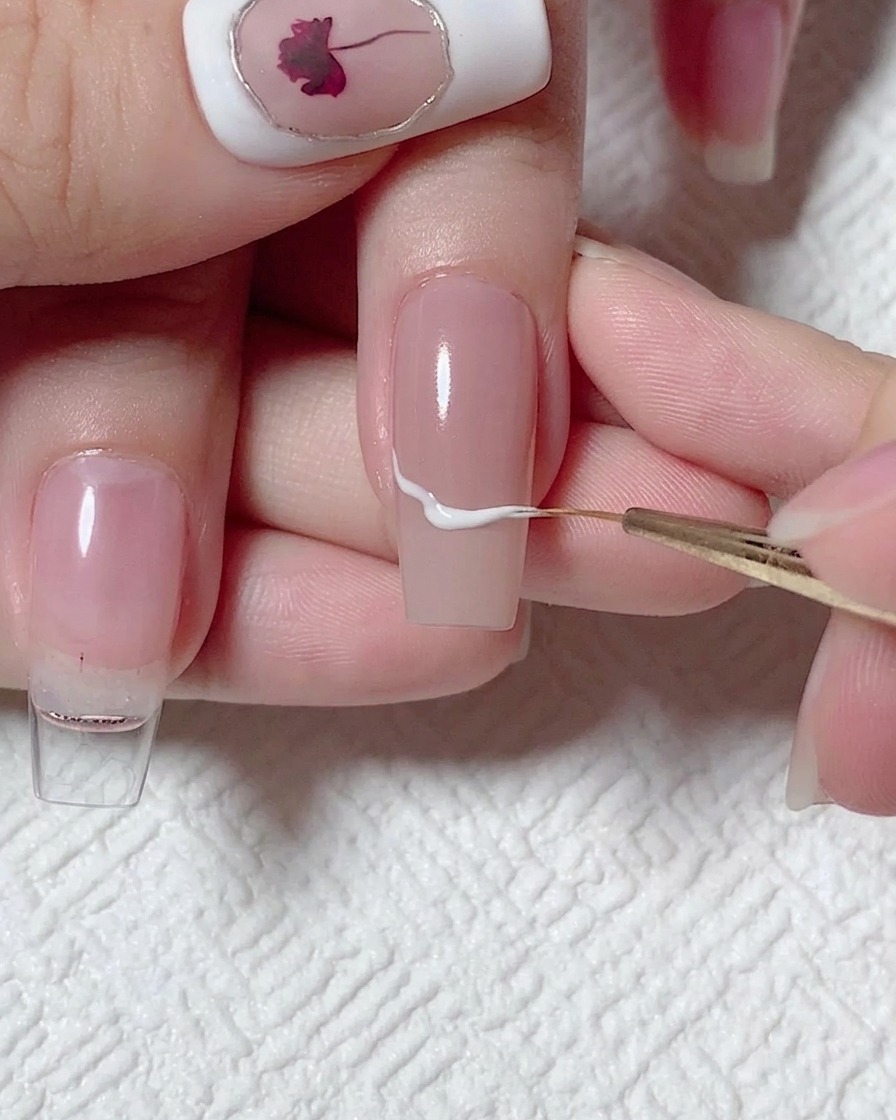
Using a fine liner brush dipped in white gel, carefully draw an irregular, wavy line across the middle of the nail. This will serve as the guide for the French tip shape.
Tip: Keep your hand steady and use light pressure to maintain a smooth, clean line for the irregular design. - 3Fill the French tip
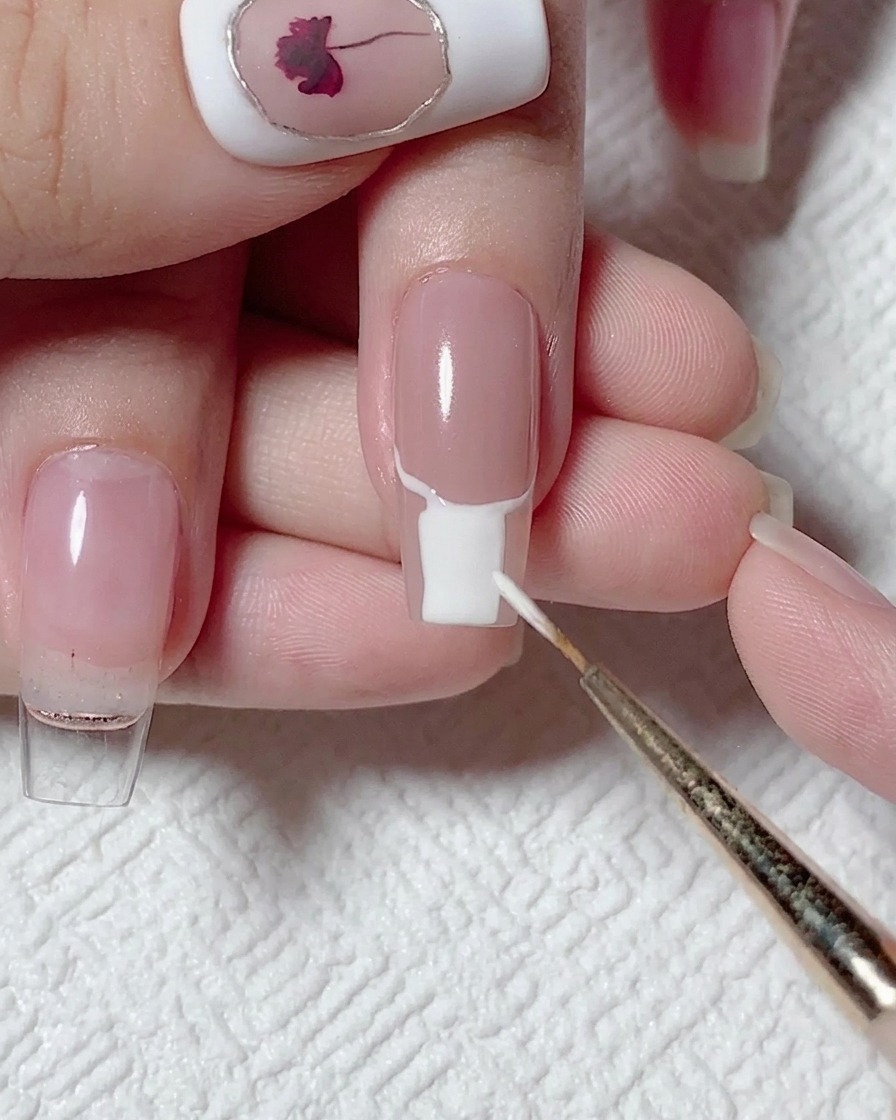
With a flat gel brush, fill in the entire area below the previously drawn white curve. Ensure the color is opaque and applied evenly down to the free edge of the nail.
Tip: Work in thin layers to ensure the white gel cures completely through, especially since opaque white can sometimes be difficult to cure if applied too thick. - 4Verify French tip application
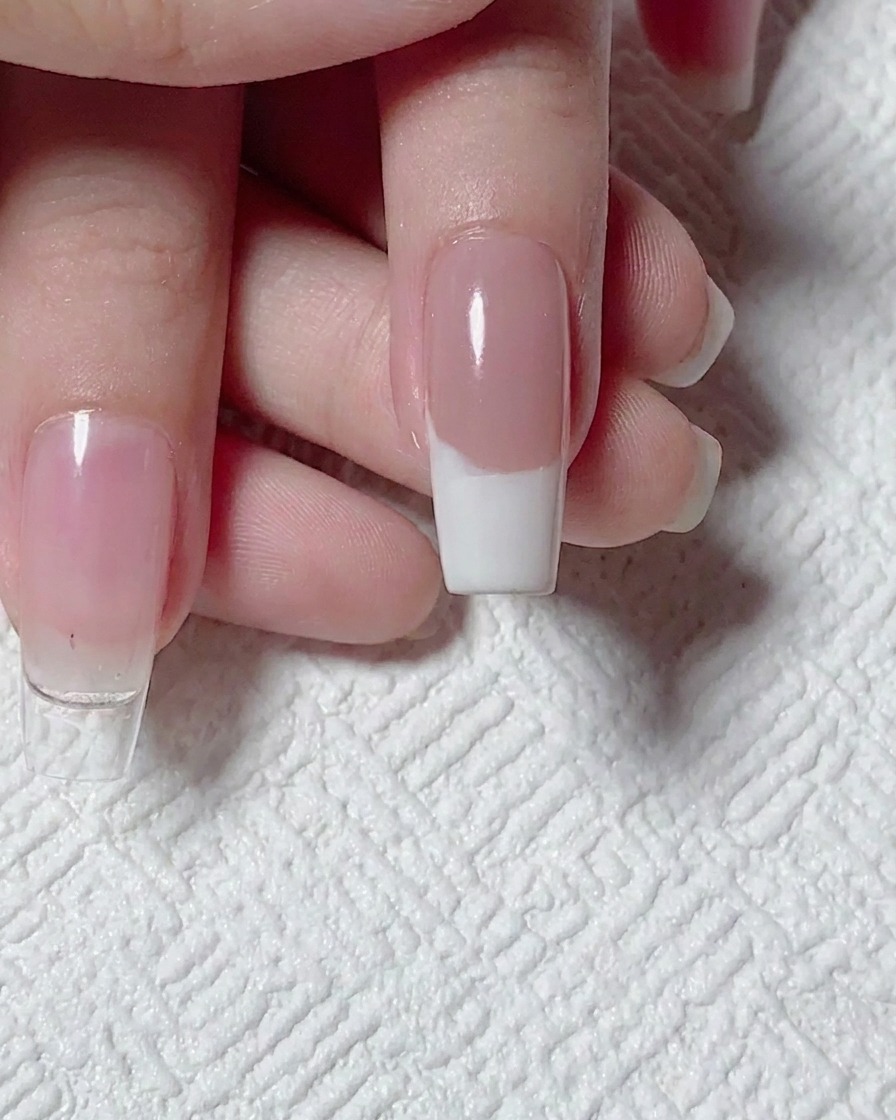
Check your progress to ensure the irregular French tip is sharp, clean, and well-defined before moving on to the intricate rose design. Once satisfied with the shape, cure the nails under your lamp.
Tip: A clean application at this stage is crucial for the overall look. Correct any imperfections with a clean brush before curing. - 5Start the rose art

Using a fine detail brush and deep red gel, paint a small U shape in the center of the nail. This serves as the foundational structure for the rose.
Tip: Use a minimal amount of gel on the brush to maintain fine control over the small details of the rose. - 6Detail the rose petal
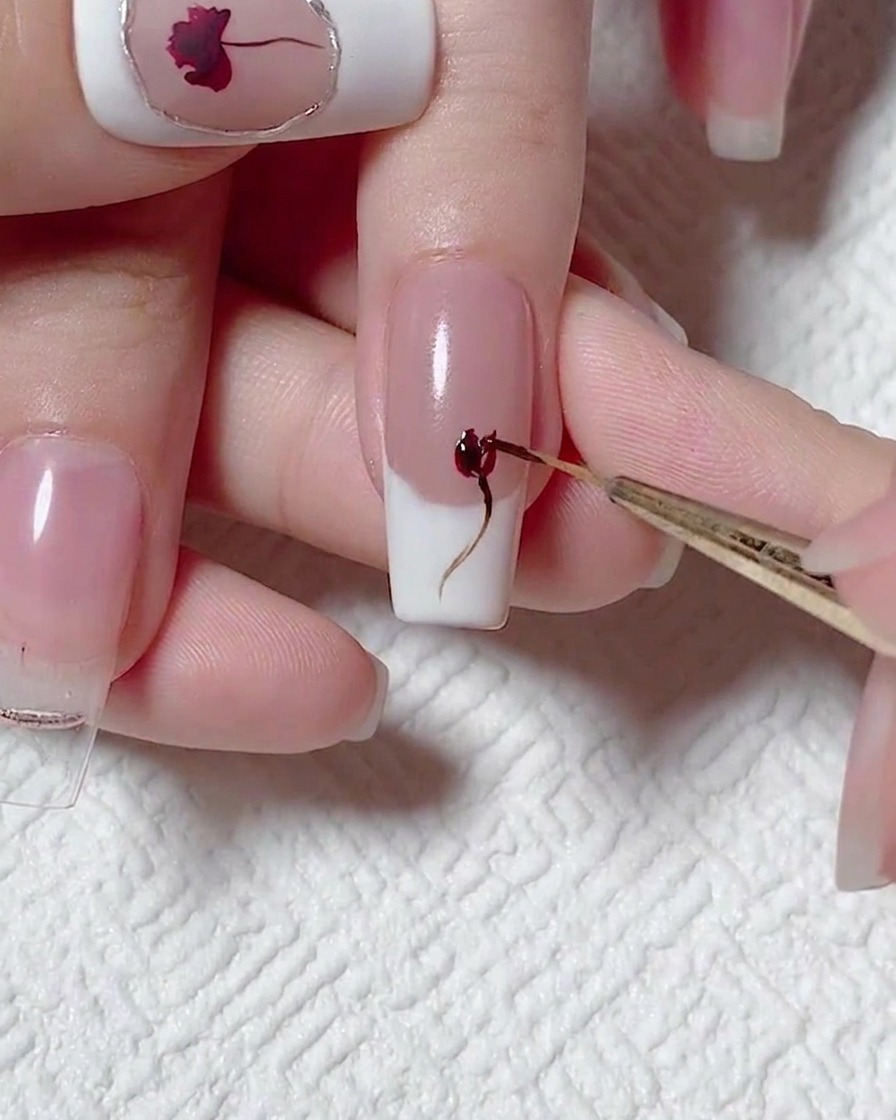
Using the same red gel, carefully fill in the U shape you created to form the central petal and body of the blooming rose. Keep the edges clean to define the flower shape.
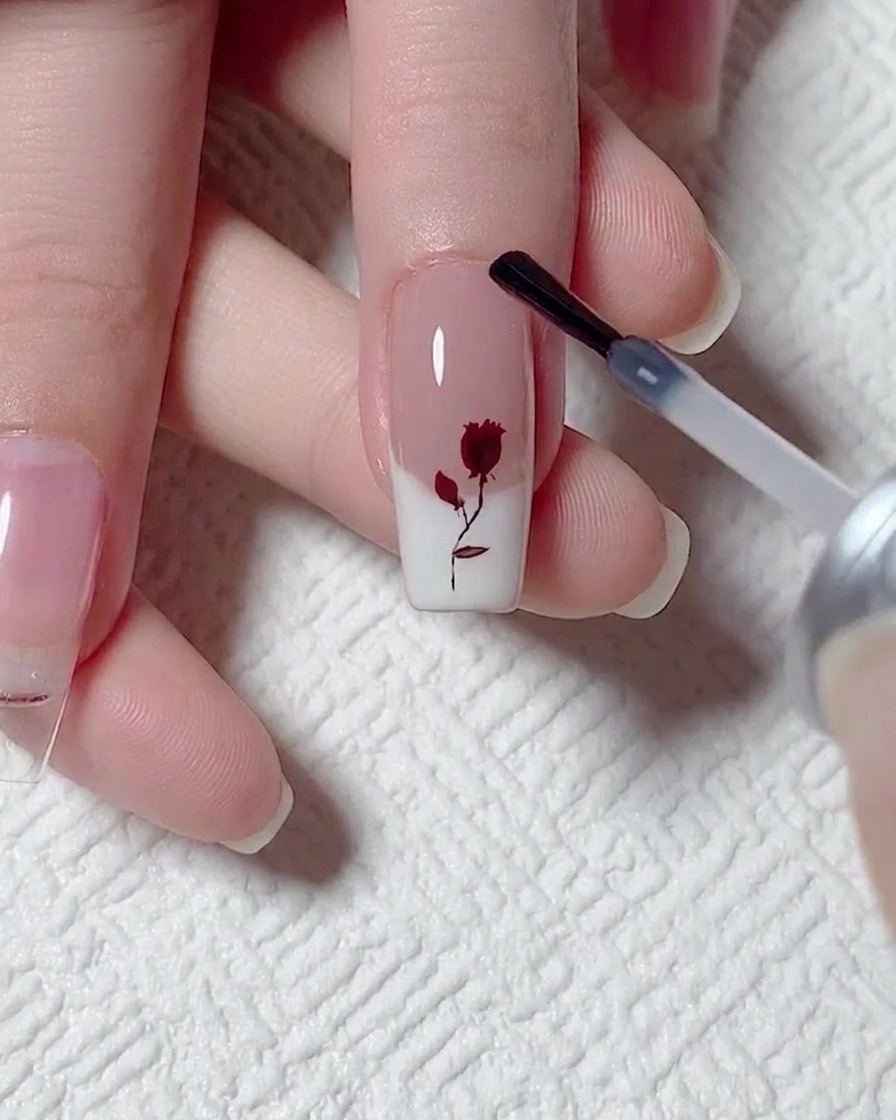
Tip: Focus on the shape of the petals by varying the pressure of your brush strokes for a more organic look. - 7Paint the rosebud
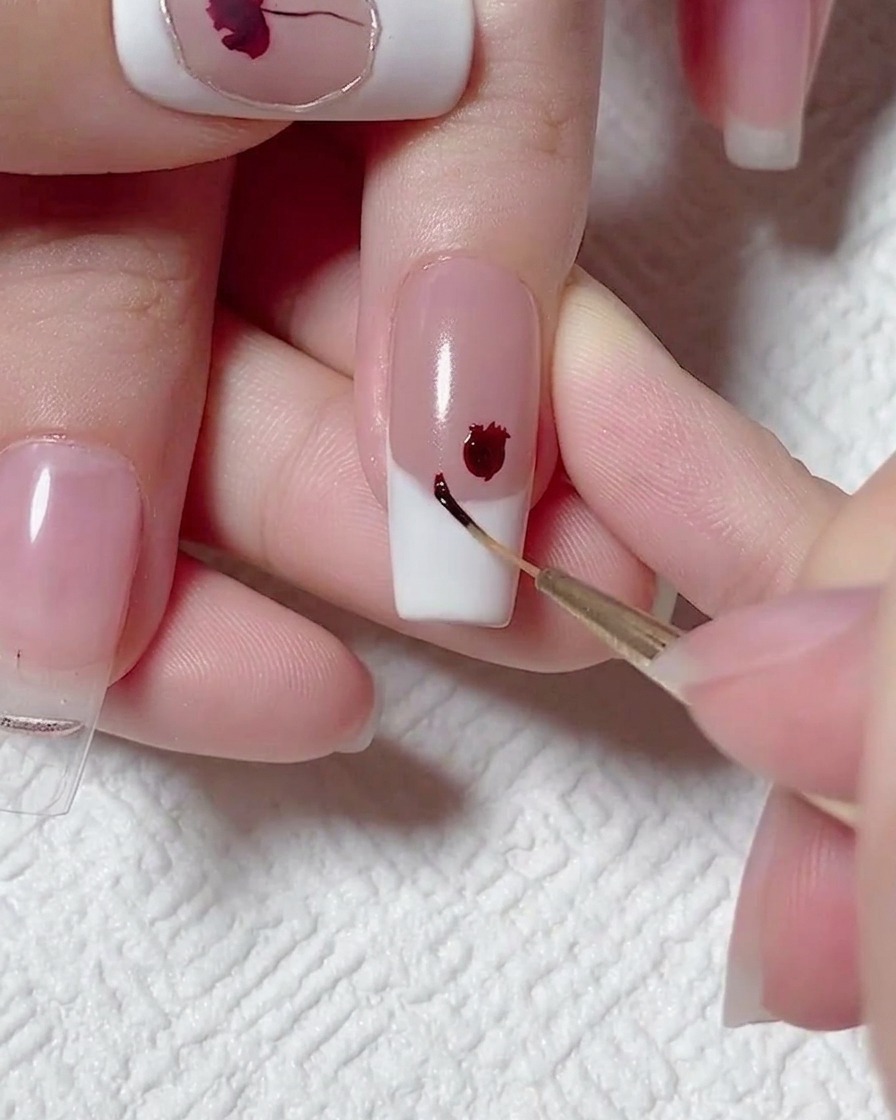
Using a fine liner brush and the dark red gel, paint a small dot right beside the main flower shape. This dot acts as a delicate, unopened rosebud, adding realistic detail to your floral composition.
Tip: Keep the brush pressure extremely light so the rosebud remains dainty and proportional to the main blossom. - 8Draw the main stem
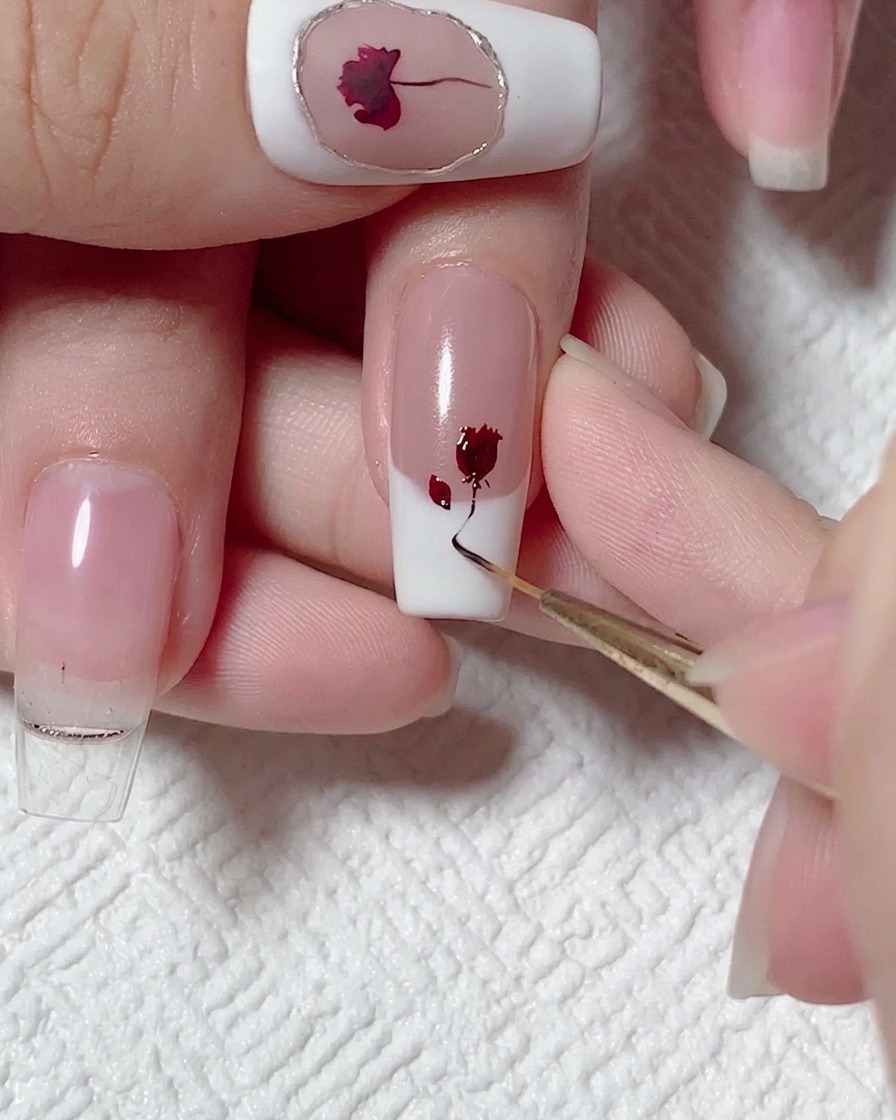
Dip your fine liner brush into a dark brownish-black gel mixture. Starting from the base of the main rose, gently drag the brush downward to create a thin, elegantly curving line for the stem.
Tip: Use a brush with very little gel on the bristles to ensure the stem line is as crisp and fine as possible. - 9Add the leaves
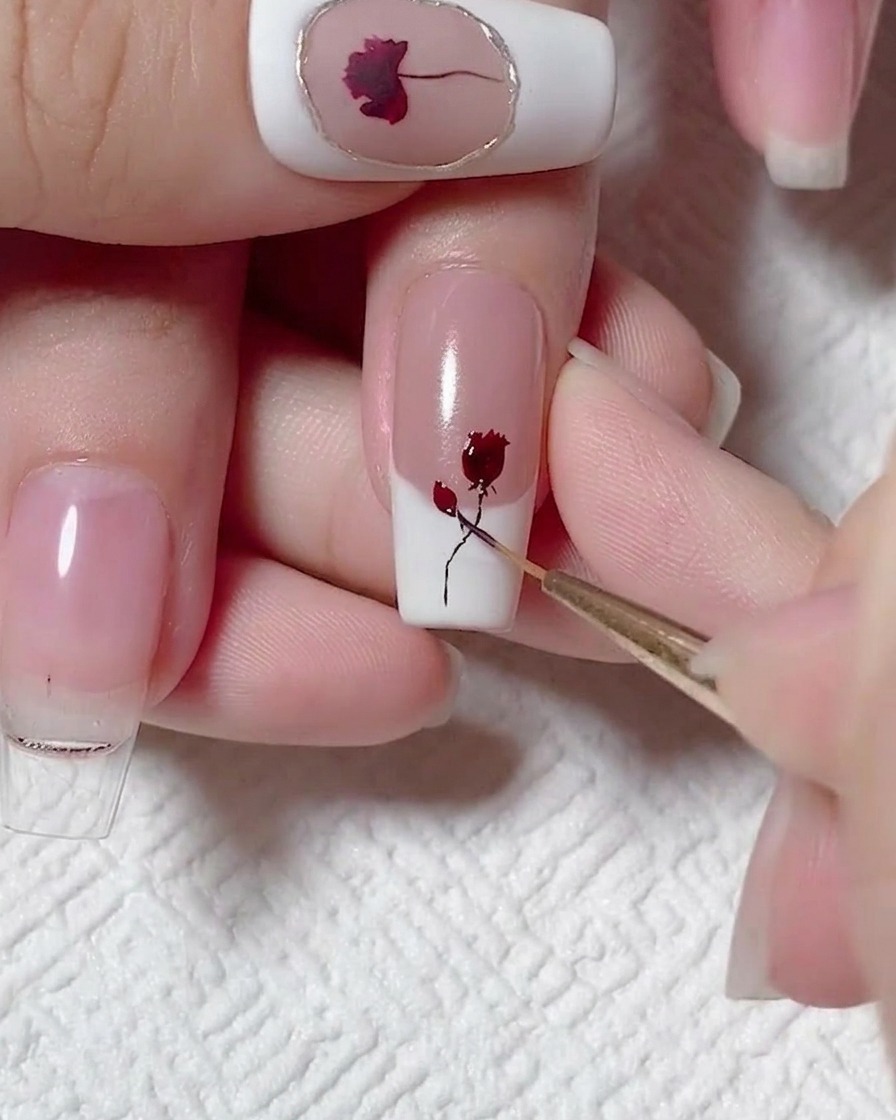
With the same dark brownish-black gel, paint small, delicate leaves branching off from the main stem. You can also paint a tiny leaf connecting the main stem to the smaller rosebud to pull the design together.
Tip: To easily paint leaves, press the belly of the brush down slightly, then gently pull away to form a sharp, tapered point. - 10Apply reinforcement gel
Apply a generous, even layer of clear leveling reinforcement gel over the entire nail. This crucial step encases the hand-painted floral art and smooths out the surface so no bumps remain before applying your top coat.
Tip: Turn the clients hand upside down for a few seconds before curing to allow gravity to help the gel self-level perfectly. - 11Apply matte top coat
Brush on a layer of Russian matte top coat over the cured reinforcement gel. Once fully cured, this creates a beautiful, velvet-like, shine-free background that will make your upcoming metallic details stand out sharply.
Tip: Make sure to cover the entire nail evenly, capping the edges, so there are no accidental shiny spots left behind. - 12Trace with 3D relief gel
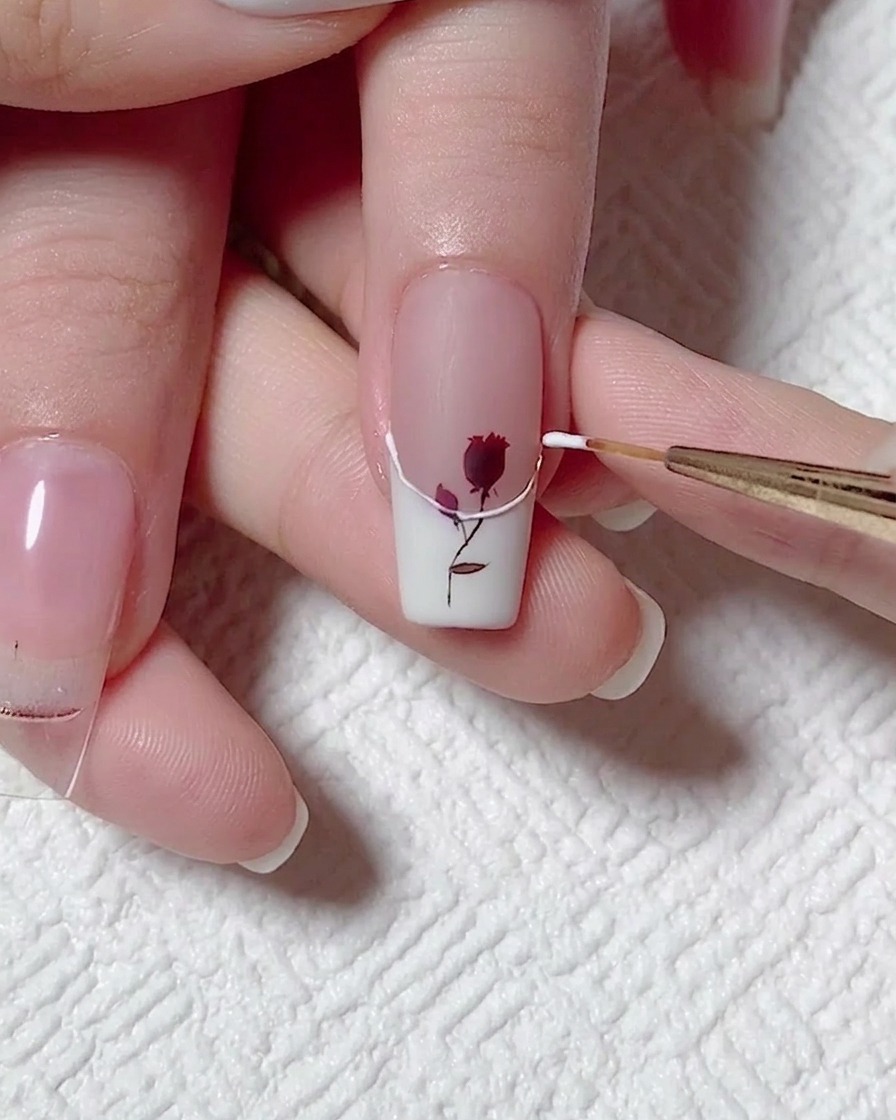
Using a fine liner brush and clear floating 3D relief gel, carefully outline the irregular, wavy border where the white French tip meets the nude base. This creates the raised ridge that will hold the chrome powder.
Tip: Cure this 3D relief gel under your lamp for exactly 30 seconds to ensure it remains sticky enough to perfectly grip the magic mirror powder. - 13Outline the French border

Using a fine liner brush and floating relief gel, carefully trace along the edge of the white French tip. This creates the raised 3D line that will later hold the metallic pigment. Ensure the line is smooth and follows the curve of the French tip precisely before curing for 30 seconds.
Tip: Keep a steady hand by resting your pinky on the table surface for support while drawing the relief line. - 14Apply chrome mirror powder
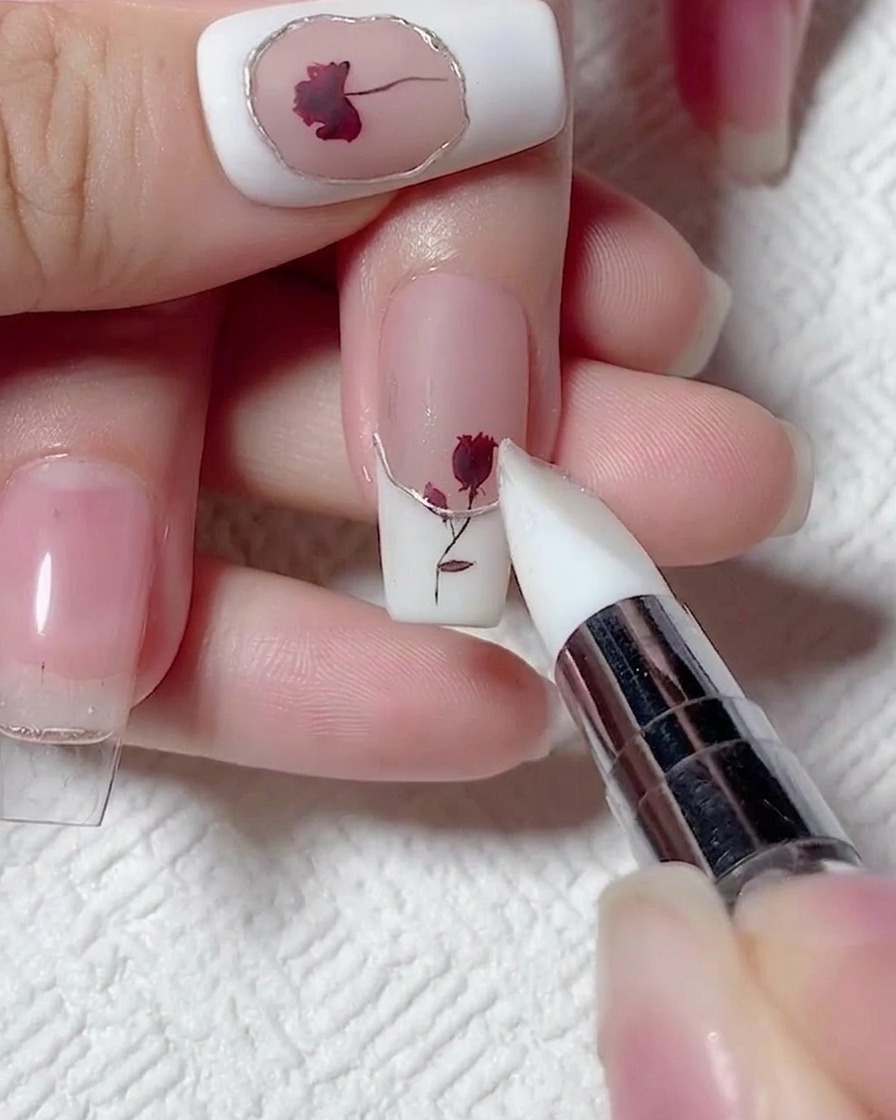
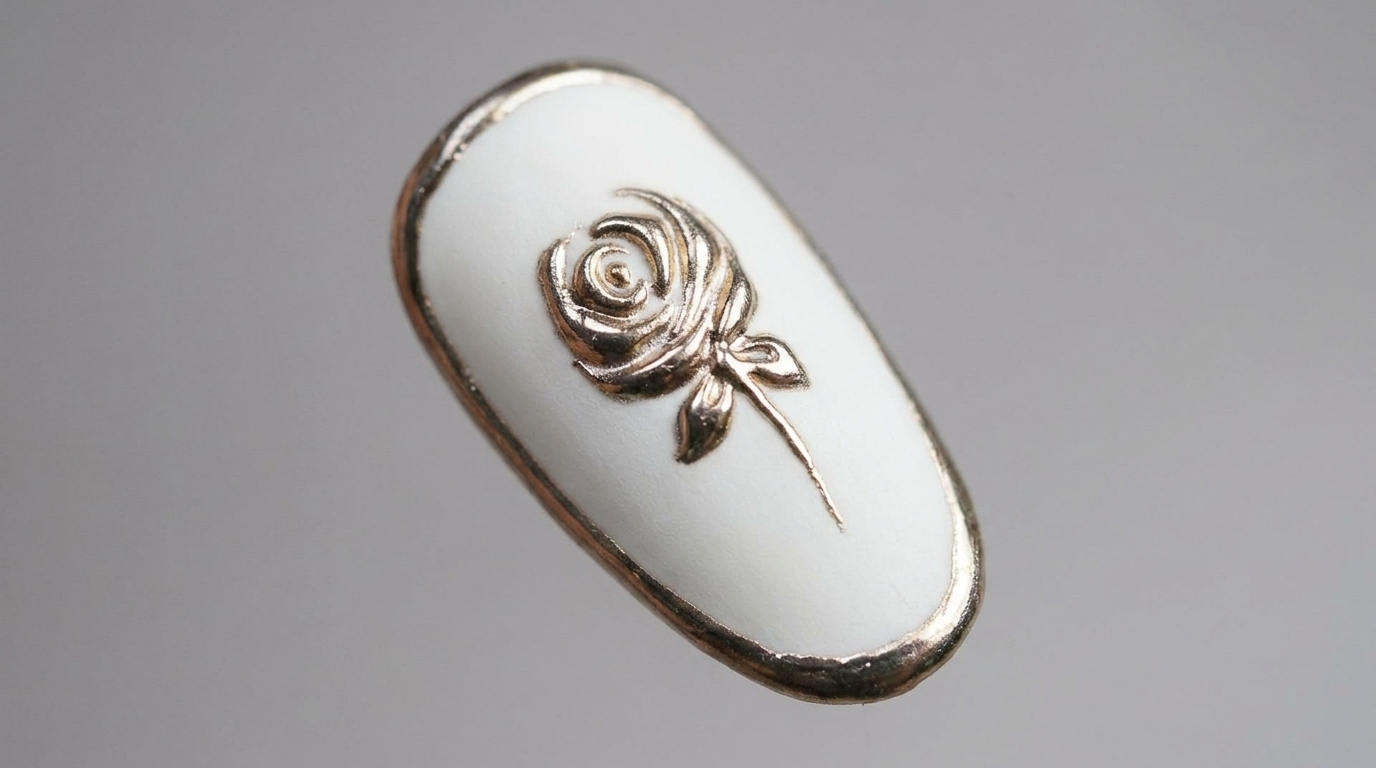
Using a pointed silicone tool, gently rub champagne gold chrome mirror powder directly onto the cured 3D gel line. The powder will adhere exclusively to the raised relief gel, creating a stunning metallic border that highlights the irregular French curve.
Tip: Focus the application only on the raised line to ensure the surrounding matte surface remains clean and free of glitter. - 15Wipe away excess powder
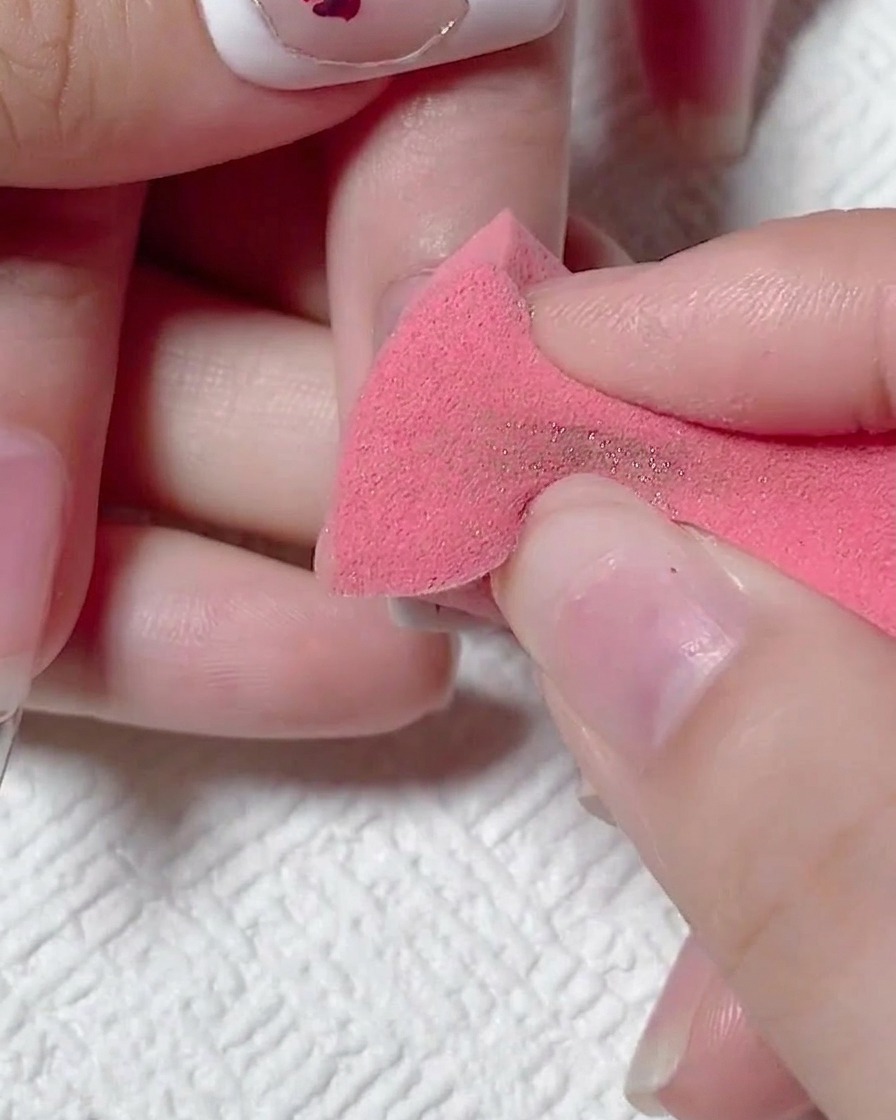
Take a dry pink makeup sponge and gently wipe the nail surface to remove any stray chrome powder. Because you applied a matte top coat previously, the excess powder will easily dust off without sticking to the background, leaving a sharp and clean metallic line.
Tip: Ensure your sponge is completely dry to effectively dust off the powder without smudging the delicate design. - 16Seal the metallic gold border

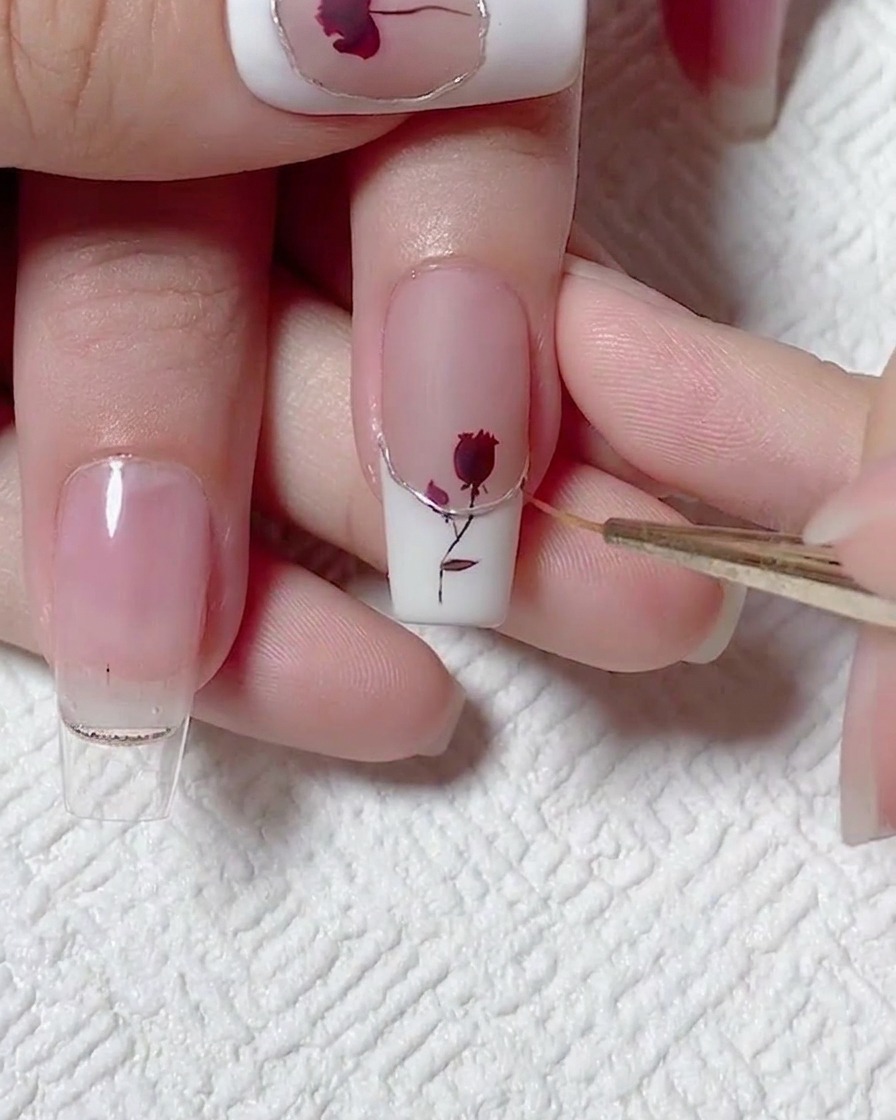
Using a fine liner brush, carefully apply a thin layer of clear top coat exclusively over the raised champagne-colored magic mirror powder line. This step seals the metallic finish, protecting it from fading or chipping without affecting the matte texture of the rest of the nail.
Tip: Be extremely precise; avoid getting top coat on the surrounding matte area, as it will ruin the velvet matte effect. - 17Finish sealing the gold detail
Continue carefully tracing the metallic gold line until the entire accent is sealed. Ensure your brush remains steady to maintain the integrity of the design and keep the top coat contained strictly within the mirror powder area.
Tip: If you accidentally touch the matte area with the top coat, use a clean brush dipped in a tiny amount of remover to quickly wipe it away before curing.