Matte Rose Nail Art
Platinum Edging — Romantic Stiletto Tutorial
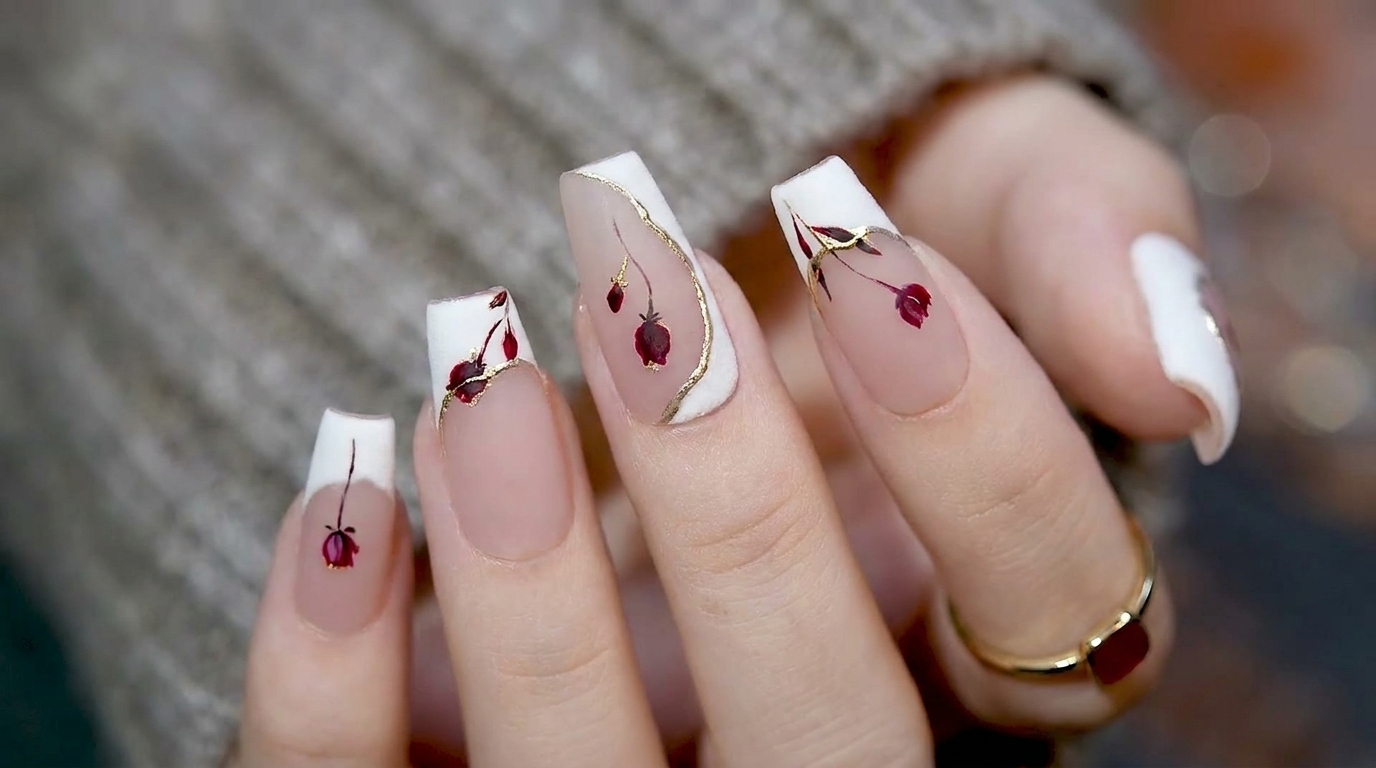
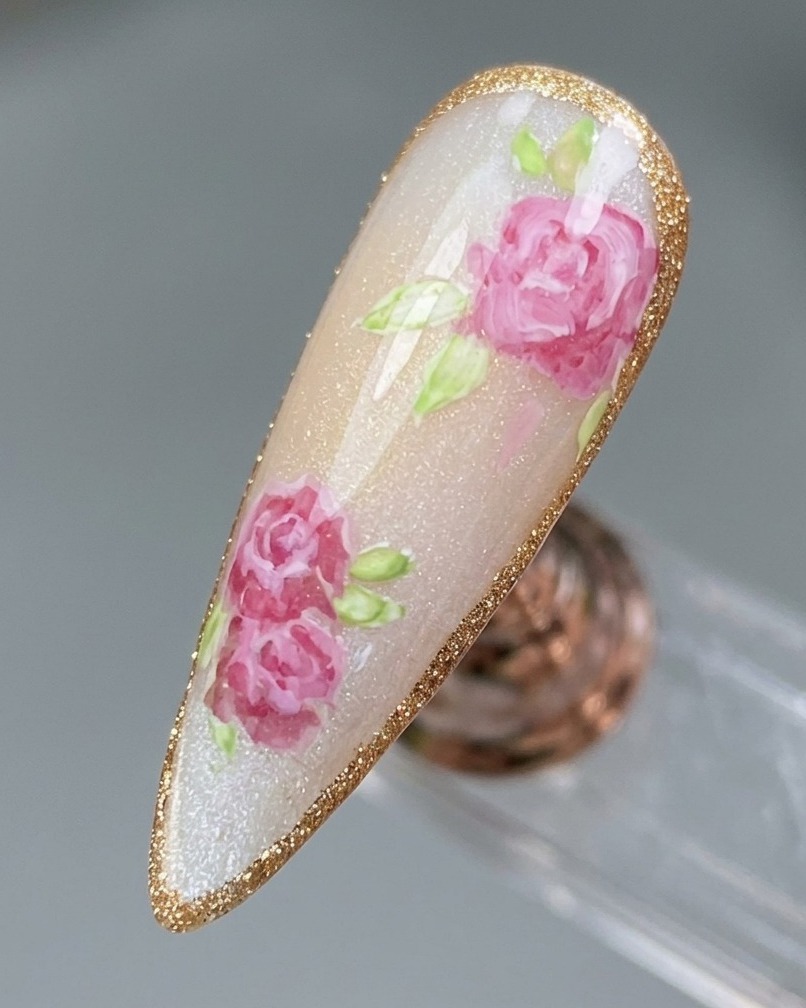
Elevate your stiletto nails with this elegant matte rose design, featuring soft watercolor petals and sophisticated platinum-edged detailing.
This matte rose design brings a touch of artistic sophistication to your manicure, blending soft, romantic watercolor florals with a modern, high-contrast platinum outline. While it might look complex, the technique uses a strategic combination of cat-eye gel, watercolor paint, and fine-liner artistry to achieve a dimensional look. It is a perfect choice for those who love a blend of vintage charm and contemporary edge.
Steps
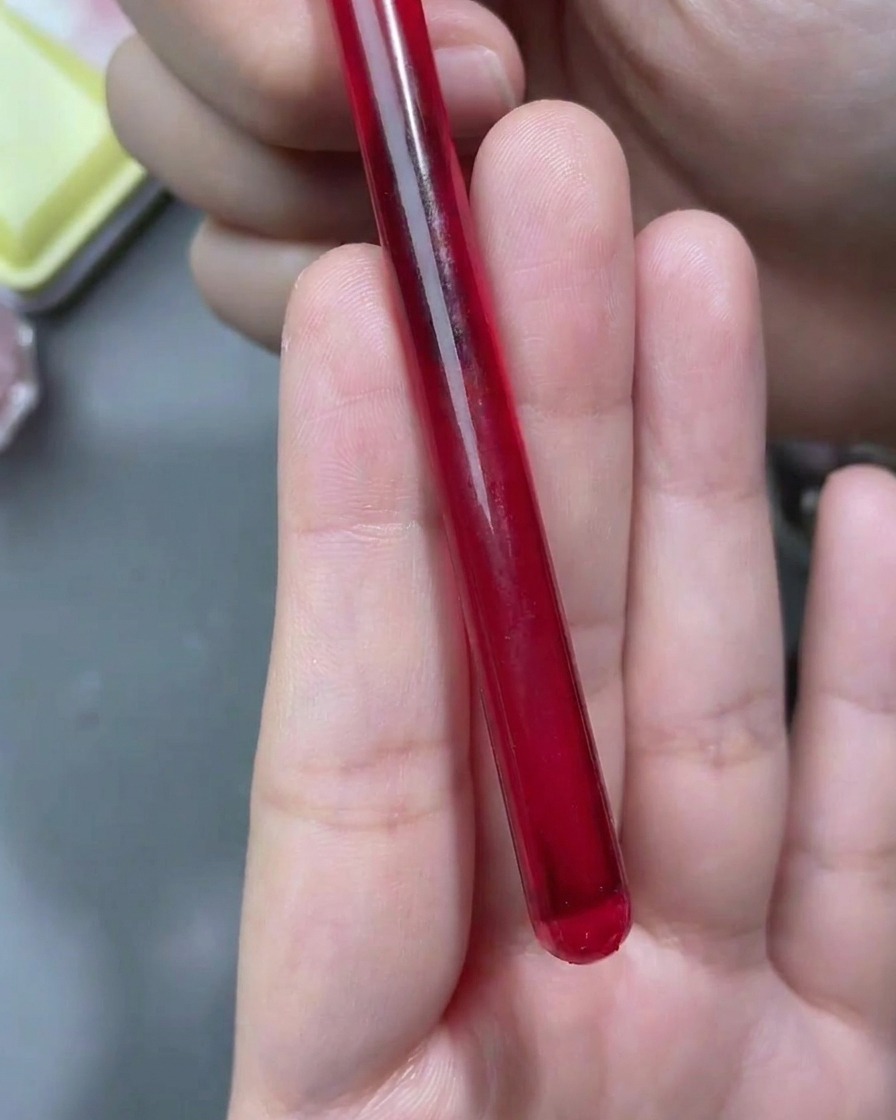
- 1Apply Nude Foundation
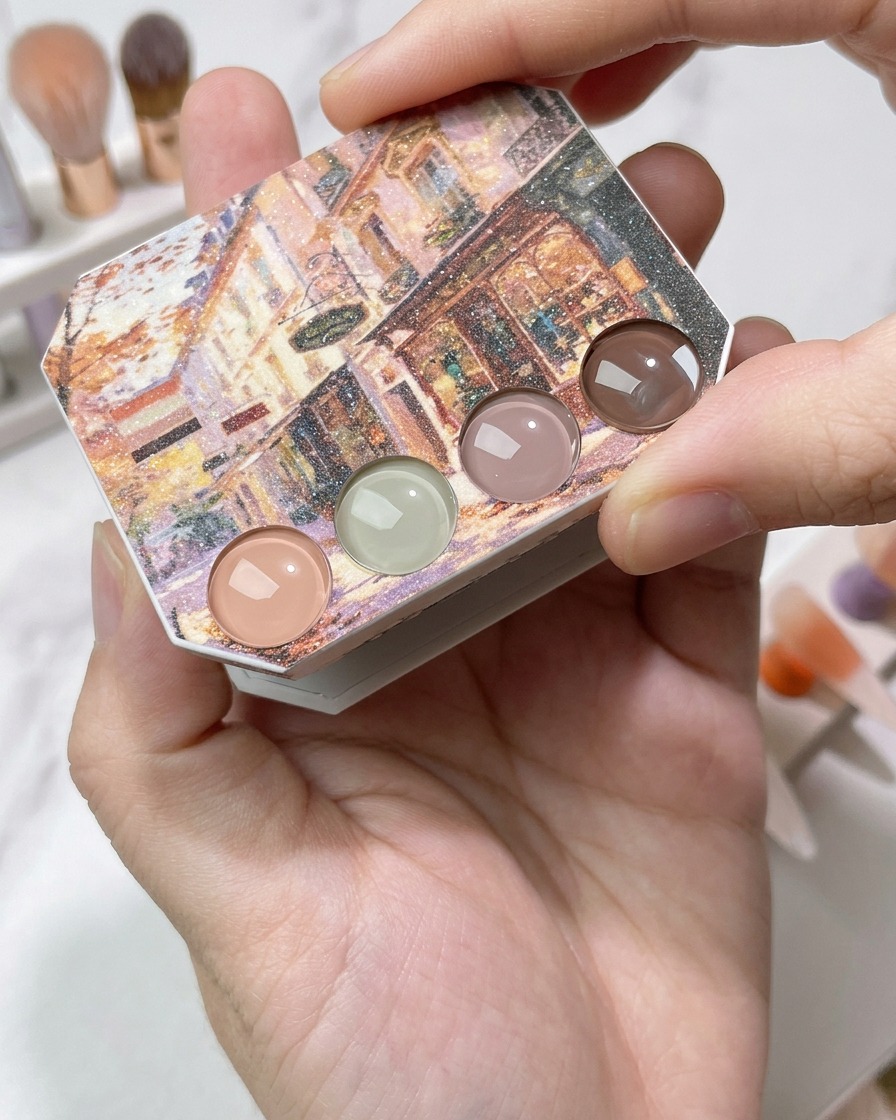
Select a high-quality nude gel base color and use a detail brush to carefully apply it to the entire nail, ensuring you focus on fully covering the free edge area. This provides a clean, neutral foundation that will allow the subsequent rose design to pop.
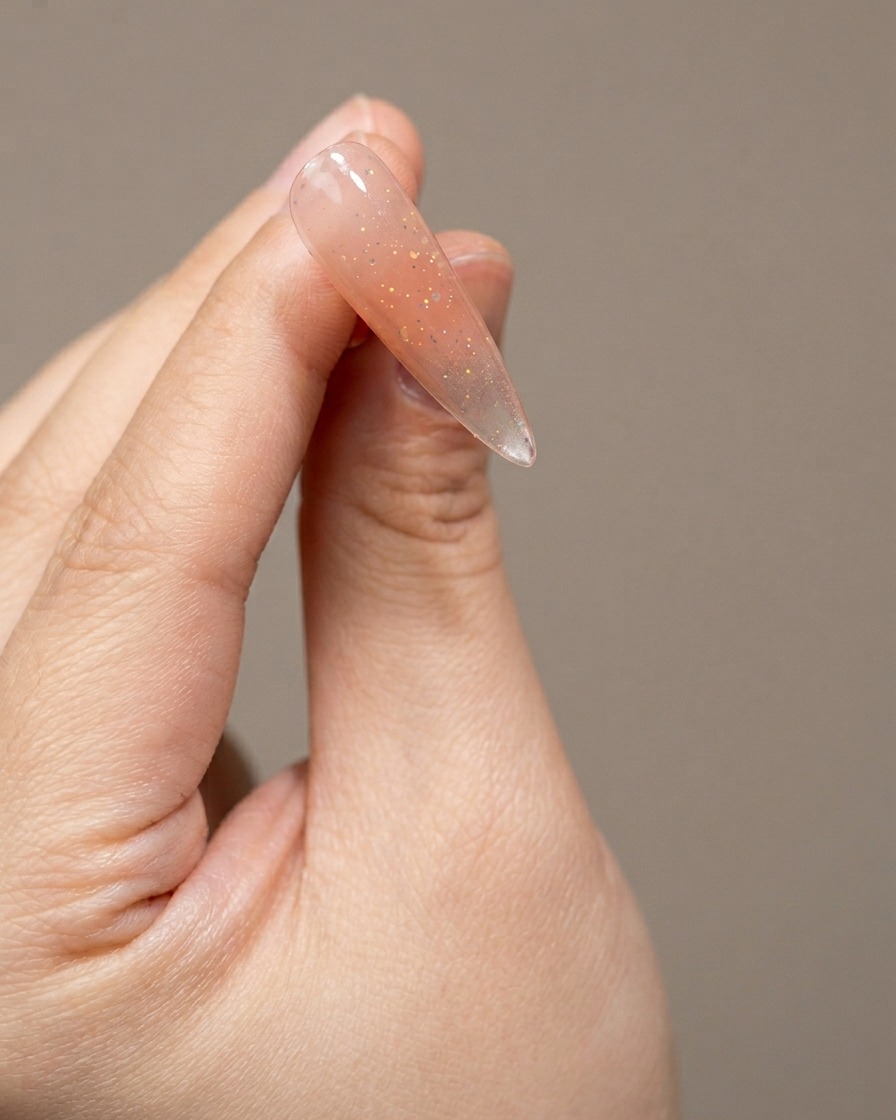
Tip: Apply the base color in thin, controlled layers to avoid bulkiness and ensure even curing. - 2Apply cat-eye gel
Apply a layer of white moon cat-eye gel over the entire surface of the nail. This gel will serve as the base for the cat-eye effect and the subsequent rose design.
Tip: Ensure an even coat across the entire nail surface for a uniform cat-eye shimmer. - 3Shape the Cat-Eye Shimmer
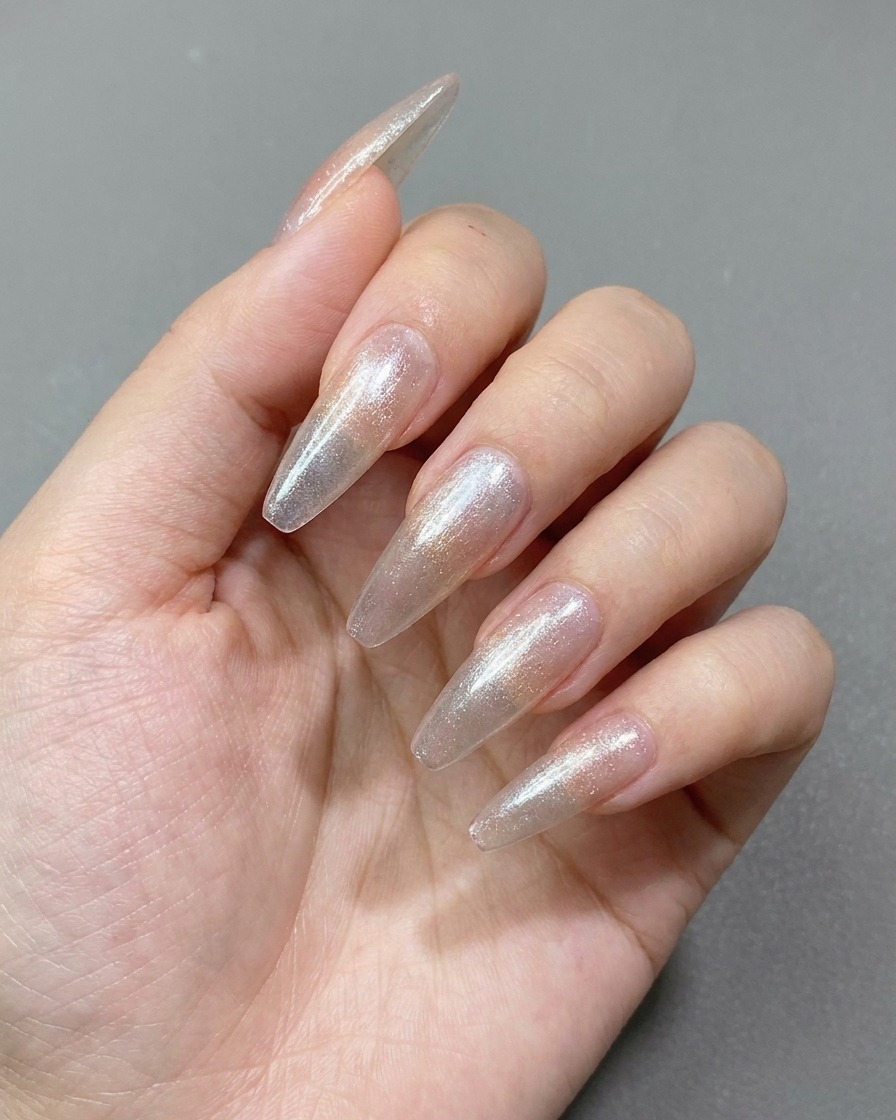
While the cat-eye gel is still wet, hover your magnet over the nail to manipulate the magnetic particles. Move the magnet to achieve a wide, soft, and diffused cat-eye shimmer across the surface, then cure under your lamp to lock in the effect.
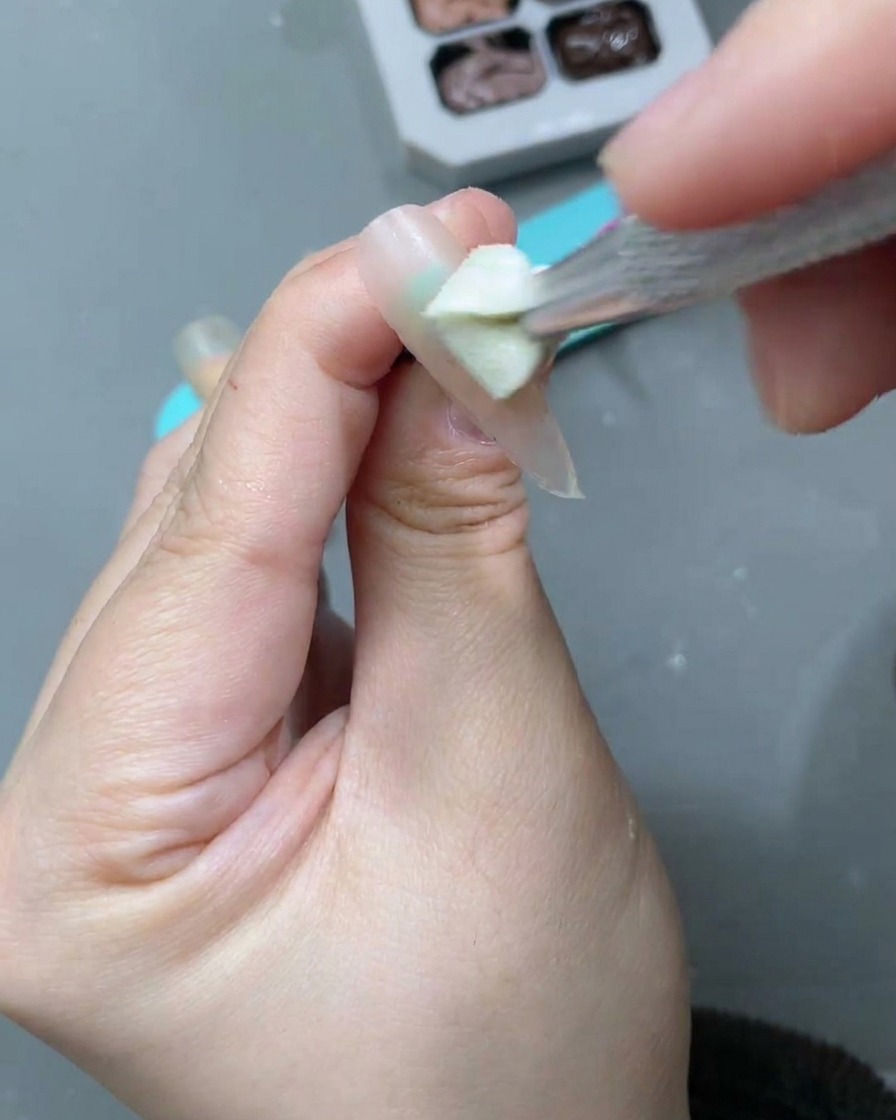
Tip: Hold the magnet steady near the nail for a few seconds to set the pattern before curing. - 4Apply matte top coat
After curing the cat-eye layer, apply a layer of matte top coat over the entire nail. This will provide a smooth, non-reflective surface that makes the subsequent painted rose design stand out.
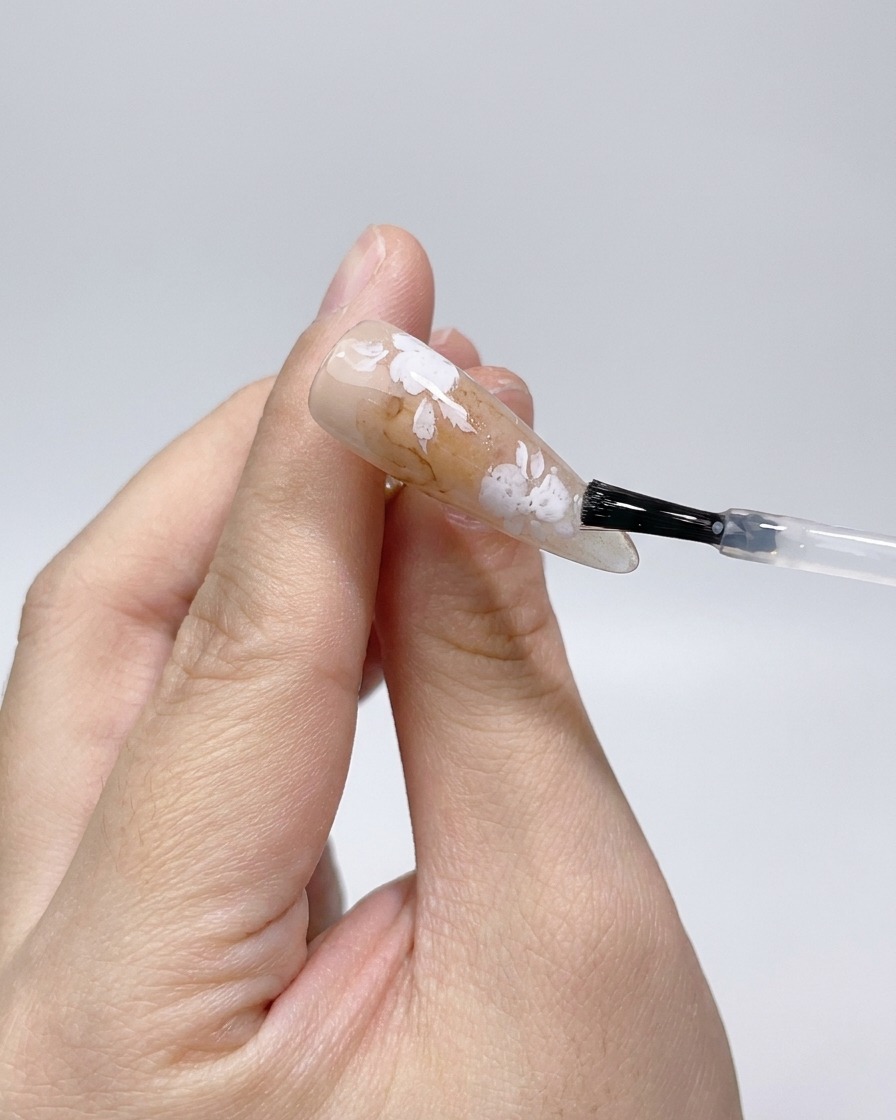
Tip: Ensure the matte top coat is applied evenly to get a consistent finish across all nails. - 5Outline the roses
Using a versatile liner brush and white gel paint, roughly outline the shapes of the roses onto the matte surface. This serves as a guide for the petal layering that follows.
Tip: Keep your outlines light and loose, as these will be layered over with color later. - 6Seal the outlines
Apply a thin layer of matte top coat over the white rose outlines and cure. This creates a base layer to help with the depth and texture of the watercolor petals to be added next.
Tip: A thin layer is all that is needed here to seal the outlines while maintaining the matte texture. - 7Build Petal Foundations
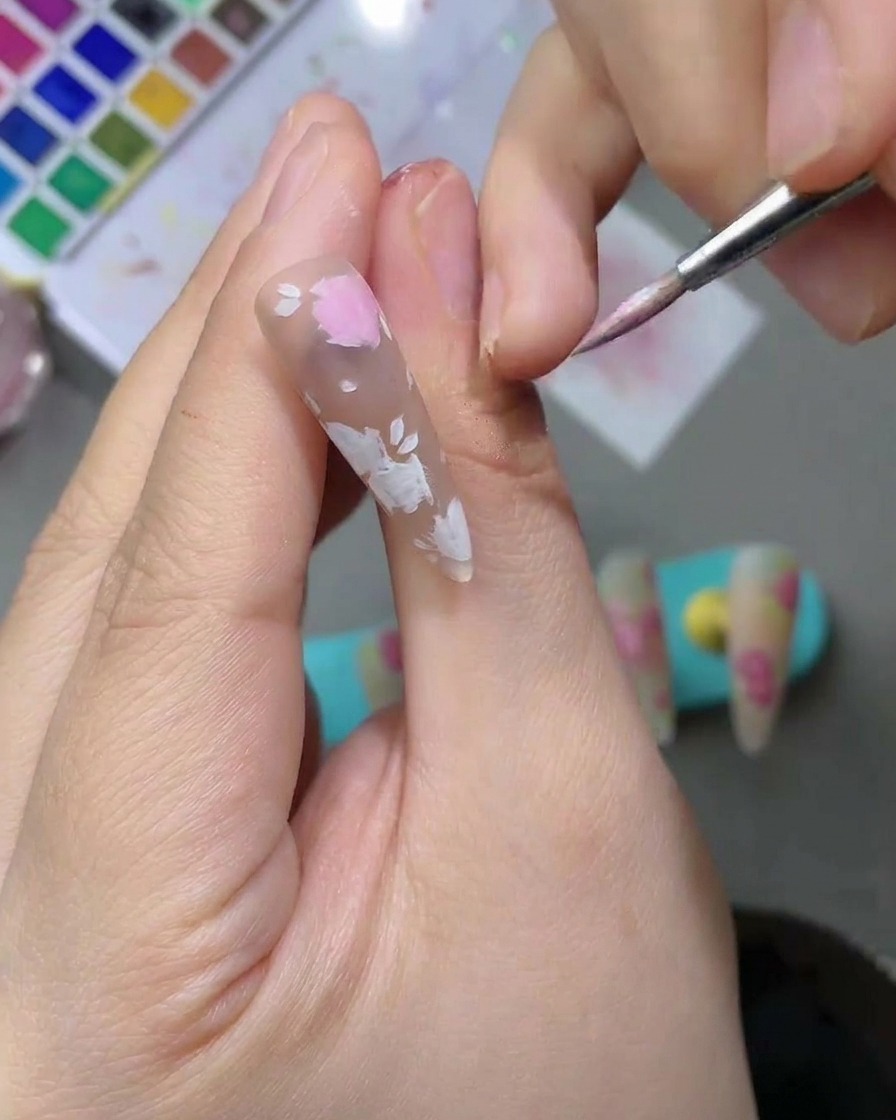
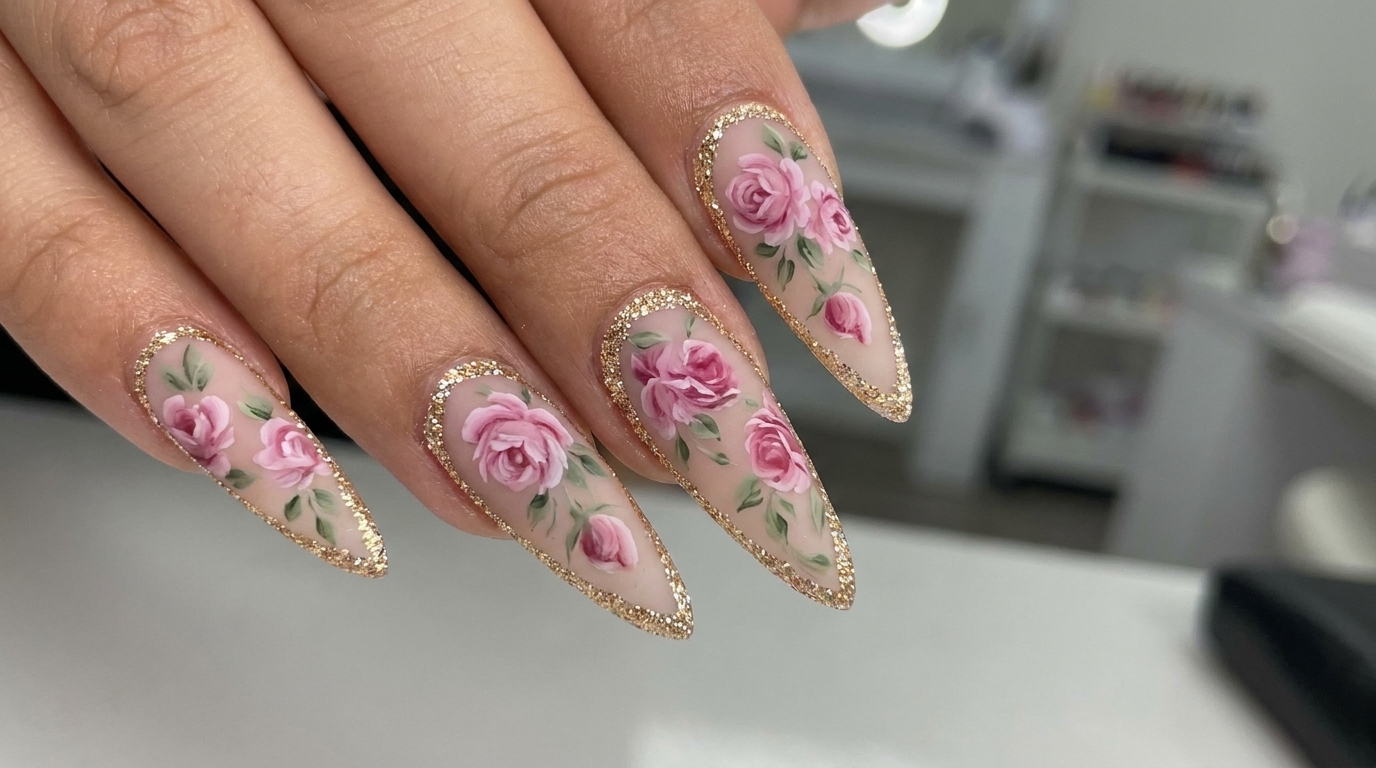
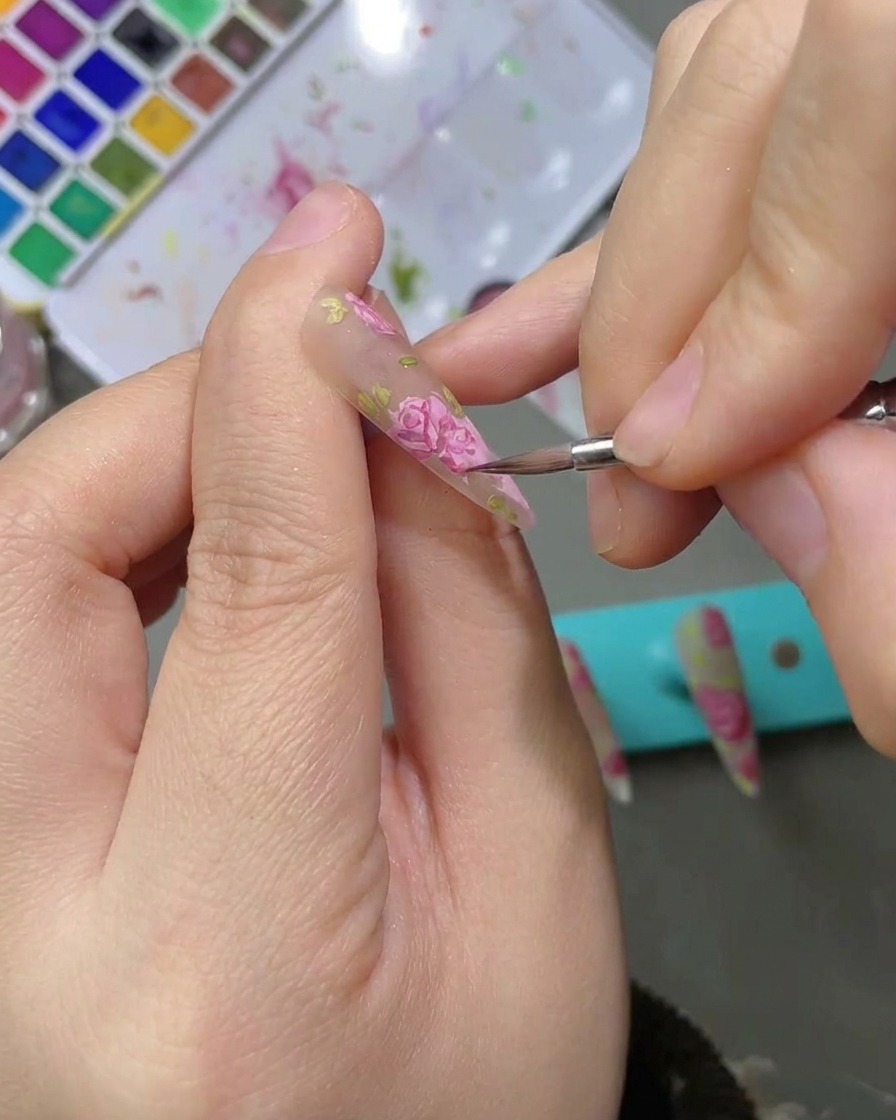
Using a fine-tipped detail brush and light pink watercolor paint, begin filling in the previously drawn petal shapes. Focus on building soft, delicate layers to establish the base structure of the rose, keeping the paint slightly transparent for a natural, airy appearance.
Tip: Apply the watercolor in thin, light layers to build depth gradually; you can always add more color, but it is harder to remove if it gets too dark. - 8Paint the rose leaves
Using a small detail brush, carefully apply light green watercolor paint around the base of your rose petals to create leaves. Keep the strokes soft and organic to complement the romantic style of the rose design.
Tip: Vary the size and placement of the leaves around the flowers to give the design a more natural and balanced appearance. - 9Enhance Rose Dimension
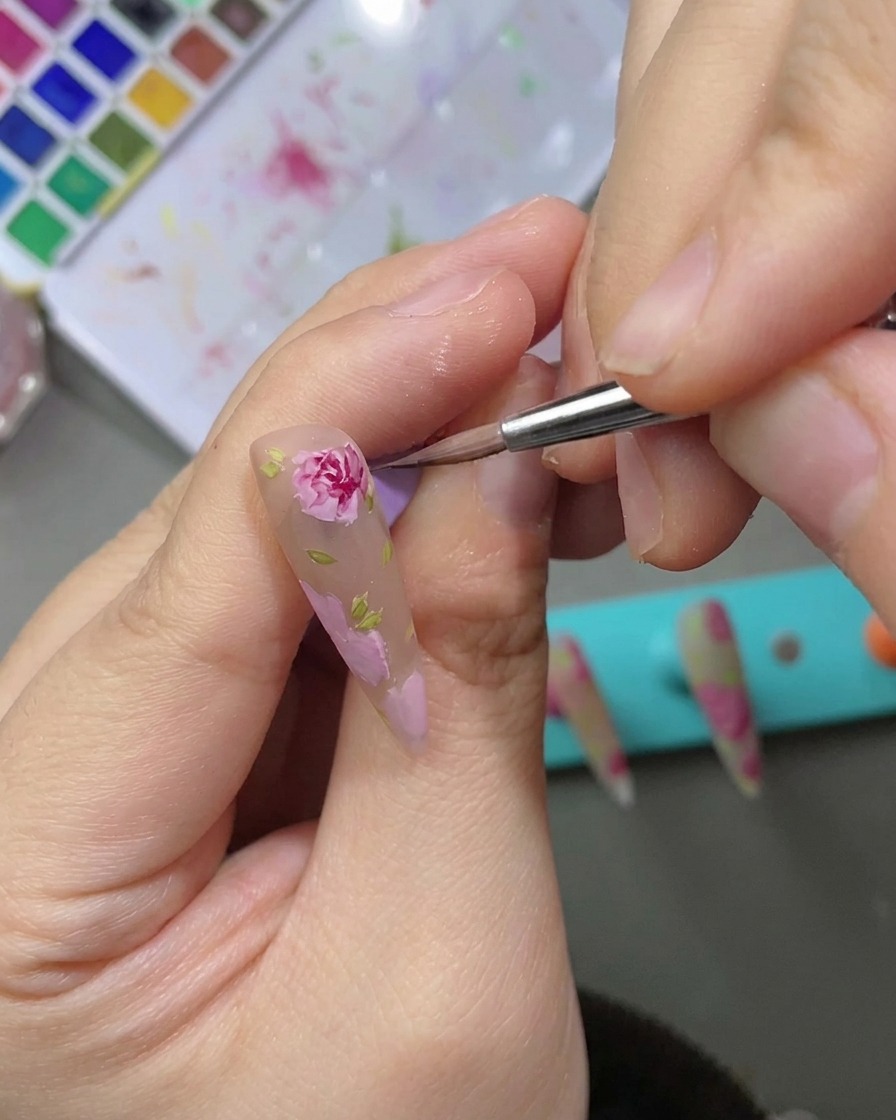
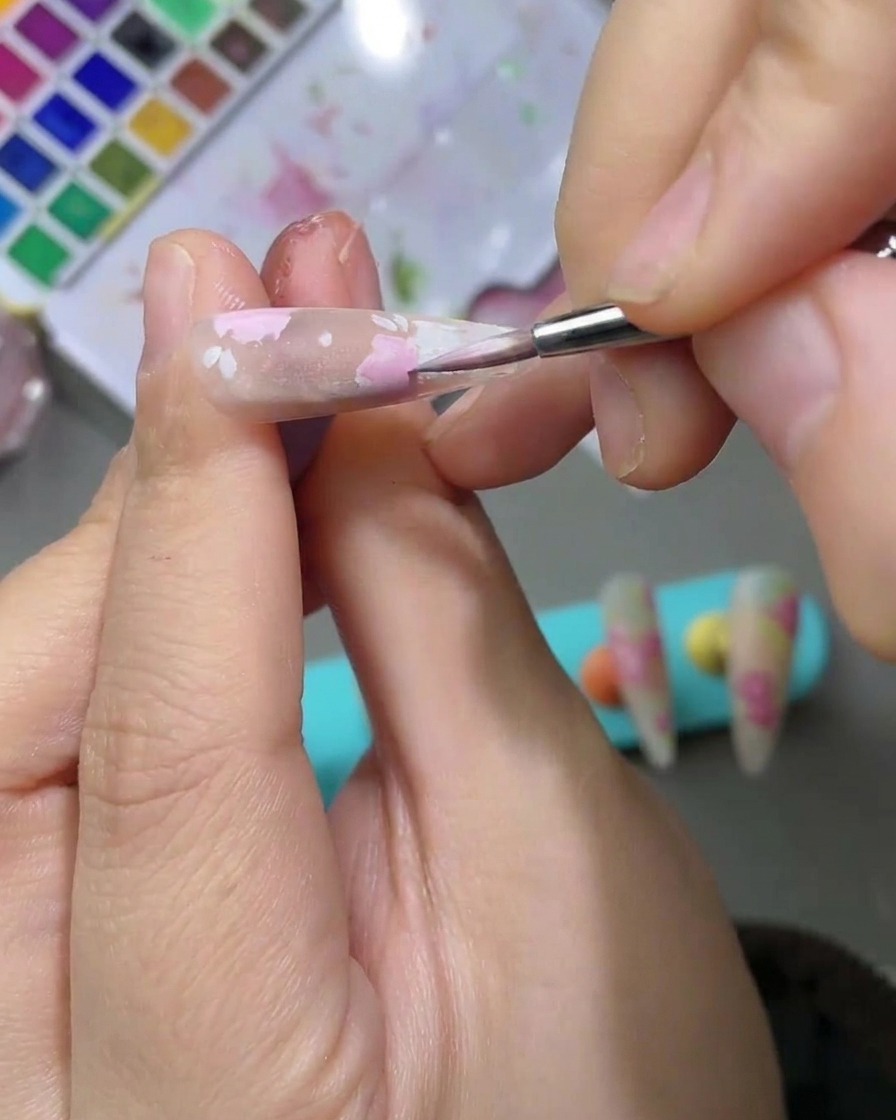
Apply a darker rose-red watercolor paint to the inner portions of the petals and areas where they overlap. This strategic shading creates the illusion of 3D depth and volume on the flat nail surface, bringing the rose to life.
Tip: Use a light touch with the darker shade, focusing it only in the shadows of the flower, to ensure the lighter base color still shows through for contrast. - 10Apply matte top coat
Once the watercolor design is dry, apply a thin, even layer of matte top coat over the entire nail surface. This seals the design and provides the signature soft, velvety finish for the rose nail art.
Tip: Make sure the watercolor paint is completely dry before applying the top coat to prevent any smearing of the delicate design. - 11Cure the design
Place your hand under an LED or UV lamp and cure the nail according to the manufacturers instructions for your matte top coat. This ensures the design is fully protected and long-lasting.
Tip: Ensure your hand is placed flat and directly under the light source to guarantee even curing across the entire surface of the nail. - 12Add Platinum Border
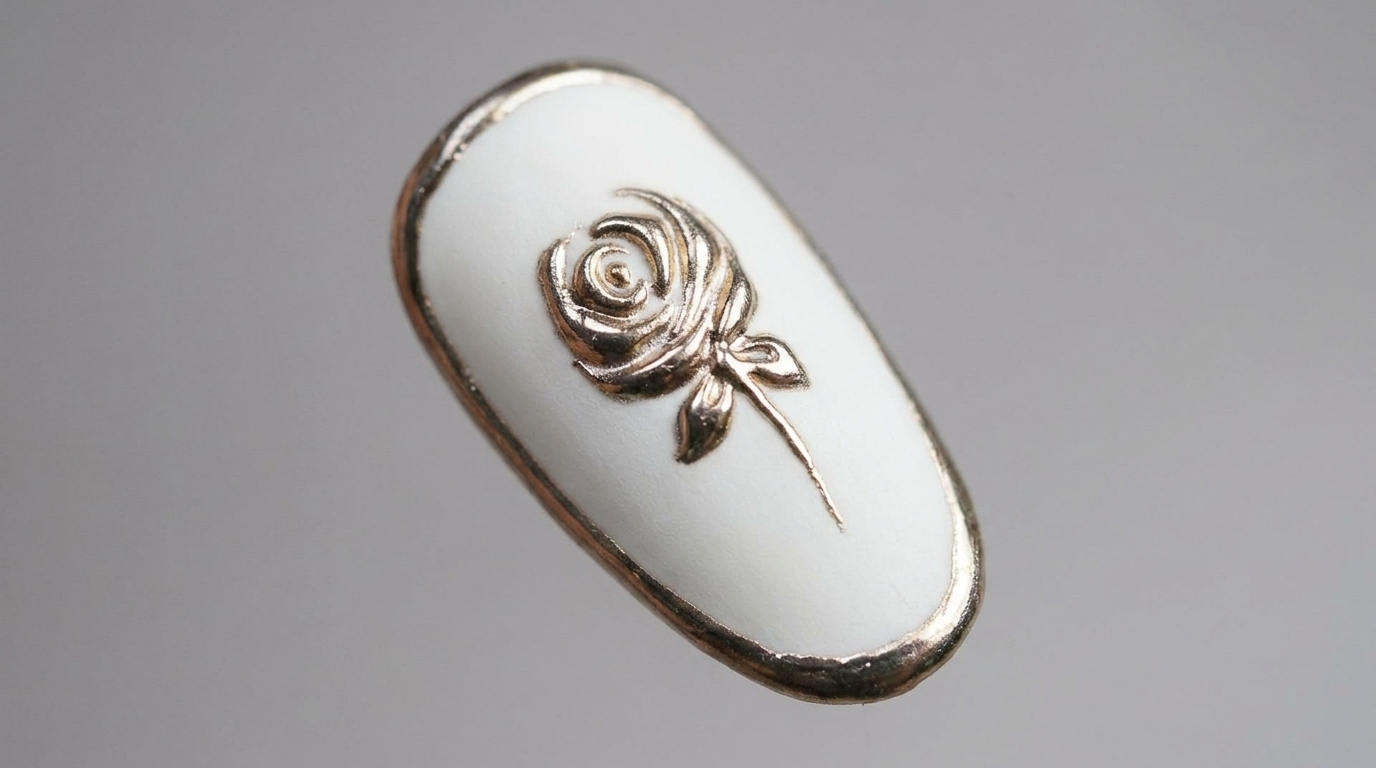
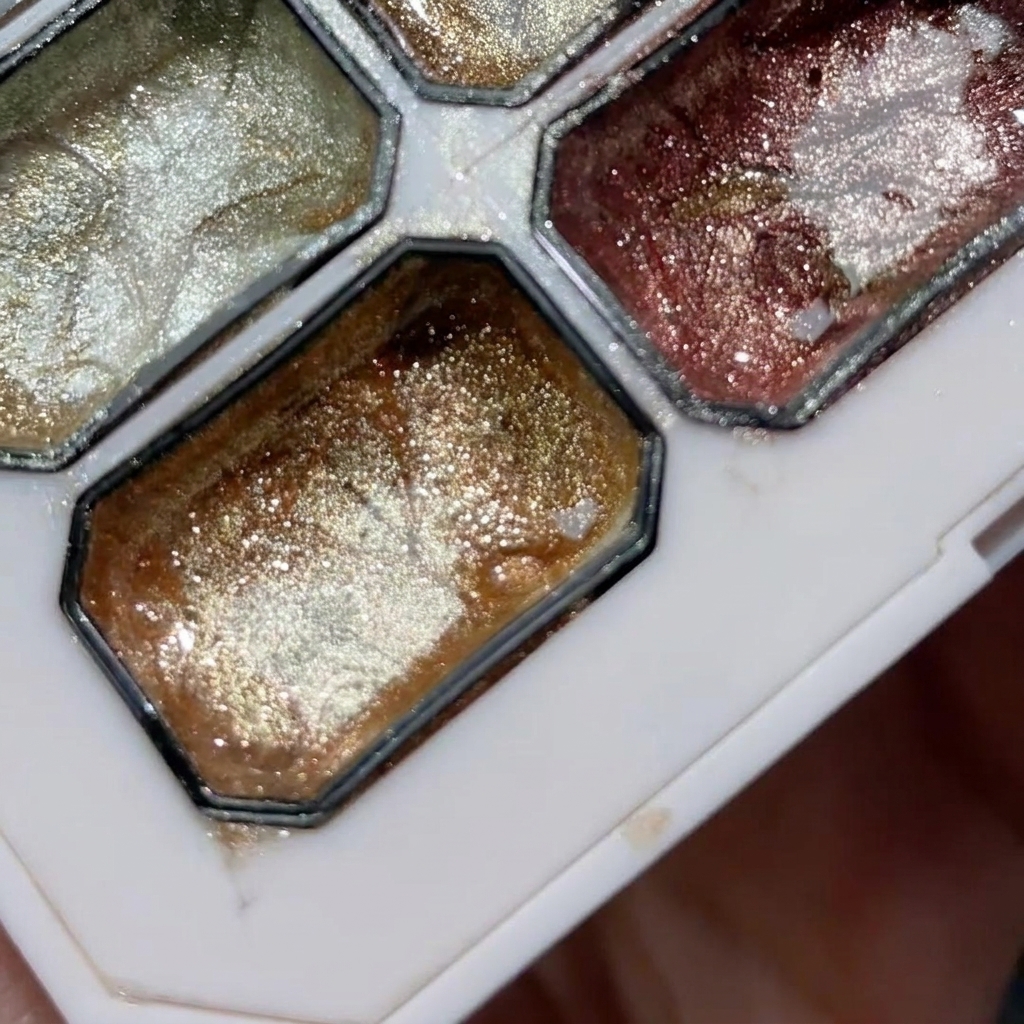
Using a long, fine liner brush, carefully trace the entire perimeter of each nail with a platinum outlining gel. This precise border defines the stiletto shape and adds a touch of glamour, serving as the finishing touch for this sophisticated design.
Tip: Keep your hand steady and use light pressure for a consistent, thin line around the nail edge.