Elegant White Painted Rose Nail Art — Step-by-Step Tutorial
Master the art of delicate white roses with this detailed tutorial. Learn professional painting techniques to create dimension, texture, and soft floral accents.
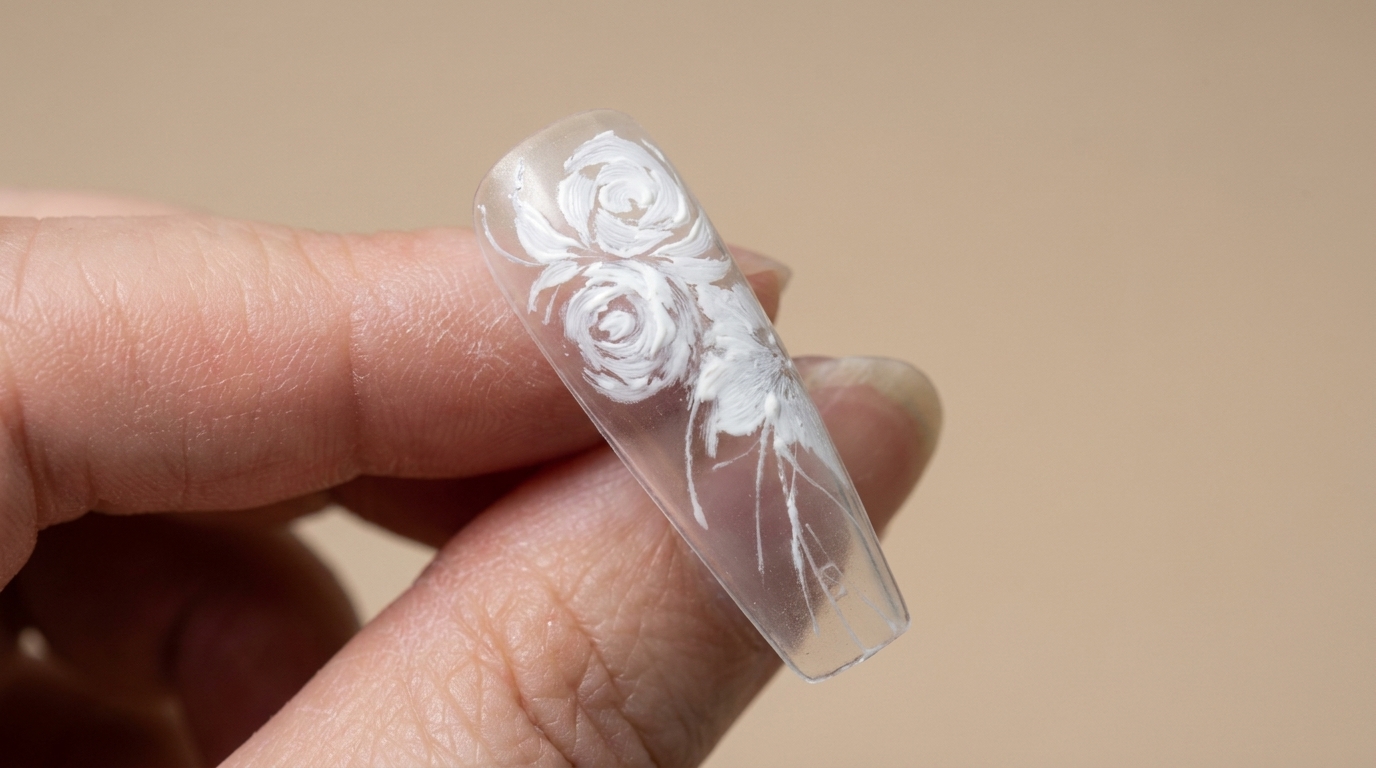
Hand-painted floral designs bring a timeless and sophisticated touch to any manicure. This tutorial guides you through creating ethereal white roses using a combination of precision brushwork and texture-softening techniques, perfect for elevating your nail art skills.
Steps
- 1Apply base for rose
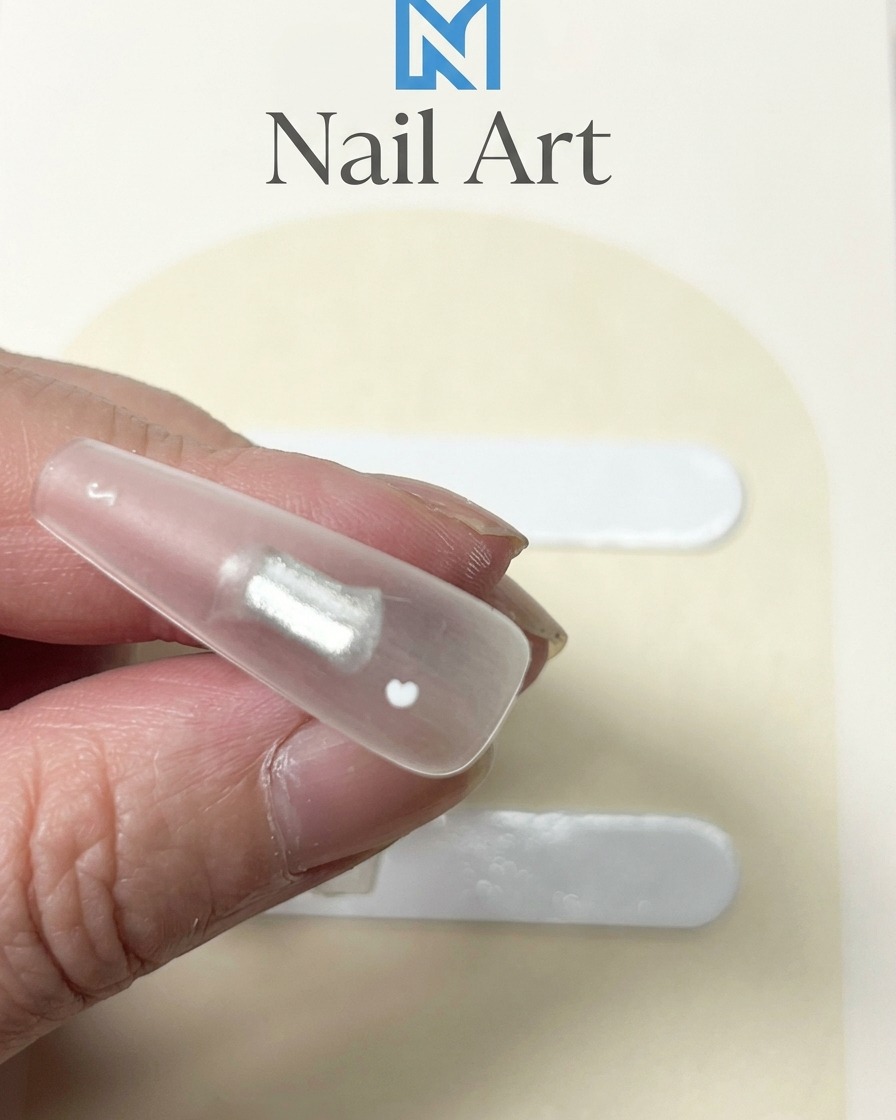
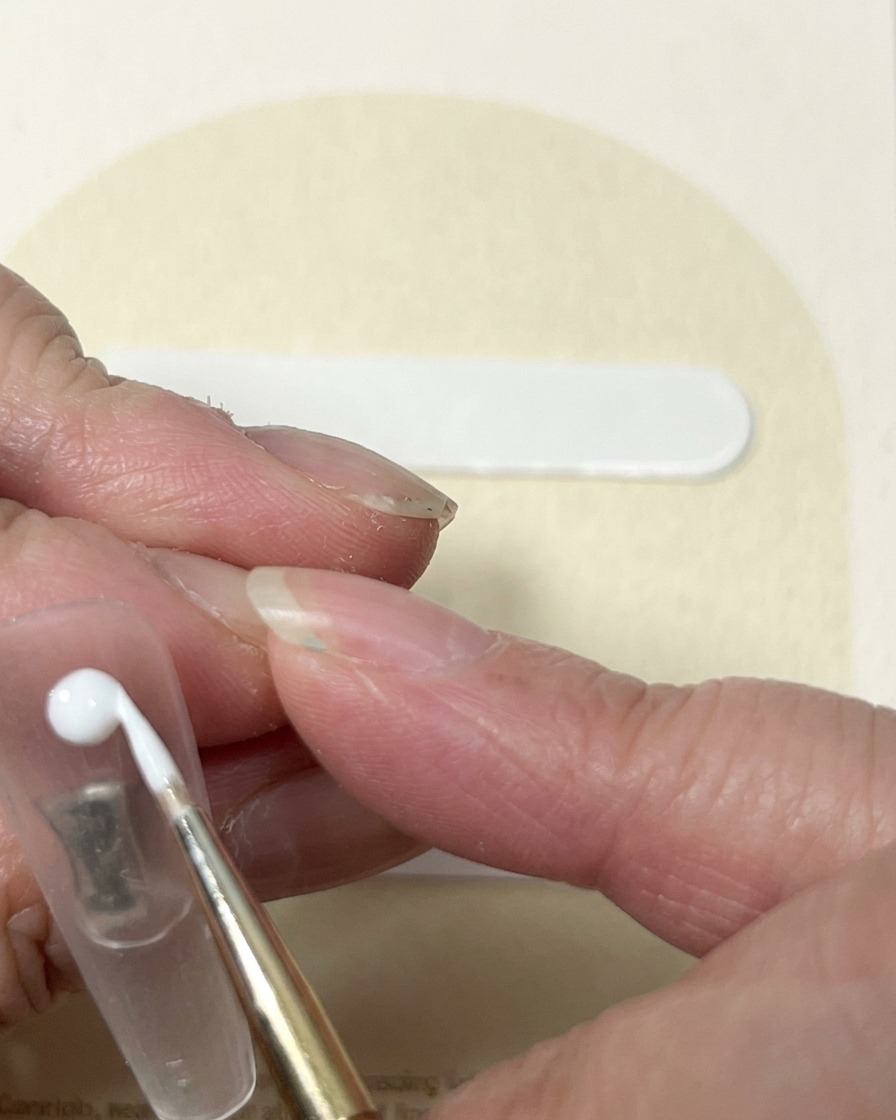
Place a small, rounded dot of white painting gel onto the center of the nail. This dot serves as the anchor point for your rose design, providing the necessary volume to create textured petals with your brush.
Tip: Keep the dot centered and relatively thick to ensure you have enough product to manipulate into petals. - 2Form initial petals
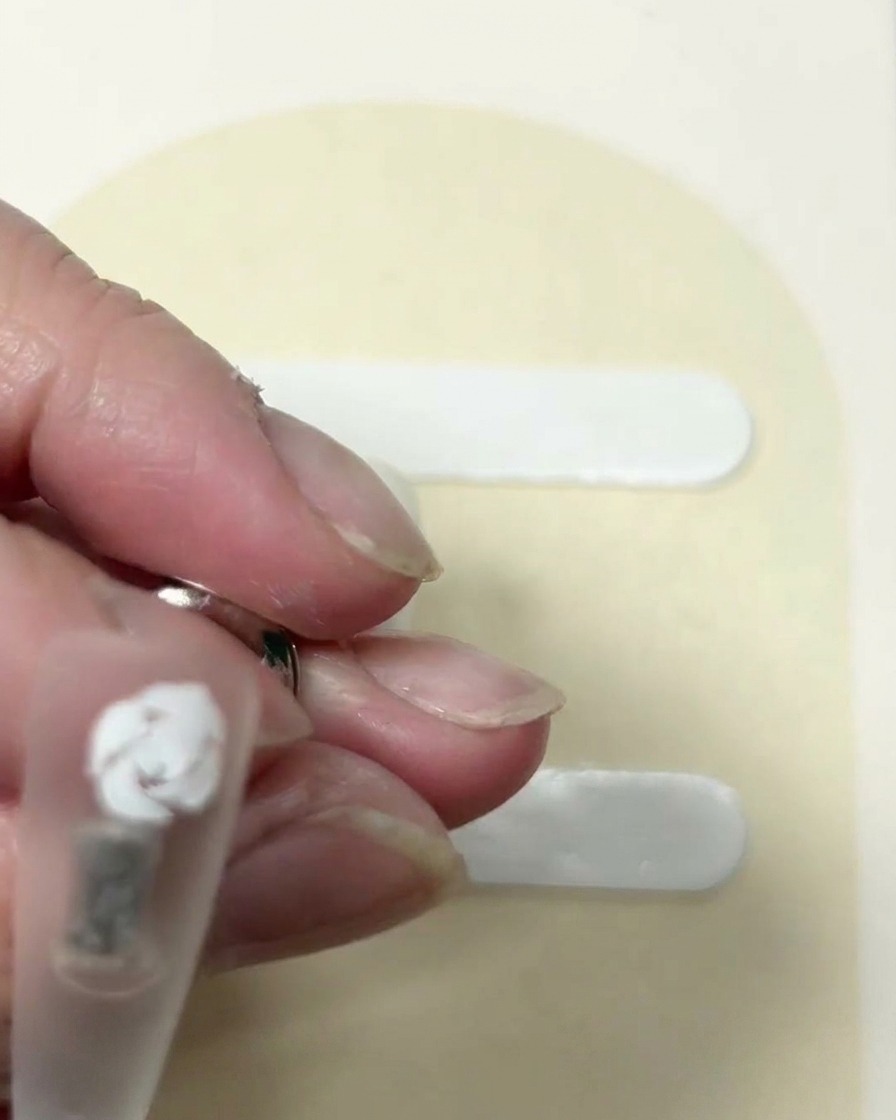
Using a fine liner brush, gently press into the white gel dot and drag it outwards in a circular motion to start shaping the inner rose petals. Focus on creating varied pressure to achieve natural-looking, organic petal shapes.
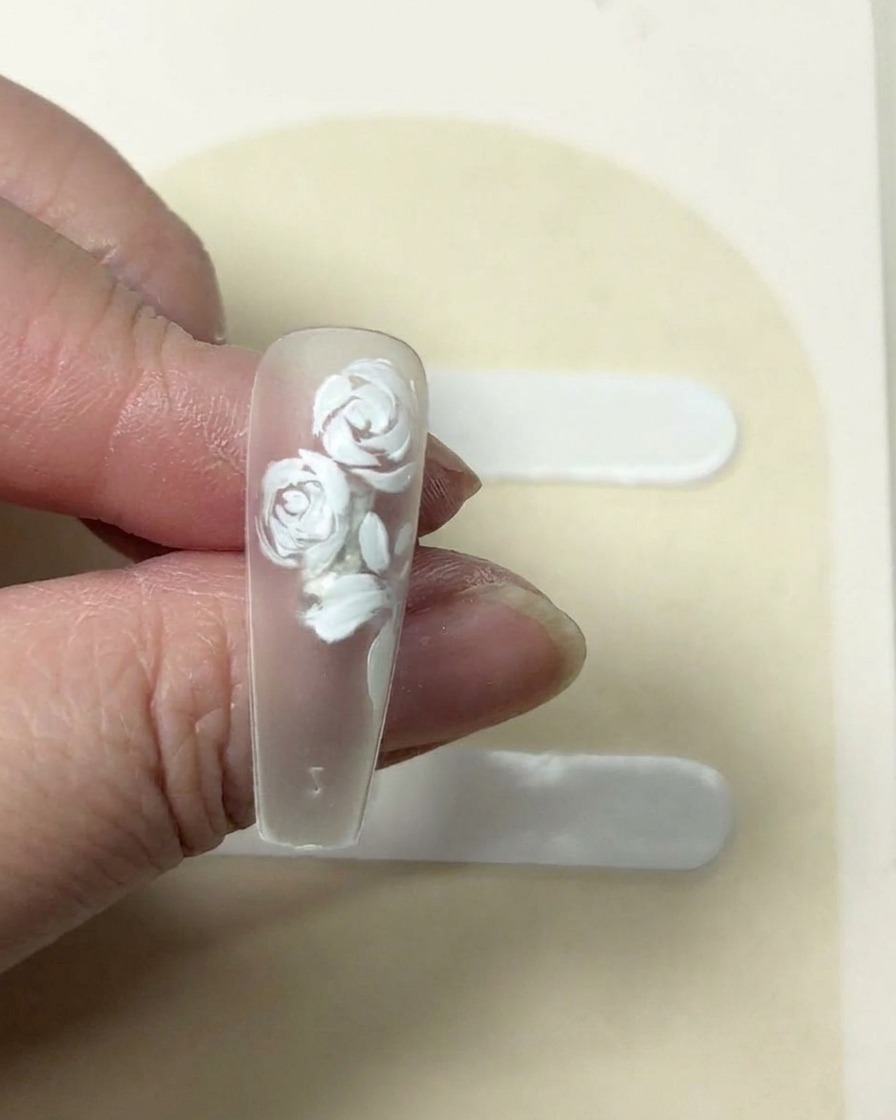
Tip: Work quickly so the gel remains workable before it begins to self-level. - 3Structure outer petals
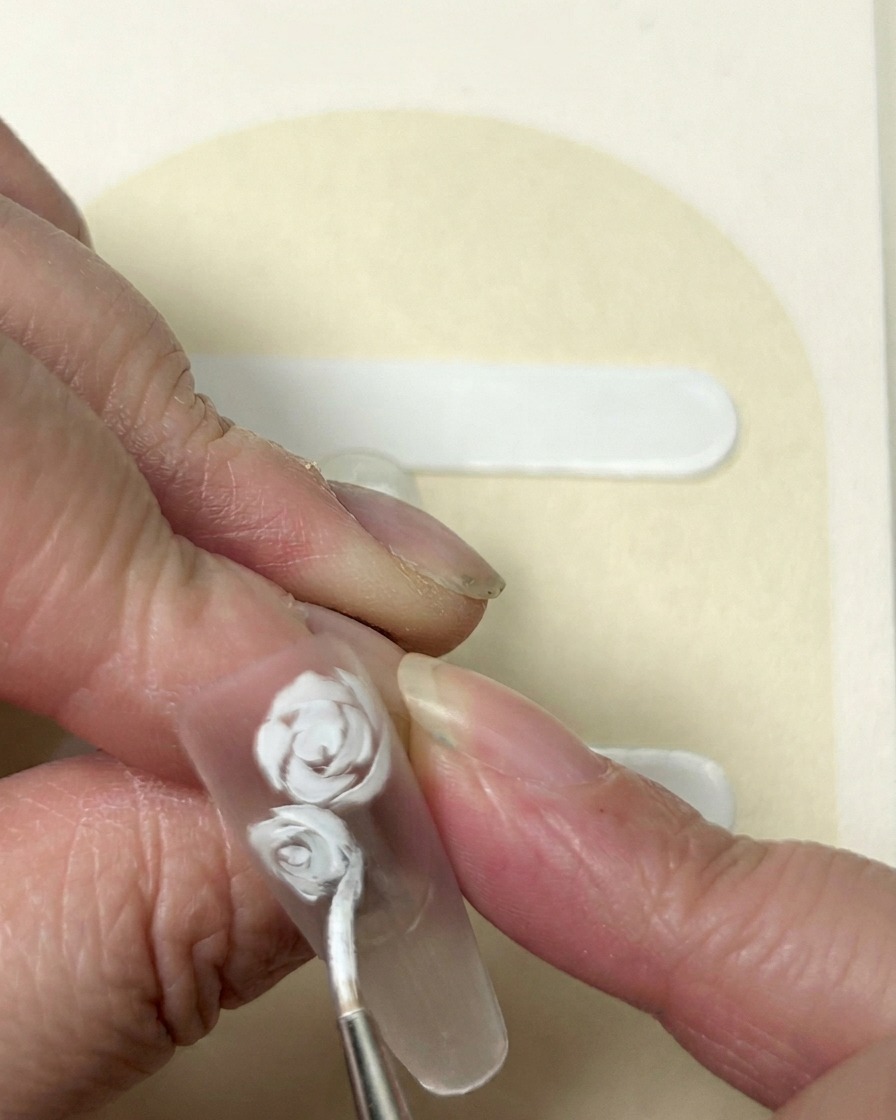
Build out the rose by applying small, bracket-shaped strokes around the center bud. Use varying thicknesses by adjusting the pressure on your brush to mimic the depth and overlap of real rose petals.
Tip: Focus on alternating the direction of your bracket strokes to create a realistic, blooming effect. - 4Refine petal details
Use a fine detail brush to refine the edges of the petals. Add subtle lines to enhance the sense of depth and ensure that the transitions between thick and thin strokes appear intentional and artistic.
Tip: Less is more; use very little gel on the tip of the brush to create crisp, thin lines for detailing. - 5Add secondary flower
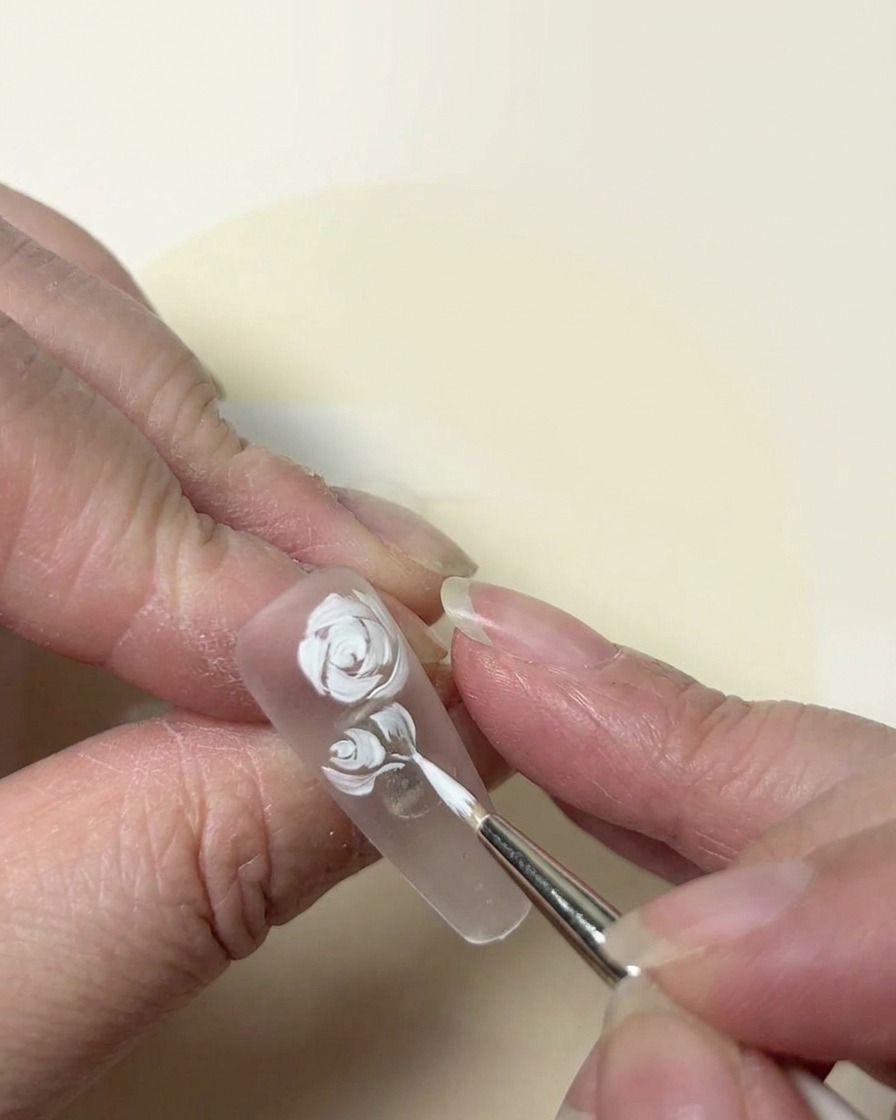
Using the same white gel, create a simple five-petaled flower in the remaining space next to the rose. Use firm, short strokes to define each petal individually, ensuring the size is proportional to the main rose.
Tip: Keep the petals small and rounded for a balanced, delicate look. - 6Soft-focus finish
Gently press a piece of tissue onto the wet white gel of the five-petaled flower. This technique lifts excess product and softens the edges, giving the design a unique, matte, and delicate appearance.
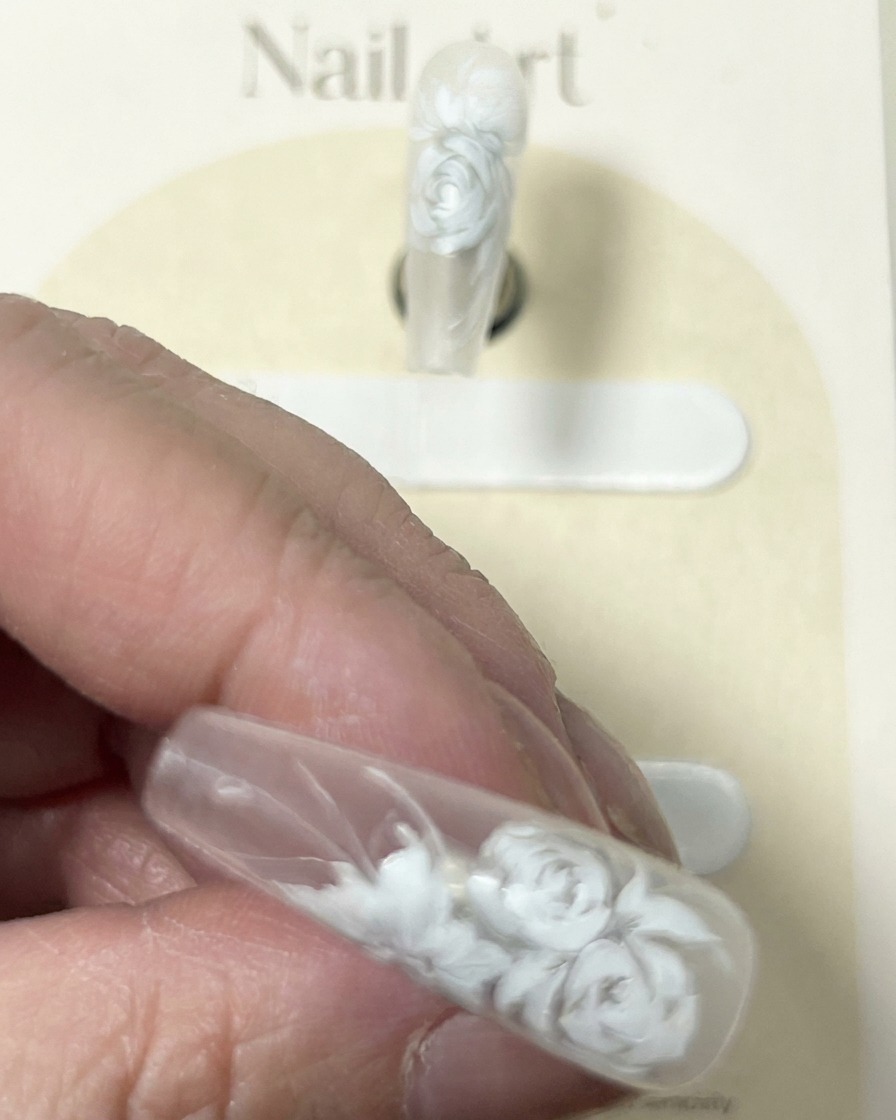
Tip: Dab lightly and avoid sliding the tissue to prevent smudging the intricate petal lines. - 7Paint additional floral details
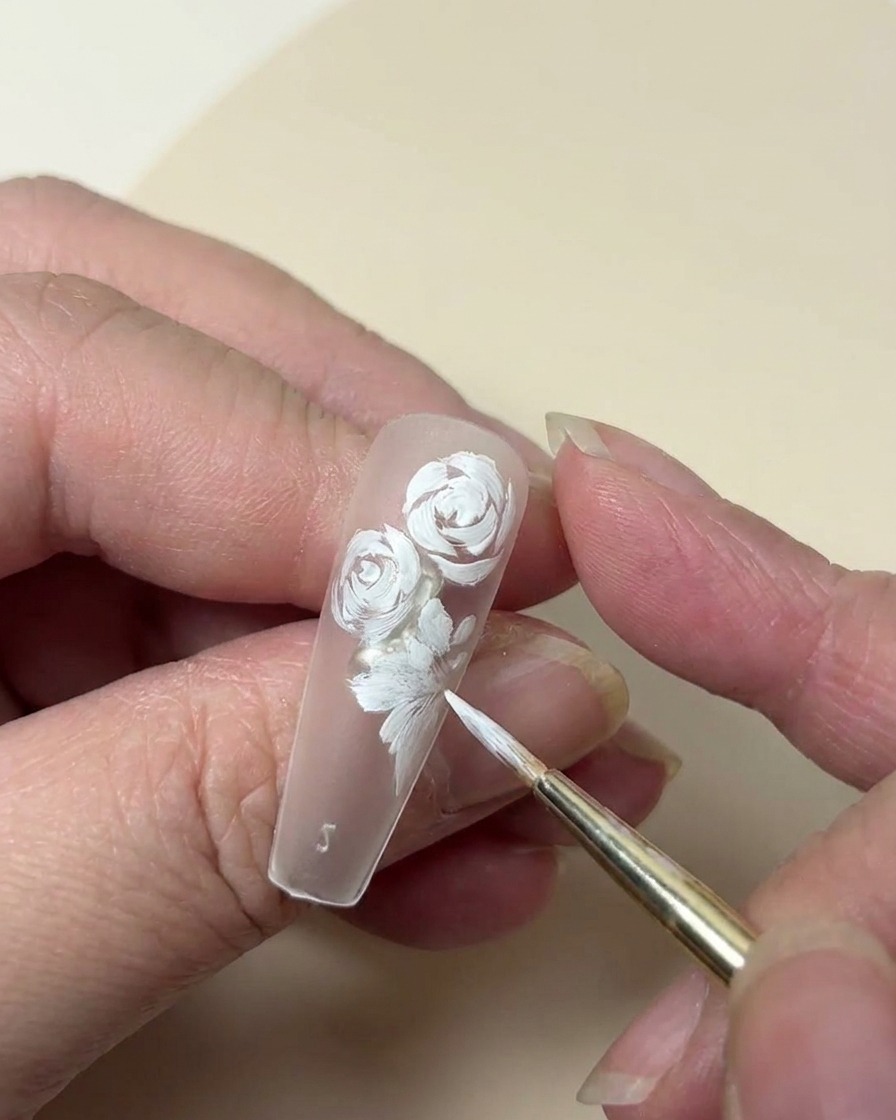
Continue the design by painting a second, smaller five-petaled flower and delicate leaves near the base of the rose. Use a fine-liner brush to ensure clean, precise strokes for the petals, maintaining a balanced composition on the nail surface.
Tip: Keep your brush strokes light and steady to ensure the petals remain delicate and well-defined. - 8Add leaf details and soften
Add the final leaf details to complement the floral design. Gently blend the white paint accents to ensure a soft, natural finish that integrates seamlessly with the rest of the nail art.
Tip: Use a light touch when blending white paint to keep the effect delicate rather than overpowering. - 9Define floral details
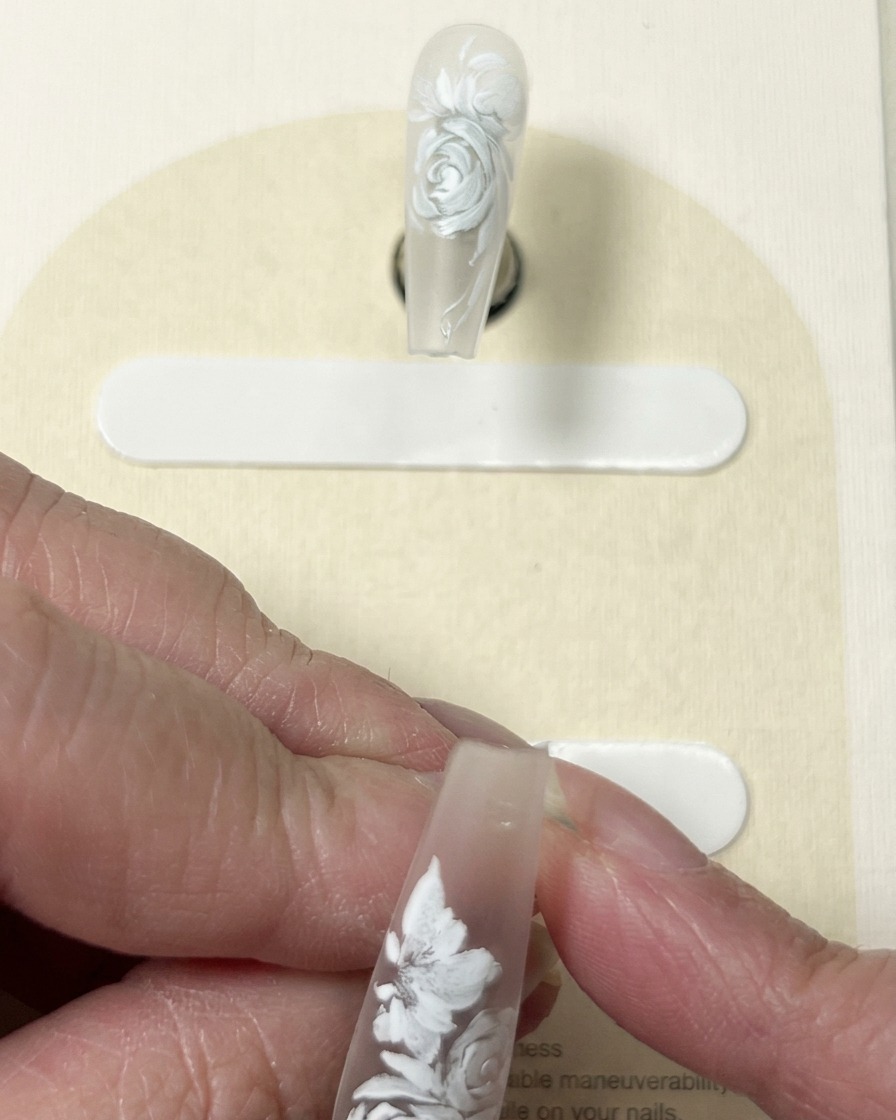
Using a high-pigment drawing gel, carefully outline the centers of the flowers. Add fine filament lines and accent strokes to enhance the texture and depth of the petals, creating a realistic, atmospheric effect.
Tip: Use a very thin liner brush for the fine filament details to avoid overcrowding the design. - 10Refine rose petals
Continue to layer fine white accent lines onto the existing rose petals. This layering technique builds dimension and creates an atmospheric, soft appearance, making the petals look more intricate and lifelike.
Tip: Vary the pressure on your brush to create tapered, elegant lines that mimic the natural curves of rose petals.