Watercolor Rose French Manicure — Elegant Floral Nail Tutorial
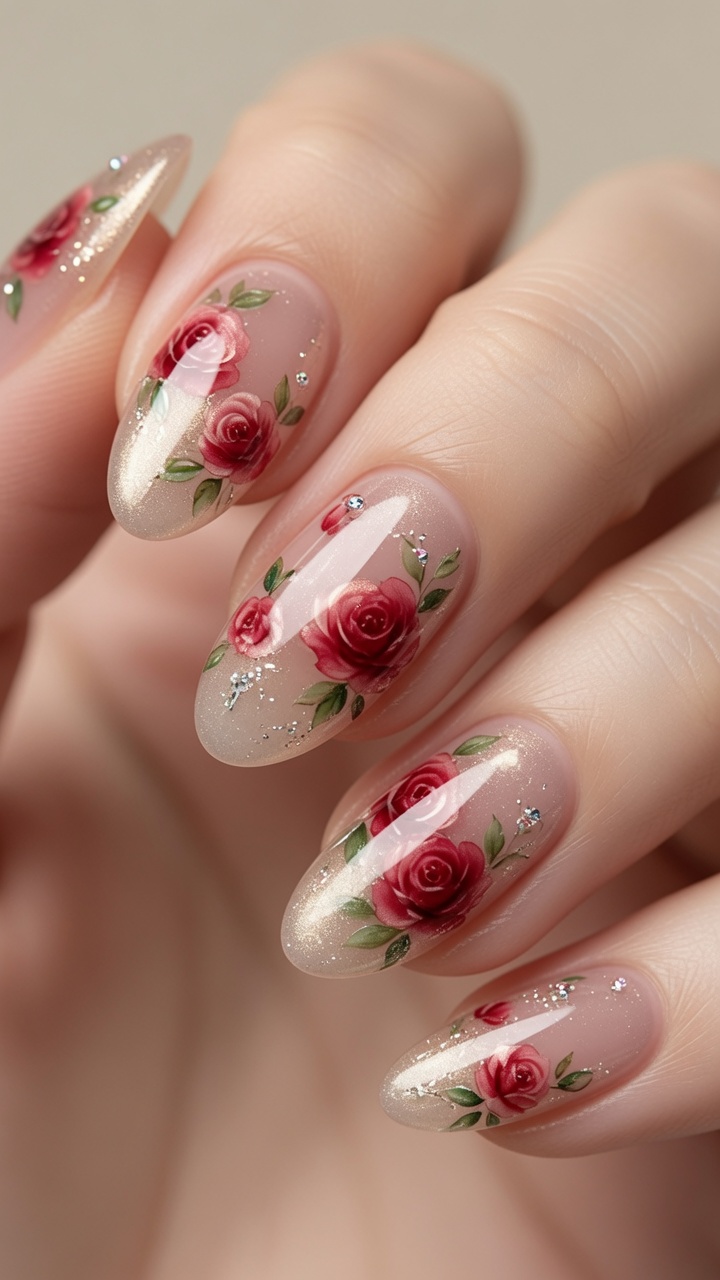
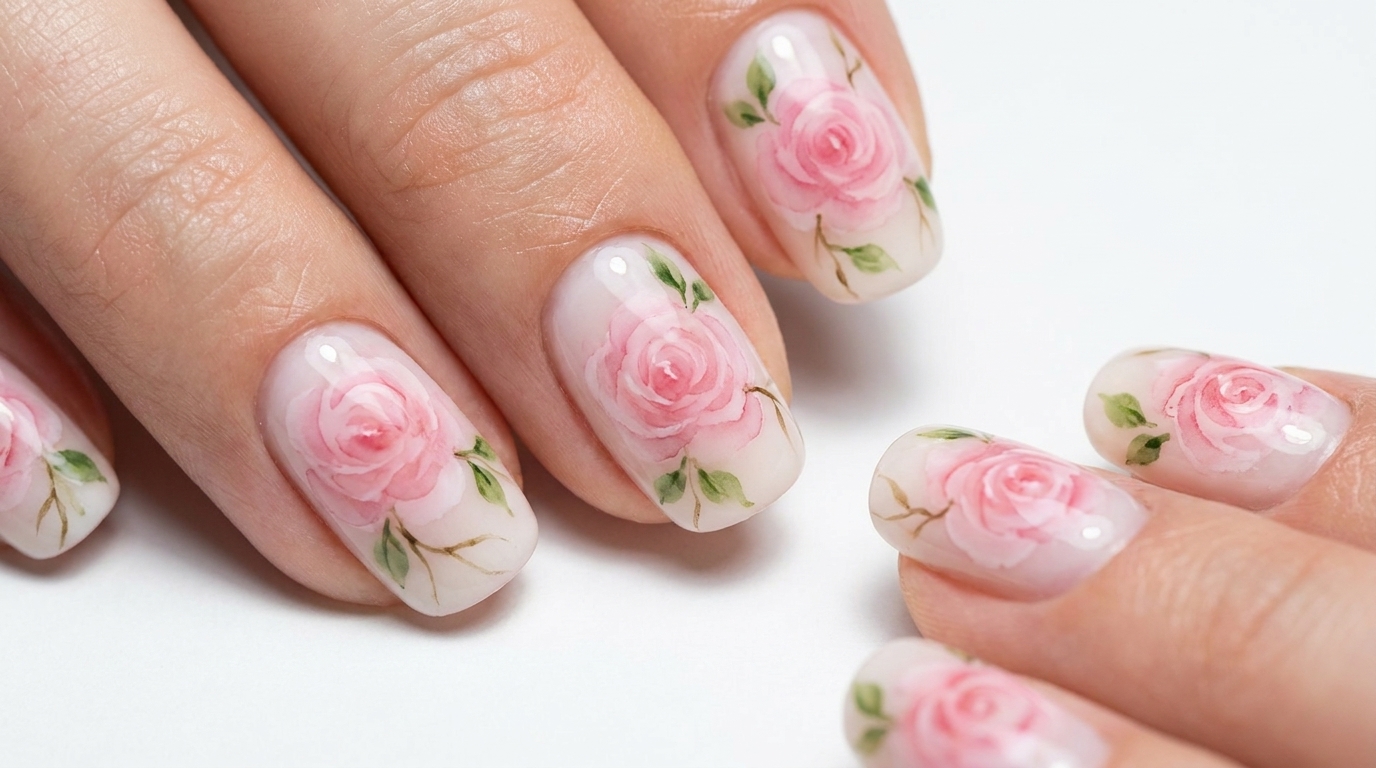
Create an enchanting watercolor rose French manicure with ease. This beginner-friendly tutorial uses transfer stickers and delicate gel lines for a polished look.
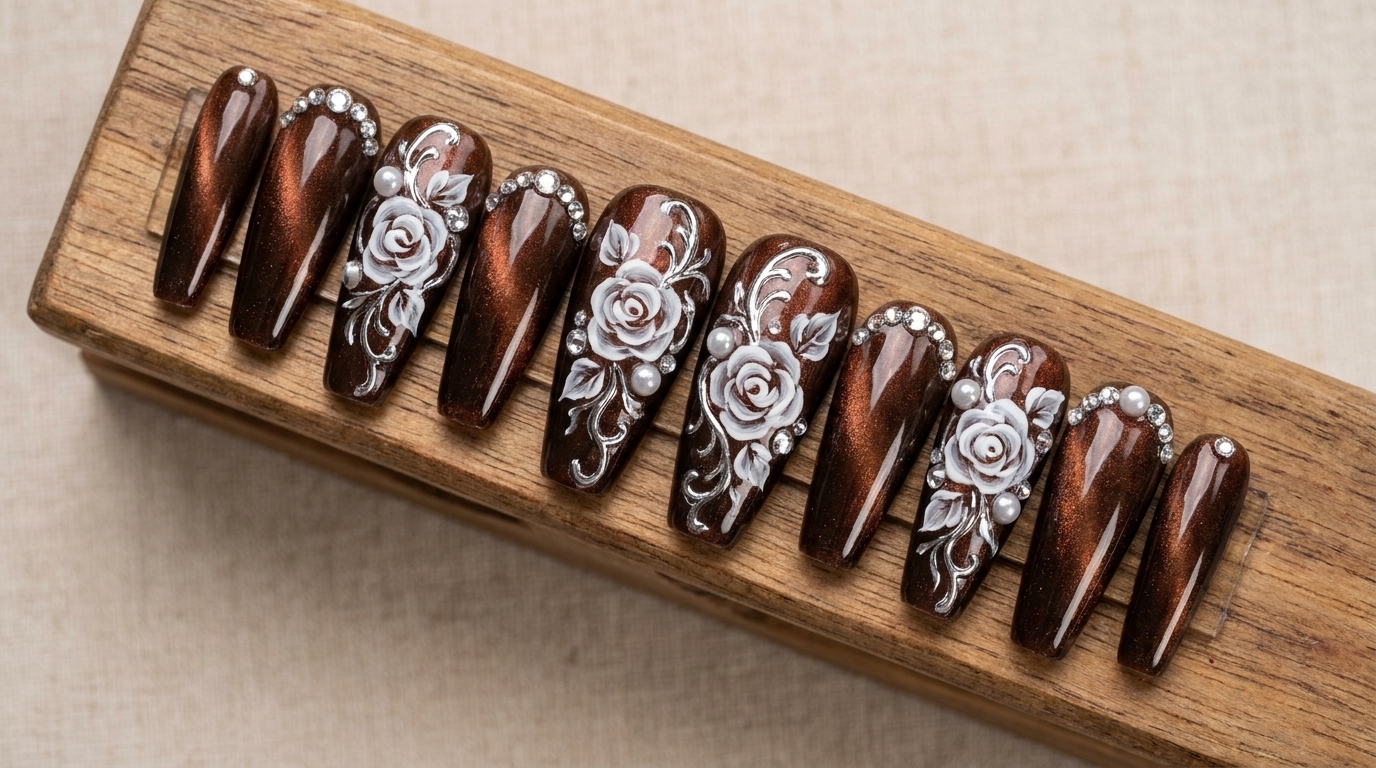
The watercolor rose trend brings a soft, artistic touch to the classic French manicure, making it perfect for weddings, garden parties, or everyday elegance. By combining a shimmering cat-eye base with delicate floral transfers and fine-line detailing, you can achieve a professional, salon-quality result right at home. This tutorial simplifies the process, ensuring that even those new to nail art can master this sophisticated design.
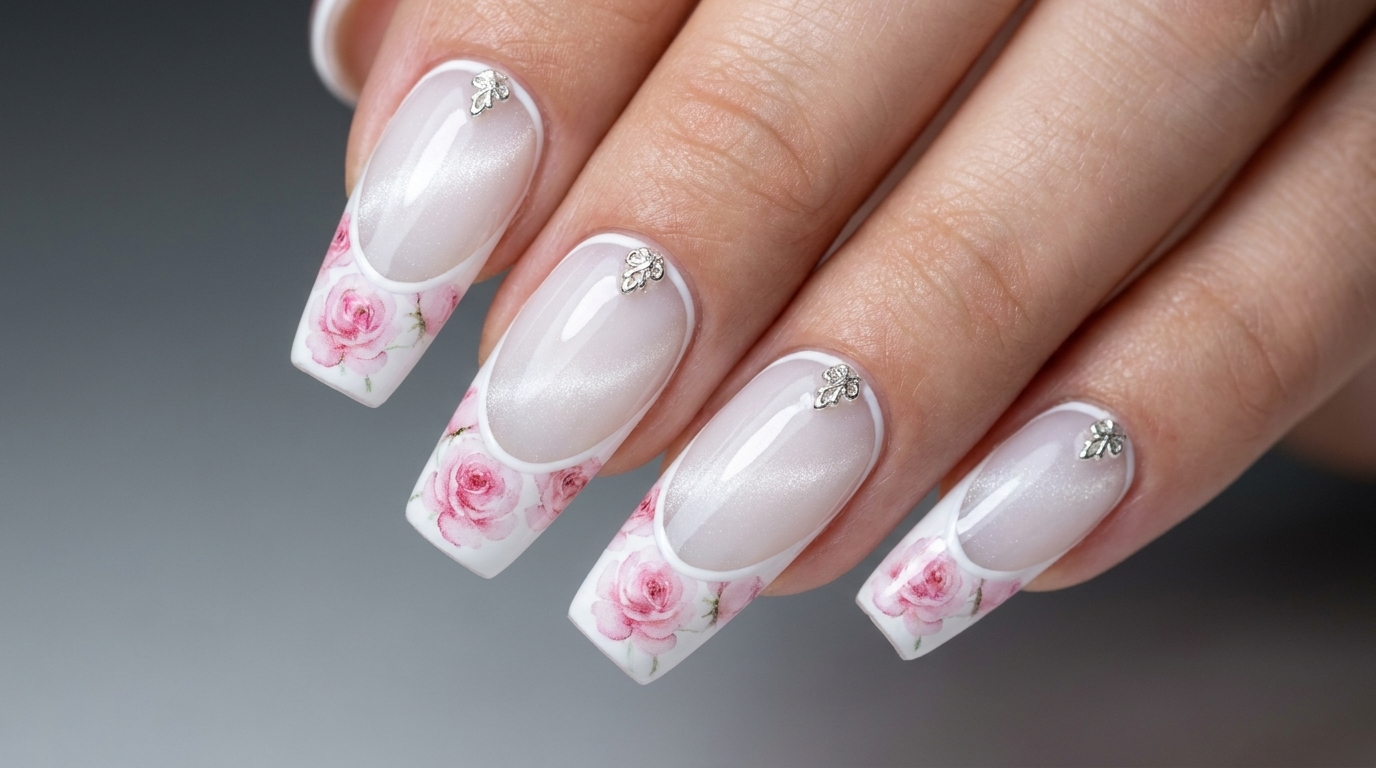
Steps
- 1Apply white base coat
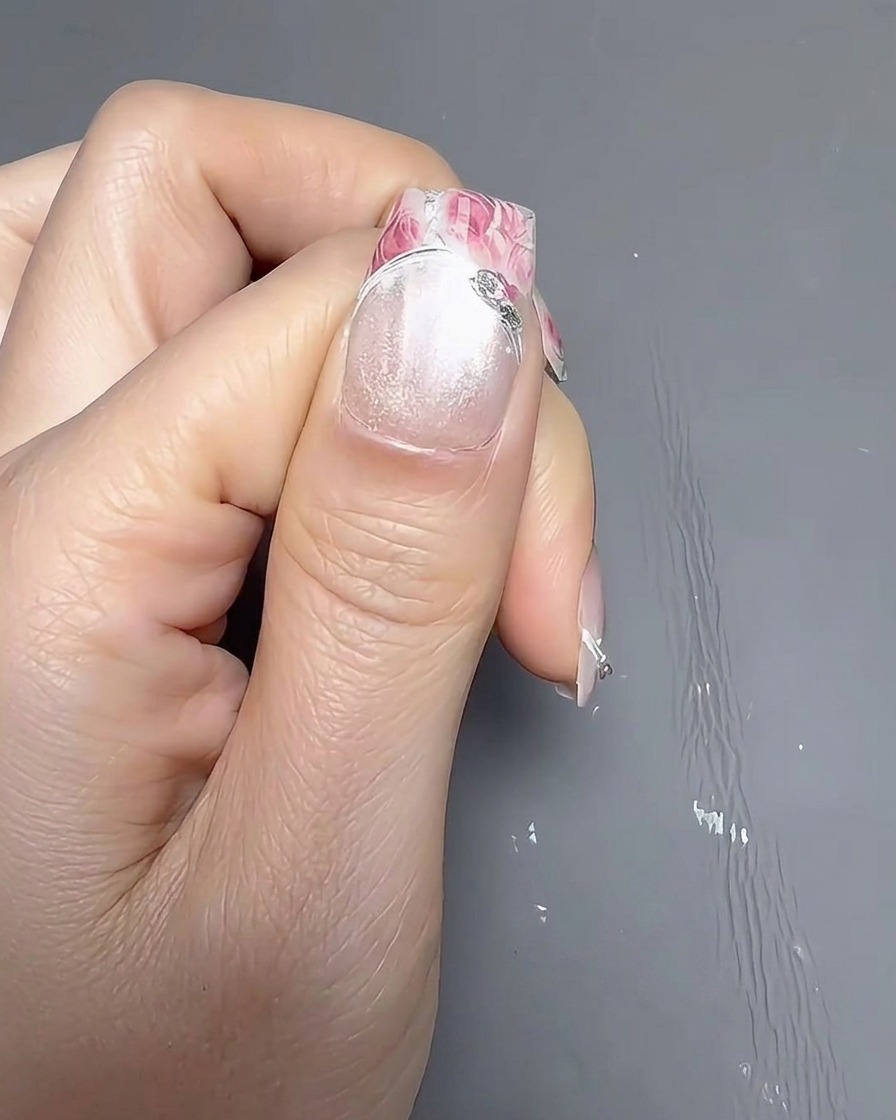
Apply a thin, even layer of white base coat over the entire nail plate. Ensure the product is applied smoothly and reaches the edges for full coverage. Cure the layer according to your lamps instructions.
Tip: Applying thin layers helps prevent bubbles and ensures an even cure across the entire nail surface. - 2Apply cat-eye gel
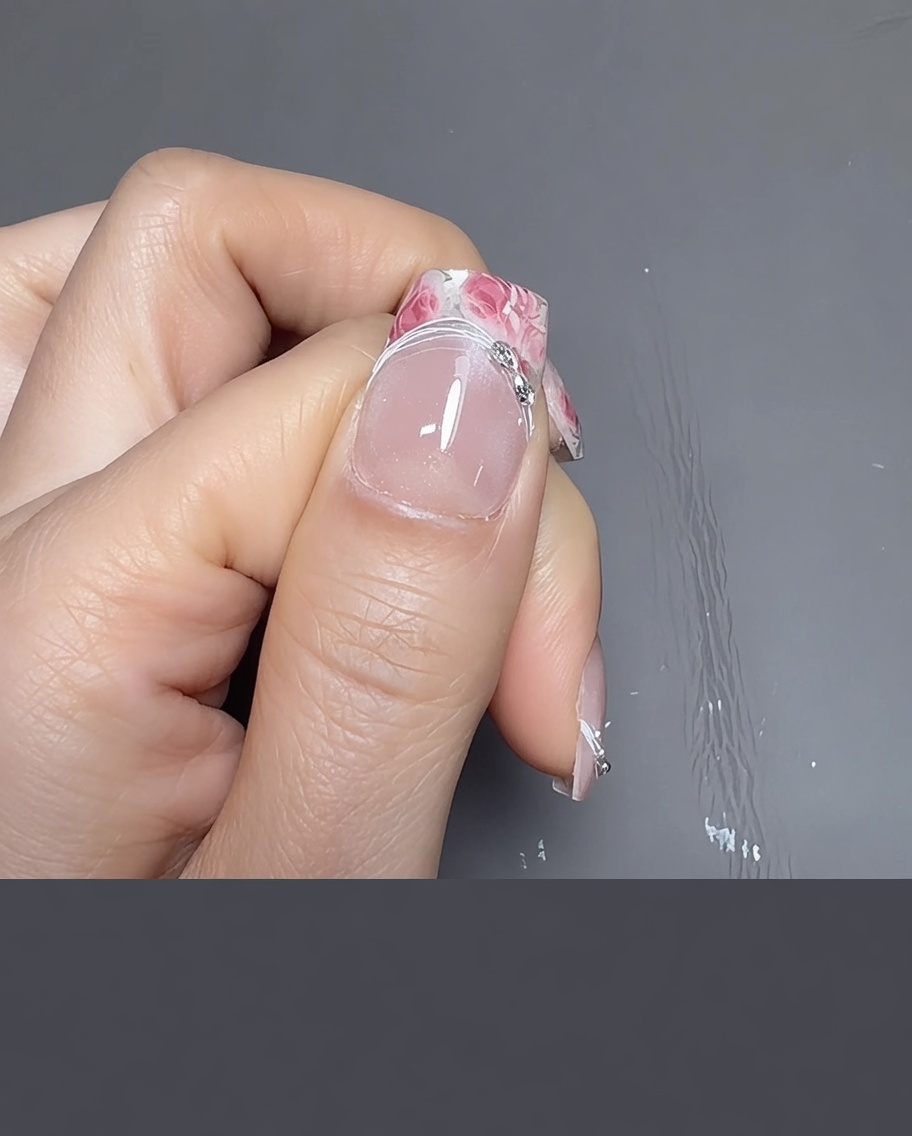
Apply a coat of cat-eye gel over the cured white base. Use a magnet tool to manipulate the magnetic particles within the gel to achieve the desired glass bead or cat-eye effect before curing.
Tip: Hold the magnet steady near the nail for a few seconds to let the magnetic pigments settle into the perfect pattern. - 3Cure the gel
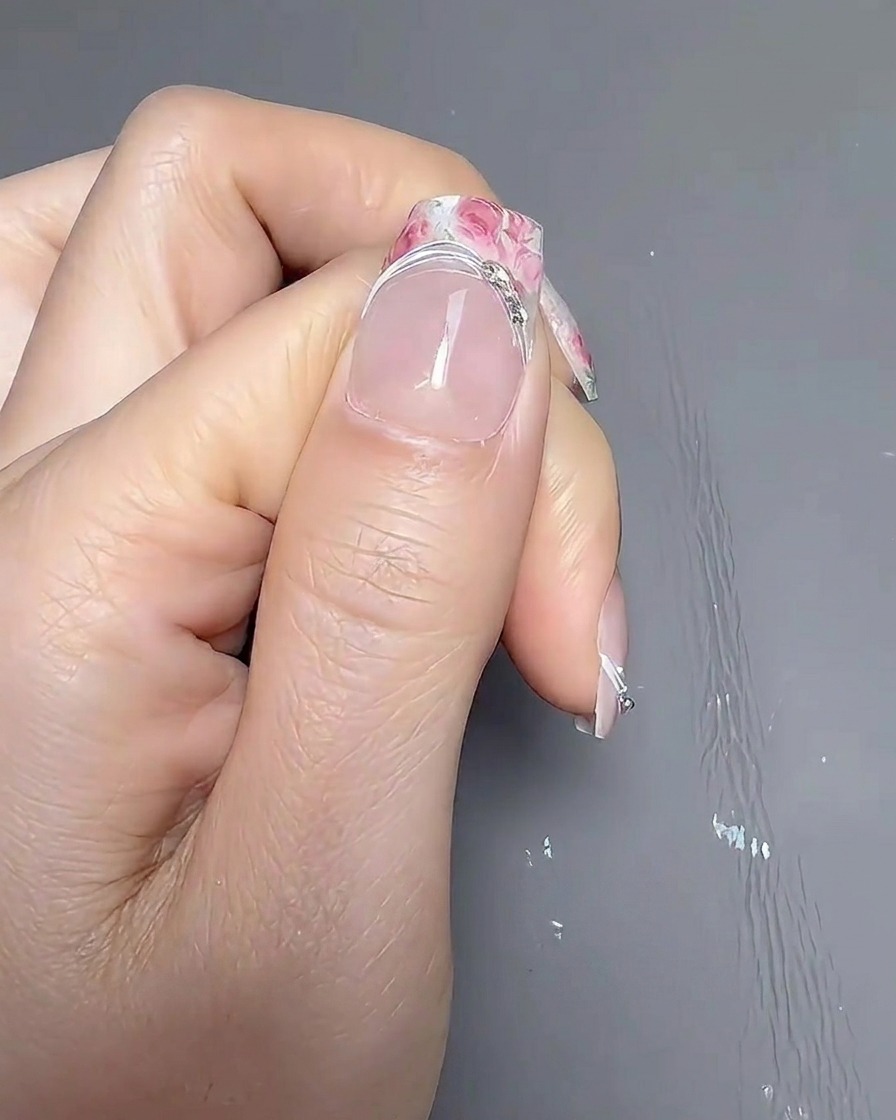
Place the hand into the UV or LED lamp to cure the cat-eye gel. Ensure the fingers are positioned correctly to allow for an even cure, following the manufacturers recommended duration.
Tip: Avoid moving your hand while it is inside the lamp to ensure the magnetic effect remains in place during the curing process. - 4Apply French sticker guide
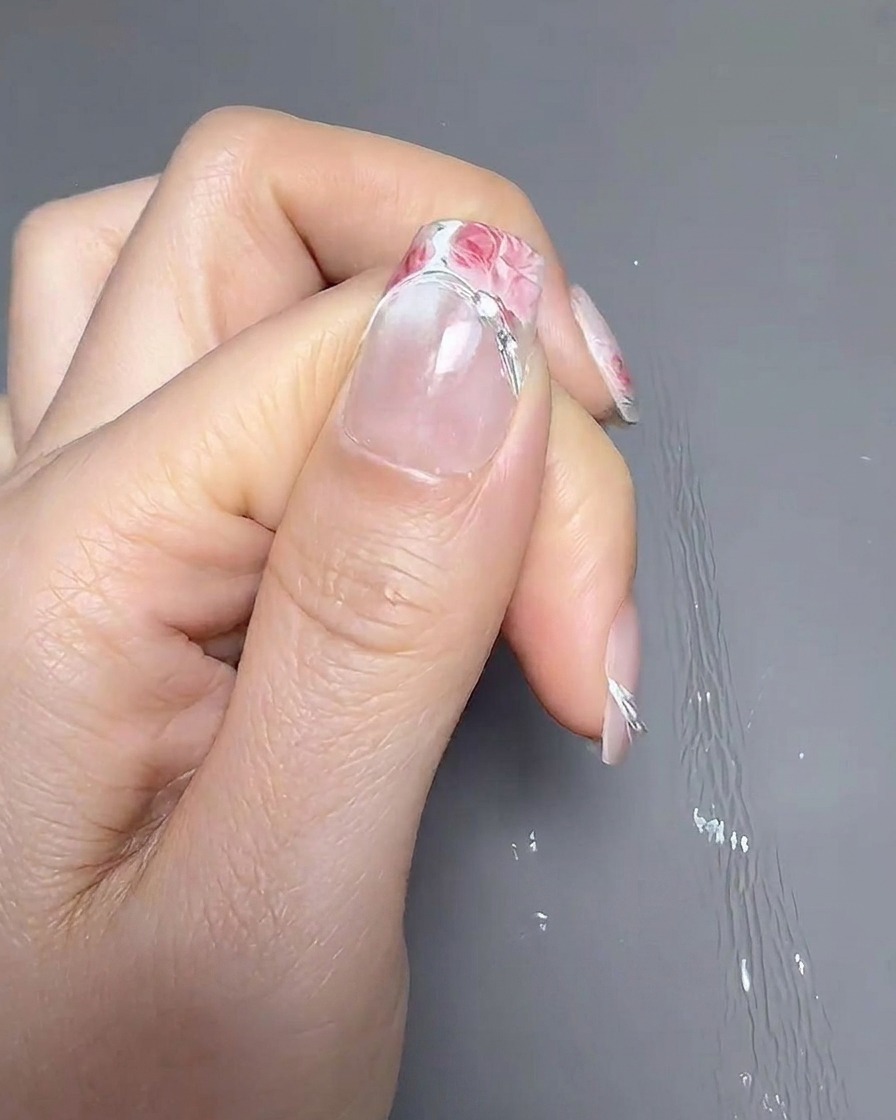
Carefully place the French nail sticker guide on the nail. Position it slightly higher than a traditional French tip to allow more surface area for the floral transfer design.
Tip: Align the guide symmetrically across the nail to ensure a balanced look for your French tip. - 5Secure the sticker guide
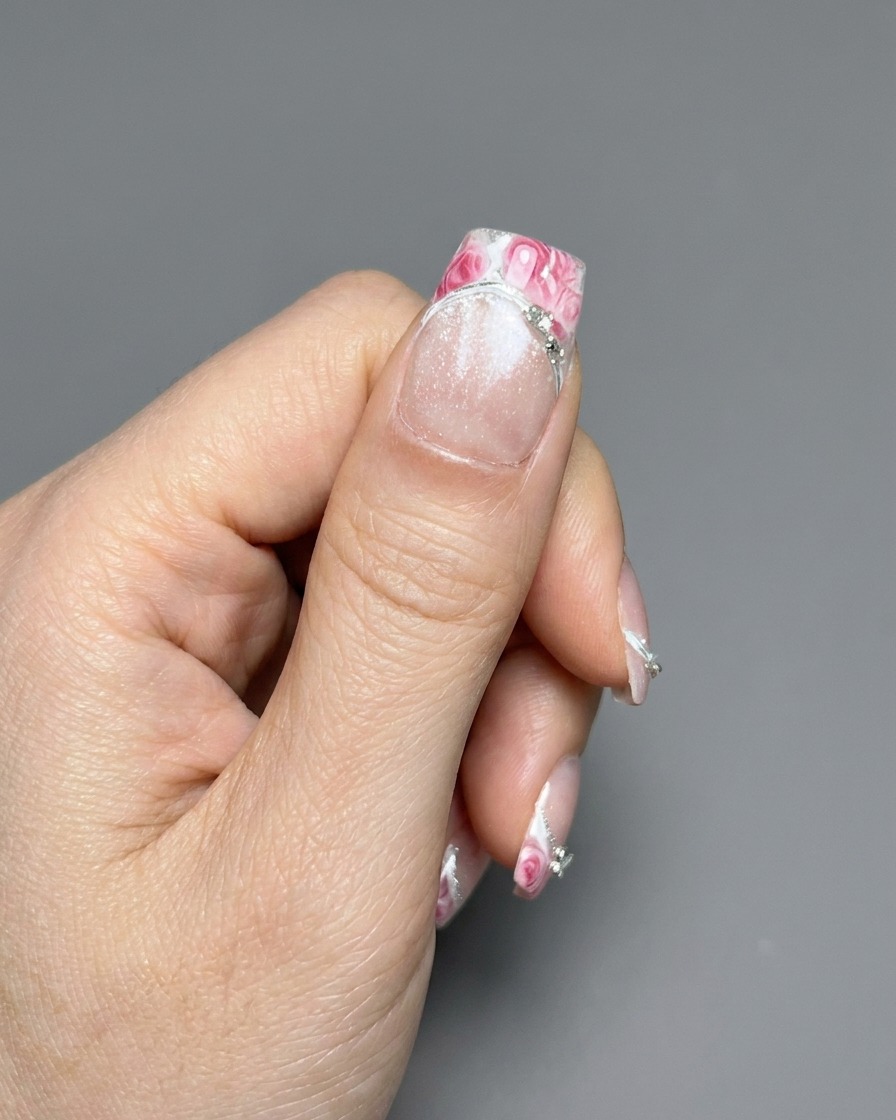
Using your tweezers, press down firmly along the edges of the French sticker guide. Ensuring the sticker is flush against the nail will prevent any gel from bleeding underneath during application.
Tip: Gently smoothing out the sticker with the flat edge of your tweezers helps eliminate any trapped air bubbles. - 6Apply transfer gel
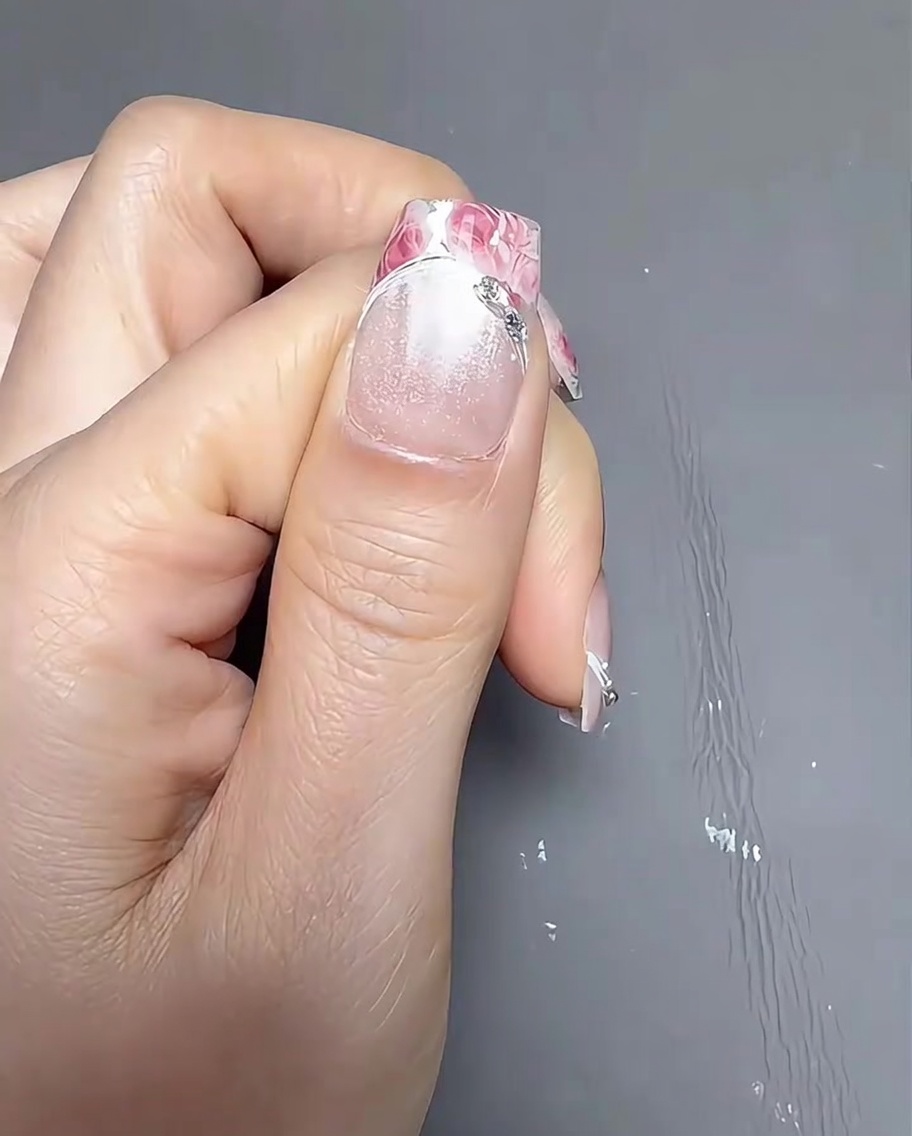
Apply a thin layer of transfer gel specifically within the area defined by the French sticker guide. This adhesive layer is crucial for picking up the pattern from the rose transfer film.
Tip: Ensure the transfer gel is applied evenly to the entire tip area so the pattern transfers completely without any gaps. - 7Cure the transfer gel
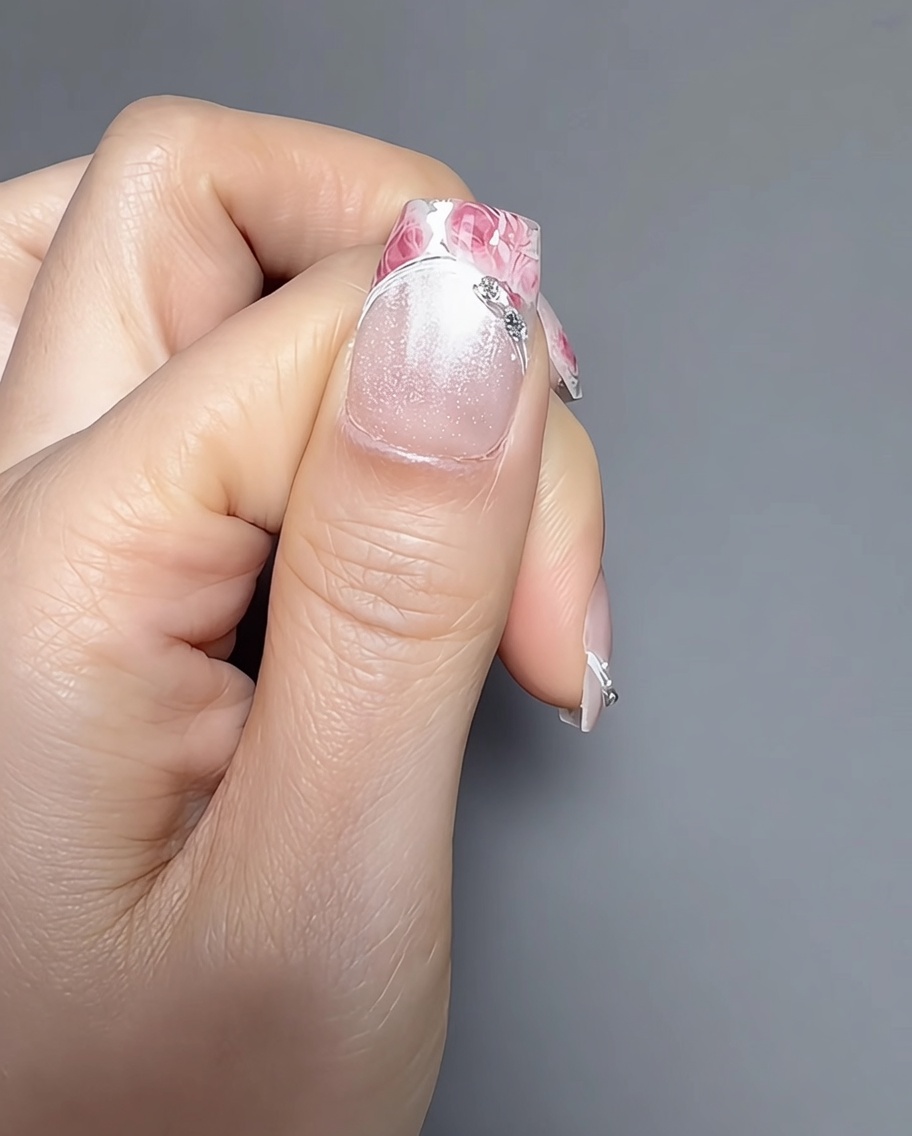
Place your hand under the UV or LED lamp to cure the applied transfer gel. Ensure the nails are positioned directly under the light for the full duration recommended by the gel manufacturer to guarantee a tacky surface for the rose patterns.
Tip: Check that your hand is positioned correctly to allow even light distribution across the French tip area. - 8Prepare rose transfer patterns
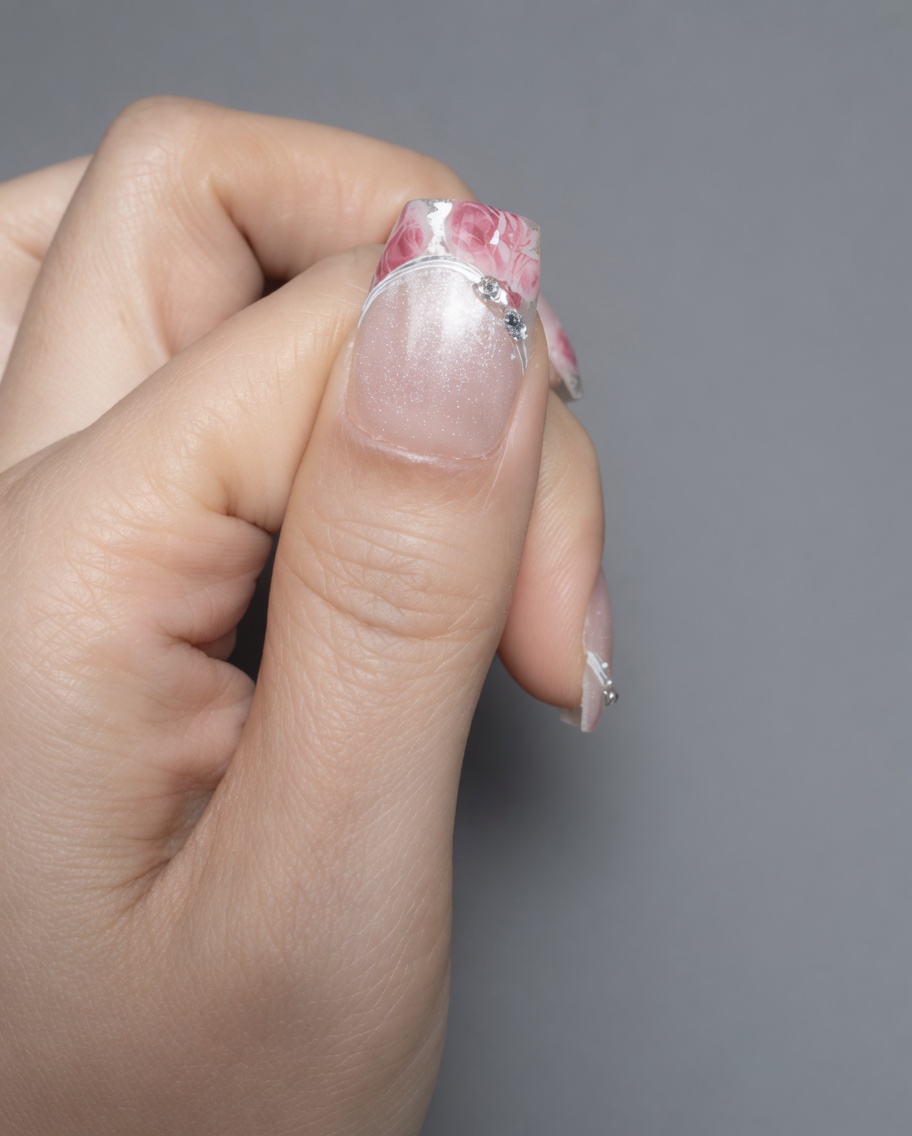
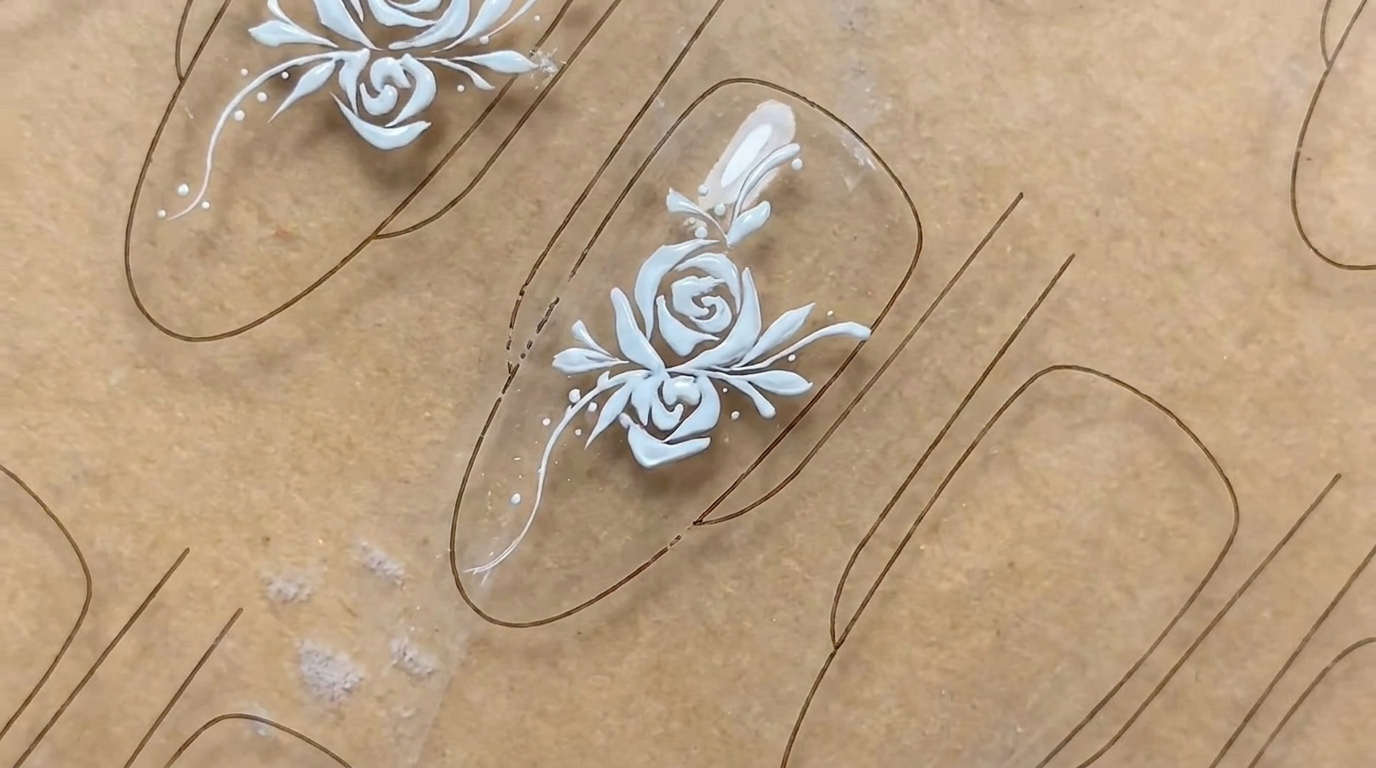
Carefully cut out your chosen rose designs from the transfer sheet using a small pair of nail scissors. Ensure the pieces are appropriately sized for your French tip area to achieve the desired aesthetic.
Tip: Use precision scissors to trim as close to the design edge as possible for a cleaner final look. - 9Apply first rose design
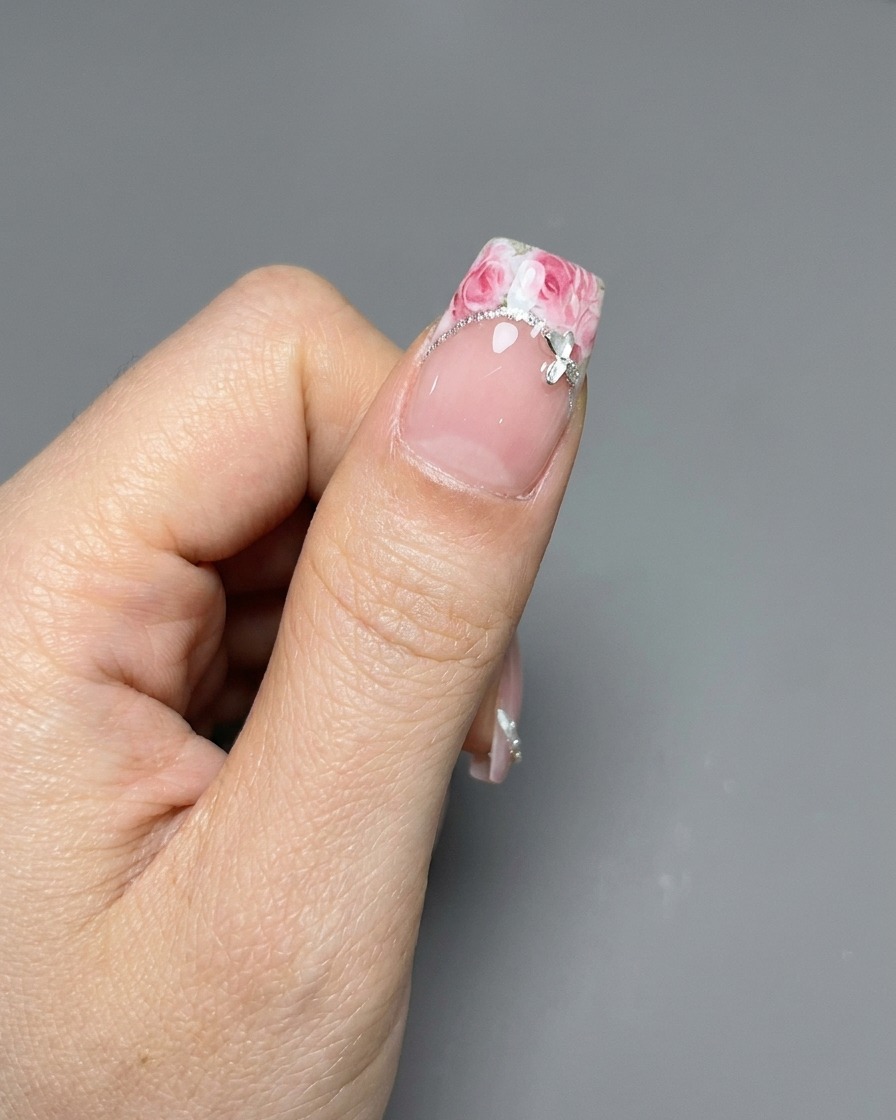
Gently place the first cut-out rose pattern onto the cured transfer gel on your French tip. Press down firmly and evenly across the entire design to ensure it adheres properly to the nail surface.
Tip: Apply the sticker gently to avoid tearing or wrinkling the delicate film. - 10Apply second rose design
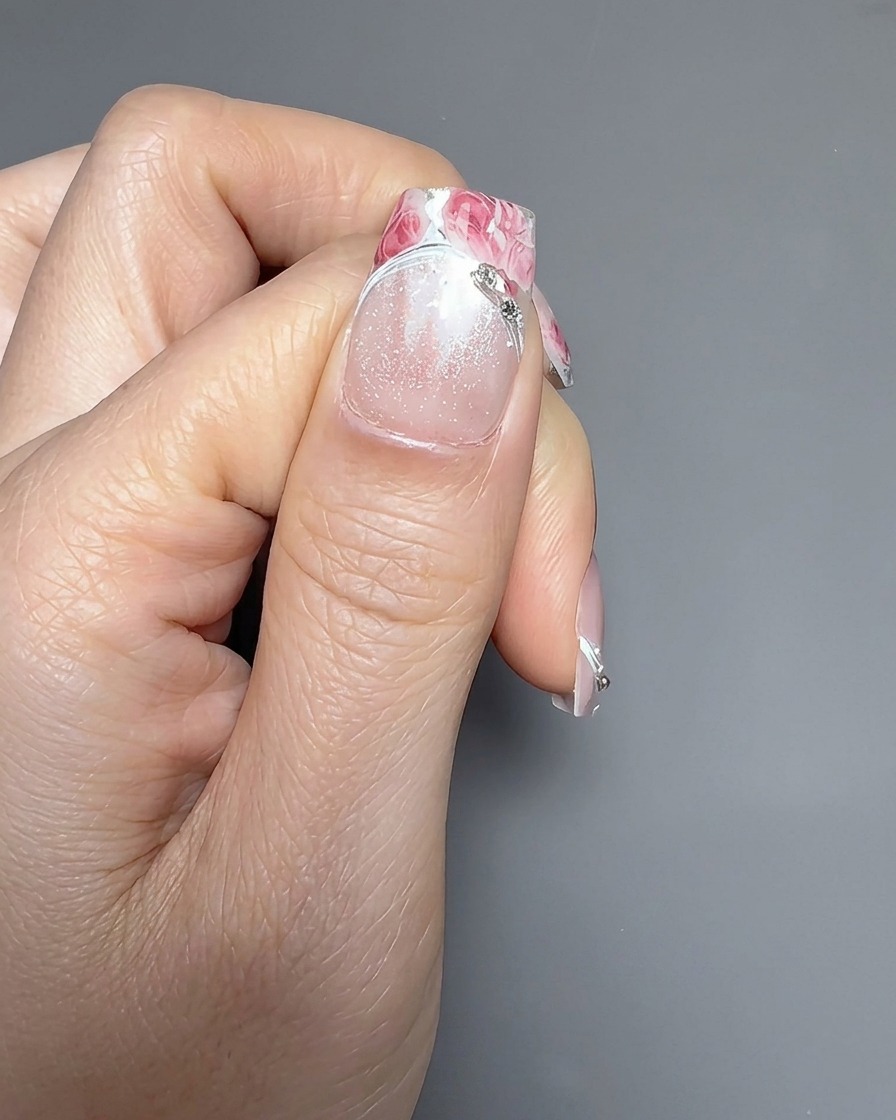
Position the second rose flower so that it overlaps slightly with the first flower already on the nail. This layering technique creates a denser, more artistic watercolor effect on the French tip.
Tip: Make sure the overlap is smooth to prevent any raised edges or air bubbles. - 11Remove transfer backing
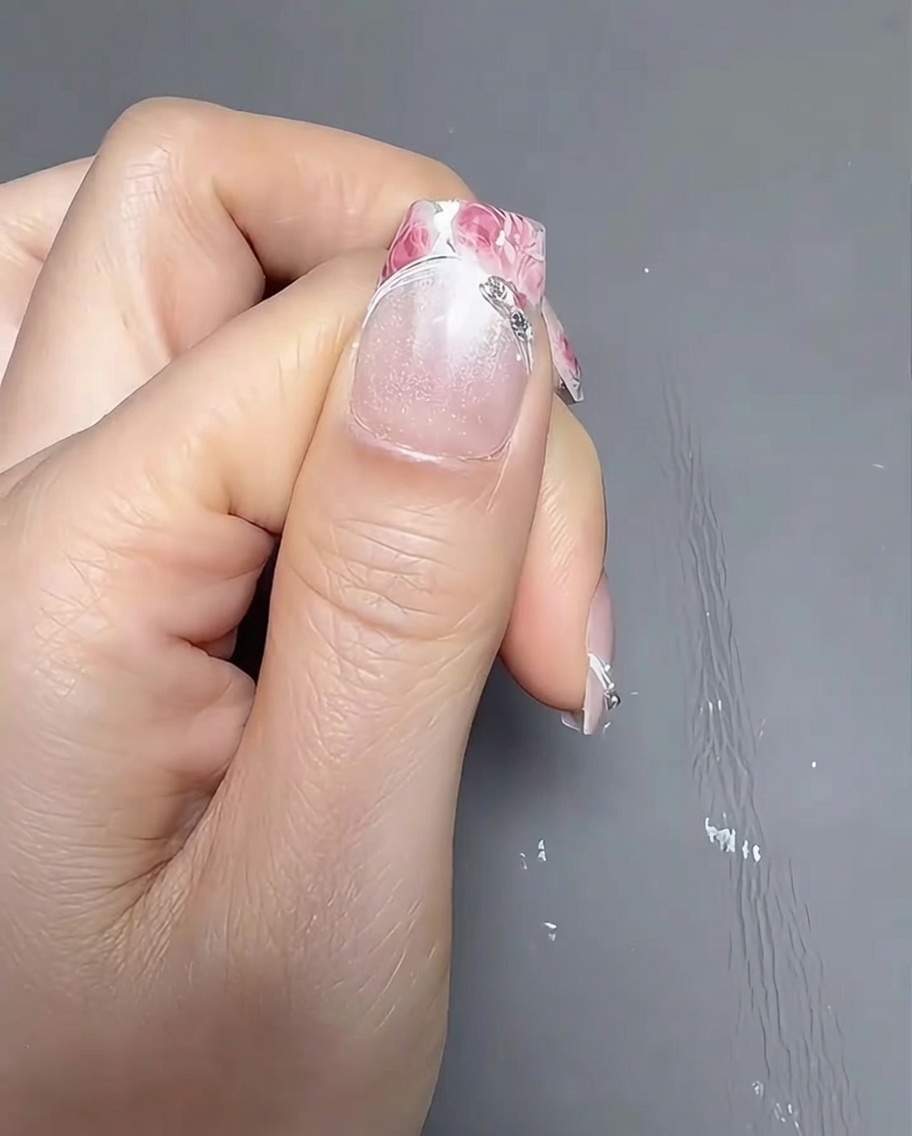
Once the rose patterns are firmly pressed onto the nail, slowly and carefully peel away the transfer backing paper. The design should remain transferred onto the nail surface.
Tip: Pull the backing paper away at a low angle to ensure a clean release of the floral pattern. - 12Apply top coat
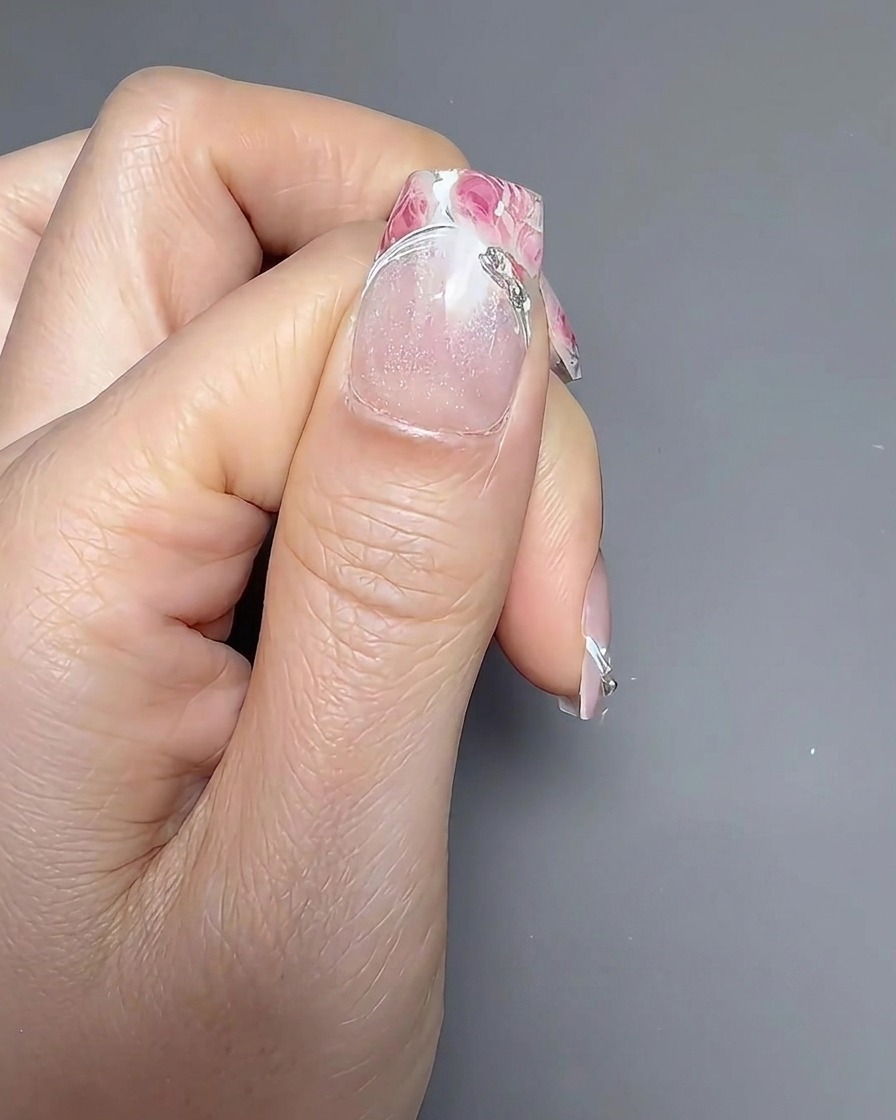
Apply a final layer of top coat over the entire nail to seal the rose design and protect it. Cure this layer under the lamp to complete the manicure, ensuring a smooth, glossy finish.
Tip: Ensure the entire edge of the rose design is covered by the top coat to prevent lifting. - 13Apply border gel lines
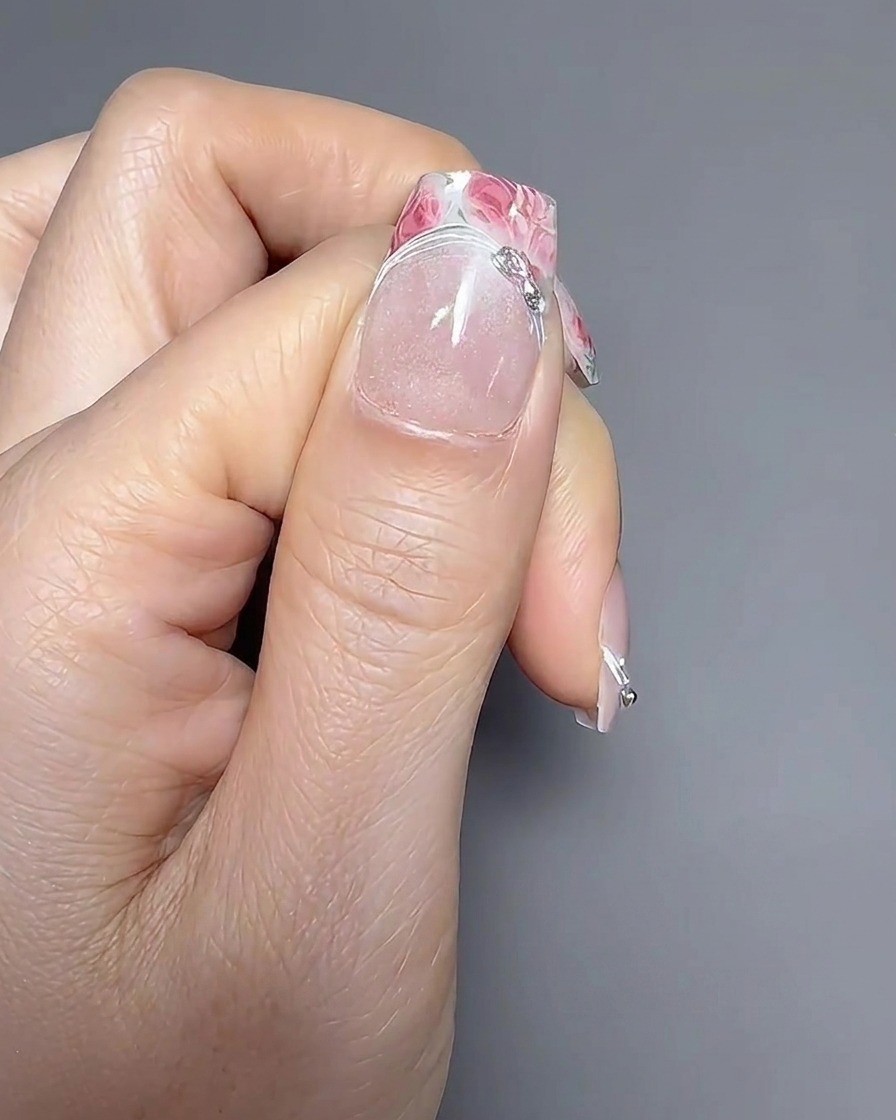
Using a fine liner brush or a silicone tool, apply a thin line of builder gel around the curve of the French tip. This creates a refined border that separates the nail art from the nail bed, adding definition and a professional finish to the manicure.
Tip: Keep your pressure light for a consistent, smooth line; if the gel pools, wipe your tool and gently feather it out. - 14Define the French tip edge
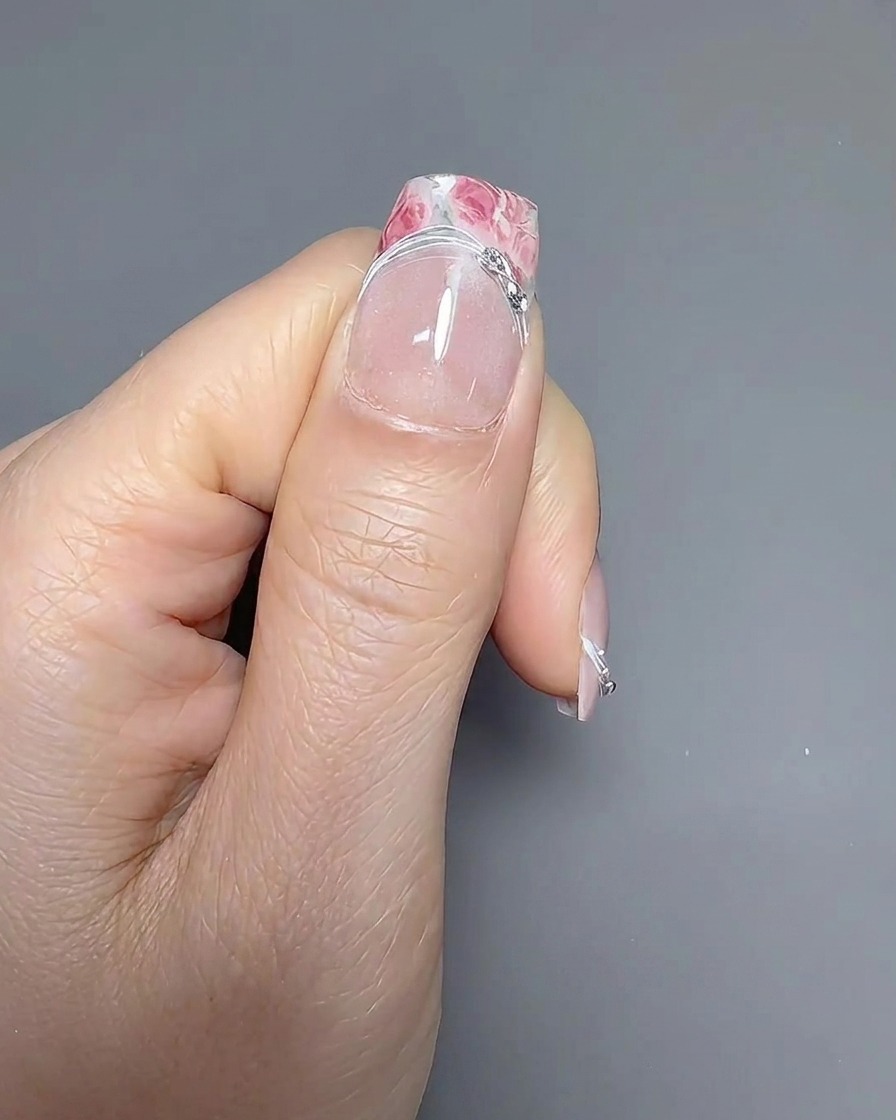
Carefully draw border lines along the edge of the French tip using a thin liner brush. This step helps to blend the transition between the rose transfer and the nail bed while giving the design a clean, polished appearance.
Tip: If you make a mistake, wipe the uncured gel away with a lint-free wipe dipped in cleanser before curing, then reapply. - 15Apply decorative charms
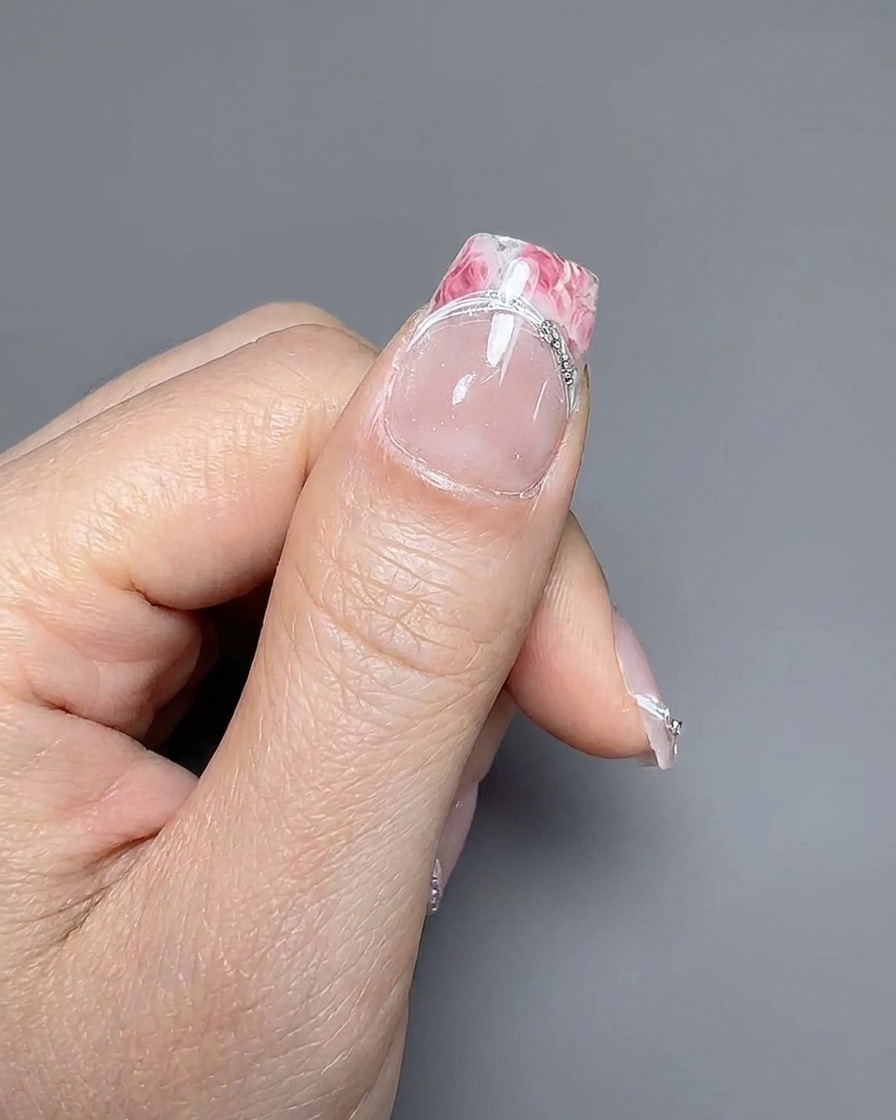
Using tweezers, pick up your chosen small decorative charm and place it onto the nail surface where the border lines meet. Press firmly to ensure it is embedded in the gel, then cure under your lamp to lock it into place.
Tip: Apply a tiny dot of base gel or charm glue before placing the charm to ensure it stays securely attached to the nail.