Vintage Lace
Watercolor Rose Nail Art — Step-by-Step Tutorial
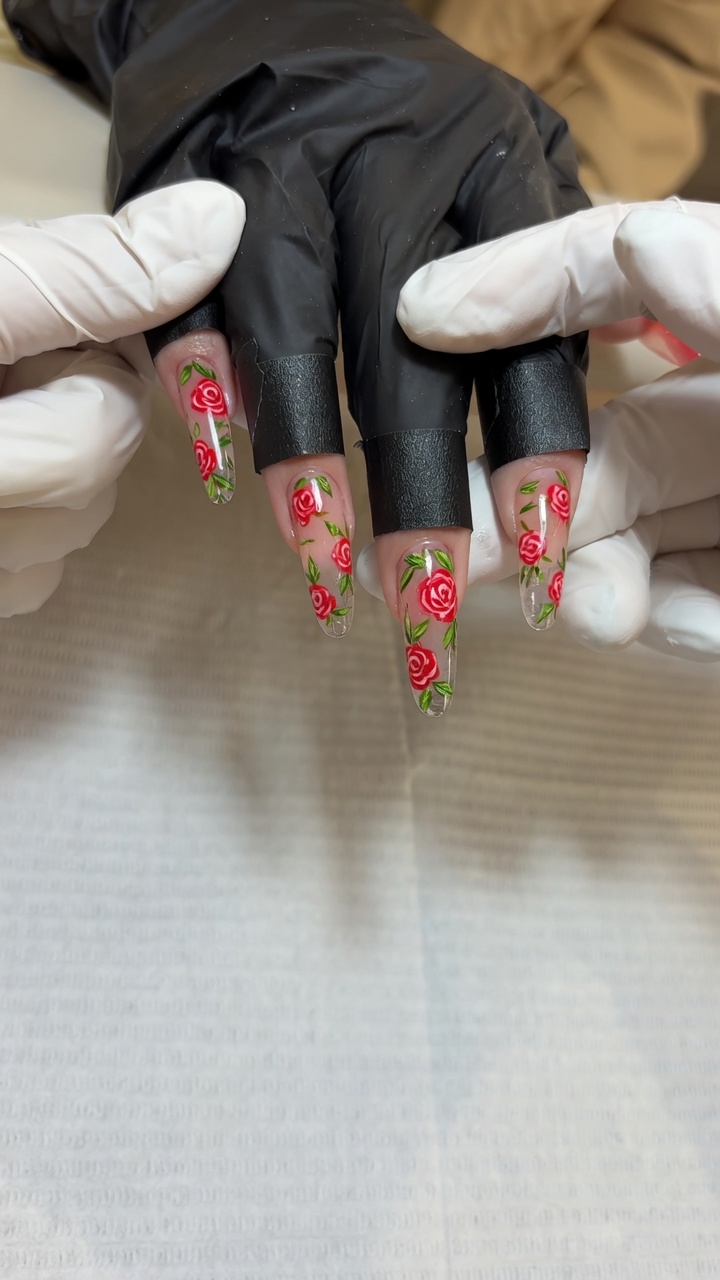
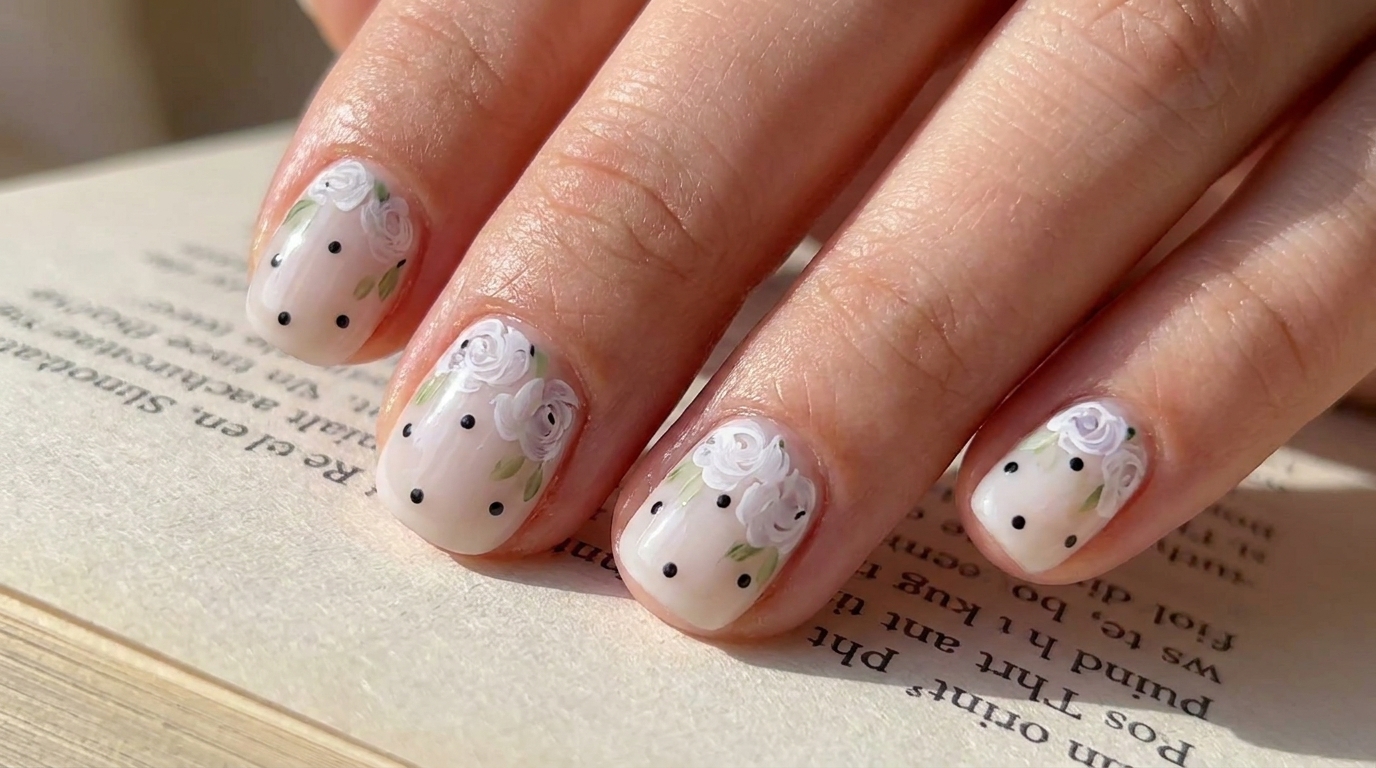
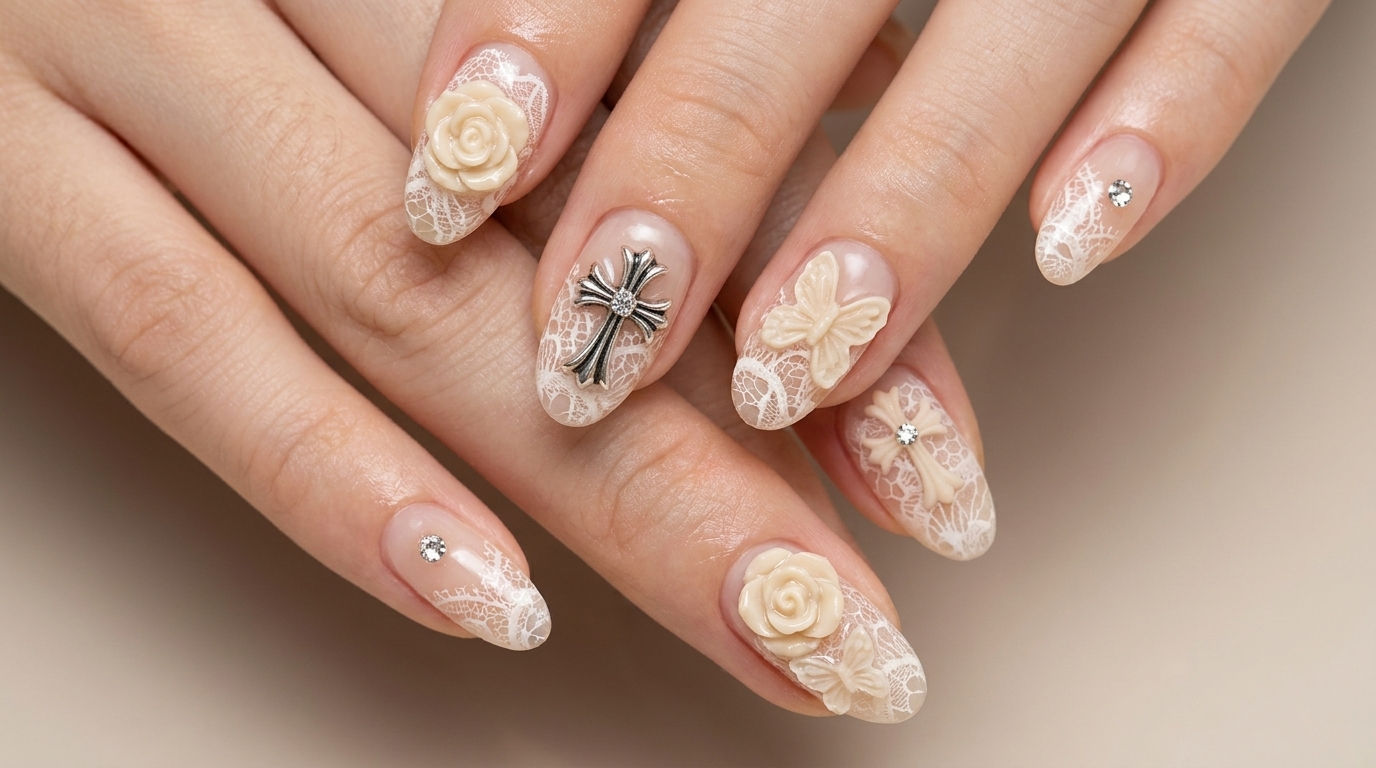
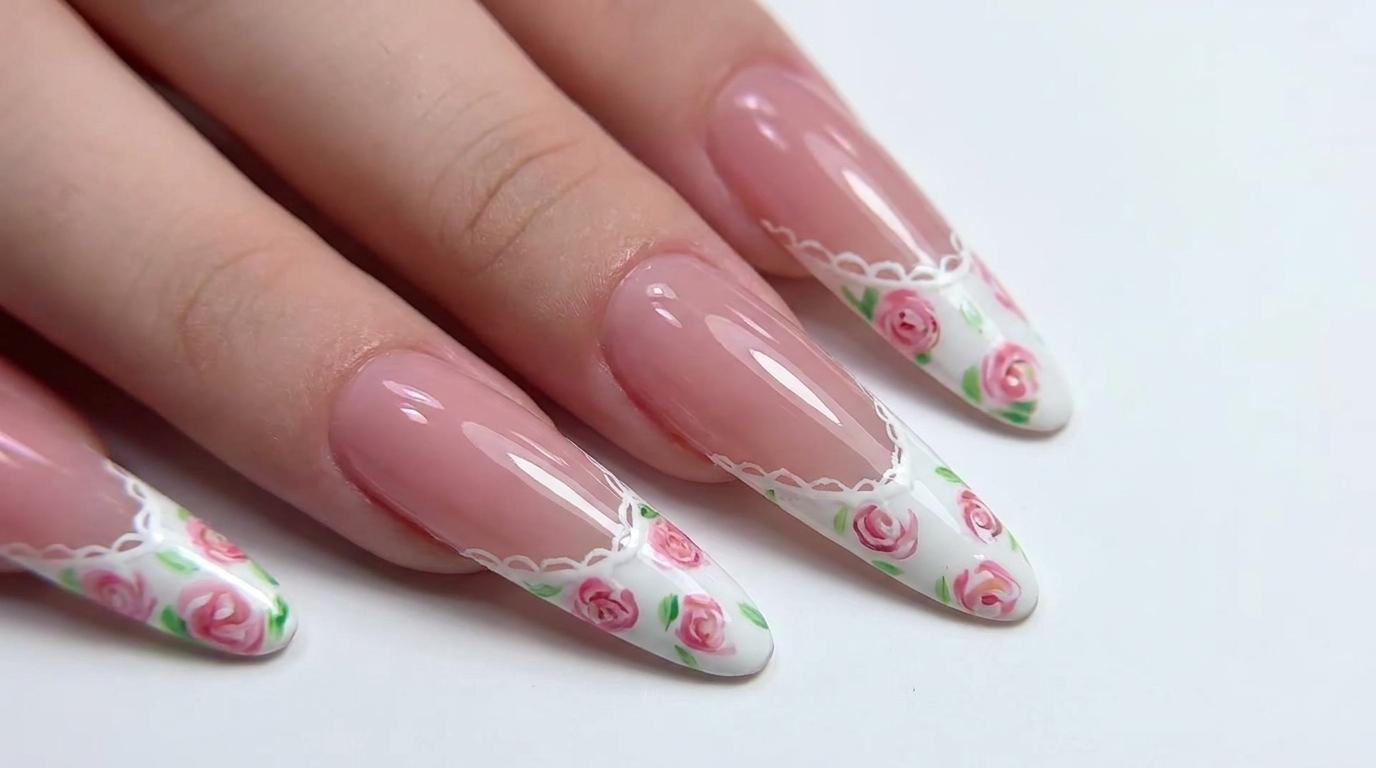
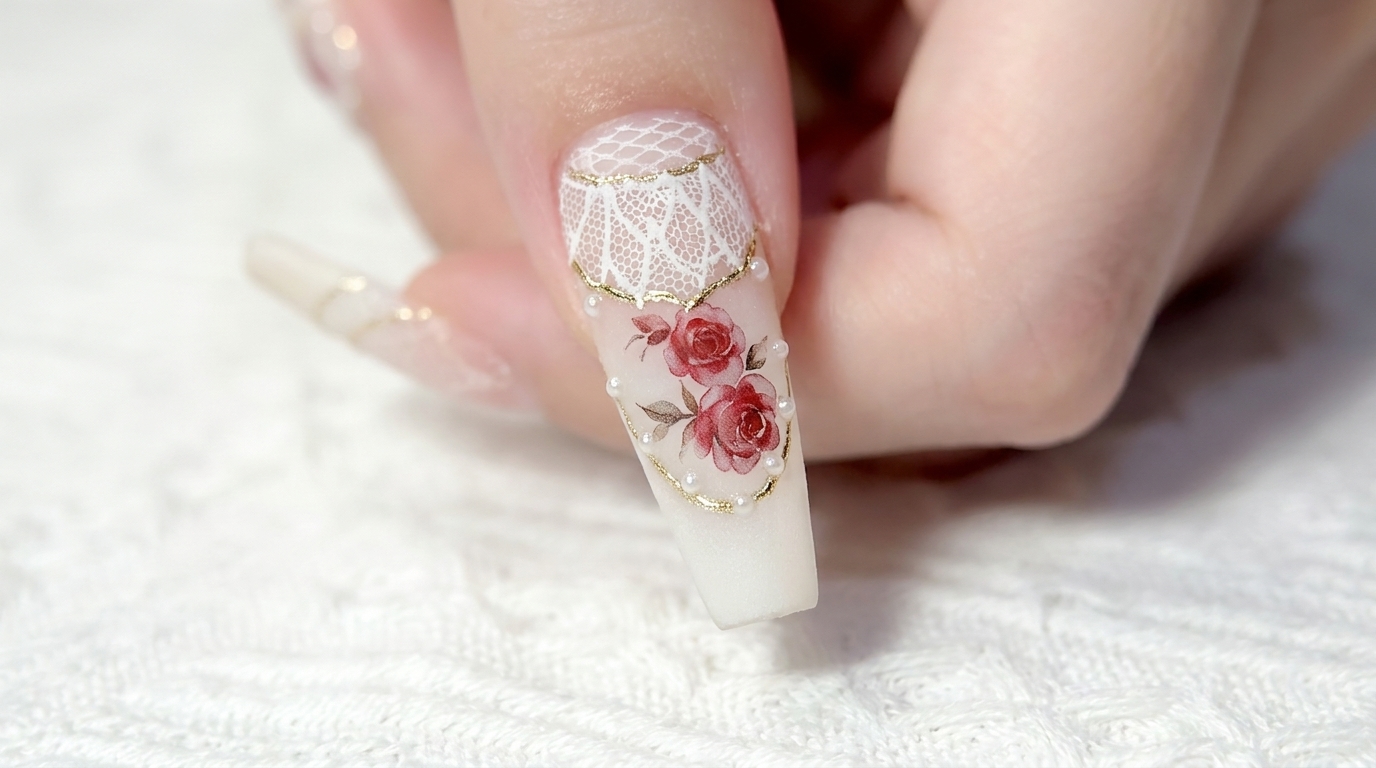
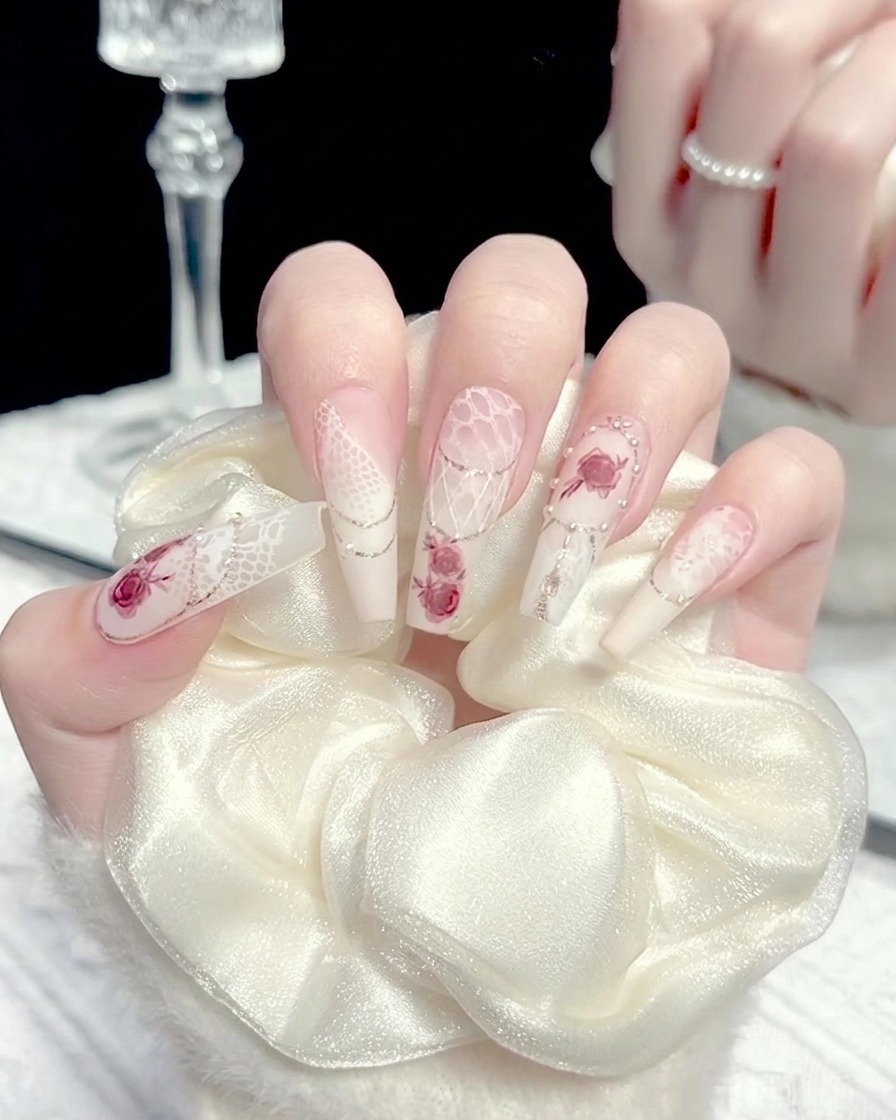
Create an elegant vintage-inspired manicure featuring delicate stamped lace, romantic watercolor rose stickers, and sophisticated gold-line detailing.
This vintage lace and watercolor rose design perfectly captures a timeless, romantic aesthetic. By combining traditional stamping techniques with modern gel art detailing and a velvet matte finish, you can achieve a professional, salon-quality look at home. It is an ideal choice for those who love detailed, feminine nail art that blends texture and classic motifs.
Steps
- 1Apply white gel base
Apply a thin layer of white gel to the center of the nail to create a clean, opaque base. This will help mask the free edge and provide a solid foundation for the subsequent lace design. Cure under your lamp as recommended.
Tip: Focus the application on the center of the nail to avoid thick, uneven edges. - 2Prepare stamping plate
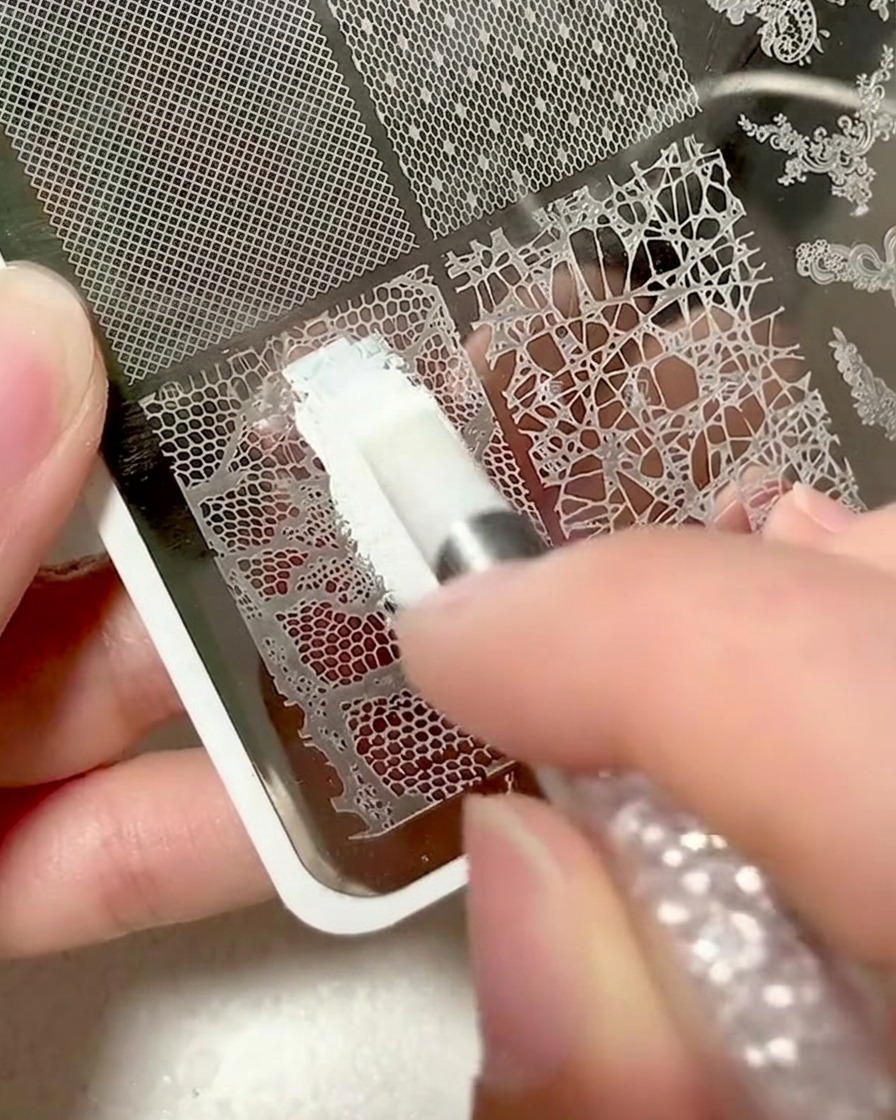
Apply your white stamping gel directly onto the chosen lace pattern on your metal stamping plate. Ensure the gel covers all the etched details of the design.
Tip: Work quickly so the stamping gel doesnt dry on the plate before you pick it up. - 3Scrape excess gel
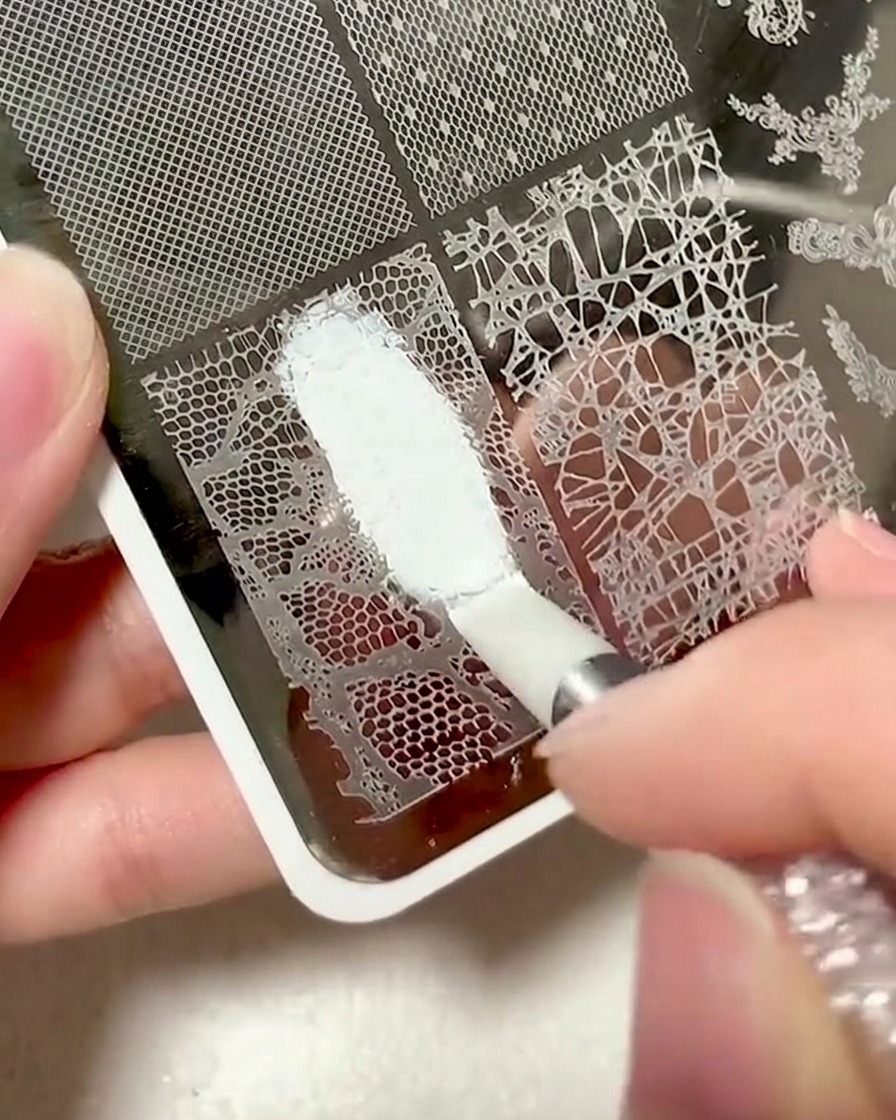
Hold your scraper at a 45-degree angle and firmly glide it across the stamping plate to remove the excess white gel. You want the gel to remain only inside the grooves of the lace pattern.
Tip: Apply consistent pressure for a clean scrape to ensure a crisp design. - 4Pick up the pattern
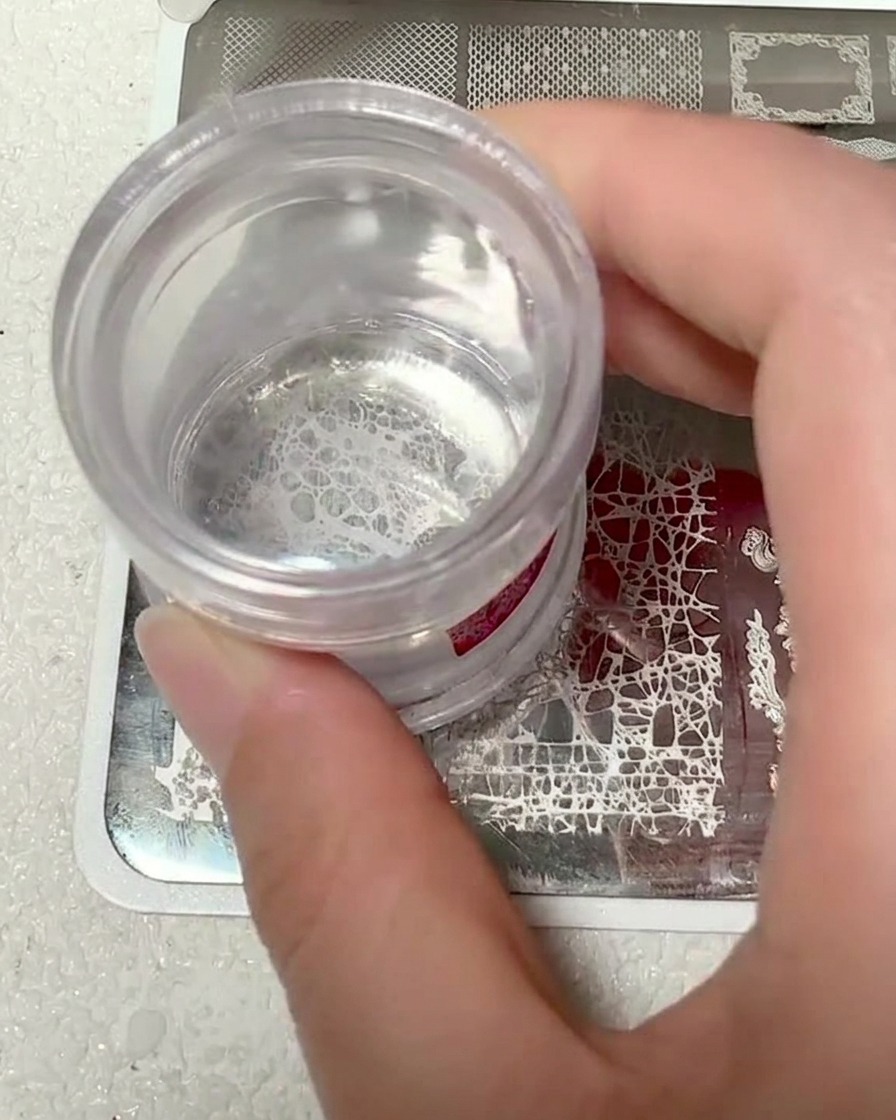
Using a clear silicone stamper, press firmly onto the lace design on the stamping plate. Lift the stamper steadily to reveal the transferred lace pattern on the silicone head.
Tip: A firm, rolling motion often helps pick up the full design evenly. - 5Transfer lace to nail
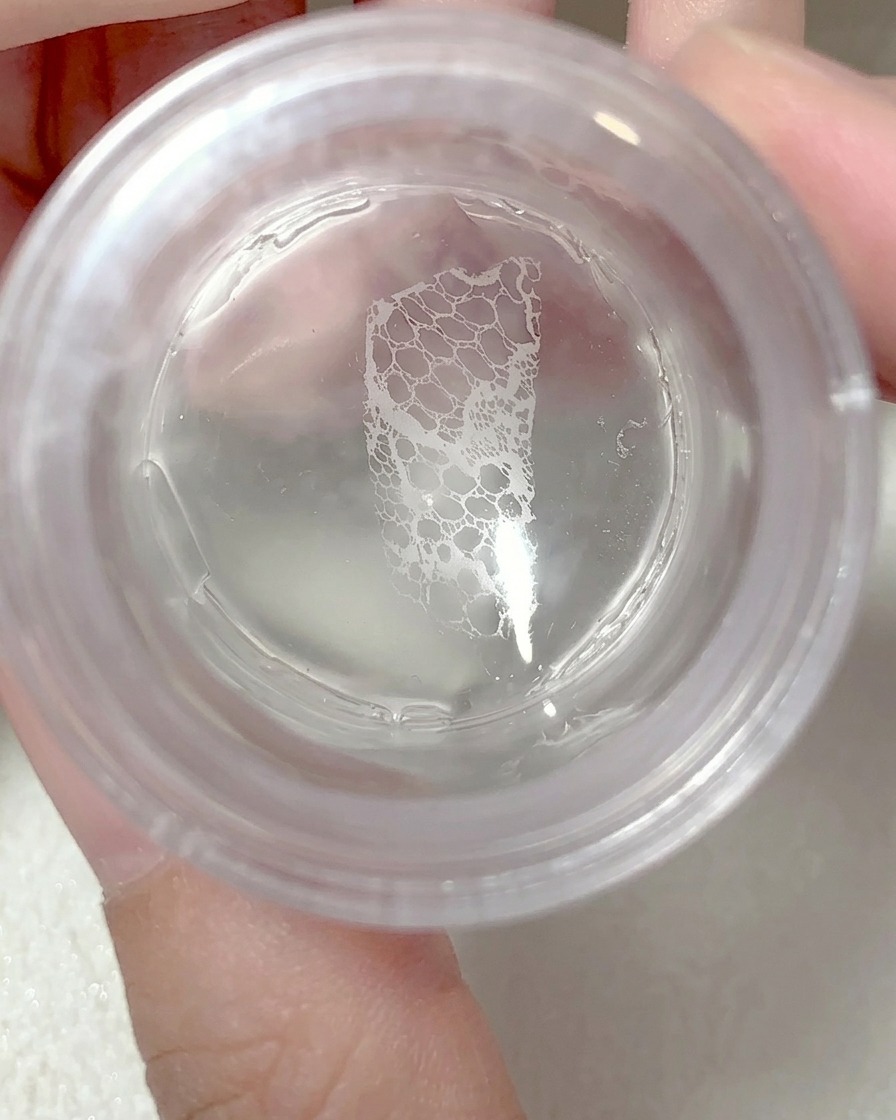
Align the stamper with your nail and press the silicone head onto the surface to transfer the lace design. The clear stamper allows you to see exactly where the pattern is placed.
Tip: Press down gently but firmly across the nail surface to ensure full contact. - 6Clean up and cure
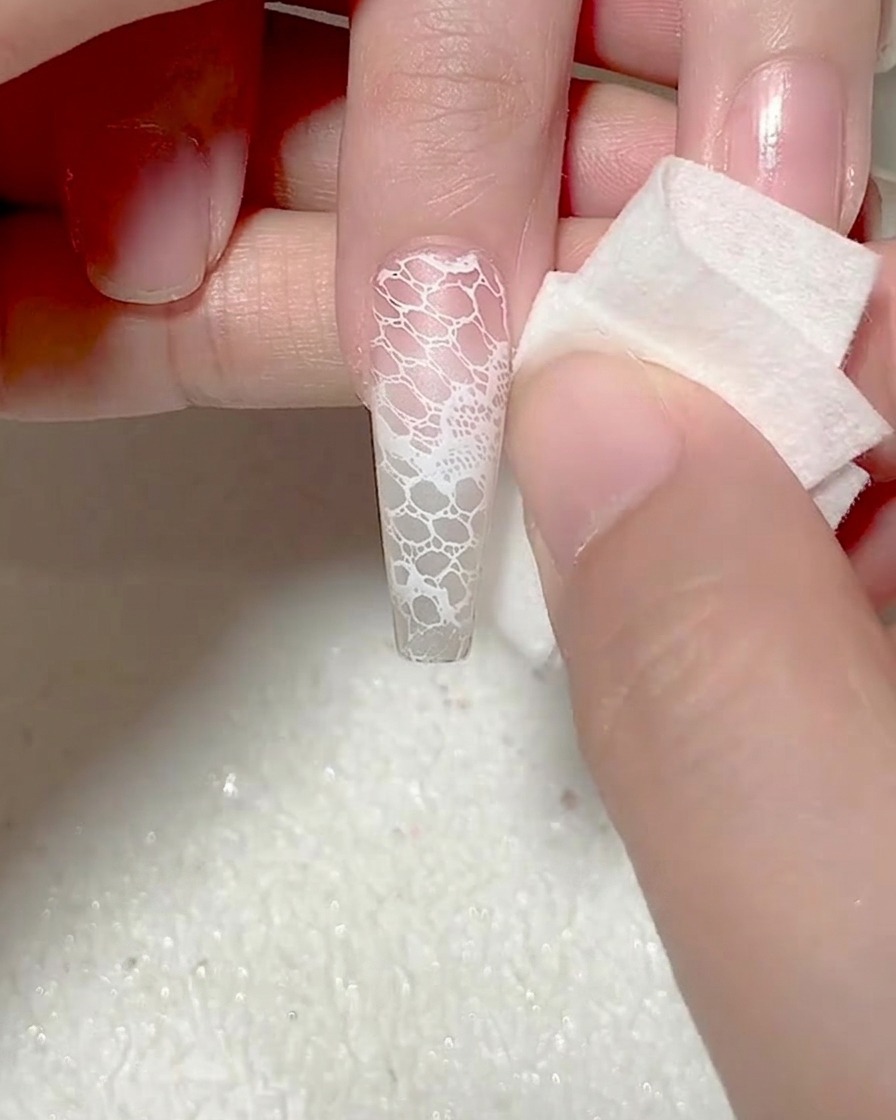
Before curing, use a small sponge to gently clean up any excess gel around the edges of the nail. Once satisfied, place the nail under the UV/LED lamp to fully cure the design.
Tip: Clean the skin around the nail before curing to ensure a professional finish. - 7Create the white gradient
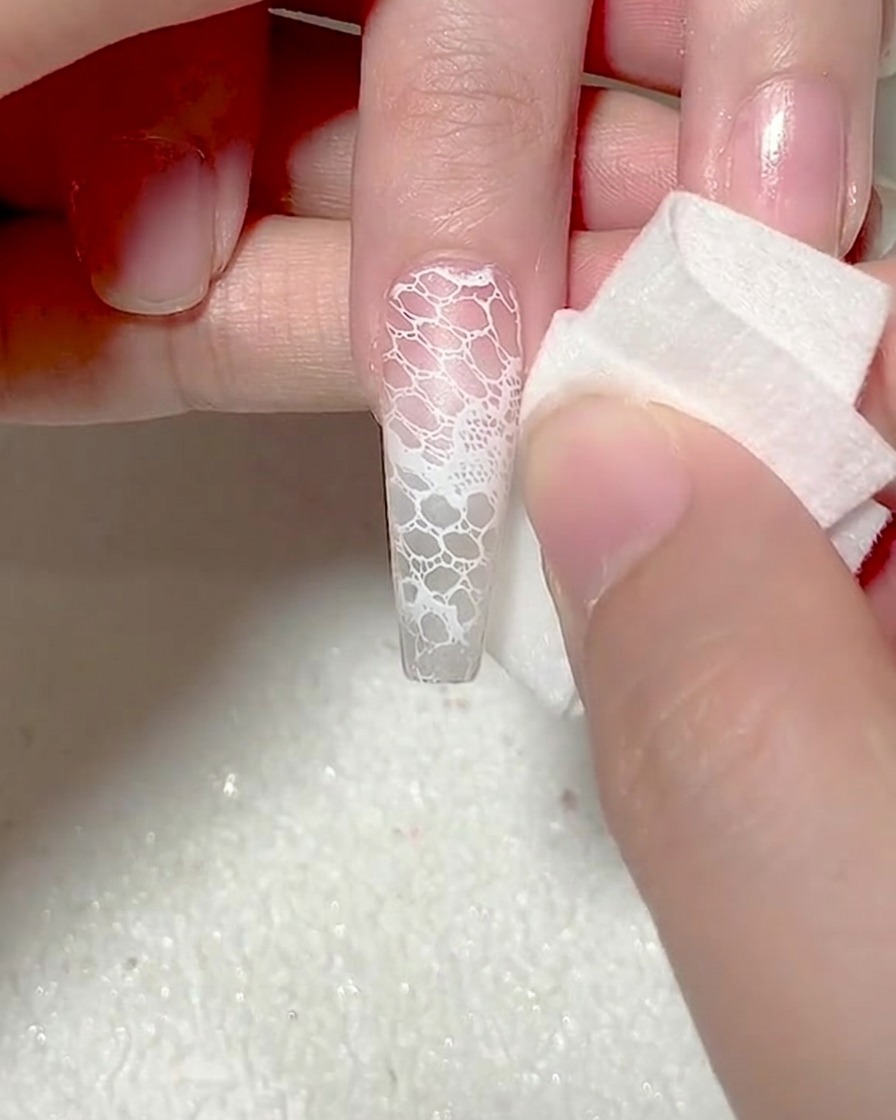
Use a makeup sponge to dab a small amount of white gel polish onto the tip of the nail. Use a gentle dabbing motion to build a soft, seamless white gradient that blends into the previously stamped lace pattern. Cure under your UV/LED lamp to set.
Tip: Use a dabbing motion rather than a dragging motion to achieve the most natural, blended gradient. - 8Deepen the gradient
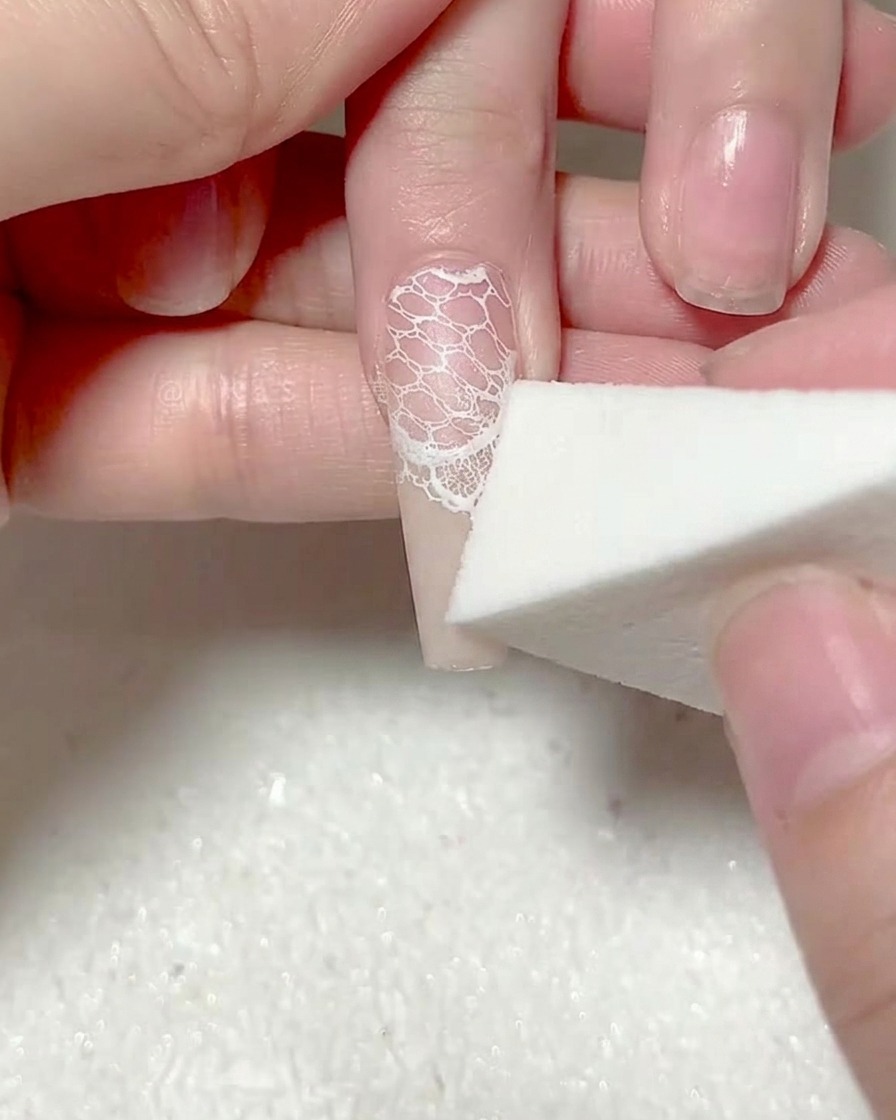
For a more vibrant and opaque transition, apply a second thin layer of white gel to the tip using the sponge. Gently pat the area again to ensure the gradient remains smooth and perfectly blended. Cure once more under your UV/LED lamp to fully set the second layer.
Tip: Multiple thin layers provide better control over the gradient intensity than one thick, streaky application. - 9Apply rose sticker
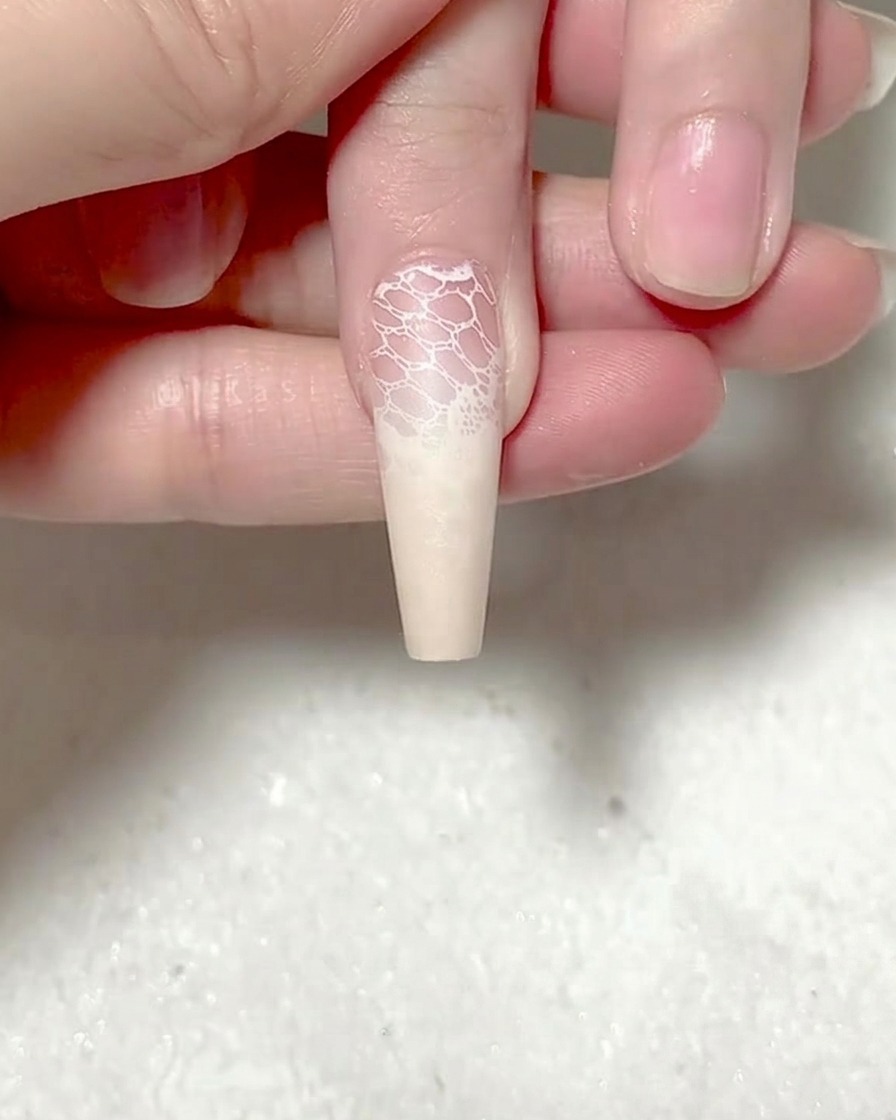
Using tweezers, carefully place a red rose sticker onto the center of the nail, positioning it to complement the stamped lace and the gradient area. Ensure the sticker is flat and fully adhered to the nail surface.
Tip: Use tweezers to position small stickers precisely for the best placement. - 10Secure the sticker
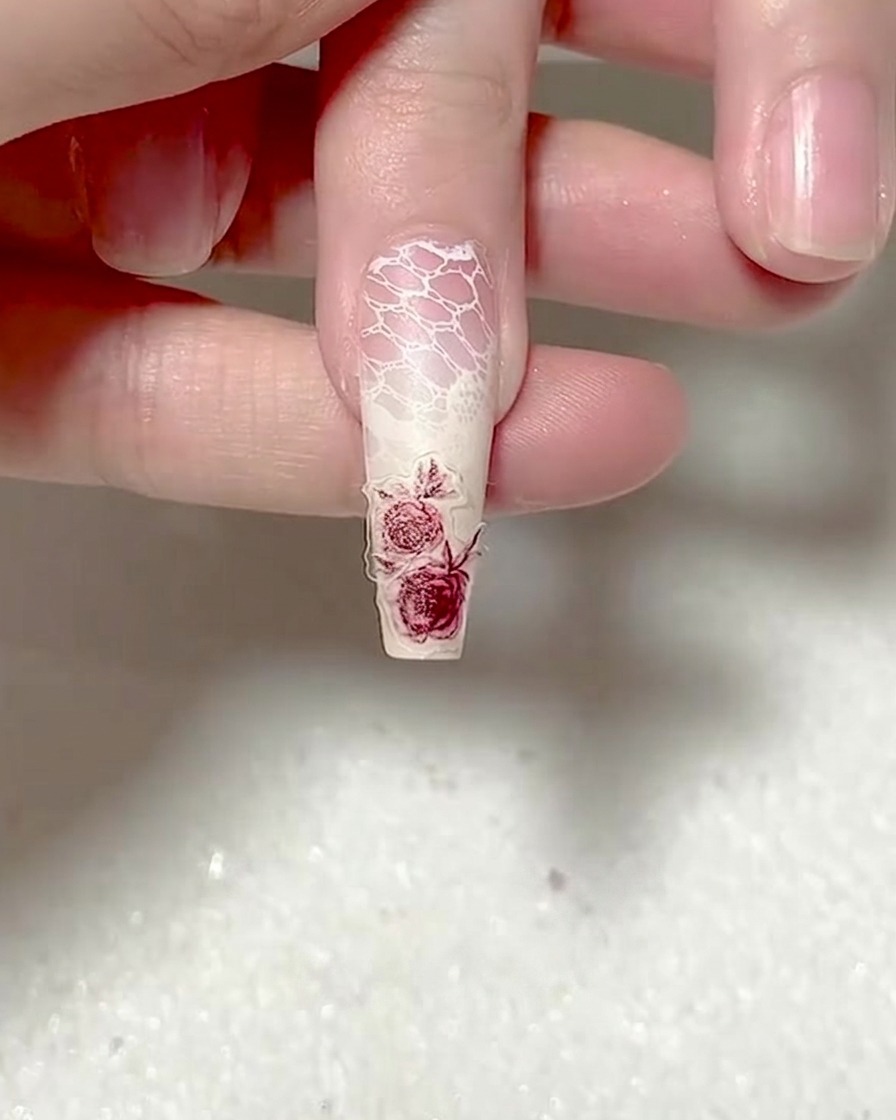
Using a silicone-tipped tool, gently press down over the entire surface of the rose sticker. This ensures that the edges are fully adhered to the nail and eliminates any air bubbles. Applying firm, consistent pressure helps the sticker lay perfectly flush.
Tip: A silicone tool is ideal for this as it wont scratch the stickers surface. - 11Encapsulate the design
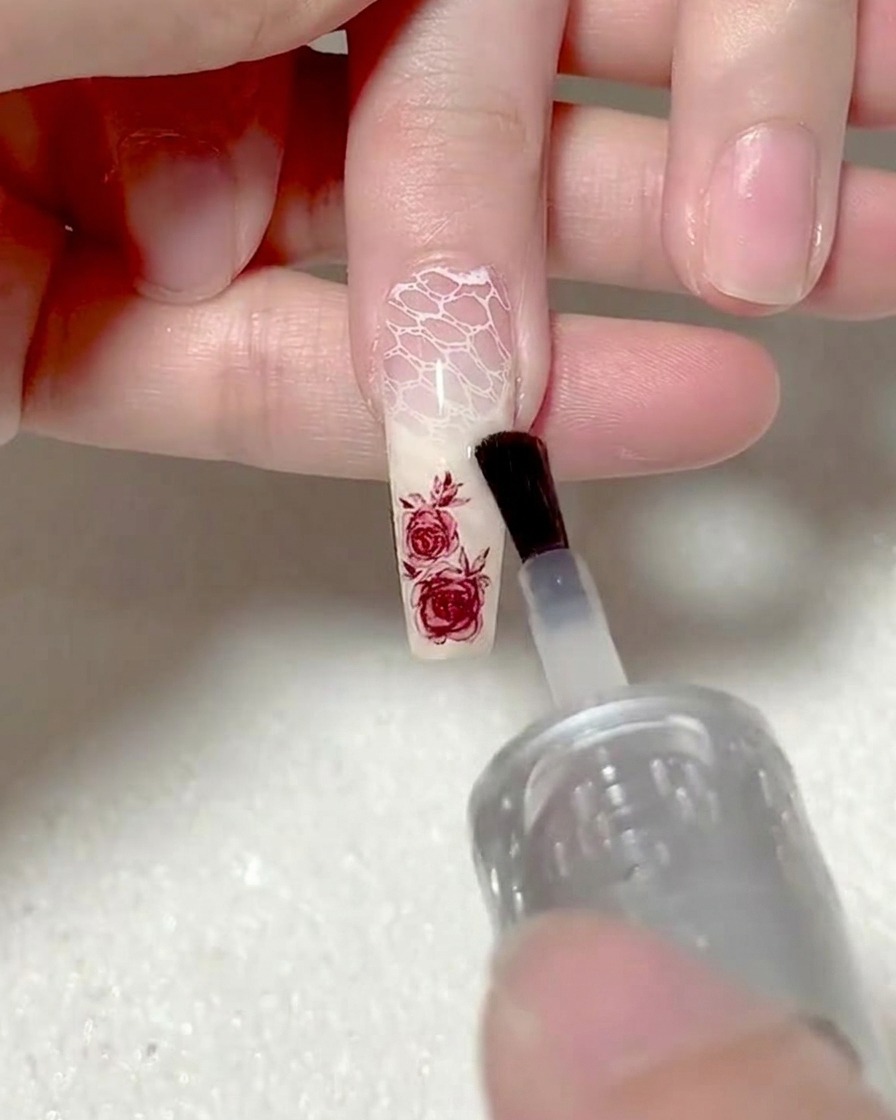
Apply a generous layer of clear base gel over the rose sticker. This process, known as encapsulation, locks the sticker in place and creates a smooth, even surface for your top coat, protecting the design from peeling or wearing down.
Tip: Make sure to cover the edges of the sticker completely so they dont catch on anything. - 12Apply matte top coat
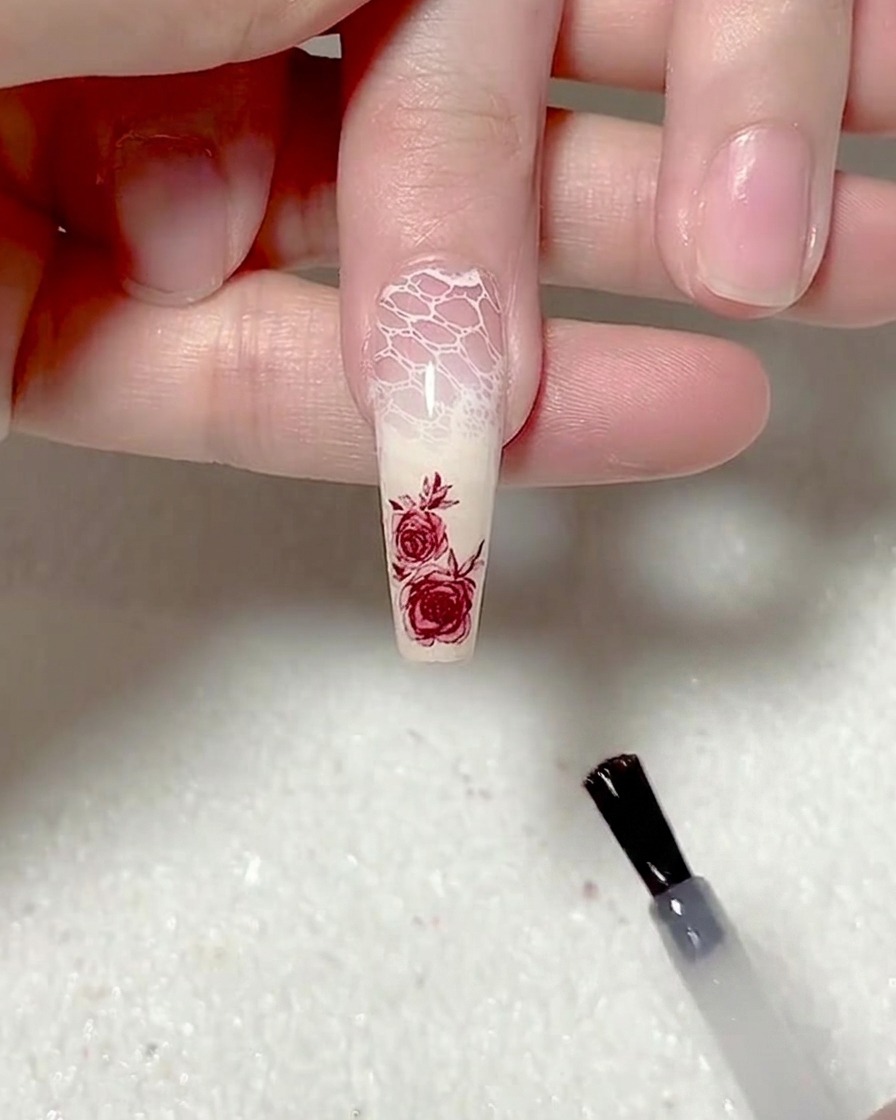
Finish the look by applying a layer of velvet matte top coat over the entire nail. Ensure an even application to achieve a consistent, soft-touch finish. Cure under your UV/LED lamp as directed by your top coat brand to finalize your vintage lace and rose design.
Tip: Ensure your brush is fully loaded with top coat to avoid streaking while applying the matte finish. - 13Draw the gold French tip
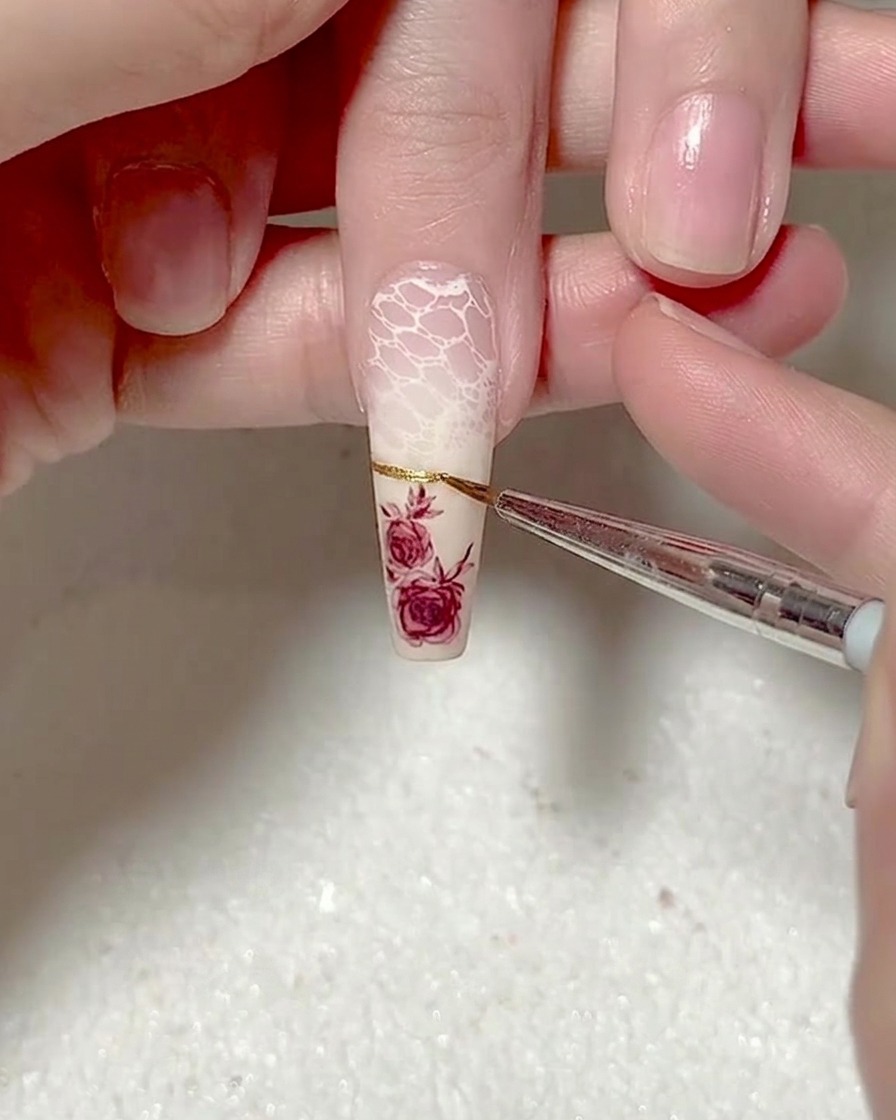
Using a fine liner brush, carefully apply gold metallic gel to create a crisp French tip line just above the rose sticker design. Ensure the line is smooth and follows the curve of the nail tip for a clean, elegant finish.
Tip: Use a steady hand and pull the brush across the nail in one smooth motion for the cleanest line. - 14Create a triangle design
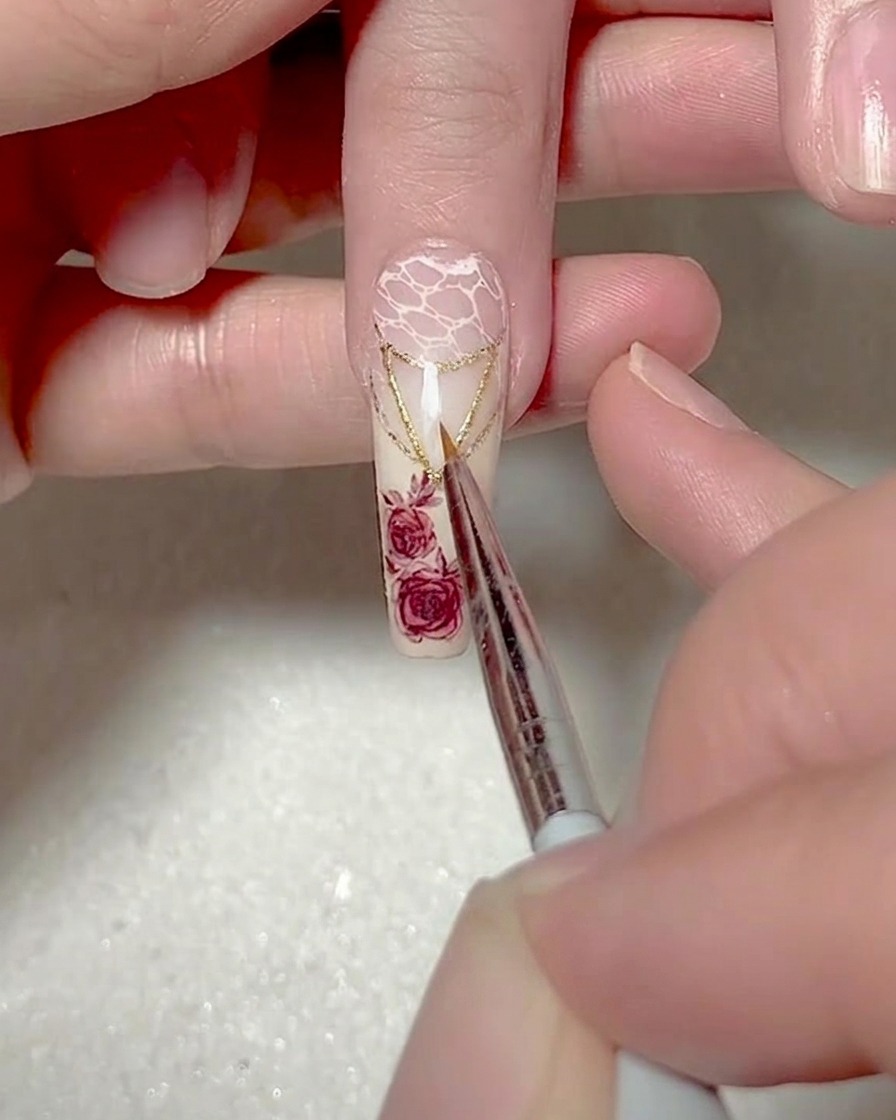
With a fine liner brush and white gel, draw a neat triangle shape at the very tip of the nail. This geometric element will serve as the base for the intricate lace-like detailing to follow.
Tip: Keep the white gel layer thin to prevent it from spreading or becoming too thick during the detailed work. - 15Outline the triangle
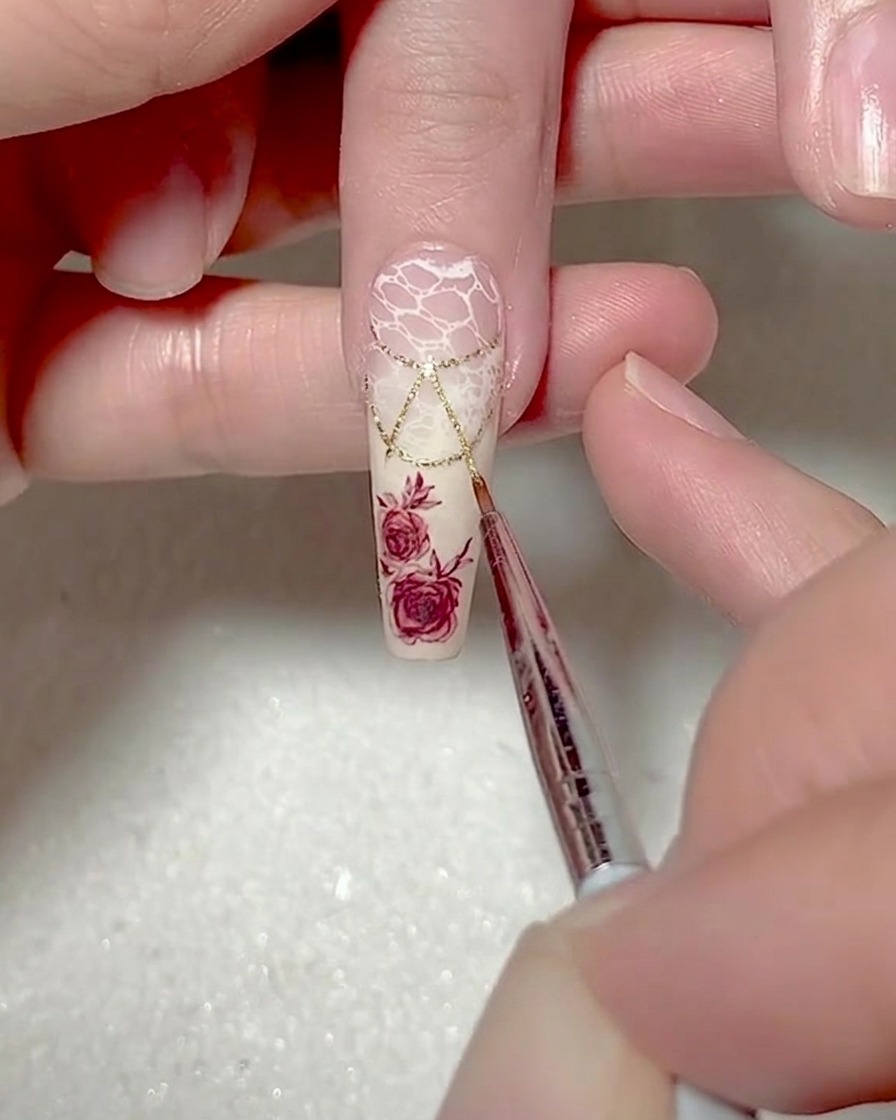
Using the same fine liner brush and white gel, draw precise outlines on both sides of the previously created triangle. This adds definition to the geometric design.
Tip: Apply light pressure to the liner brush to ensure the outlines are delicate and match the weight of the triangle. - 16Add lace-like detailing
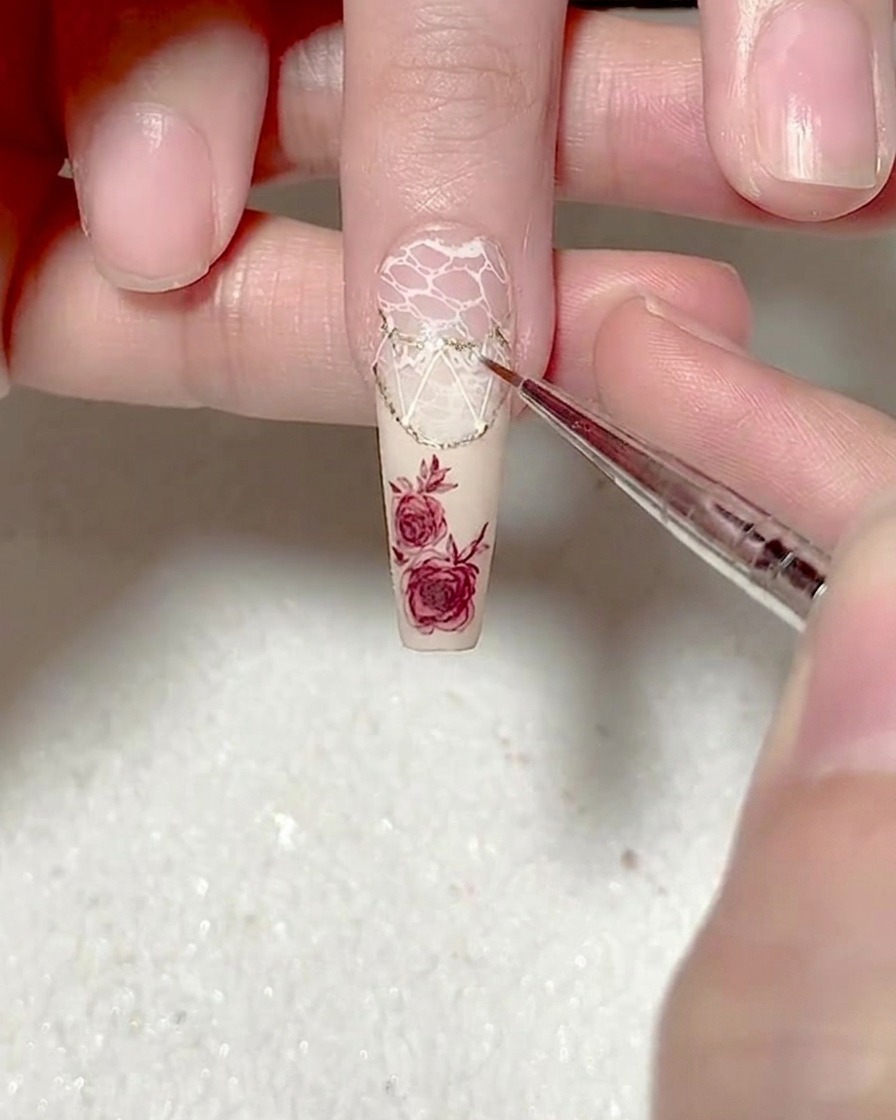
Finish the nail art by adding intricate lace-like patterns extending from the triangle design with your fine liner brush and white gel. This completes the vintage aesthetic of the nail.
Tip: Work in small, careful strokes to mimic the look of delicate lace texture.