3D Dried Flower
Ribbon Bow Gel Nail Tutorial
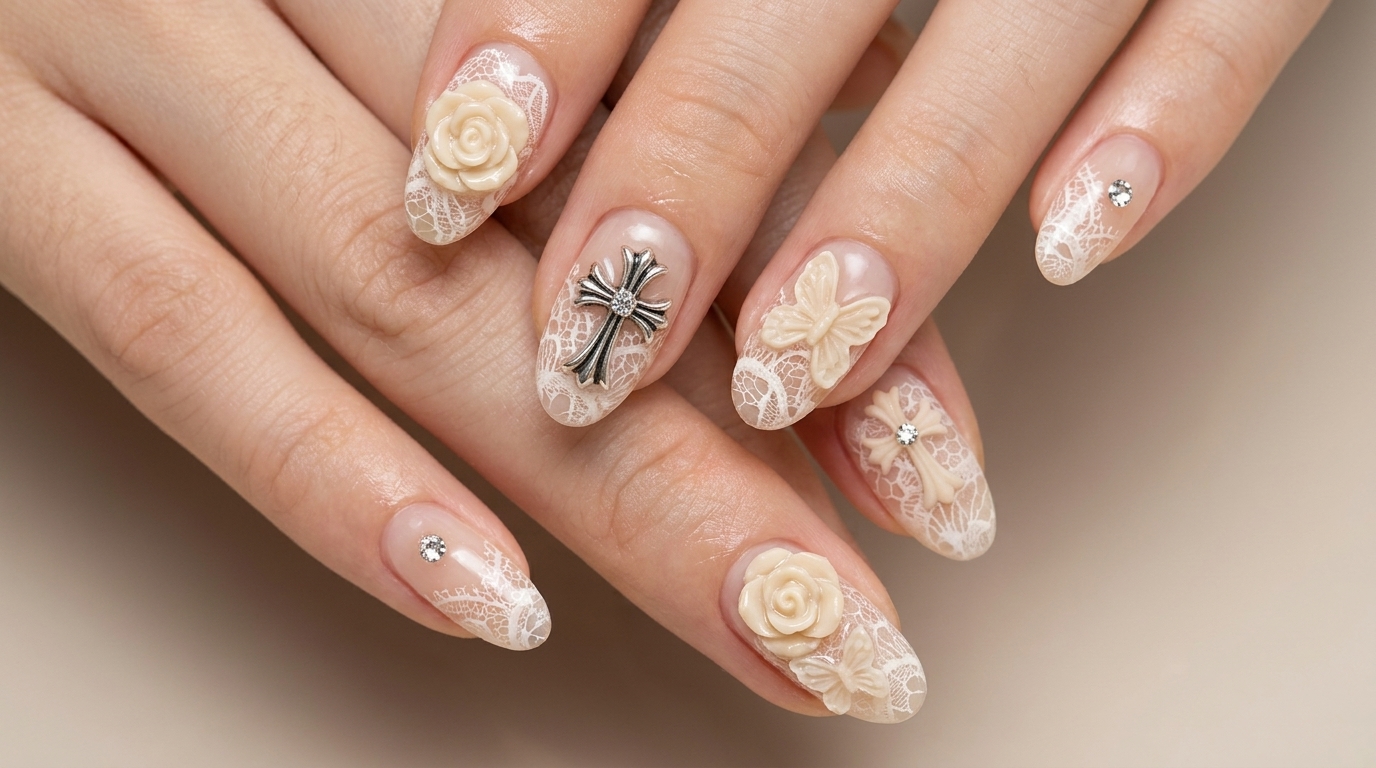
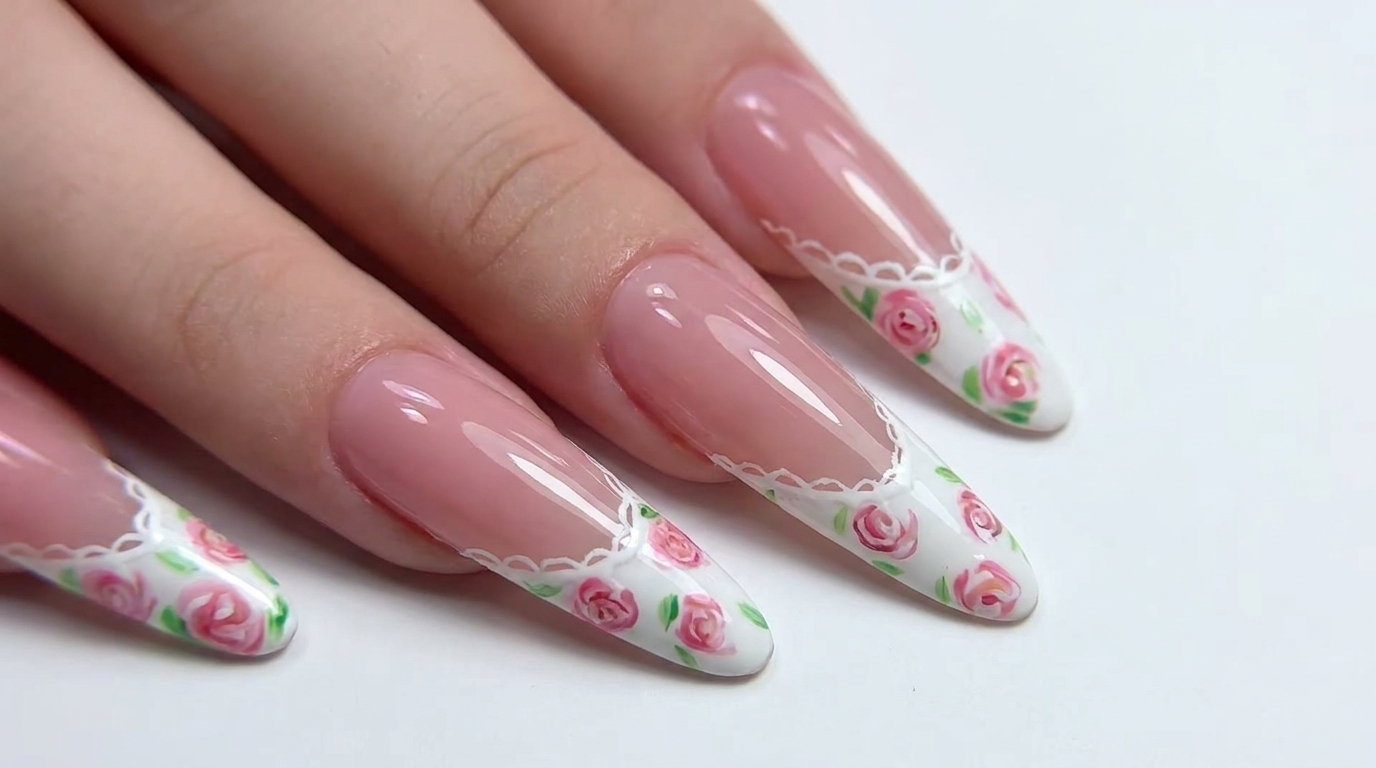
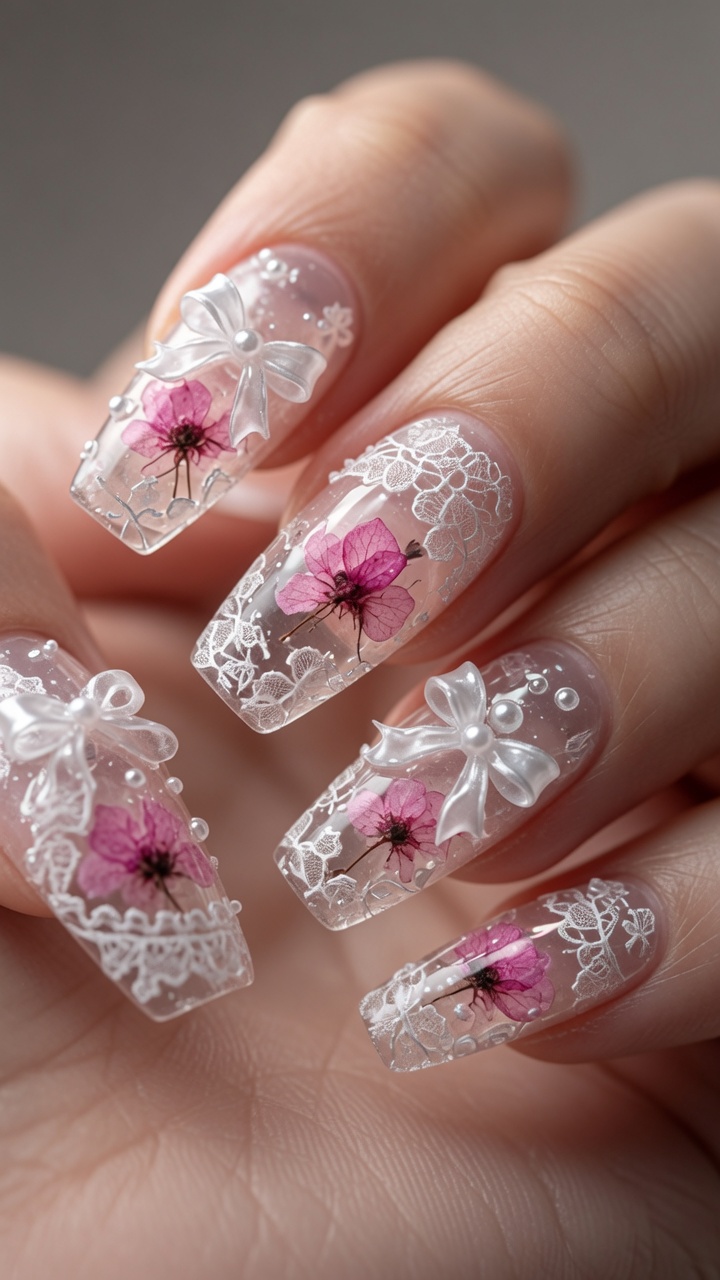
Create an enchanting, ethereal manicure with dried flowers, delicate lace, and 3D ribbon bows. This elegant icy-base design is perfect for feminine nail art lovers.
Embrace a dreamy, romantic aesthetic with this intricate nail design that combines natural elements with sculptural charm. The balance of delicate dried flowers, lace decals, and bold 3D ribbon bows creates a multidimensional look that feels like wearable art. This tutorial will guide you through the process of encapsulating textures to achieve that sophisticated, icy-clear finish.
Steps
- 1Apply adhesive to nail tip
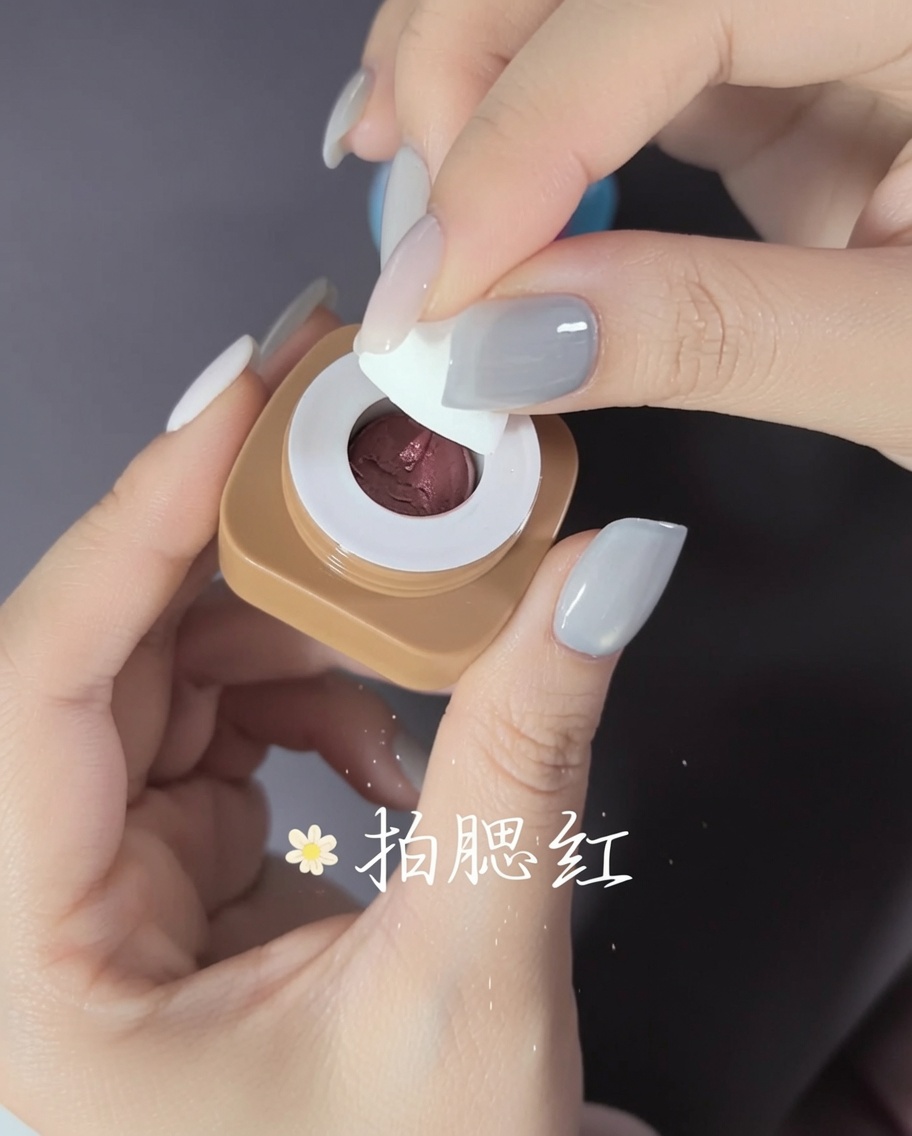
Apply a small amount of adhesive glue to the inner concave area of the press-on nail tip. Ensure even coverage to create a strong bond when placed on the natural finger.
Tip: Do not use too much glue, as it can cause overflow onto your skin. - 2Attach the nail tip
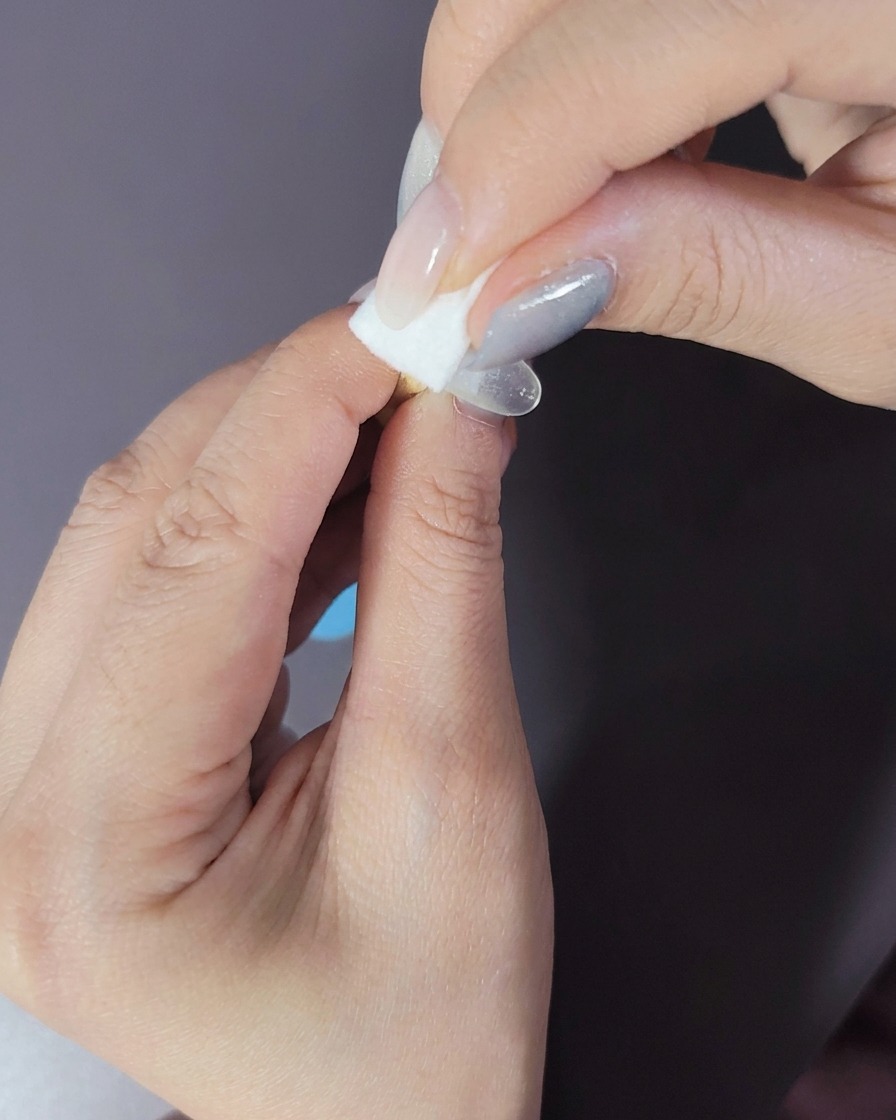
Carefully align the nail tip with your cuticle line and press it firmly onto the finger. Hold it in place for a few seconds to allow the adhesive to set.
Tip: Check the alignment before the glue fully dries to ensure it is straight. - 3Apply nude cat-eye gel
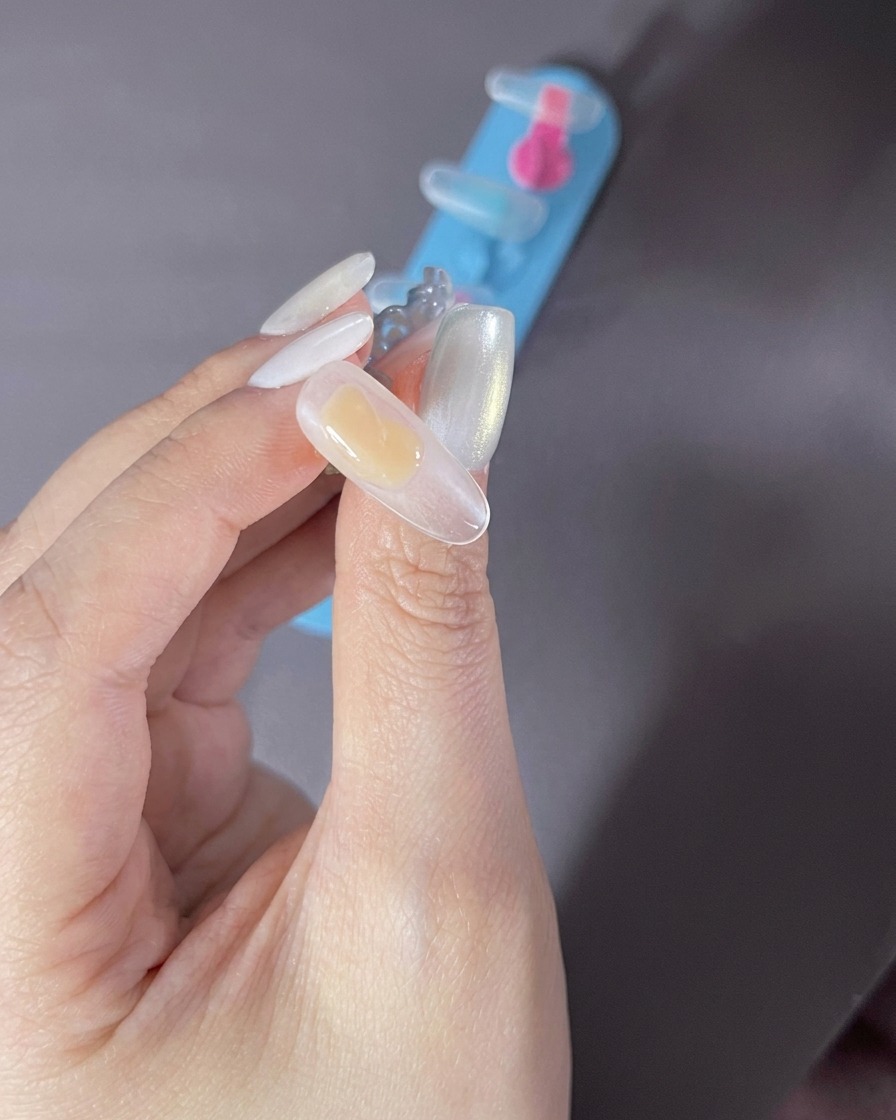
Apply a thin, even coat of nude-colored cat-eye gel polish over the entire surface of the nail tip. Ensure smooth coverage.
Tip: Applying a thinner layer first helps prevent the polish from pooling at the edges. - 4Create cat-eye effect
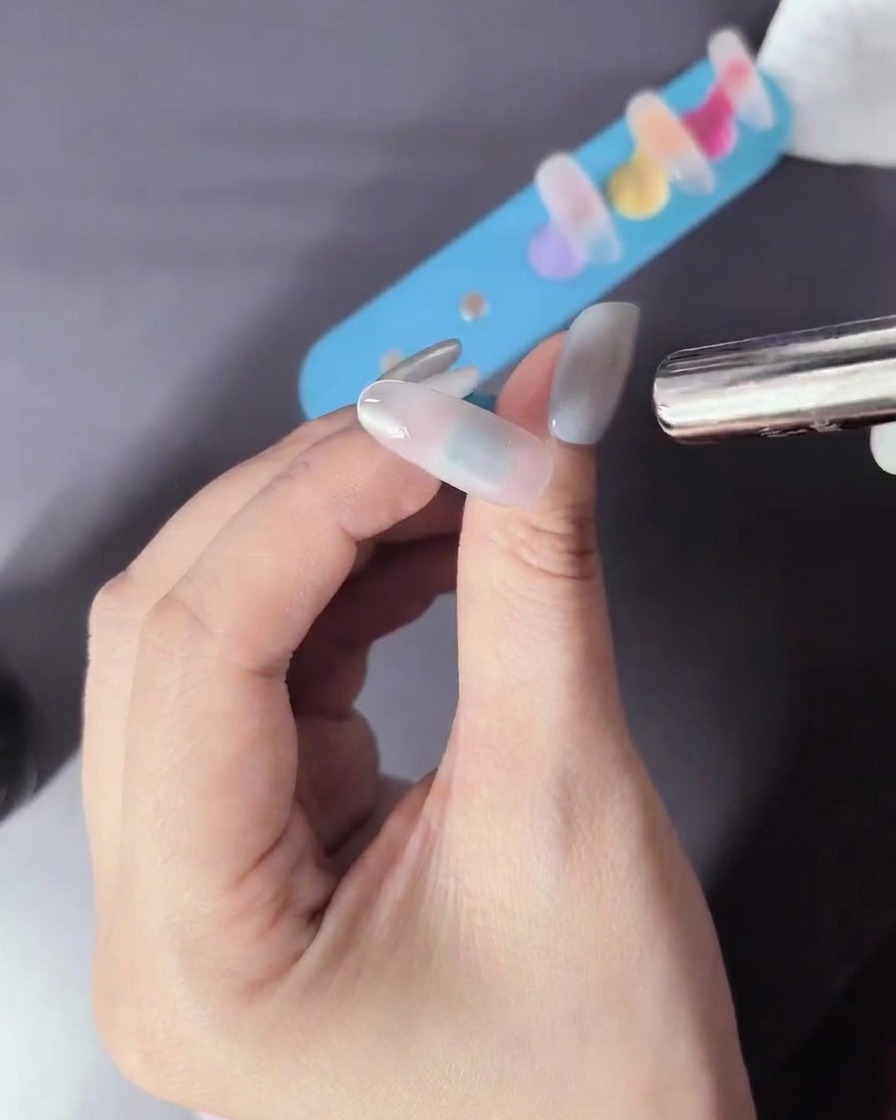
Hold a magnet tool near the wet cat-eye gel polish to move the metallic particles. Move the magnet in the desired direction to create your preferred shimmering pattern.
Tip: Keep the magnet close to the nail for a sharper, more defined cat-eye line. - 5Cure the gel
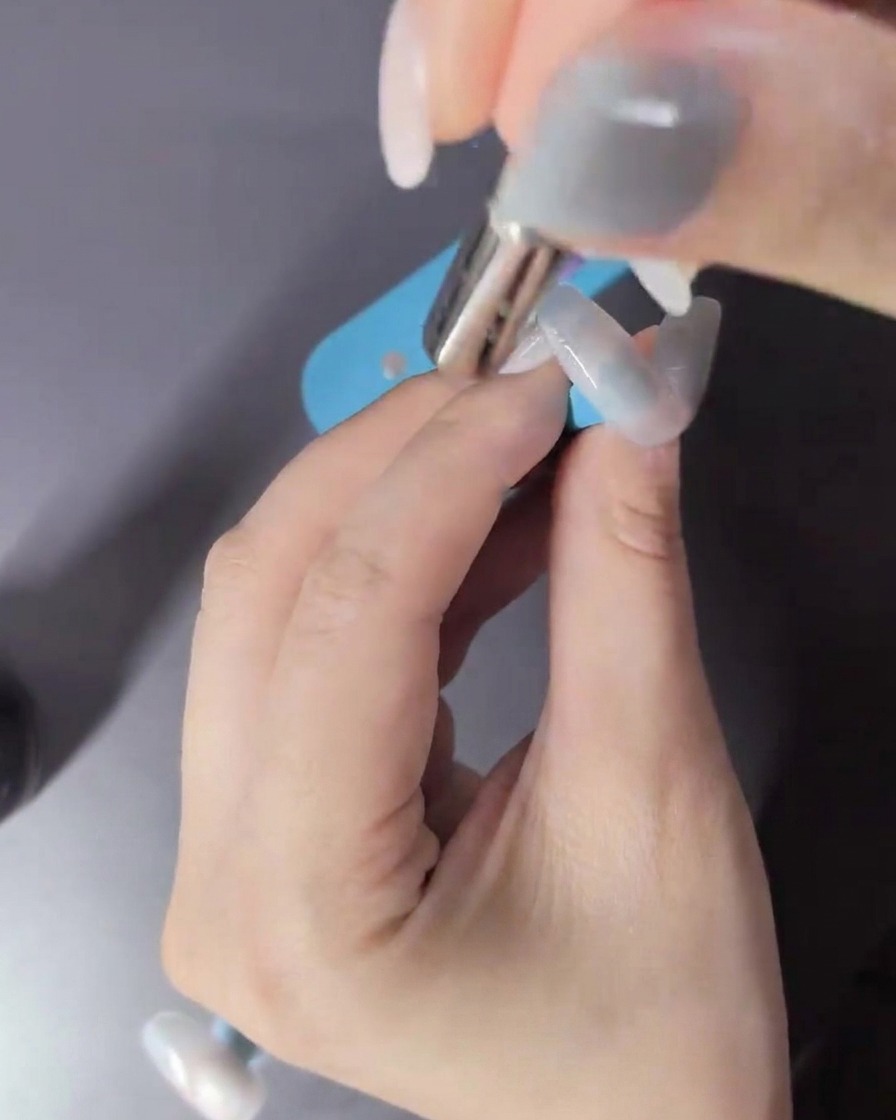
Place your hand inside the LED lamp and cure the cat-eye gel for the recommended time to ensure it is fully set and hardened.
Tip: Avoid moving your hand during the curing process to prevent the gel from smudging. - 6Apply bead gel
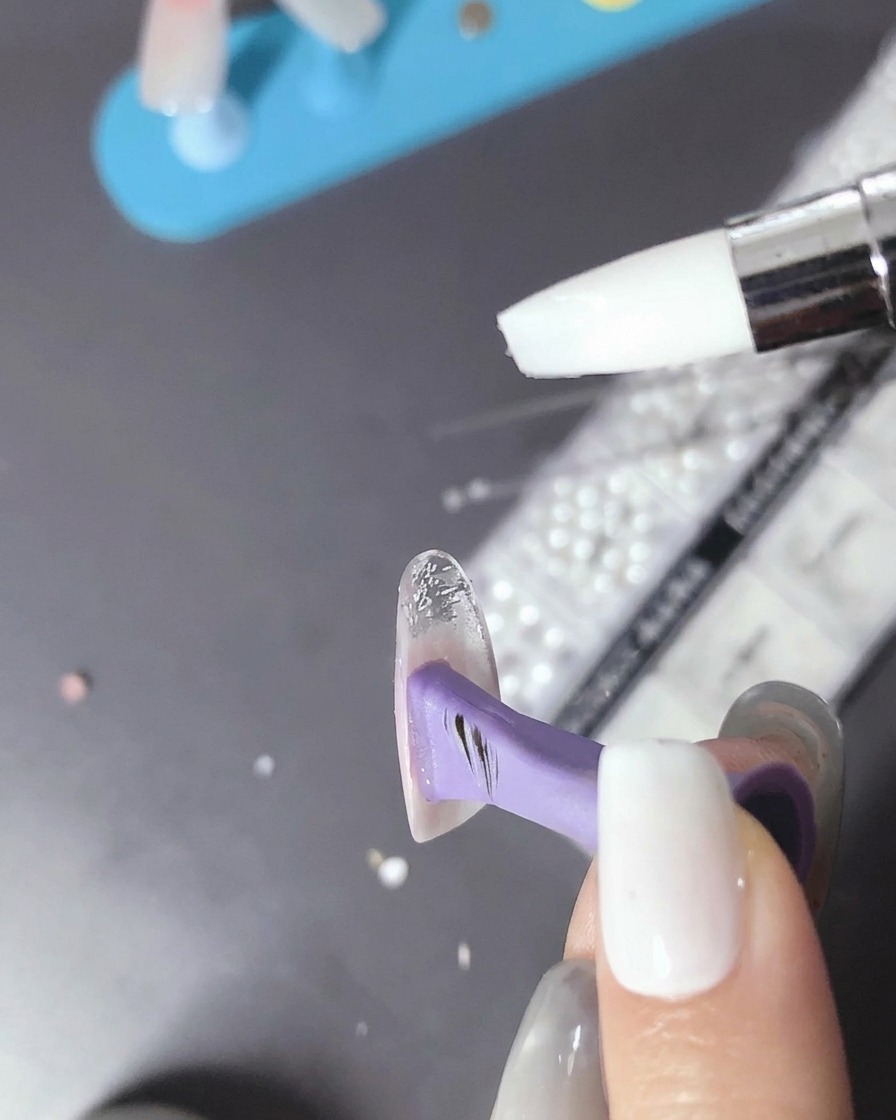
Apply a small dot of bead gel (or strong adhesive gel) to the area of the nail where you plan to place decorations. This gel acts as the base for securing charms or gems.
Tip: Only apply the gel exactly where the decoration will sit to maintain a clean finish. - 7Place dried flowers
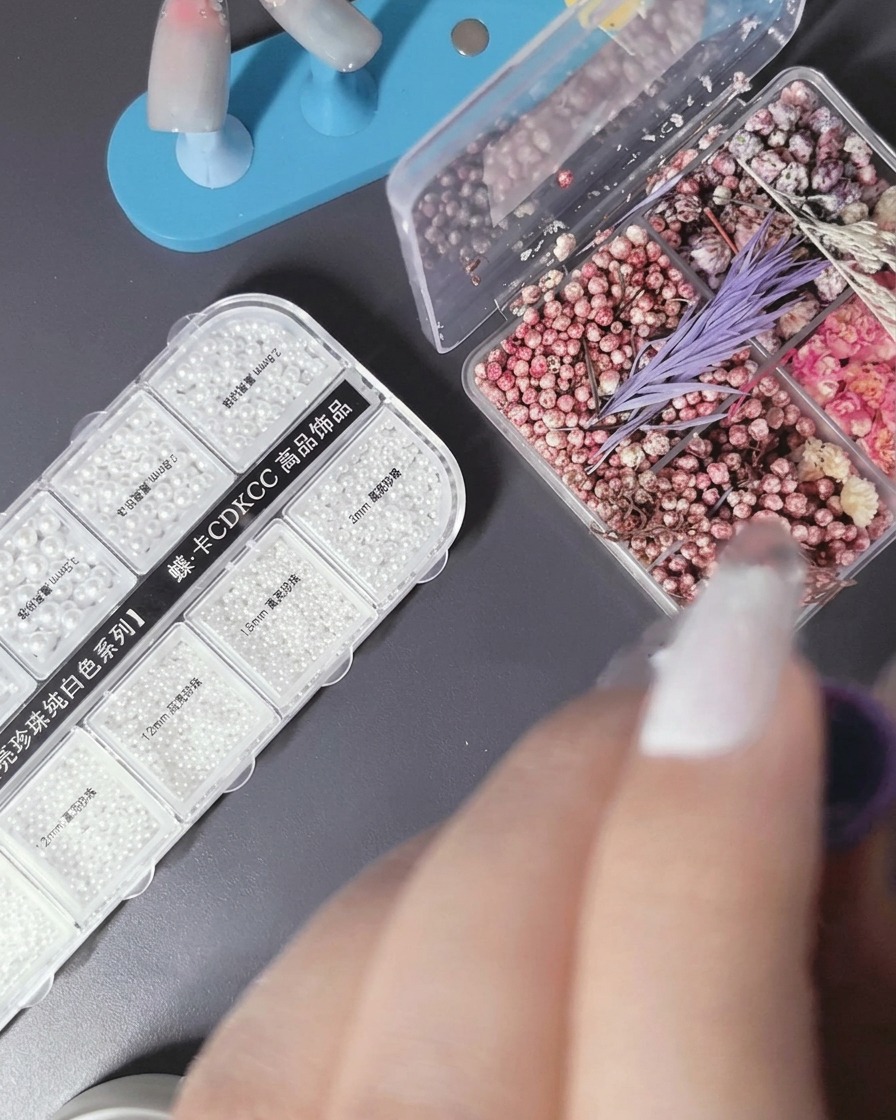
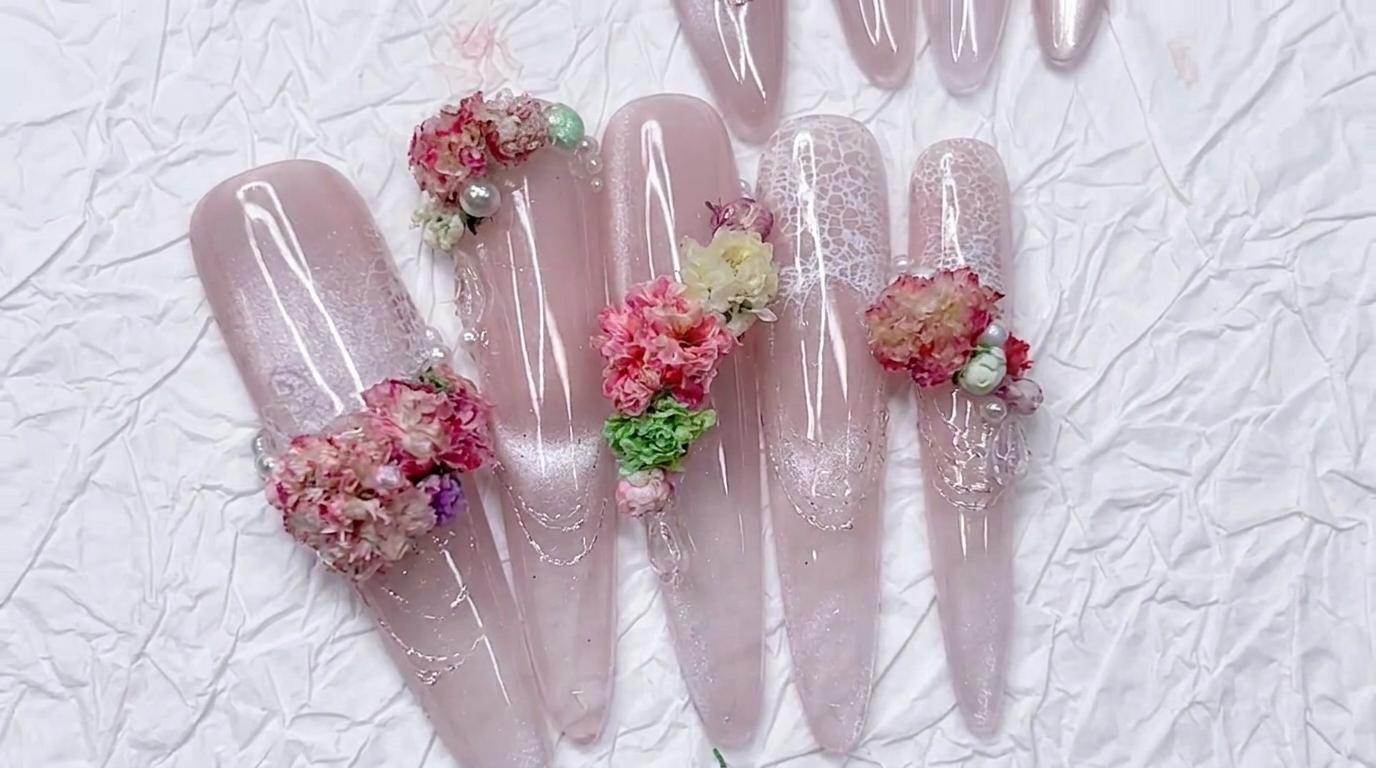
Using tweezers, carefully pick up small dried flower petals and place them onto the wet bead of gel you just applied. Gently press them down so they adhere securely to the nail surface, ensuring they are positioned exactly where you want your design.
Tip: Work with one petal at a time to ensure precise placement before the gel shifts. - 8Add pearl and rhinestone accents
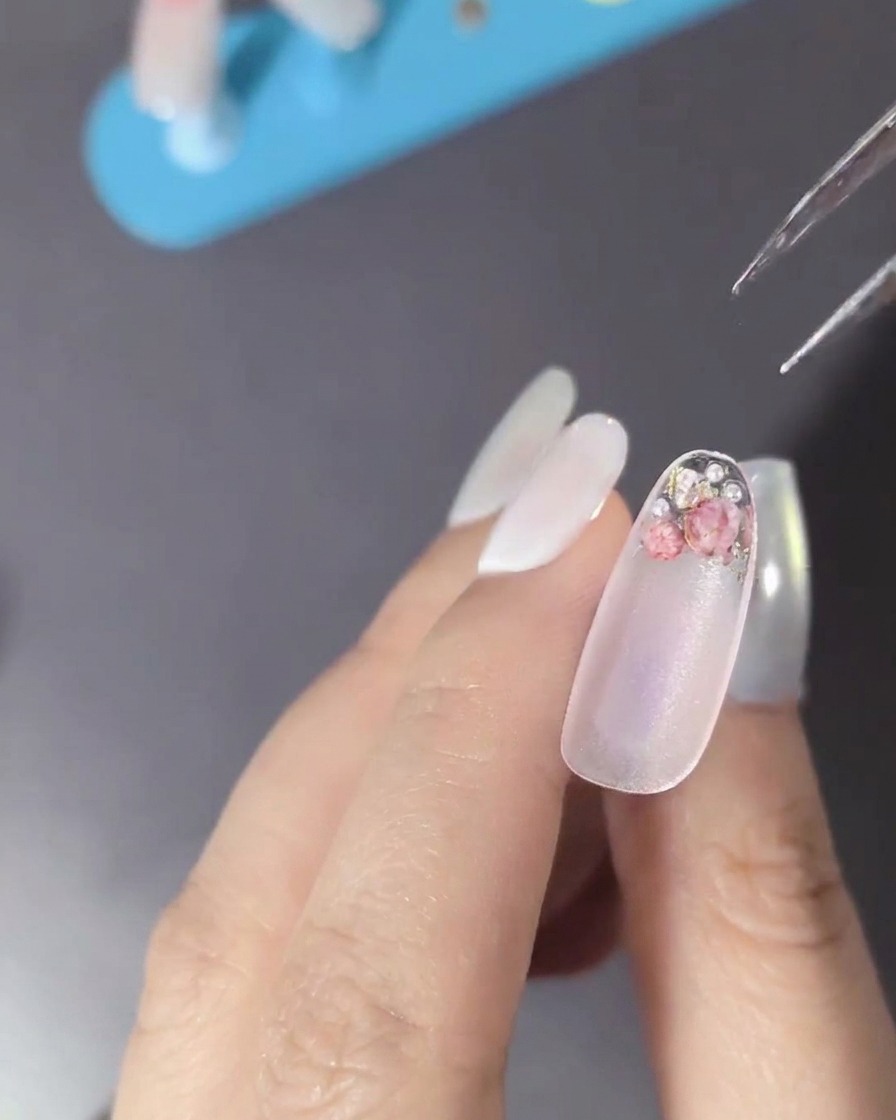
Use tweezers or a dotting tool to place small pearls and metallic rhinestones around the dried flowers. Arrange them to complement the floral design, creating a balanced and decorative look on the nail.
Tip: Use a tiny amount of clear builder gel as glue if the existing gel layer has started to set. - 9Apply top coat
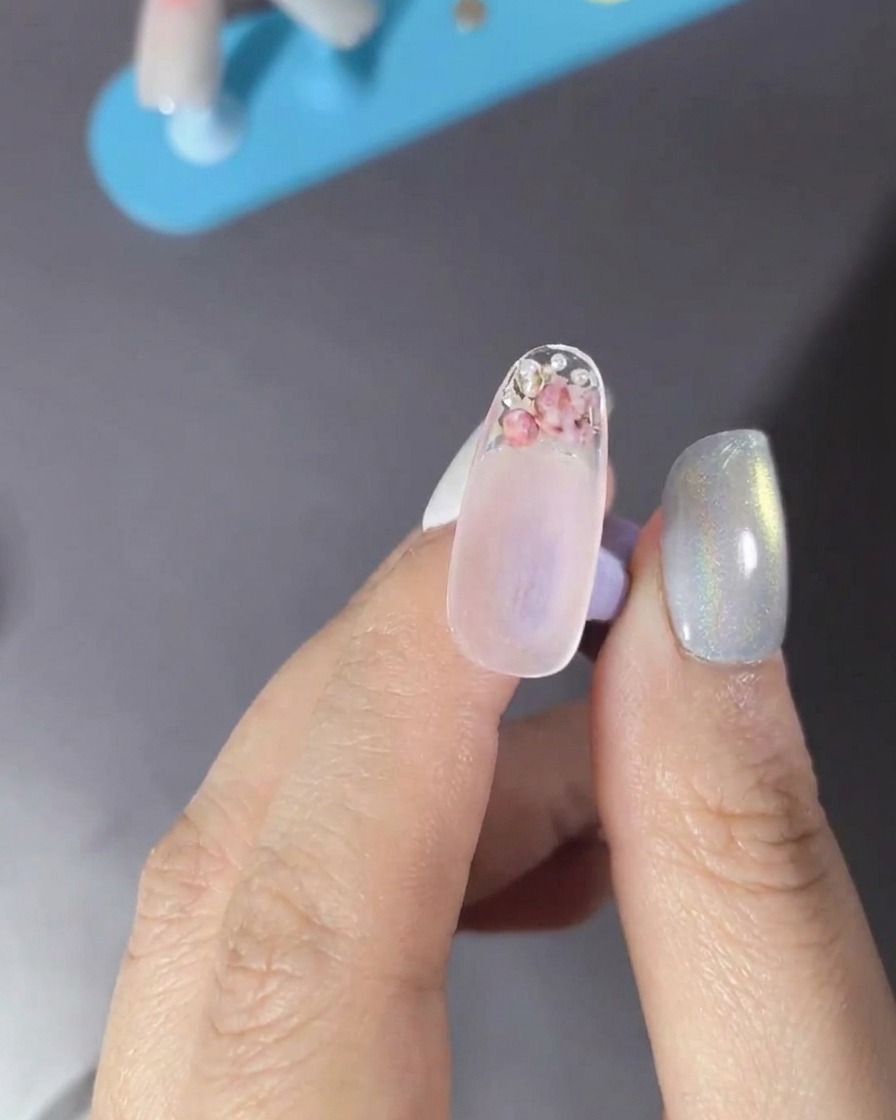
Apply a thin, even layer of top coat over the entire nail, ensuring you cover the dried flowers, pearls, and rhinestones. This seals the design and provides a protective, glossy finish.
Tip: Be gentle when brushing over the charms to avoid moving them or creating air bubbles. - 10Cure the nail
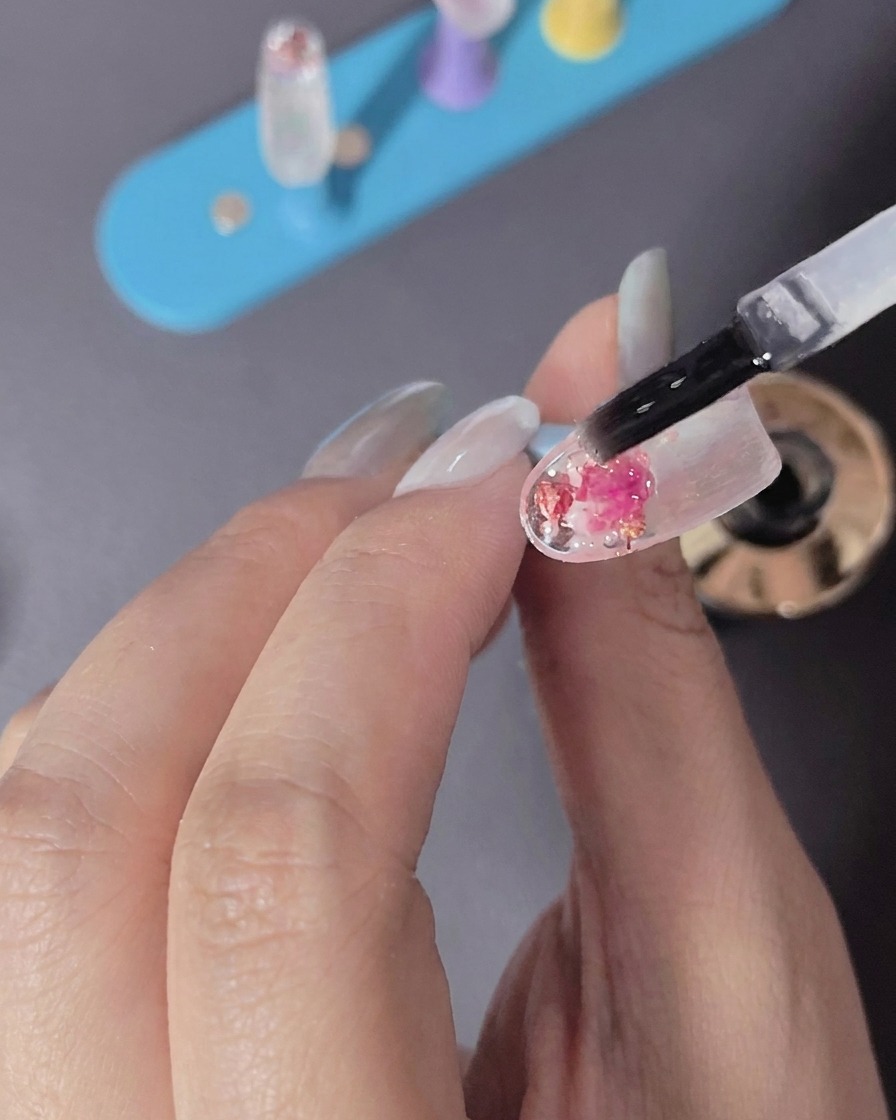
Place your finger under the LED lamp and cure the top coat for the recommended time to ensure a hard, long-lasting finish. This step secures all the added decorations.
Tip: Ensure your finger is centered under the lamp for even curing across the whole nail. - 11Attach 3D charm
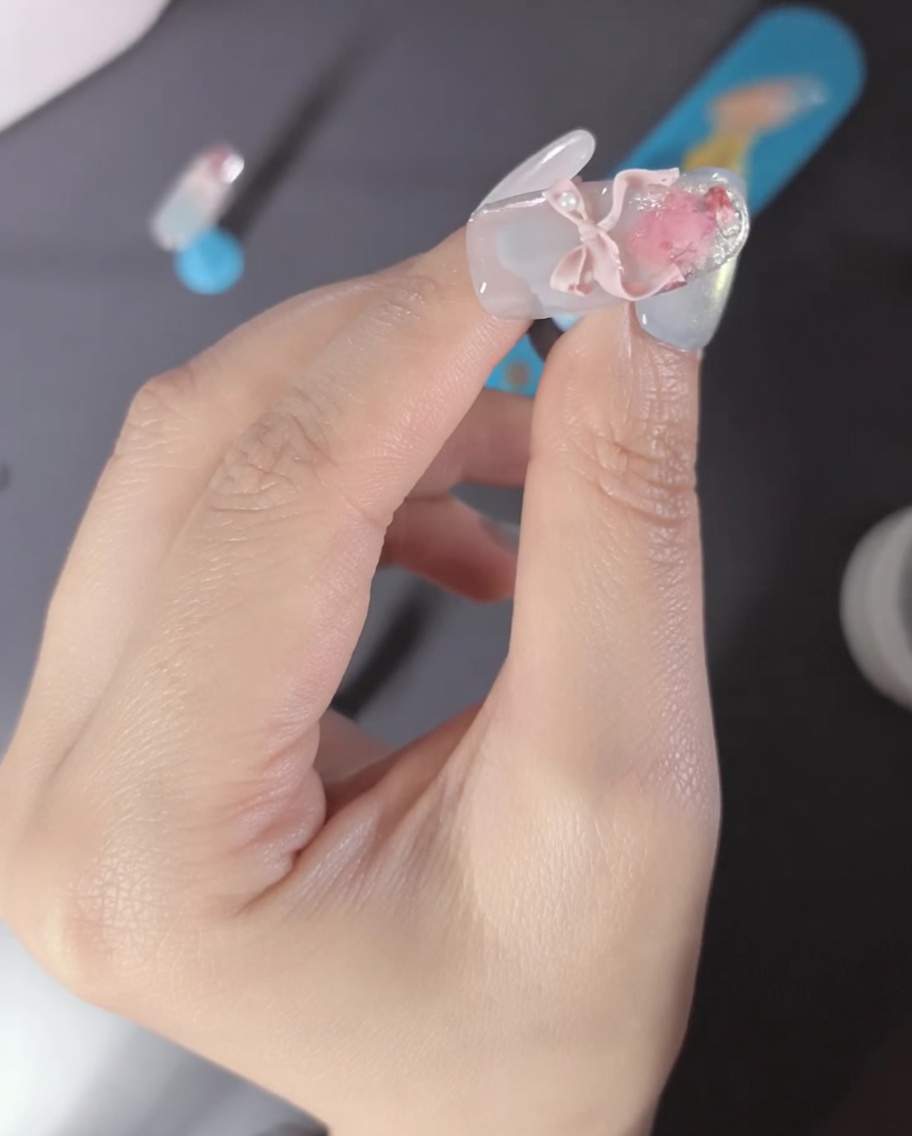
Apply a small amount of adhesive gel and attach a 3D ribbon bow charm to the nail, along with any additional pearl accents. Position these carefully to add dimension to the final design.
Tip: Hold the 3D charm in place for a few seconds to ensure it sets properly in the adhesive gel. - 12Create ice-textured effect
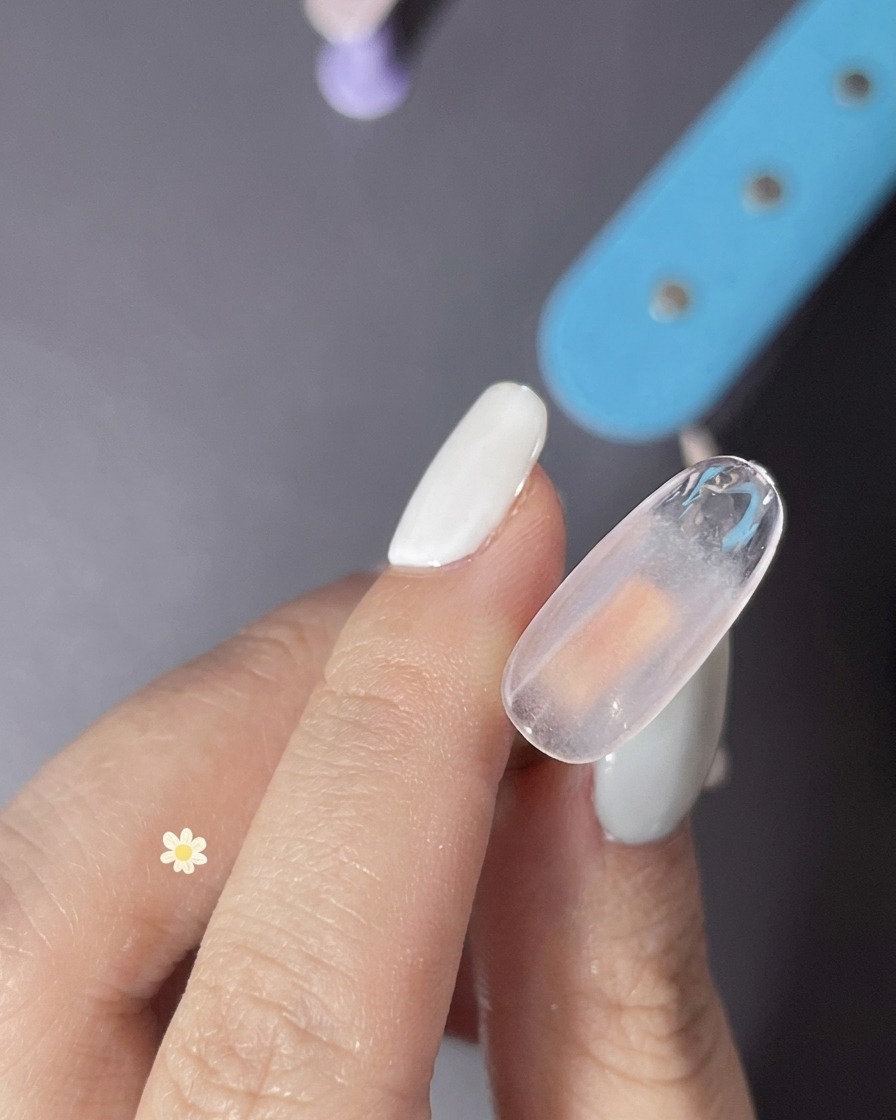
Apply a layer of clear gel to the nail. Before curing, you can use a piece of plastic wrap to gently press and mold the gel surface, creating an icy, textured, or crumpled aesthetic.
Tip: This technique works best with a thicker consistency clear gel. - 13Mold the icy texture
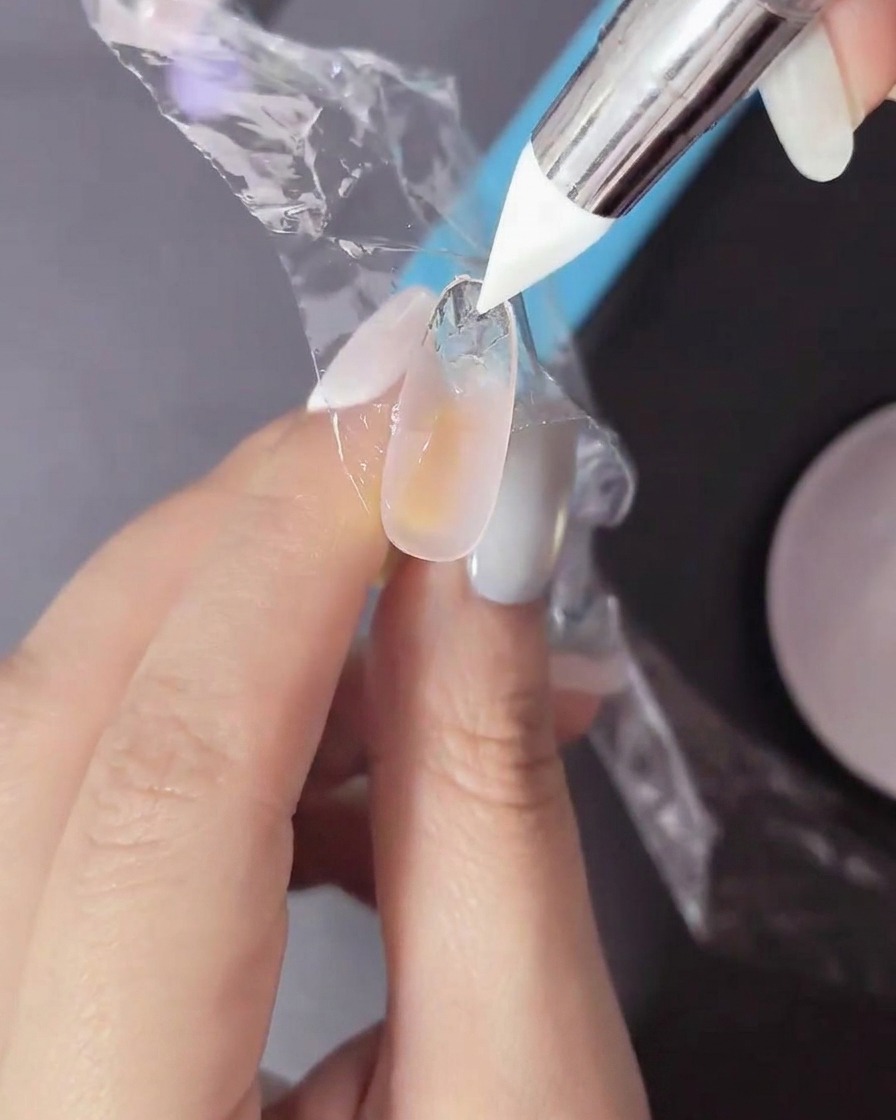
Place a small piece of thin plastic film directly over the uncured gel on your nail. Gently press the film into the gel to create a unique, textured icy effect. Once molded to your preference, carefully peel back the film and cure the nail under your UV/LED lamp to set the texture.
Tip: Use a thin, flexible plastic wrap for the best texture; it conforms easily to the nail curve.