Gothic Dried Rose Nail Art — Sophisticated New Year Design
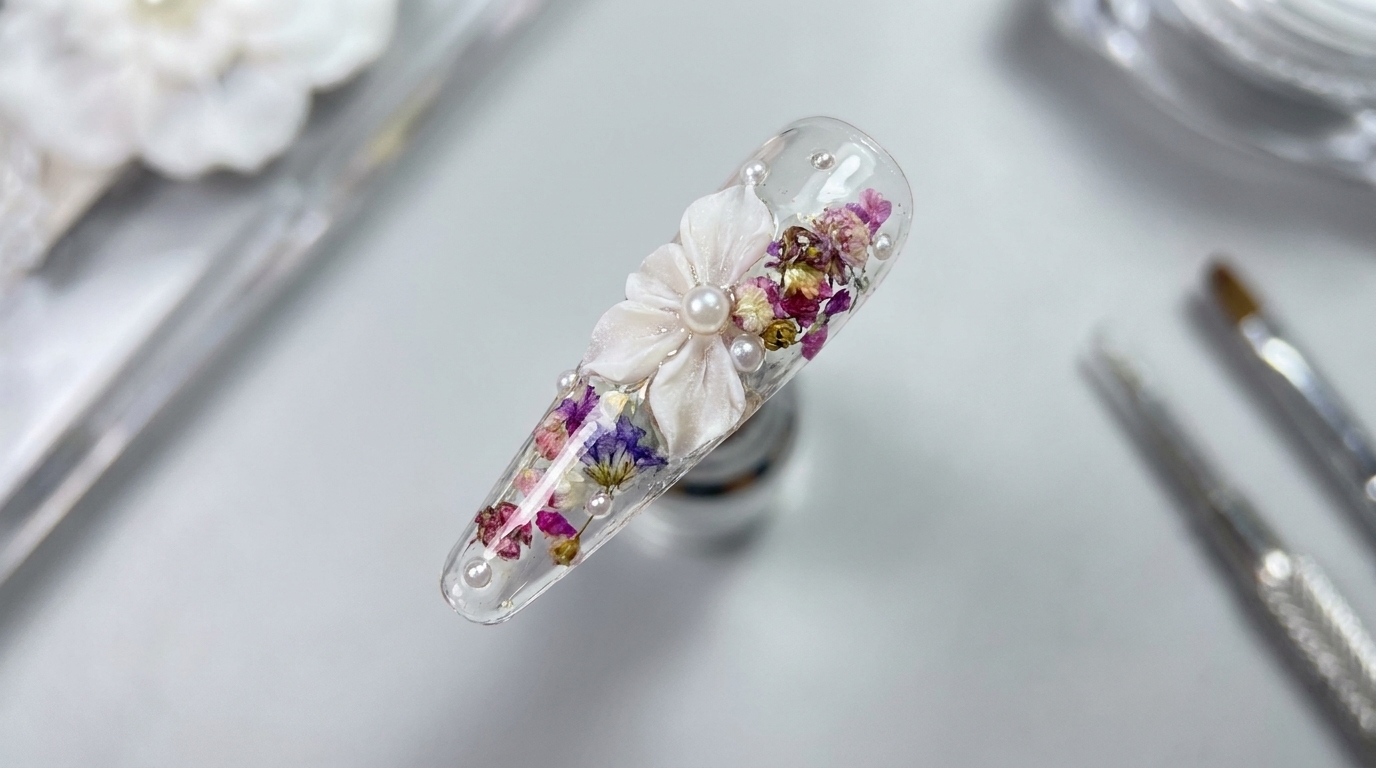
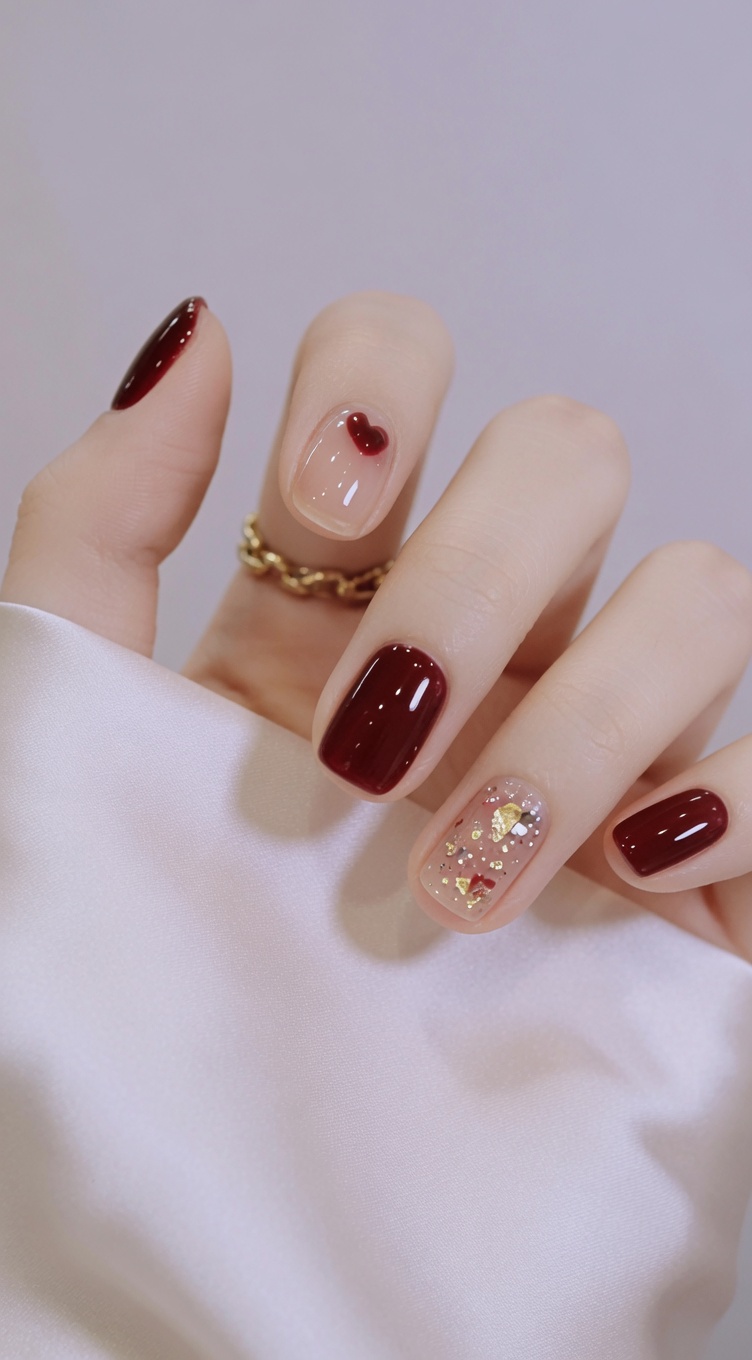
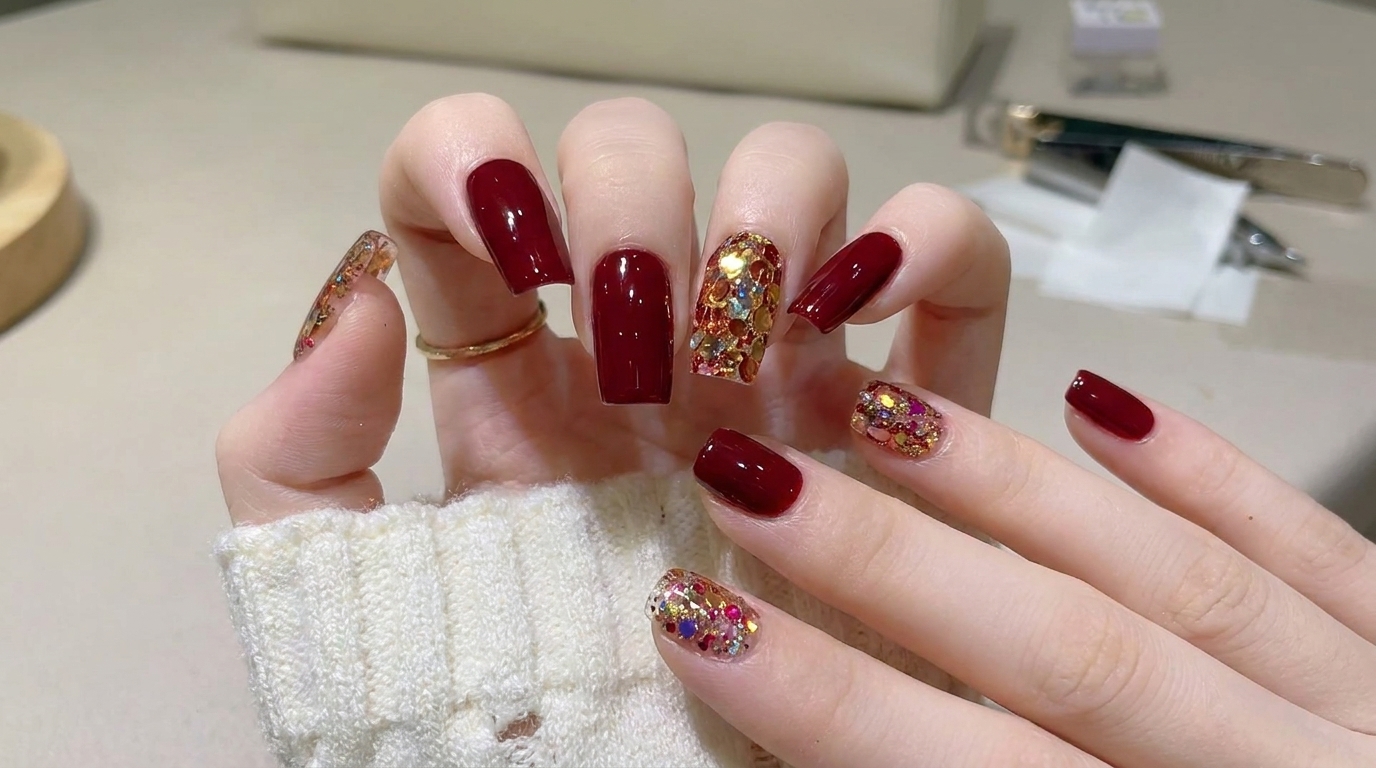
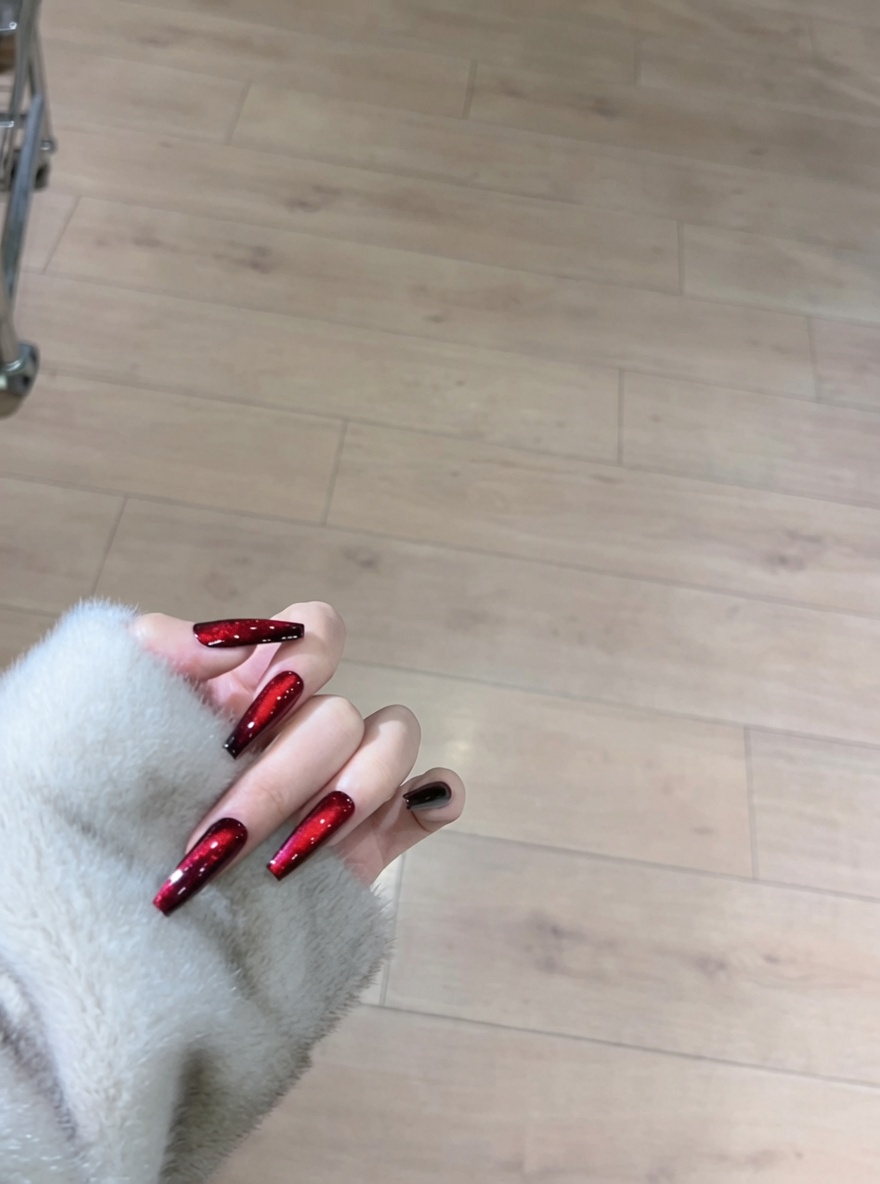
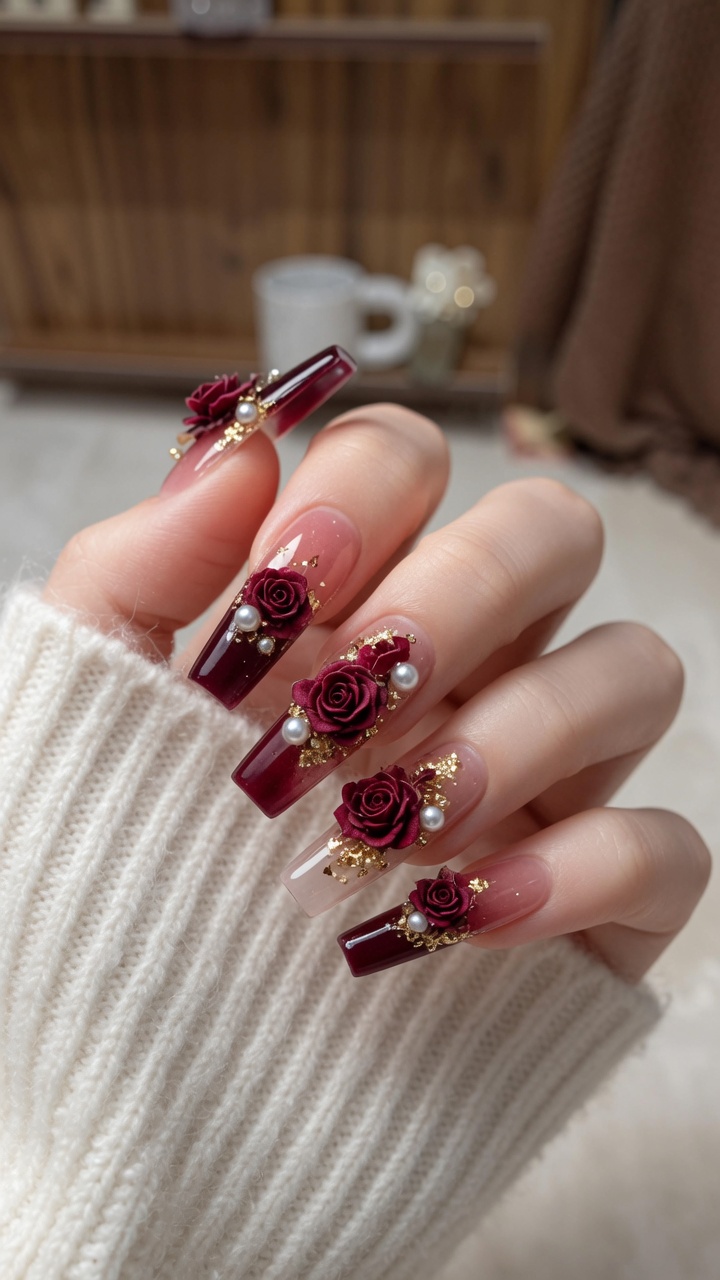
Elevate your look for the New Year with this sophisticated Gothic-style nail art featuring deep red gel, gold glitter, and intricate dried rose charms.
This elegant, layered look brings a touch of dramatic sophistication to your New Year celebrations. By combining deep red tones with delicate dried rose charms and shimmering gold accents, you can easily achieve a professional, gothic-inspired aesthetic right at home.
Steps
- 1Position the dried rose charm
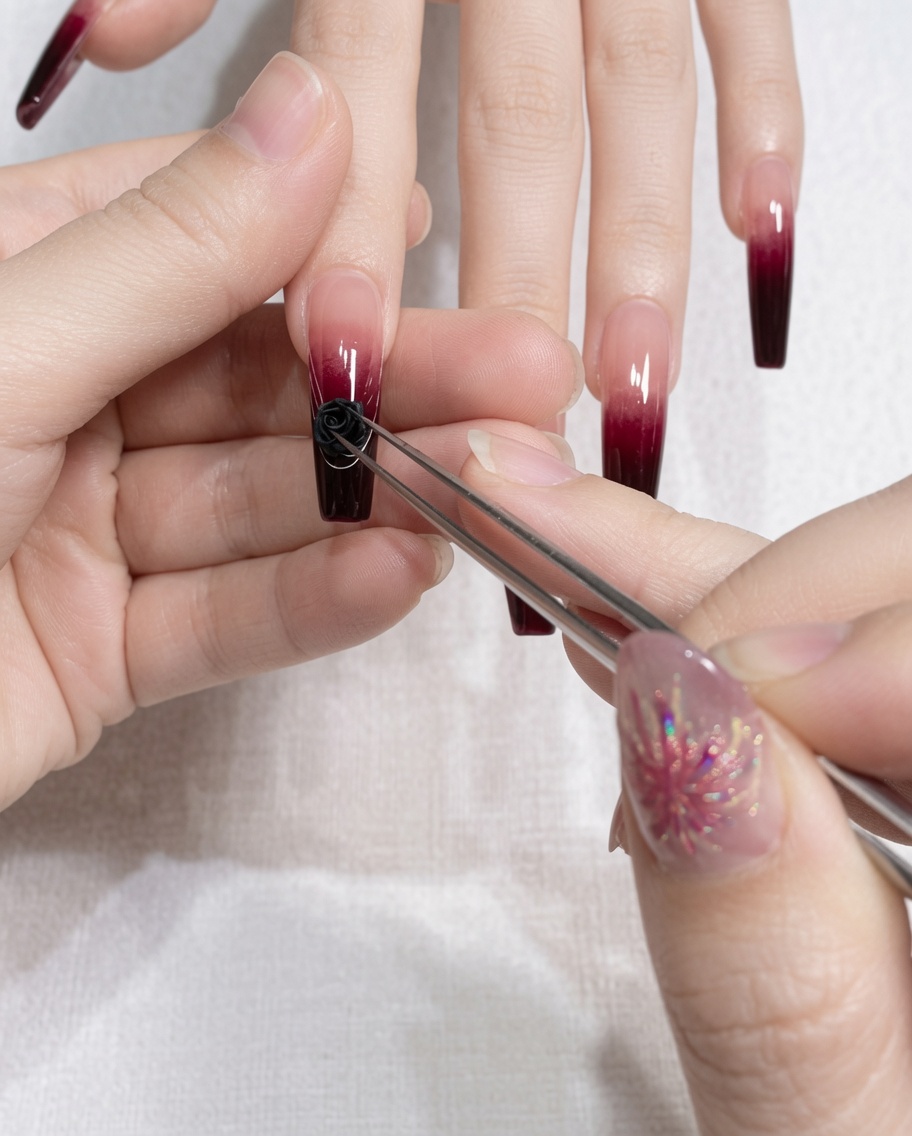
Using a pair of tweezers, gently pick up a dried rose charm and place it onto the tacky surface of the nail. Use the tips of the tweezers to press the charm down firmly, ensuring it sits flat against the gel for a secure bond.
Tip: Position the charm slightly off-center to allow space for pearls and other decorative elements later. - 2Secure with adhesive gel
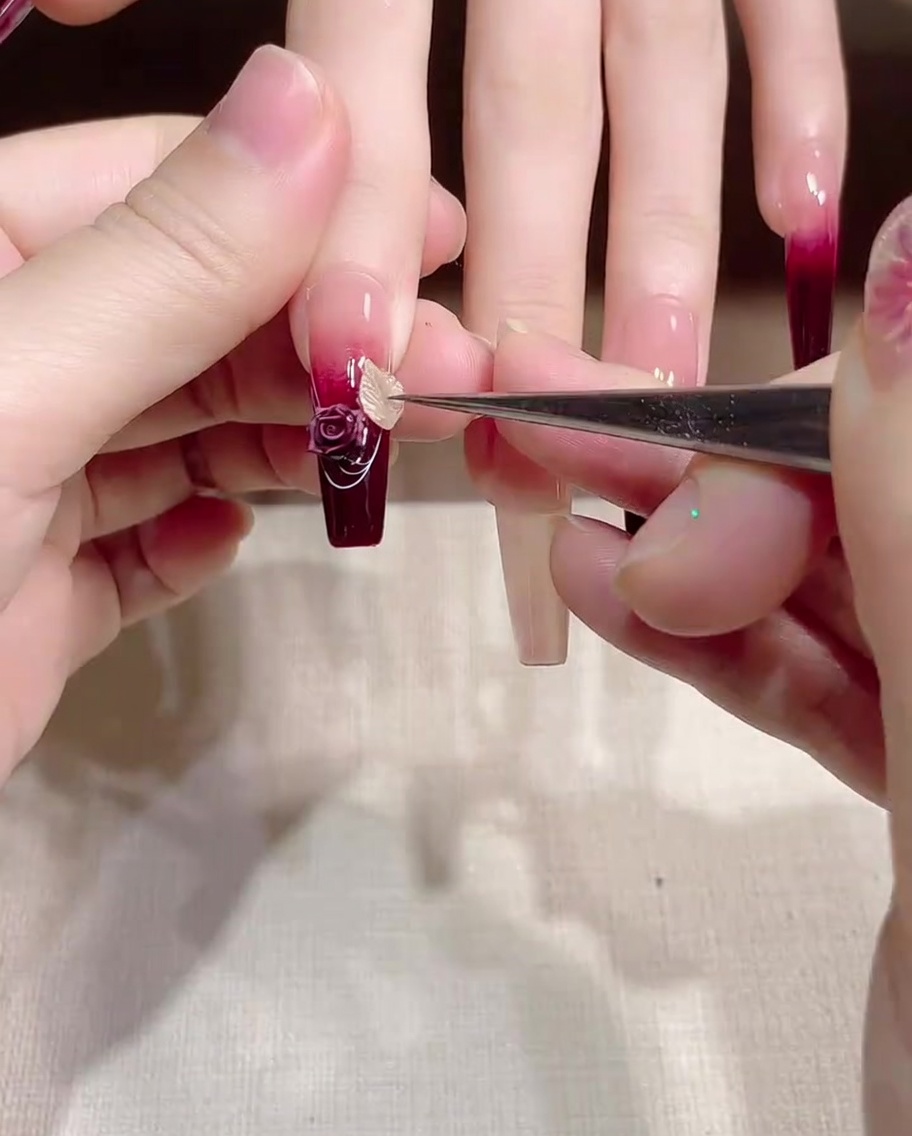
Apply a tiny amount of clear builder gel or adhesive gel directly onto the center of the dried rose charm. This acts as a foundation to hold the next decorative piece in place.
Tip: Use a small dotting tool or a fine-tip brush to apply the gel precisely so it doesnt spill over the edges of the charm. - 3Place the pearl
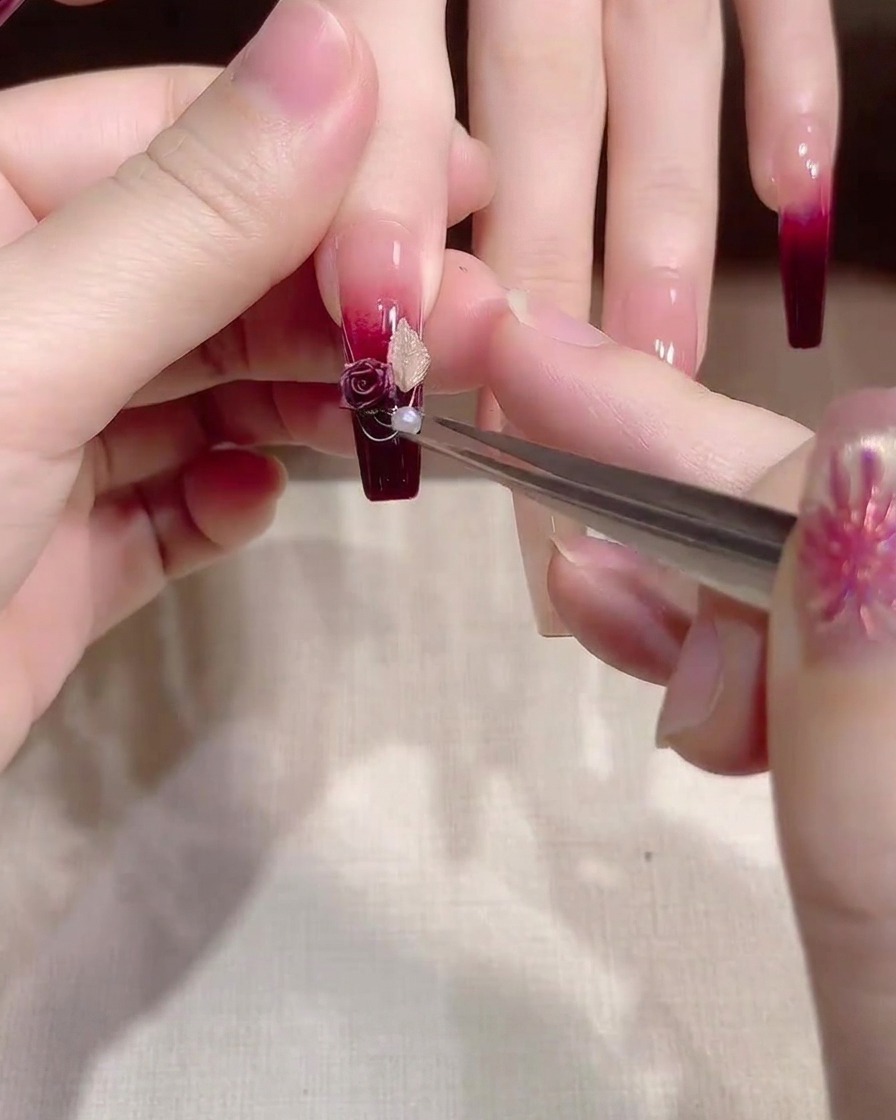
Using your tweezers, pick up a small pearl and carefully set it into the wet gel bead you just applied at the center of the rose. Press it down lightly so it becomes embedded in the adhesive.
Tip: If the pearl is too large, the design may look cluttered; choose a size that complements the proportions of the rose charm. - 4Create a deep red ombre
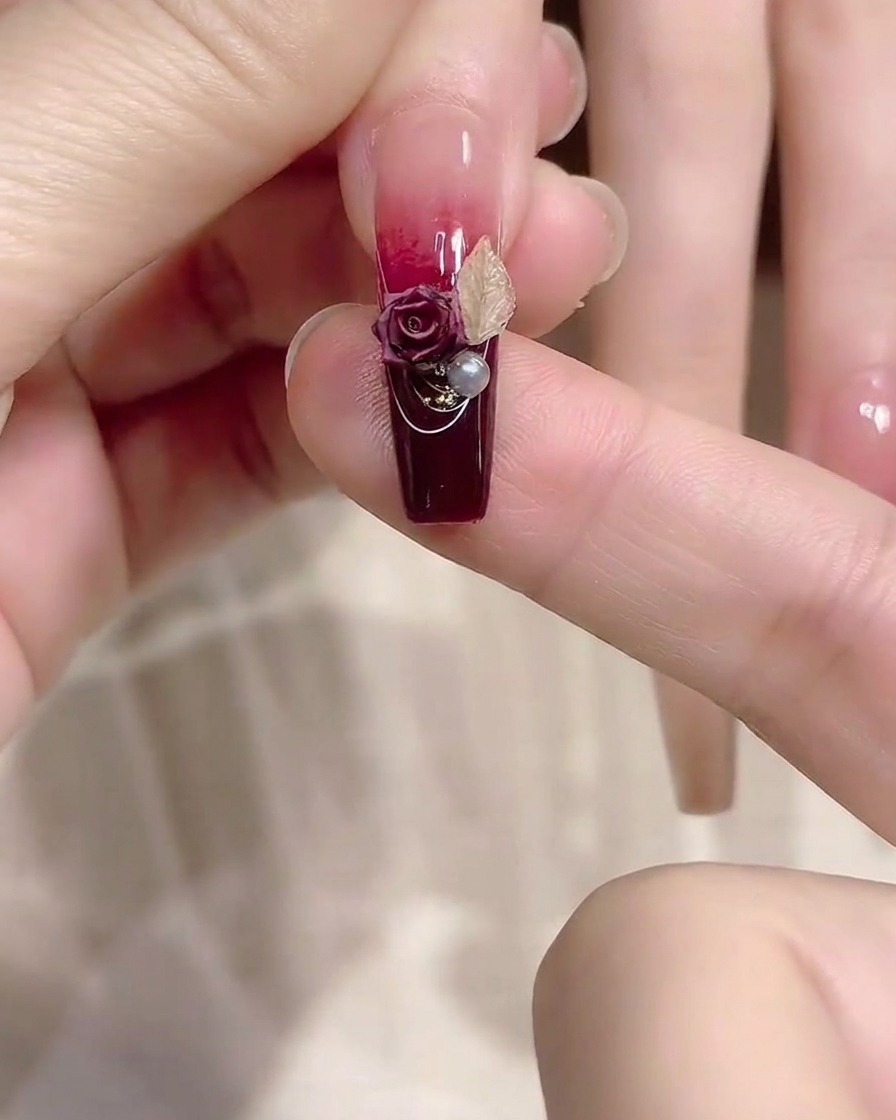
Apply a layer of deep red gel polish to the mid-section and the free edge of the nail. Focus on achieving an even, opaque finish that transitions well from the existing base.
Tip: Ensure the gel is applied in thin layers to prevent running or uneven curing at the tips. - 5Add gold glitter accents
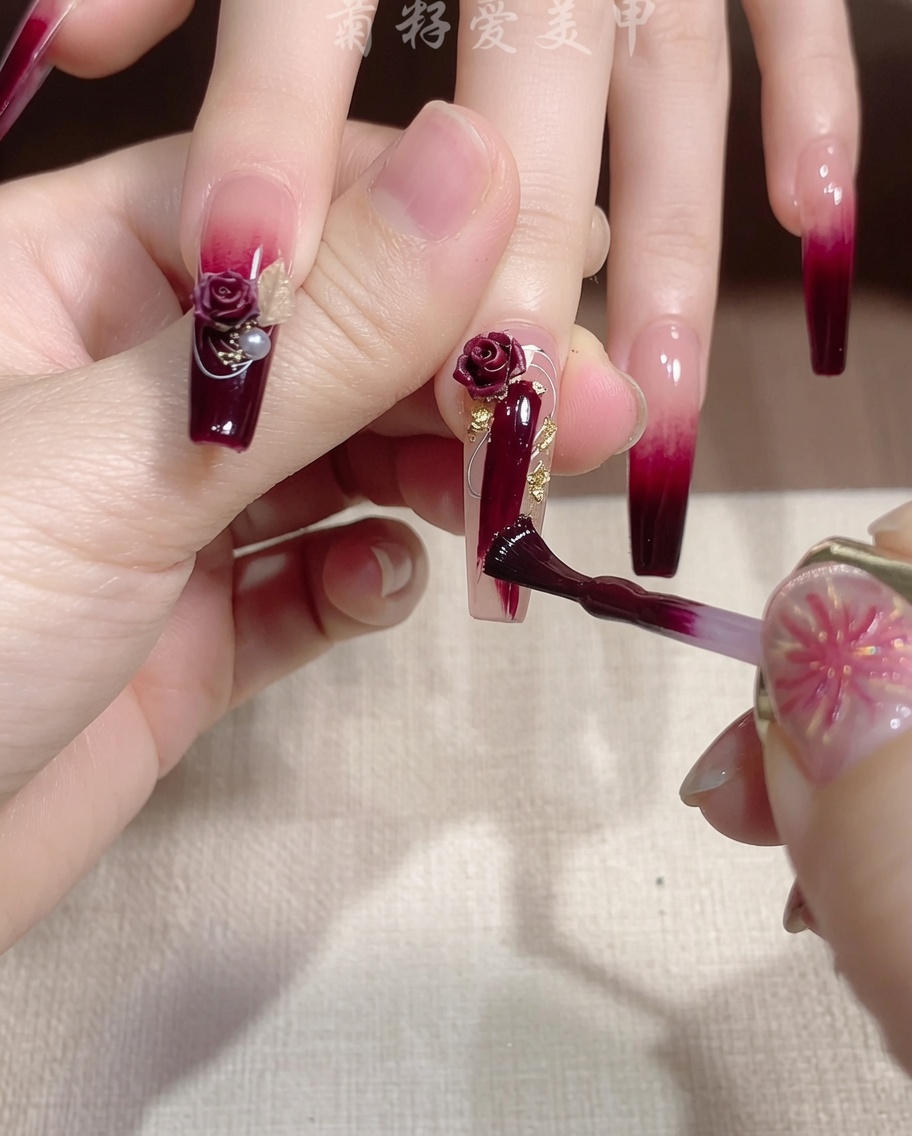
Using a thin brush, apply a subtle wash of gold glitter gel over the red-painted area. This adds a sophisticated, shimmering touch to the gothic aesthetic.
Tip: A little glitter goes a long way; dab it lightly for a scattered, ethereal effect rather than a solid block of gold. - 6Prepare the nail surface
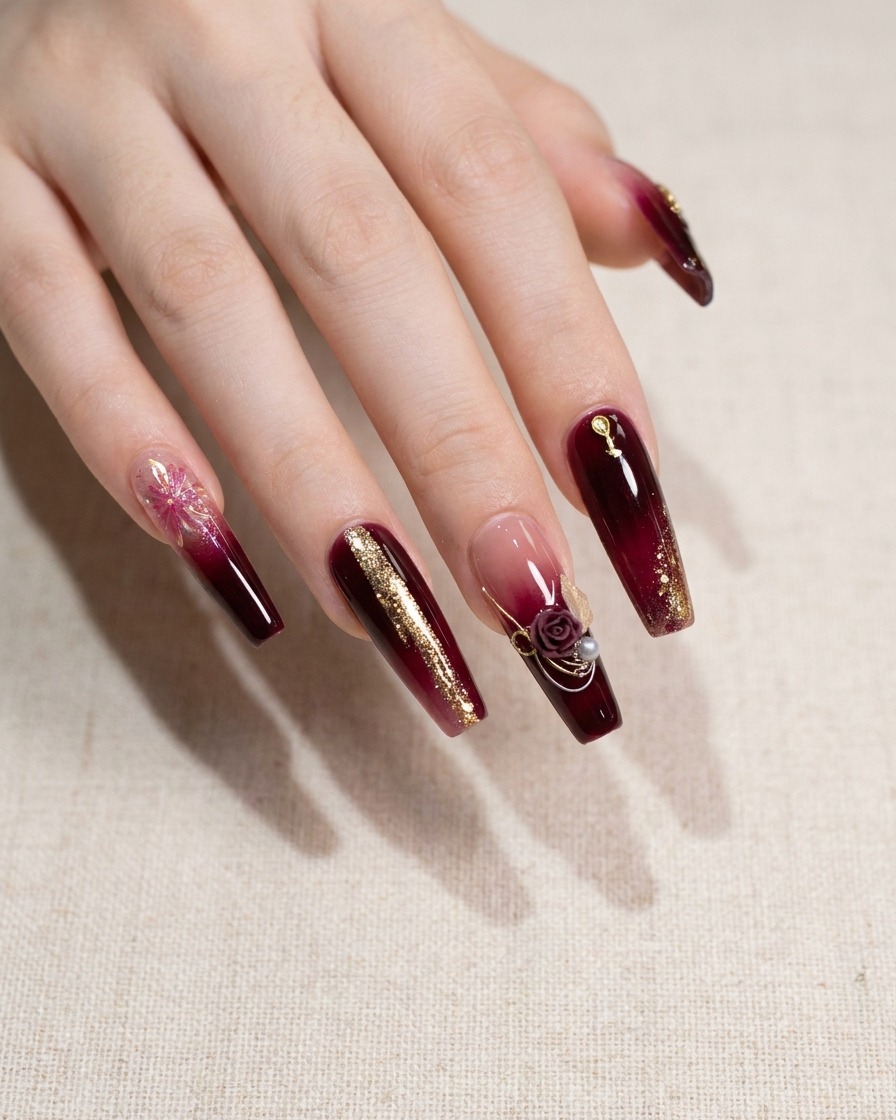
Apply a thin, even layer of adhesive gel to the specific area of the nail where you plan to place the dried rose charm. This ensures the charm stays firmly attached to the nail plate.
Tip: Dont over-apply the adhesive, as excess gel can seep out from under the charm when pressed. - 7Position the dried rose charm
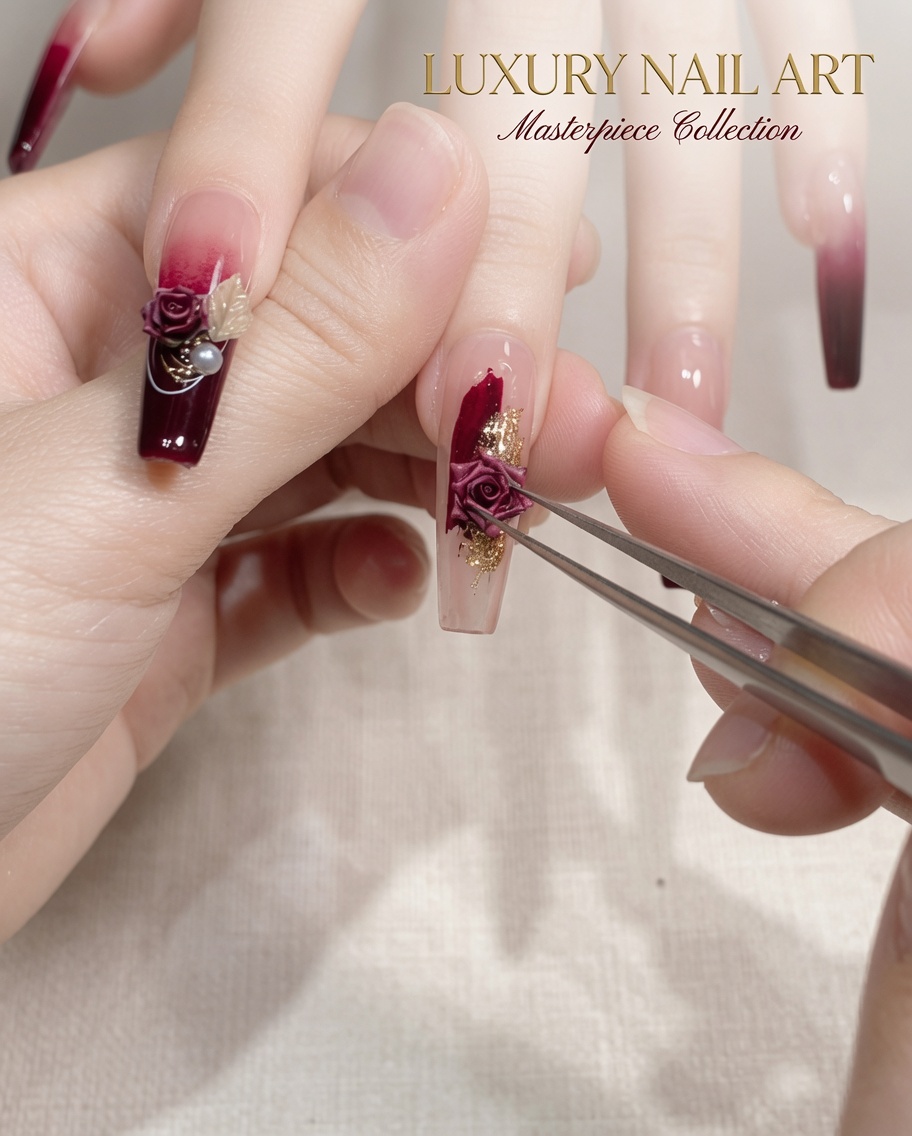
While your base gel is still tacky, use tweezers to carefully place a 3D dried rose charm onto the designated area of the nail. Gentle pressure will help the charm sit securely in the adhesive layer before you move on to adding accompanying accents.
Tip: If the charm doesnt sit flat, try using a slightly thicker builder gel or clear adhesive gel to provide a better foundation. - 8Incorporate pearls and metal accents
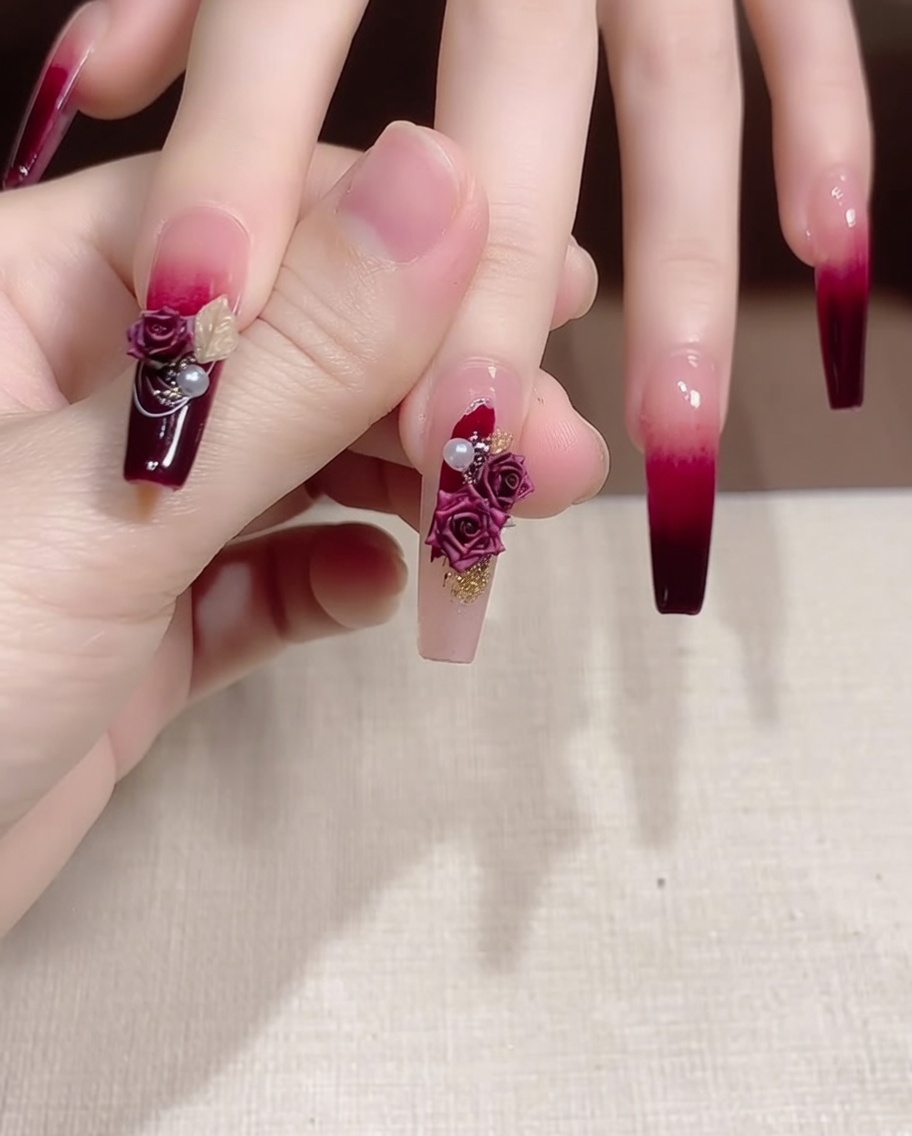
Complement the dried rose by placing a small white pearl and a gold metal accent piece directly next to it. These elements add depth and texture to the Gothic-inspired design, creating a sophisticated layered effect.
Tip: Arrange the charms and pearls in a cluster to keep the design balanced and avoid covering too much of the nail plate. - 9Final placement refinement
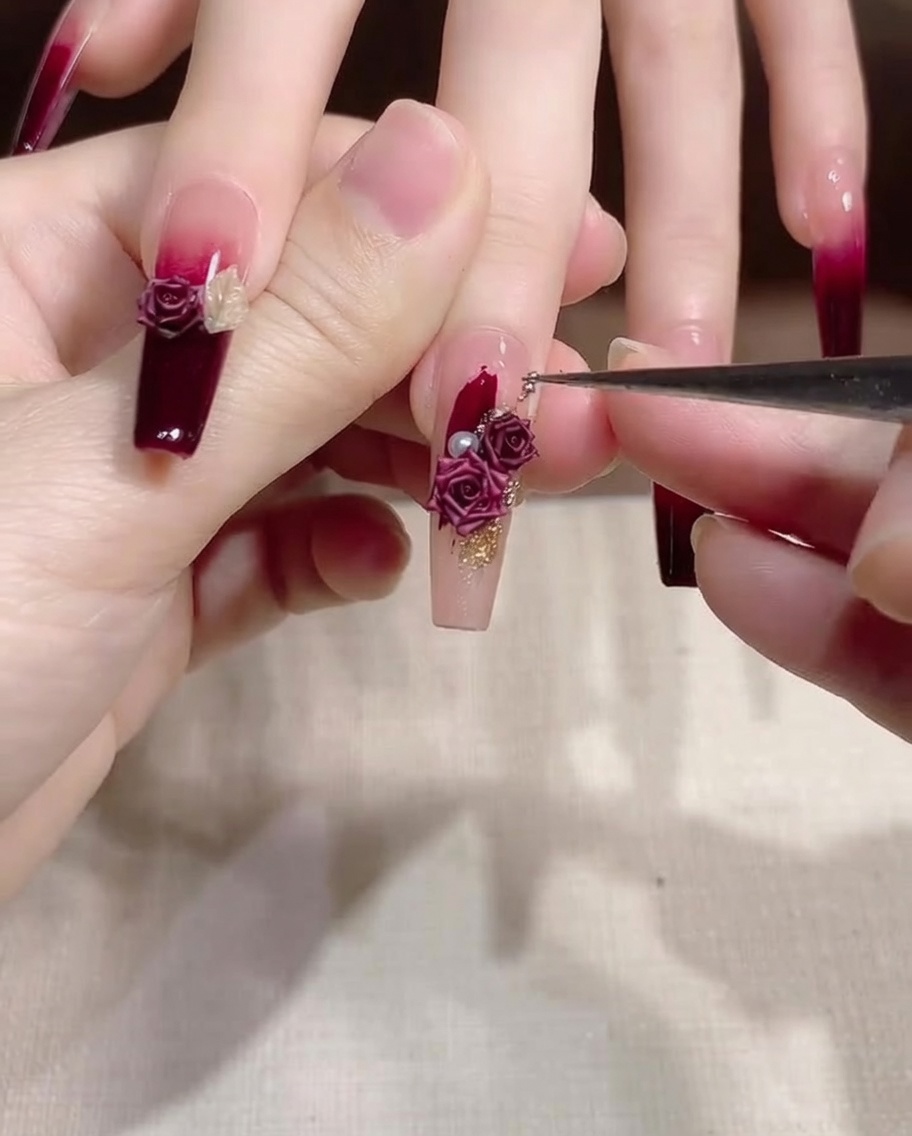
Using a fine-tip detail brush, gently nudge the pearls and gold accents into their final, precise positions. Ensuring each element is perfectly aligned before curing is key to a polished, professional finish.
Tip: A tiny dab of clear gel on your brush tip can act as a bridge to help maneuver small charms if they are difficult to grip with tweezers. - 10Examine the 3D dried rose charm
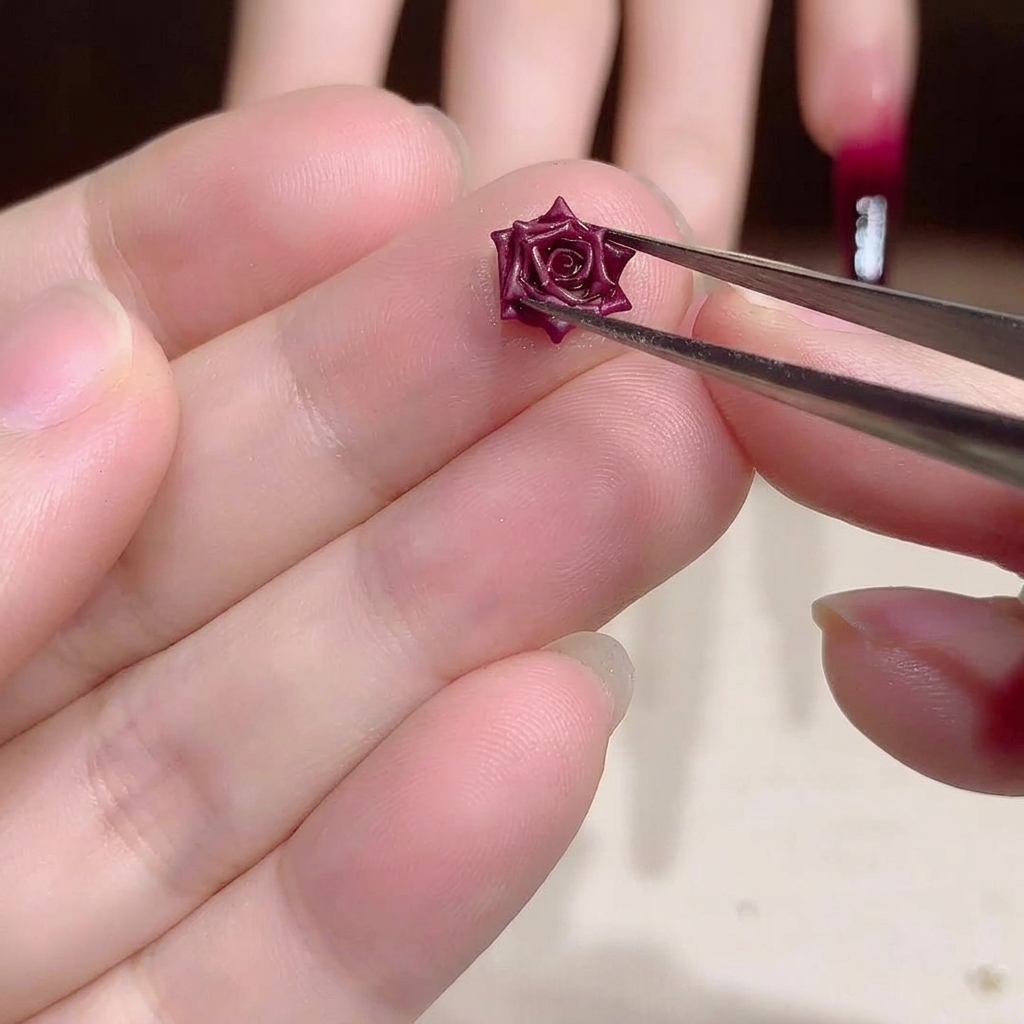
Take your dried rose charm and inspect it using tweezers to ensure it is clean and ready for placement. Holding the charm with tweezers allows for precise handling and easy positioning on the nail plate when you are ready to apply it.
Tip: Handle the delicate charm gently with tweezers to avoid bending or damaging the petals before application.