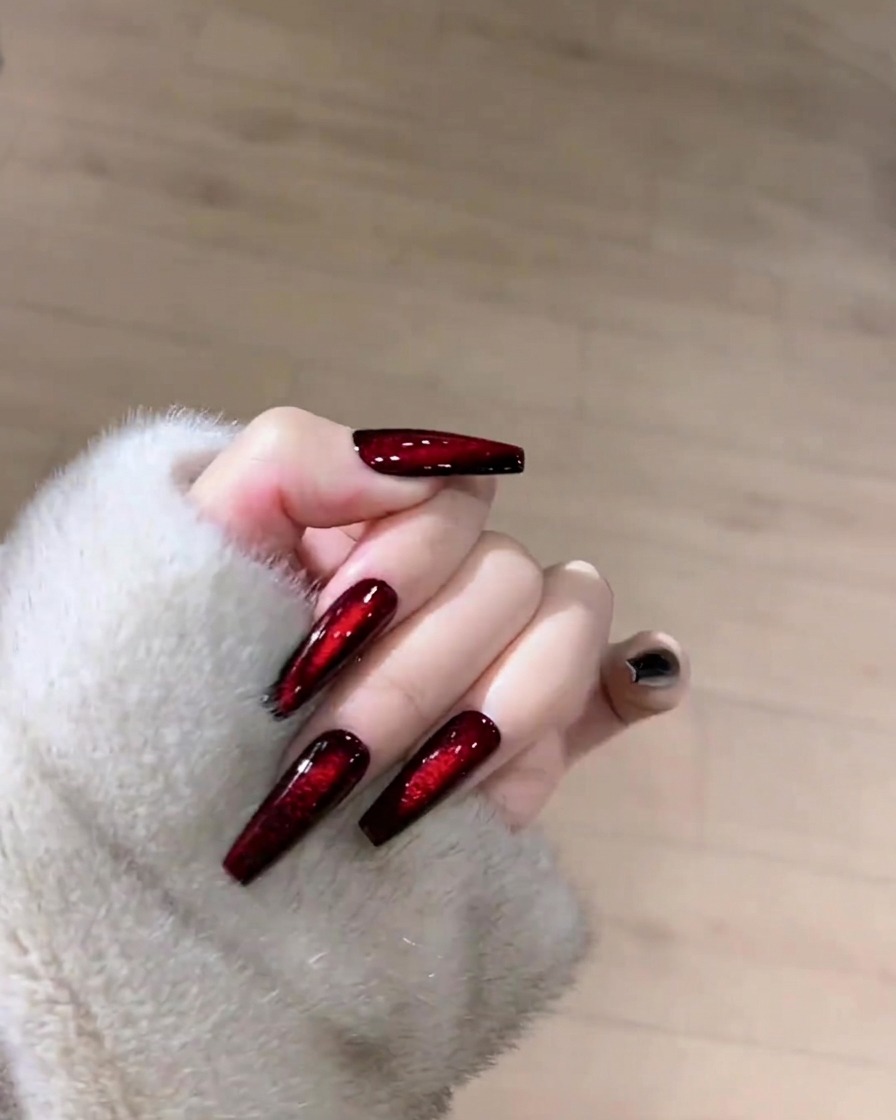
Deep Red Magnetic Cat-Eye Gel Nails — Step-by-Step Tutorial
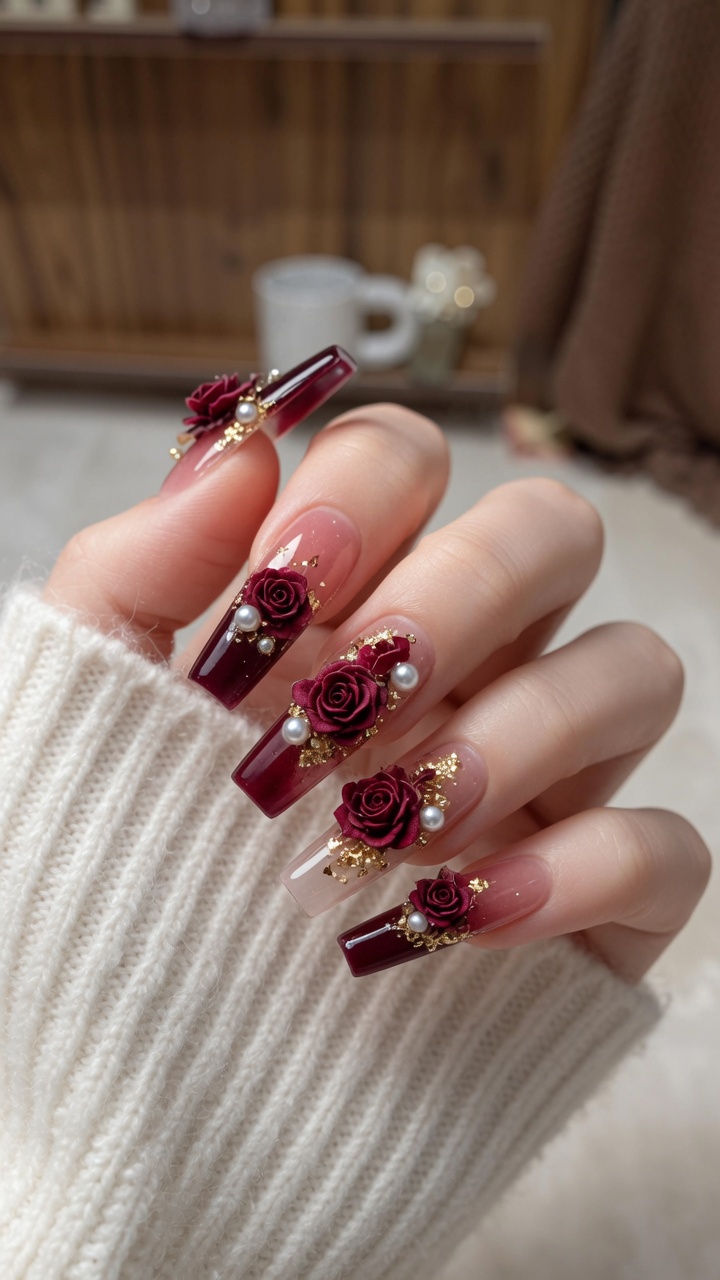
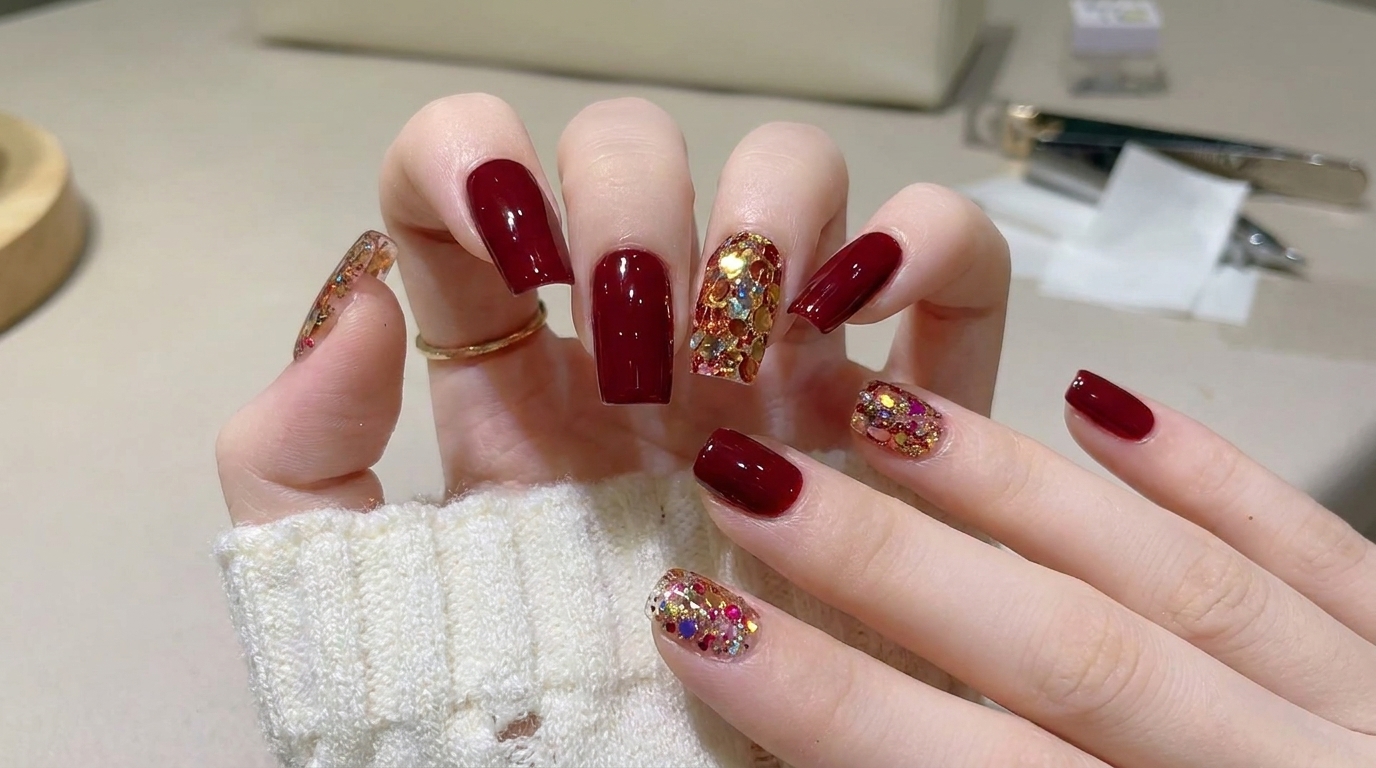
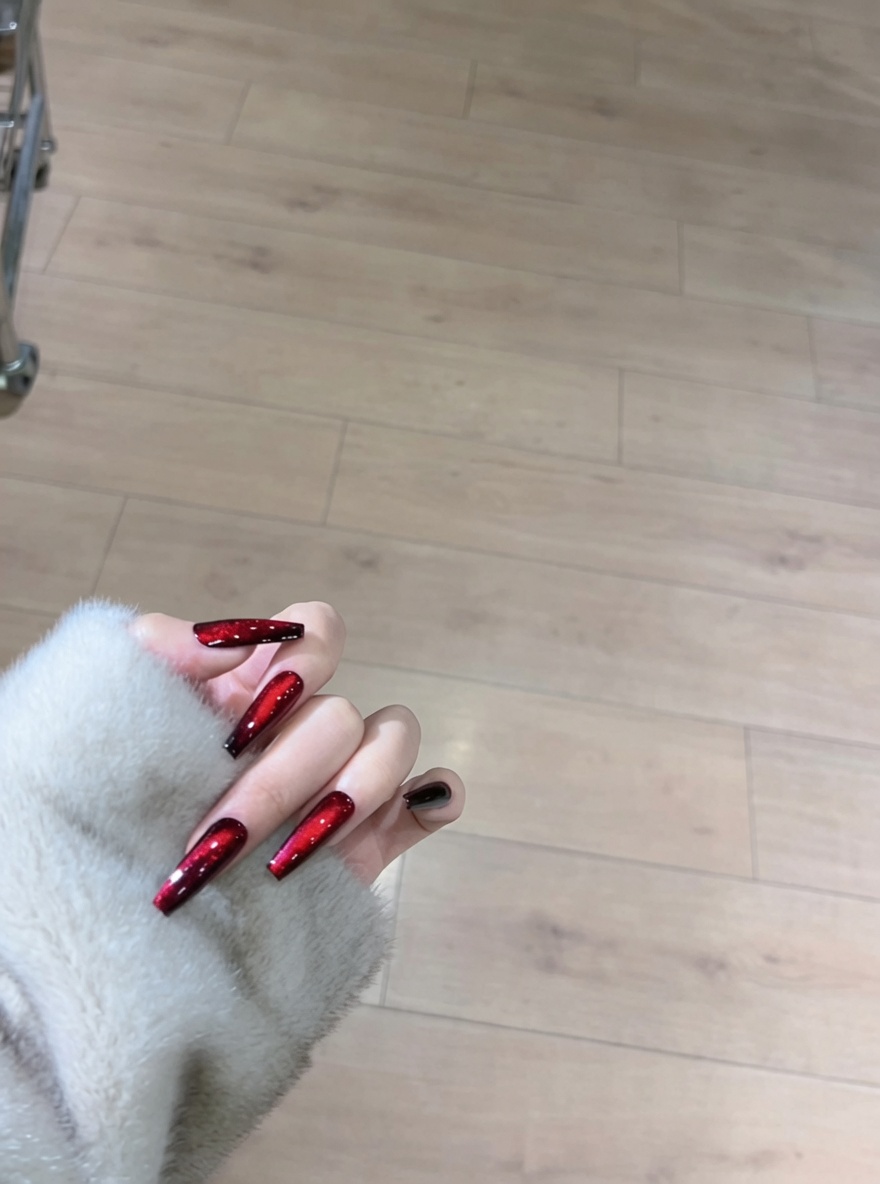
Achieve a stunning, luminous ruby cat-eye finish with this magnetic gel polish tutorial. Perfect for an elegant, high-shine look all autumn and winter long.
The magnetic cat-eye trend continues to captivate with its depth and multidimensional shimmer. This deep red version creates a striking, jewel-toned effect that catches the light beautifully, making it an essential manicure for the cooler months. By pairing a dark base with a magnetic polish, you can achieve a professional, salon-quality finish that looks far more complex than it actually is.
Steps
- 1Apply black base coat
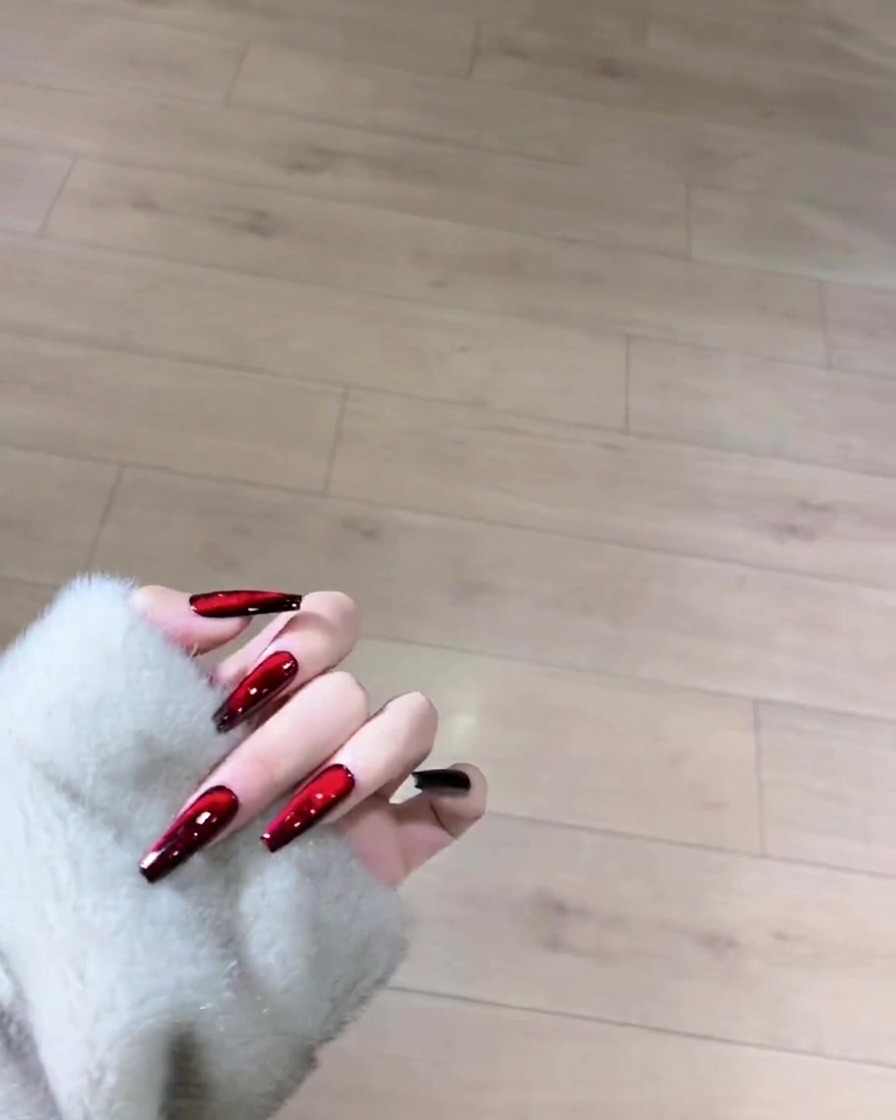
Apply an even, thin layer of black gel polish as the base for the cat-eye effect. Ensure you cap the free edge to prevent premature lifting. Cure under your LED lamp to create a solid, pigmented background that will make the magnetic particles pop.
Tip: Keep the black layer thin to ensure a full, even cure. - 2Cure the base coat
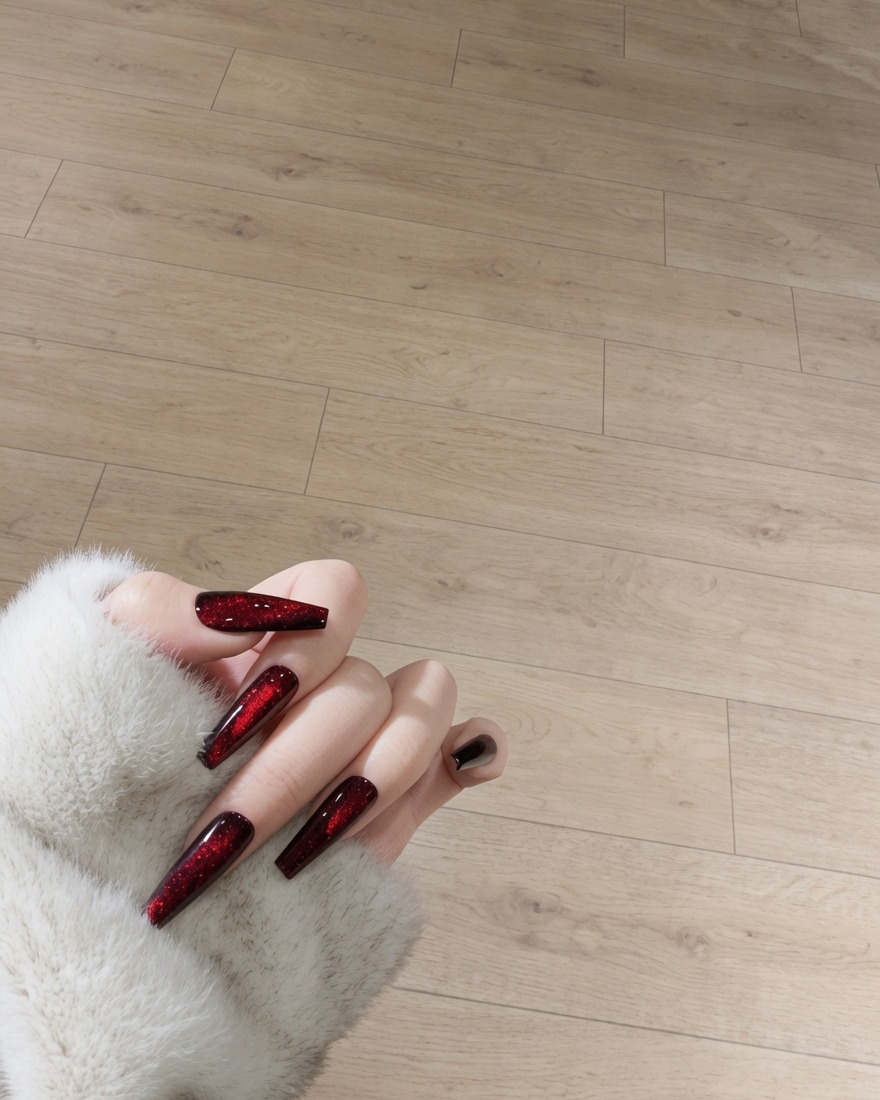
Place your hand inside the LED lamp to cure the black base coat. Follow your gel polish brands recommended curing time to ensure the layer is fully set and ready for the magnetic application.
Tip: Avoid touching the nails while they are wet; ensure the full cure time is completed. - 3Apply red magnetic gel
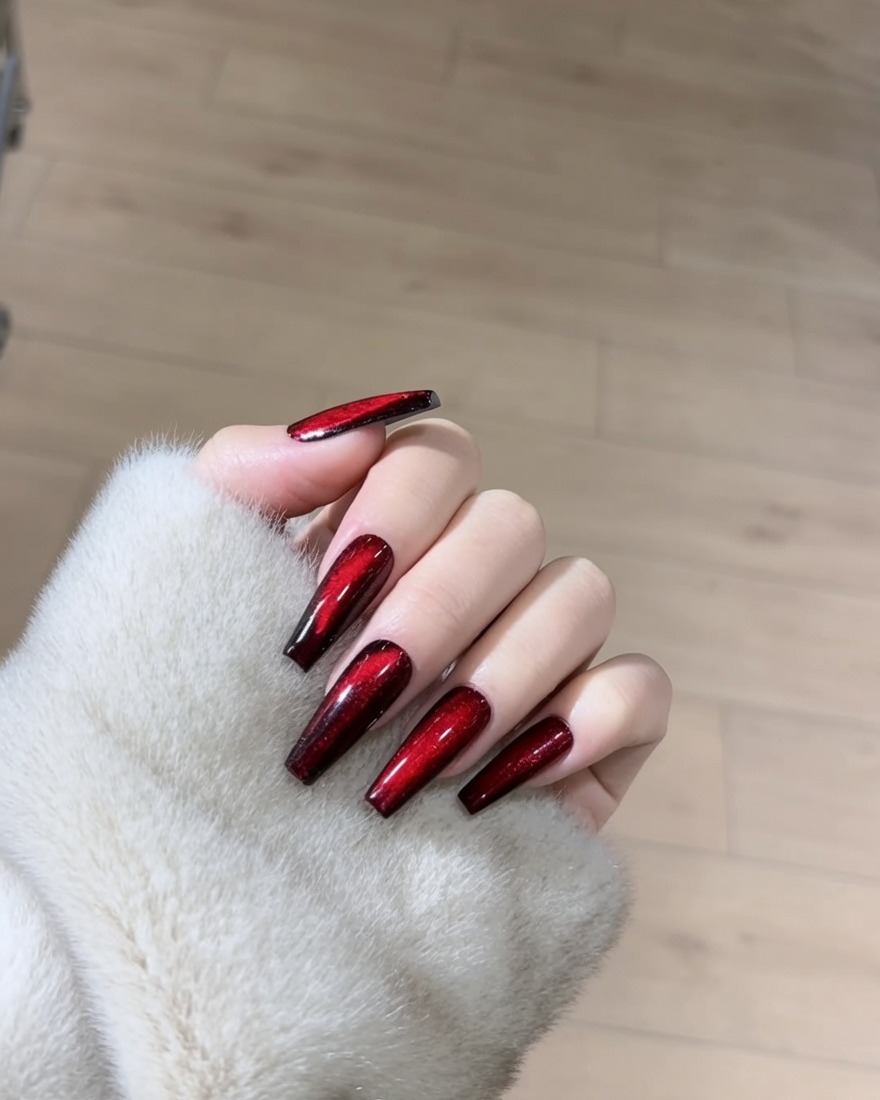
Apply a single coat of red magnetic cat-eye gel polish over the cured black base. Do not cure this layer yet, as you will need the polish to remain wet to manipulate the magnetic particles.
Tip: Apply an even, medium-thickness coat; too thin, and you wont have enough particles to move. - 4Create cat-eye effect
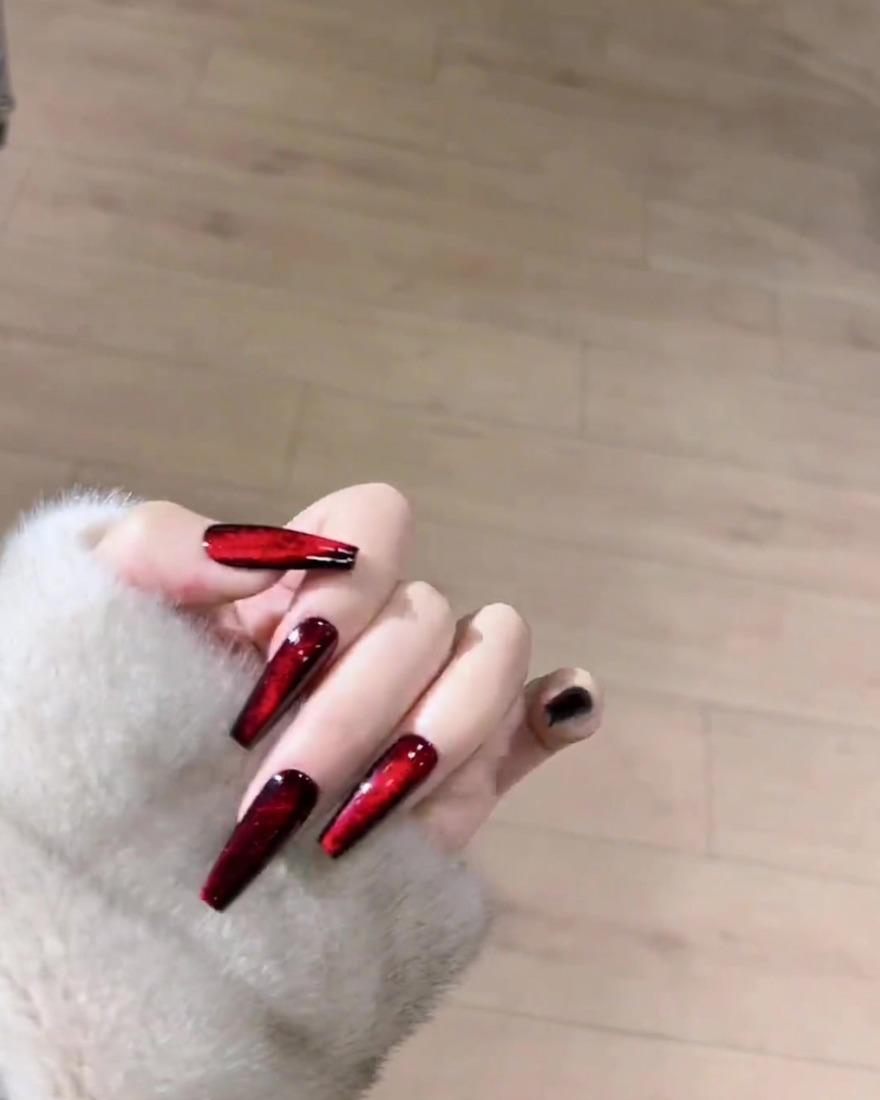
Hold the rectangular magnet close to the nail surface without touching the wet polish. Move it at an angle to shift the magnetic particles into a sharp, reflective line. Once you are satisfied with the design, hold the magnet steady for a few seconds to lock the pattern in place.
Tip: The closer the magnet, the sharper and more defined the cat-eye line will be. - 5Cure the magnetic layer
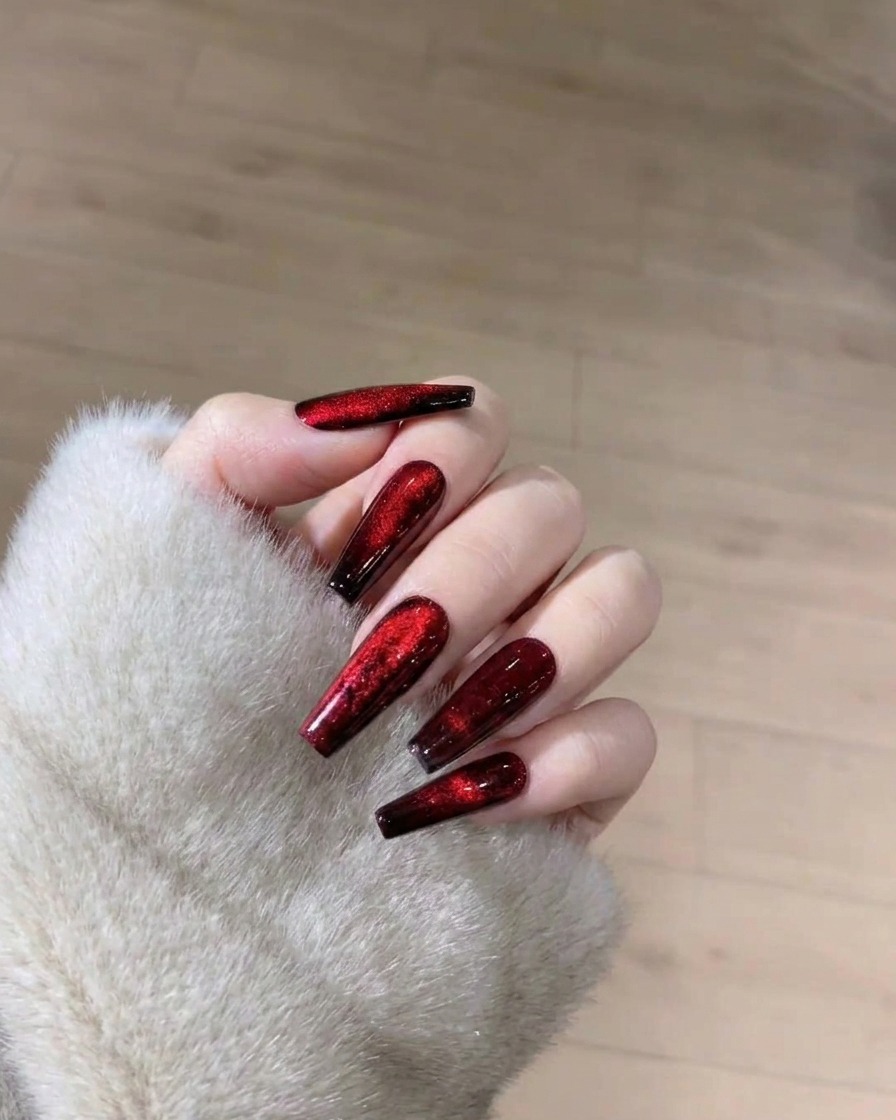
Carefully place your hand into the LED lamp to cure the magnetic effect. Curing sets the particles in their new positions, preventing the design from shifting or fading after you remove the magnet.
Tip: Keep your hand still while entering the lamp so the magnetic effect doesnt get distorted. - 6Apply glossy top coat
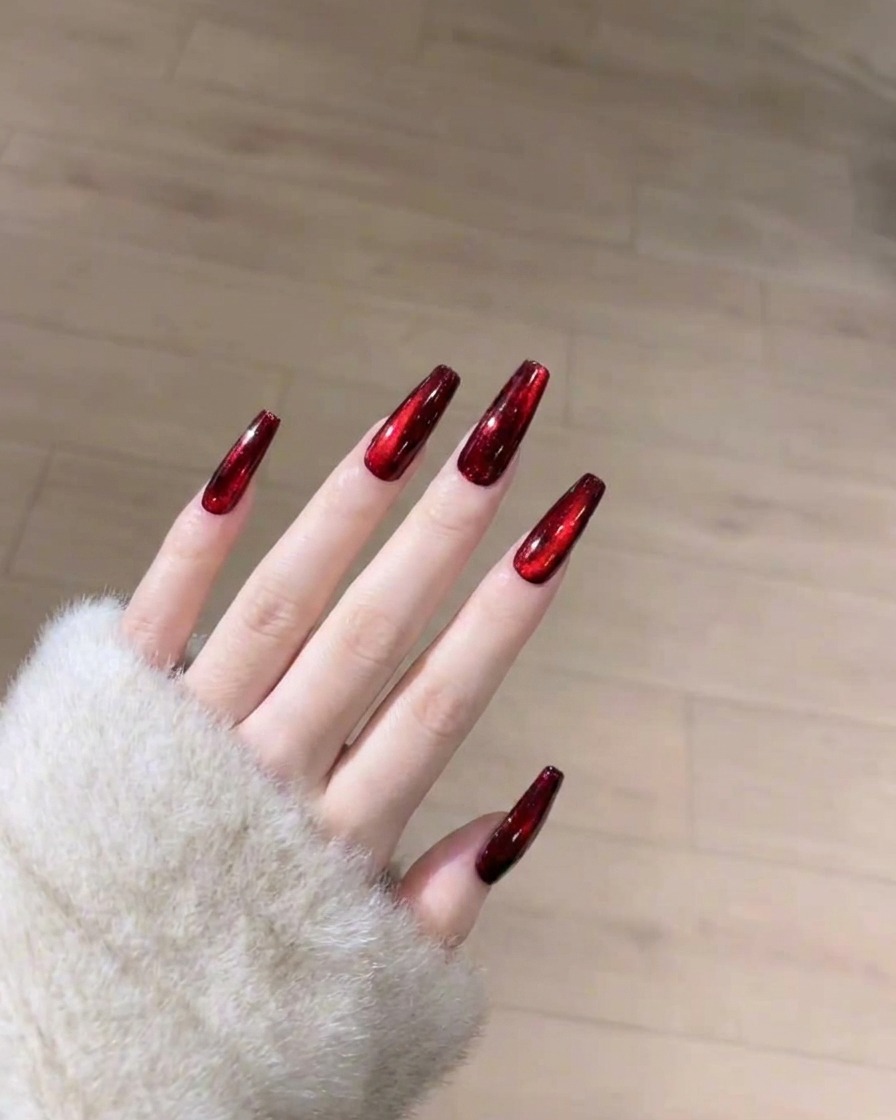
Apply a final, thin layer of glossy top coat to seal the cat-eye design and provide a high-shine finish. Cap the free edge one last time to ensure longevity, then perform a final cure in the lamp according to the product instructions.
Tip: A high-quality glossy top coat enhances the depth of the magnetic shimmer. - 7Final top coat cure
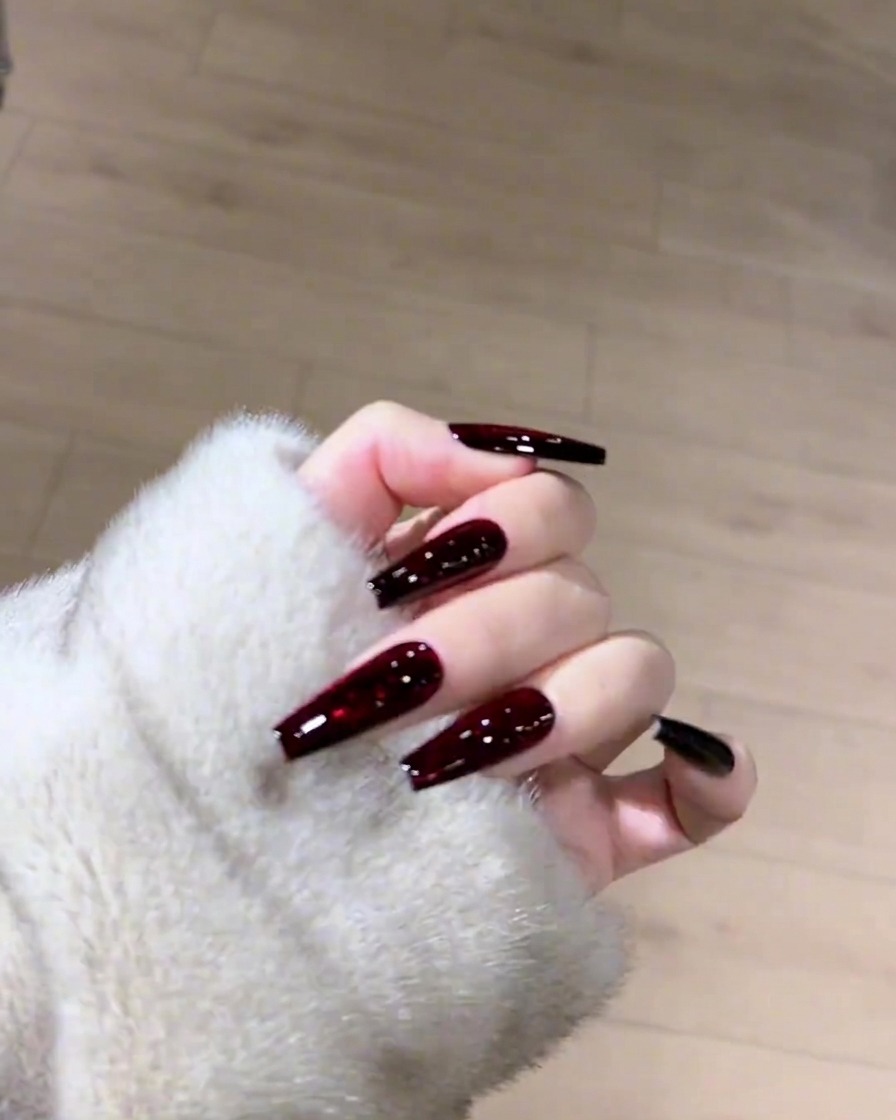
Place your hands into the UV or LED lamp to perform the final cure of the top coat layer. Ensure all fingers are positioned correctly under the light source and remain still for the full duration recommended by the gel polish manufacturer. This final curing process locks in the shine, protects the color, and ensures the cat-eye magnetic effect is permanently set.
Tip: Keep your fingers flat and centered in the lamp to ensure even light distribution across all nails, especially the thumbs. - 8Remove sticky residue
After the final cure, use a lint-free wipe saturated with high-percentage isopropyl alcohol or a dedicated gel cleanser to gently wipe each nail. This step removes the sticky inhibition layer left behind by the gel top coat, leaving the surface perfectly smooth, dry, and glossy.
Tip: Use a fresh section of the lint-free wipe for each nail to avoid spreading uncured residue back onto the finished surface.