Bloody Rose Hand-Painted Nail Art Tutorial
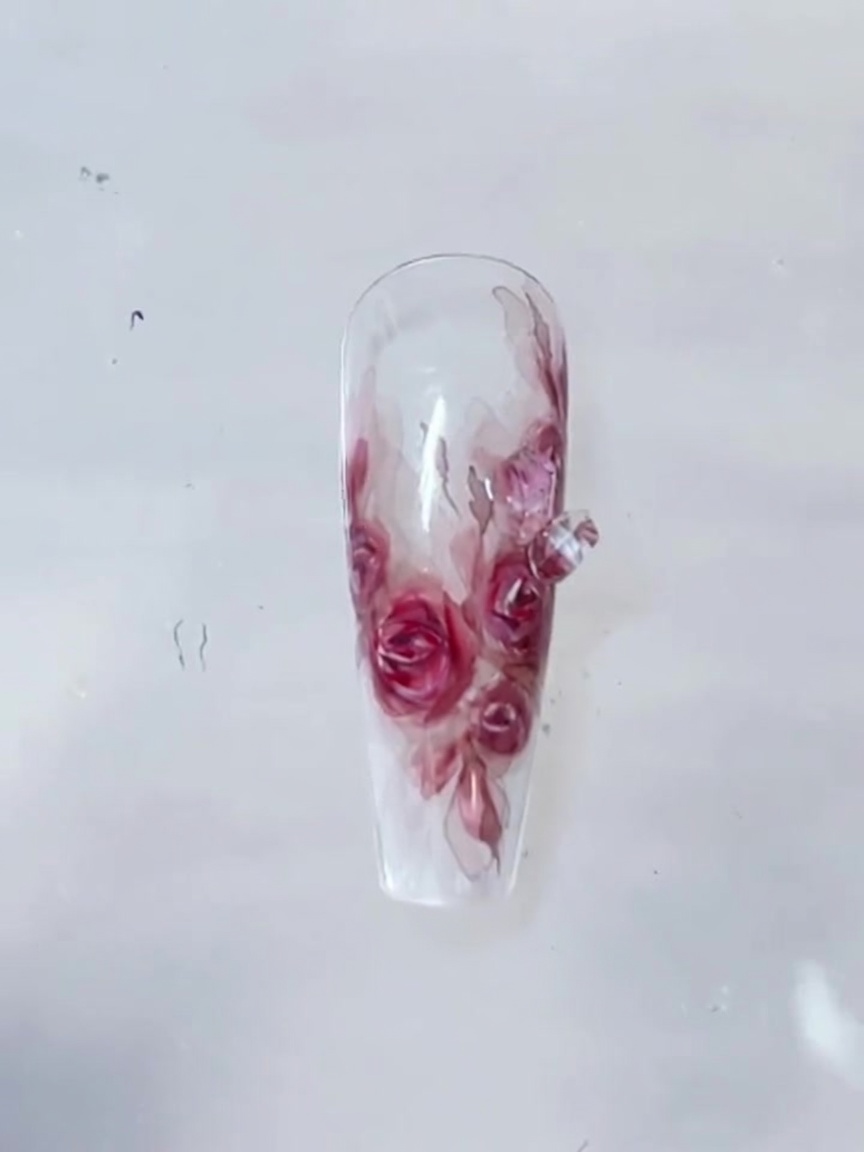
Create an intricate, gothic-inspired bloody rose look with this hand-painted tutorial. Learn advanced layering techniques for a professional, dimensional finish.
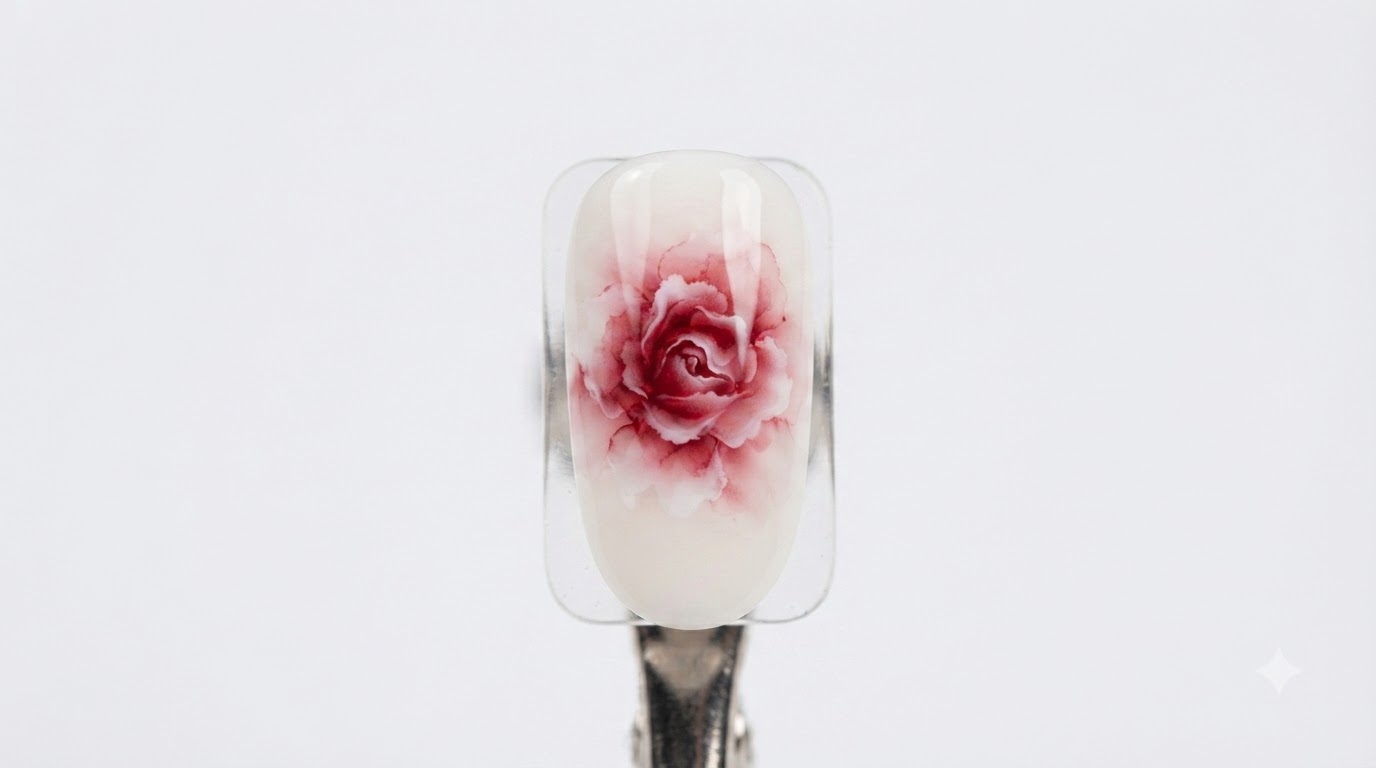
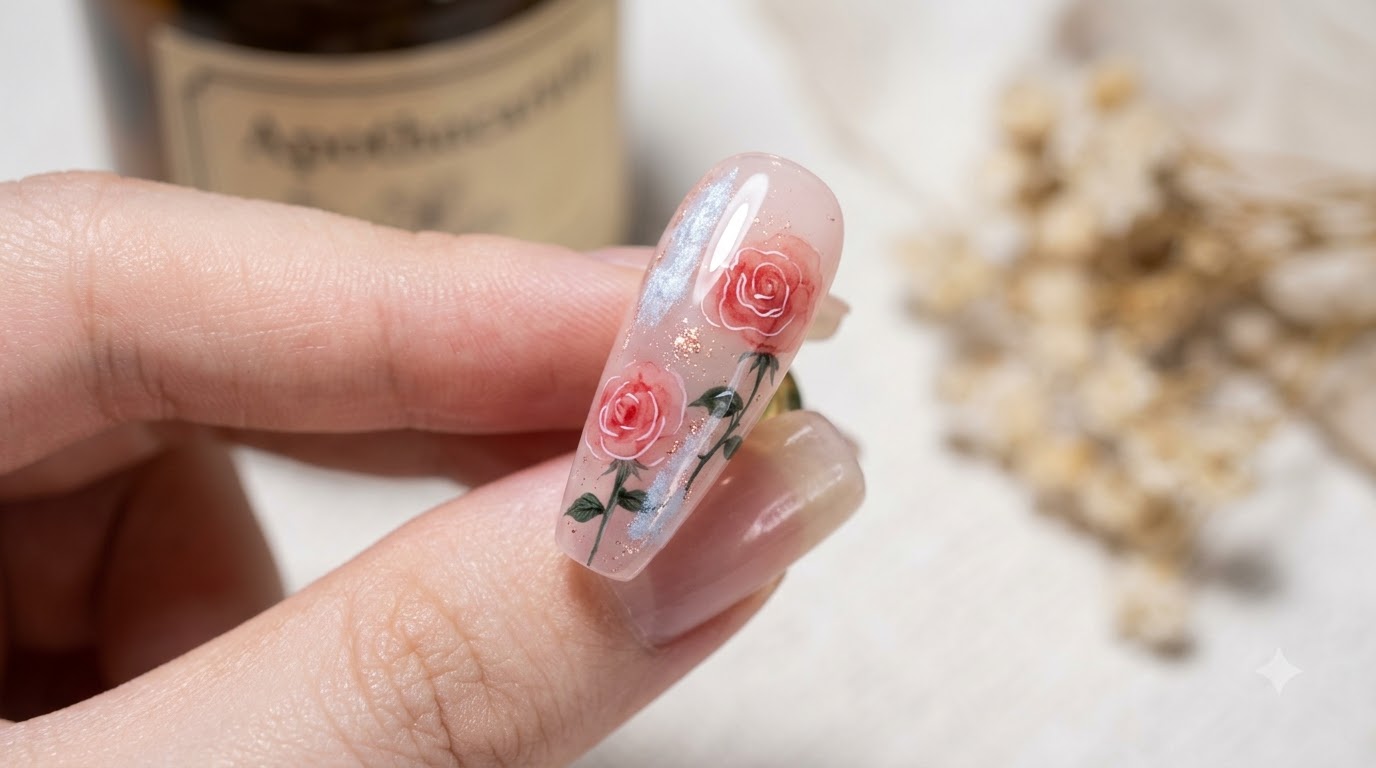
This gothic-inspired bloody rose design is a masterpiece of precision and layering, perfect for those looking to elevate their hand-painting skills. By building the roses in multiple red tones directly on the nail without a base, you achieve a stunning, three-dimensional effect that mimics real blooming petals. This look requires steady hand control and a delicate touch, but the result is a sophisticated and moody aesthetic that truly stands out.
Steps
- 1Outline rose shapes
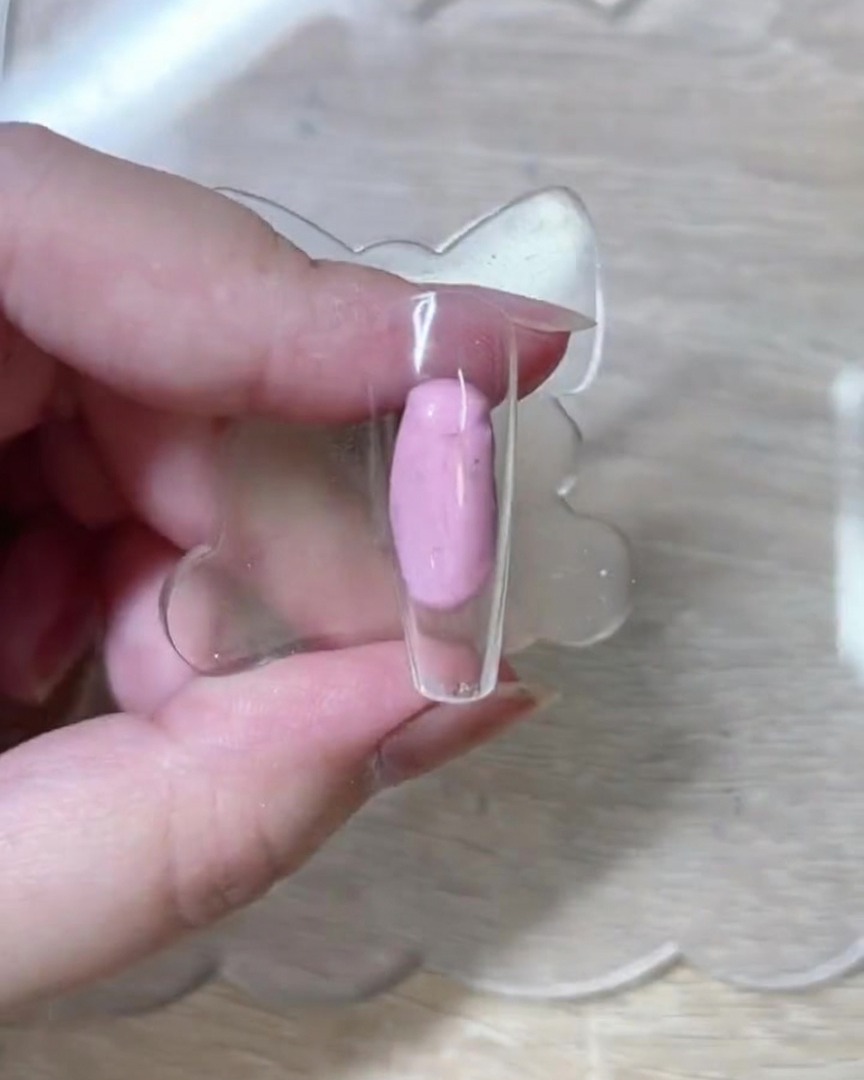
Using a fine liner brush and white gel, directly outline the main bodies of the roses on the bare nail tip. Avoid applying a base color to keep the design clean. Maintain steady pencil control to ensure the outlines are precise and the nail surface remains organized.
Tip: Keep your brush strokes light and controlled to prevent the design from looking messy on the bare nail surface. - 2Continue drawing rose outlines
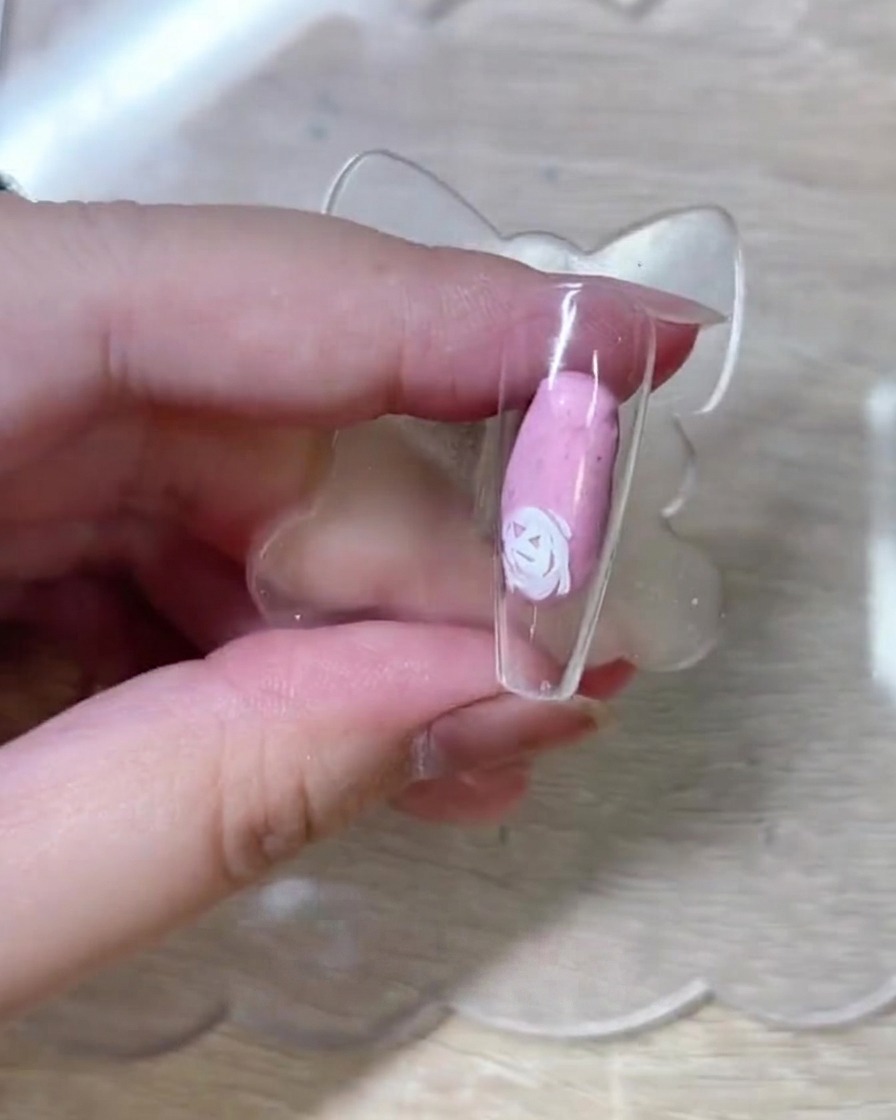
Continue to draw additional rose outlines across the nail surface using the white gel. Focus on consistent brush pressure and careful spacing to ensure the design does not become overcrowded or look dirty.
Tip: Careful brush control is crucial when placing multiple roses to maintain clarity and avoid a cluttered look. - 3Finalize white rose structures
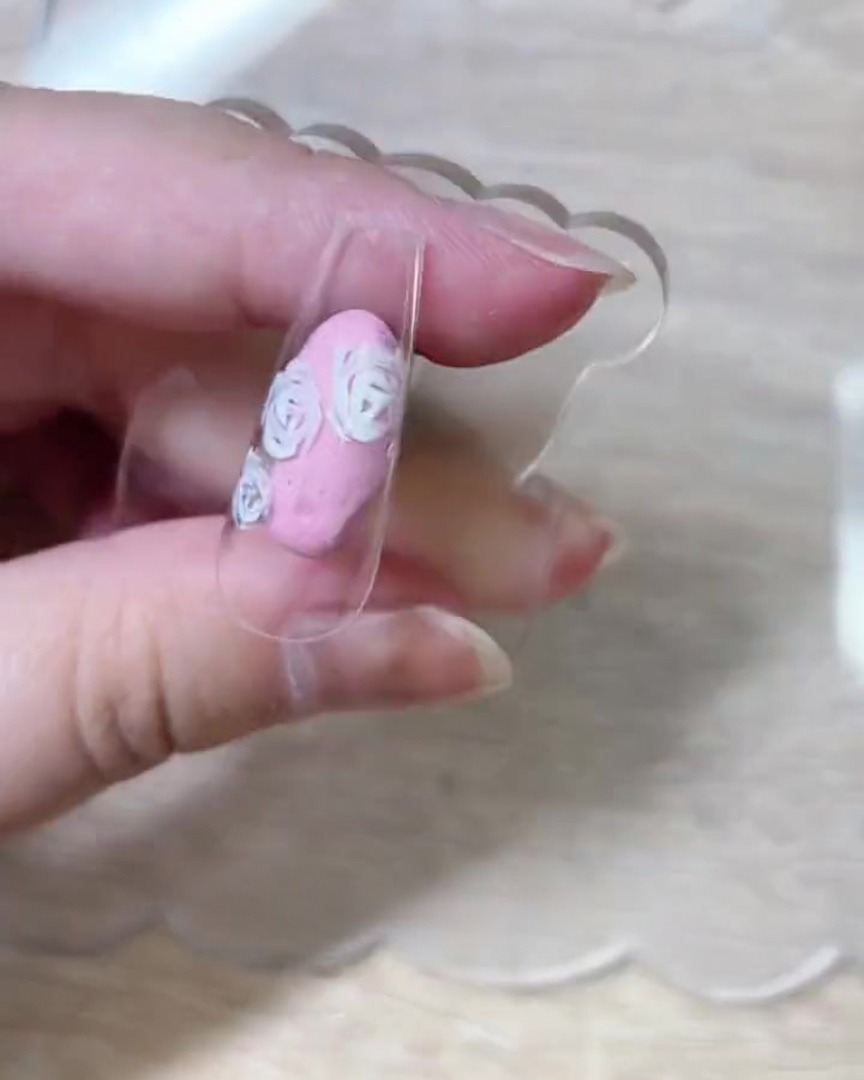
Complete the drawing of all white rose petal bases and main structures across the entire nail surface. Ensure all shapes are balanced and properly positioned before proceeding to the coloring stages.
Tip: Ensure the white outlines are clean and clear as they serve as the foundation for the upcoming color layers. - 4Apply first color layer
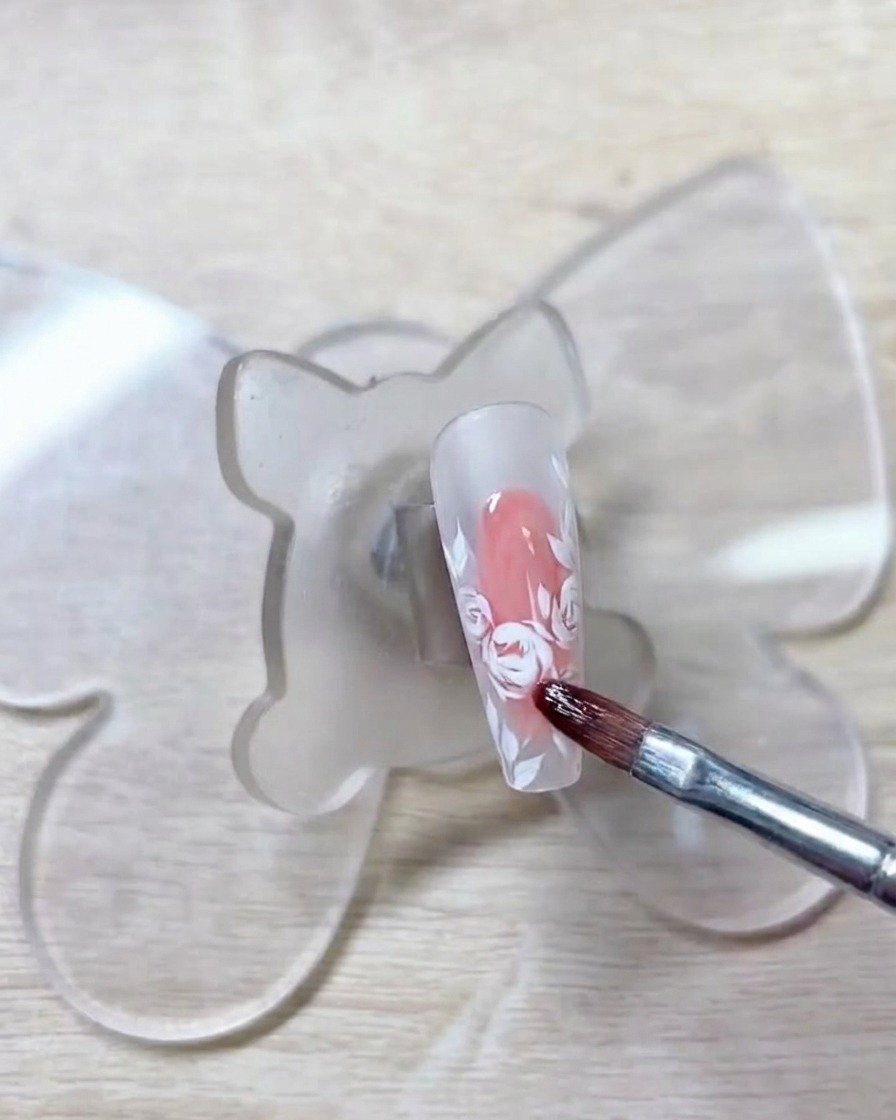
Apply a light red shade over the white rose bases. This initial layer is intended to create a natural transition and serves as a base for the subsequent, deeper coloring steps.
Tip: Focus on creating a natural gradient by applying the light red carefully, ensuring it blends well with the white foundation. - 5Complete light red filling
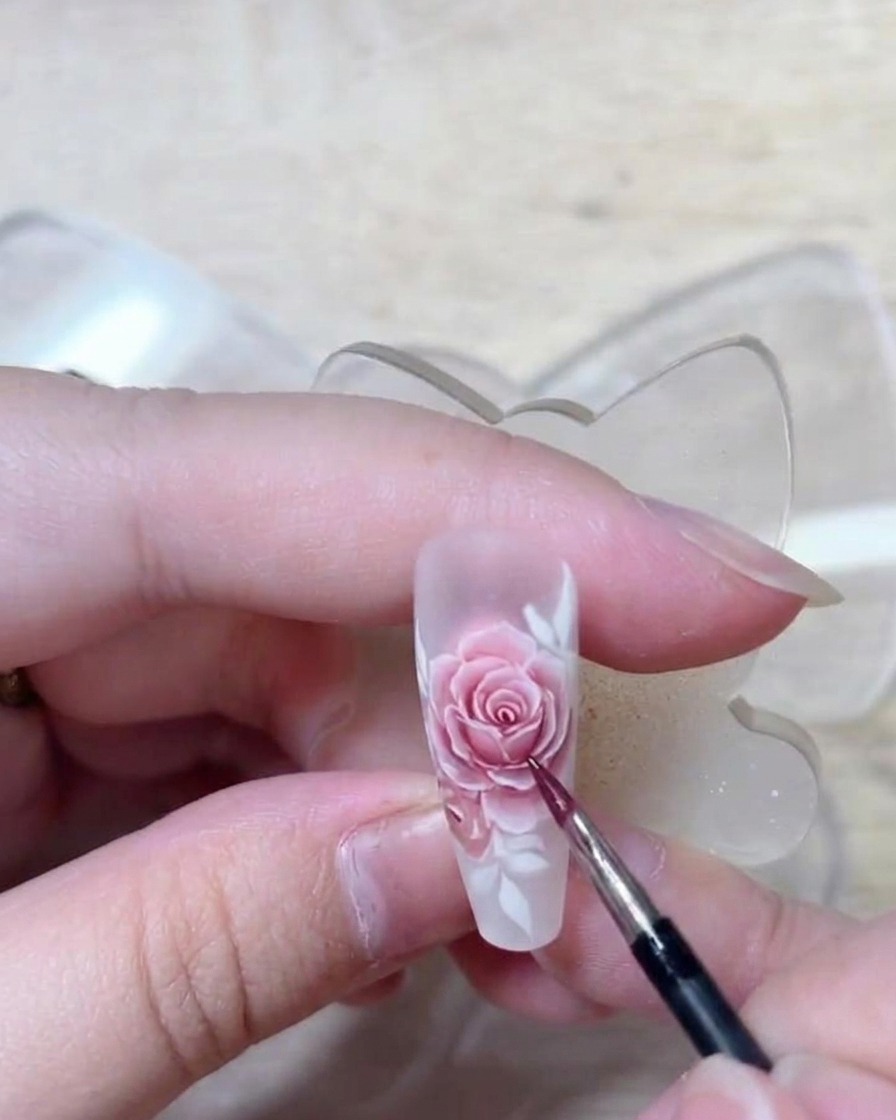
Continue filling in all rose body areas with the light red color. Maintain careful control over your brush to ensure that color gradients remain smooth and natural across all petals.
Tip: Leave small portions of the original white blank to add depth and dimensionality to the flowers. - 6Add depth with deep red
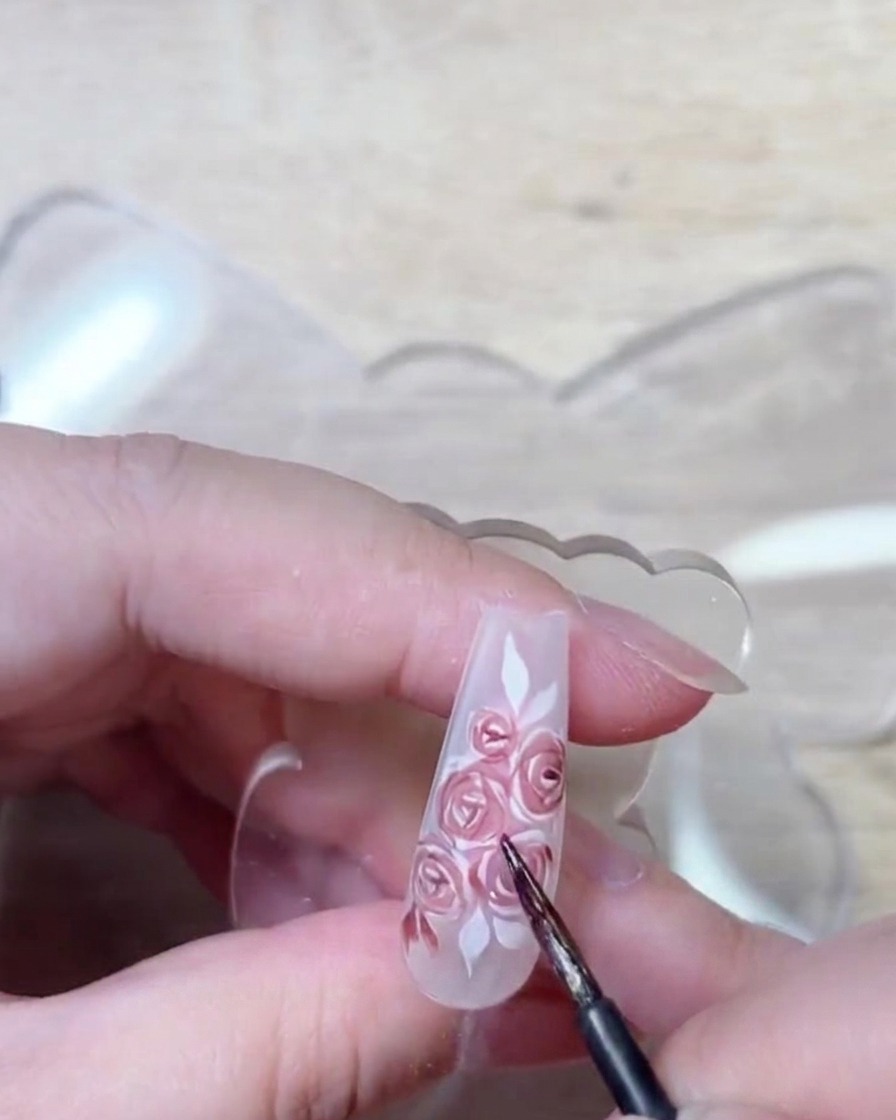
Switch to a deeper red shade to create shading and add depth inside the rose petals. Carefully apply this color to build intensity while ensuring some of the lighter layers and white portions remain visible for texture.
Tip: The superposition of colors creates a vivid, three-dimensional effect, so take your time layering the deep red strategically. - 7Apply deep crimson red to roses
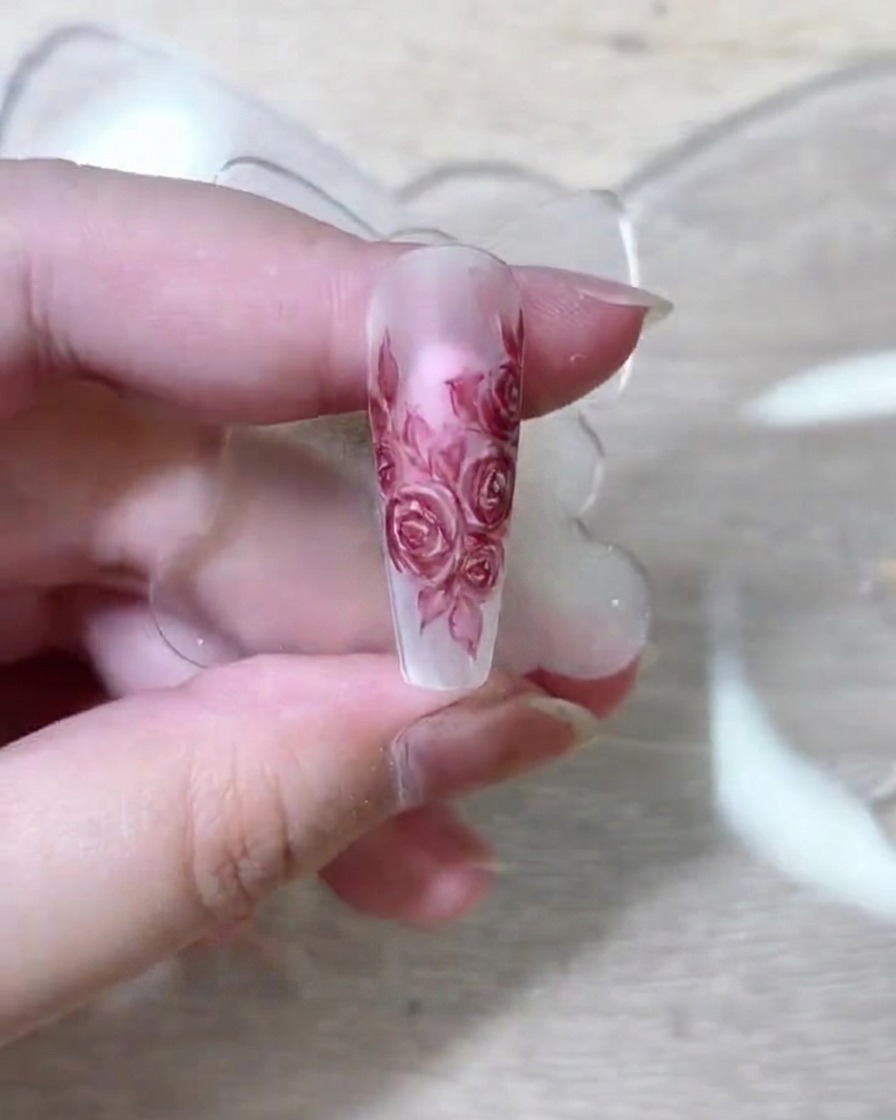
Apply a deep crimson red color onto specific areas of the roses to build rich color atmosphere and dimension. Ensure the application enhances the existing layers without overwhelming the lighter base tones, creating a vivid multi-dimensional floral effect.
Tip: Focus the deeper shade towards the inner centers and shadowed petal overlaps to maximize the 3D depth. - 8Add white highlights to petals
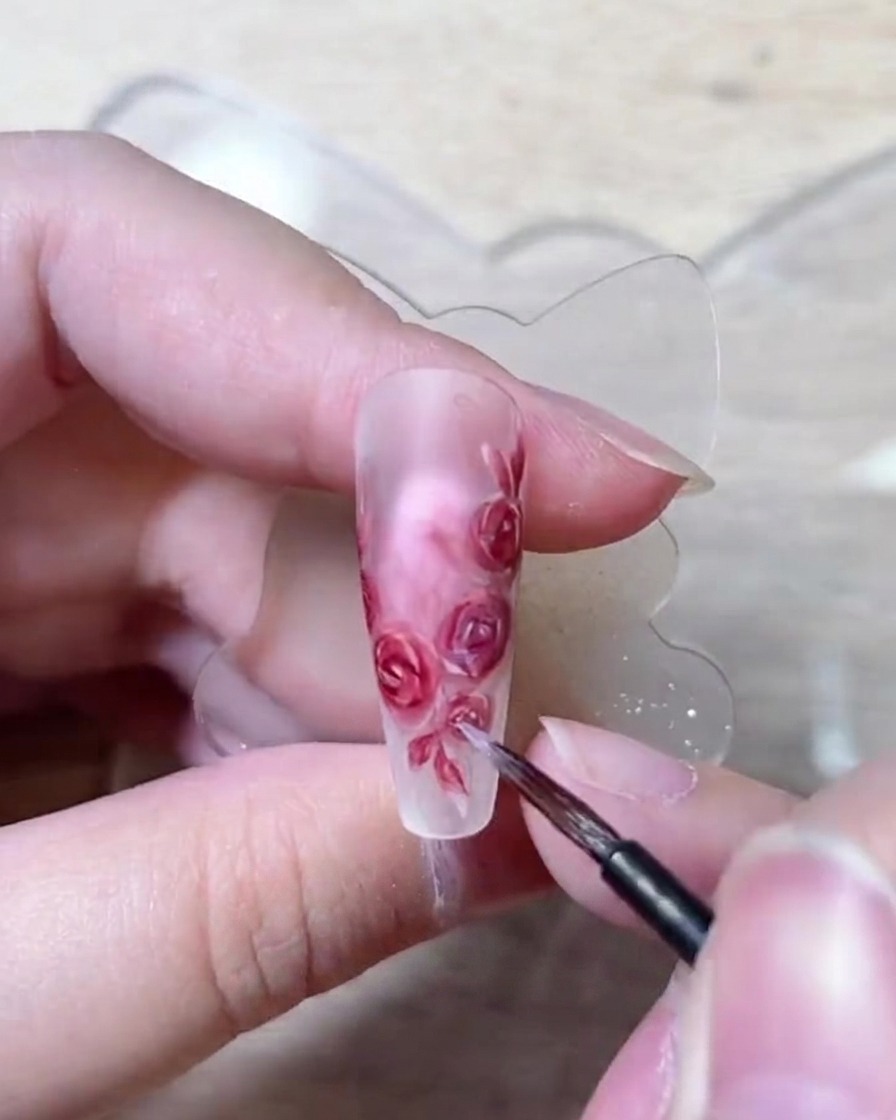
Add tiny touches of white highlights onto the rose petals to accentuate the floral texture and multi-layered feel. Use a very fine liner brush with minimal product to catch the light on the outermost curves of the painted flowers.
Tip: Keep the white highlights delicate and sparse so they accent the texture rather than wash out the red tones. - 9Carve intricate rose details
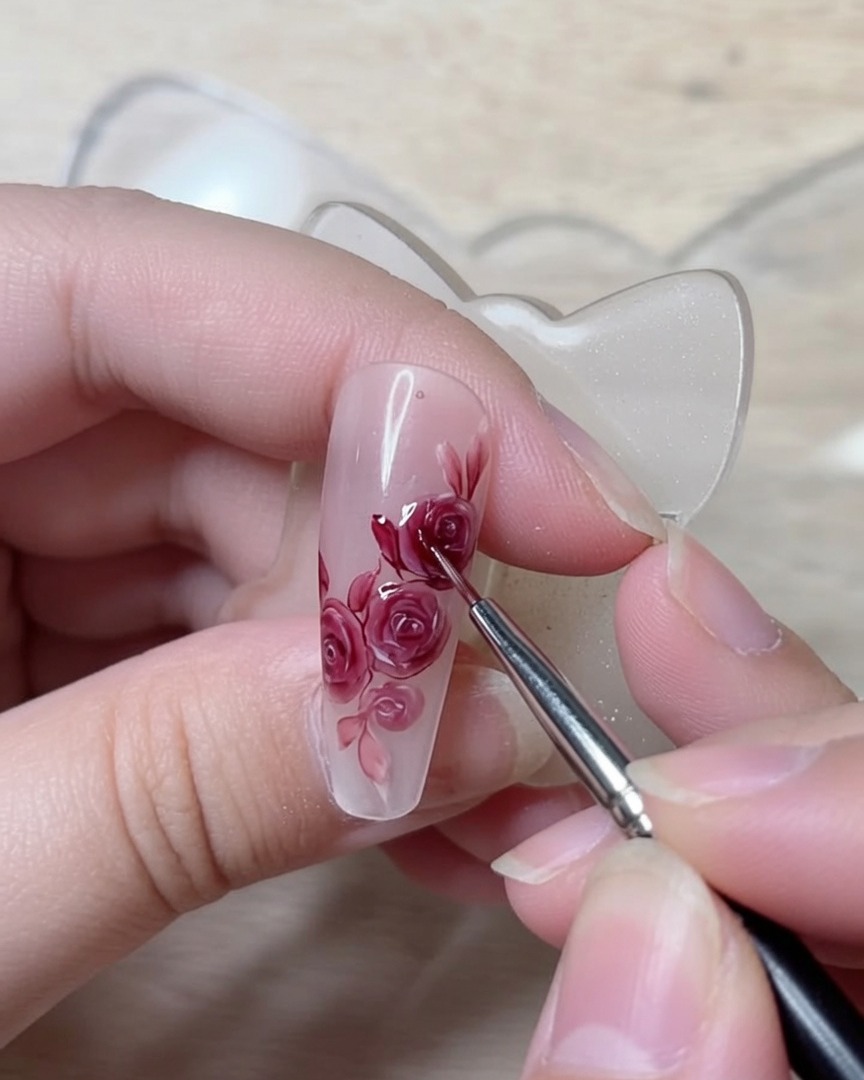
Use deep red pigment with a fine brush to carve intricate details, shadows, and structural lines into the roses. Carefully outline petal folds and deepen recessed areas to ensure the design looks crisp, structured, and realistic.
Tip: Work with a freshly wiped fine liner brush to maintain sharp precision when carving shadow lines.