Chinese Style Velvet Knot Nail Art — Step-by-Step Tutorial
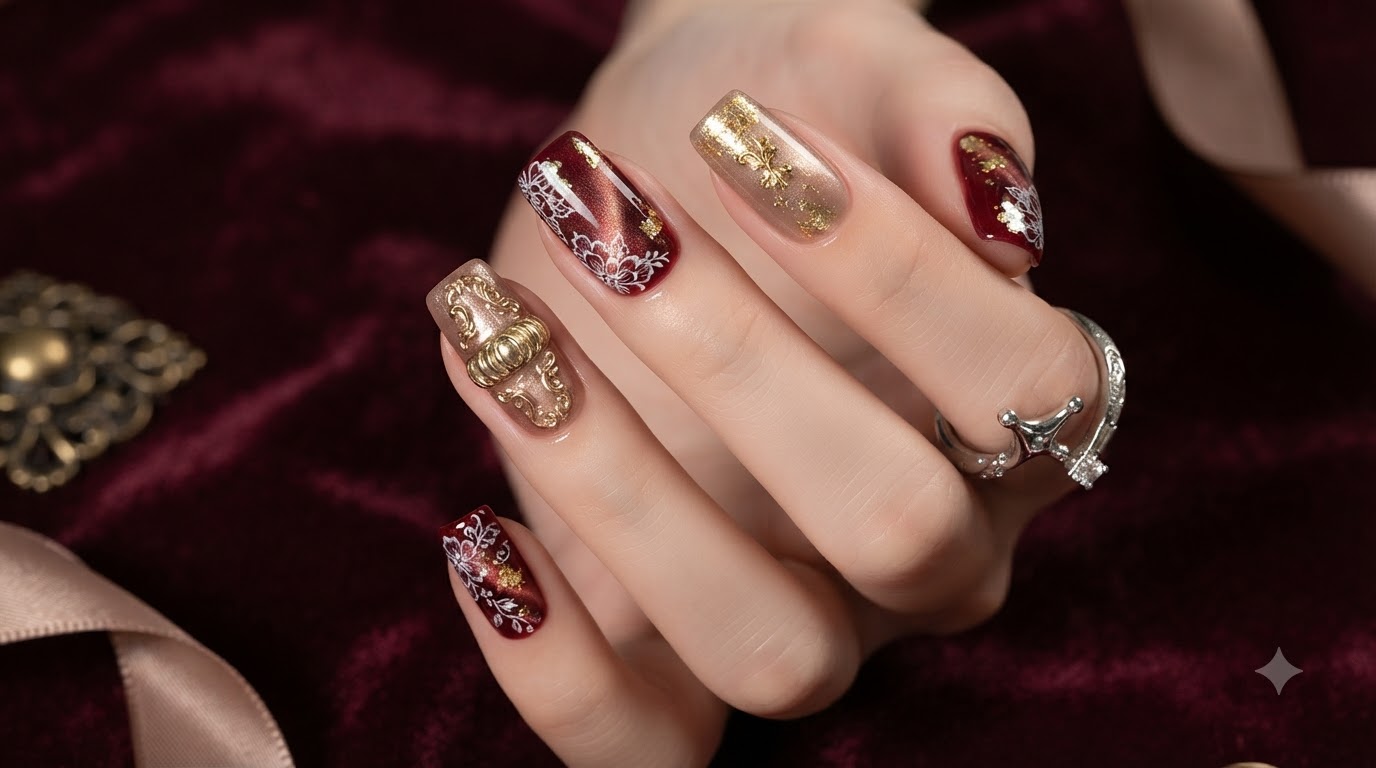
Create stunning Chinese style velvet knot nails featuring rich red velvet gel, cat-eye glass bead effects, and intricate 3D pearl and rhinestone charms.
Discover the elegance of traditional aesthetics with this Chinese style velvet knot nail art tutorial. Combining deep red velvet gel textures with powder-beige cat-eye effects and intricate 3D pearl charms, this look brings a sophisticated and opulent touch to your manicure collection.
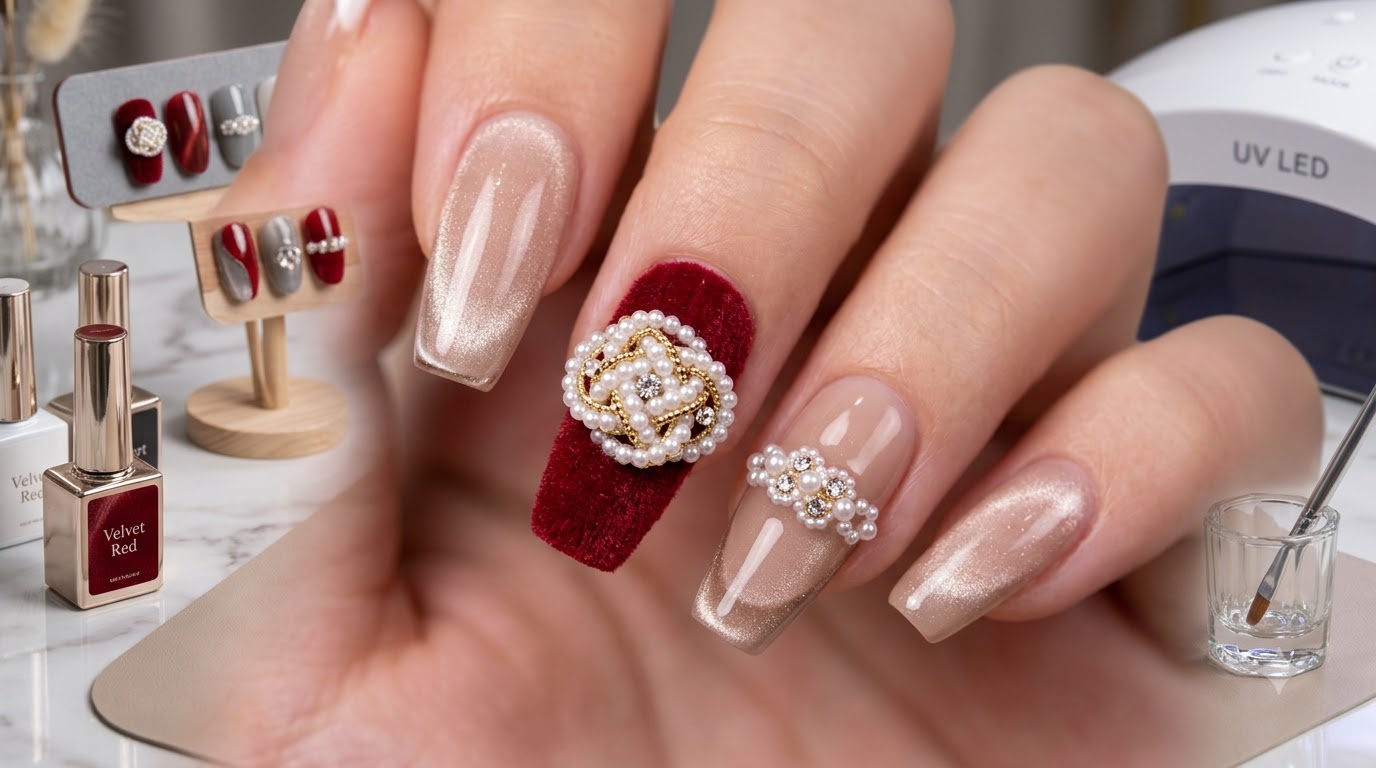
Steps
- 1Apply Red Velvet Gel Base
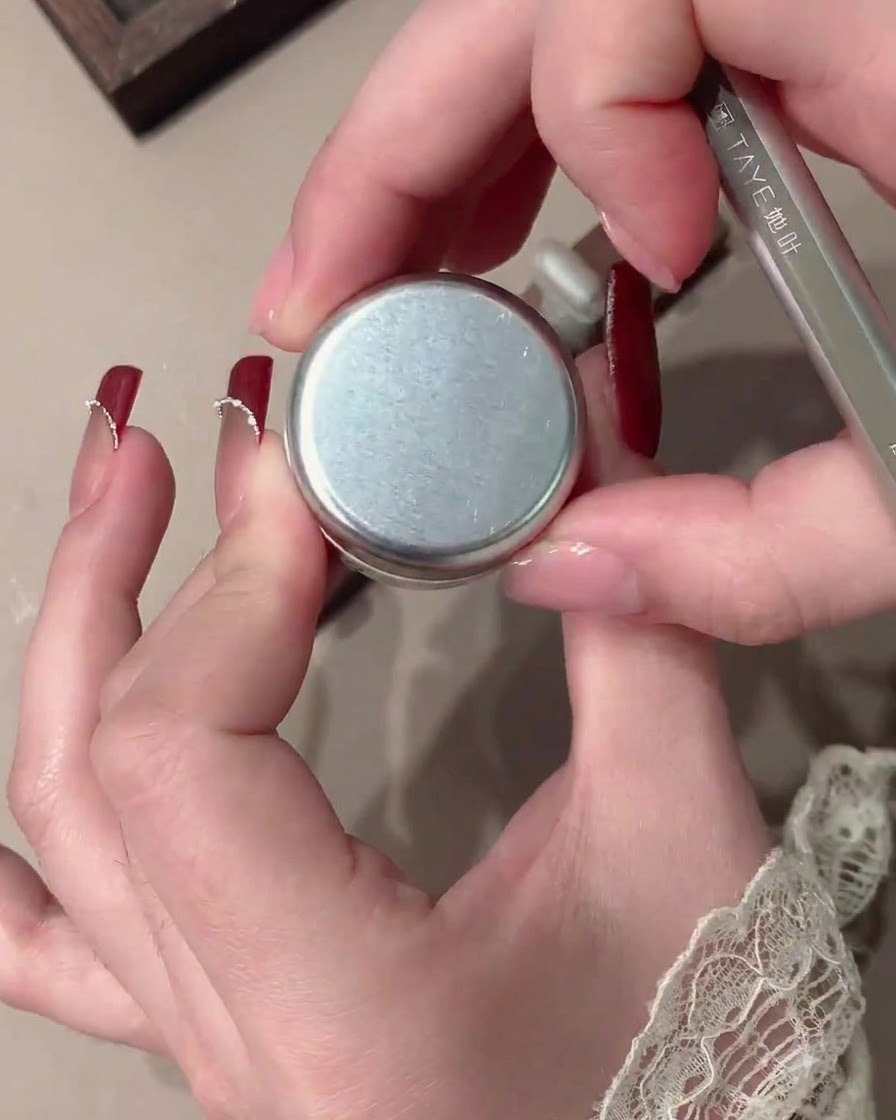
Apply a coat of red velvet gel onto the clear nail tip, ensuring even coverage across the surface.
Tip: Apply in smooth, thin layers to prevent pooling and achieve a rich, consistent velvet texture. - 2Smooth the Velvet Gel
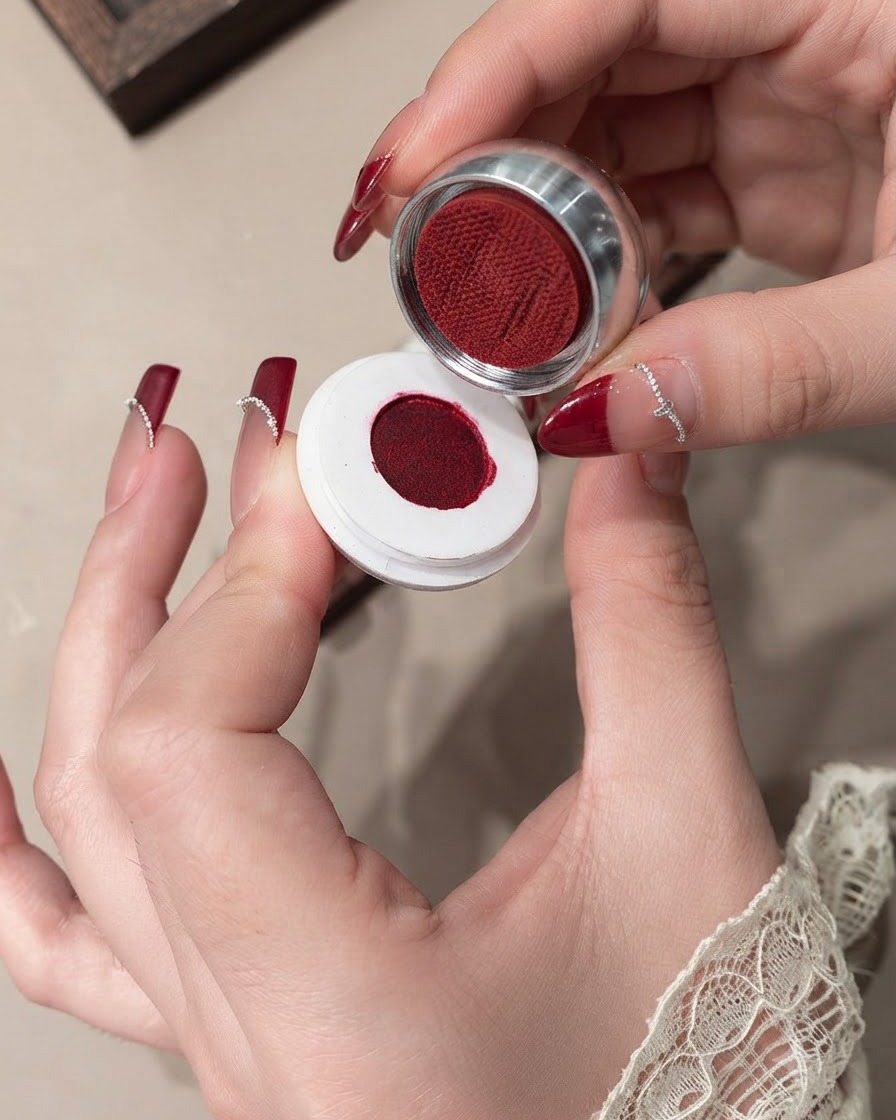
Use a brush to smooth the red velvet gel across the nail to ensure complete and even coverage.
Tip: Check for any uneven spots or thin patches under good lighting before curing. - 3Apply Powder-Beige Cat-Eye Gel
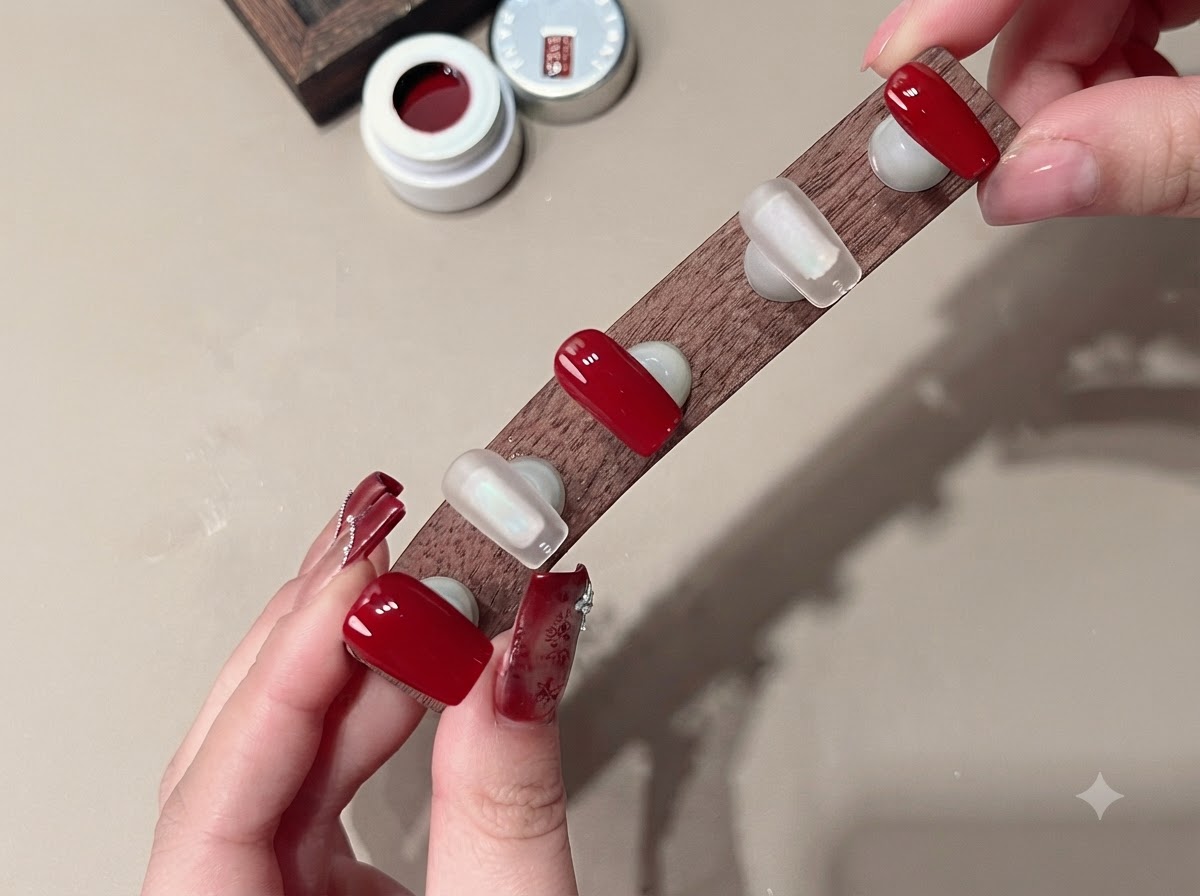
Apply powder-beige cat-eye gel onto the remaining clear nail tips to prepare them for magnetic effect styling.
Tip: Keep the application layer clean and uniform to ensure the cat-eye magnetic particles move smoothly. - 4Create Wide Light Effect on Velvet Nail
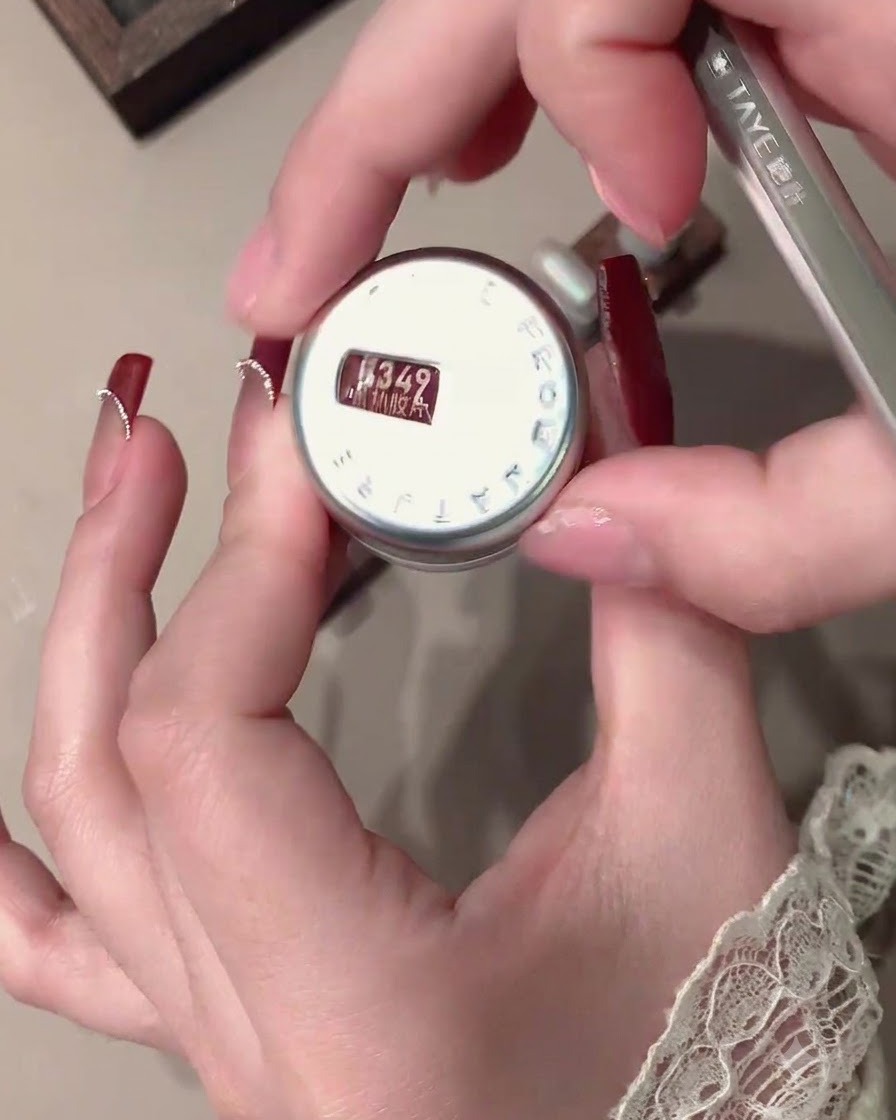
Use a magnet on the red velvet nail to pull the light to one side, then scan the opposite side to create a bright, wide light effect.
Tip: Hold the magnet steady and close to the nail surface without touching the wet gel. - 5Draw C-Curve and Circle for Glass Bead Effect
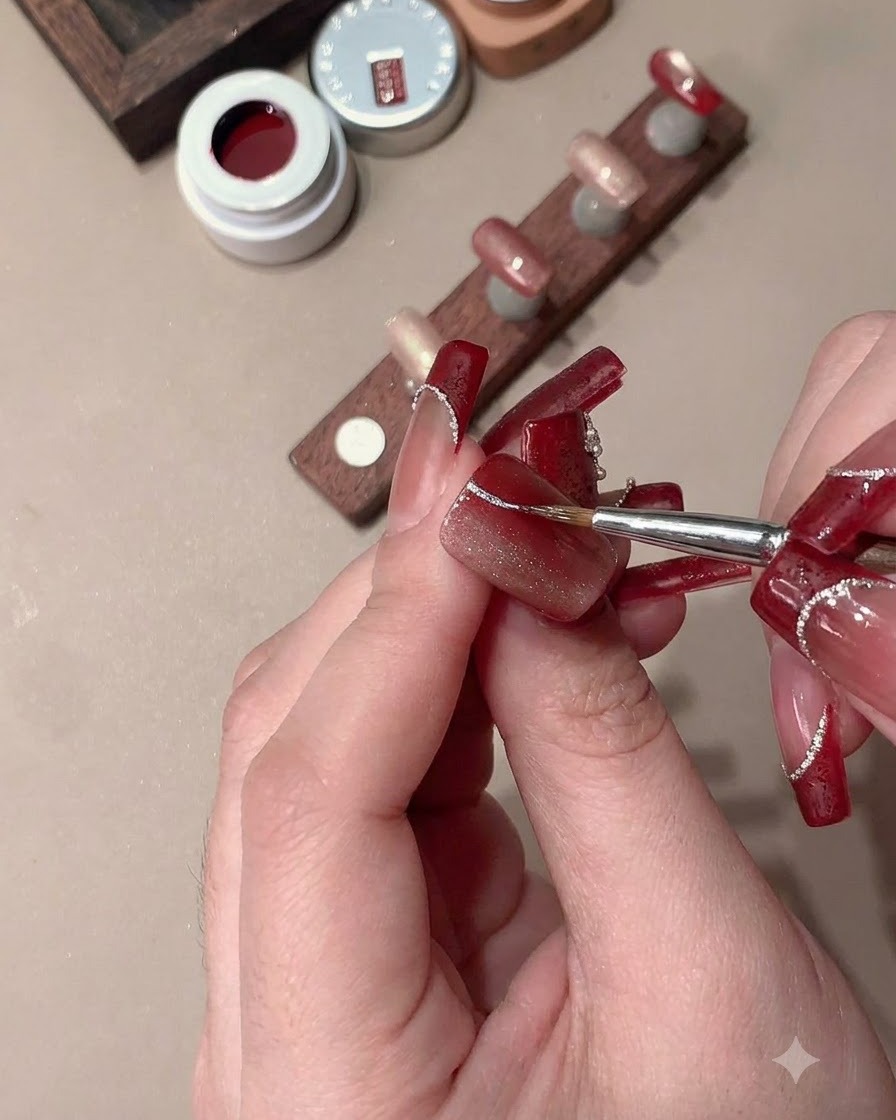
Draw a C-curve and circle on the nail using the magnet to reveal a bright glass bead look.
Tip: Curve the magnet precisely to shape the light reflection into a distinct circle and curve. - 6Create Wide-Light Effect on Cat-Eye Nail
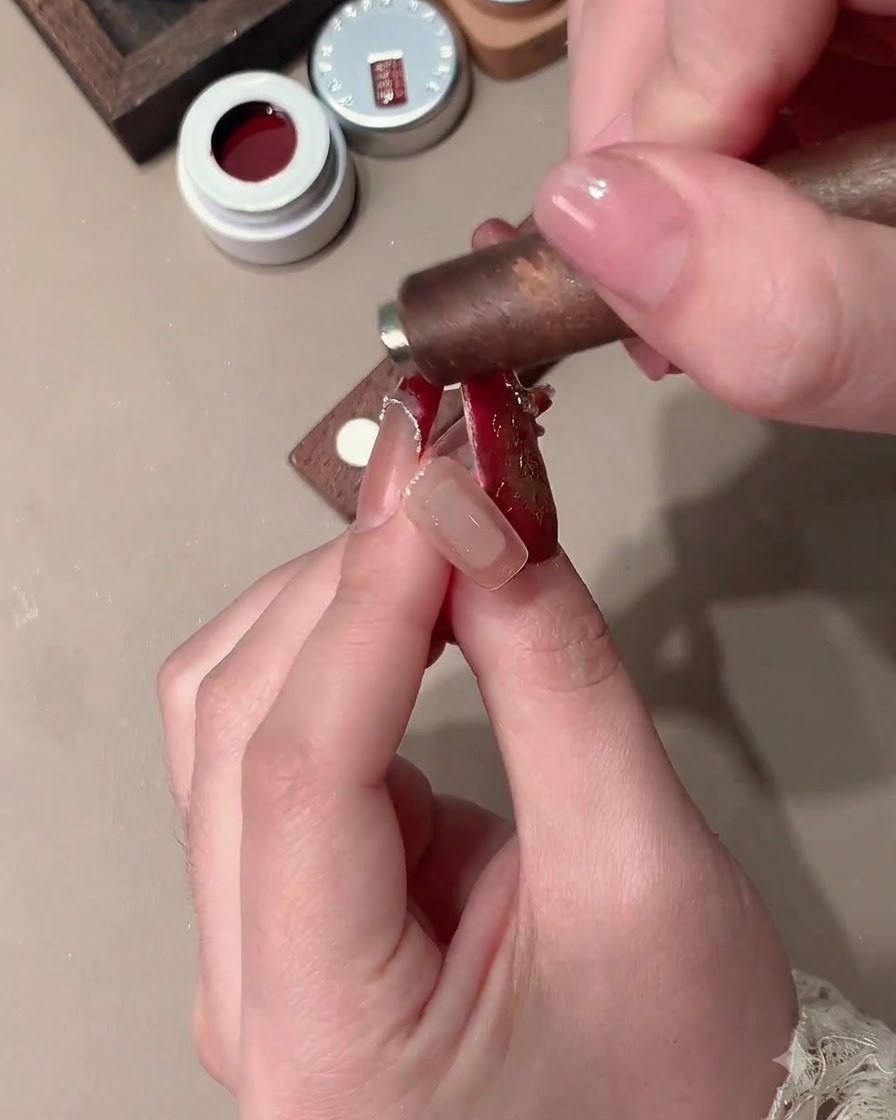
On the cat-eye nail, use the magnet to scan and create a wide-light effect before shaping the final pattern.
Tip: Ensure the magnetic particles are evenly dispersed before creating the wide light beam. - 7Shape magnetic light effect for French manicure
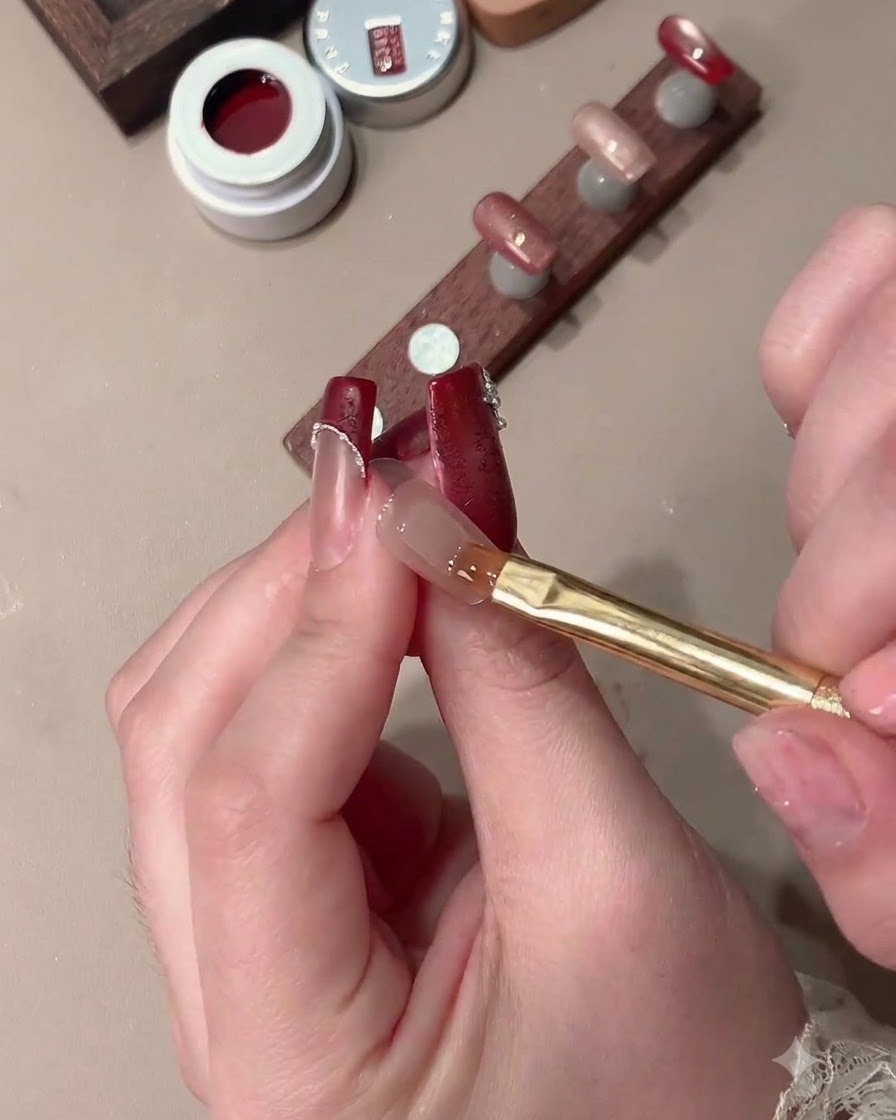
Using a magnet, shape the cat-eye gel into a C-curve and a circle, narrowing the light area to leave a clean and clear French tip space at the end of the nail.
Tip: Keep the circular light effect centered near the tip to carve out a distinct French guide area. - 8Paint the French tip line
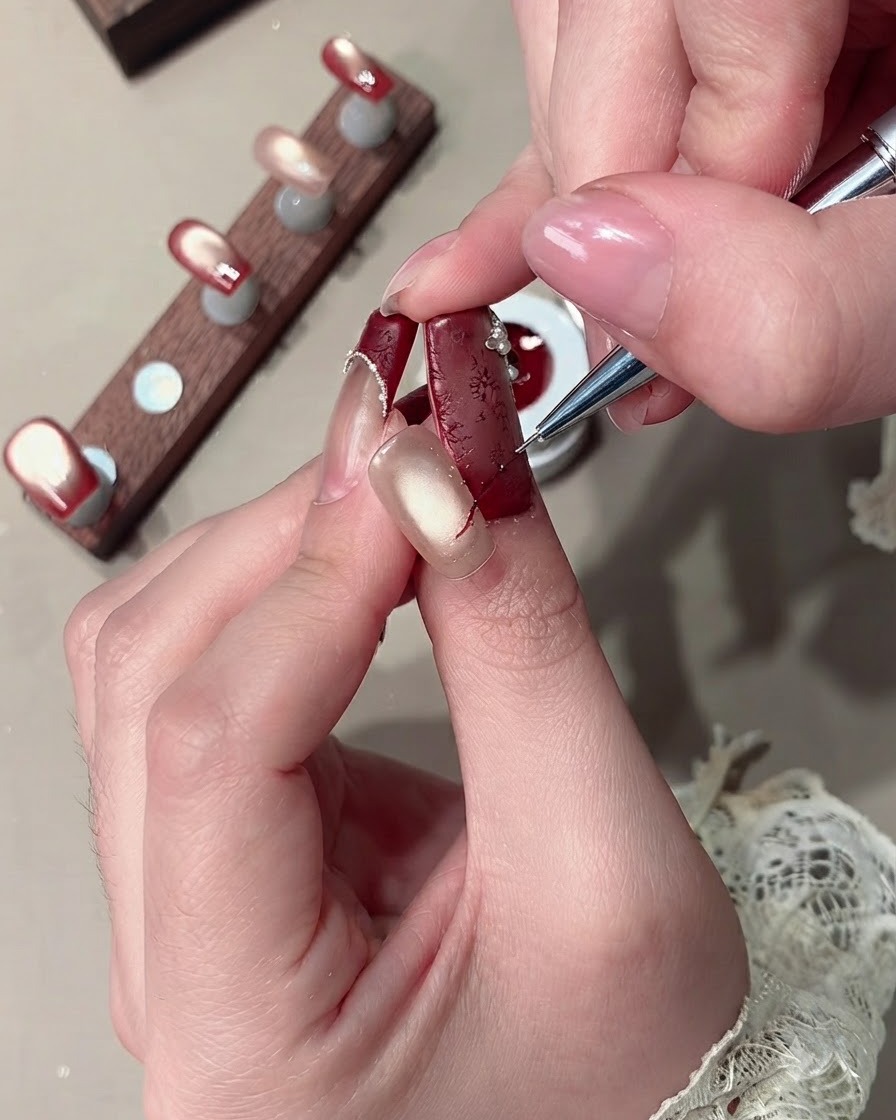
Dip a fine liner brush into the red velvet gel and carefully paint the curved line of the French tip along the pre-defined boundary.
Tip: Hold the liner brush steady and use light pressure to achieve a smooth, clean curve along the smile line. - 9Fill in the French tip
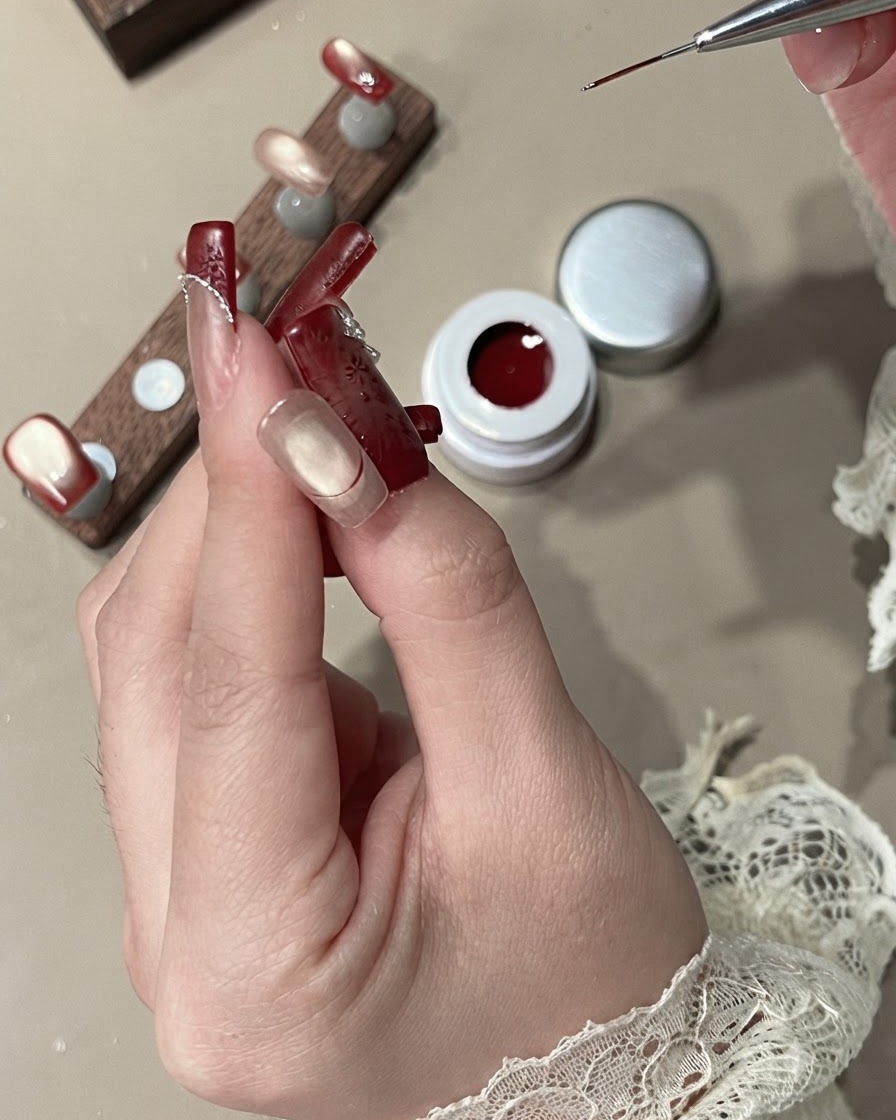
Using the red velvet gel, thoroughly fill in the rest of the French tip area, ensuring the color is rich, opaque, and evenly distributed.
Tip: Make sure the edges match the drawn line cleanly before curing to maintain a crisp French manicure look. - 10Apply top coat
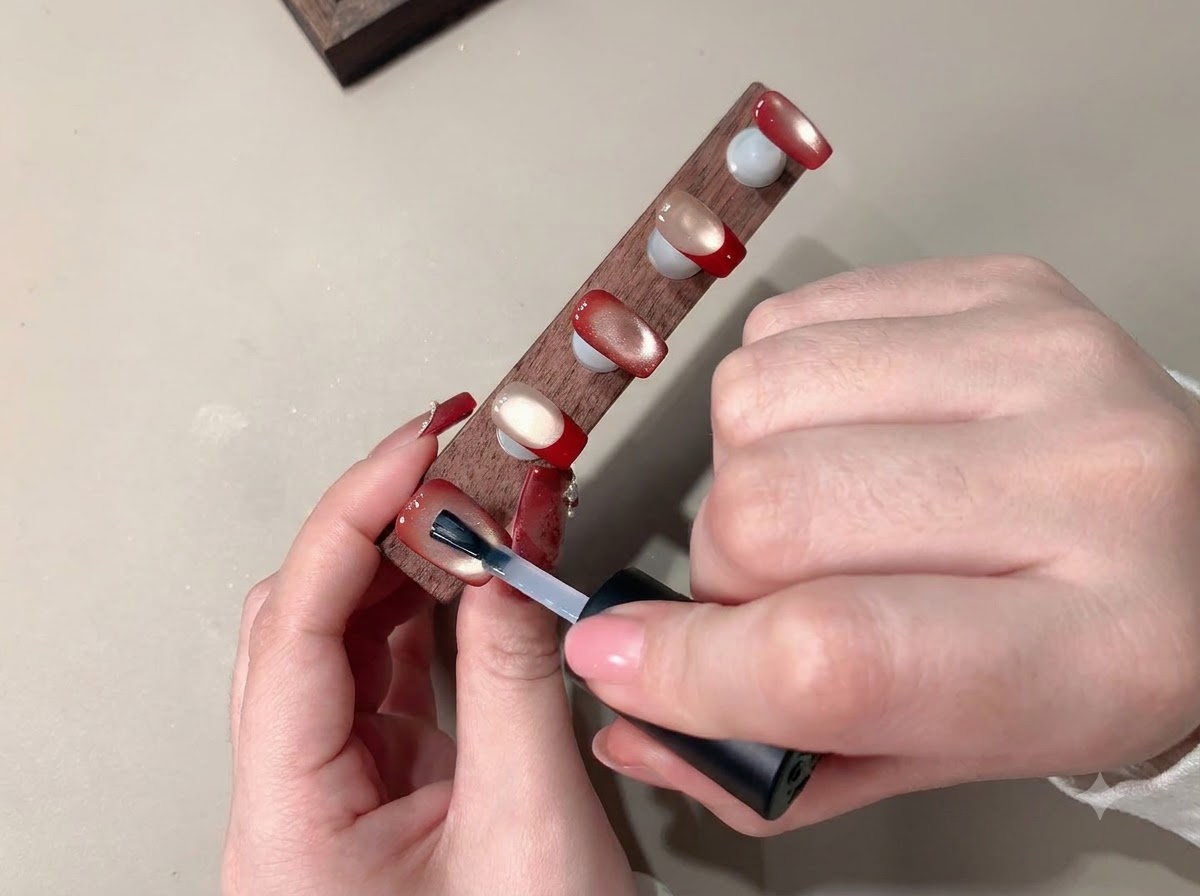
Apply a layer of glossy top coat over the entire surface of each nail to seal the design, protect the velvet and cat-eye effects, and add a brilliant shine.
Tip: Cap the free edge with top coat to prevent chipping and ensure long-lasting wear. - 11Apply red gel to stamping plate
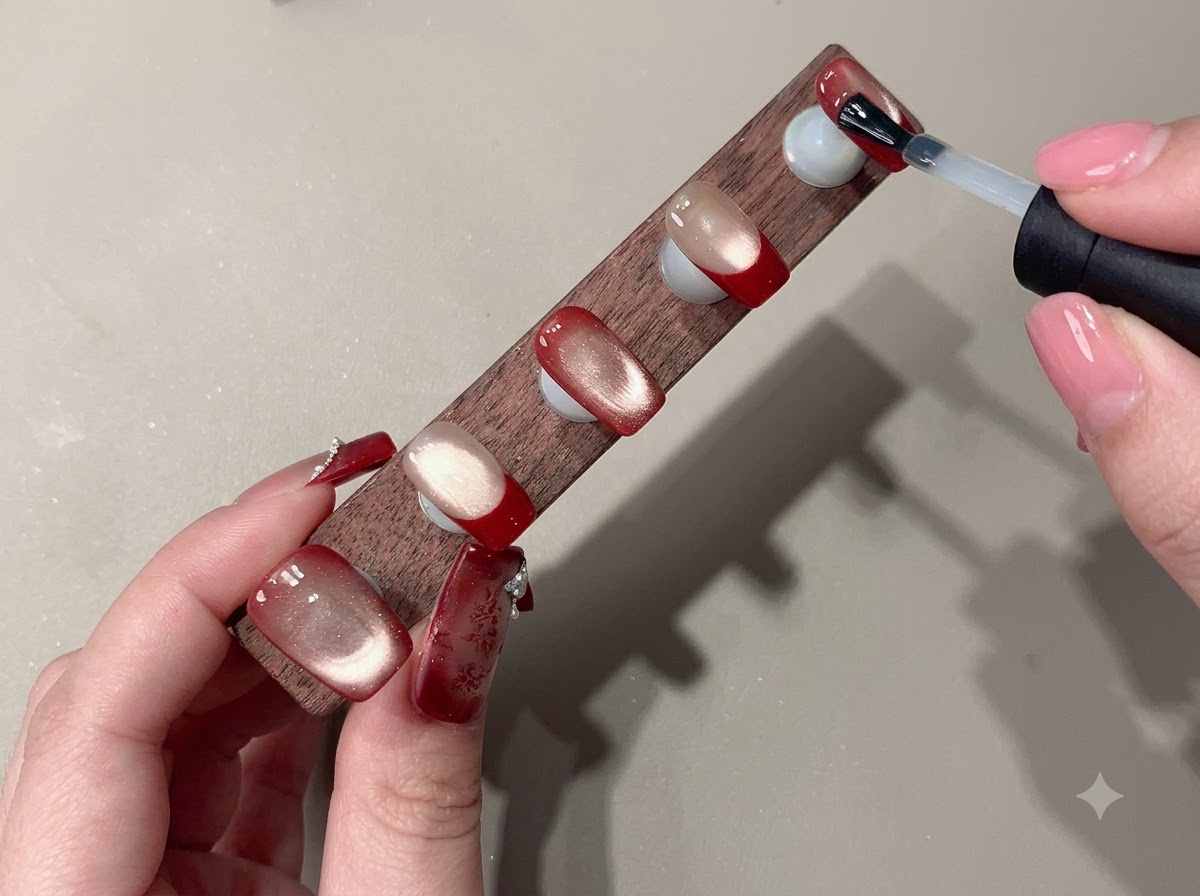
Take the red gel polish and apply a generous amount directly over the engraved pattern on the metal stamping plate.
Tip: Ensure the gel fills the engraved grooves of the design completely for a sharp transfer. - 12Scrape excess gel from plate
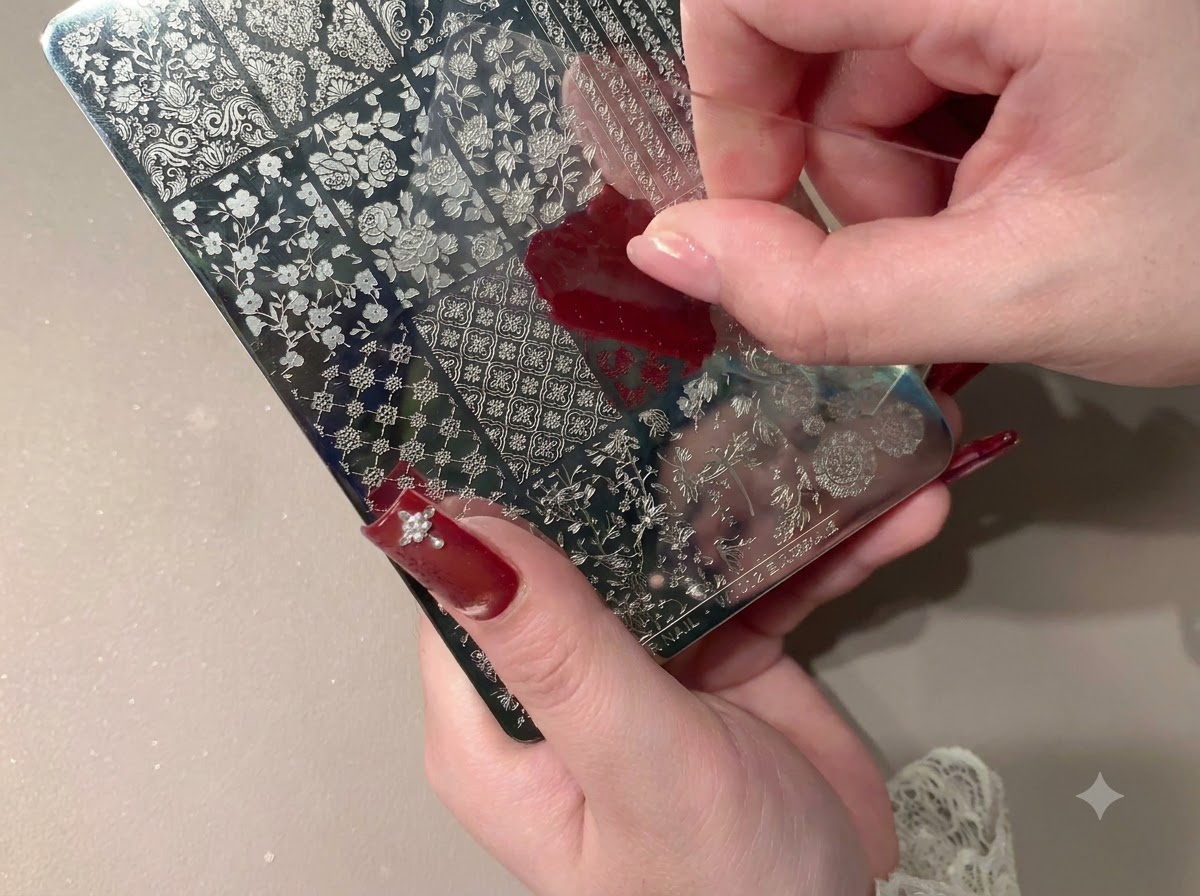
Hold a scraper at an angle and firmly glide it across the stamping plate to remove all excess red gel, leaving gel only inside the etched pattern lines.
Tip: Scrape quickly and smoothly in one direction to avoid leaving streaks or wiping gel out of the design grooves. - 13Pick up the red pattern
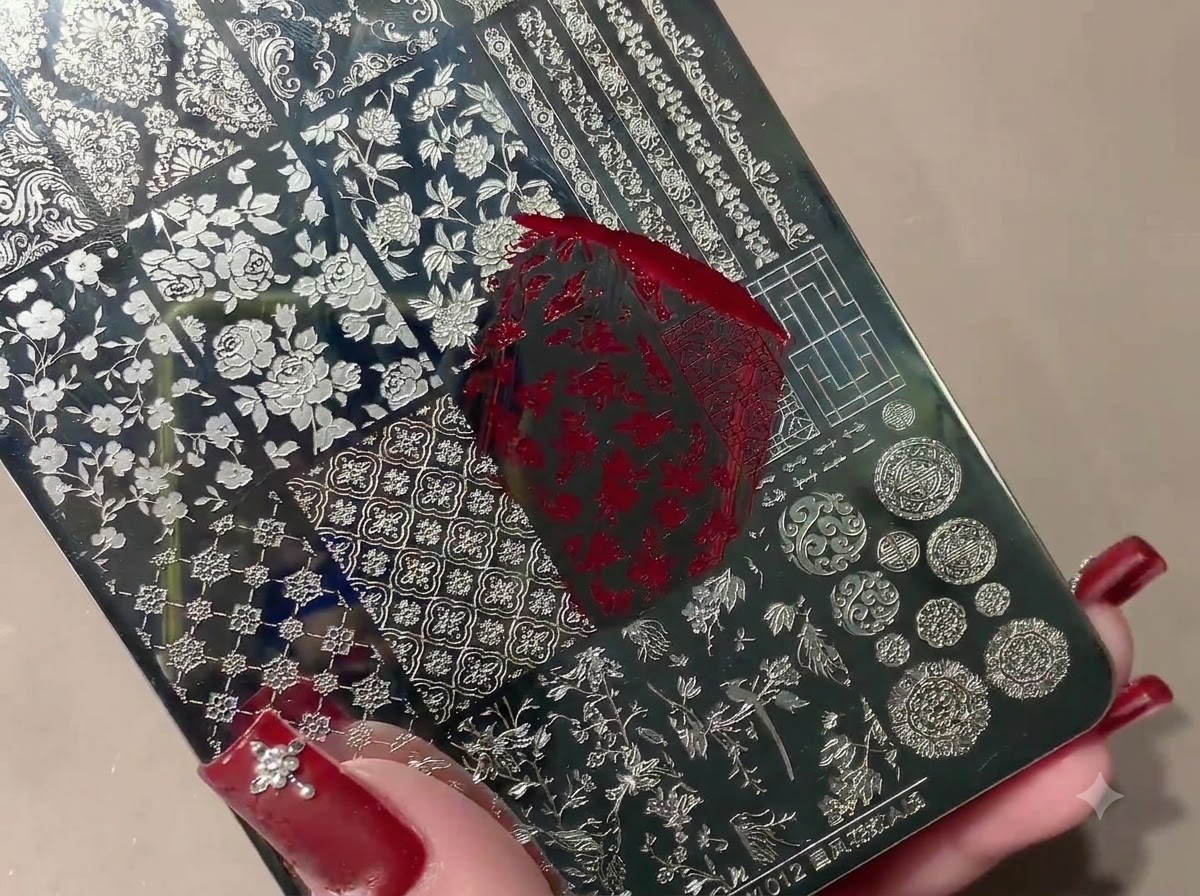
Apply red gel to the stamping plate, scrape away any excess product, and use a silicone stamper with a slow rolling motion to pick up the intricate design.
Tip: Keep the rolling motion smooth and steady to ensure the entire design transfers clearly onto the stamper without distortion. - 14Transfer pattern onto the nail
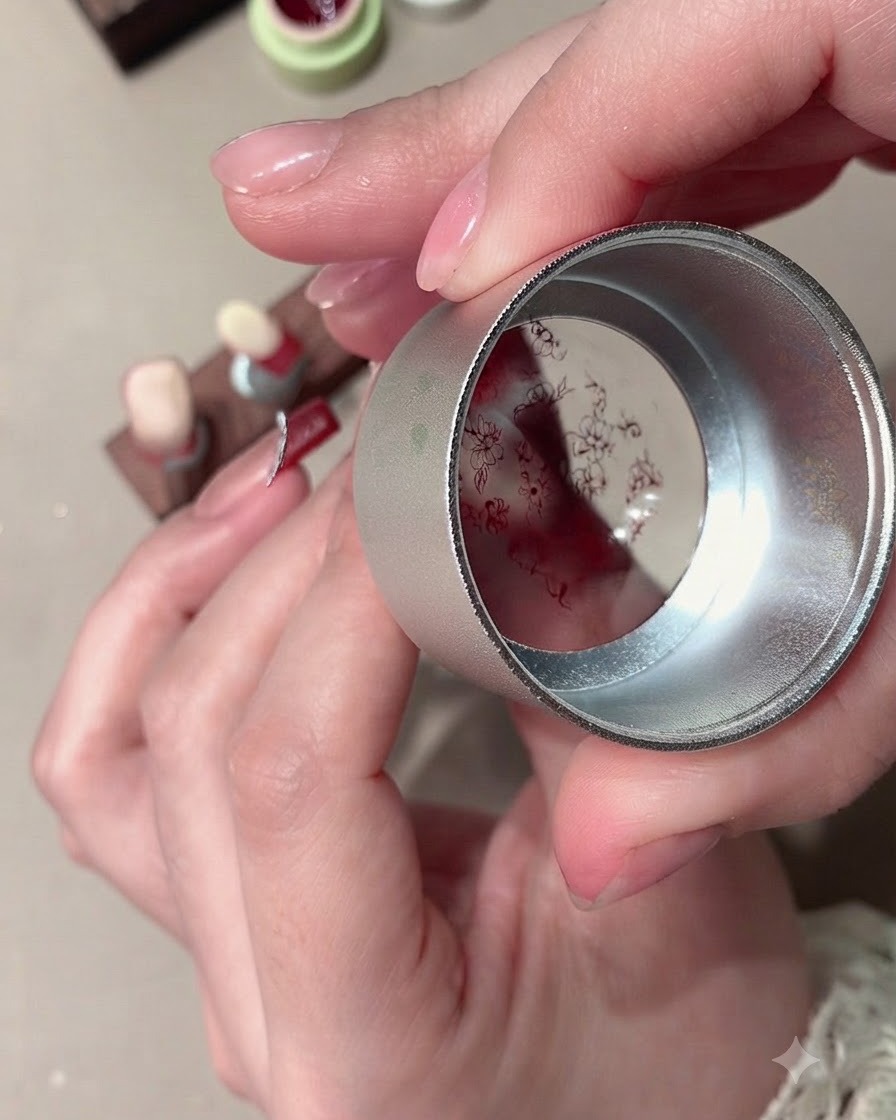
Align the silicone stamper over the nail and press firmly to transfer the red pattern accurately onto the surface.
Tip: Press down gently and evenly so the pattern wraps smoothly around the nail contours without smudging. - 15Dip into crystal powder
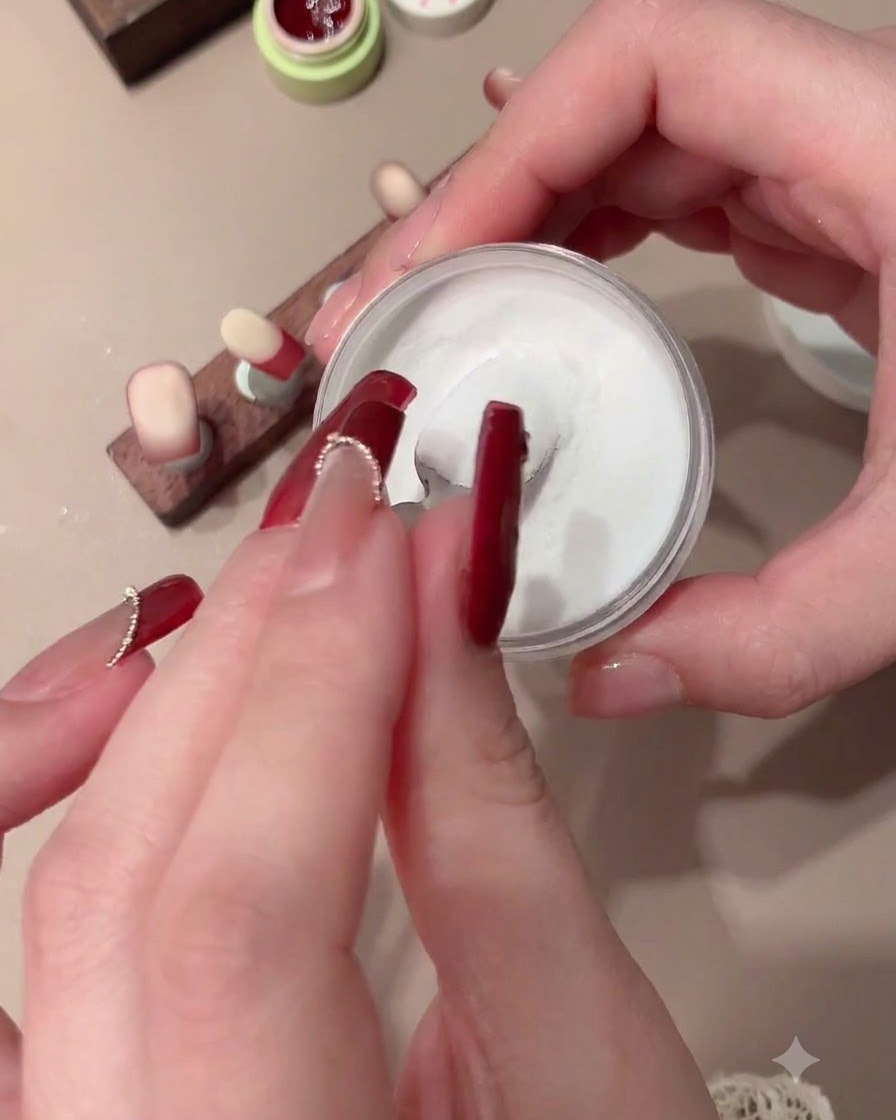
Immediately after transferring the stamped design, dip the nail directly into crystal powder to add texture and set the pattern.
Tip: Ensure the nail is dipped straight down so the powder coats the stamped gel evenly. - 16Cure with mini lamp
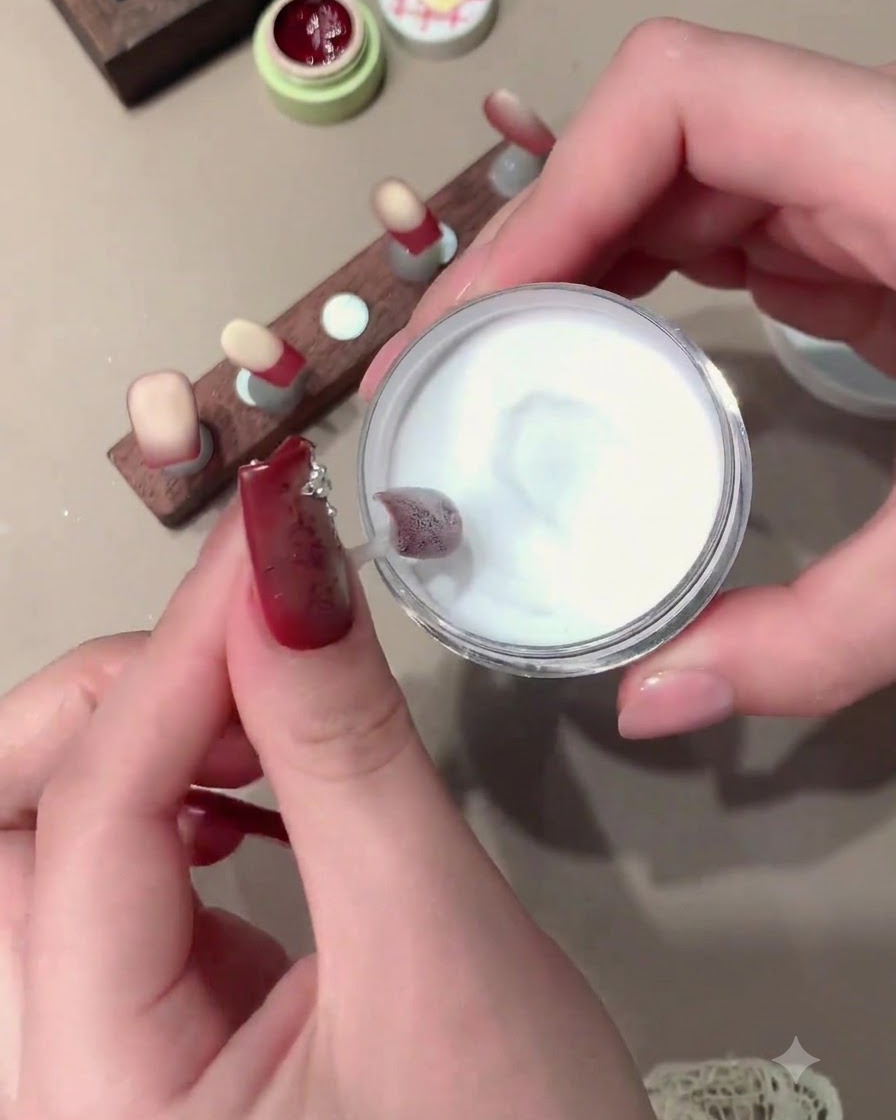
Place the nail under a portable mini UV or LED lamp and cure for 15 seconds to set the design and crystal powder layer.
Tip: Hold the mini lamp steady close to the nail to ensure a fast and complete cure. - 17Brush off excess powder
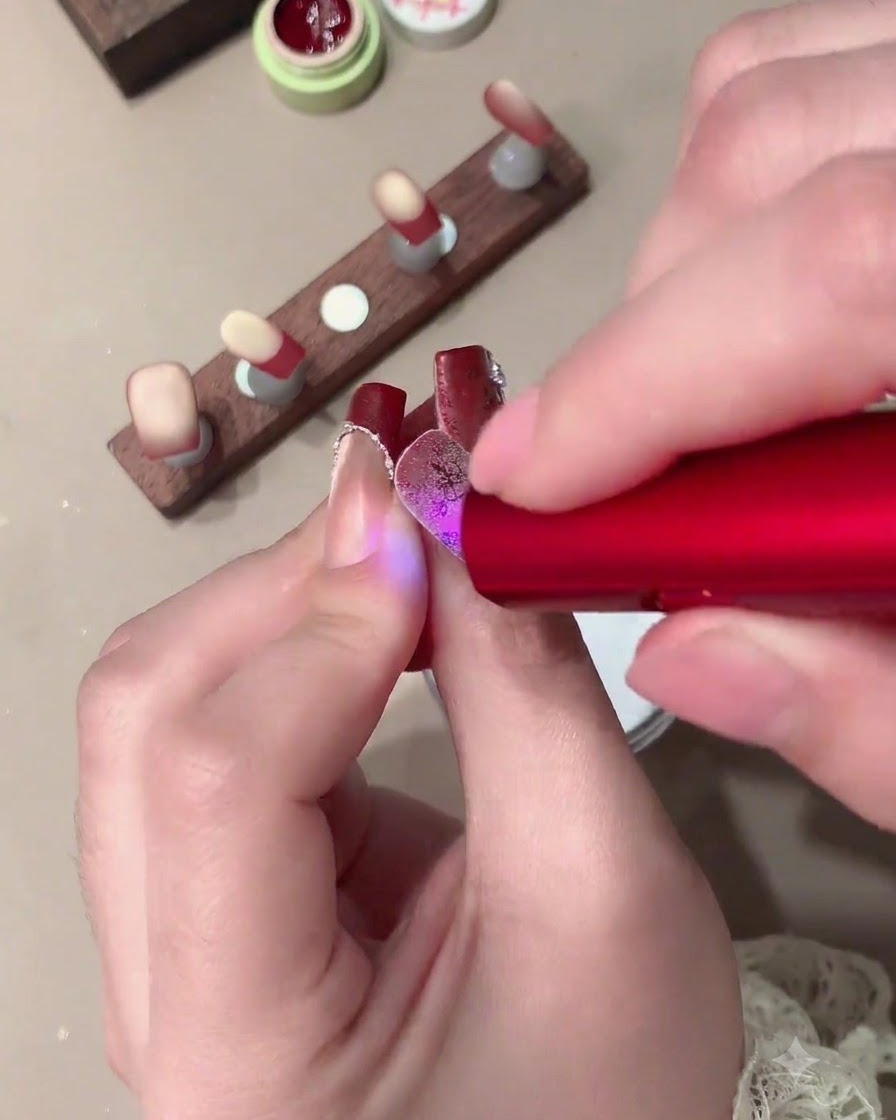
Use a soft brush to gently sweep away all the loose and excess crystal powder from the surface of the nail.
Tip: Brush gently in one direction to reveal the crisp details of the textured stamped design underneath. - 18Stamp pattern on French tip
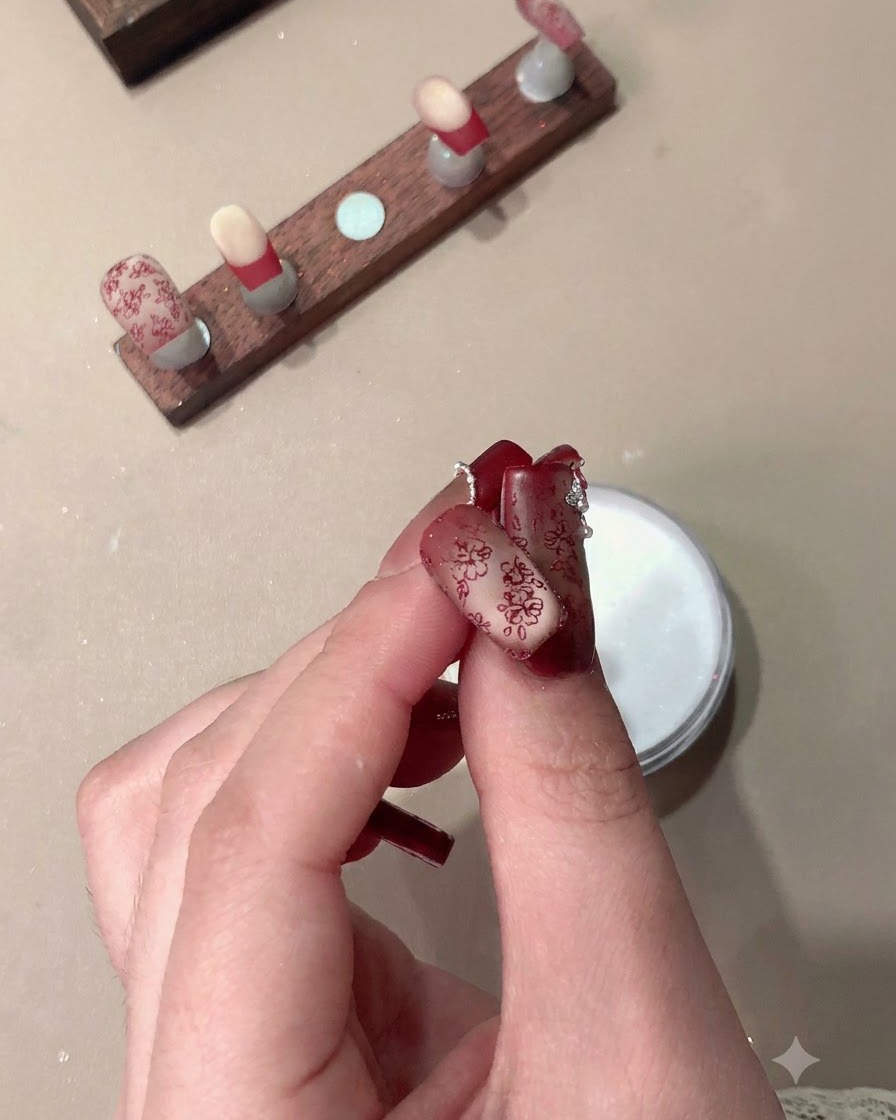
Repeat the stamping process to apply the pattern specifically onto the French tip area of the remaining nails, then wipe away any excess.
Tip: Align the stamp carefully with the French tip line to keep the negative space clean and balanced. - 19Apply crystal powder
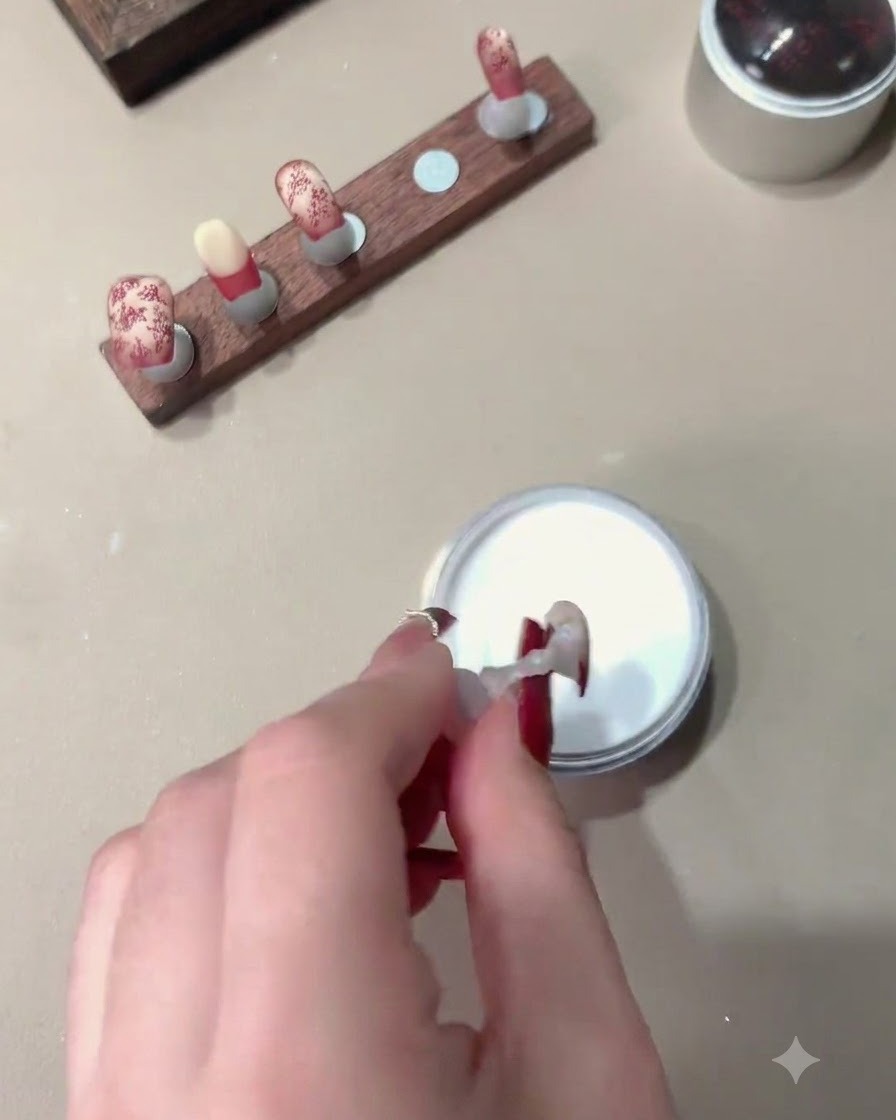
Apply crystal powder over the freshly stamped French tip area to secure and texture the design. Press the nail firmly into the powder and dip it to ensure complete coverage, then cure under a lamp for 15 seconds before brushing away any excess powder.
Tip: Make sure the stamped layer is fresh and tacky so the crystal powder adheres properly before curing. - 20Cure the French tip area
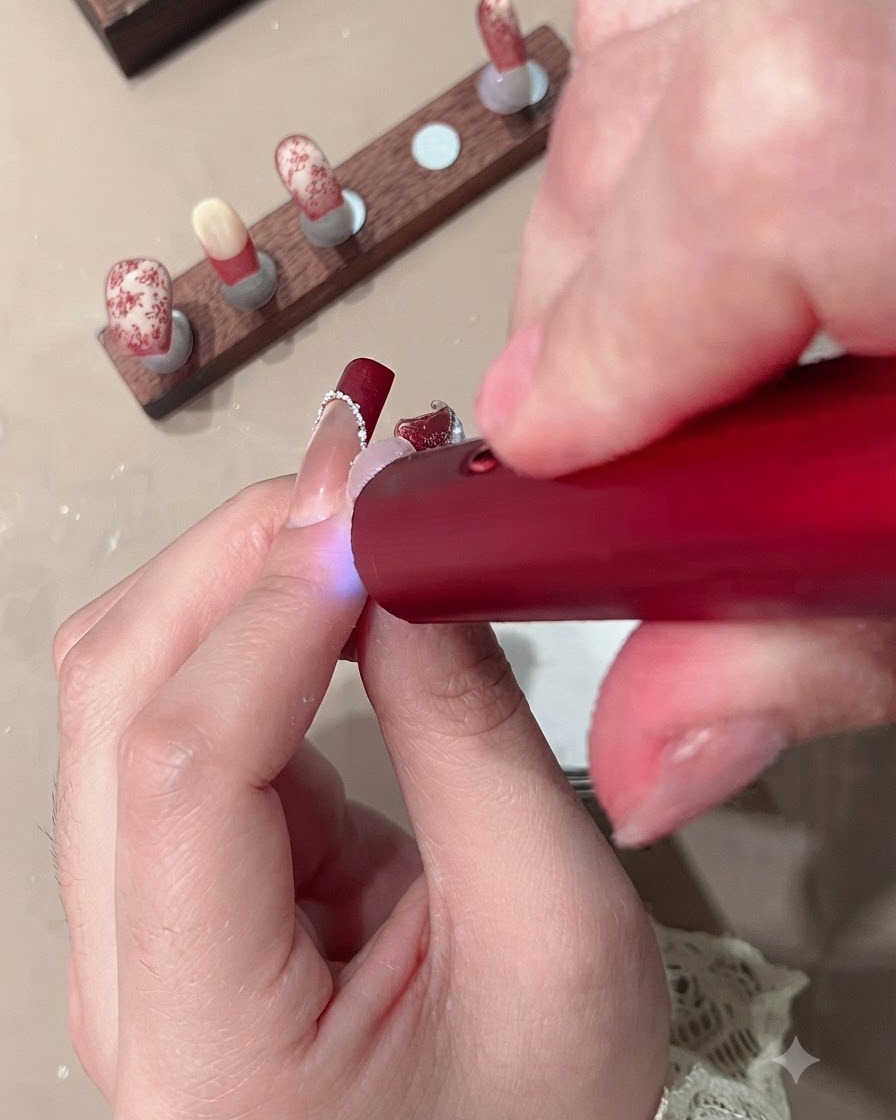
Place the finger under a mini LED lamp to cure the newly applied French tip gel. Ensure the light hits the tip accurately so the red velvet line sets firmly before moving on to stamping and embellishments. Curing prevents any smudging during the next intricate detailing steps.
Tip: Hold the portable lamp steady over the nail to ensure complete and even curing across the curved French tip area.