Retro Burgundy
Gold Foil Luxury Nail Art — Step-by-Step Tutorial
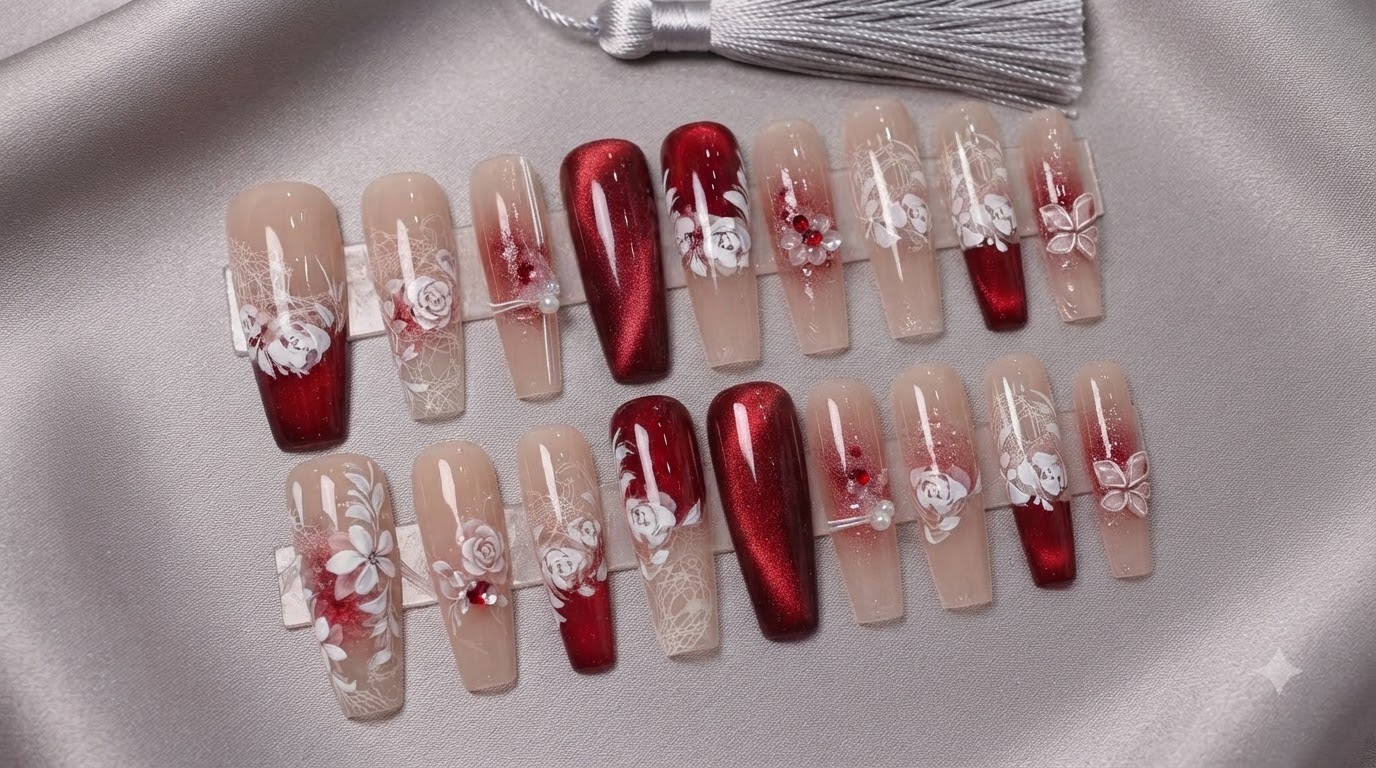
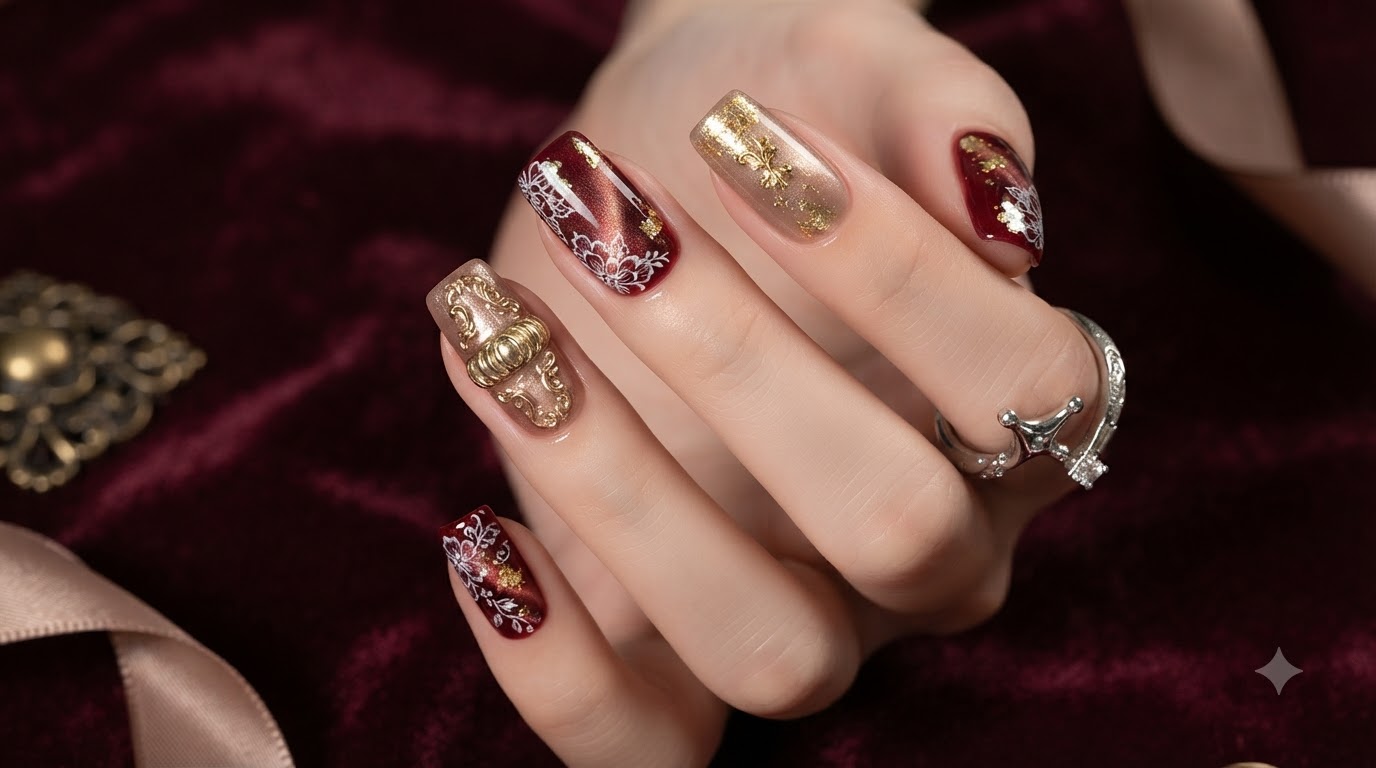
Master retro burgundy and gold foil luxury nails with delicate white florals, cat-eye depth, and sculptural metallic details for a rich vintage salon finish.
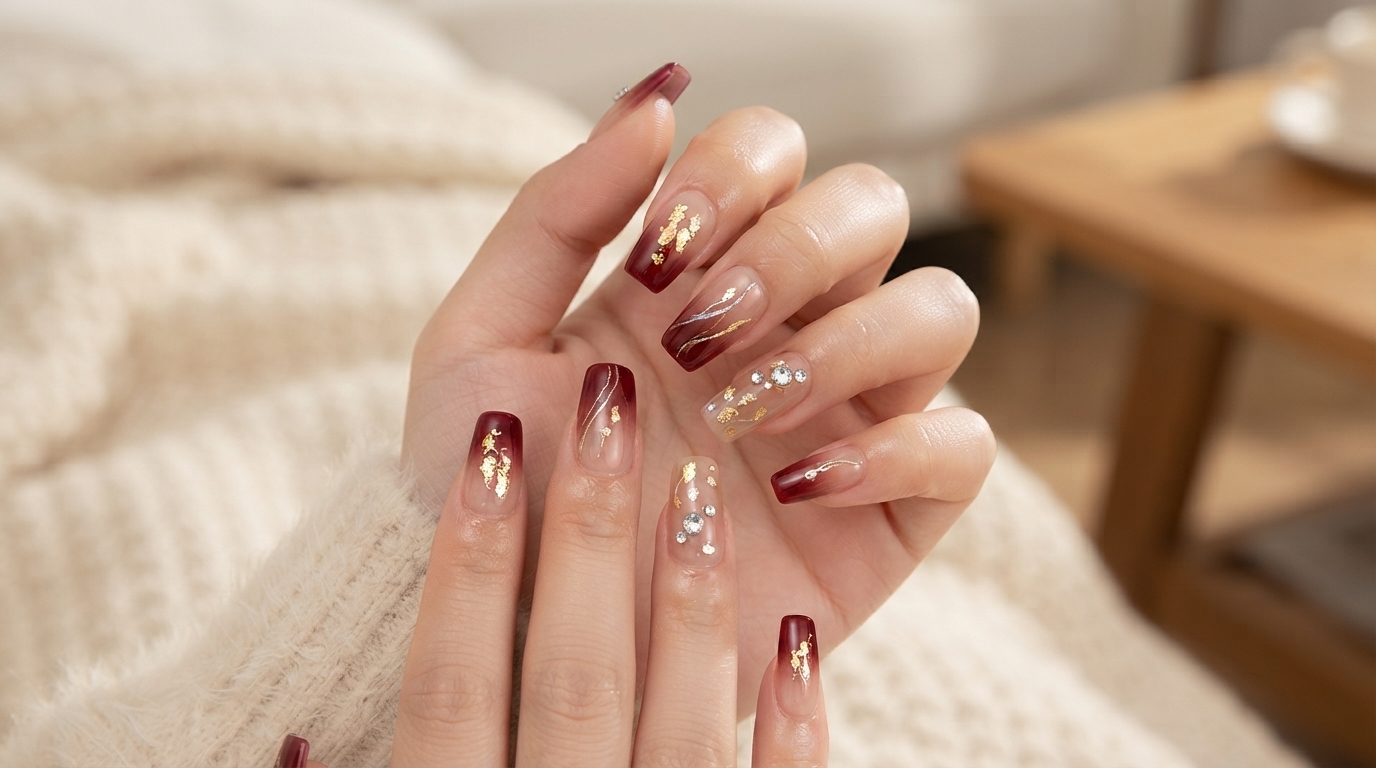
Retro luxury nail art blends vintage richness with modern textures, combining deep burgundy cat-eye bases with shimmering gold foil accents and hand-painted details. This sophisticated look pairs classic dark tones with intricate dimensional elements to create a high-fashion statement right at home.
Steps
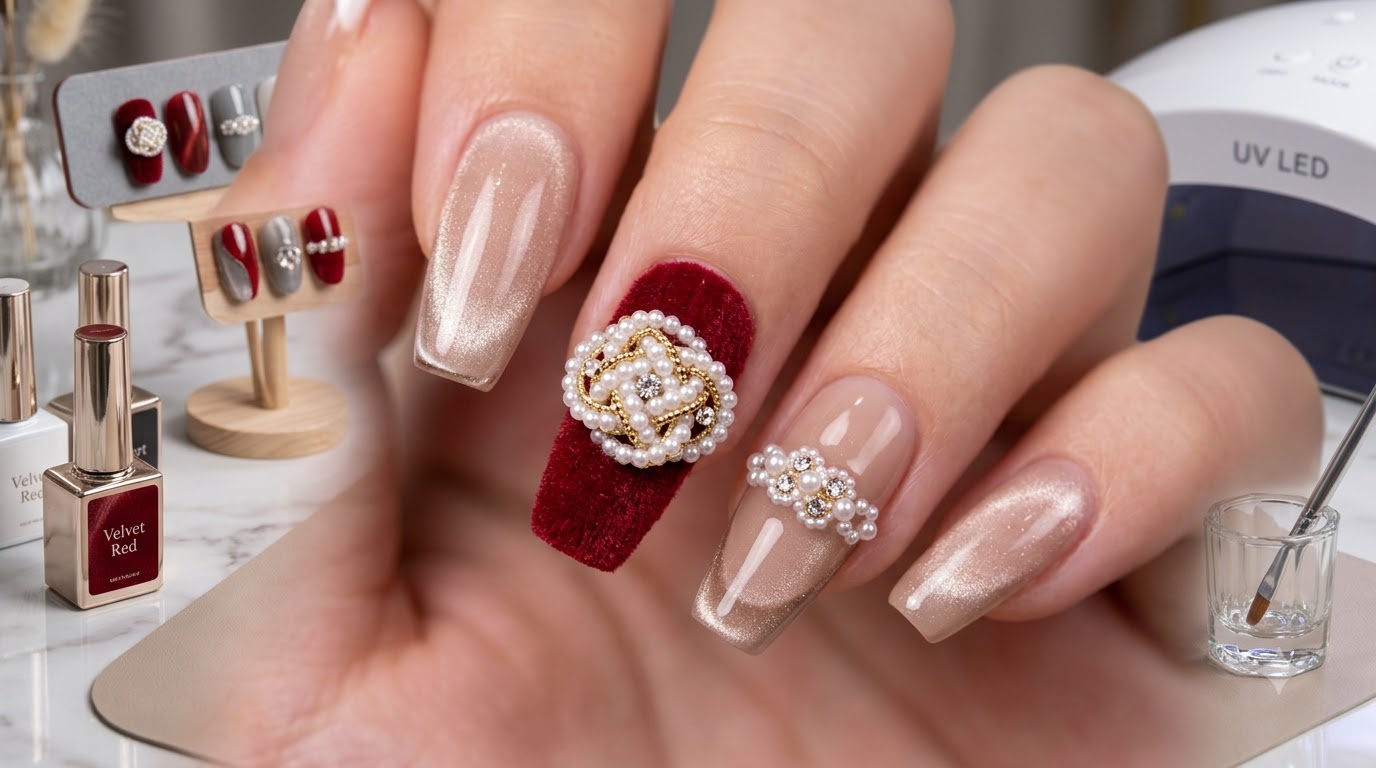
- 1Apply light cat-eye gel and create magnetic effect
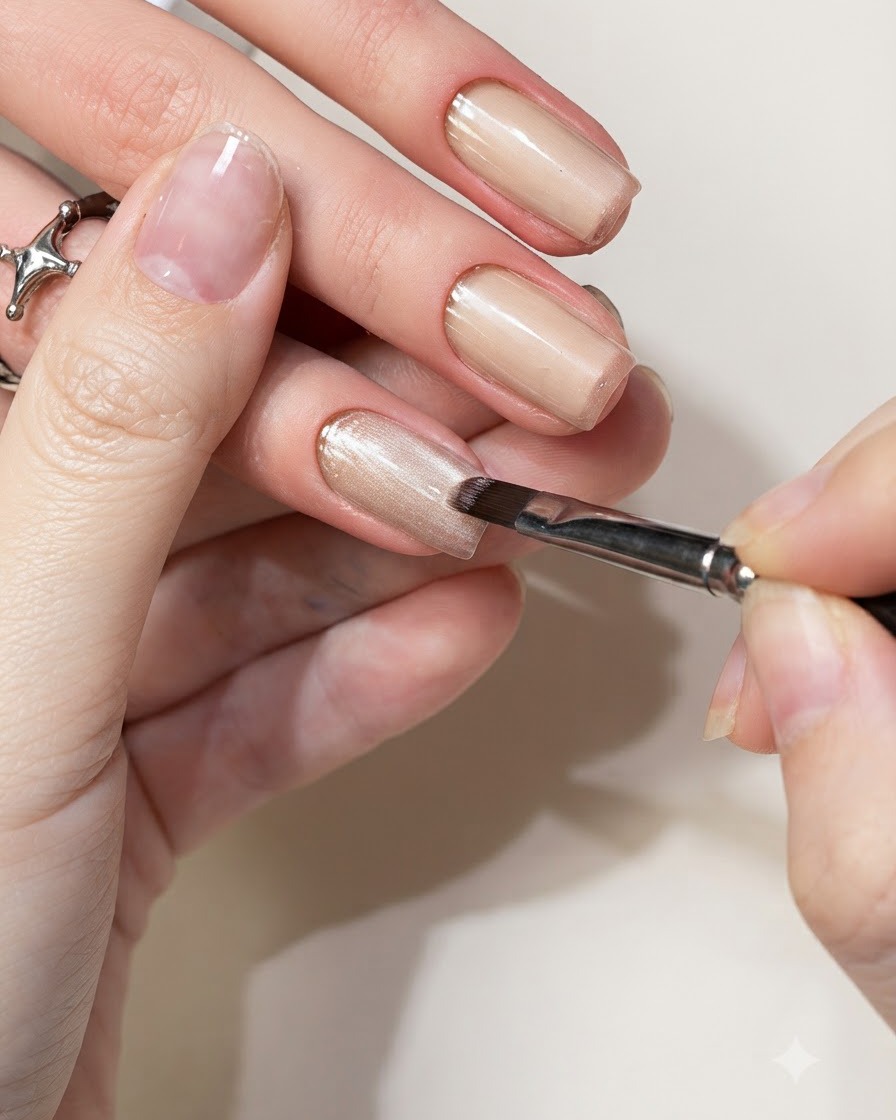
Apply a base layer of light cat-eye gel onto the prepped nail plate to provide a fine shimmering texture. Immediately take a magnetic tool and hover it close to the fingertips to pull the metallic particles into the desired cat-eye light reflection. Ensure the placement is even before curing.
Tip: Keep the magnet steady and close to the nail without touching the wet gel surface to get a sharp, well-defined cat-eye line. - 2Cure the light cat-eye layer
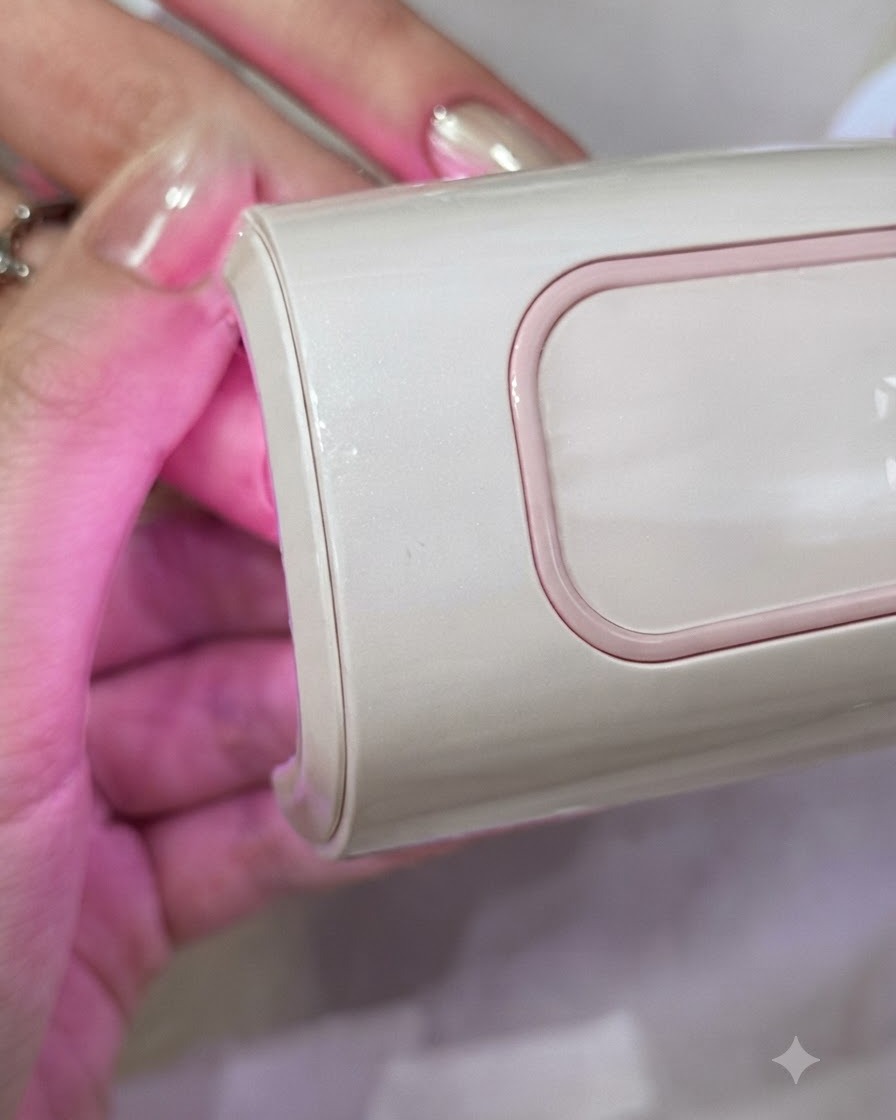
Place the hand under the pink UV/LED lamp to cure the freshly applied light cat-eye gel layer. Cure for the recommended manufacturer duration to ensure the shimmering texture and magnetic design are fully set.
Tip: Double-check that the fingers are centered under the UV/LED lamp opening so all nails receive even light exposure. - 3Apply red cat-eye gel
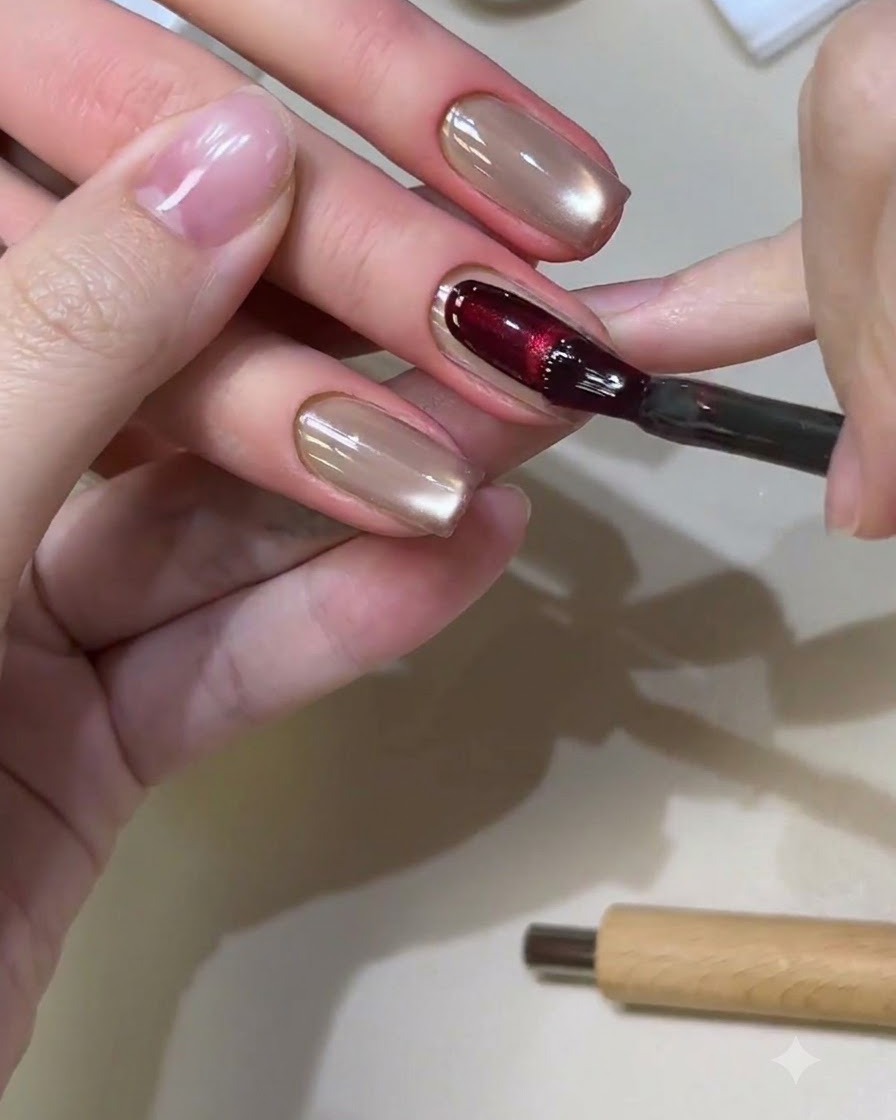
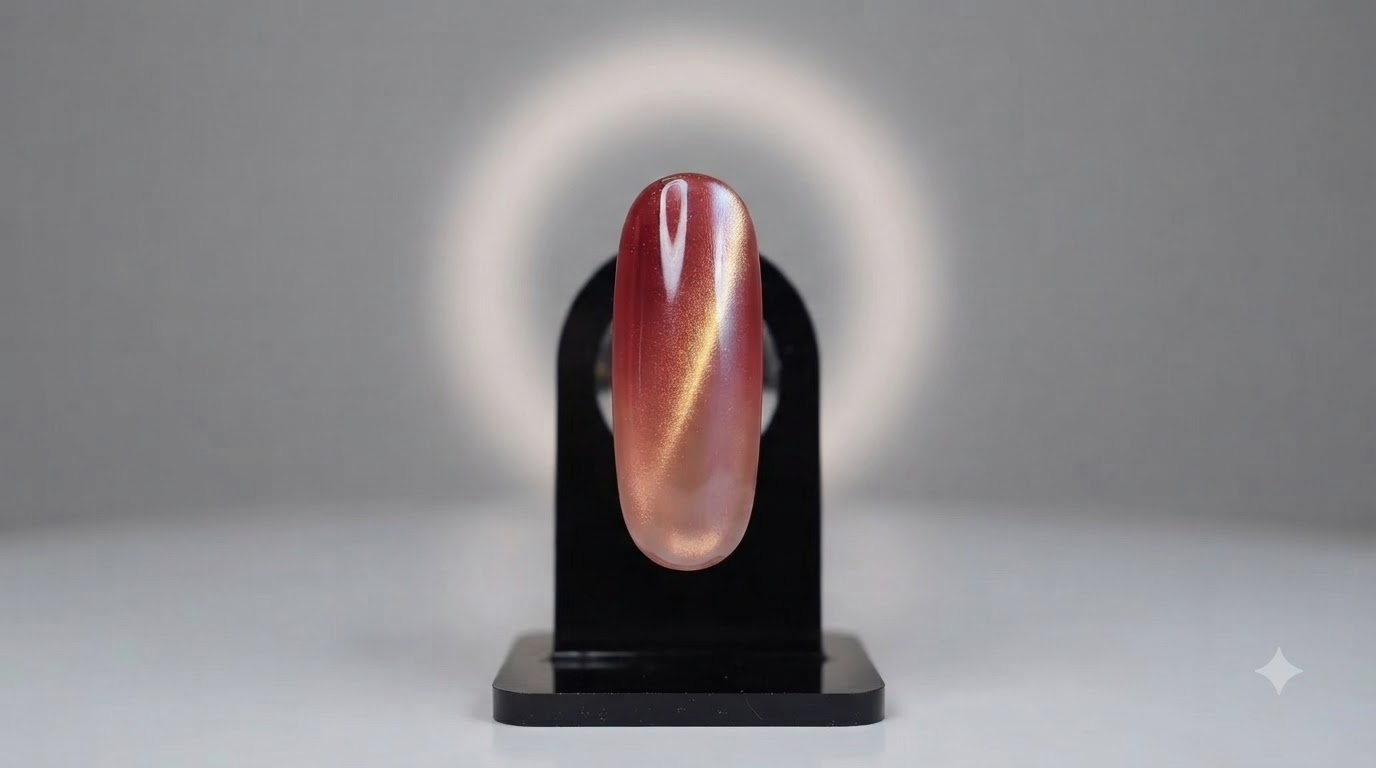
Apply a thicker layer of red cat-eye gel over the designated nail plate to build depth and rich color saturation. Ensure the gel coats the surface evenly before proceeding to shape the magnetic light effect.
Tip: A slightly thicker coat allows the magnetic particles to move and concentrate more visibly. - 4Create U-shaped cat-eye effect
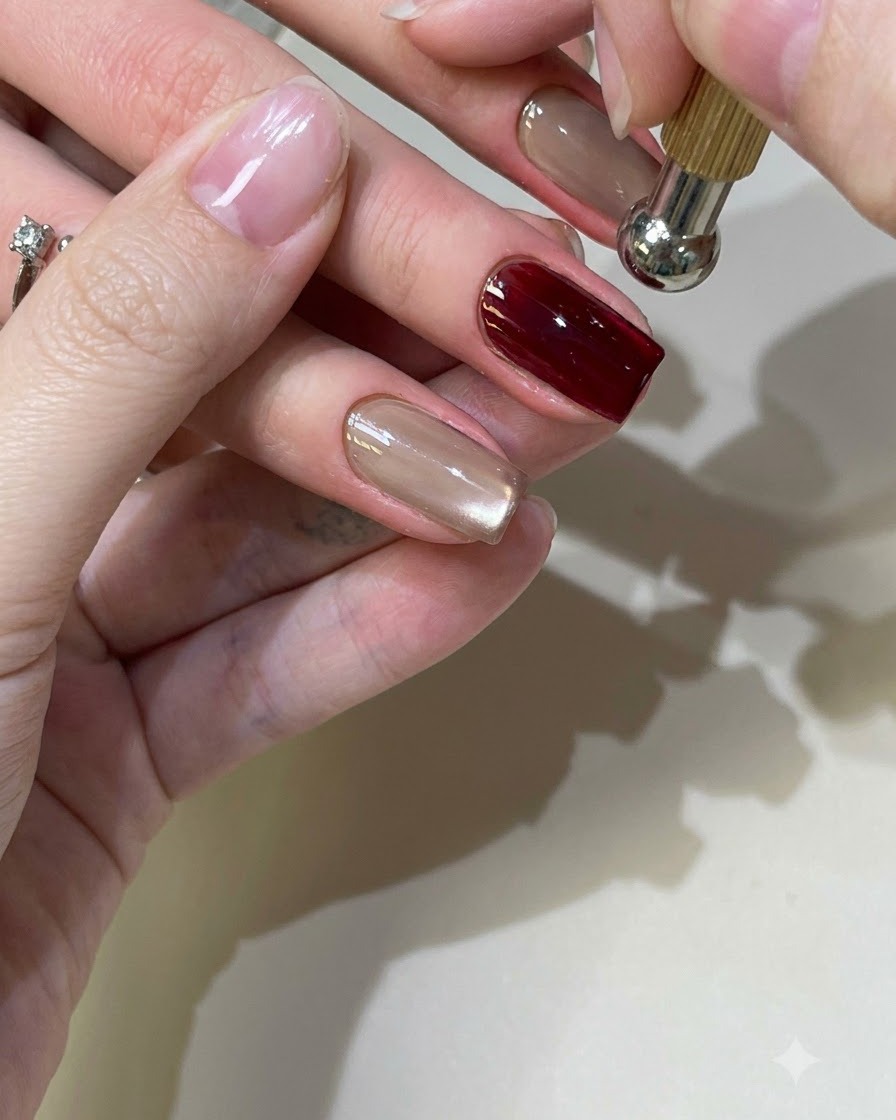
Hold the magnetic tool close to the wet red cat-eye gel to guide and pull the shimmering particles into a distinct U-shape curve at the fingertips. Cure under the UV or LED lamp immediately once the desired look is achieved.
Tip: Keep the magnet steady and close without touching the wet gel surface to get a sharp reflection line. - 5Cure the red cat-eye gel layer
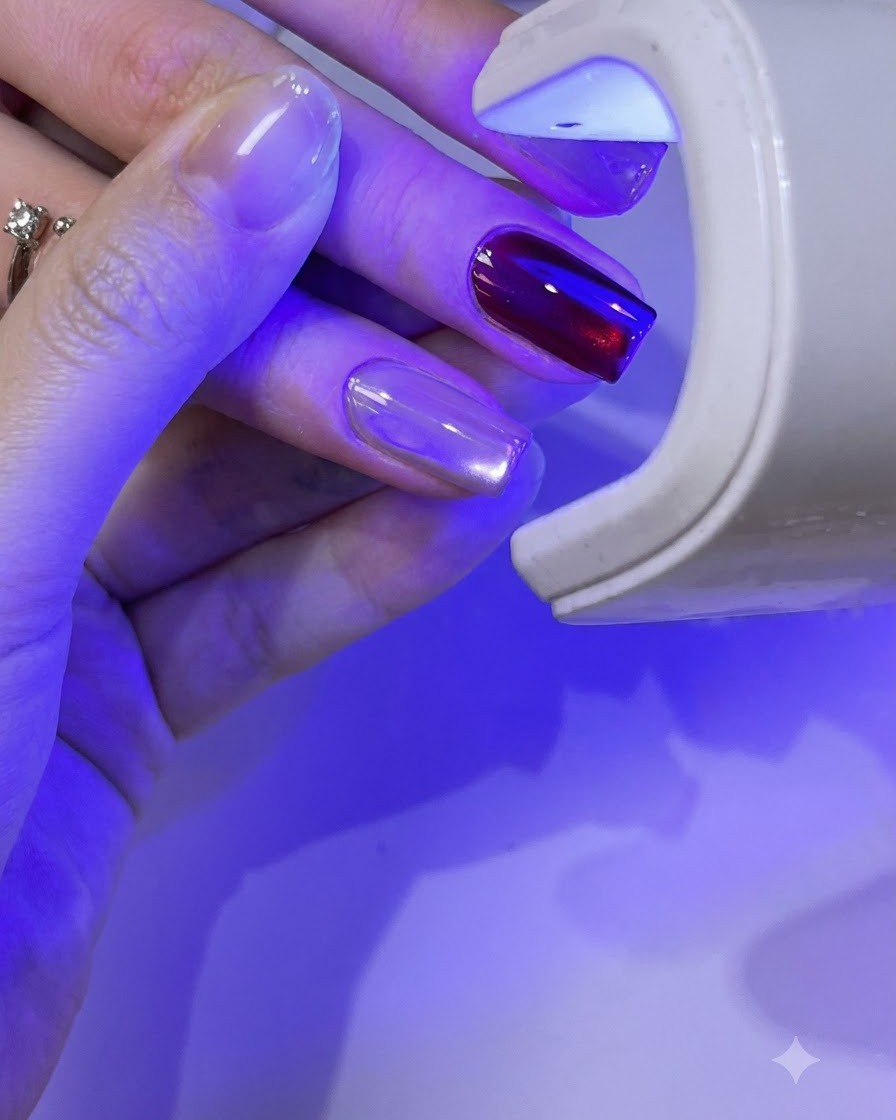
Place the hand underneath the pink UV/LED lamp to cure the red cat-eye gel layer. Keep the hand stable inside the light chamber until the gel cures completely into a hard, glossy finish.
Tip: Ensure the gel layer is not excessively thick to prevent wrinkling or improper curing underneath the UV/LED light. - 6Place Small Gold Foil Flakes
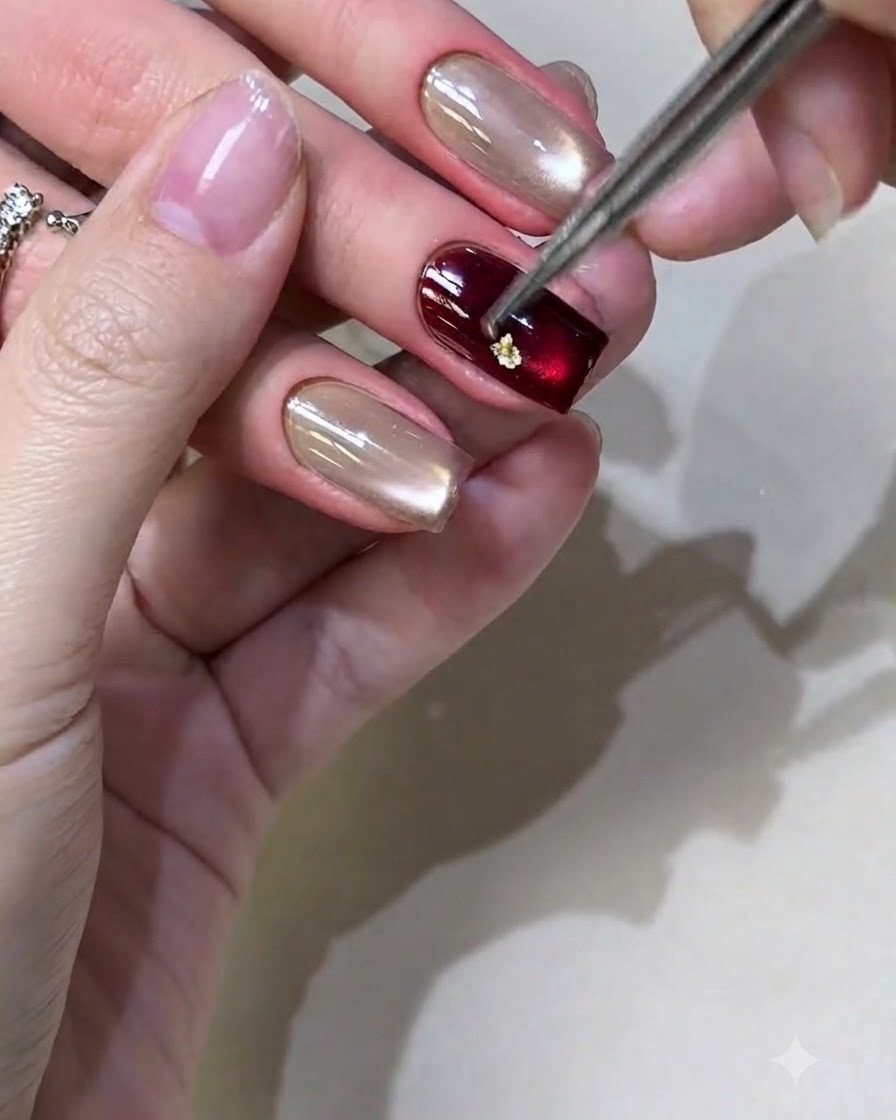
Using precision tweezers, pick up small pieces of delicate gold foil and place them casually onto the burgundy cat-eye gel surface to create a luxurious accent.
Tip: Press the foil gently into the uncured tacky layer or base gel so it stays securely in place before applying top coat. - 7Paint Casual White Flowers
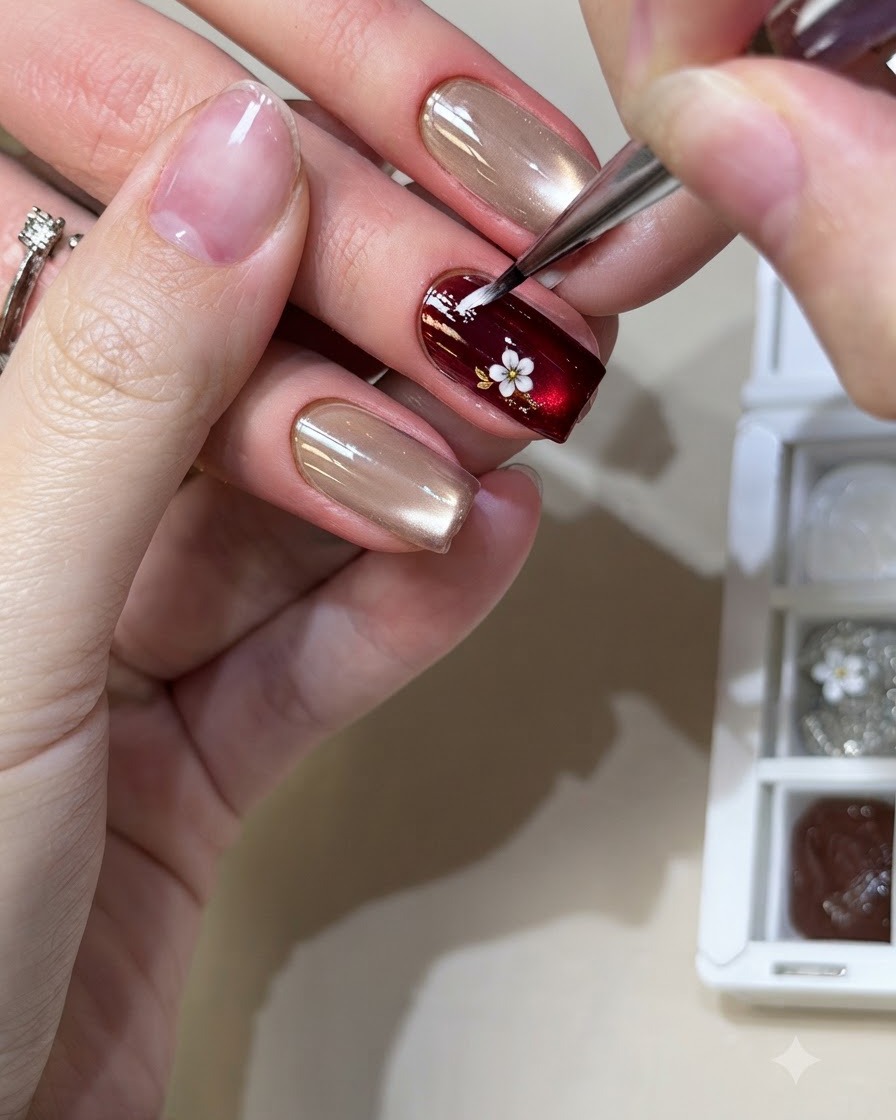
Dip a fine liner brush into white gel paint and casually stroke small flower petals onto the burgundy nail surface, accentuating the design with bright materials.
Tip: Keep your strokes light and relaxed for a casual, organic floral look rather than rigid geometric petals. - 8Dab Bright Reflective Materials
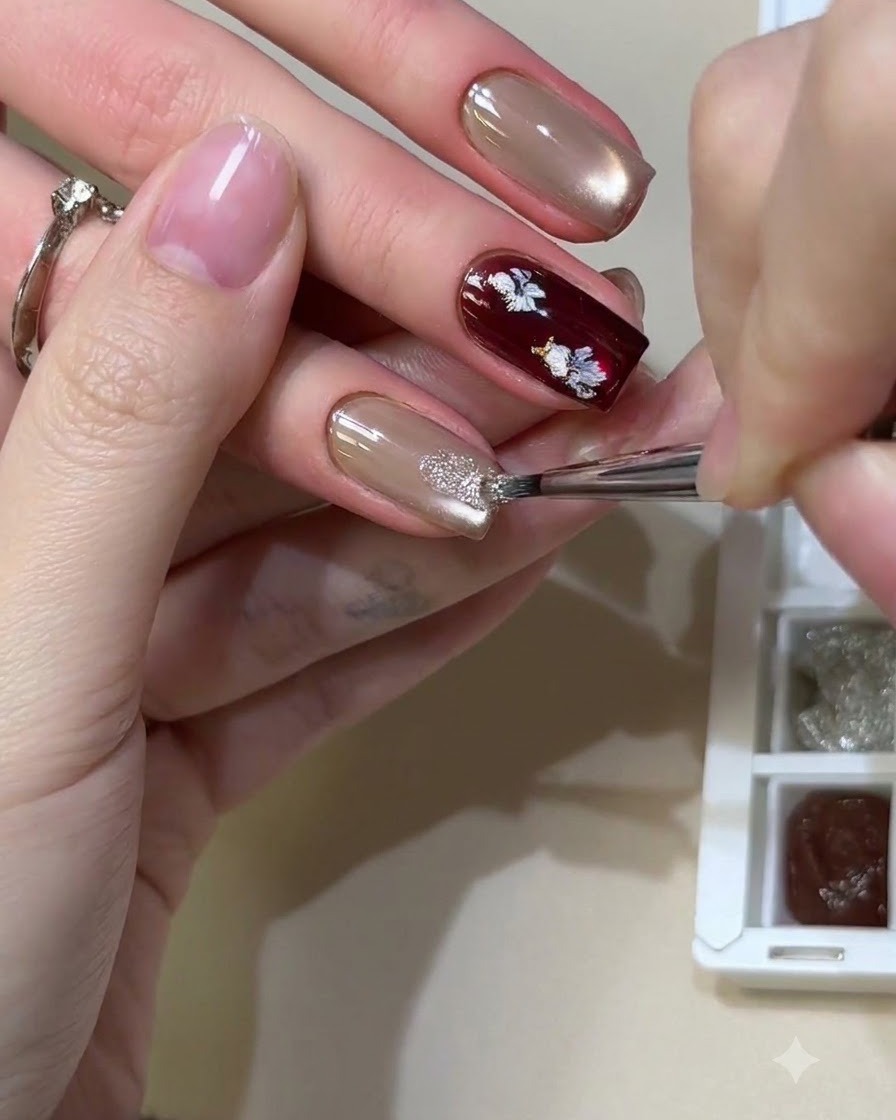
Using a fine brush, dab bright and shiny reflective materials onto the nude cat-eye nail to add dimension and sparkle to the overall design.
Tip: Layer the reflective materials carefully to avoid bulkiness while maximizing the sparkling texture. - 9Paint casual metallic flowers
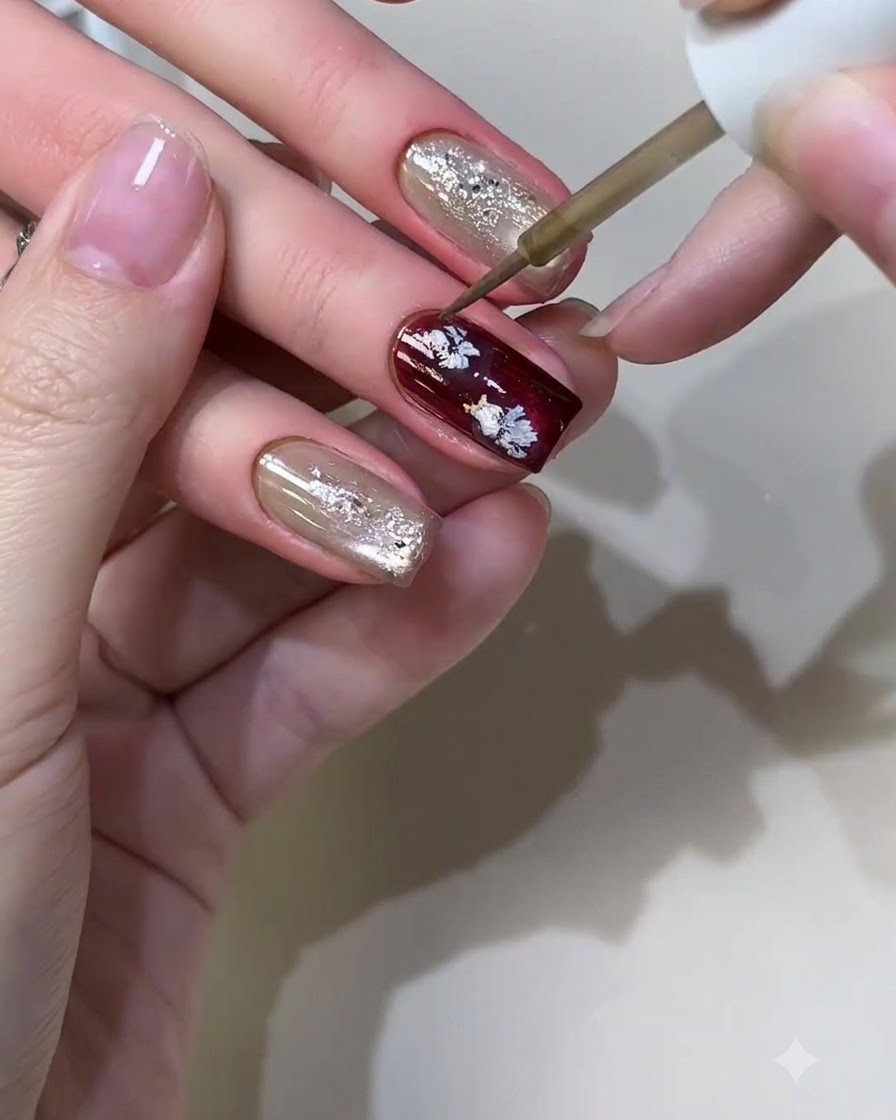
Using a fine liner brush and metallic liquid, paint small, casual floral petal accents onto the burgundy nail surface. Keep the technique relaxed and freehand to complement the retro luxury style.
Tip: Use a light touch with the fine brush to create delicate, varied petal widths. - 10Apply and shape solid-state gel
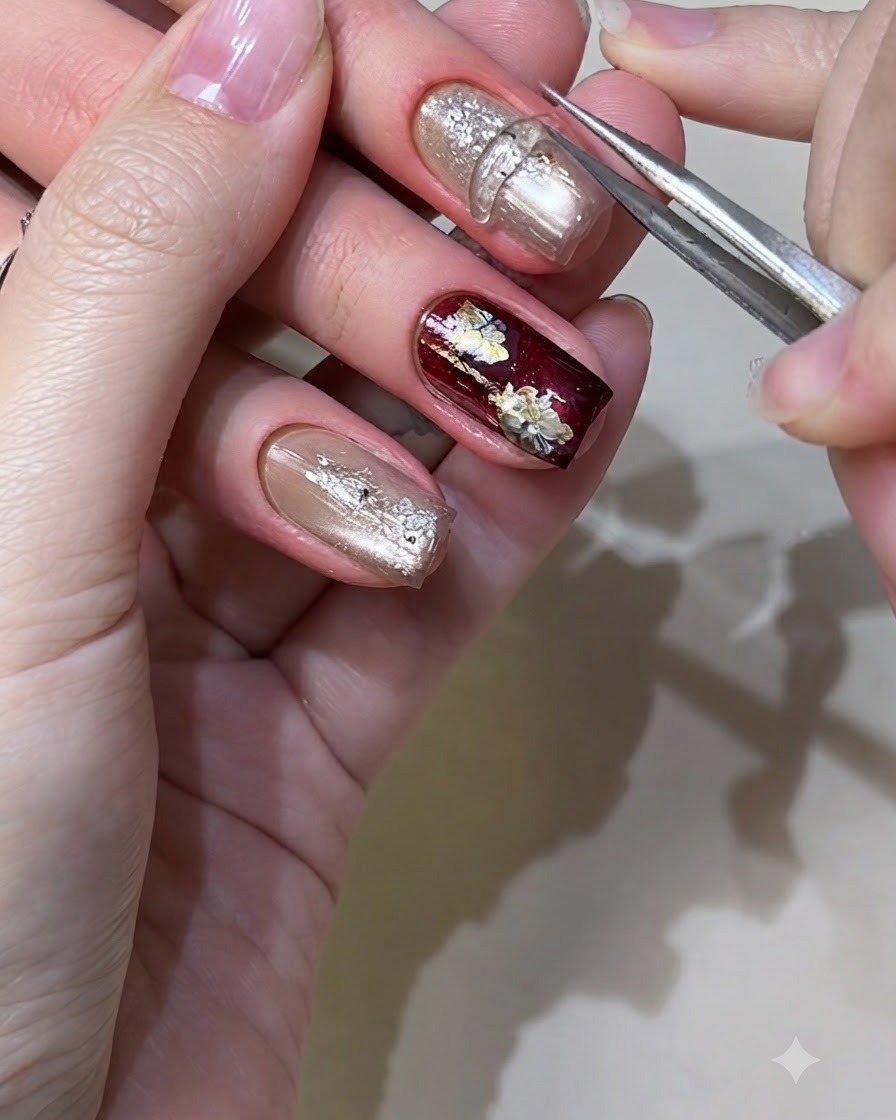
Take a small amount of squeezable solid-state gel, place it onto the designated nail, and press it down firmly into the desired raised shape using a silicone sculpting pen.
Tip: A silicone pen prevents the solid-state gel from sticking and allows smooth molding. - 11Cure solid-state gel
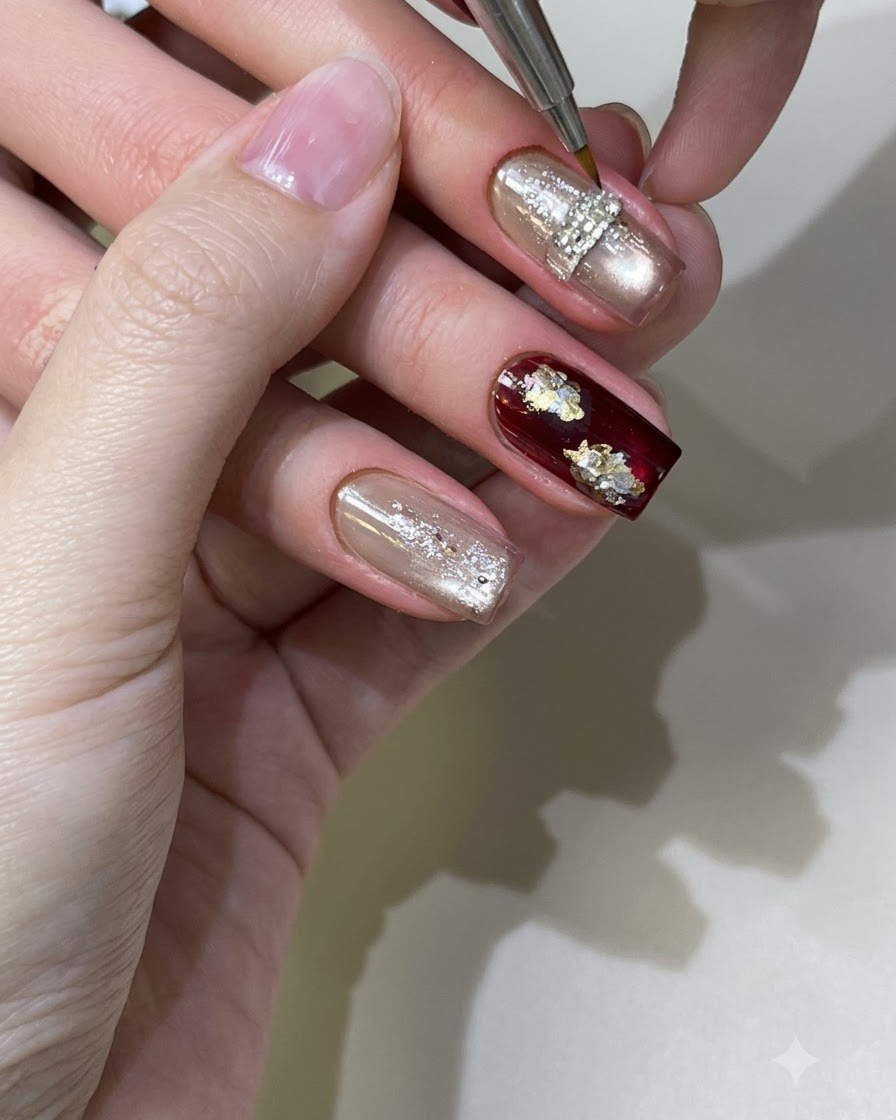
Place the hand under the UV or LED lamp to securely cure the molded solid-state gel structure and any associated accent details. Ensure complete curing before moving on to subsequent metallic or top coat steps.
Tip: Make sure the hand is positioned directly under the light source for an even cure. - 12Apply gold metallic liquid details
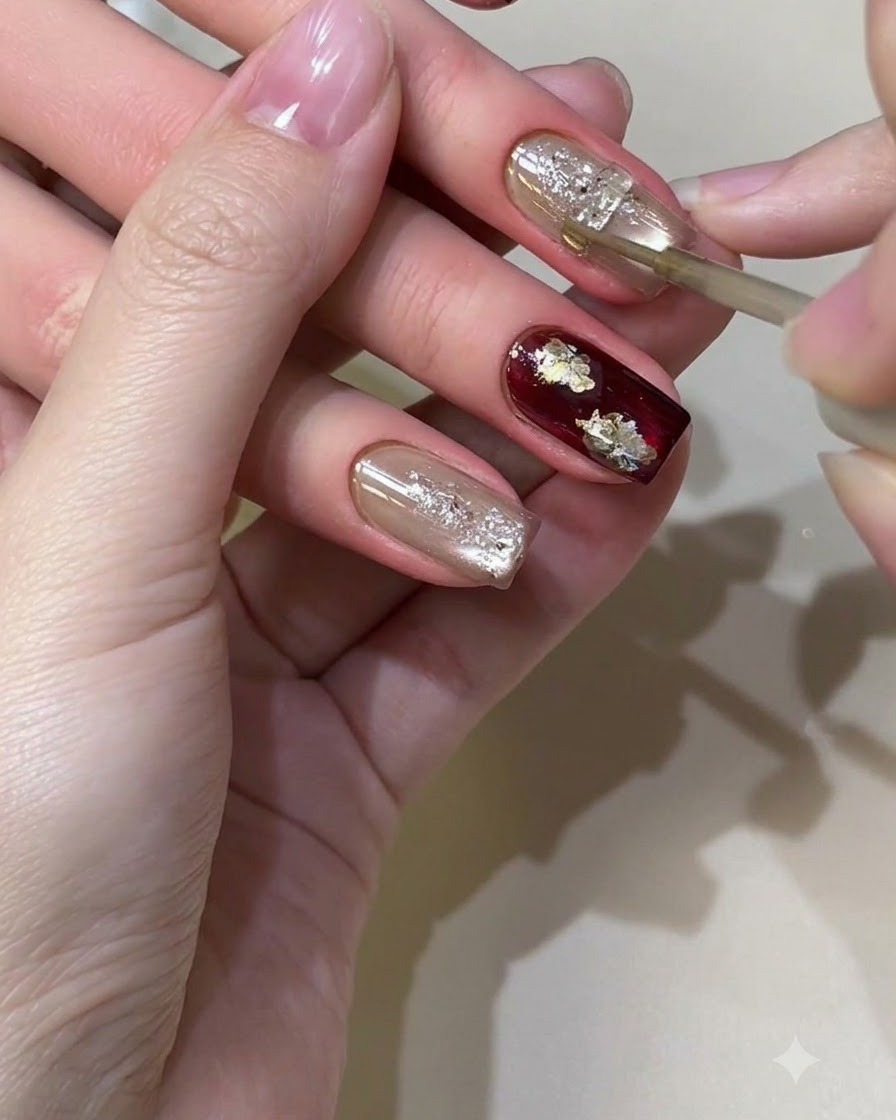
Using a fine detail brush, carefully apply gold metallic liquid over the textured elements of the nail design. Follow the contours of the sculptural shapes and embellishments to add a brilliant, reflective metallic accent that catches the light. Take your time to keep the lines clean and precise for a polished luxury finish.
Tip: Keep your hand steady by resting your pinky finger against your other hand while detailing with the metallic liquid. - 13Add black fine line accents
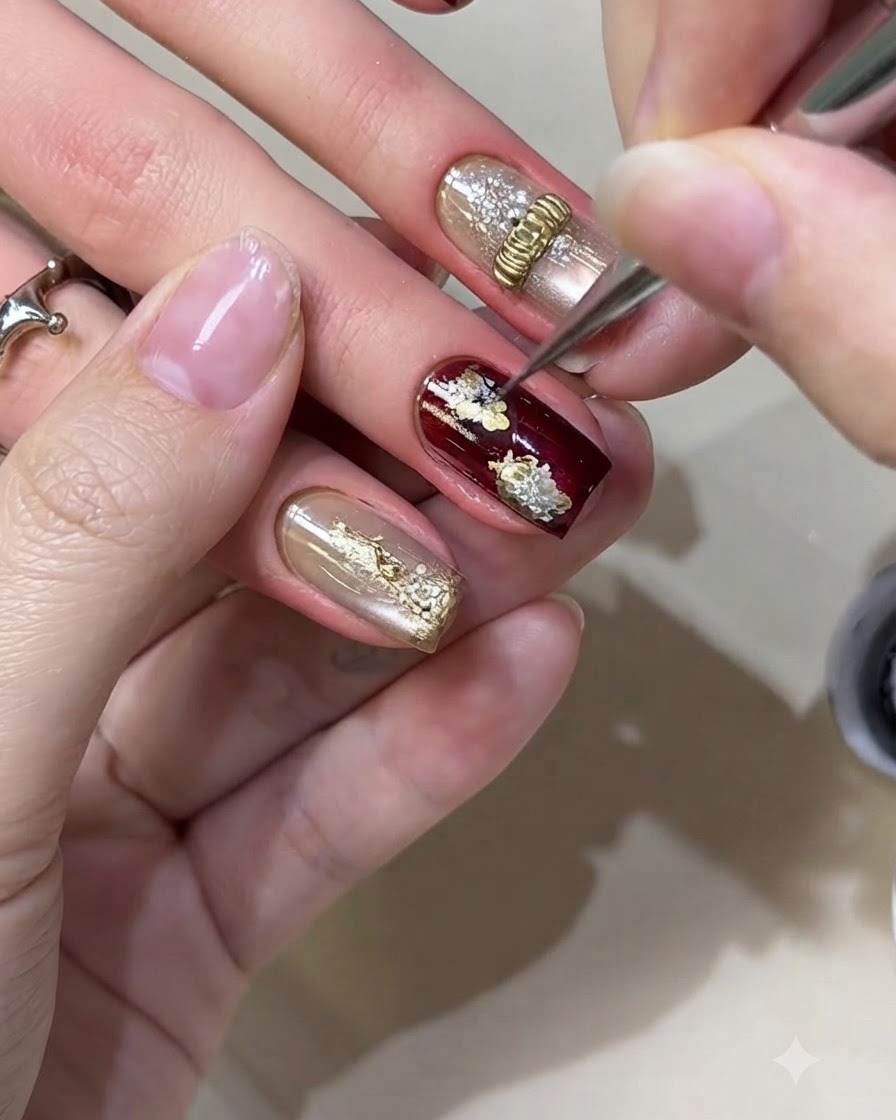
Dip a fine liner brush into black gel or paint and draw delicate, tiny fine lines right into the center of the previously painted flowers. These intricate dark strokes add depth, definition, and contrast, making the floral elements pop against the rich burgundy and foil background.
Tip: Use very minimal product on the tip of your liner brush to ensure the lines stay ultra-thin and sharp. - 14Apply top coat sealant gel
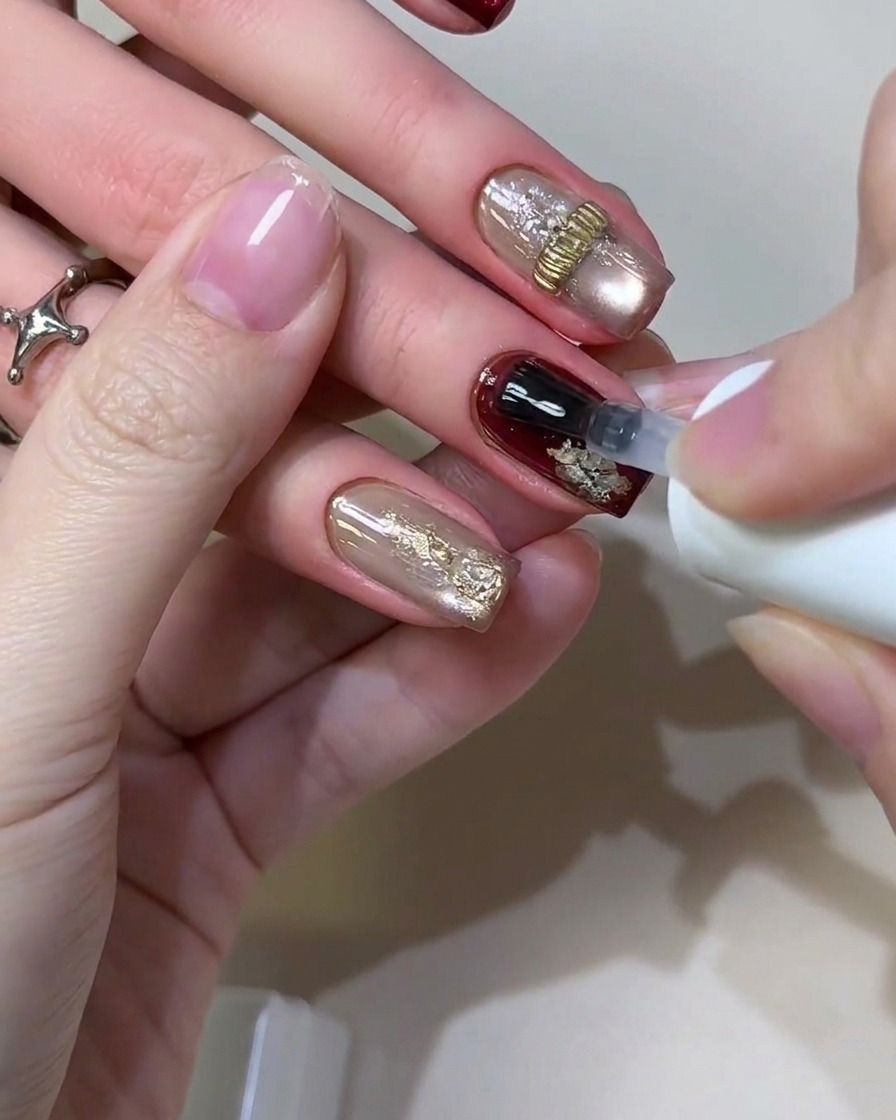
Finish the complete nail art design by applying a generous, even layer of glossy top coat sealant gel over every nail. Ensure you cap the free edge completely to seal in the metallic details, foil, and hand-painted flowers, preventing any chipping or peeling. Cure fully under your UV or LED lamp to lock in the brilliant shine.
Tip: Do not skip capping the free edge with top coat, as it protects the delicate foil and metallic layers from premature wear.