Spring White Peach Nude Ombre
Cat Eye Nails — Step-by-Step Tutorial
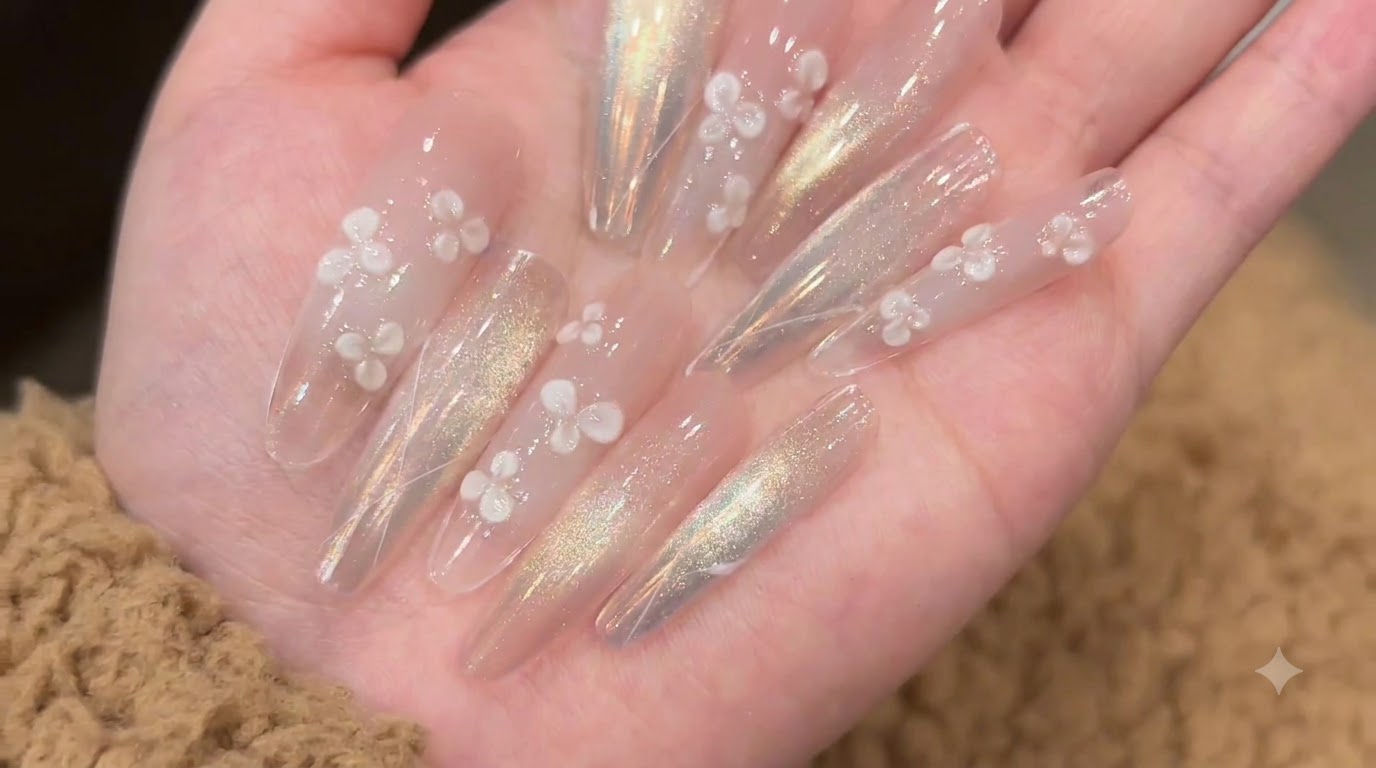
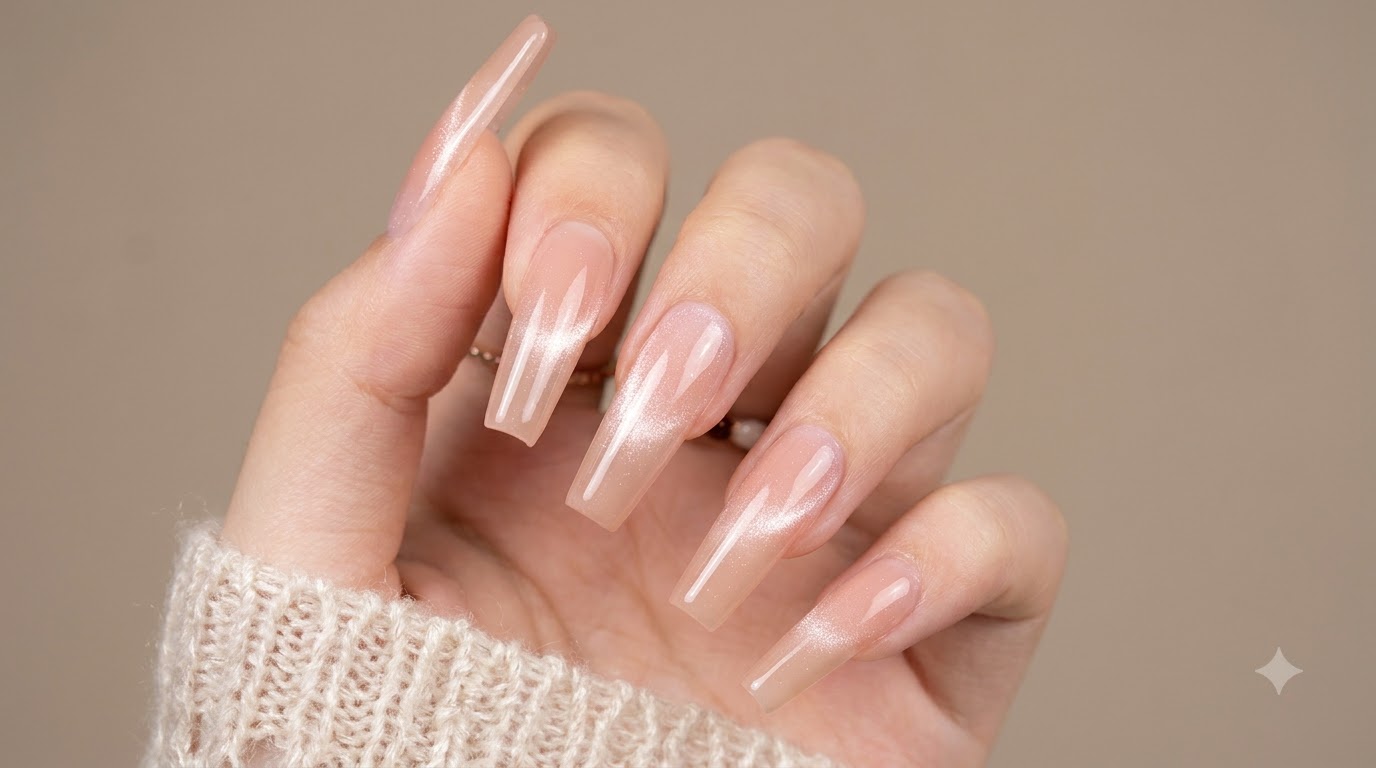
Create dreamy spring nails featuring a soft white peach nude gradient ombre combined with a luminous single-side cat eye shimmer finish.
Spring is all about light, ethereal nail art that catches the light with subtle sophistication. This look combines the effortless elegance of a smooth white peach nude gradient ombre with the dimensional magic of white beauty cat-eye shimmer. Follow along to master the sponge-blending and magnetic light techniques for a flawless salon-quality result at home.
Steps
- 1Apply off-white tapping gel
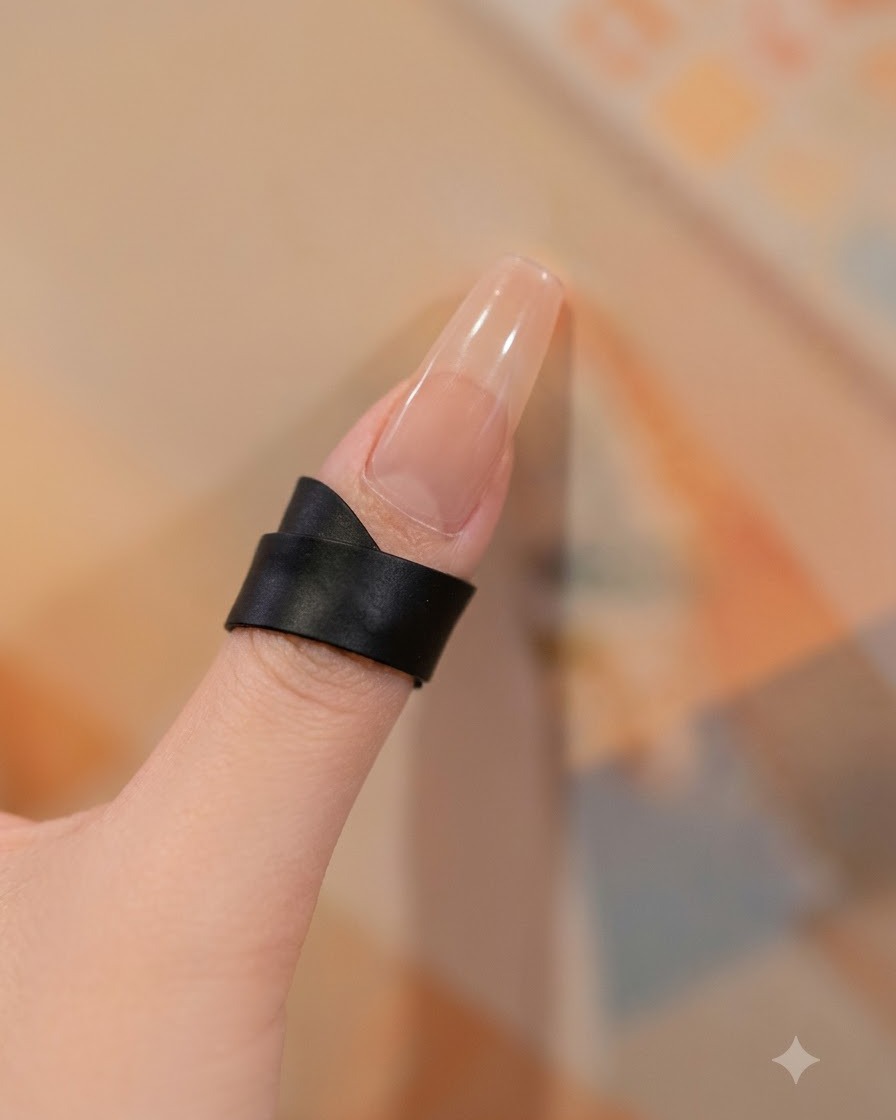
Using a fine brush, carefully apply off-white tapping gel over the nail plate to cover the oil separation line. This prepares a clean base and helps smooth out any inconsistencies before building the gradient effect.
Tip: Apply in a thin layer to ensure even coverage without bulk. - 2Dab initial gradient with a small sponge
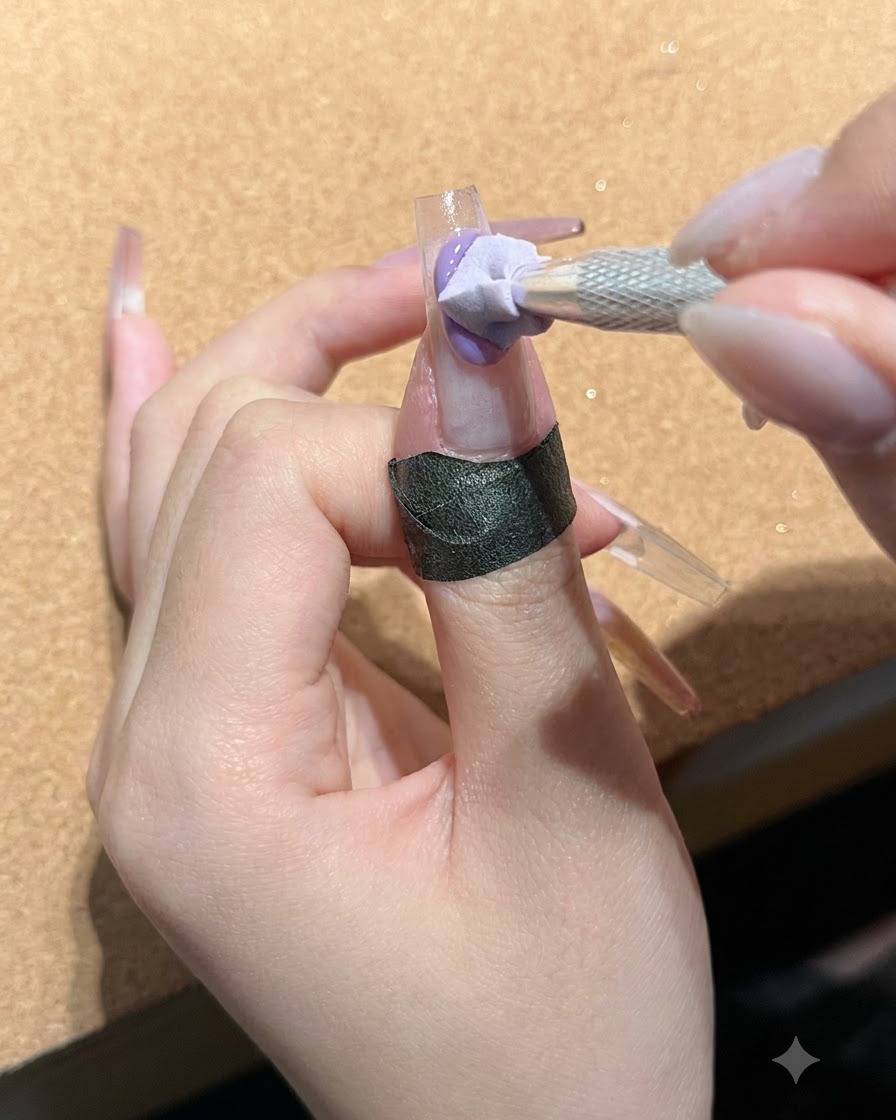
Take a small sponge and gently dab light-colored gel onto the nail surface to create the first layer of the gradient effect. Light tapping motions help distribute the product evenly and softly.
Tip: Use light, gentle taps to avoid heavy patches and create a smooth fade. - 3Smooth gradient with a larger sponge
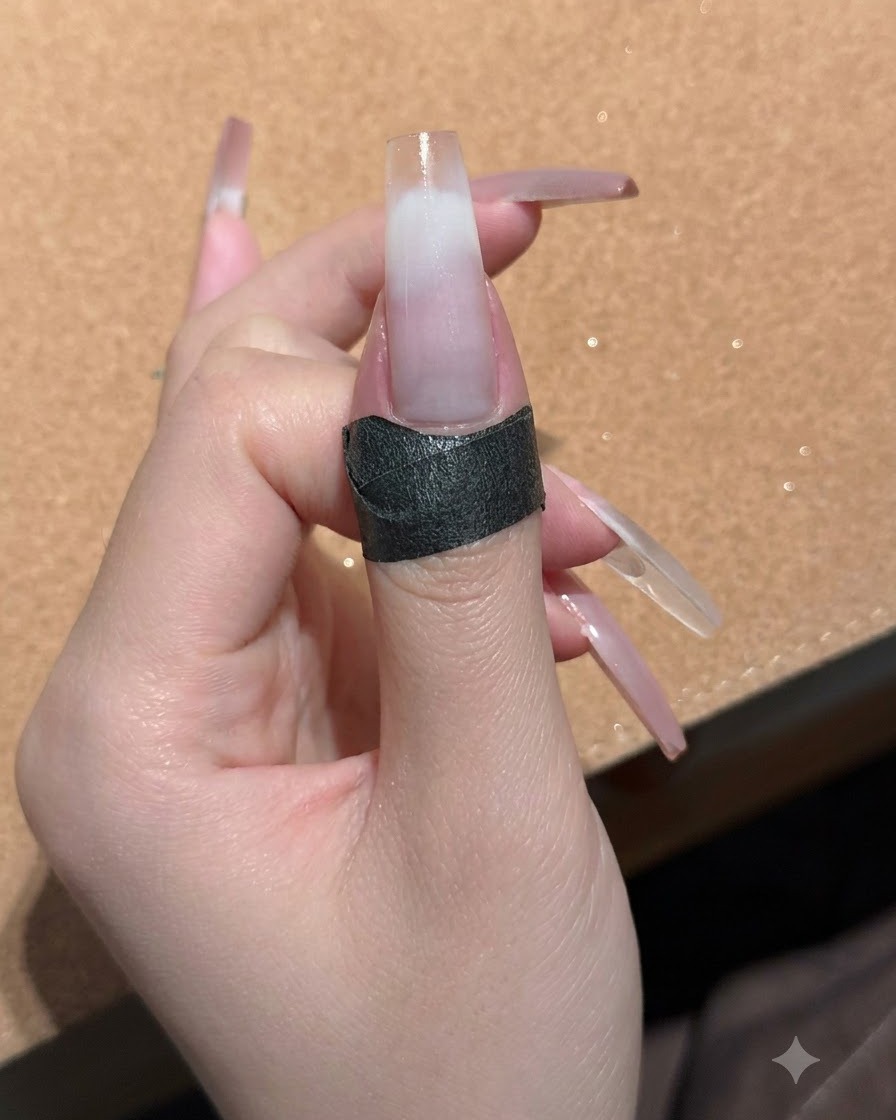
Switch to a larger sponge and gently dab over the previously applied gradient area. This softens the transition lines and makes the ombre effect look completely natural and seamless.
Tip: Blend lightly so you dont remove too much of the pigment. - 4Apply first coat of white peach nude
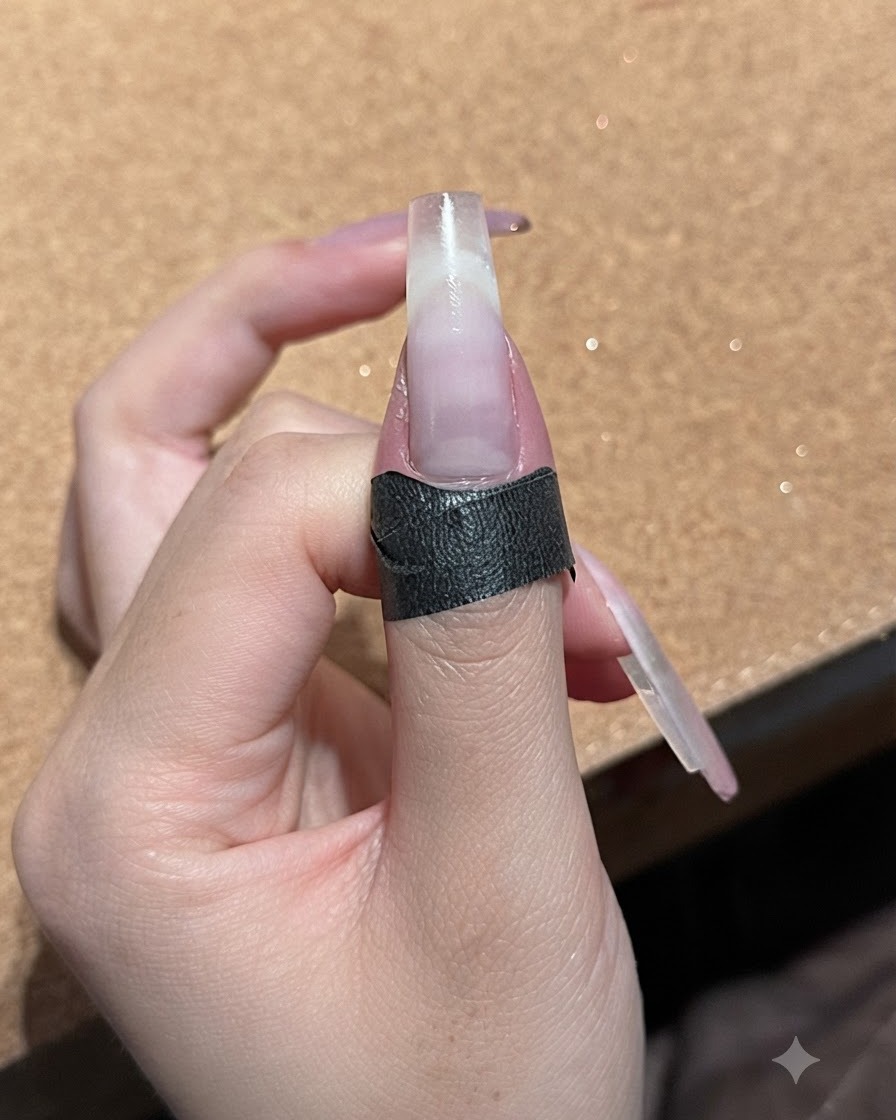
Apply a thin first coat of white peach nude gel evenly over the entire nail surface. This infuses the nail with a delicate, translucent peach tone that complements the gradient underneath.
Tip: Keep strokes smooth and thin to prevent pooling at the edges. - 5Apply second coat of white peach nude
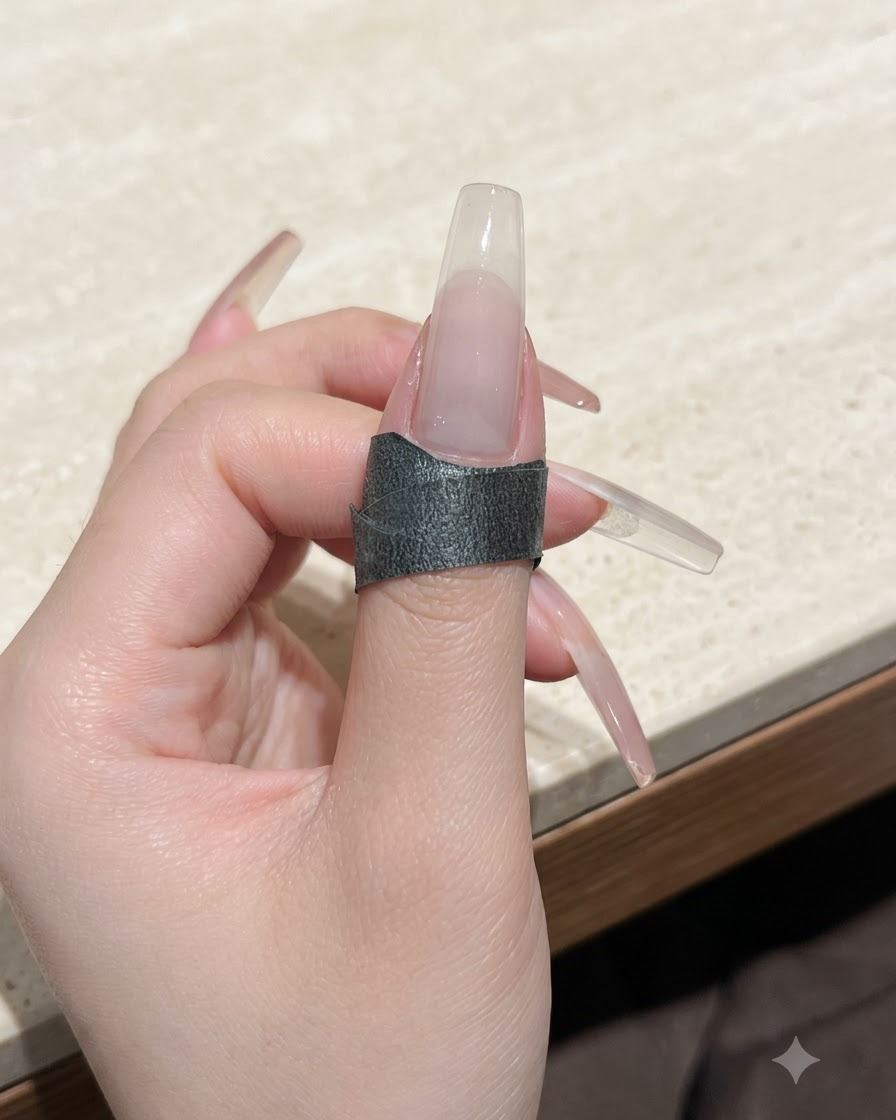
Apply a second thin coat of white peach nude gel to deepen the color and enhance the overall richness of the shade. Cure briefly if required by your gel formulation.
Tip: Building color with two thin coats looks much more refined than one thick coat. - 6Apply white beauty cat eye gel
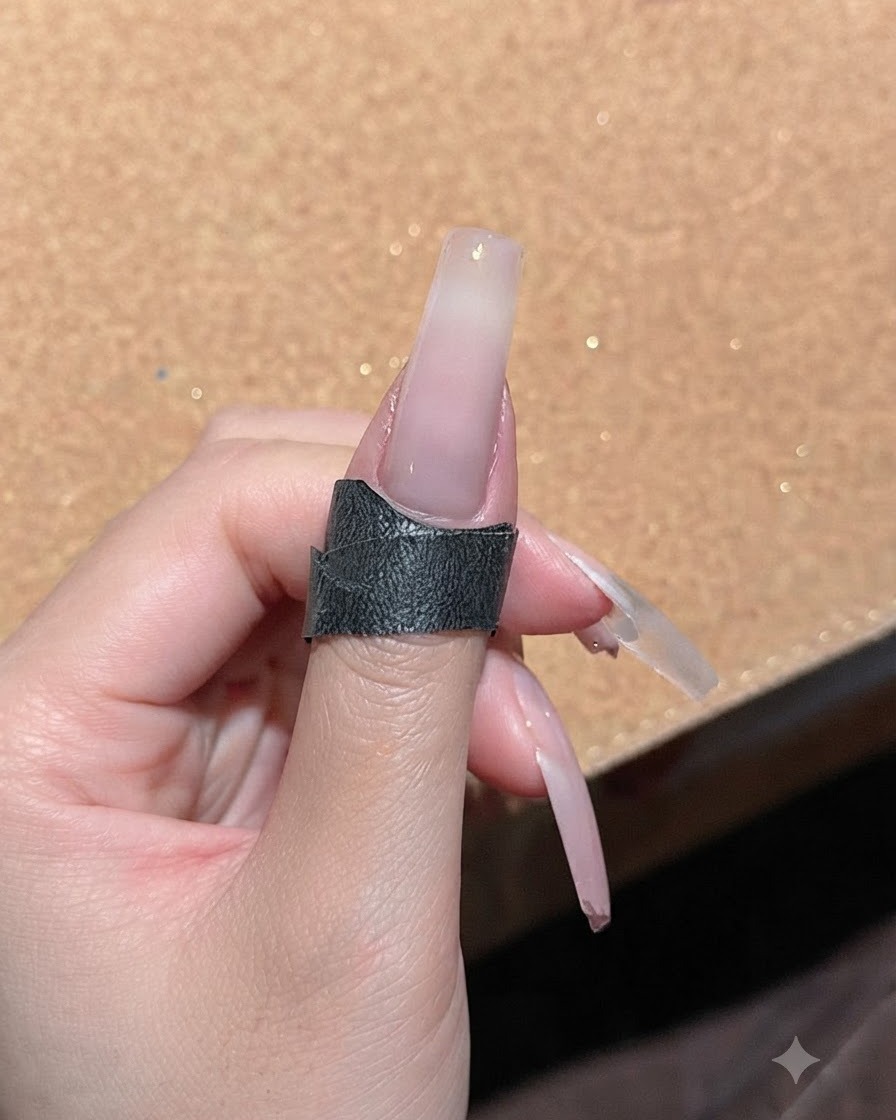
Apply a thicker layer of white beauty cat eye gel evenly over the nail surface. The generous layer allows the magnetic particles to move freely when creating the cat eye effect.
Tip: Ensure the coat is evenly thick so the magnetic reflection appears smooth. - 7Create single-side cat eye effect
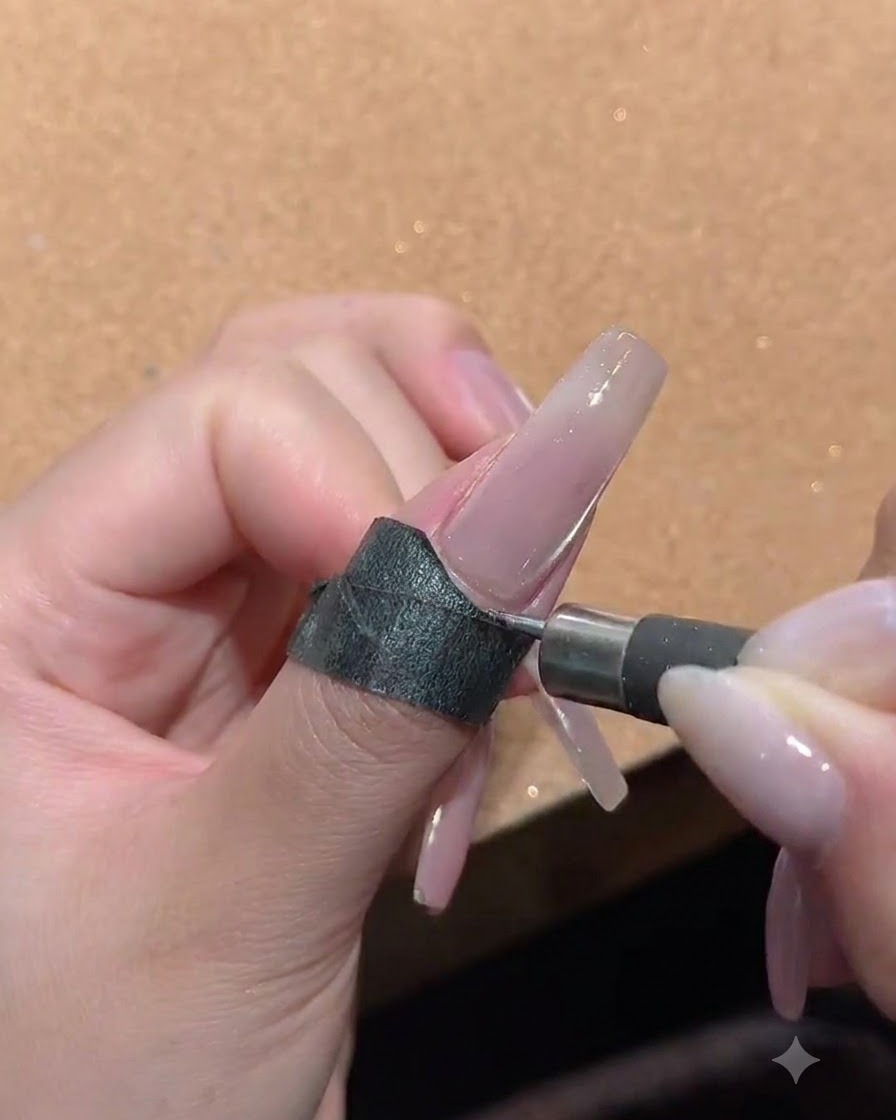
Hold a specialized nail magnet close to the side of the uncured cat eye gel to pull the magnetic particles toward one side. This creates a distinct, dimensional single-side light reflection that gives the nail a glowing, high-fashion look. Cure immediately under the lamp to lock the design in place.
Tip: Keep the magnet steady and close to the nail without touching the wet surface to achieve a crisp, sharp line of light. - 8Wipe away sticky inhibition layer
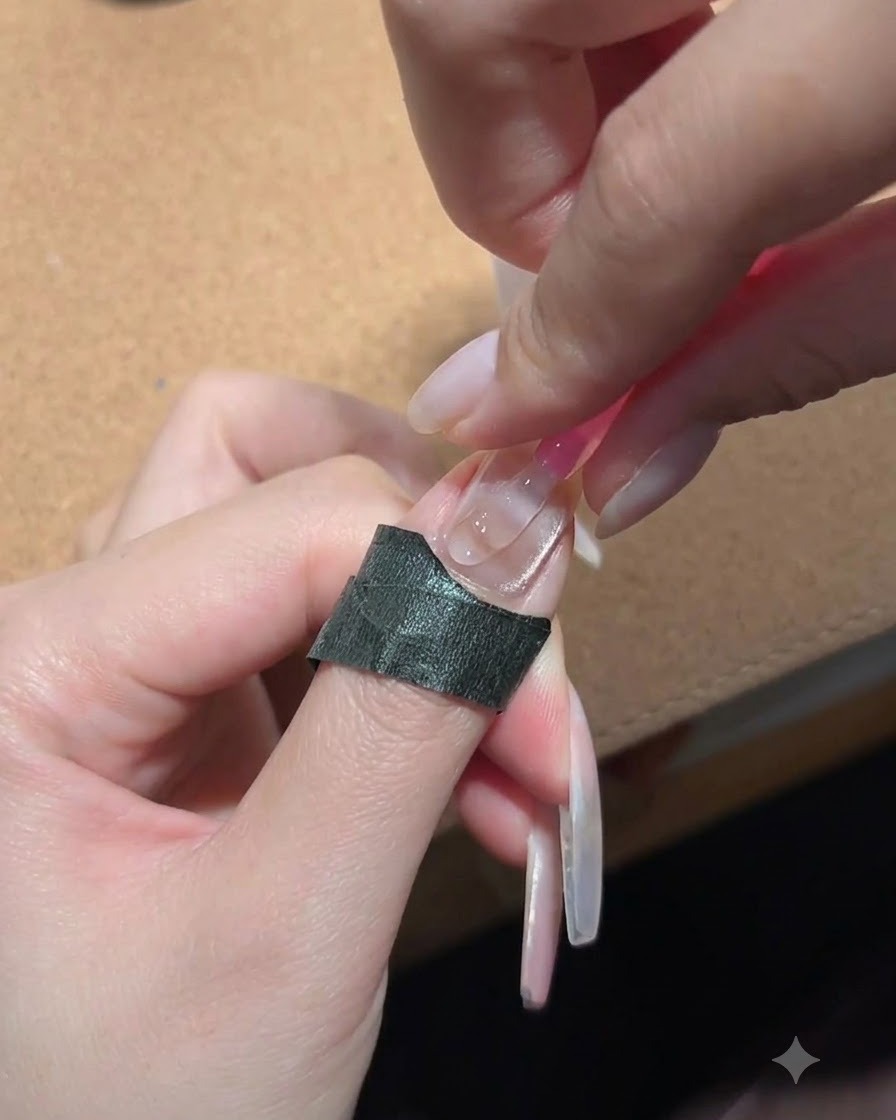
Using a lint-free wipe saturated with nail cleanser or alcohol, thoroughly wipe away the tacky inhibition layer left behind on the cured gel surface. Ensure every nail is wiped clean to reveal a smooth, high-gloss finish without any residual stickiness.
Tip: Make sure the gel is fully cooled and cured before wiping, otherwise the surface can lose its glossy shine. - 9Apply white peach nude tapping gel to tip
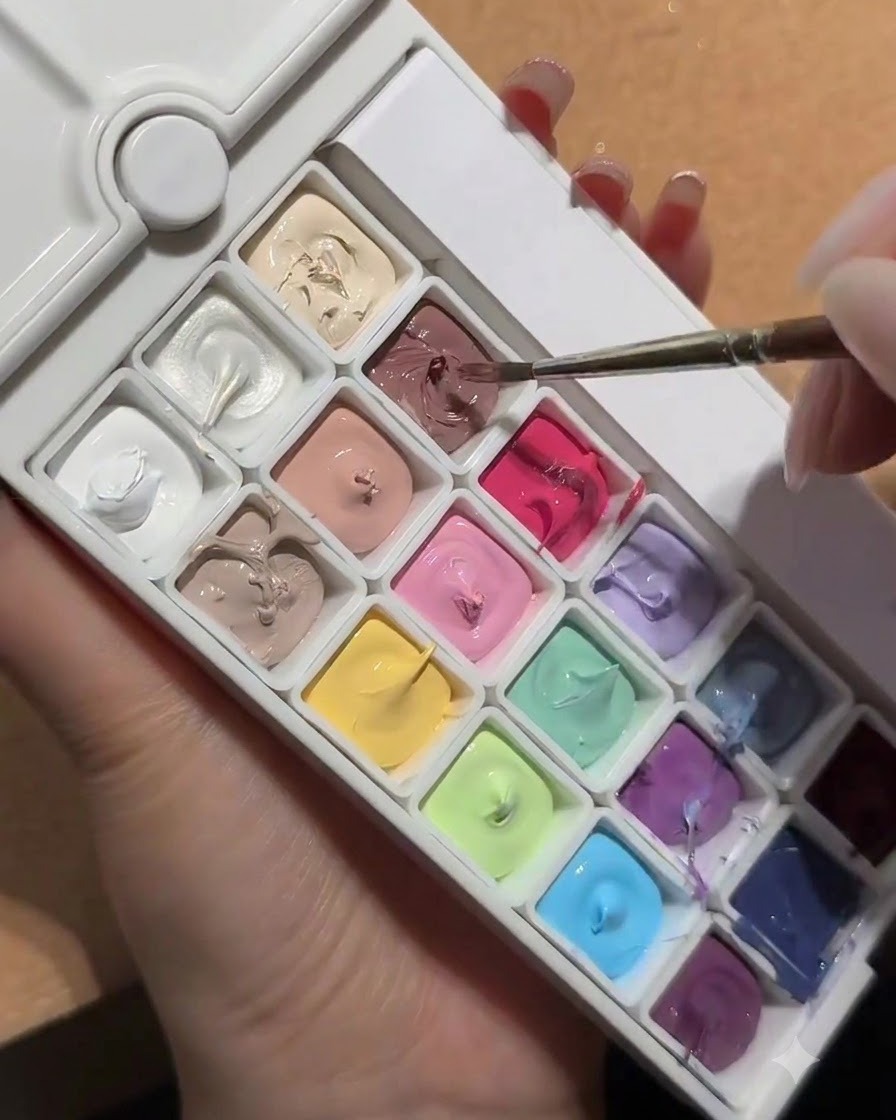
Dip a fine nail art brush into the white peach nude tapping gel palette to pick up a small amount of product. Dab the gel directly onto the edge of the nail tip to begin building the gradient ombre effect.
Tip: Use a minimal amount of gel on your brush to prevent thick, uneven buildup at the very edge of the nail. - 10Blend gel with a small sponge
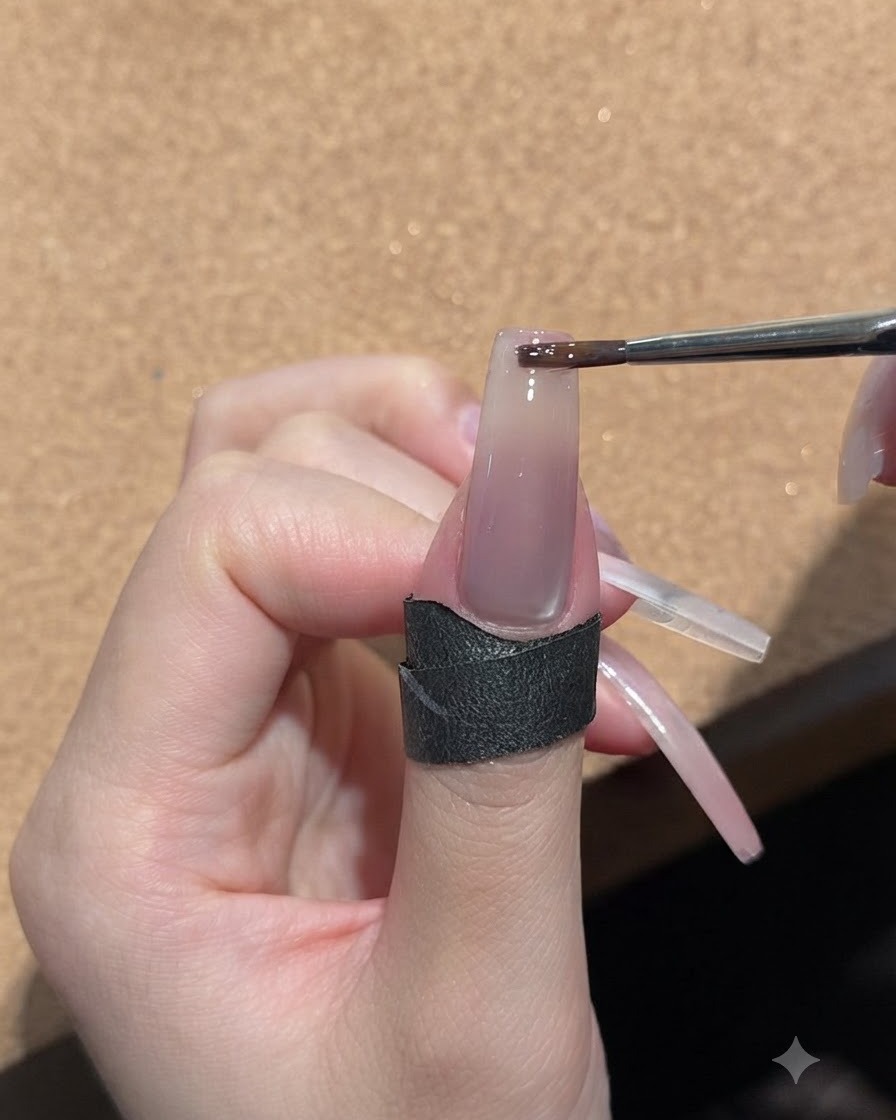
Take a small makeup or nail sponge and gently dab the freshly applied peach nude gel on the nail tip, blending it softly outward and upward. This initial dabbing action breaks up harsh lines and creates the base of a smooth gradient transition.
Tip: Dab with light, rapid motions rather than pressing hard to ensure a soft, airbrushed look without sponge texture marks. - 11Refine gradient with a large sponge
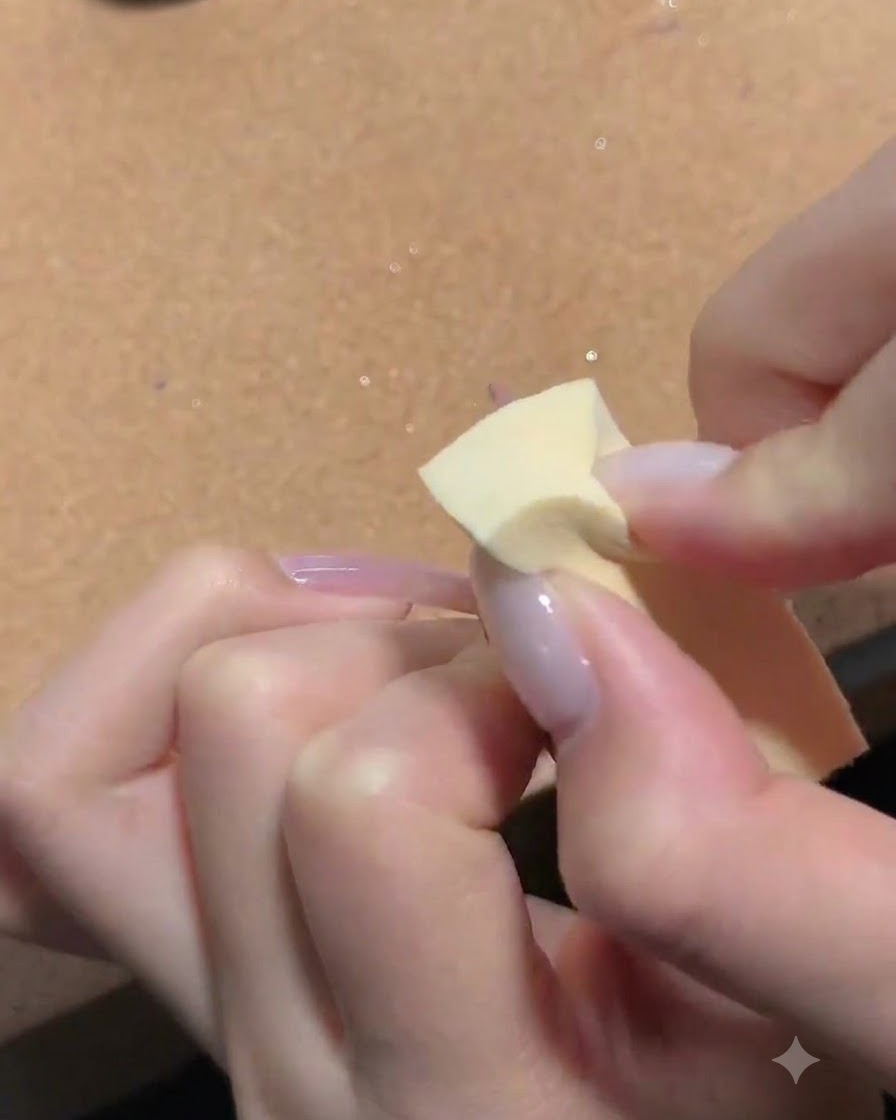
Take a larger sponge and gently press it over the gradient area to further diffuse the peach nude color. This second blending pass melts the colors together seamlessly, resulting in a flawless natural ombre transition from base to tip.
Tip: Ensure the large sponge is clean and dry to achieve an even diffusion across the entire width of the nail. - 12Repeat peach nude application
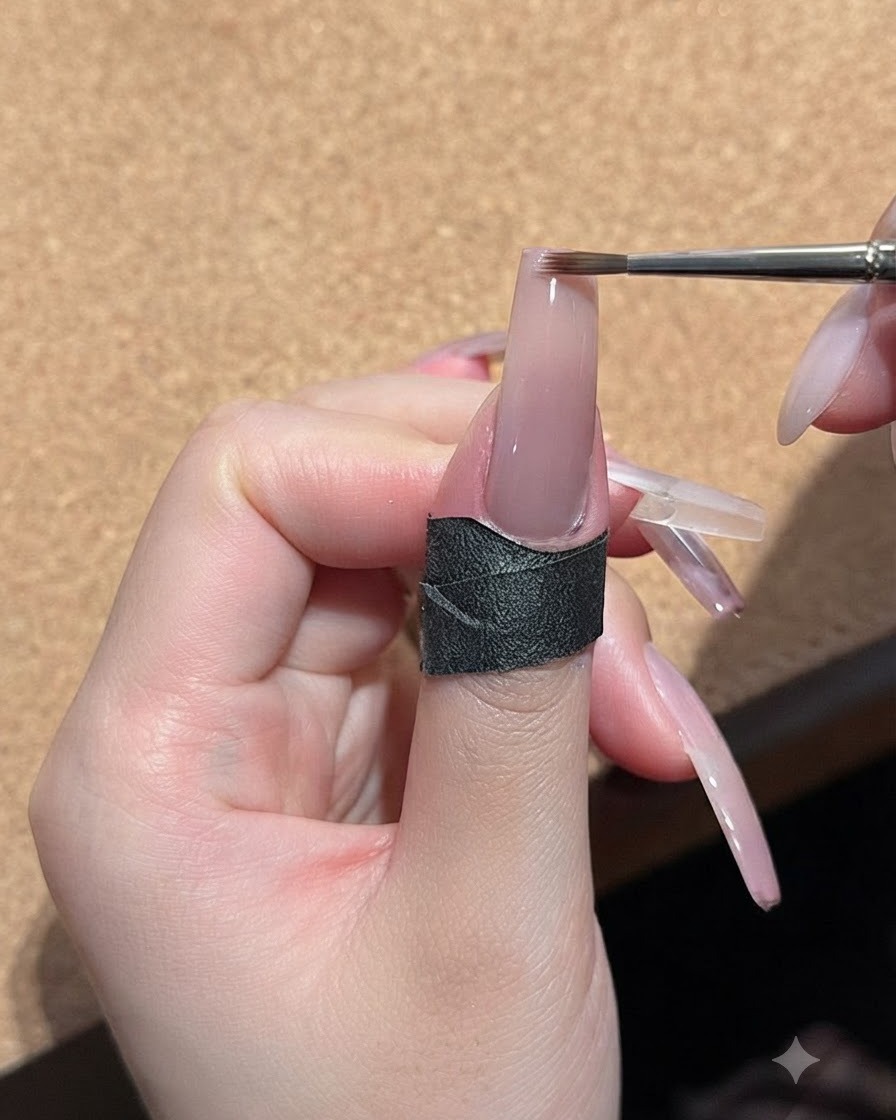
Reapply a second thin layer of the white peach nude tapping gel onto the nail tip to enhance color saturation and opacity. Follow up with the same sponge blending technique to maintain a smooth, flawless gradient transition.
Tip: Building the gradient in two thin layers prevents the gel from becoming bulky while providing rich, vibrant color depth. - 13Dab the second layer of peach nude gel
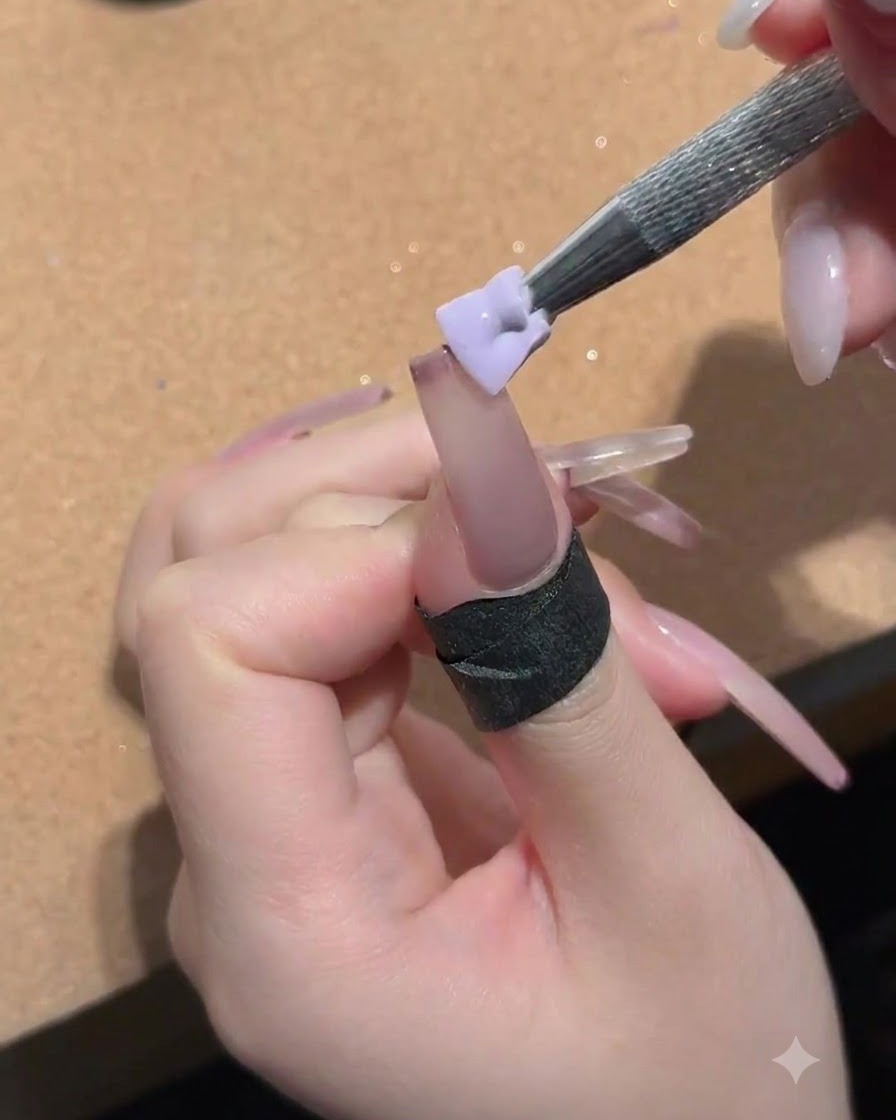
Take a small makeup sponge and gently dab the second layer of peach nude gel onto the nail to build up the color and smoothness of the gradient transition.
Tip: Keep your dabbing motions light and even to avoid creating harsh lines in the gel layer. - 14Finalize the second gradient layer with a large sponge
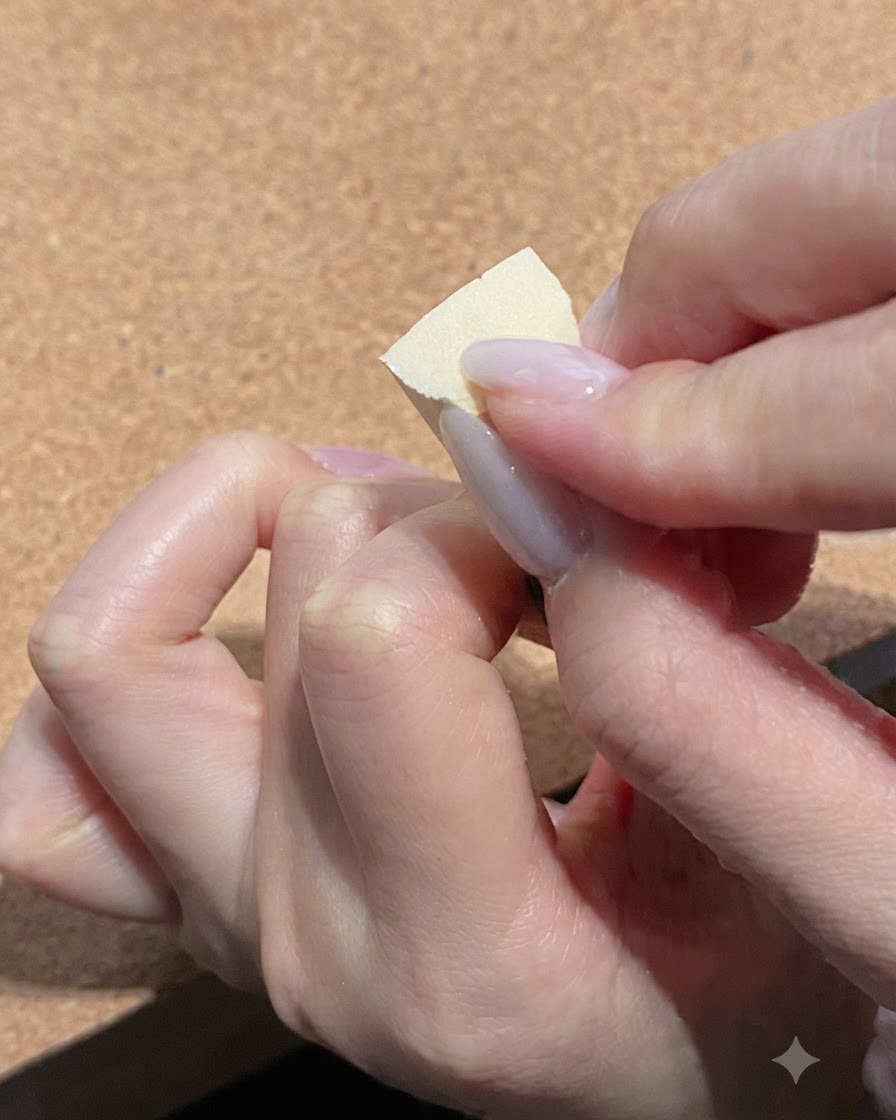
Using a larger sponge, gently blend the second layer across the nail surface to ensure a seamless, natural ombre transition before the final sealing step.
Tip: Softly blending with a larger surface area removes any blotchiness from the smaller sponge. - 15Apply top coat sealant and cure
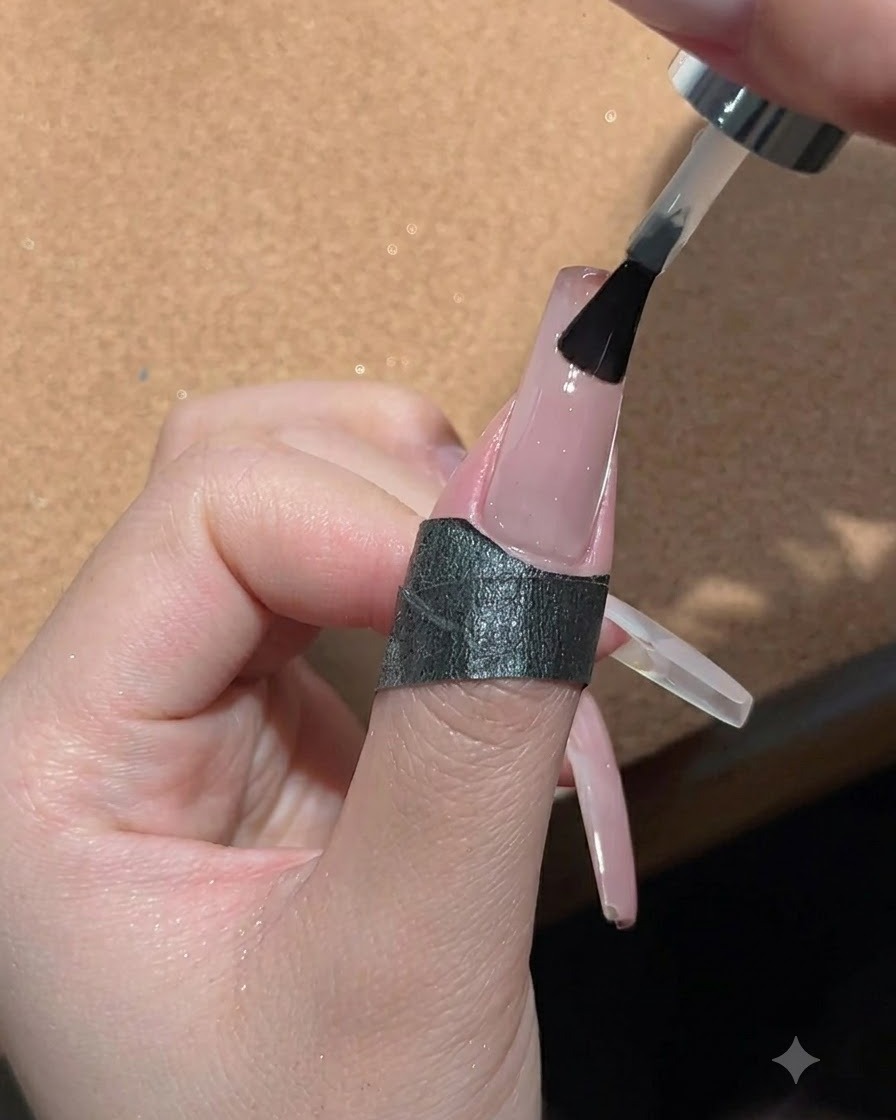
Apply a generous, thick layer of top coat sealant evenly over the entire nail to lock in the nail art and provide a high-gloss finish, then cure under a UV or LED lamp.
Tip: Ensure the top coat covers the free edge completely to prevent chipping and lifting.